Articles
How To Install A Mortared Shower Pan
Modified: August 27, 2024
Learn how to install a mortared shower pan with our comprehensive step-by-step guide. Read our articles for expert tips and techniques to ensure a successful installation.
(Many of the links in this article redirect to a specific reviewed product. Your purchase of these products through affiliate links helps to generate commission for Storables.com, at no extra cost. Learn more)
Introduction
Welcome to this comprehensive guide on how to install a mortared shower pan. Whether you’re remodeling your bathroom or building a new one, installing a mortared shower pan is an essential step in creating a sturdy and water-tight shower enclosure.
A shower pan is the base of your shower, responsible for keeping the water contained within the shower area. A properly installed mortar shower pan will provide a durable foundation, prevent water leakage, and ensure the longevity of your shower.
In this guide, we will walk you through the step-by-step process of installing a mortared shower pan. We will cover preparing the subfloor, installing the drain, building the mortar bed, placing the shower pan, leveling and securing the pan, sealing the edges, allowing the mortar to cure, checking for leaks, and finally, installing the shower walls. By following these instructions, you’ll be able to successfully install your own mortared shower pan and have a functional and beautiful shower to enjoy.
Before we dive into the details, let’s take a look at the materials and tools you’ll need for this project:
Key Takeaways:
- Proper preparation, including subfloor cleaning, slope creation, and backer board installation, is crucial for a successful mortared shower pan installation. Attention to detail at this stage sets the foundation for a sturdy and water-tight shower enclosure.
- Thorough testing for leaks, proper curing of the mortar, and meticulous installation of shower walls are essential final steps to ensure a durable and reliable mortared shower pan. Attention to detail and patience throughout the process lead to a functional and visually appealing shower space.
Materials and Tools Needed
Before you begin installing a mortared shower pan, it’s important to gather all the necessary materials and tools. Having everything on hand will make the installation process smoother and more efficient. Here is a list of the materials and tools you will need:
Materials:
- Shower pan
- PVC liner
- Mortar mix
- Drain assembly
- Waterproofing membrane
- Shower liner adhesive
- Screws/nails
- Shims
- Silicone caulk
- Grout
- Waterproofing sealant
Tools:
- Tape measure
- Pencil
- Level
- Utility knife
- Hammer
- Chisel
- Drill
- Masonry trowel
- Notched trowel
- Bucket
- Mixing paddle
- Caulking gun
- Grout float
- Seam roller
Make sure to have all the materials and tools ready before you start the installation process. This will help you work efficiently and ensure that you have everything you need to complete the project.
Now that you have your materials and tools prepared, let’s move on to the first step of installing a mortared shower pan: preparing the subfloor.
Step 1: Preparing the Subfloor
Before you can begin installing a mortared shower pan, it’s crucial to properly prepare the subfloor to ensure a stable foundation for your shower. Follow these steps to prepare the subfloor:
- Remove the existing flooring: If you have an existing floor, such as tile or vinyl, remove it to expose the subfloor. Use a pry bar, hammer, and chisel to carefully lift and remove the flooring material.
- Clean the subfloor: Thoroughly clean the subfloor, removing any debris, adhesive residue, or nails. Sweep or vacuum the area to ensure it’s free of dust and dirt.
- Inspect for structural integrity: Examine the subfloor for any signs of damage or rot. Replace any damaged areas, ensuring the subfloor is solid and in good condition to support the weight of the shower pan.
- Measure and mark the shower pan location: Use a tape measure to determine the desired location of your shower pan. Mark the dimensions of the shower pan on the subfloor using a pencil. Double-check the measurements to ensure accuracy.
- Create a slope: A crucial step in preparing the subfloor is creating a slope to allow water to drain properly. The slope should be approximately 1/4 inch per foot towards the drain. Use a level and a straight edge to ensure the slope is even.
- Install the backer board: To further enhance the stability and waterproofing of your shower, install backer board over the subfloor. Cut the backer board using a utility knife to fit the marked area, leaving a 1/8-inch gap between each panel and a 1/4-inch gap at the walls to allow for expansion. Secure the backer board to the subfloor using screws or nails.
Once you have completed these steps, you have successfully prepared the subfloor for your mortared shower pan. With a clean and sturdy subfloor, you’re now ready to move on to the next step: installing the drain.
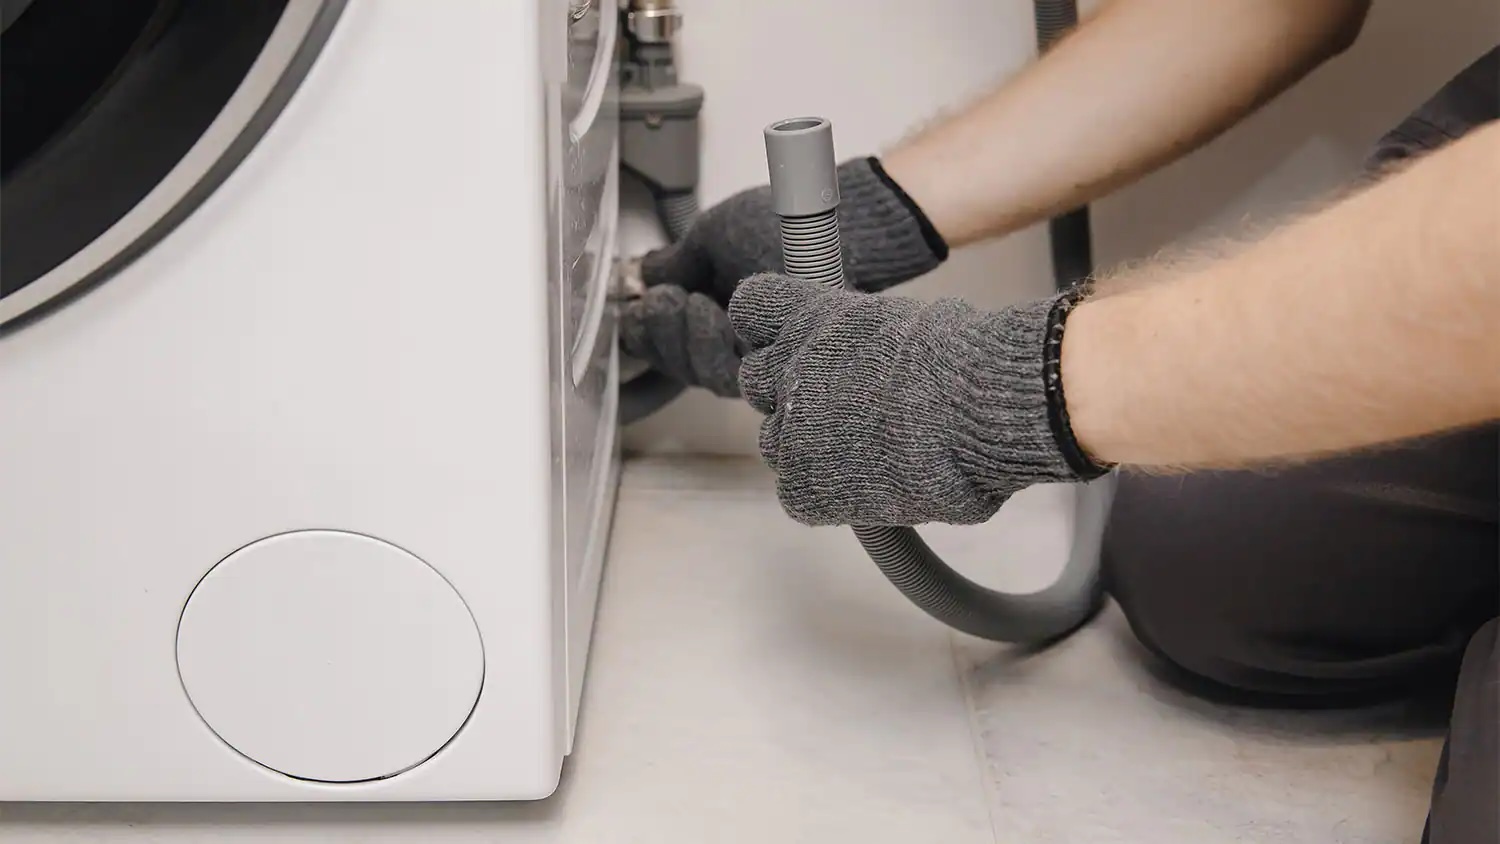
Step 2: Installing the Drain
Now that you have prepared the subfloor, it’s time to install the drain for your mortared shower pan. The drain is a critical component that ensures proper water drainage. Follow these steps to install the drain:
- Position the drain: Locate the center of the shower pan area and mark the position for the drain. The drain should be positioned according to the dimensions specified by the manufacturer.
- Prepare the drain hole: Use a hole saw or a reciprocating saw to create a hole for the drain pipe. Be careful to follow the marked dimensions and create a clean and precise hole.
- Attach the drain: Insert the drain base into the hole and position it so that it sits flush with the subfloor. Secure the drain base in place using screws or the provided fasteners.
- Apply plumber’s putty or silicone: To ensure a watertight seal, apply plumber’s putty or silicone around the edges of the drain flange where it meets the shower pan.
- Connect the drain pipe: Connect the drain pipe to the drain base according to the manufacturer’s instructions. Use the appropriate adhesive or clamps to secure the connection.
- Test for leaks: Before proceeding to the next step, it’s essential to test the drain for any leaks. Pour some water into the drain and observe if there are any leaks or water escaping from the connections. If there are any issues, make the necessary adjustments and retest.
Once you have successfully installed the drain and verified that it is leak-free, you can move on to the next step: building the mortar bed.
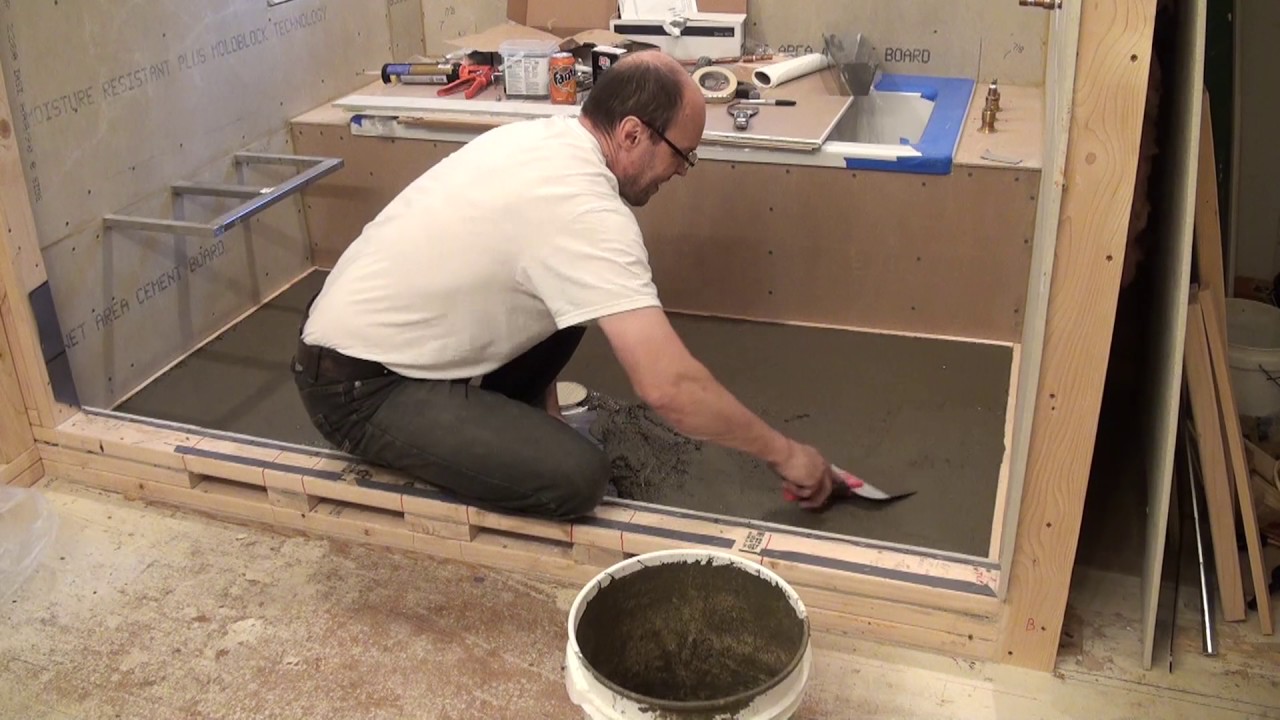
Step 3: Building the Mortar Bed
After installing the drain, the next step in installing a mortared shower pan is to build the mortar bed. The mortar bed provides a sturdy and level base for the shower pan to sit on. Follow these steps to build the mortar bed:
- Prepare the mortar mix: Follow the instructions on the mortar mix packaging to prepare the mortar. Mix only as much mortar as you can work with within the specified timeframe.
- Apply the mortar: Start by applying a layer of mortar to the subfloor using a masonry trowel. Begin at the perimeter of the shower pan area and work your way towards the drain. Smooth out the mortar with the trowel, ensuring an even and consistent thickness.
- Create the slope: Use the masonry trowel or a screed board to create the desired slope in the mortar bed, sloping towards the drain. Check the slope with a level to ensure it is consistent throughout.
- Embed the metal reinforcement: Place metal reinforcement such as wire mesh or metal lath into the mortar bed. This helps to strengthen and stabilize the mortar surface.
- Continue layering the mortar: Apply additional layers of mortar, building up the thickness as necessary to achieve the desired height. Smooth and level each layer with the trowel before adding the next one.
- Add a final screed layer: Once the mortar bed reaches the desired height, use a screed board to create a smooth and level surface. Drag the screed board across the surface in a back-and-forth motion to remove any excess mortar and create a level finish.
Remember to work efficiently while building the mortar bed and ensure that the slope towards the drain is consistent. Take your time to accurately level the surface and remove any excess mortar for a smooth finish. Once the mortar bed is complete, you are ready to move on to the next step: placing the shower pan.
Step 4: Placing the Shower Pan
With the mortar bed in place, it’s time to move on to placing the shower pan onto the prepared subfloor. The shower pan is the base of your shower enclosure and needs to fit snugly and securely. Follow these steps to properly place the shower pan:
- Prepare the shower pan: If your shower pan has any plastic or protective coverings, remove them before placing it onto the mortar bed.
- Position the shower pan: Carefully lift the shower pan and position it onto the mortar bed. Make sure it aligns with the drain and fits within the marked dimensions on the subfloor.
- Press it into place: Gently press the shower pan down into the mortar bed to ensure it makes full contact and is evenly supported. Apply even pressure across the surface of the shower pan to ensure a secure fit.
- Check for level: Use a level to check if the shower pan is level in all directions. Adjust the pan if necessary by adding or removing mortar from certain areas to ensure a level surface.
- Remove excess mortar: If there is any excess mortar that seeps out from under the shower pan, remove it using a trowel or other suitable tool. This will help create a clean and flush installation.
It’s important to take your time and ensure the shower pan is properly positioned and level. A stable and secure placement will provide a solid foundation for the rest of the shower installation. Once the shower pan is correctly placed, you can proceed to the next step: leveling and securing the pan.
Step 5: Leveling and Securing the Pan
After placing the shower pan onto the mortar bed, the next step is to level and secure it in place. This ensures that the shower pan is stable, properly supported, and ready for use. Follow these steps to level and secure the shower pan:
- Check for level: Use a level to check if the shower pan is level in all directions. Adjust the pan by adding or removing mortar beneath it as needed to achieve a level surface. This is crucial for proper drainage and stability.
- Place shims: If necessary, use shims to further level and support the shower pan. Slide the shims under the edges of the pan to raise or lower specific areas until the pan is completely level.
- Secure the shower pan: Once the pan is level, secure it to the subfloor to prevent any movement. Use screws or nails to attach the shower pan flange to the subfloor, ensuring a secure and stable installation.
- Apply silicone caulk: Run a bead of silicone caulk along the edges of the shower pan where it meets the walls or enclosure. This will provide an additional barrier against water leakage and help create a watertight seal.
- Wipe away excess caulk: Use a damp cloth or sponge to wipe away any excess silicone caulk, ensuring a clean and neat finish.
It’s important to take the time to properly level and secure the shower pan to ensure the long-term integrity of your shower. A level and securely installed pan will prevent issues such as water pooling and leaks. With the shower pan leveled and secured, you can move on to the next step: sealing the edges.
When installing a mortared shower pan, make sure to properly slope the base towards the drain to ensure proper water drainage and prevent pooling. Use a level to check the slope before allowing the mortar to set.
Read more: What Kind Of Mortar For A Shower Tile
Step 6: Sealing the Edges
Sealing the edges of the shower pan is an important step in ensuring that your shower remains waterproof and protected against water damage. By properly sealing the edges, you can prevent water from seeping into the subfloor or walls. Follow these steps to seal the edges of the shower pan:
- Clean the edges: Before applying any sealant, make sure that the edges of the shower pan are clean and free from any debris. Use a damp cloth or sponge to wipe away any dirt or dust.
- Choose the right sealant: Select a high-quality waterproof sealant that is specifically designed for use in wet areas, such as a silicone-based caulk. Make sure the sealant is compatible with the materials used in your shower.
- Apply the sealant: Cut the tip of the sealant tube at a 45-degree angle, creating a small opening. Starting from one corner, apply a thin and continuous bead of sealant along the edge where the shower pan meets the walls or enclosure.
- Smooth the sealant: Use a caulk smoothing tool or your finger dipped in water to smooth out the applied sealant. This will create a neat and professional-looking finish while ensuring maximum adhesion between the sealant and the surfaces it is applied to.
- Allow the sealant to dry: Follow the manufacturer’s instructions regarding the drying time for the sealant. It is important to let the sealant fully dry and cure before using the shower or exposing it to water.
Properly sealing the edges of the shower pan will provide an added layer of protection and help prevent water damage. Taking the time to seal the edges correctly will ensure the longevity and durability of your shower. Once the sealant has dried, you can proceed to the next step: allowing the mortar to cure.
Step 7: Allowing the Mortar to Cure
After completing the installation of the shower pan and sealing the edges, it’s important to allow the mortar to properly cure. The curing process allows the mortar to harden and achieve its maximum strength, ensuring a solid and long-lasting foundation for your shower. Follow these steps to allow the mortar to cure:
- Follow manufacturer’s instructions: Check the packaging of the mortar mix you used to determine the recommended curing time. This can vary depending on the specific product and environmental conditions.
- Protect the area: While the mortar is curing, it’s important to keep the area protected and avoid any excessive moisture or foot traffic. Place a barrier or warning sign to prevent accidental disturbances or damage.
- Maintain proper humidity and temperature: To facilitate the curing process, ensure that the room maintains a consistent temperature and humidity level as recommended by the manufacturer. Extreme temperature fluctuations or high humidity can impede the curing process.
- Avoid placing heavy objects: During the curing period, avoid placing any heavy objects or applying excessive pressure on the shower pan. This can disrupt the curing process and compromise the integrity of the mortar.
- Patience is key: Curing time can vary, so it’s important to exercise patience and allow the mortar sufficient time to cure fully. Rushing the curing process can lead to issues such as cracks or weakened mortar.
- Perform a tap test: After the recommended curing time, perform a tap test to ensure that the mortar is properly cured. Gently tap various areas of the shower pan with a rubber mallet or your knuckles. If the mortar feels solid and does not produce a hollow sound, it is likely fully cured.
By allowing the mortar to cure properly, you are ensuring the stability and durability of your shower’s foundation. Take the time to follow the recommended curing guidelines and perform the necessary tests before proceeding to the next step: checking for leaks.
Step 8: Checking for Leaks
Once the mortar has fully cured, it’s important to perform a thorough check for any potential leaks in your shower pan. Identifying and resolving leaks early on will help prevent water damage and ensure the longevity of your shower. Follow these steps to check for leaks:
- Inspect visually: Start by visually examining the shower pan for any visible signs of leakage. Look for water stains, discoloration, or wet spots on the shower pan surface or surrounding areas.
- Fill the shower pan: Fill the shower pan with a few inches of water, being careful not to overflow it. Allow the water to sit in the pan for at least 24 hours, or longer if the manufacturer recommends it.
- Observe for changes: Check the water level in the shower pan periodically during the 24-hour period. If the water level drops significantly, there may be a leak in the shower pan or drain area.
- Examine the drain: Carefully inspect the drain area for any signs of leakage. Look for water seeping out around the drain cover or any visible cracks or gaps in the drain assembly.
- Check the walls and surrounding areas: Look for any moisture, dampness, or water stains on the walls, baseboard, or nearby flooring. This could indicate a leak that is causing water to seep out from the shower pan.
- Address leaks immediately: If you discover any leaks during the inspection process, it’s crucial to address them promptly. Depending on the severity of the leak, you may need to reapply sealant, tighten the drain assembly, or seek professional assistance to resolve the issue.
Checking for leaks is a critical step in ensuring that your shower pan is properly sealed and functioning as intended. By identifying and addressing any leaks early on, you can prevent water damage and maintain the integrity of your shower. Once you have confirmed that there are no leaks, you can proceed to the next step: installing the shower walls.
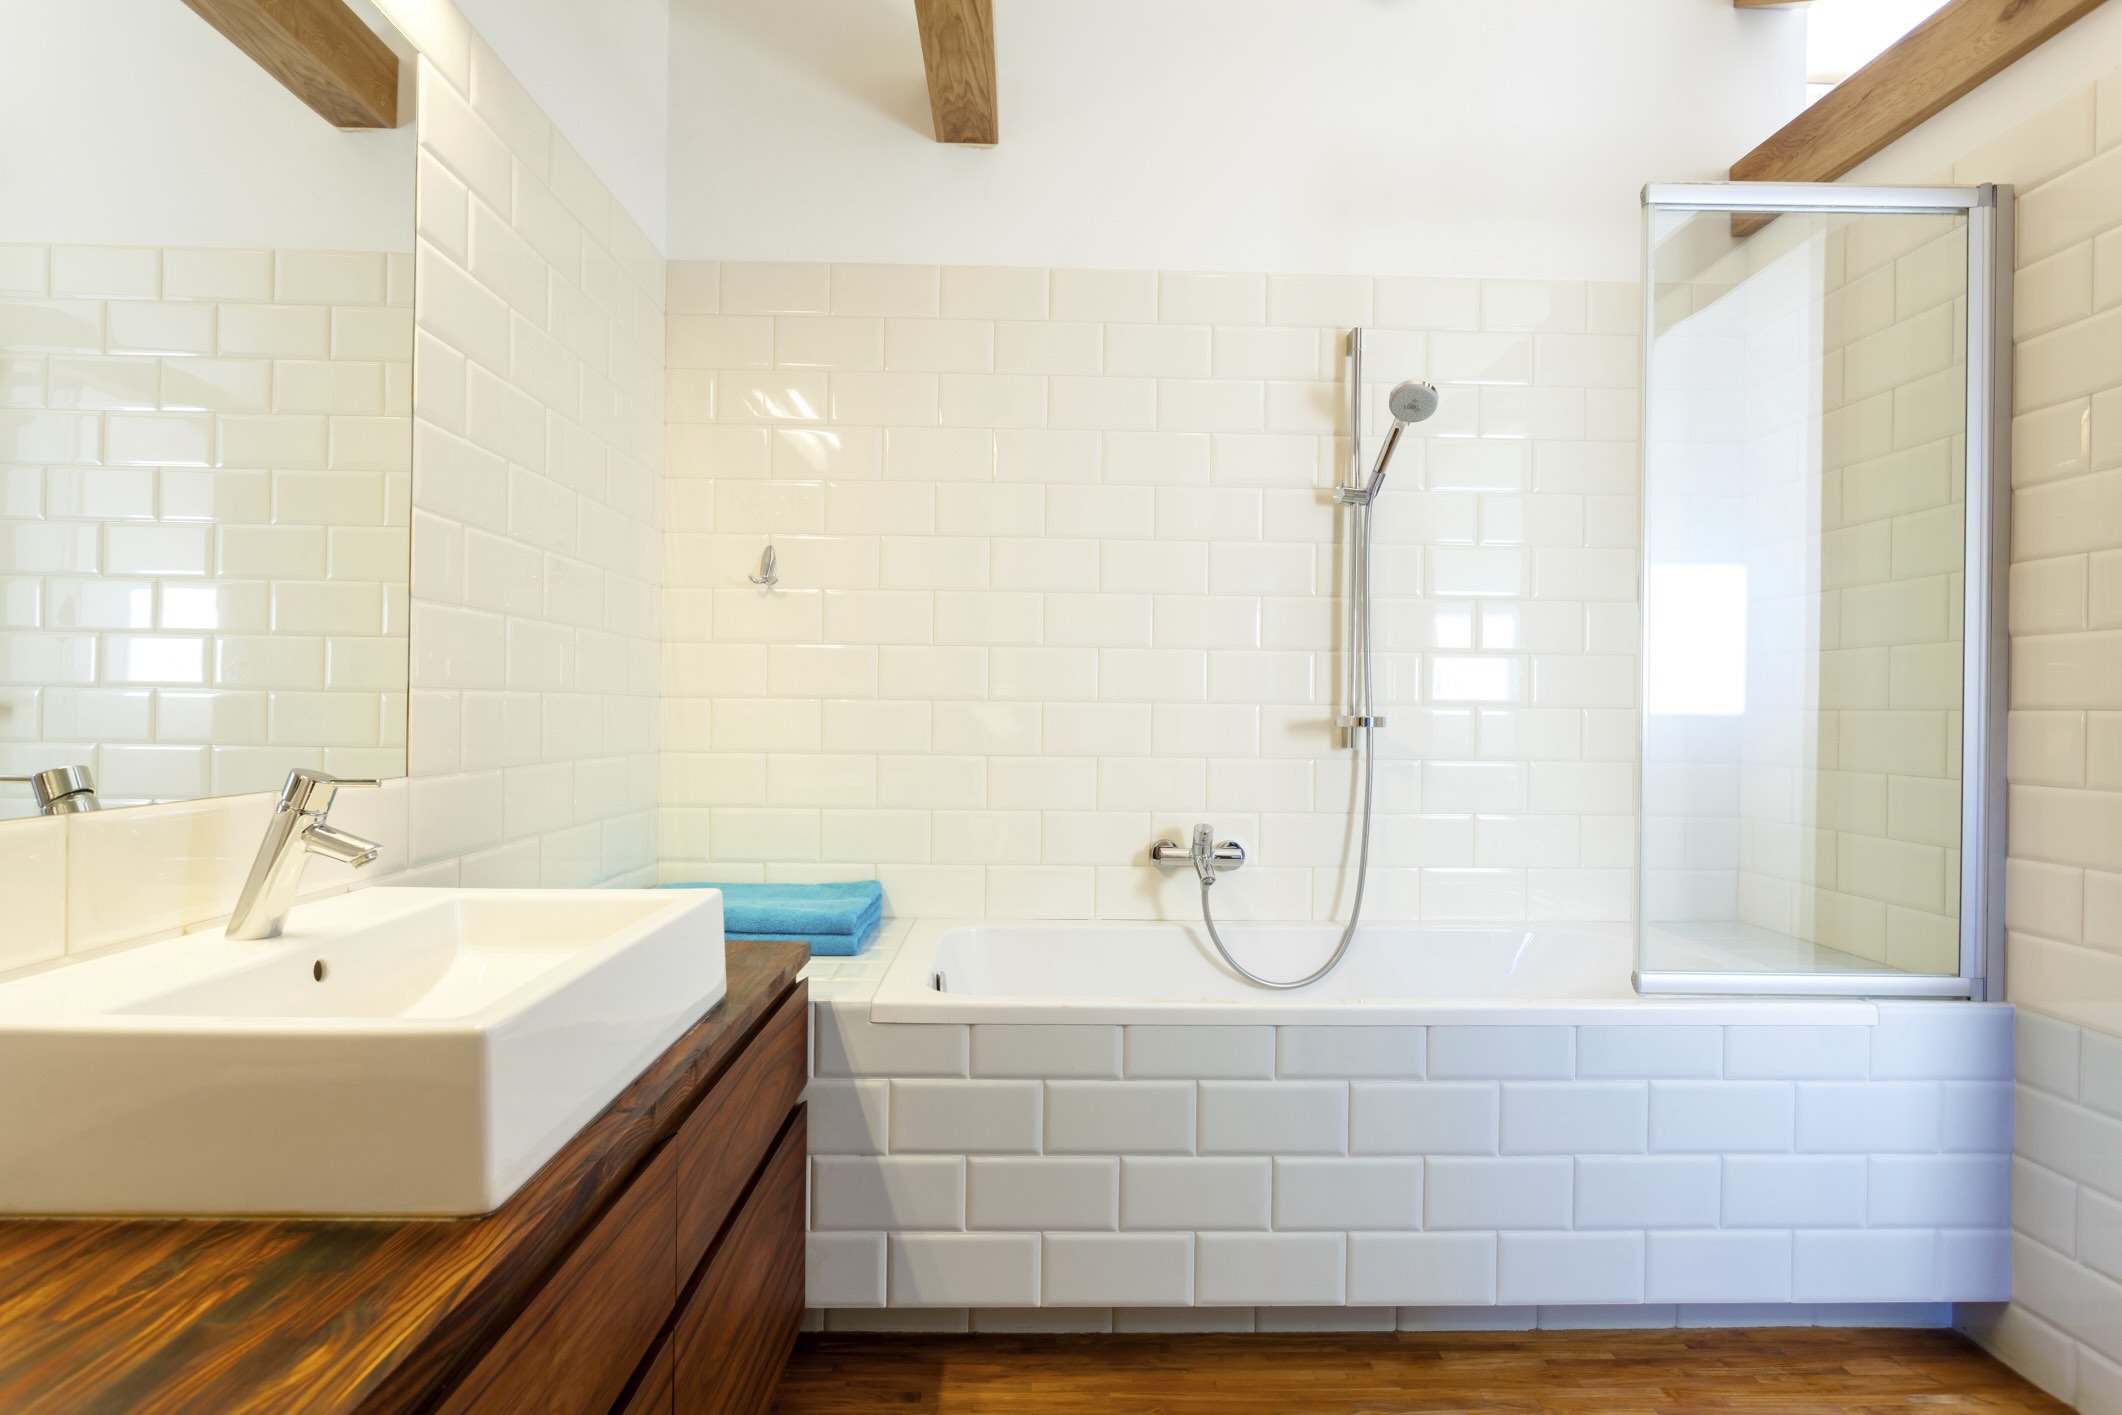
Step 9: Installing the Shower Walls
After confirming that there are no leaks in your shower pan, you can now proceed with installing the shower walls. This step will complete the enclosure and provide the finishing touch to your shower installation. Follow these steps to install the shower walls:
- Measure and cut the shower wall panels: Measure the height and width of each shower wall, taking into account any necessary cutouts for fixtures. Use a utility knife or saw to cut the shower wall panels to the appropriate size.
- Apply adhesive: Apply a generous amount of appropriate shower wall adhesive to the back of each panel. Make sure to follow the manufacturer’s instructions for the specific adhesive you are using.
- Position the first panel: Starting with one corner, carefully position the first shower wall panel onto the wall, using a level to ensure it is plumb and straight. Press the panel firmly against the wall, ensuring good adhesive contact.
- Secure the panel: Use screws or nails to secure the shower wall panel to the studs or backing board. This will provide additional stability and support.
- Repeat for remaining panels: Continue to install the remaining panels, applying adhesive to each one and aligning them properly. Ensure that the panels are snugly fitted against each other and secure them in place with screws or nails.
- Seal the joints: Once all the shower wall panels are installed, apply a bead of silicone caulk along the joints where the panels meet. Smooth the caulk using a caulk smoothing tool or your finger to create a neat and watertight seal.
- Clean and finish: After the caulk has dried, clean any excess adhesive or caulk from the shower walls. Wipe down the walls to ensure they are clean and ready for use.
With the shower walls properly installed and sealed, your shower installation is nearly complete. The shower walls will provide the enclosure and finish the aesthetic of your shower, creating a functional and visually appealing space. Take a moment to admire your hard work, and congratulations on successfully installing a mortared shower pan!
As you can see, with careful preparation and attention to detail, installing a mortared shower pan can be accomplished by following these step-by-step instructions. By taking the time to properly prepare the subfloor, install the drain, build the mortar bed, place and secure the shower pan, seal the edges, allow the mortar to cure, check for leaks, and finally, install the shower walls, you will have a sturdy, water-tight, and beautiful shower that you can enjoy for years to come.
Remember to consult the manufacturer’s instructions for any specific guidelines or recommendations regarding the products you are using. Stay safe, use the proper tools and materials, and if necessary, seek professional assistance to ensure a successful installation.
Enjoy your newly installed mortared shower pan!
Read more: How To Install A Steam Shower
Conclusion
Installing a mortared shower pan is an important step in creating a functional and durable shower enclosure. By following the steps outlined in this guide, you can successfully install a mortared shower pan and enjoy a reliable and water-tight shower for years to come.
Starting with the preparation of the subfloor, the installation of the drain, building the mortar bed, placing and securing the shower pan, sealing the edges, allowing the mortar to cure, checking for leaks, and finally, installing the shower walls, each step is crucial in ensuring a successful installation.
Throughout the process, it’s essential to follow the manufacturer’s instructions for the specific materials and products you are using. Paying attention to detail, taking the time to level surfaces, properly seal joints, and test for leaks will help prevent issues and maintain the integrity of your shower installation.
Remember to use the appropriate tools, materials, and safety precautions. If you are unsure or uncomfortable with any aspect of the installation process, consider consulting a professional for assistance. It’s better to seek help from an expert than risk improper installation and potential problems down the line.
By following this comprehensive guide, you have learned how to prepare the subfloor, install the drain, build the mortar bed, place and secure the shower pan, seal the edges, allow the mortar to cure, check for leaks, and install the shower walls. With your mortared shower pan properly installed, you can now enjoy a sturdy and water-tight shower that will enhance the functionality and beauty of your bathroom.
Thank you for following this guide, and we hope it has provided you with the knowledge and confidence to successfully install a mortared shower pan. Enjoy your new shower!
Frequently Asked Questions about How To Install A Mortared Shower Pan
Was this page helpful?
At Storables.com, we guarantee accurate and reliable information. Our content, validated by Expert Board Contributors, is crafted following stringent Editorial Policies. We're committed to providing you with well-researched, expert-backed insights for all your informational needs.


0 thoughts on “How To Install A Mortared Shower Pan”