Articles
How To Take A Sink Out
Modified: October 19, 2024
Learn how to remove a sink quickly and easily with step-by-step instructions. This comprehensive article provides expert tips for a successful sink removal.
(Many of the links in this article redirect to a specific reviewed product. Your purchase of these products through affiliate links helps to generate commission for Storables.com, at no extra cost. Learn more)
Introduction
Removing a sink may seem like a daunting task, but with the right tools and a little know-how, you can easily take out an old sink and prepare the area for a new one. Whether you’re looking to update your bathroom or kitchen, or you simply need to replace a worn-out sink, this step-by-step guide will walk you through the process.
Giving your bathroom or kitchen a fresh new look starts with removing the old sink. This not only allows you to replace it with a more modern and functional one, but it also provides an opportunity to inspect and repair any underlying plumbing issues. By following these steps, you can tackle this DIY project and have a clean slate to install the sink of your choice.
Before you begin, it’s essential to gather all the necessary materials and tools. This will ensure that you have everything you need within reach, saving you time and frustration during the process.
Start by shutting off the water supply to the sink. This step is crucial to prevent any accidental leaks or water damage during the removal process. Once the water supply is turned off, you can proceed with disconnecting the plumbing. This involves removing the connections to the faucet, drain, and any other pipes connected to the sink.
With the plumbing disconnected, it’s time to remove the sink itself. Depending on the type of sink you have, this may involve unscrewing it from underneath or cutting through any adhesive or caulking holding it in place. Take your time and be careful not to damage any surrounding fixtures or surfaces.
Once the sink is removed, it’s important to thoroughly clean the area and prepare it for the installation of a new sink. This includes removing any leftover adhesive, caulking, or debris, and ensuring that the surface is smooth and level.
Finally, it’s time to install the new sink. Follow the manufacturer’s instructions and use the appropriate tools and materials for a secure and watertight installation. Take your time and double-check all connections to ensure that everything is properly attached.
By following these steps and taking the necessary precautions, you can successfully remove an old sink and prepare the area for a new one. This DIY project will not only help you upgrade the look of your bathroom or kitchen but also give you the opportunity to inspect and address any underlying plumbing issues. So, roll up your sleeves and get ready to transform your sink area!
Key Takeaways:
- Upgrading your sink is a DIY project that can enhance the look of your bathroom or kitchen while providing an opportunity to inspect and address any underlying plumbing issues.
- By following the step-by-step guide, gathering the necessary tools, and taking the time to clean and prepare the area, you can successfully remove an old sink and install a new one for a fresh and updated space.
Read more: How To Take Sink Drain Out
Gathering Materials and Tools
Before you start the process of removing a sink, it’s important to gather all the necessary materials and tools. Having everything on hand will make the project run smoothly and save you time running back and forth to the hardware store. Here are the essential items you’ll need:
- Adjustable wrench
- Screwdriver (both flathead and Phillips-head)
- Bucket or basin
- Towel or rag
- Bucket or basin
- Plumber’s tape
- Claw hammer or pry bar
- Utility knife
- Silicone caulk and caulk gun
- Mildew-resistant caulk (if installing a sink in a bathroom)
- Plunger
- Plumbing tape
The adjustable wrench is essential for loosening and tightening plumbing connections. Make sure to have both a flathead and a Phillips-head screwdriver as you may need them for different parts of the sink.
Having a bucket or basin nearby is important for catching any water that may leak during the removal process. Placing a towel or rag in the basin will help absorb and contain any spills. Additionally, keep a bucket or basin handy to hold any small parts or screws that you remove.
Plumber’s tape is an essential tool for creating a watertight seal on threaded plumbing connections. It helps prevent leaks and ensures a secure connection between pipes and fittings.
If the sink is secured with adhesive or caulking, you’ll need a claw hammer or pry bar to gently remove it. A utility knife will come in handy for cutting through any caulk or adhesive around the edges of the sink.
Before installing the new sink, you’ll need silicone caulk and a caulk gun. This will allow you to create a watertight seal between the sink and the countertop. For bathroom sinks, it’s important to use mildew-resistant caulk to prevent the growth of mold and mildew in the damp environment.
Lastly, it’s always a good idea to have a plunger on hand in case you encounter any clogged drains or blockages during the removal process. Use the plunger to clear out any debris that may be obstructing the plumbing.
By gathering all the necessary materials and tools, you’ll be well-prepared to tackle the task of removing a sink. Having everything within reach will save you time and ensure a smooth and efficient project.
Shutting off the Water Supply
Before you begin the process of removing a sink, it is crucial to shut off the water supply. This step is essential to prevent any accidental leaks or water damage during the removal process. Here’s how to shut off the water supply:
- Locate the water shut-off valves: In most cases, the shut-off valves are located beneath the sink. Look for two valves—one for hot water and another for cold water. These valves are usually small and have a round or lever handle.
- Turn off the hot water valve: Start by turning off the valve for the hot water supply. Simply turn the handle clockwise until it is fully closed.
- Turn off the cold water valve: Next, turn off the valve for the cold water supply. Again, turn the handle clockwise until it is fully closed.
- Test the water supply: To ensure that the water supply has been successfully shut off, turn on the faucet and check if water is still flowing. If no water comes out, you have successfully shut off the water supply.
It is important to note that in some cases, the shut-off valves may not be located directly beneath the sink. They could be located elsewhere, such as in a basement, utility room, or even outside the house. If you cannot locate the shut-off valves for the sink, you may need to shut off the main water supply to your home. This will completely cut off the water supply to all fixtures and appliances.
To shut off the main water supply, locate the main shut-off valve. This valve is typically located near the water meter, in a basement, or on an exterior wall of the house. Turn the valve’s handle clockwise until it is fully closed to shut off the water supply to your entire home.
By shutting off the water supply, you are taking an important precautionary step to prevent any water leaks or damage during the sink removal process. Remember to test the water supply after shutting off the valves to ensure they were successfully closed. This will provide you with peace of mind and allow you to proceed with the rest of the sink removal process confidently.
Disconnecting the Plumbing
Once you have shut off the water supply, the next step in removing a sink is to disconnect the plumbing. This involves removing the connections to the faucet, drain, and any other pipes connected to the sink. Here’s how to disconnect the plumbing:
- Place a bucket or basin under the sink: Before you start disconnecting the plumbing, place a bucket or basin underneath the sink to catch any water or debris that may come out during the process.
- Disconnect the water supply lines: The water supply lines are connected to the faucet underneath the sink. Use an adjustable wrench to loosen the nuts that secure the water supply lines. Once loose, carefully remove the lines from the faucet connections.
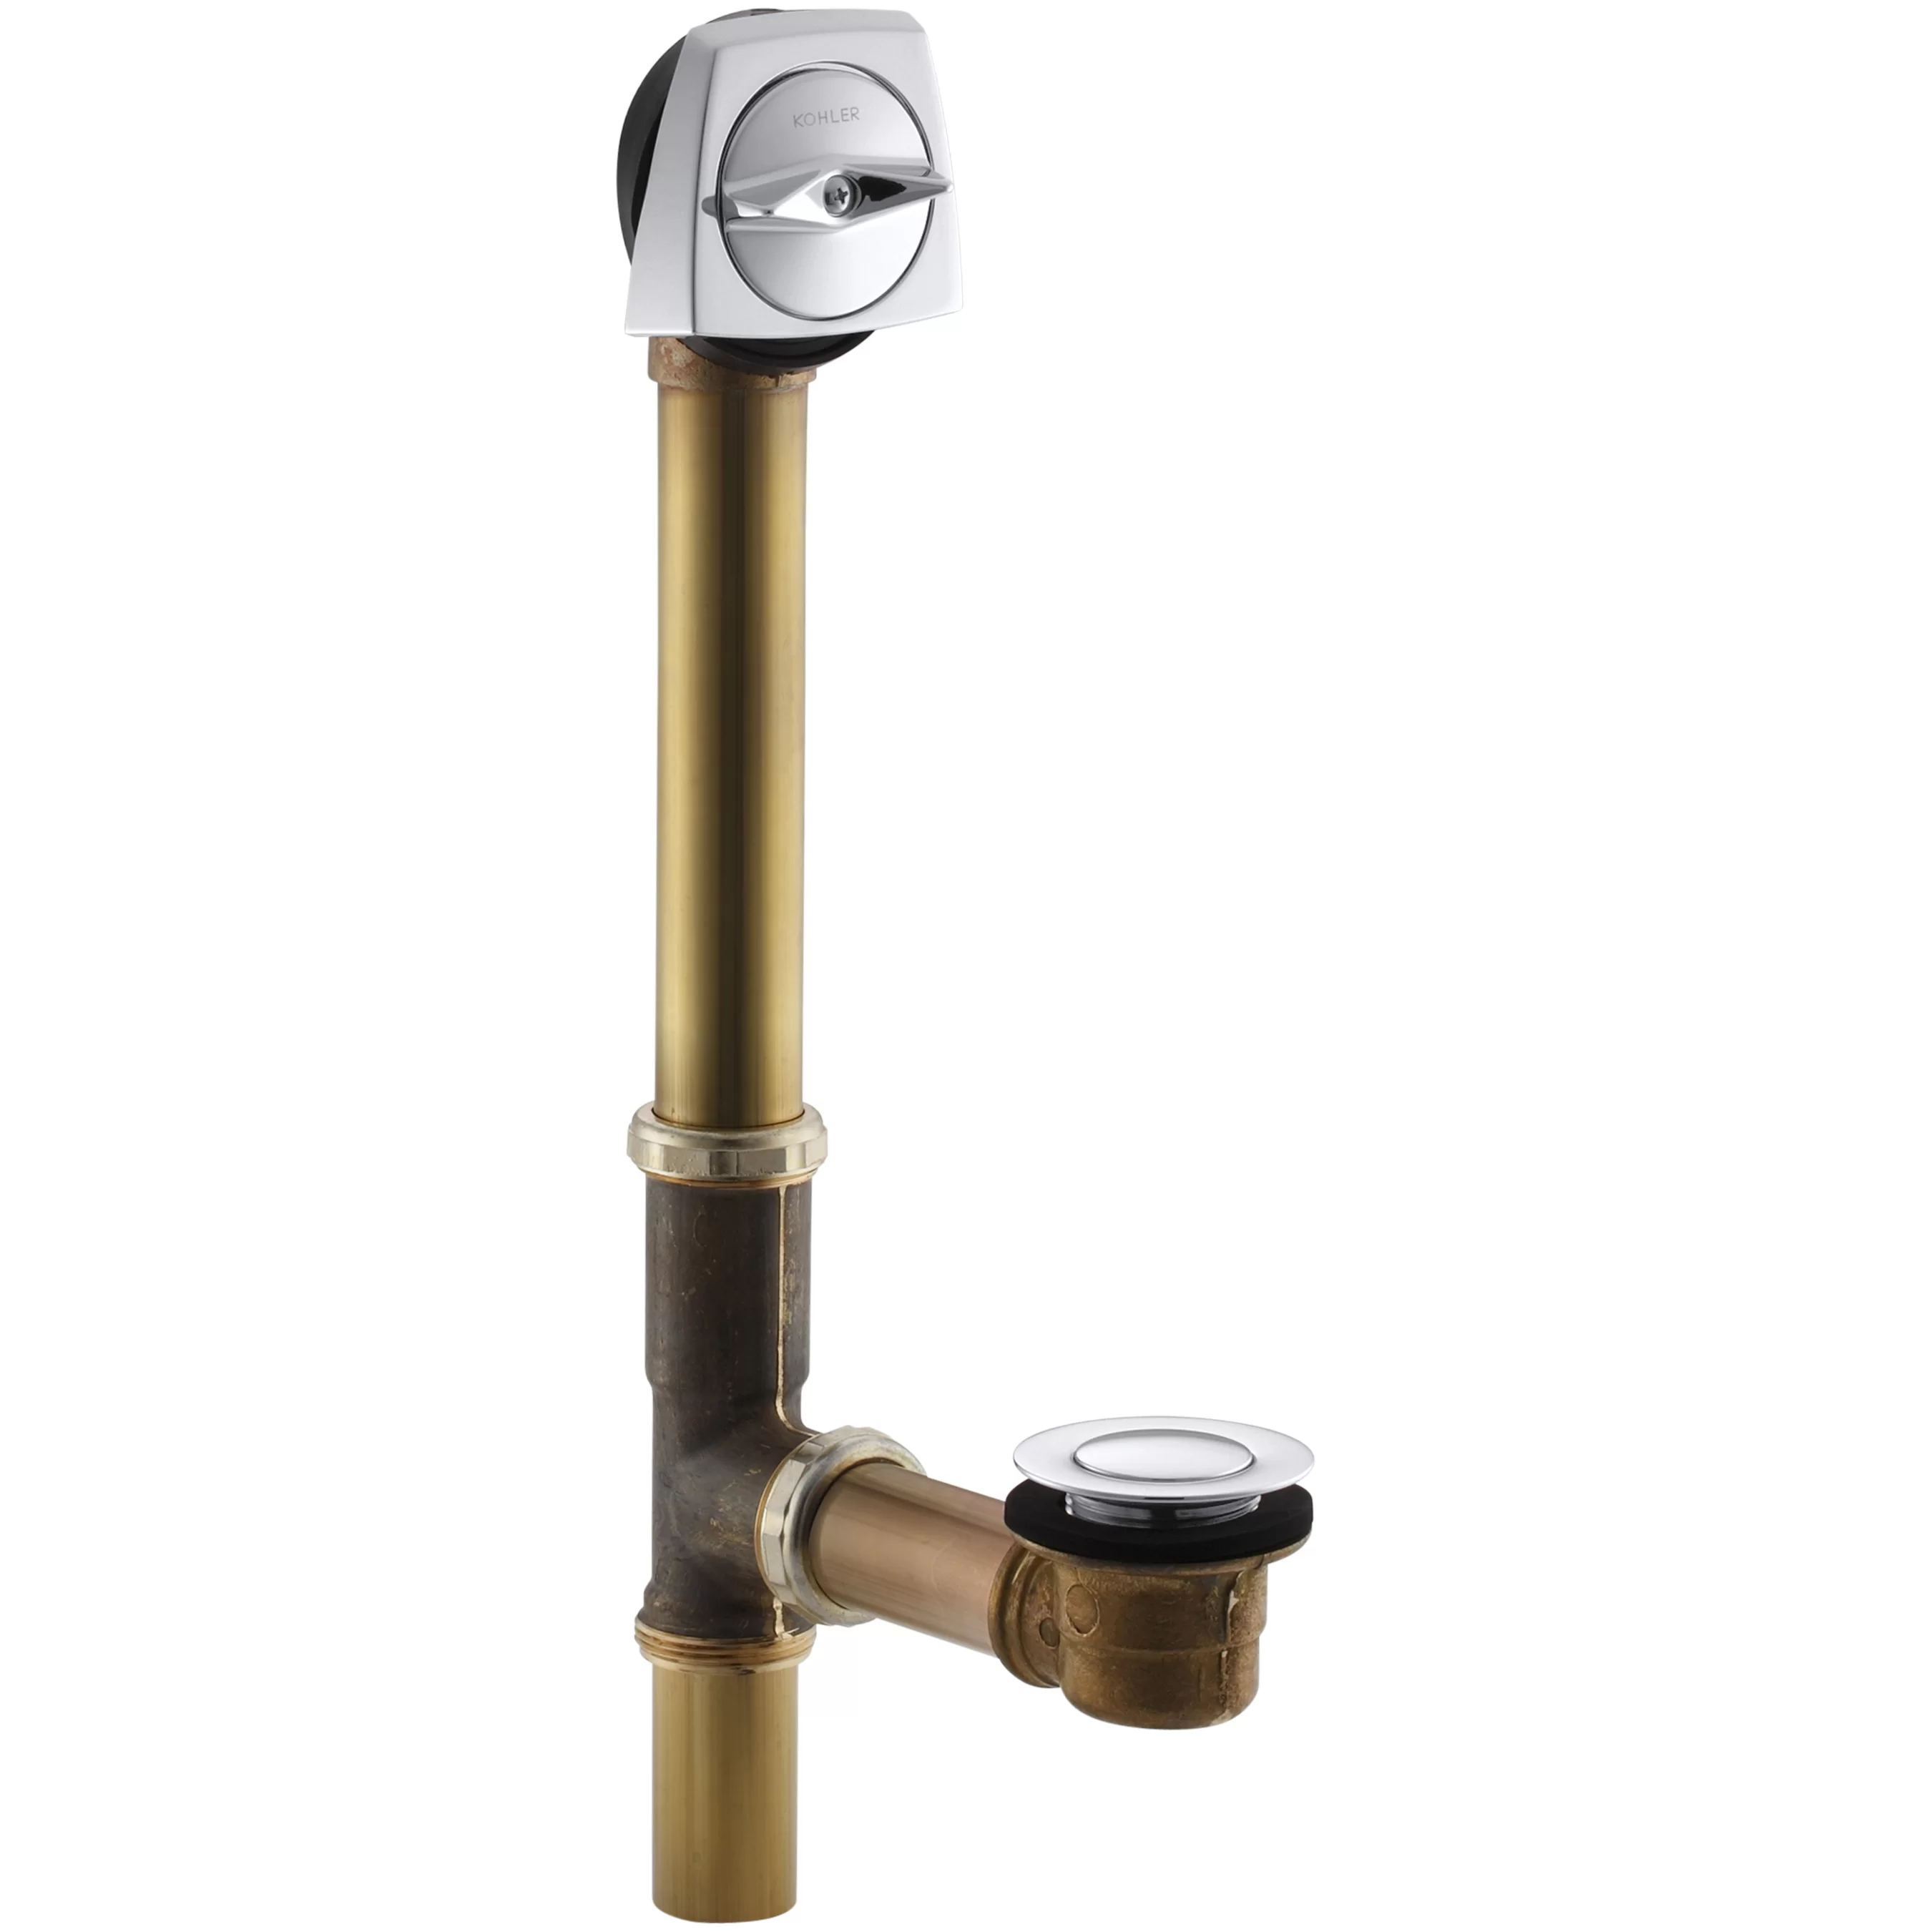
- Disconnect the drain pipe: The drain pipe is the curved pipe that connects the bottom of the sink to the plumbing system. There may be a slip nut or compression nut securing the drain pipe to the trap. Loosen the nut using an adjustable wrench and disconnect the drain pipe from the trap.
- Remove the P-trap: The P-trap is the curved pipe beneath the sink that retains a small amount of water to prevent sewer gases from entering your home. Use an adjustable wrench to loosen the slip nuts that connect the P-trap to the drain pipe and the wall pipe. Once loose, carefully remove the P-trap and set it aside.
- Disconnect any additional pipes or fittings: Depending on your sink’s design and configuration, there may be additional pipes or fittings that need to be disconnected. This could include a tailpiece, supply valves, or other connections. Use the appropriate tools, such as a screwdriver or adjustable wrench, to disconnect any remaining pipes or fittings.
As you disconnect the plumbing, it’s important to keep the bucket or basin underneath the sink to catch any water or debris that may come out. Take your time and be cautious when removing the connections to avoid spills or damage to surrounding fixtures or surfaces.
Once all the plumbing connections are disconnected, check to ensure that no water is leaking or dripping. If you notice any leaks, tighten the connections or replace any damaged parts as needed. It’s always a good idea to have plumber’s tape on hand to create a watertight seal on threaded connections.
By carefully disconnecting the plumbing, you will be one step closer to removing the sink. Be sure to handle the plumbing connections with care and take the necessary precautions to avoid any water damage.
Before removing a sink, turn off the water supply and disconnect the plumbing connections. Use a wrench to loosen the nuts and bolts holding the sink in place, then carefully lift it out. Be sure to have a bucket or towels handy to catch any remaining water.
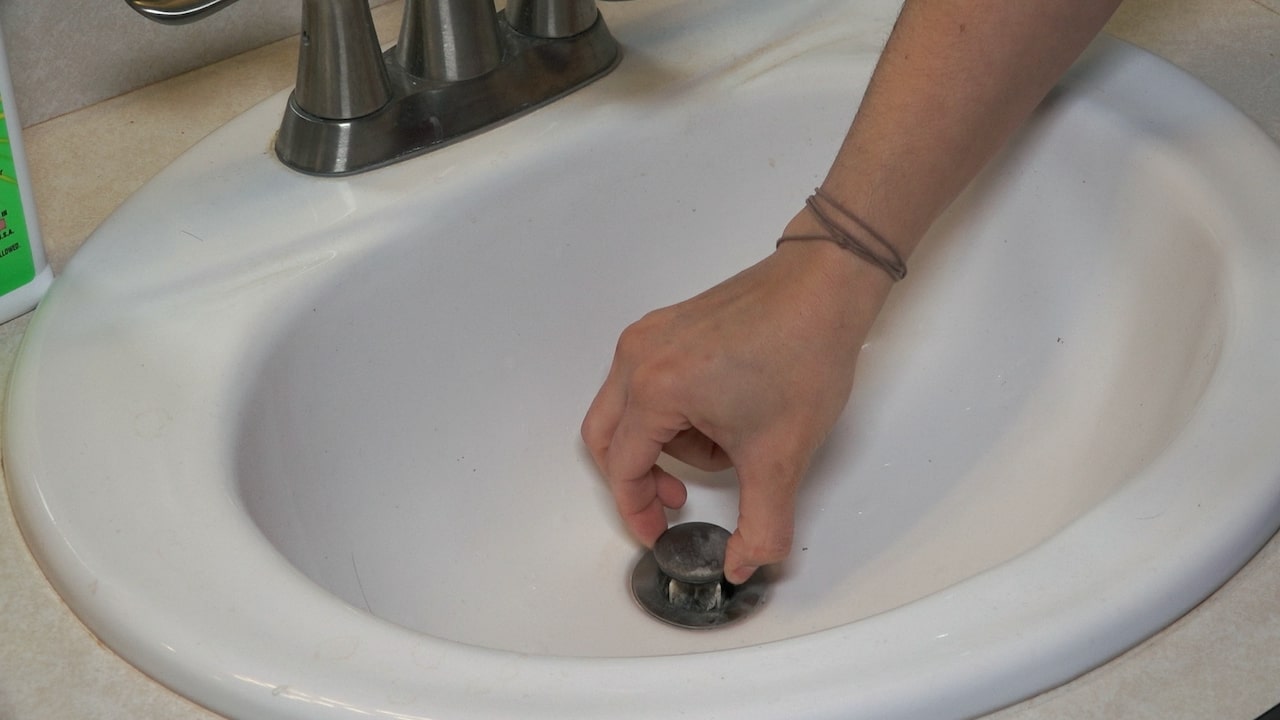
Removing the Sink
Now that you have shut off the water supply and disconnected the plumbing, it’s time to remove the sink itself. Removing a sink can vary depending on the type of sink you have and how it is attached. Here are the general steps to remove a sink:
- Access the underside of the sink: Before you can remove the sink, you’ll need to access the underside. This may involve removing a cabinet or accessing the sink from below in the basement or crawl space.
- Look for any mounting brackets or clips: Many sinks are secured using mounting brackets or clips. These are typically located underneath the sink and hold it in place. Use a screwdriver or wrench to loosen and remove these mounting brackets or clips.
- Disconnect any additional fasteners: Some sinks may have additional fasteners, such as screws or adhesive, that keep them in place. Carefully inspect the sink and remove any additional fasteners that are securing it.
- Remove the sink from the countertop: Once all the mounting brackets, clips, and additional fasteners are removed, you can gently lift the sink away from the countertop. Have a helper assist you in lifting the sink to avoid any strain or damage.
- Cut through any adhesive or caulking: If the sink is sealed with adhesive or caulking, you may need to cut through it to fully remove the sink. Use a utility knife to carefully cut along the edges of the sink where it meets the countertop. Take your time and be cautious not to scratch or damage the countertop.
During the removal process, it’s important to take your time and be gentle to avoid causing any damage to the sink, countertop, or surrounding fixtures. If you encounter any difficulties, refer to the manufacturer’s instructions or consult a professional for guidance.
Once the sink is fully removed, set it aside in a safe place. Inspect the area where the sink was installed for any signs of damage or repairs that may be required. This is also a good opportunity to clean the area and prepare it for the installation of a new sink.
By carefully removing the sink, you are one step closer to upgrading your bathroom or kitchen space. Take your time and follow the steps thoroughly to ensure a successful removal process.
Read more: How To Take A Plunger Out Of A Sink
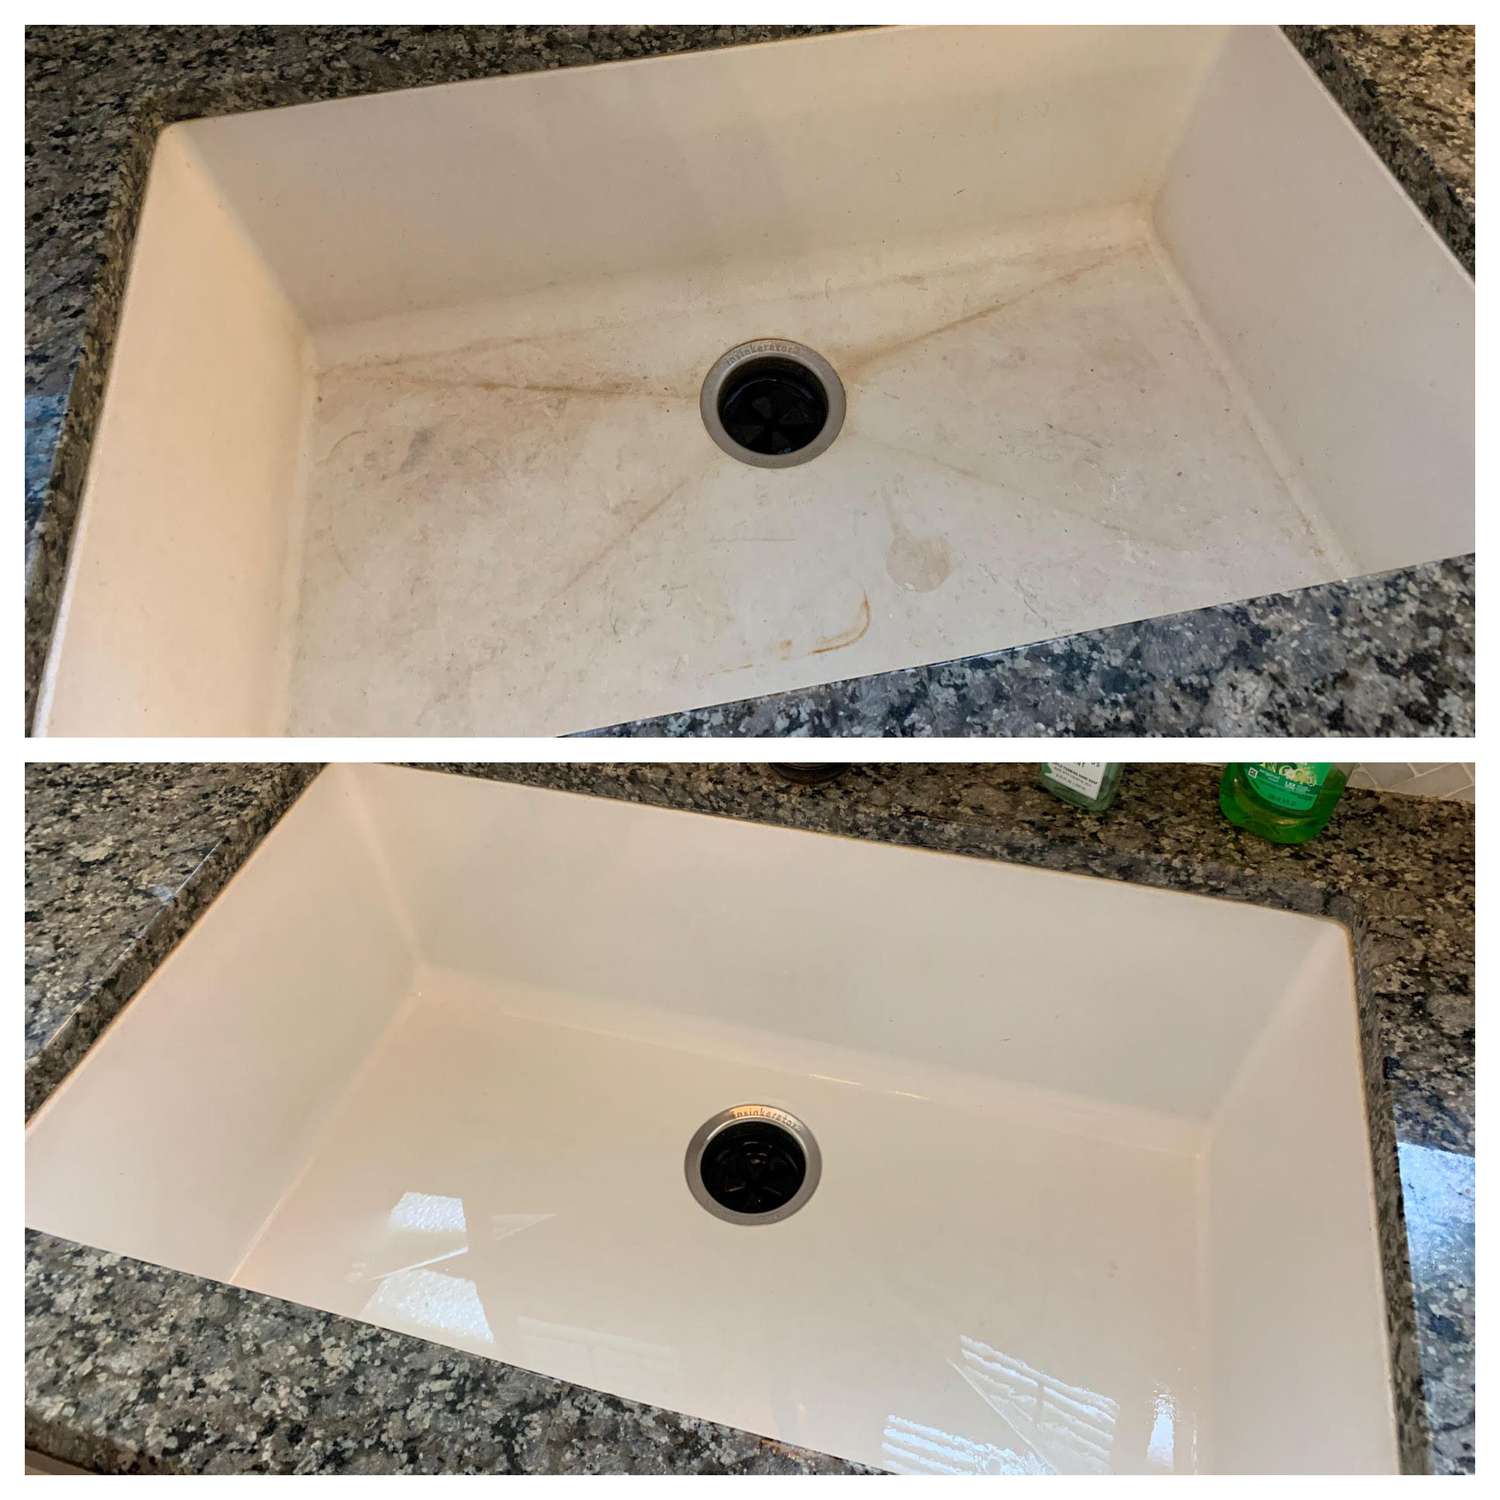
Cleaning and Preparing the Area
After removing the sink, it’s important to thoroughly clean and prepare the area for the installation of a new sink. Cleaning and preparing the area ensures a smooth and seamless transition between the old sink and the new one. Follow these steps to clean and prepare the area:
- Remove any remaining adhesive or caulking: Use a utility knife or scraper to remove any leftover adhesive or caulking from the countertop. Take your time and be cautious not to damage the countertop surface. Ensure that the area is clean and smooth before proceeding.
- Clean the surrounding surfaces: Take the opportunity to clean the surrounding surfaces, including the countertop and backsplash. Use a gentle cleaner appropriate for the material and wipe away any dirt, grime, or residue. This will provide a clean and fresh surface for the new sink to be installed.
- Check for any damage or repairs needed: While the sink was in place, it may have caused some damage or revealed underlying issues. Inspect the area for any signs of damage, such as water stains or rot. If you notice any damage, take the necessary steps to repair or address the issue before installing the new sink.
- Ensure the area is level: It’s important to have a level surface for the new sink to sit on. Use a level tool to check if the countertop is level. If it’s not level, you may need to make adjustments or use shims to ensure a stable and even installation.
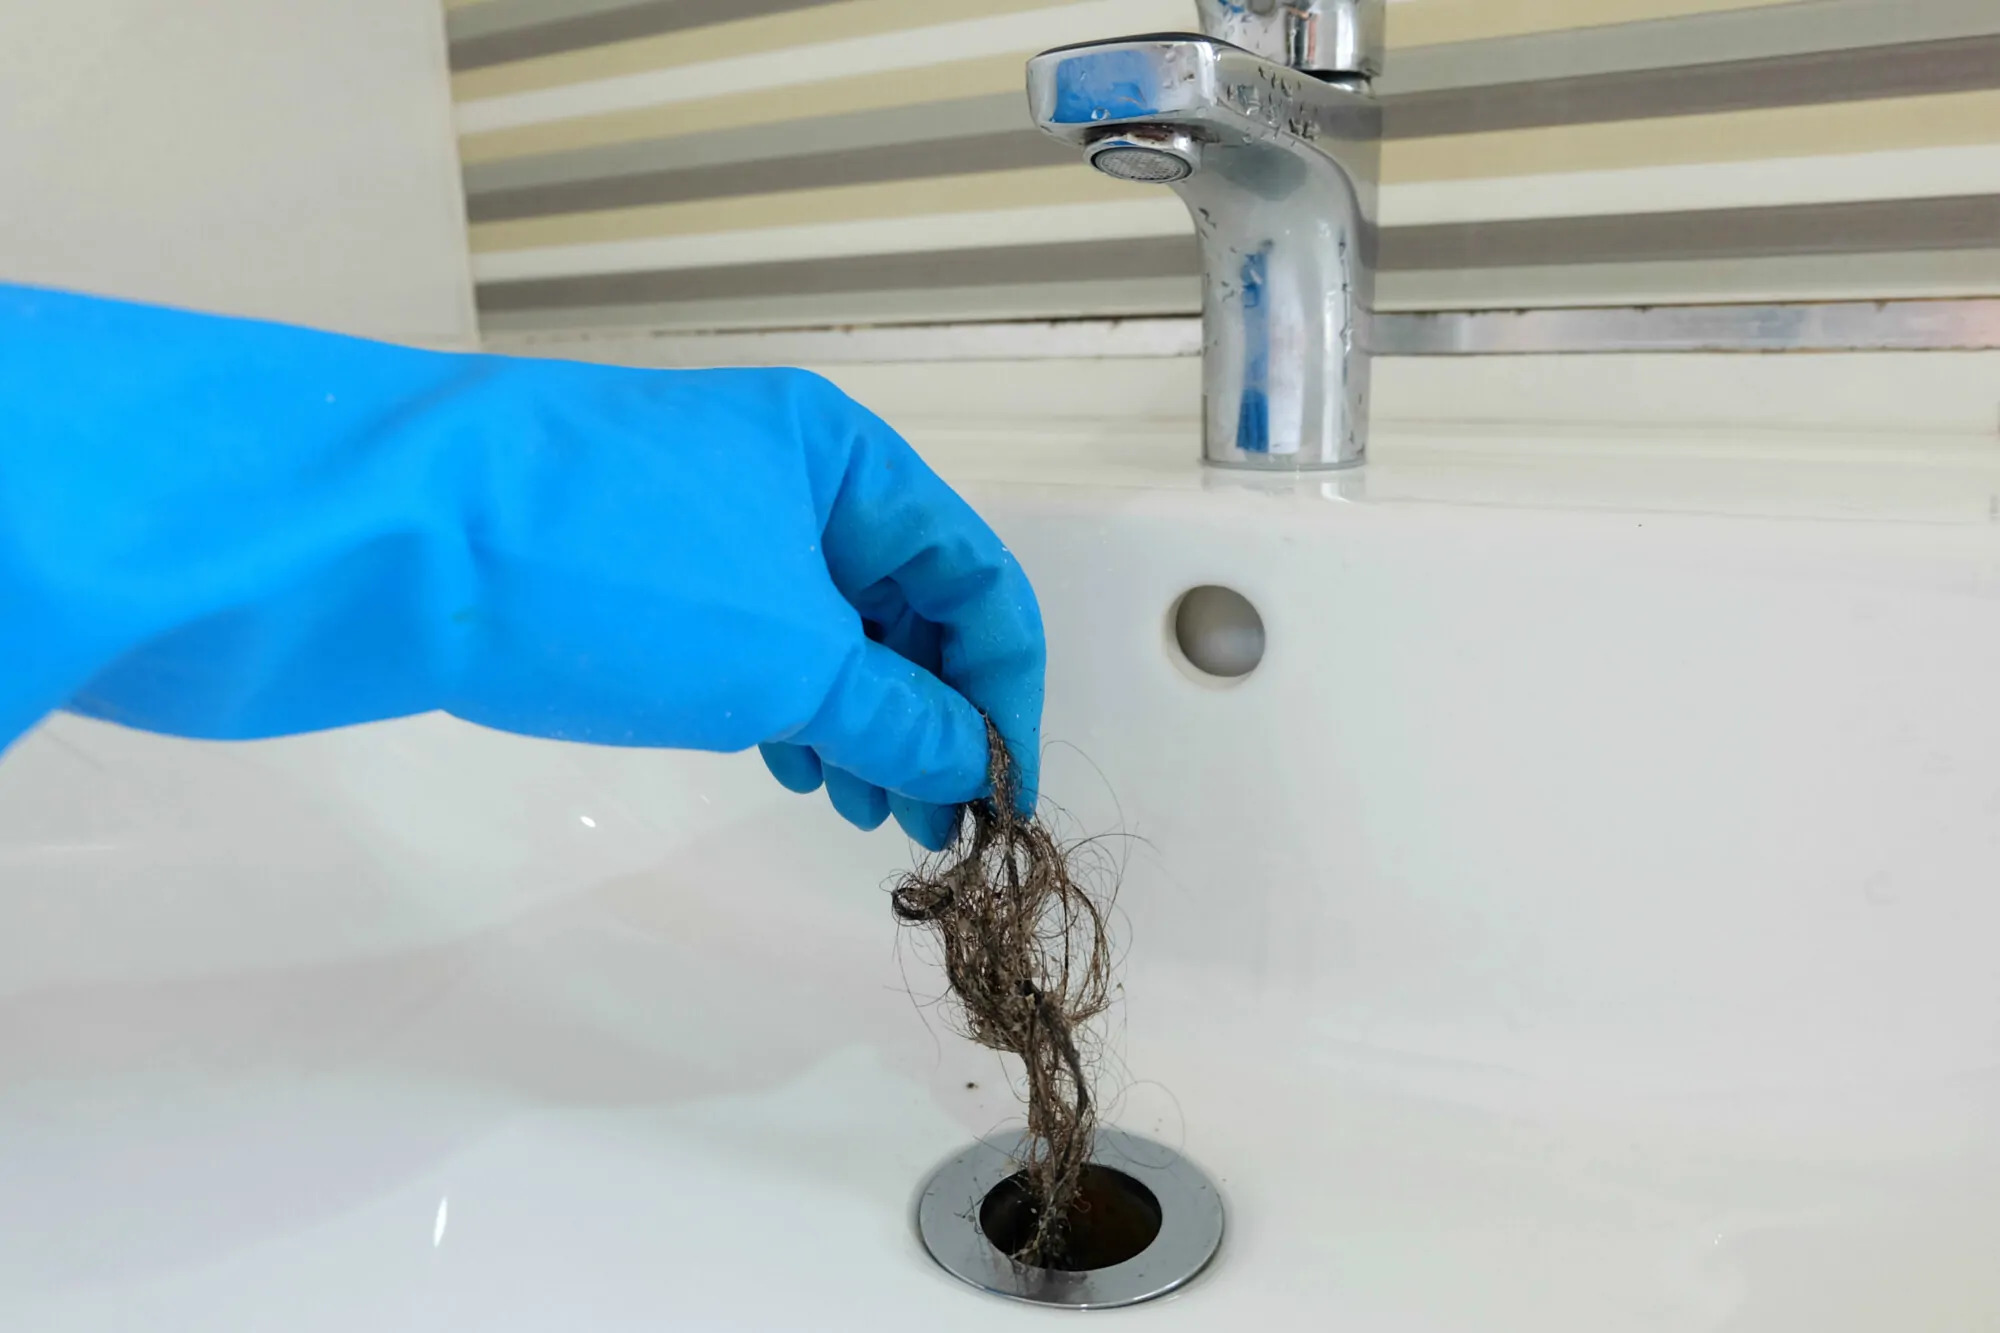
- Test the drains and plumbing: Before installing the new sink, test the drains and plumbing connections to ensure they are clear and functioning properly. Run water through the drains and check for any leaks or blockages. This will help identify any issues that need to be addressed before the new sink is installed.
Cleaning and preparing the area sets the stage for a successful installation of the new sink. It ensures a clean and level surface, addresses any underlying issues, and allows you to test the functionality of the plumbing. By taking the time to complete these steps, you are ensuring a smooth and seamless transition to your new sink.
Once the area is cleaned and prepared, you are ready to move on to the final step: installing the new sink. Follow the manufacturer’s instructions and use the appropriate tools and materials to ensure a secure and watertight installation.
Installing a New Sink
Now that you have removed the old sink, cleaned and prepared the area, it’s time to install a new sink. Installing a new sink can give your bathroom or kitchen a fresh look and improve its functionality. Follow these steps to install a new sink:
- Choose the right sink: Select a sink that fits the dimensions of your countertop and meets your design and functional preferences. Consider factors such as the sink material, style, and mounting options to find the perfect fit for your space.
- Read the manufacturer’s instructions: Familiarize yourself with the manufacturer’s instructions that come with the new sink. These instructions will provide specific details on how to install your particular sink model.
- Position the sink: Carefully place the new sink into position on the cleaned and prepared area. Ensure that the sink is centered and aligned correctly with the drainpipe and the water supply lines.
- Attach mounting brackets or clips: Depending on the sink model, you may need to attach mounting brackets or clips to secure the sink to the countertop. Follow the manufacturer’s instructions to properly install these brackets or clips.
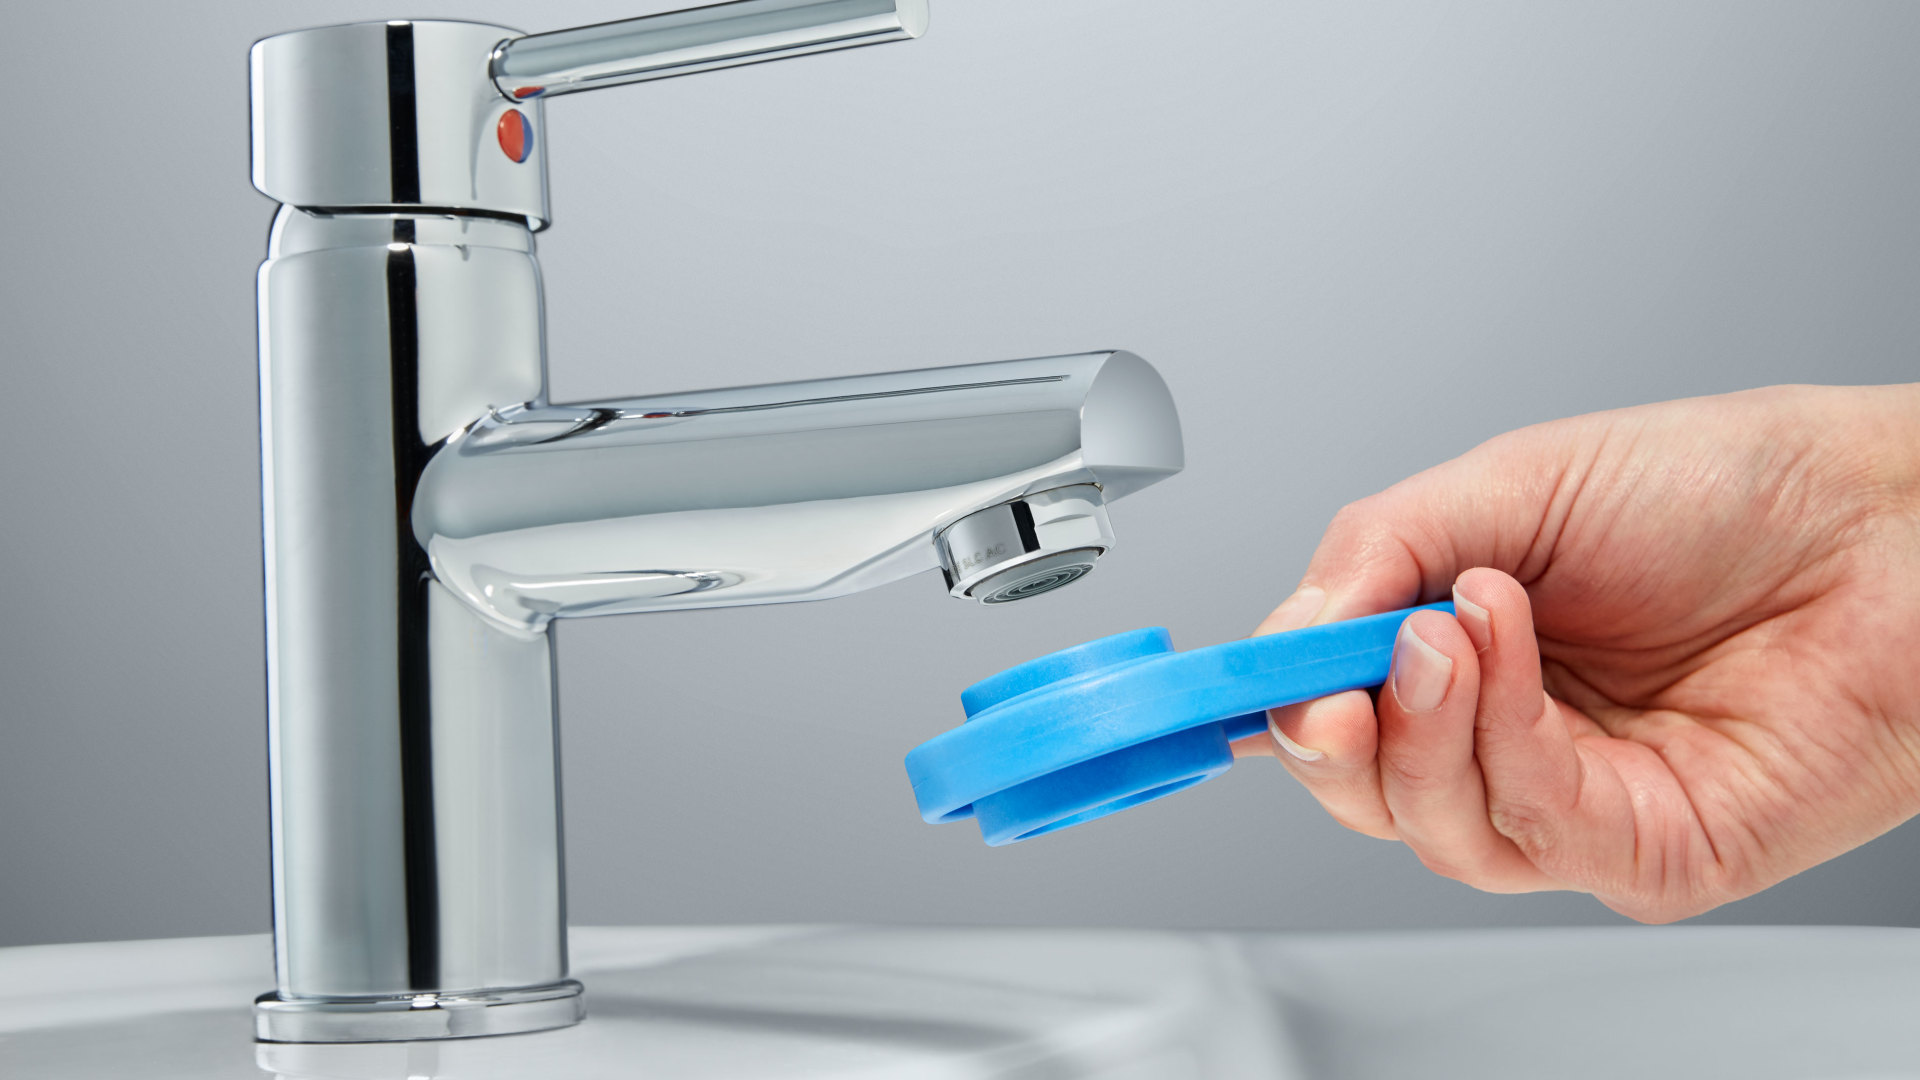
- Connect the water supply lines: Use plumber’s tape to create a watertight seal on the threaded connections of the water supply lines. Attach the water supply lines to the faucet connections, ensuring they are tight but not over-tightened.
- Install the drain assembly: Insert the drain assembly into the sink drain hole. Follow the manufacturer’s instructions to properly install the drain assembly, including any gaskets or washers required for a watertight seal.
- Secure the sink to the countertop: If your sink requires additional securing, such as adhesive or caulking, follow the manufacturer’s instructions to apply these materials and secure the sink to the countertop.
- Test for leaks and proper drainage: Turn on the water supply and check for any leaks around the faucet connections and drain assembly. Allow water to flow through the drains to ensure proper drainage and no blockages.
- Clean up and make any necessary adjustments: Clean up any excess adhesive, caulk, or debris around the sink area. Make any necessary adjustments to ensure that the sink is level and aligned properly.
It’s important to follow the manufacturer’s instructions specific to your sink model for a successful installation. If you encounter any difficulties or have questions, don’t hesitate to consult a professional for assistance.
Installing a new sink can be a rewarding DIY project that enhances the functionality and aesthetics of your bathroom or kitchen. With proper installation, you can enjoy your new sink for years to come.
The installation process marks the completion of your sink replacement project. Take a moment to admire your new sink and enjoy the fresh and updated look it brings to your space.
Frequently Asked Questions about How To Take A Sink Out
Was this page helpful?
At Storables.com, we guarantee accurate and reliable information. Our content, validated by Expert Board Contributors, is crafted following stringent Editorial Policies. We're committed to providing you with well-researched, expert-backed insights for all your informational needs.


0 thoughts on “How To Take A Sink Out”