Articles
How To Wire A Ceiling Fan With Two Switches
Modified: October 20, 2024
Learn how to wire a ceiling fan with two switches with our easy-to-follow articles.
(Many of the links in this article redirect to a specific reviewed product. Your purchase of these products through affiliate links helps to generate commission for Storables.com, at no extra cost. Learn more)
Introduction
Are you tired of feeling hot and stuffy in your home during the summer months? Adding a ceiling fan can be a great solution to improve the airflow and create a more comfortable environment. If you have two switches on your wall to control the fan and the light separately, wiring the ceiling fan with two switches can give you even more control over the fan’s operation.
Wiring a ceiling fan with two switches may seem like a daunting task, but with the right tools, materials, and a little bit of know-how, you can do it yourself. In this article, we will guide you through the step-by-step process of wiring a ceiling fan with two switches.
Before we dive into the installation process, let’s make sure you have all the necessary tools and materials on hand:
Key Takeaways:
- Takeaway 1: Wiring a ceiling fan with two switches is a manageable DIY project with the right tools and materials. Prioritize safety, follow the step-by-step guide, and enjoy enhanced airflow and customizable lighting in your space.
- Takeaway 2: Separate control over the fan and light provides comfort and energy savings. Regular maintenance ensures long-term performance and safety. Enjoy the benefits of your newly installed ceiling fan!
Read more: How To Wire A Ceiling Light To A Switch
Tools and Materials Needed
- Wire stripper
- Voltage tester
- Screwdriver
- Needle-nose pliers
- Ceiling fan
- Ceiling fan mounting bracket
- Wire nuts
- Electrical tape
- Electrical cable
Now that you have everything you need, let’s get started!
Key Takeaways:
- Takeaway 1: Wiring a ceiling fan with two switches is a manageable DIY project with the right tools and materials. Prioritize safety, follow the step-by-step guide, and enjoy enhanced airflow and customizable lighting in your space.
- Takeaway 2: Separate control over the fan and light provides comfort and energy savings. Regular maintenance ensures long-term performance and safety. Enjoy the benefits of your newly installed ceiling fan!
Read more: How To Wire A Ceiling Light To A Switch
Tools and Materials Needed
Before you begin wiring a ceiling fan with two switches, it’s essential to gather all the necessary tools and materials. Having everything at your fingertips will make the installation process smoother and more efficient. Here’s a list of what you’ll need:
- Wire stripper: A wire stripper is a handy tool for removing the insulation from the electrical wires, allowing you to make proper connections.
- Voltage tester: To ensure your safety, it’s crucial to have a voltage tester to check if the power is off before you start working on the electrical connections.
- Screwdriver: A screwdriver, both flathead and Phillips, will be needed to loosen screws and secure various components during the installation process.
- Needle-nose pliers: Needle-nose pliers are ideal for grasping and bending wires, making it easier to connect and secure them.
- Ceiling fan: Of course, you’ll need a ceiling fan that fits your desired style and specifications. Choose a fan with separate controls for the fan and light functions.
- Ceiling fan mounting bracket: The mounting bracket is the structure that attaches the fan to the ceiling. Make sure you have a bracket that is compatible with your ceiling type.
- Wire nuts: Wire nuts are essential for securing the electrical connections. They provide a safe and reliable way to join wires together.
- Electrical tape: Electrical tape is used to insulate and protect the wire connections, preventing any accidental contact with the live wires.
- Electrical cable: The electrical cable will be used to connect the ceiling fan to the power source.
Once you have gathered all these tools and materials, you’ll be well-prepared to begin the installation process. Double-check to ensure that you have everything on hand before proceeding.
Step 1: Turn Off the Power
Before you start working on any electrical installation, it is crucial to ensure your safety by turning off the power to the circuit you will be working on. Follow these steps to turn off the power:
- Locate the circuit breaker panel: The circuit breaker panel is usually located in a utility room, basement, or garage. Open the panel door to access the breakers.
- Identify the correct breaker: Look for the breaker that corresponds to the room where you will be installing the ceiling fan. In most cases, the breakers will be labeled, indicating which area or room they control. If the breakers are not labeled, you might need to do some trial and error to determine the correct one.
- Turn off the breaker: Once you have identified the correct breaker, switch it to the off position. This will cut off the power supply to the room or area where the ceiling fan will be installed.
- Verify the power is off: To ensure your safety, use a voltage tester to check that the power is indeed off. Simply touch the voltage tester to the wires or terminals you will be working on. The tester should not light up or make any noise if the power is off.
It is crucial to double-check and confirm that the power is off before proceeding to the next steps. Working on live wires can be extremely dangerous and should be avoided at all costs. If you are unsure or uncomfortable with turning off the power yourself, it’s recommended to consult a licensed electrician.
Once you have confirmed that the power is off, you can proceed with confidence to the next steps of wiring your ceiling fan with two switches.
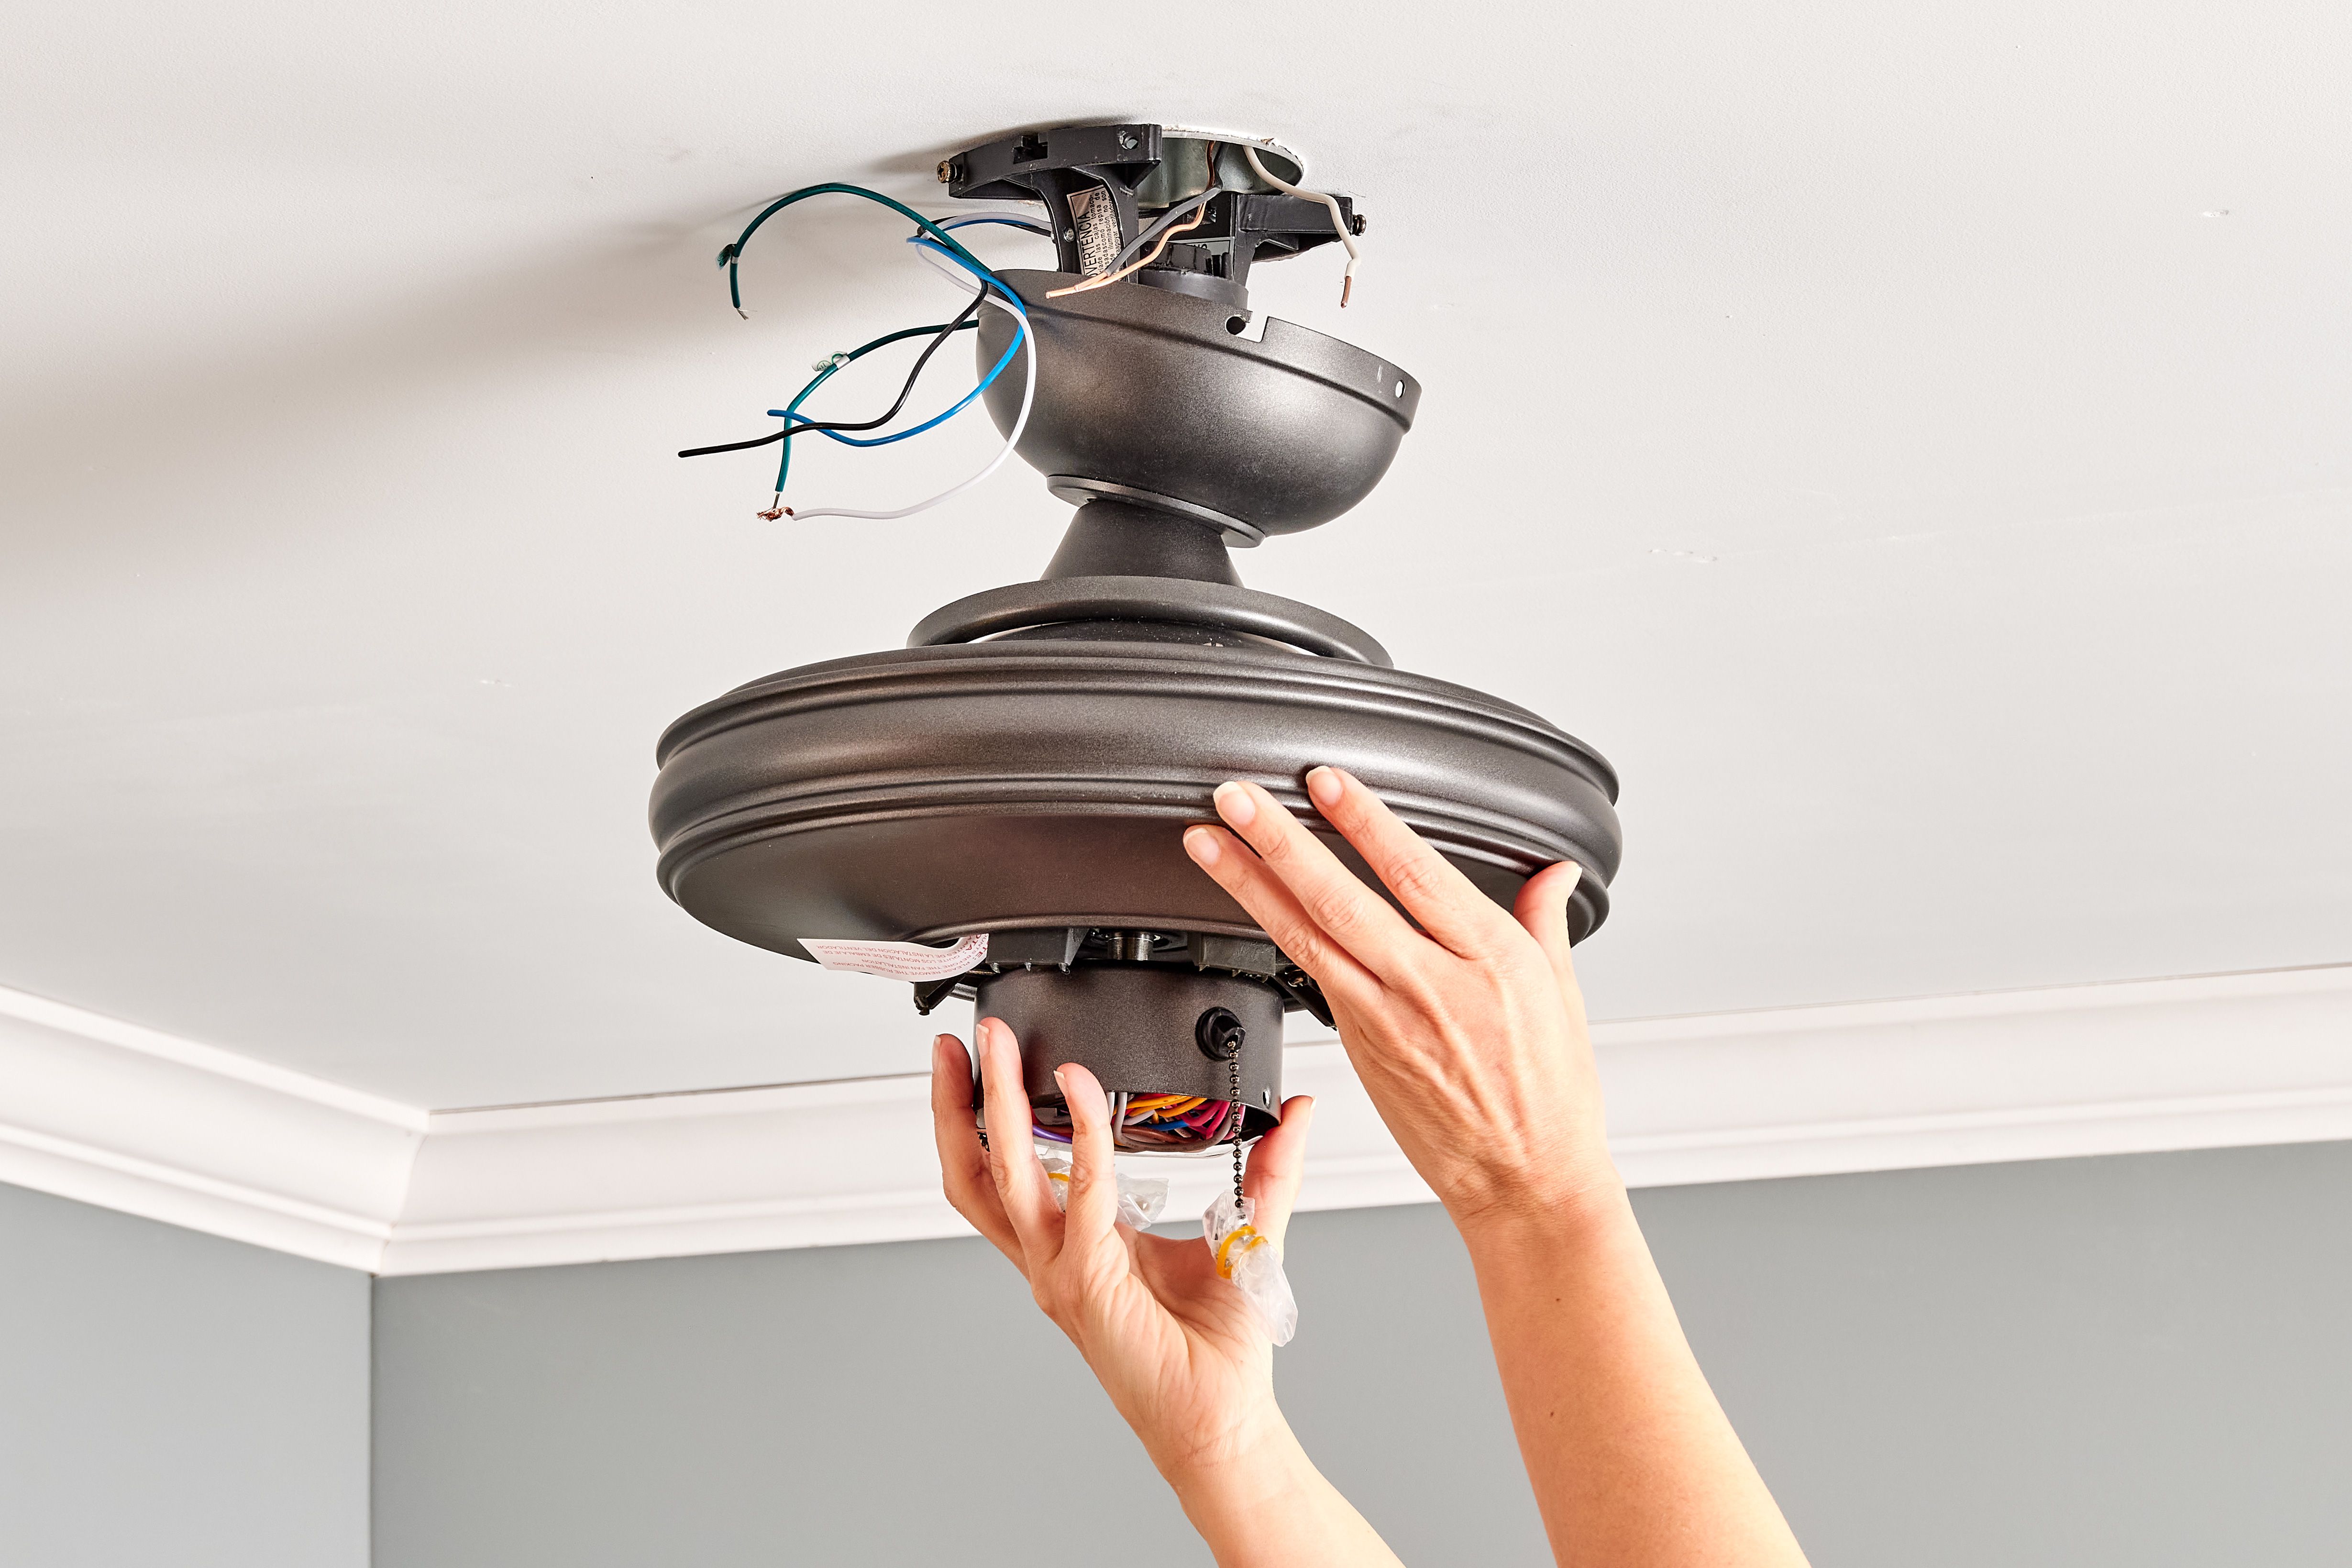
Step 2: Mount the Ceiling Fan
Now that the power is turned off and you are ready to begin the installation process, it’s time to mount the ceiling fan. Follow these steps to ensure a secure and proper installation:
- Prepare the mount: Start by unpacking your ceiling fan and locating the mounting bracket. The mounting bracket is typically a U-shaped piece of metal that attaches to the ceiling. Follow the manufacturer’s instructions on how to assemble the mounting bracket if necessary.
- Locate the ceiling joist: Use a stud finder to locate a ceiling joist near the installation area. The joist is a solid structure that will provide the necessary support for the fan. It’s crucial to mount the fan to the joist to ensure stability and safety.
- Mark the mounting holes: Once you have located the joist, place the mounting bracket on the ceiling and align it with the joist. Use a pencil or marker to mark the locations of the mounting holes on the ceiling.
- Pre-drill the holes: To make it easier to insert the screws, use a drill with a bit slightly smaller than the screws to pre-drill holes at the marked locations on the ceiling.
- Attach the mounting bracket: Place the mounting bracket on the ceiling, aligning the holes with the pre-drilled holes. Insert the screws through the bracket and into the pre-drilled holes. Use a screwdriver to tighten the screws, securing the mounting bracket to the ceiling. Ensure that the bracket is securely fastened.
- Check for stability: Give the mounting bracket a gentle tug to ensure that it is firmly attached to the ceiling. It’s important to have a stable base for the ceiling fan.
Once the mounting bracket is securely installed, you are one step closer to enjoying a cool and comfortable space. In the next step, we will guide you through connecting the wires in the ceiling.
Read more: How To Wire A Ceiling Fan With 3 Wires
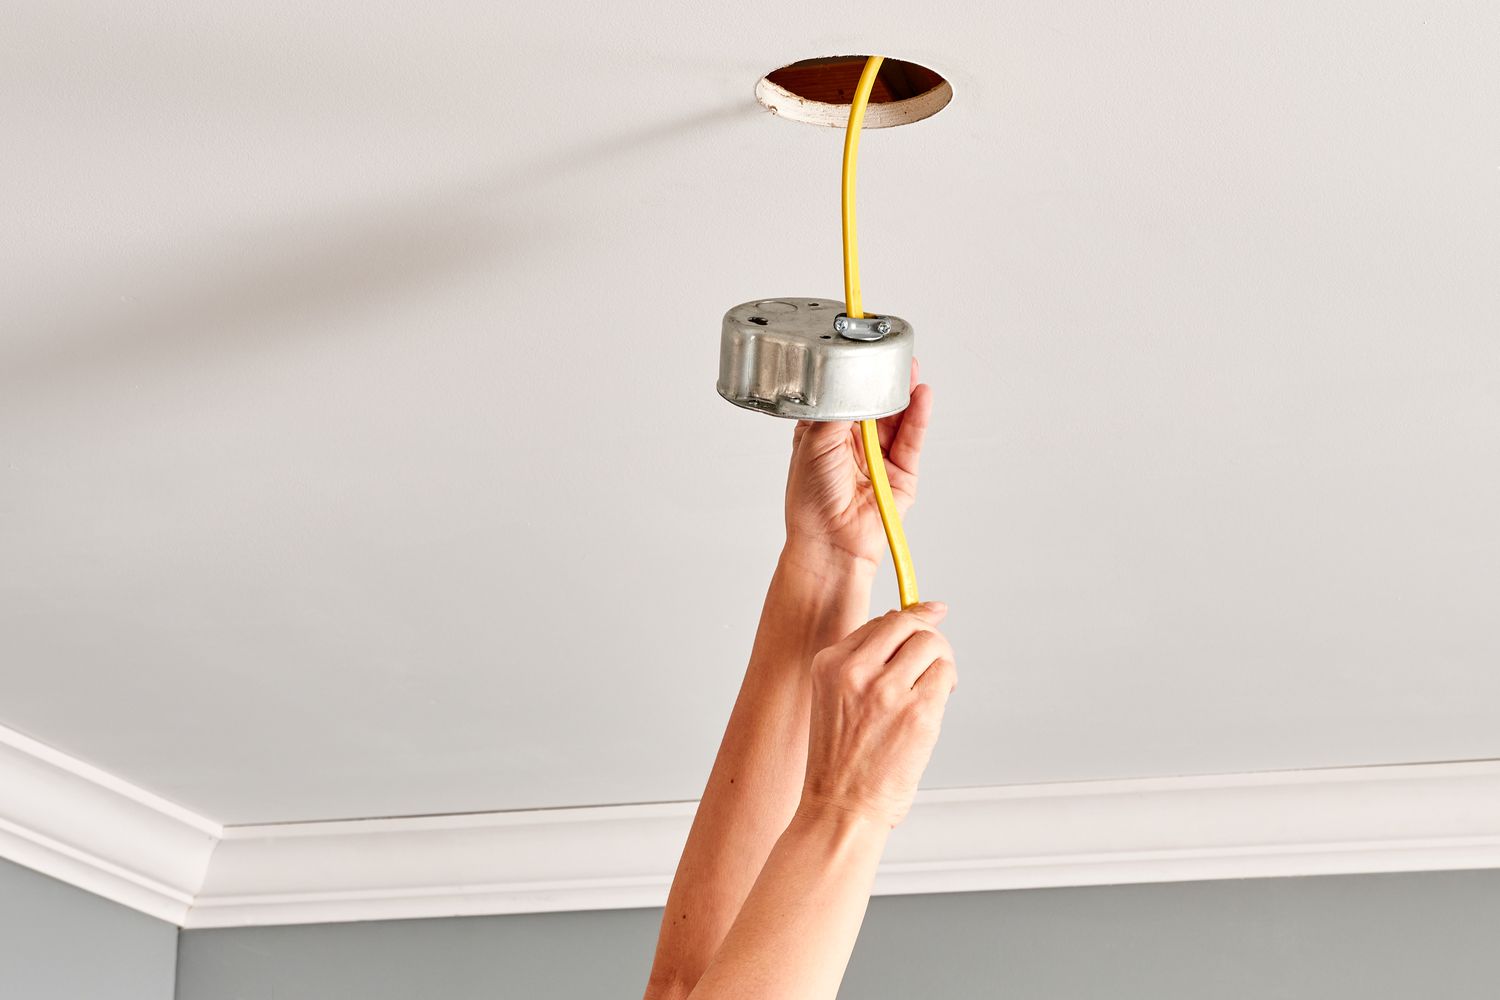
Step 3: Connect the Wires in the Ceiling
With the ceiling fan mount securely in place, it’s time to connect the wires in the ceiling. Here’s how to do it:
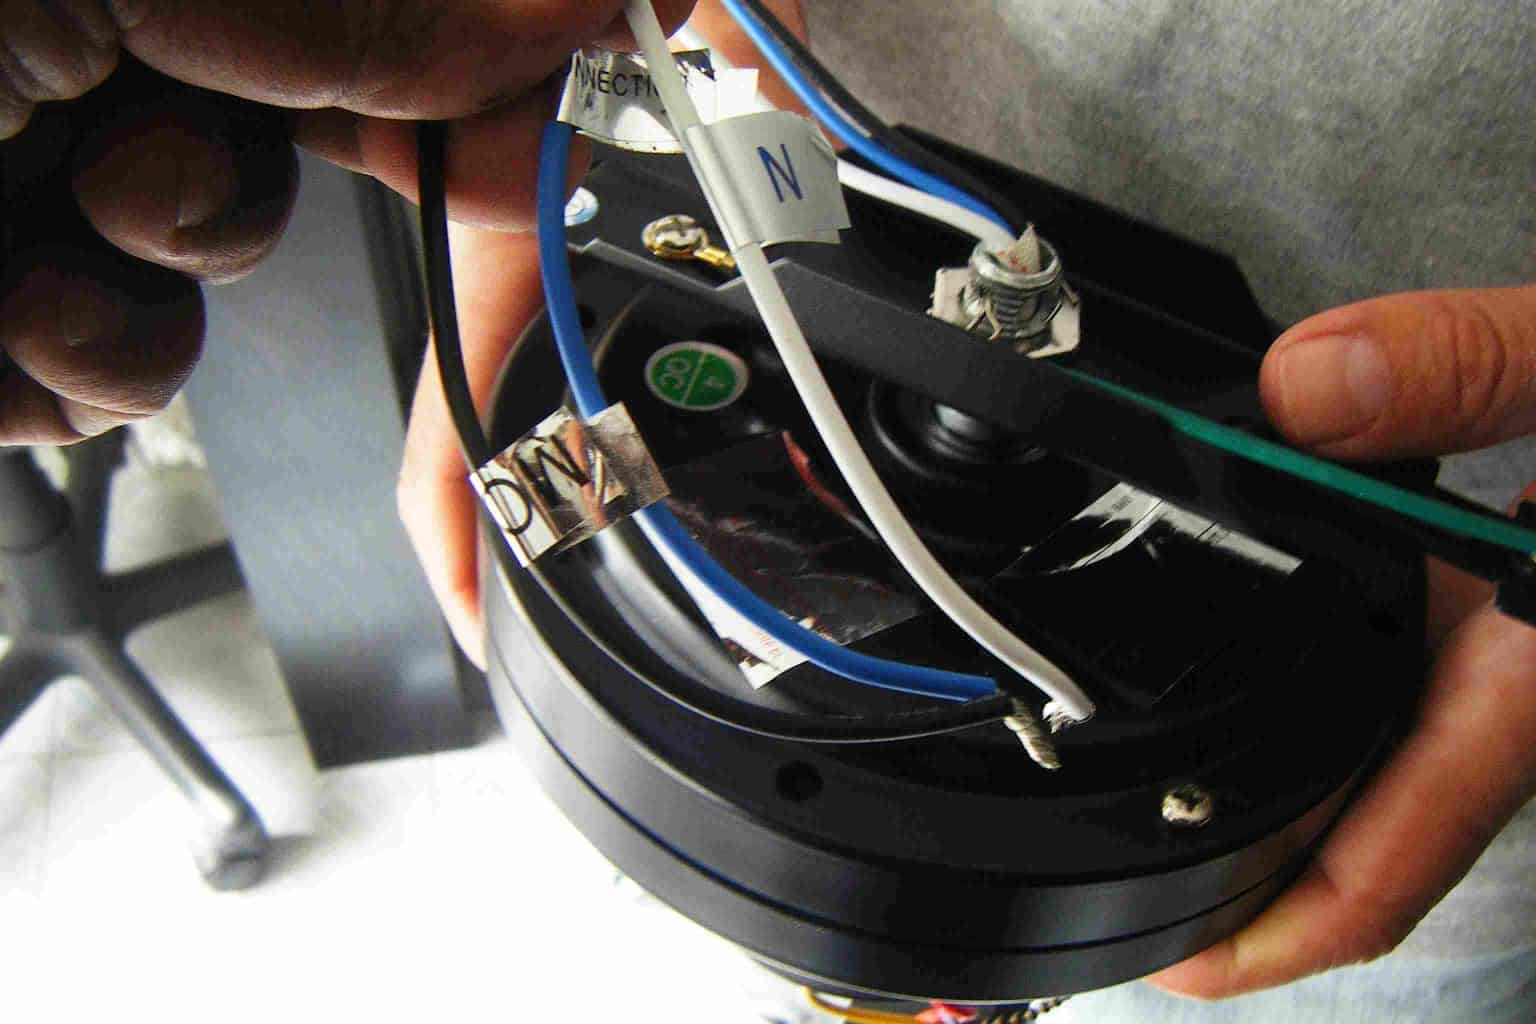
- Identify the wires: Start by identifying the different wires coming out of the ceiling. You will typically find a black (hot) wire, a white (neutral) wire, and a bare copper or green (ground) wire.
- Strip the wires: Use a wire stripper to remove about ¾ inch (1.9 cm) of insulation from the ends of the wires. This will expose the bare metal wire for making connections.
- Connect the ground wires: Twist together the bare copper or green wire from the ceiling with the green or bare copper wire from the ceiling fan mounting bracket. Secure them using a wire nut and wrap electrical tape around the connection for added safety.
- Connect the white wires: Twist together the white wire from the ceiling with the white wire from the ceiling fan. Again, use a wire nut to secure the connection and wrap electrical tape around it.
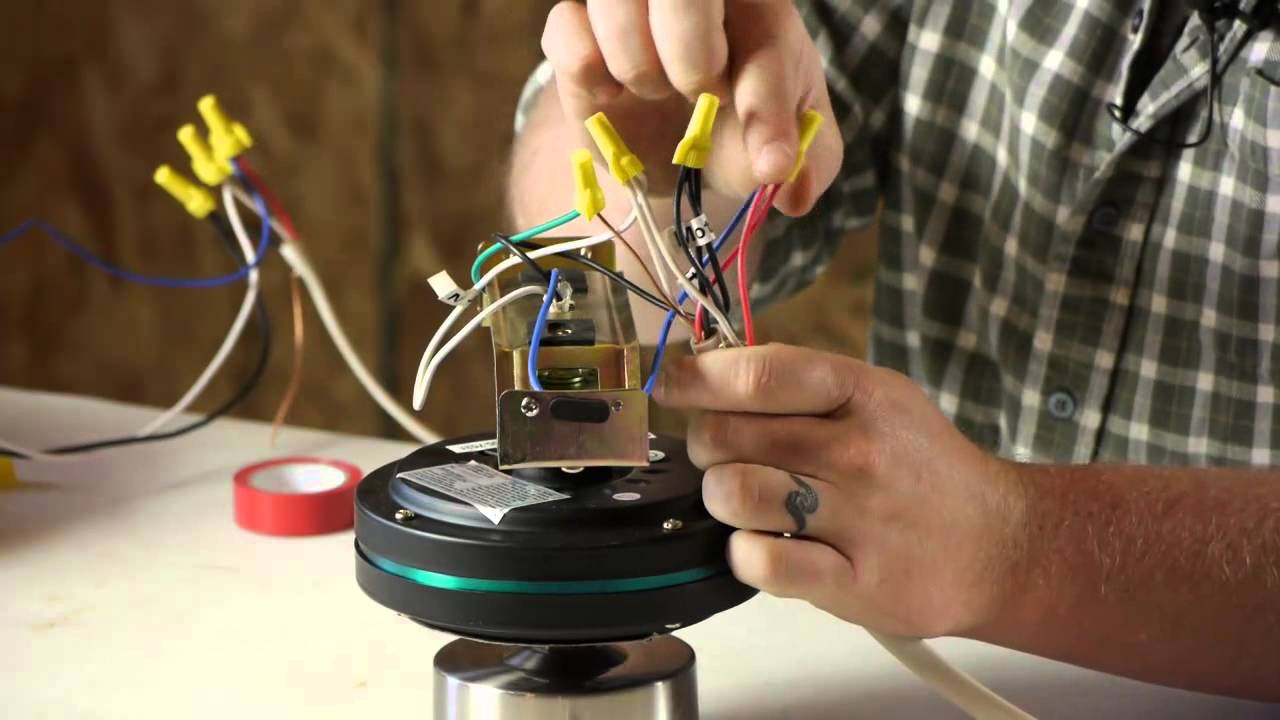
- Connect the black wires: You may have two black wires coming out of the ceiling—one for the fan and one for the light. Connect the black wire from the ceiling fan to the black wire coming from the fan switch. Join them together with a wire nut and wrap electrical tape around the connection.
It’s crucial to ensure that all wire connections are tight and secure. Give each connection a gentle tug to make sure they are properly joined. Additionally, make sure the wires are neatly arranged and not tangled or pinched between any components.
Once the wires are properly connected, you’re ready to move on to the next step—installing the fan mounting bracket.
When wiring a ceiling fan with two switches, make sure to connect the hot wire from the main power supply to both switches, then connect the hot wire from each switch to the corresponding fan and light wires. Use a voltage tester to ensure the power is off before starting the wiring process.
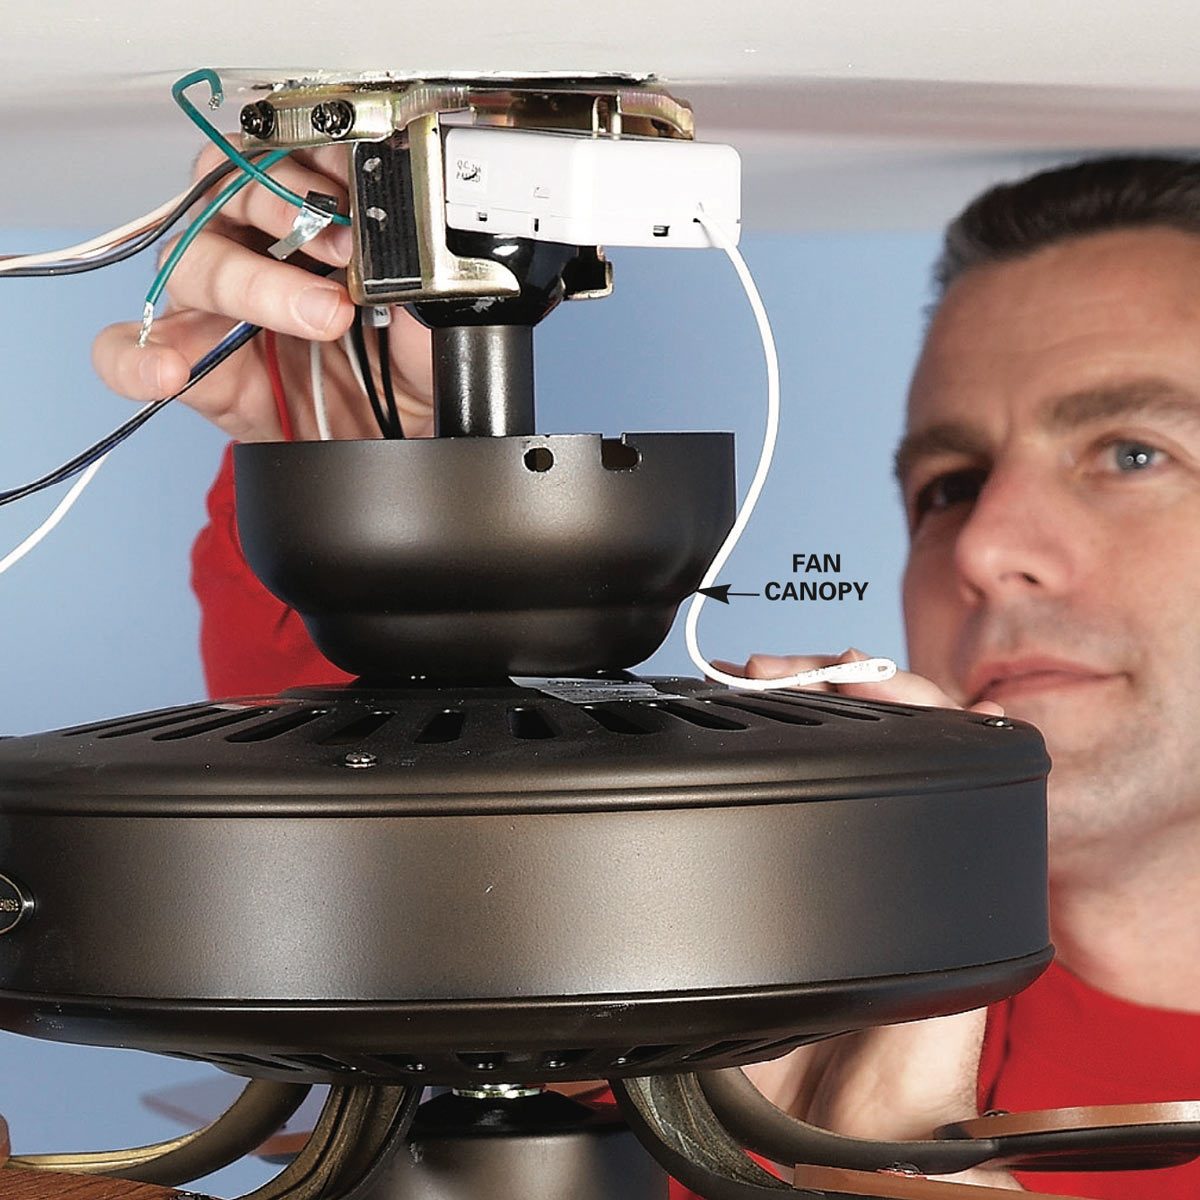
Step 4: Install the Fan Mounting Bracket
With the wires in the ceiling properly connected, it’s time to install the fan mounting bracket. The mounting bracket provides the support and stability for the ceiling fan. Follow these steps to install it:
- Attach the bracket: Take the fan mounting bracket and align it with the screw holes on the ceiling fan. Secure the bracket to the fan using the provided screws.
- Position the bracket: Position the bracket so that it aligns with the previously installed mounting bracket on the ceiling. Ensure that the screws on the ceiling fan bracket fit into the holes on the ceiling-mounted bracket.
- Secure the fan bracket: Once the fan bracket is aligned with the ceiling bracket, tighten the screws to secure the connection. Use a screwdriver to ensure that the bracket is firmly attached.
- Check for stability: Give the fan bracket a gentle shake to ensure it is securely mounted. It’s important to have a stable and sturdy bracket to support the weight and movement of the ceiling fan.
Once the fan mounting bracket is securely installed, you can proceed to the next step of connecting the fan wires.
Note: In some cases, the fan mounting bracket may come pre-attached to the fan. If that’s the case, you can skip this step and move on to the next one.
Step 5: Connect the Fan Wires
Now that the mounting bracket is securely installed, it’s time to connect the wires from the ceiling fan. Follow these steps to ensure a proper and secure connection:
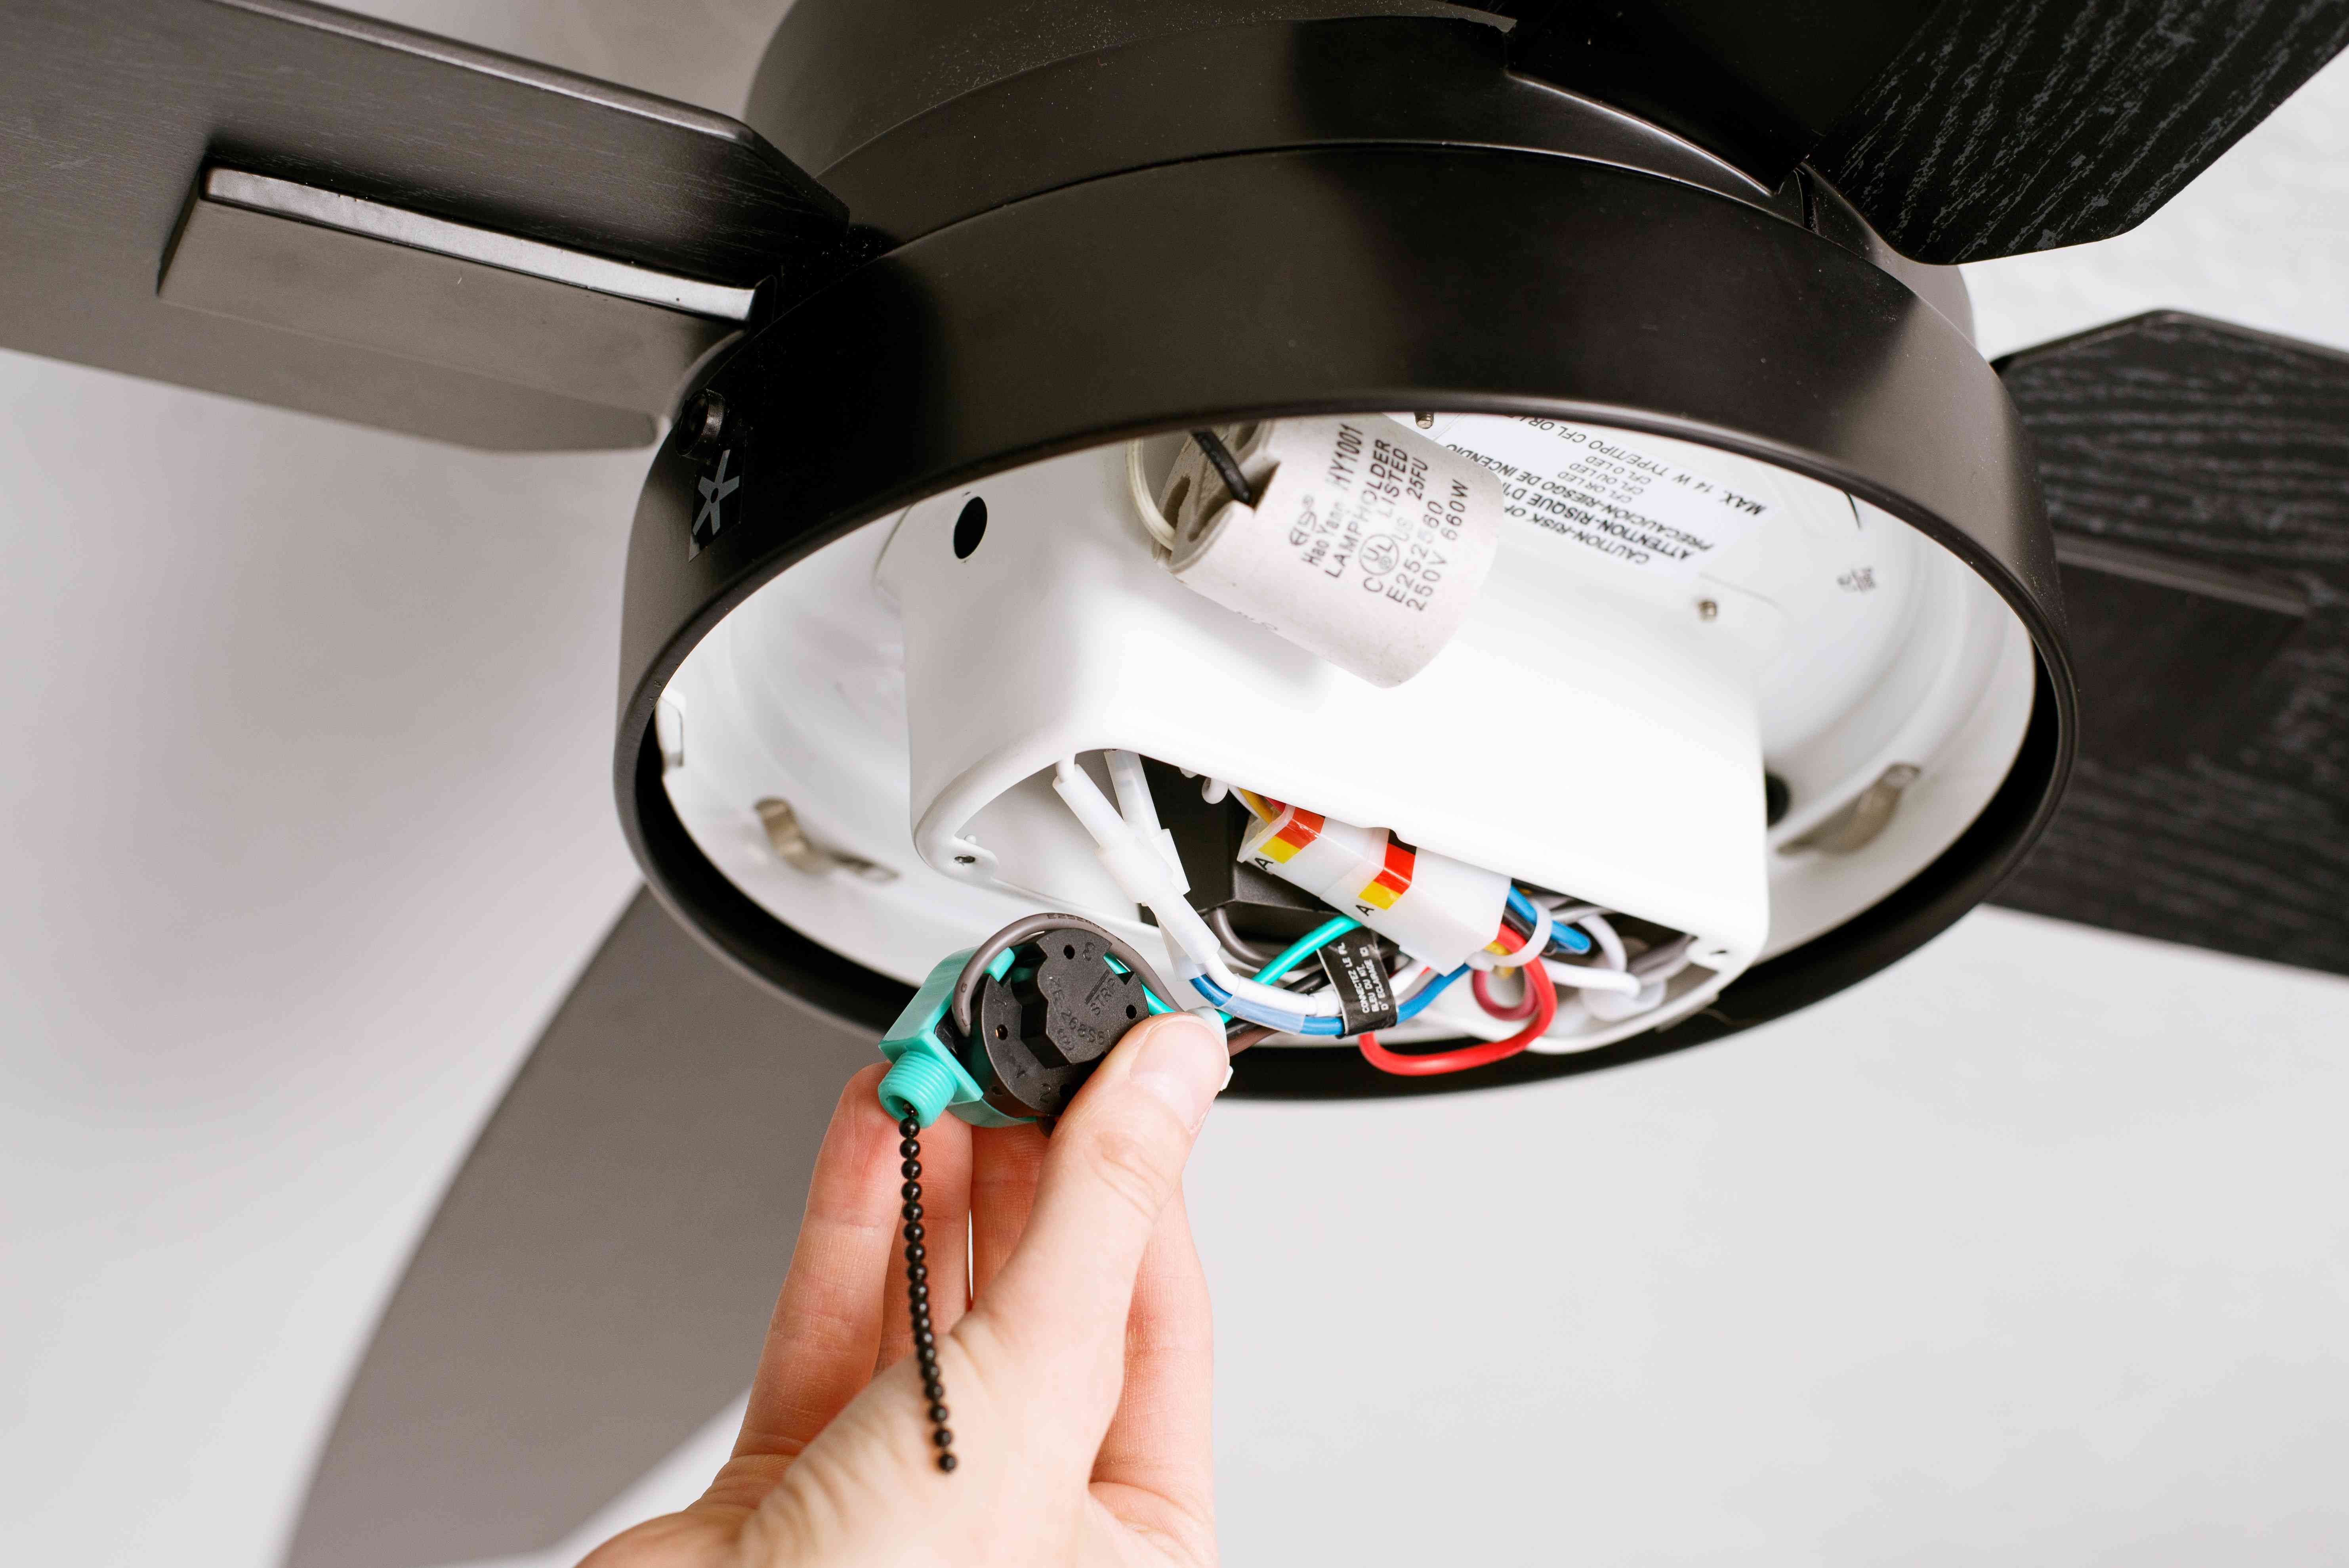
- Identify the fan wires: The ceiling fan will have several wires, typically color-coded for ease of installation. You will find a black wire (for the fan motor), a blue wire (for the light kit), a white wire (neutral), and a green or copper wire (ground).
- Match the wires: Match the colored wires from the ceiling fan with the corresponding wires from the ceiling. Connect the black fan wire to the black wire from the ceiling, the blue fan wire to the blue wire from the ceiling (if applicable), and the white fan wire to the white wire from the ceiling. Use wire nuts to secure each connection.
- Connect the ground wire: Connect the green or copper wire from the ceiling fan to the bare copper or green wire in the ceiling. Use a wire nut to secure the connection and wrap electrical tape around it for added safety.
- Tuck and secure the wires: Carefully tuck the connected wires and any excess wires into the electrical box. Make sure they are not pinched or interfering with any moving parts of the fan. Use a plastic wire connector or cable ties to secure the wires to the electrical box, keeping them organized and out of the way.
It’s important to ensure that all wire connections are secure and tight. Give each wire connection a gentle tug to make sure they are properly joined. Also, make sure there are no exposed wires and that all connections are safely insulated with wire nuts and electrical tape.
Once the fan wires are connected and secured, you’re ready to move on to the next step—attaching the fan blades.
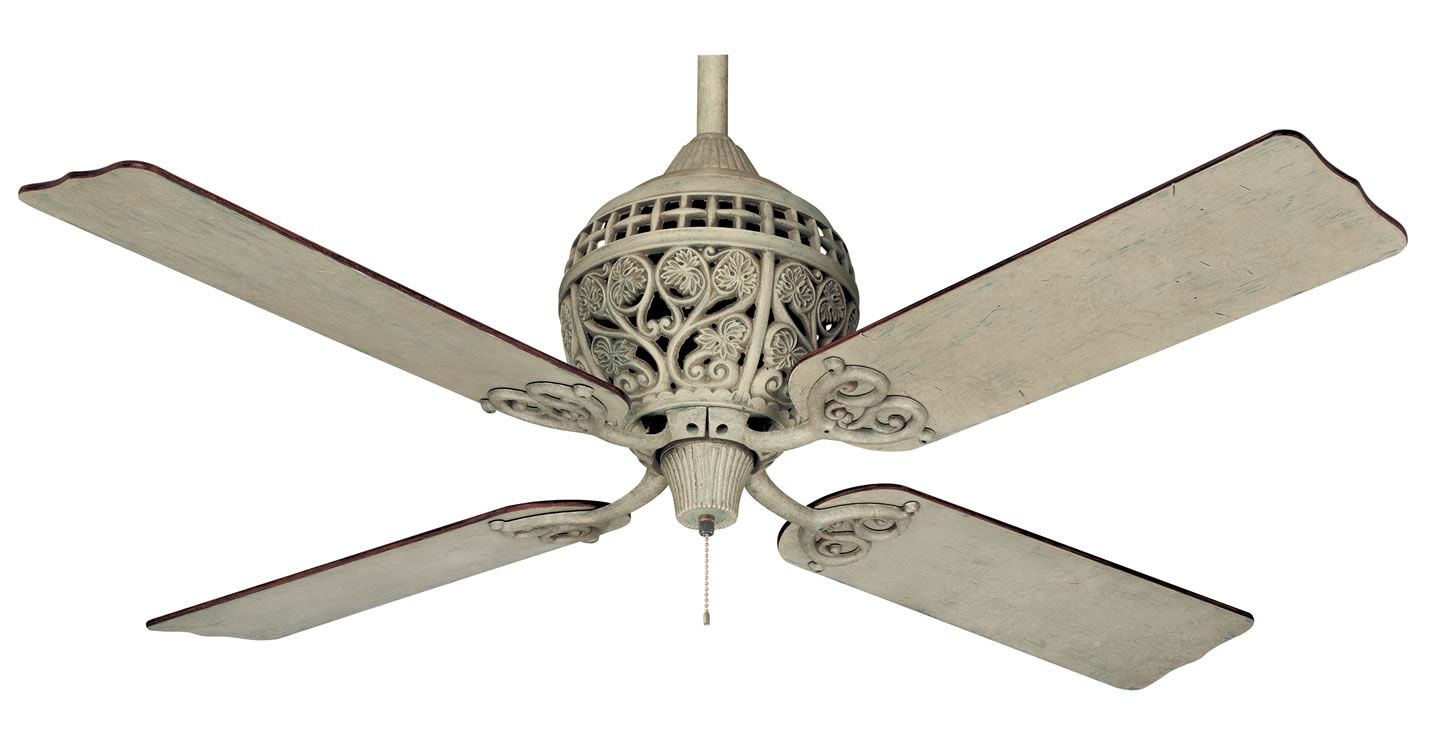
Step 6: Attach the Fan Blades
With the fan wires properly connected, it’s time to attach the fan blades. Follow these steps to complete this step:
- Locate the fan blade brackets: The fan blade brackets are typically included with the ceiling fan. Look for the brackets that match the design or color of your fan blades.
- Attach the brackets to the fan motor: Each fan blade bracket should have screws or clips that allow them to be attached to the fan motor. Use a screwdriver to secure the brackets to the designated spots on the motor.
- Align the fan blades: Take one fan blade and align it with one of the brackets attached to the fan motor. The blade will typically have pre-drilled holes or slots that need to match up with the bracket.
- Secure the fan blade: Once the blade is aligned with the bracket, use the provided screws or clips to secure it in place. Repeat this step for all the remaining fan blades, ensuring that they are evenly spaced and balanced.
- Check for proper installation: After attaching all the fan blades, give each blade a gentle tug to ensure they are securely attached. Make sure there are no wobbles or loose blades that may cause vibration or noise when the fan is in operation.
It’s important to follow the manufacturer’s instructions regarding the number and sequence of fan blades to ensure proper airflow and balance. Additionally, ensure that the fan blades are not interfering with any other components and are evenly spaced for optimal performance.
Once the fan blades are securely attached, you can proceed to the next step—installing the switches for controlling the fan and the light separately.
Step 7: Install the Switches
To have separate control over the fan and the light, you’ll need to install two switches on your wall. Follow these steps to complete the installation:
- Select the switch location: Choose a suitable location on your wall for the switches. Ensure it is easily accessible and within reach. Ideally, the location should be near the entrance of the room for convenience.
- Turn off the power: Before working on the switches, turn off the power to the circuit at the main breaker panel. Always prioritize safety when working with electrical connections.
- Remove the switch cover plate: Use a screwdriver to remove the screws securing the switch cover plate to the wall. Set aside the cover plate for later use.
- Remove the old switches: If you are replacing existing switches, use a screwdriver to remove the screws holding them in place. Disconnect the wires connected to the switches by loosening the screws or releasing the wire connectors.
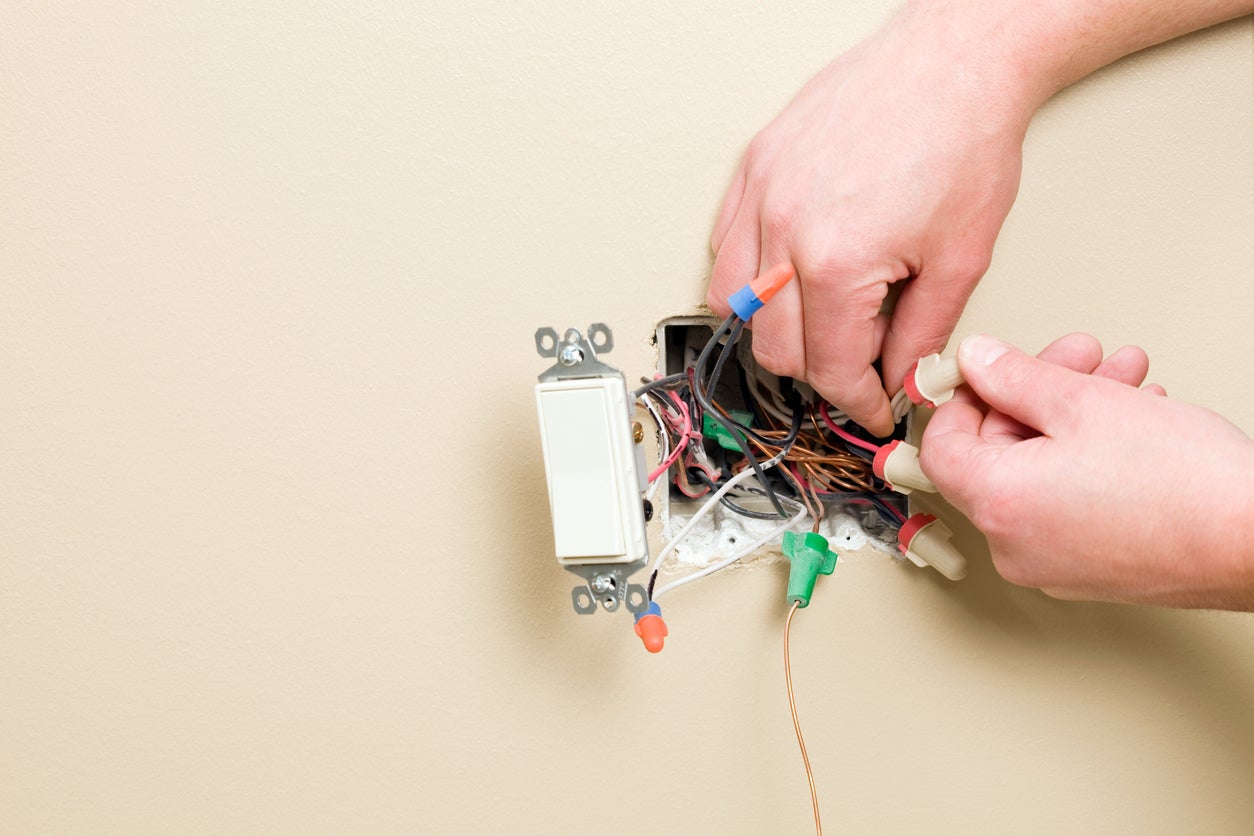
- Connect the new switches: Take the new switches and connect the wires according to the manufacturer’s instructions. Typically, you will have black wires connected to the brass or darker screws, white wires connected to the silver screws, and bare copper or green wires connected to the green grounding screw.
- Mount the switches: Position the switches in the switch box and align them with the mounting holes. Use the provided screws to secure the switches in place.
- Install the switch cover plate: Once the switches are securely mounted, place the switch cover plate over them. Align the screw holes on the plate with the mounting holes on the switches and use screws to attach the plate to the wall.
- Turn on the power: Finally, go back to the main breaker panel and turn on the power to the circuit. Test the switches to ensure they are functioning correctly.
With the switches properly installed, you now have separate control over the ceiling fan and the light. This allows you to adjust the fan speed and turn the light on or off independently, providing you with enhanced control and flexibility.
Before moving on to the final step, make sure to double-check all the connections and ensure they are secure. Safety should always be a top priority when working with electrical installations.
Step 8: Turn On the Power
After completing the previous steps of wiring the ceiling fan with two switches, it’s time to turn on the power and test your installation. Follow these final steps to ensure a safe and successful completion:
- Double-check the connections: Before turning on the power, take a moment to inspect all the connections you’ve made. Ensure that all wires are securely connected, and there are no loose or exposed wires.
- Prepare for testing: Make sure the fan blades are properly attached, and any required light bulbs are screwed in. Remove any tools or materials from the area around the fan to ensure there are no obstructions.
- Turn on the power: Go to the main breaker panel and locate the circuit breaker that corresponds to the fan and light switches. Flip the breaker to the “ON” position to restore power to the circuit.
- Test the switches: Return to the room and test the switches by flipping them on and off. Verify that the fan and light respond accordingly. Adjust the fan speed settings if applicable to ensure proper functionality.
- Check for smooth operation: Observe the ceiling fan while it’s running to ensure that it operates smoothly and without any noises or wobbling. If you notice any issues, turn off the power and investigate the cause before proceeding.
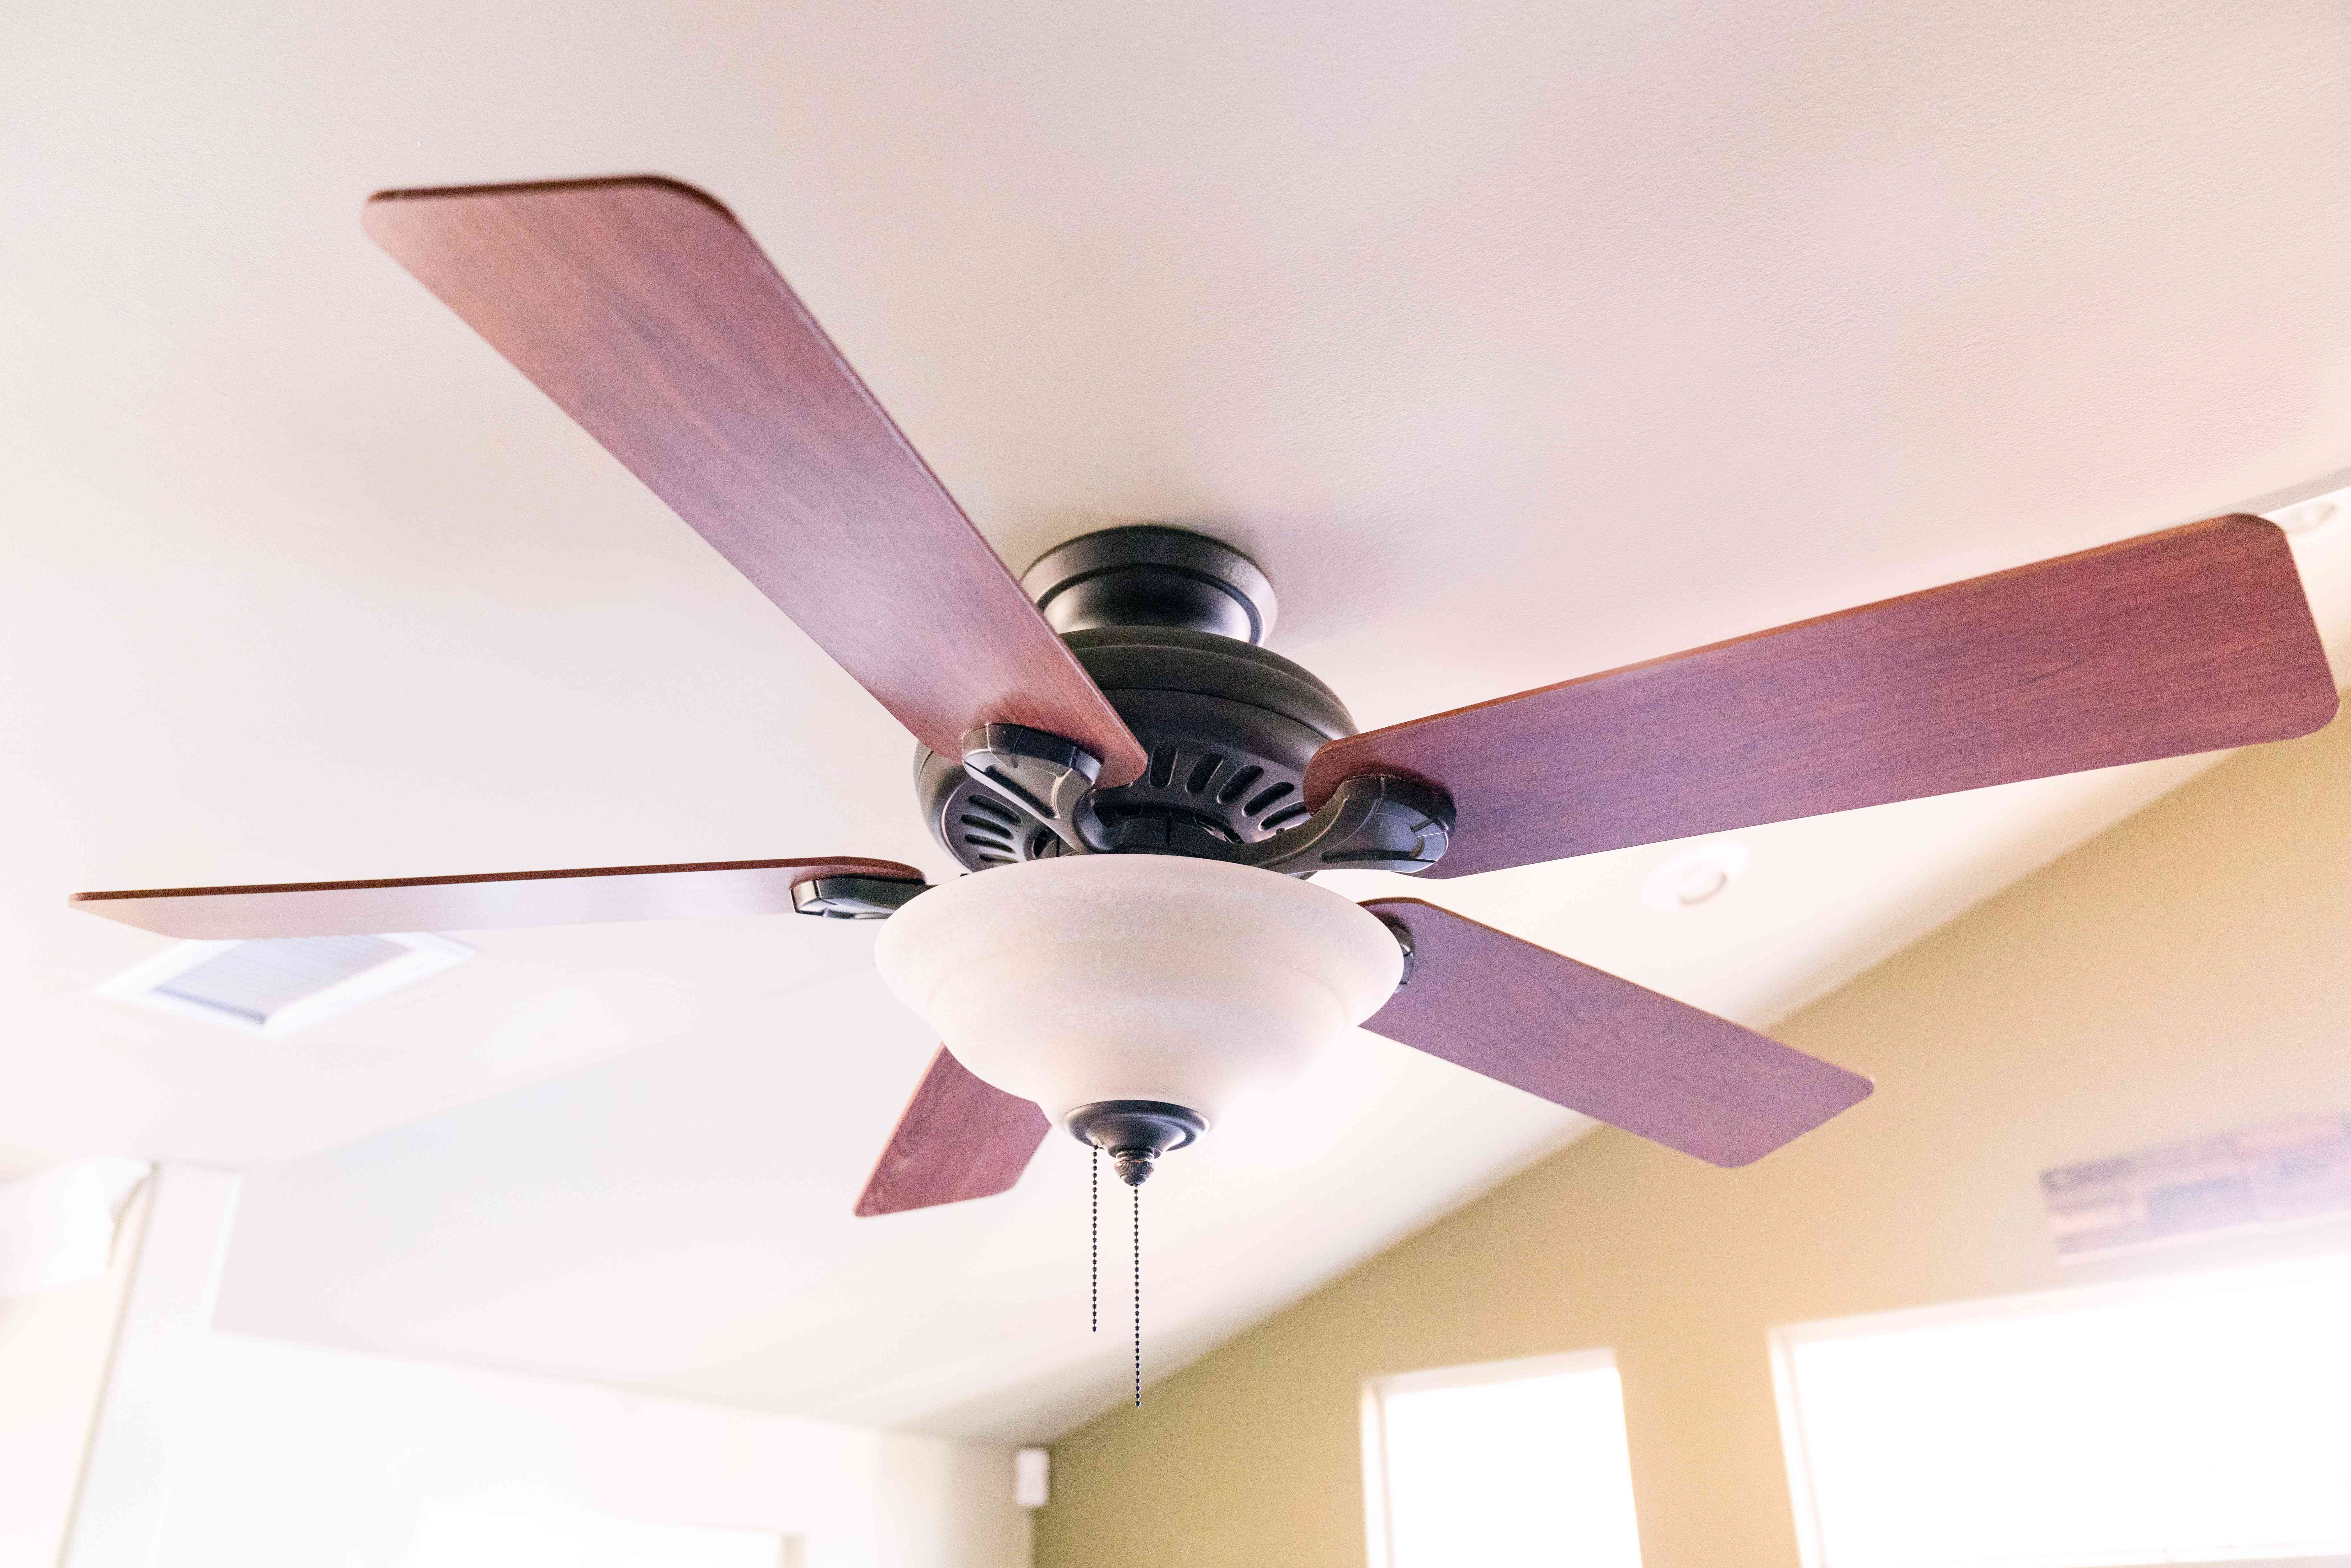
- Enjoy your new installation: Once you have confirmed that the fan and switches are functioning as intended, sit back, relax, and enjoy the cool breeze and customizable lighting that your newly installed ceiling fan provides.
It’s important to note that if you encounter any issues during the testing phase, or if you’re unsure about any part of the installation, it’s best to consult a licensed electrician for assistance. Safety should always be a top priority when working with electricity.
Congratulations on successfully wiring a ceiling fan with two switches! You’ve not only improved the functionality and comfort of your space, but you’ve also gained valuable hands-on experience with electrical installations.
Remember, regular maintenance and periodic inspections of your ceiling fan are essential to ensure its long-term performance and safety. Enjoy the benefits of your new ceiling fan and stay cool all year round!
Conclusion
Wiring a ceiling fan with two switches may seem like a daunting task, but with the right tools, materials, and a careful approach, it is a manageable DIY project. By following the step-by-step instructions provided in this article, you can successfully install a ceiling fan that gives you separate control over the fan and the light.
Throughout the installation process, it’s crucial to prioritize safety. Always turn off the power before starting any electrical work and double-check your connections to ensure they are secure. If you are unsure about any aspect of the installation or encounter any difficulties, it is best to seek assistance from a qualified electrician.
With your ceiling fan properly installed and connected to separate switches, you can now enjoy the benefits of enhanced airflow and customizable lighting in your space. Ceiling fans not only provide comfort but also help to reduce energy costs by promoting air circulation and reducing the reliance on air conditioning.
Remember to perform regular maintenance on your ceiling fan, such as cleaning the blades and checking for any loose connections. This will ensure its long-term performance and safety.
Thank you for following this guide on how to wire a ceiling fan with two switches. We hope that your newly installed ceiling fan brings you years of comfort and enjoyment!
Ready to tackle more handy home projects? If running cables is up your alley, our guide on how to extend power to your garage will show you how to extend power to your garage safely. For those who love crafting and building, check out why why DIY projects are rewarding are such a rewarding endeavor. Or, if you're looking to enhance your living space, learn about how to enhance your living space where only a light fixture existed before. Each step is simpler than you might think!
Frequently Asked Questions about How To Wire A Ceiling Fan With Two Switches
Was this page helpful?
At Storables.com, we guarantee accurate and reliable information. Our content, validated by Expert Board Contributors, is crafted following stringent Editorial Policies. We're committed to providing you with well-researched, expert-backed insights for all your informational needs.

0 thoughts on “How To Wire A Ceiling Fan With Two Switches”