Articles
How To Install A Dimmer Switch
Modified: January 6, 2024
Learn how to install a dimmer switch with this informative article. Follow step-by-step instructions to upgrade your home lighting system. Perfect for DIY enthusiasts.
(Many of the links in this article redirect to a specific reviewed product. Your purchase of these products through affiliate links helps to generate commission for Storables.com, at no extra cost. Learn more)
Introduction
Welcome to our comprehensive guide on how to install a dimmer switch. If you’re tired of harsh, fixed lighting in your home and want to create a more relaxed and customizable ambiance, installing a dimmer switch is the perfect solution. Not only does it give you greater control over your lighting, but it also helps to conserve energy and extend the lifespan of your bulbs.
In this article, we will walk you through the step-by-step process of installing a dimmer switch. Whether you’re a seasoned DIY enthusiast or a complete novice, this guide will provide you with the knowledge and confidence you need to successfully complete this project.
Before we dive into the installation steps, it is essential to prioritize safety. Working with electrical systems can be dangerous, so it’s crucial to take the necessary precautions to protect yourself and your home from any potential hazards. Let’s start by discussing the safety measures you need to adhere to.
Key Takeaways:
- Prioritize safety by turning off the power, using protective gear, and testing wires before installing a dimmer switch. Following safety precautions minimizes the risk of accidents and ensures a smooth installation process.
- Gather the necessary tools and materials, such as a screwdriver, wire stripper, dimmer switch, and wire nuts, before beginning the installation. Having everything on hand saves time and minimizes interruptions during the process.
Read more: Installing A Chandelier And Dimmer Switch
Safety Precautions
Before beginning any electrical project, including the installation of a dimmer switch, it is crucial to ensure your safety. Here are some important safety precautions to follow:
- Turn off the power: Before starting the installation, turn off the power supply to the switch at the circuit breaker or fuse box. This will help prevent any potential electrical shocks while you work.
- Use protective gear: Wear safety goggles and gloves to protect your eyes and hands from any potential injuries or accidents.
- Test the wires: Use a voltage tester to check if any wires are still live after turning off the power. This is an important step to ensure your safety before proceeding with the installation.
- Work in a well-lit area: Ensure that the area where you are working is well-lit to avoid any accidents or mistakes due to poor visibility.
- Read the manufacturer’s instructions: Familiarize yourself with the dimmer switch’s instructions and guidelines provided by the manufacturer. Each dimmer switch may have specific instructions and requirements for installation.
- Do not overload the dimmer: Be mindful of the wattage rating specified for the dimmer switch. Ensure that the total wattage of the lights connected to the switch does not exceed the dimmer’s maximum capacity.
By following these safety precautions, you can minimize the risk of accidents or electrical hazards and ensure a smooth and secure installation process. Now that we have covered the safety measures, let’s move on to the tools and materials you will need for this project.
Tools and Materials Needed
Before you begin installing a dimmer switch, it’s important to gather all the necessary tools and materials. Here’s a list of what you’ll need:
Tools:
- Screwdriver (flathead and Phillips head)
- Wire stripper
- Wire cutter
- Voltage tester
- Needle-nose pliers
- Electric drill (if necessary)
Materials:
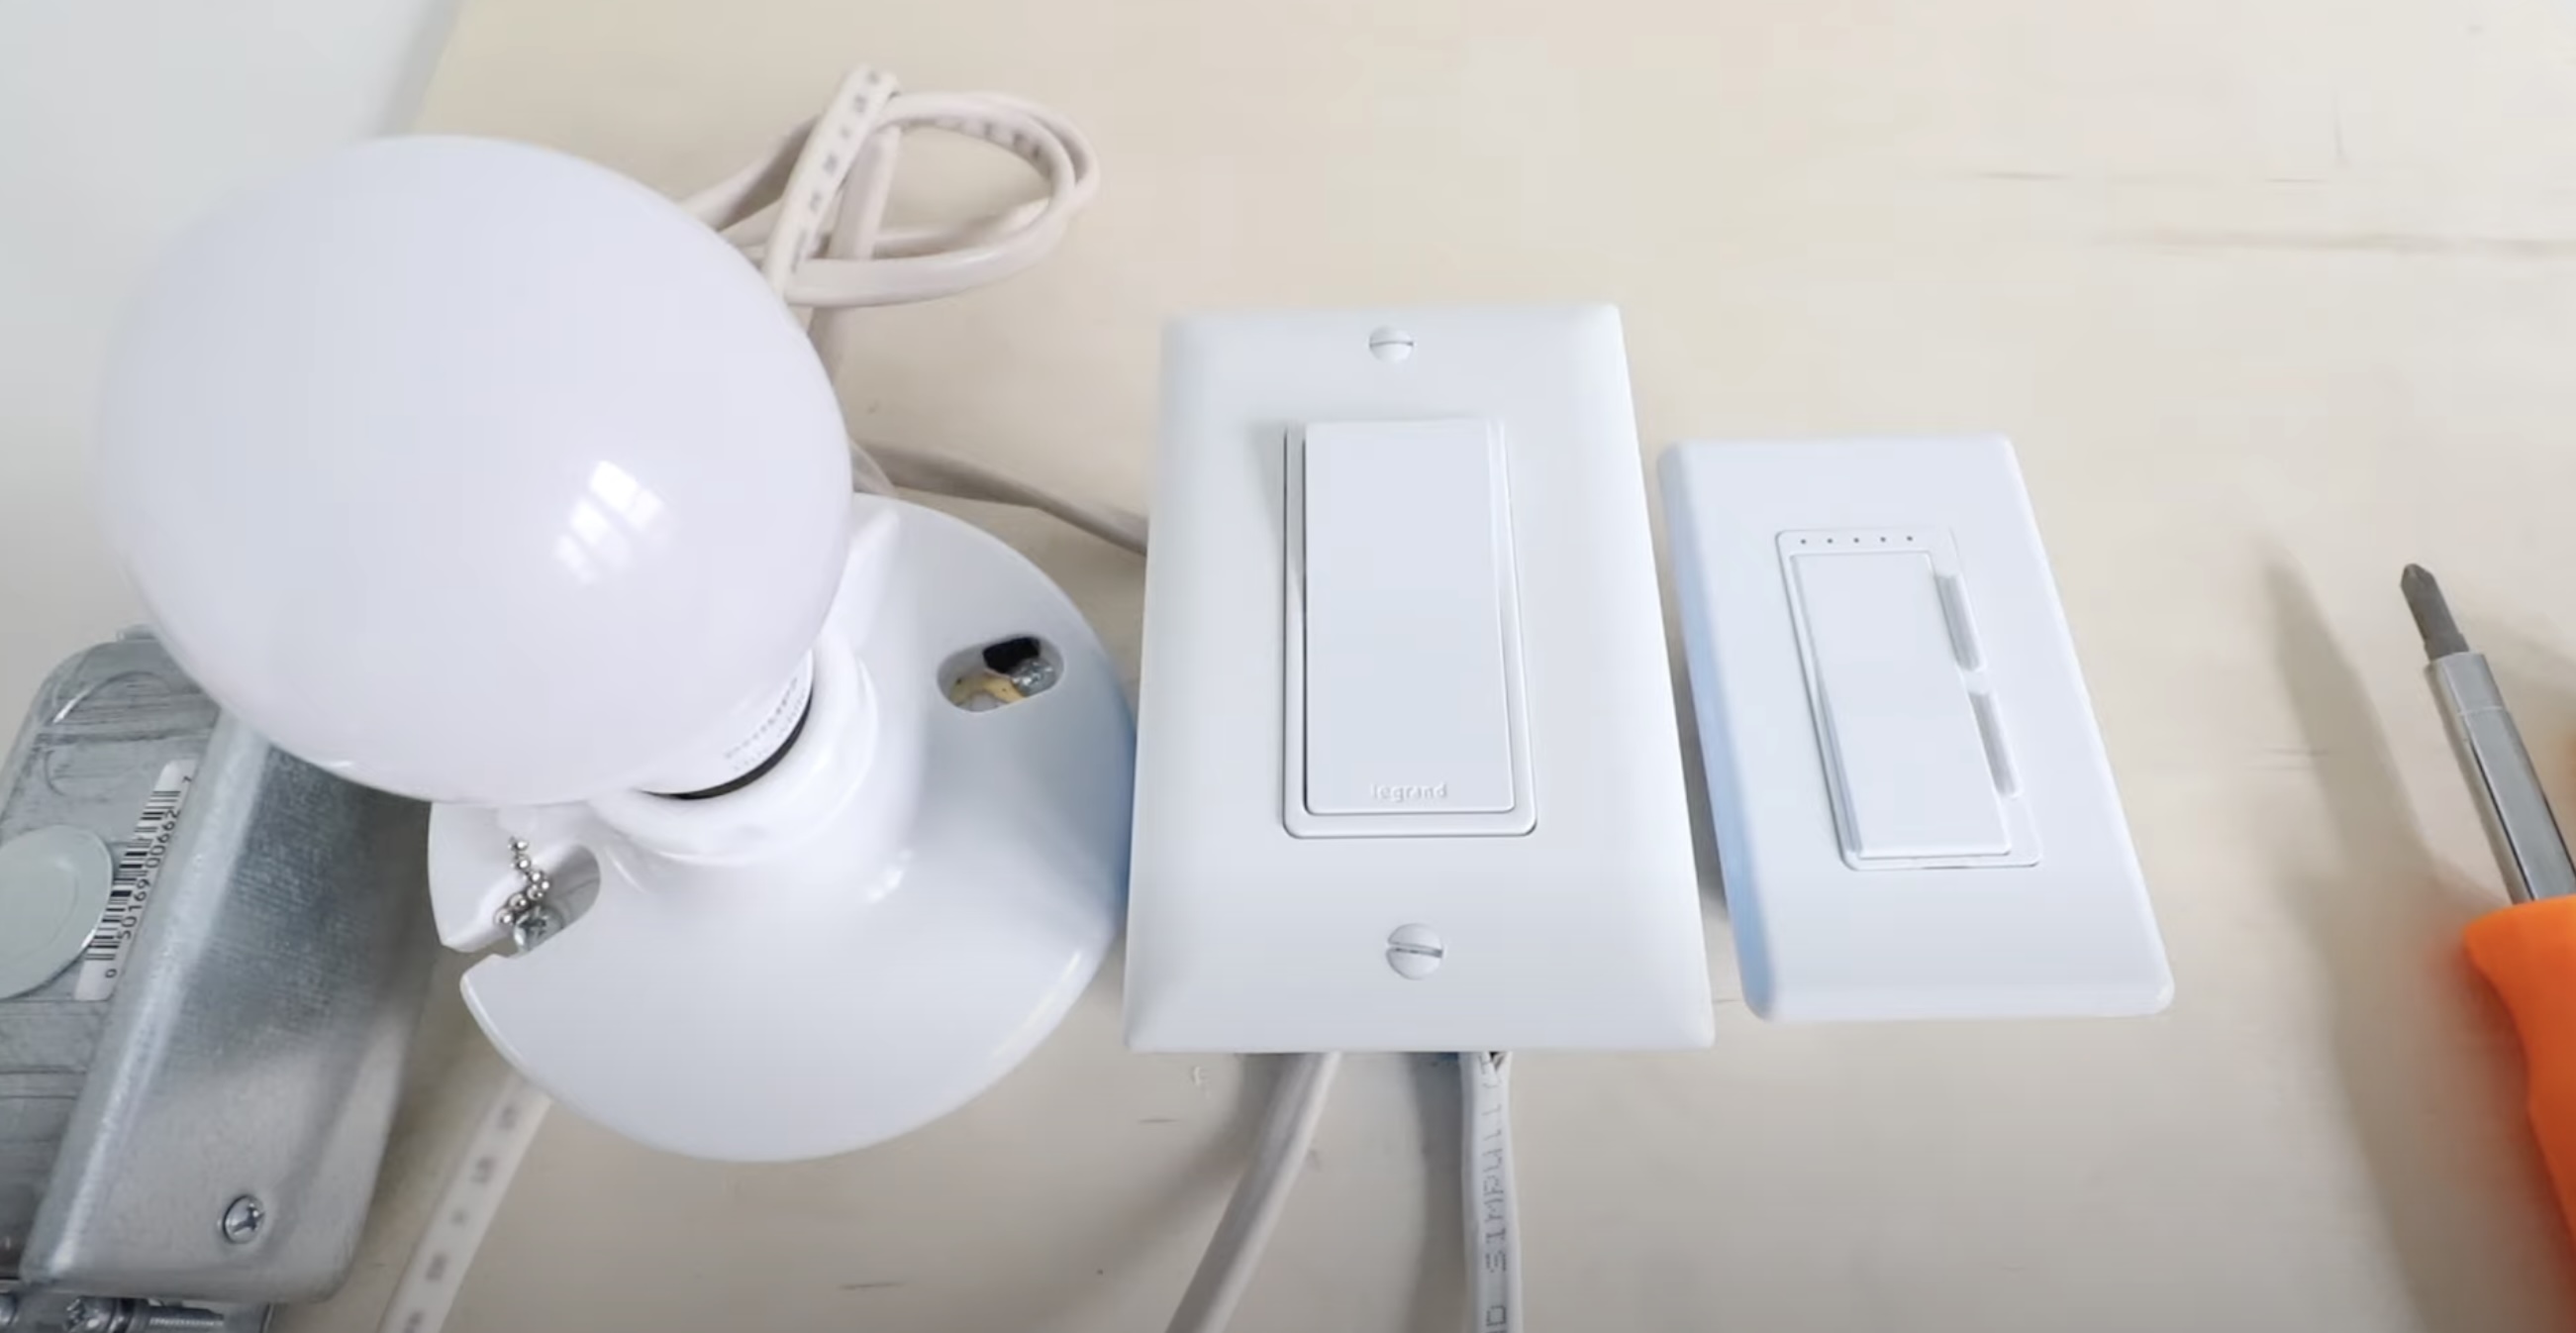
- Dimmer switch
- Cover plate (if not included with the dimmer switch)
- Wire nuts
- Electrical tape
- Marker or pencil
Having these tools and materials readily available will make the installation process much smoother. Ensure that you have everything on hand before you begin, as it will save you time and minimize any interruptions during the process.
Now that you have all the required tools and materials, let’s move on to the step-by-step installation process.
Read more: How To Install A Smart Dimmer Switch
Step 1: Turn off the Power Supply
Before you begin the installation process, it is crucial to turn off the power supply to the switch you’ll be working on. Here’s how to do it:
- Locate your home’s circuit breaker or fuse box. This is usually found in the basement, garage, or utility room.
- Identify the circuit breaker or fuse that controls the power supply to the switch. If you’re unsure, consider turning off the main power supply to the entire house to be extra safe.
- Flip the switch in the circuit breaker or remove the fuse to cut off the power supply to the switch. You can double-check if the power is off by testing the switch with a voltage tester.
- It is essential to communicate with anyone else in your home that you will be working on the electrical system and that the power will be turned off. This will help avoid any accidents or mishaps while you are working.
By following these steps, you can ensure that the power supply to the switch is safely turned off. Remember to always prioritize safety when working with electrical systems. Now that you have turned off the power, you can proceed to the next step of removing the existing switch.
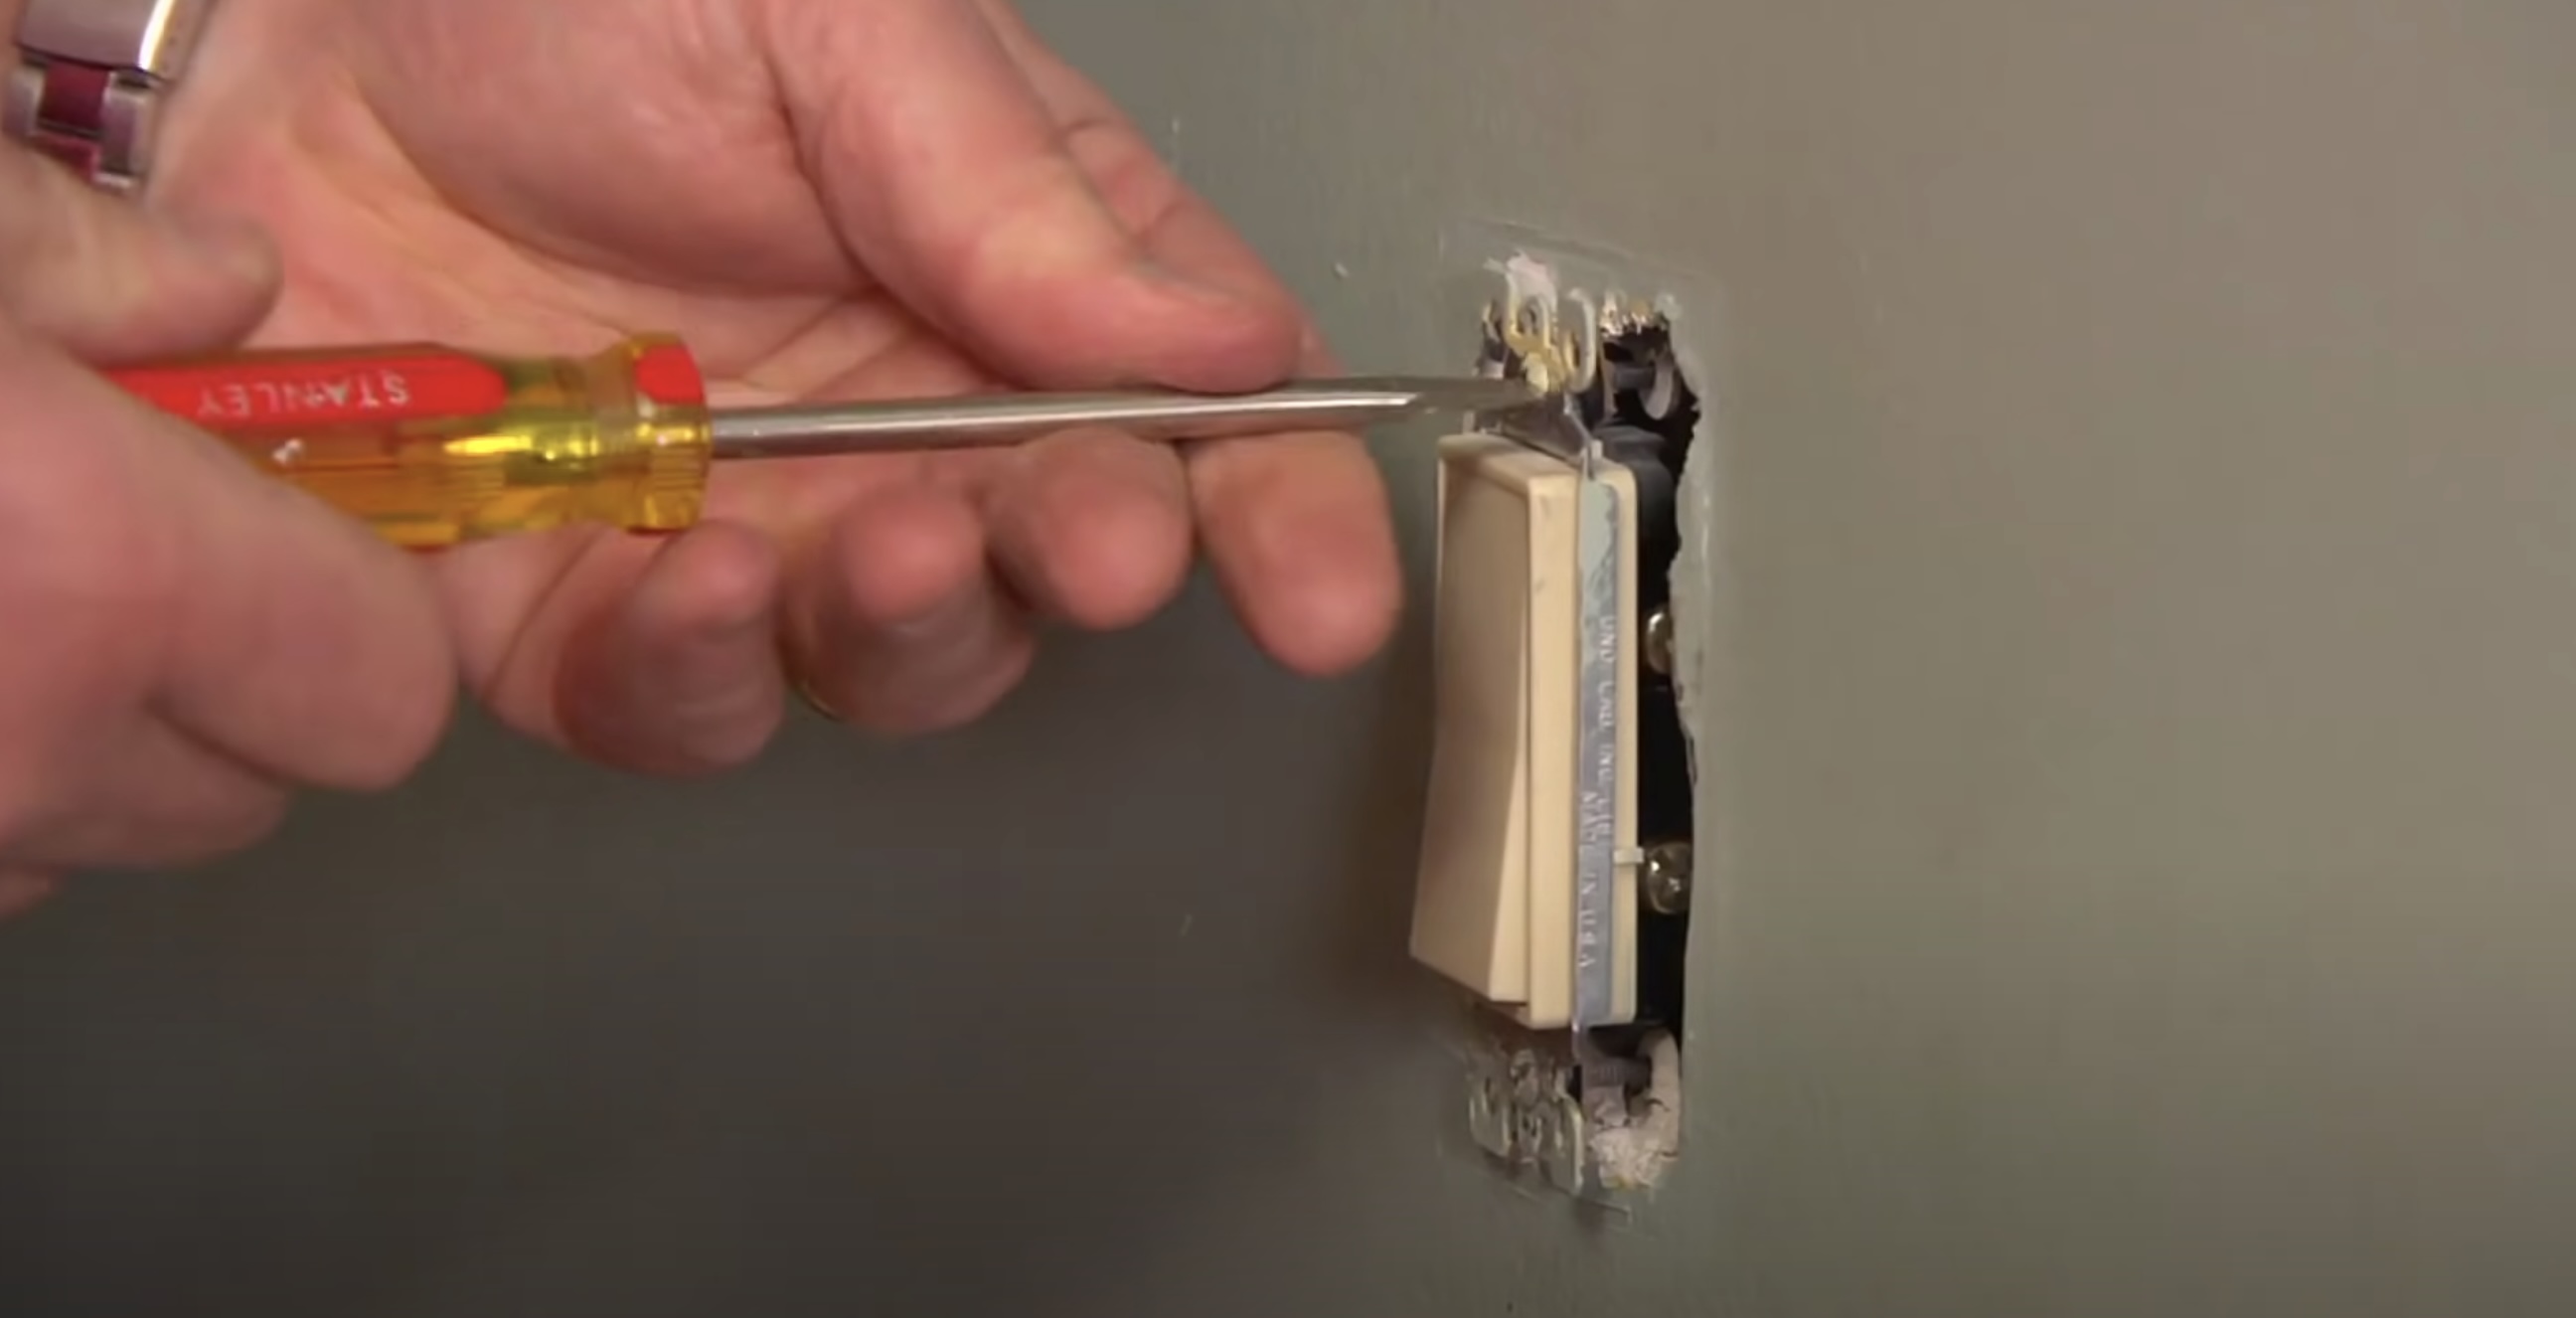
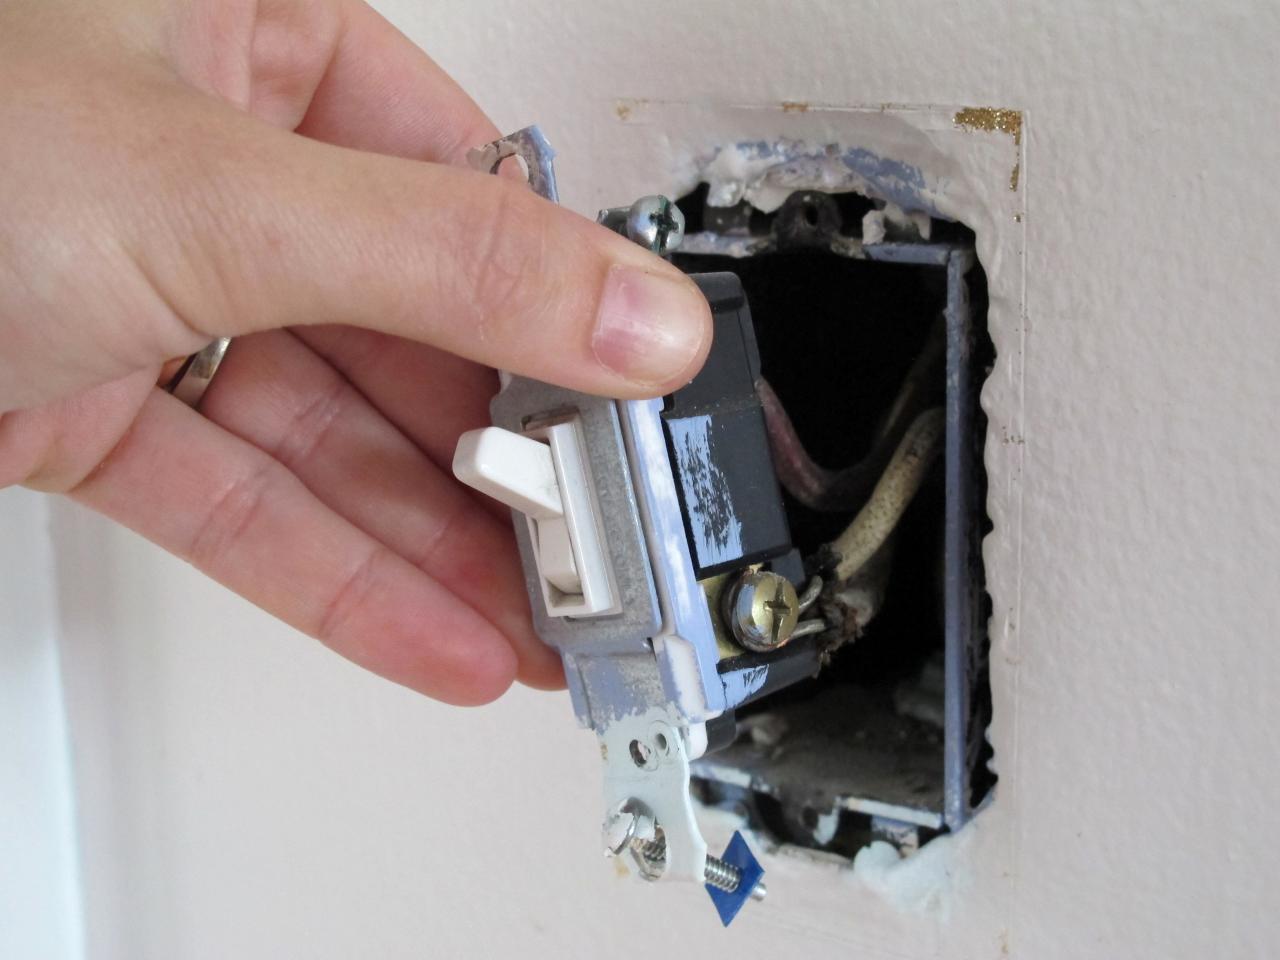
Step 2: Remove the Existing Switch
Now that the power supply is turned off, you can proceed to remove the existing switch. Here’s how:
- Using a screwdriver, carefully remove the screws that secure the switch cover plate to the wall.
- Gently pull the cover plate away from the wall to expose the switch.
- Next, remove the screws that hold the switch in place. Depending on the type of switch, there may be one or two screws.
- Once the screws are removed, carefully pull the switch away from the wall.
- If the switch is connected to wires, take note of the wire connections. You can use a marker or take a photo to help you remember which wires are connected where.
- Use a wire nut to temporarily cap off the exposed wires for safety.
By following these steps, you can safely remove the existing switch. Make sure to handle the switch and wires with care to avoid any damage. Now that the switch is removed, you can move on to the next step of identifying the wiring.
Step 3: Identify the Wiring
Now that the existing switch is removed, it’s important to identify the wiring before installing the dimmer switch. Here’s how:
- Inspect the exposed wires to determine their color and condition. Typical wire colors include black (hot), white (neutral), and green or bare copper (ground).
- If your switch has only two wires (black and white), it is likely a single-pole switch. In this case, the black wire is the hot wire, and the white wire is the neutral wire. Take note of this for later reference.
- If your switch has three or more wires, it is likely a three-way or four-way switch. These switches are commonly used in multi-location lighting setups, such as staircases or large rooms with multiple entrances. It’s important to understand the wiring configuration of these switches before proceeding with the dimmer switch installation.
- If you’re unsure about the wiring configuration, consult the user manual or seek the assistance of a qualified electrician.
Identifying the wiring is essential as it will help you properly connect the dimmer switch later on. Take your time to examine and understand the wires before moving on to the next step. Once you have identified the wiring, you can proceed to connect the dimmer switch in the next step.
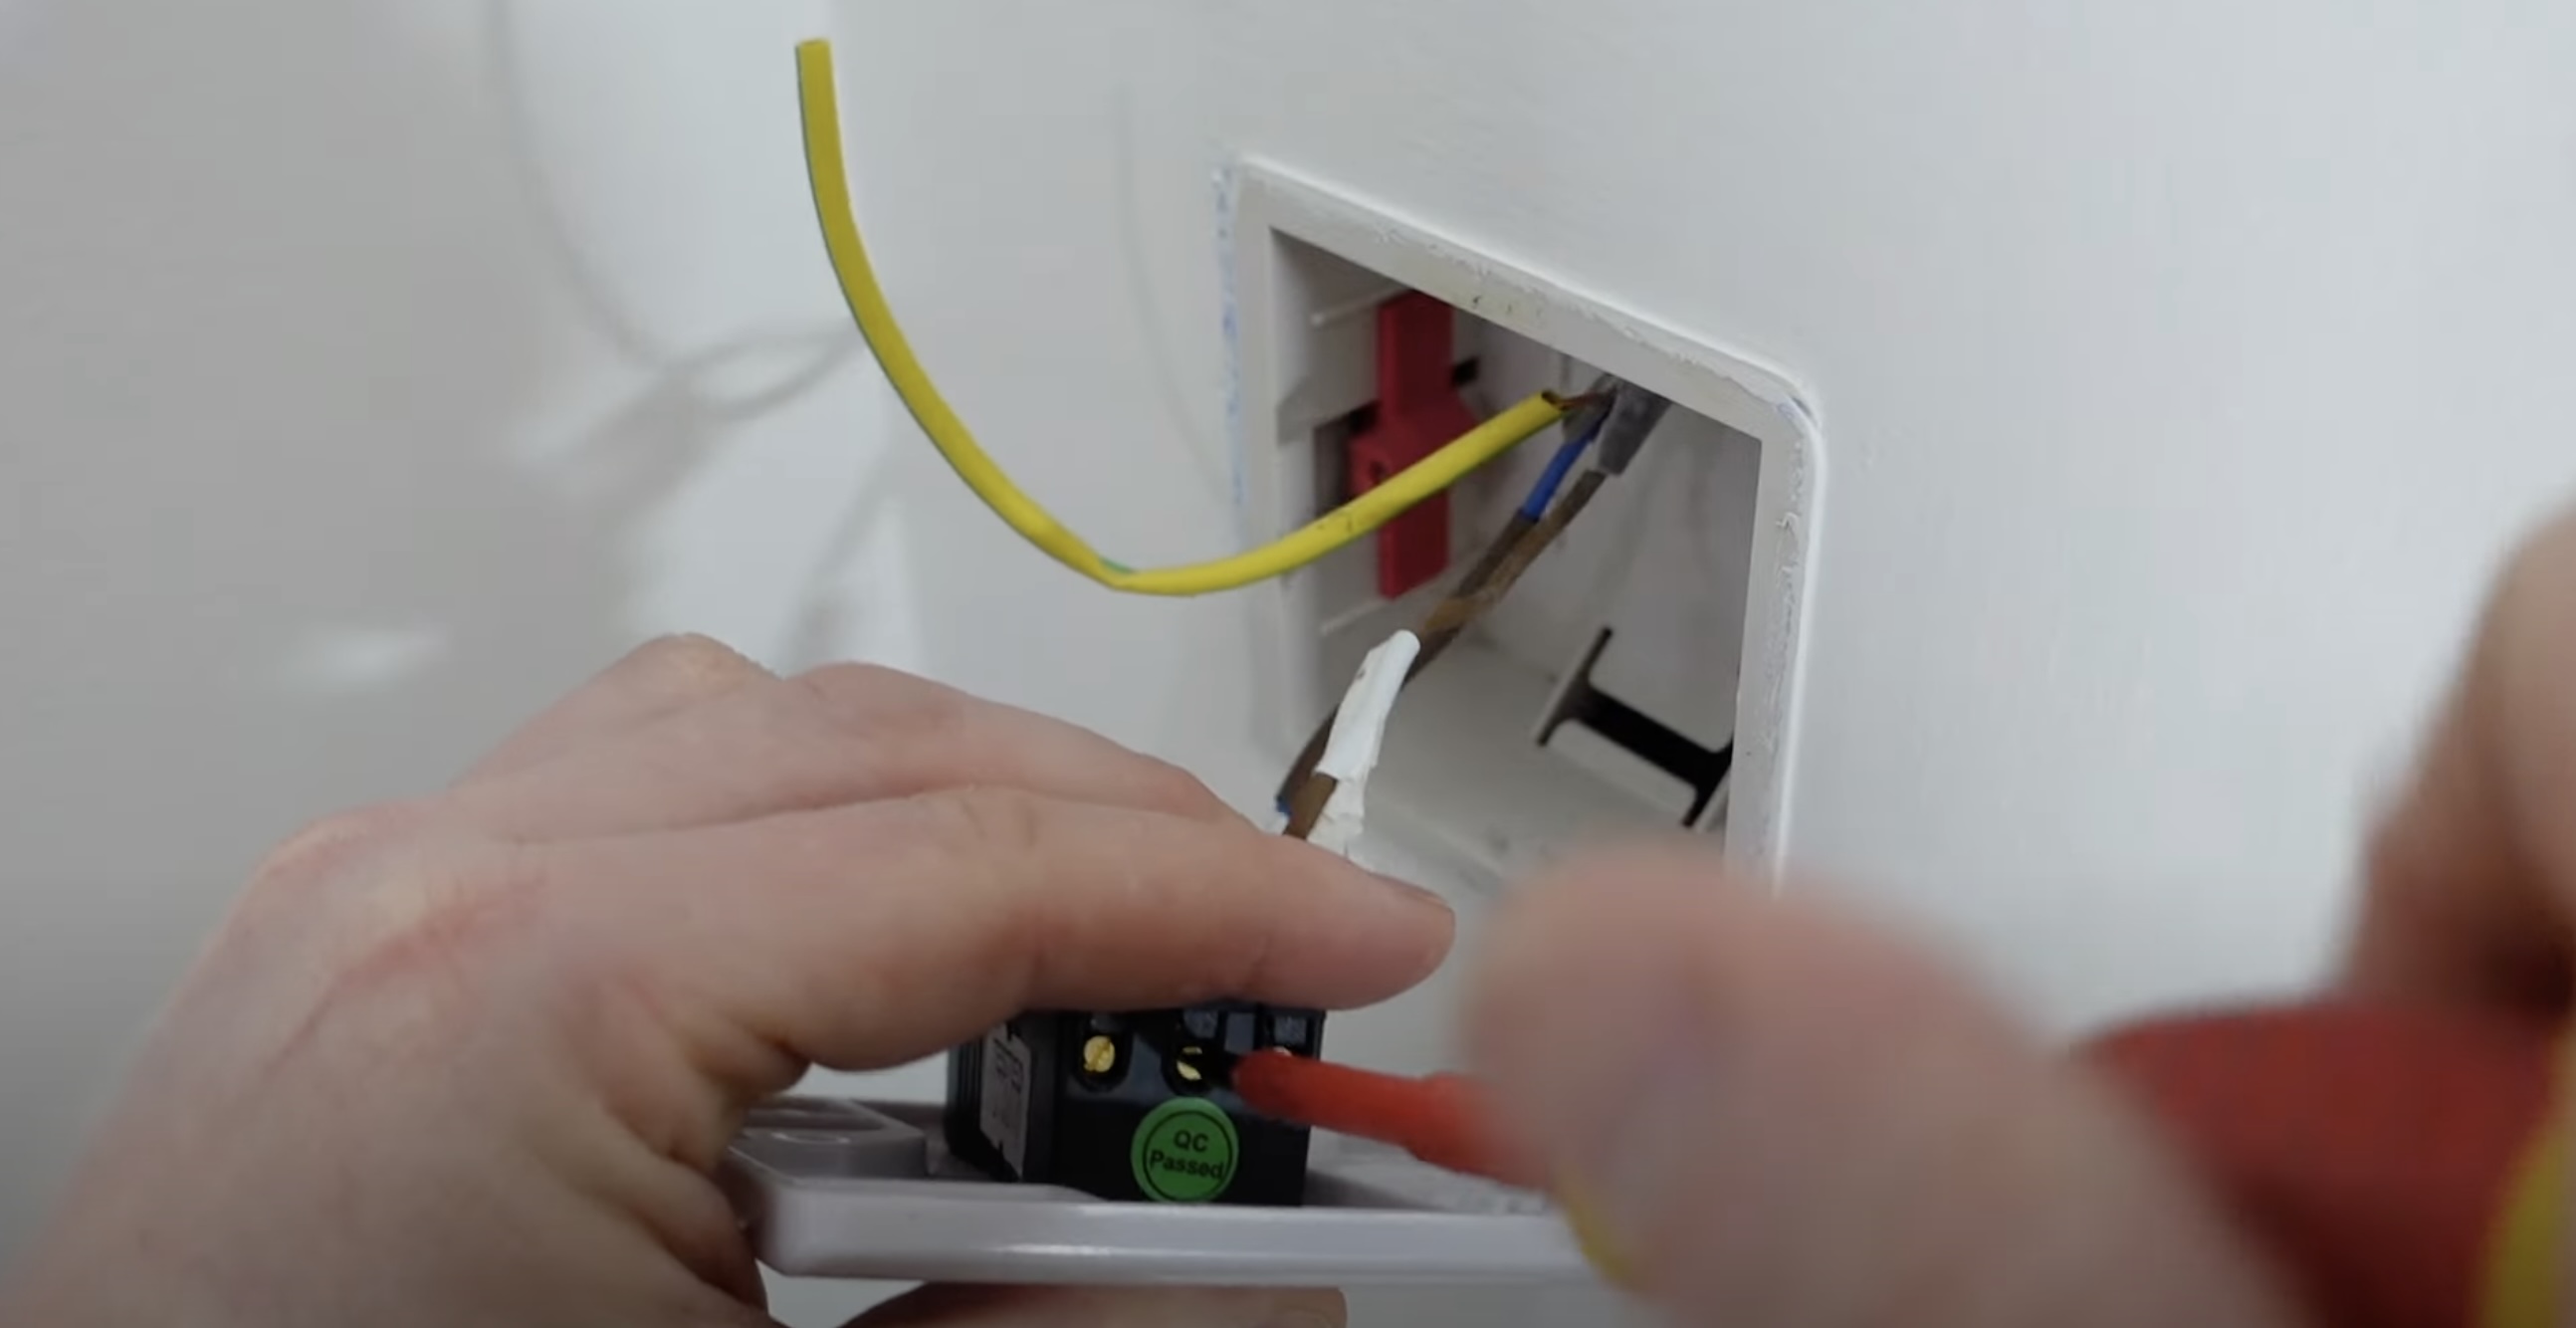
Step 4: Connect the Dimmer Switch
Now that you have identified the wiring, it’s time to connect the dimmer switch. Follow these steps:
- Start by connecting the ground wire. If the dimmer switch has a green or bare copper wire, connect it to the bare copper or green ground wire in the electrical box. Use a wire nut to secure the connection.
- Next, connect the hot wire. This is usually the black wire. If you have a single-pole switch, connect the black wire from the electrical box to the black or hot wire of the dimmer switch. If you have a three-way switch, refer to the user manual for specific instructions on how to connect the wires. Use a wire nut to secure the connection.
- If there is a neutral wire present (usually white), connect it to the appropriate terminal on the dimmer switch. Some dimmer switches require a neutral wire for proper operation, while others do not. Again, refer to the user manual for specific instructions.
- Double-check all connections to ensure they are secure and no bare wires are exposed. Wrap electrical tape around the wire nuts for extra protection.
It’s crucial to follow the manufacturer’s instructions for your specific dimmer switch, as the wiring configurations may differ. If you’re uncertain or uncomfortable working with electrical wiring, it’s recommended to seek the assistance of a licensed electrician.
Now that the connections are made, you can move on to securing the switch in place in the next step.
When installing a dimmer switch, always turn off the power at the circuit breaker before beginning the installation. This will ensure your safety while working with electrical wiring.
Read more: How To Install An LED Dimmer Switch
Step 5: Secure the Switch in Place
After connecting the dimmer switch, it’s time to secure it in place. Follow these steps:
- Carefully tuck the connected wires back into the electrical box, ensuring they are not squeezed or pinched.
- Align the dimmer switch with the screw holes on the electrical box.
- Using the screws provided with the dimmer switch, tighten them to secure the switch to the electrical box. Be careful not to over-tighten, as it may cause damage to the switch or the electrical box.
Ensure that the dimmer switch is level and properly aligned with the wall. Take a moment to inspect the switch to make sure it is securely fastened and will not move or come loose in the future.
If the dimmer switch came with a cover plate, attach it to the switch by aligning the screw holes and tightening the screws. If a cover plate was not included, you may choose to reuse the existing cover plate or purchase a new one that matches your decor.
With the switch securely in place, it’s time to move on to the next step and test the dimmer switch.
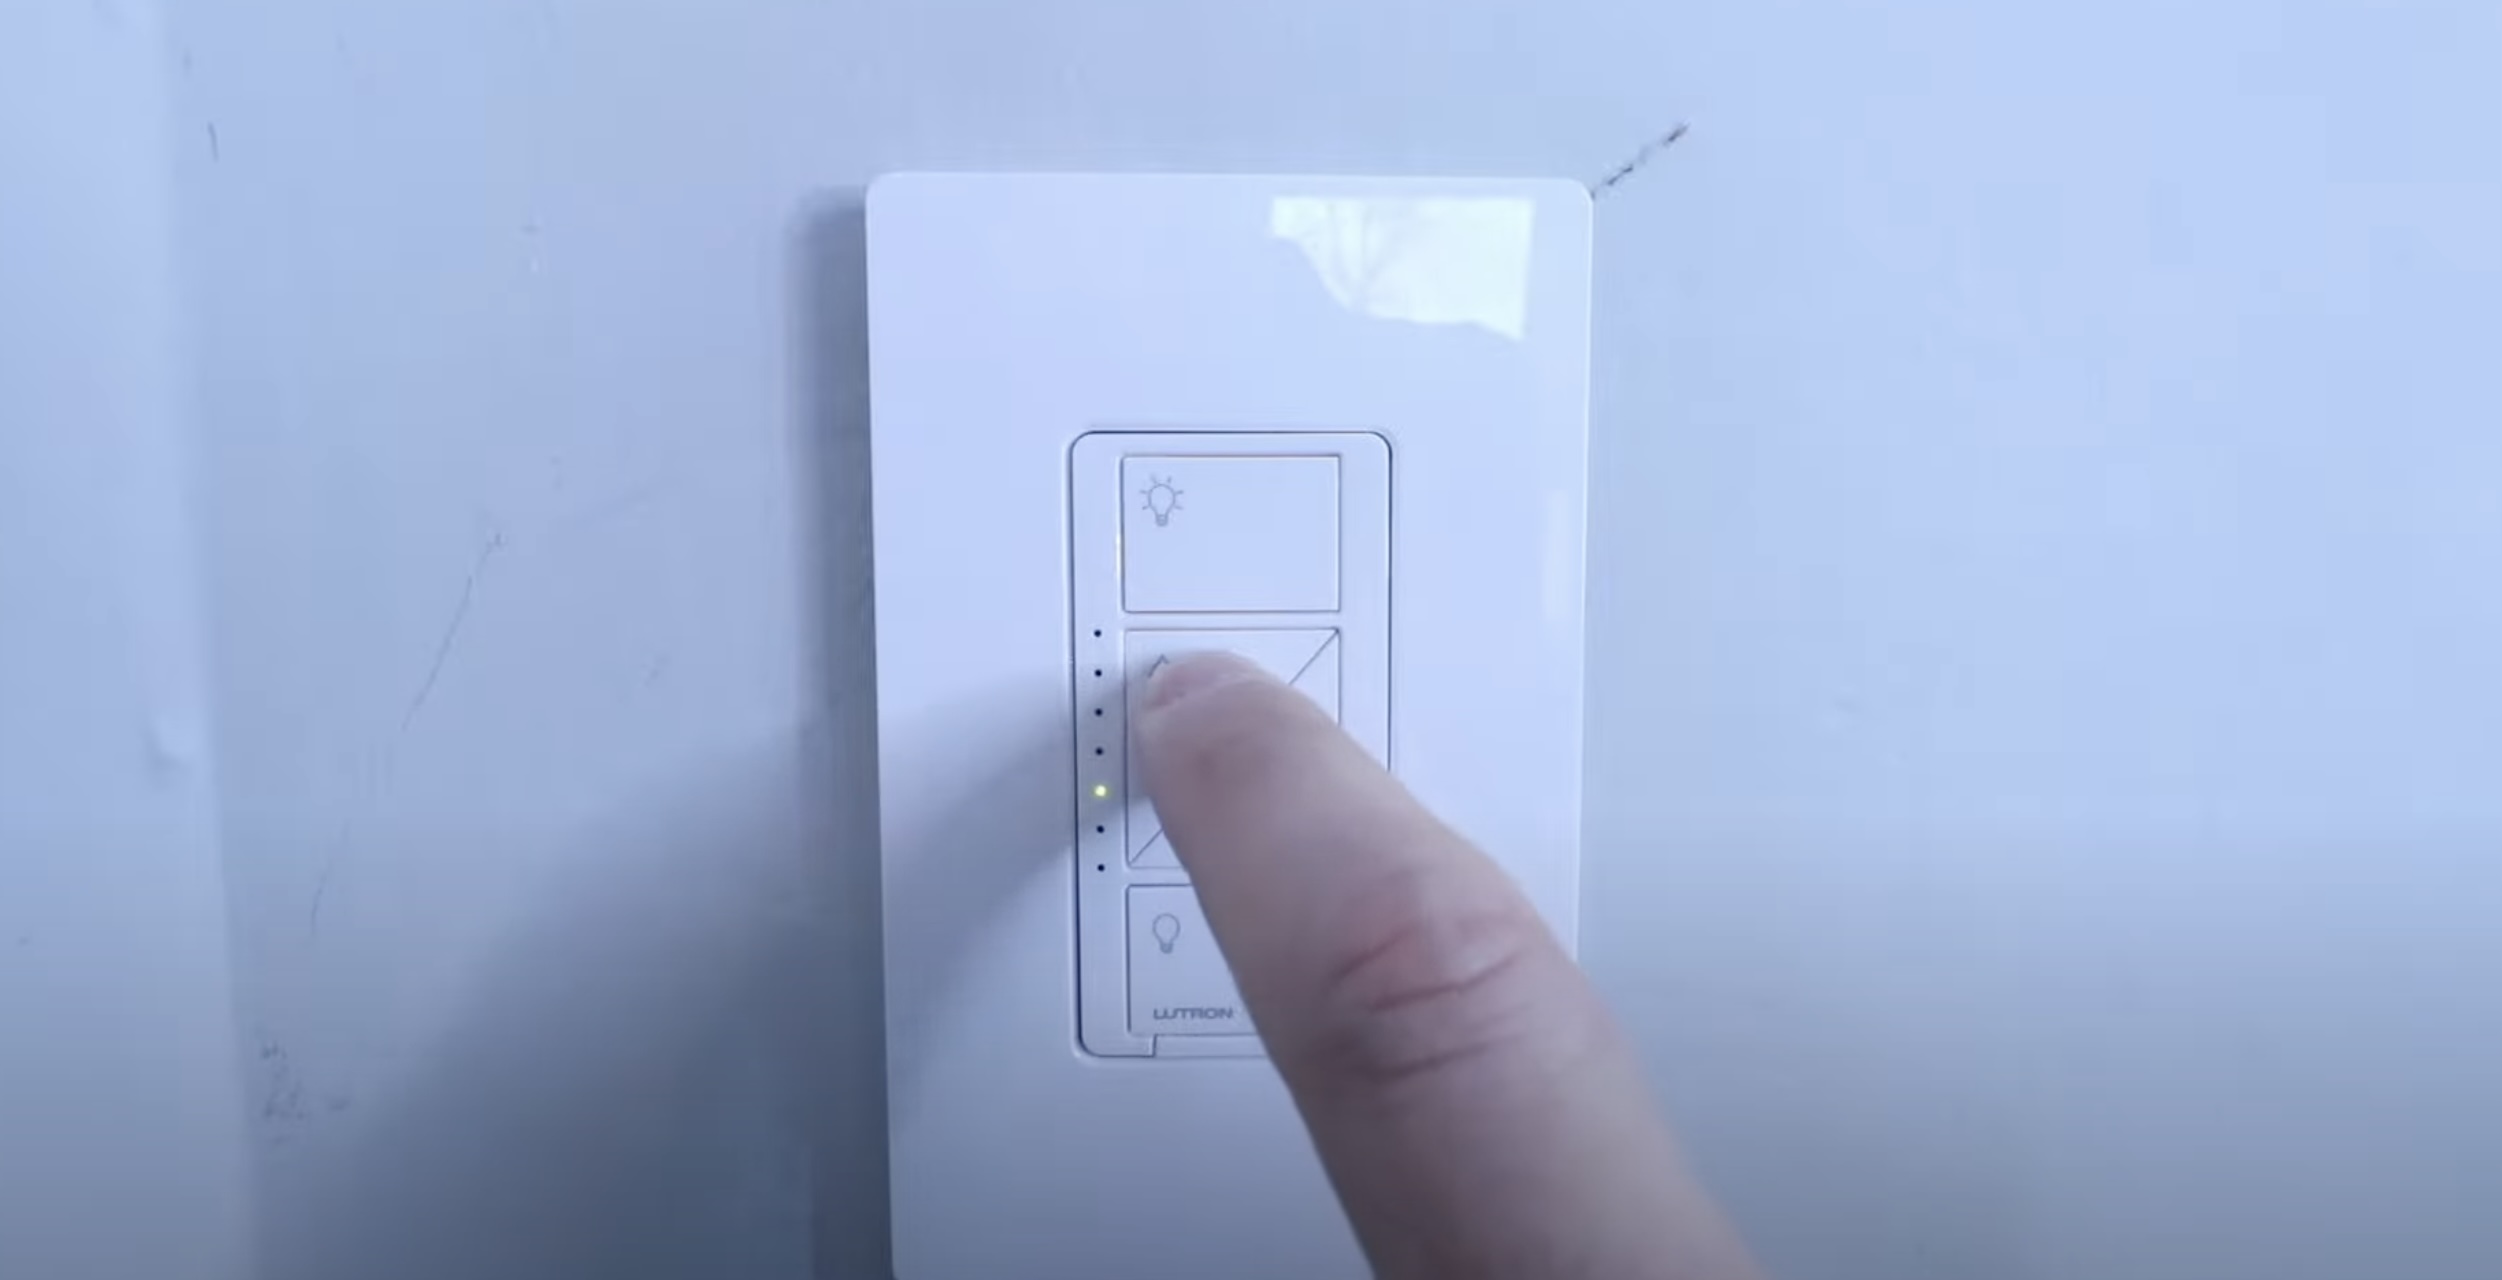
Step 6: Test the Dimmer Switch
After securing the dimmer switch in place, it’s important to test its functionality before completing the installation. Follow these steps:
- Turn on the power supply to the switch by flipping the circuit breaker or inserting the fuse back into the fuse box.
- Turn on the lights connected to the dimmer switch.
- Slowly adjust the dimmer switch to increase or decrease the brightness of the lights.
- Observe if the lights respond accordingly and adjust smoothly. Check for any flickering or buzzing noises, as these can indicate wiring issues or compatibility problems.
- If the dimmer switch is working properly, turn off the lights and adjust the switch to its lowest setting.
Testing the dimmer switch will ensure that it is functioning correctly and providing the desired lighting control. If you notice any issues, such as lights not turning on or flickering excessively, double-check the wiring connections or consult a professional for assistance.
Once you have confirmed that the dimmer switch is working as expected, you can proceed to the final step of restoring the power supply.
Step 7: Restore the Power Supply
Now that you have successfully installed and tested the dimmer switch, the final step is to restore the power supply. Here’s how:
- Ensure that the dimmer switch is in the “off” position, with the lights connected to it turned off.
- Return to your home’s circuit breaker or fuse box.
- Locate the circuit breaker or fuse that controls the power to the switch.
- Flip the switch in the circuit breaker or reinsert the fuse to restore the power supply.
- Return to the switch and turn it on to activate the lights connected to the dimmer switch.
- Verify that the lights respond properly to the dimmer switch by adjusting the brightness as desired.
With the power restored, you can now control the lighting in your room using the newly installed dimmer switch. Enjoy the flexibility of adjusting the brightness to suit your needs and create the desired ambiance in your home.
Remember, if you ever need to replace or upgrade your dimmer switch in the future, ensure that you follow the same steps to turn off the power supply and apply the necessary safety precautions.
Congratulations! You have successfully installed a dimmer switch, enhancing your control over your lighting and creating a more comfortable and adjustable atmosphere in your space.
Thank you for following our step-by-step guide. If you have any further questions or need additional assistance, don’t hesitate to reach out or consult a professional electrician.
Conclusion
Installing a dimmer switch is a simple yet impactful way to upgrade your lighting control and create a more versatile and customizable ambiance in your home. By following the step-by-step process outlined in this guide, you can confidently install a dimmer switch and enjoy the benefits it offers.
Throughout the installation process, it is crucial to prioritize safety. Remember to turn off the power supply, use protective gear, and follow all safety precautions. Taking the time to properly identify and connect the wiring will ensure a successful installation and prevent any potential hazards.
With the right tools, materials, and knowledge, you can easily remove the existing switch, connect the dimmer switch, secure it in place, and test its functionality. By restoring the power supply and fine-tuning the dimmer switch, you’ll have full control over the brightness of your lights, allowing you to create the perfect ambiance for any occasion.
Whether you’re looking to create a cozy atmosphere in your living room, set the mood for a romantic dinner, or simply decrease energy usage, a dimmer switch is an excellent addition to your home’s lighting system.
We hope that this comprehensive guide has provided you with the information and confidence needed to successfully install a dimmer switch. However, if you have any further questions or concerns, it is always recommended to consult a professional electrician for assistance.
Enjoy the comfort, adaptability, and energy efficiency that a dimmer switch brings to your home!
Frequently Asked Questions about How To Install A Dimmer Switch
Was this page helpful?
At Storables.com, we guarantee accurate and reliable information. Our content, validated by Expert Board Contributors, is crafted following stringent Editorial Policies. We're committed to providing you with well-researched, expert-backed insights for all your informational needs.


0 thoughts on “How To Install A Dimmer Switch”