Articles
How To Install Vinyl Porch Railing
Modified: January 8, 2024
Discover step-by-step articles on installing vinyl porch railing to enhance your home's curb appeal. Expert advice and tips for a smooth and successful installation process.
(Many of the links in this article redirect to a specific reviewed product. Your purchase of these products through affiliate links helps to generate commission for Storables.com, at no extra cost. Learn more)
Introduction
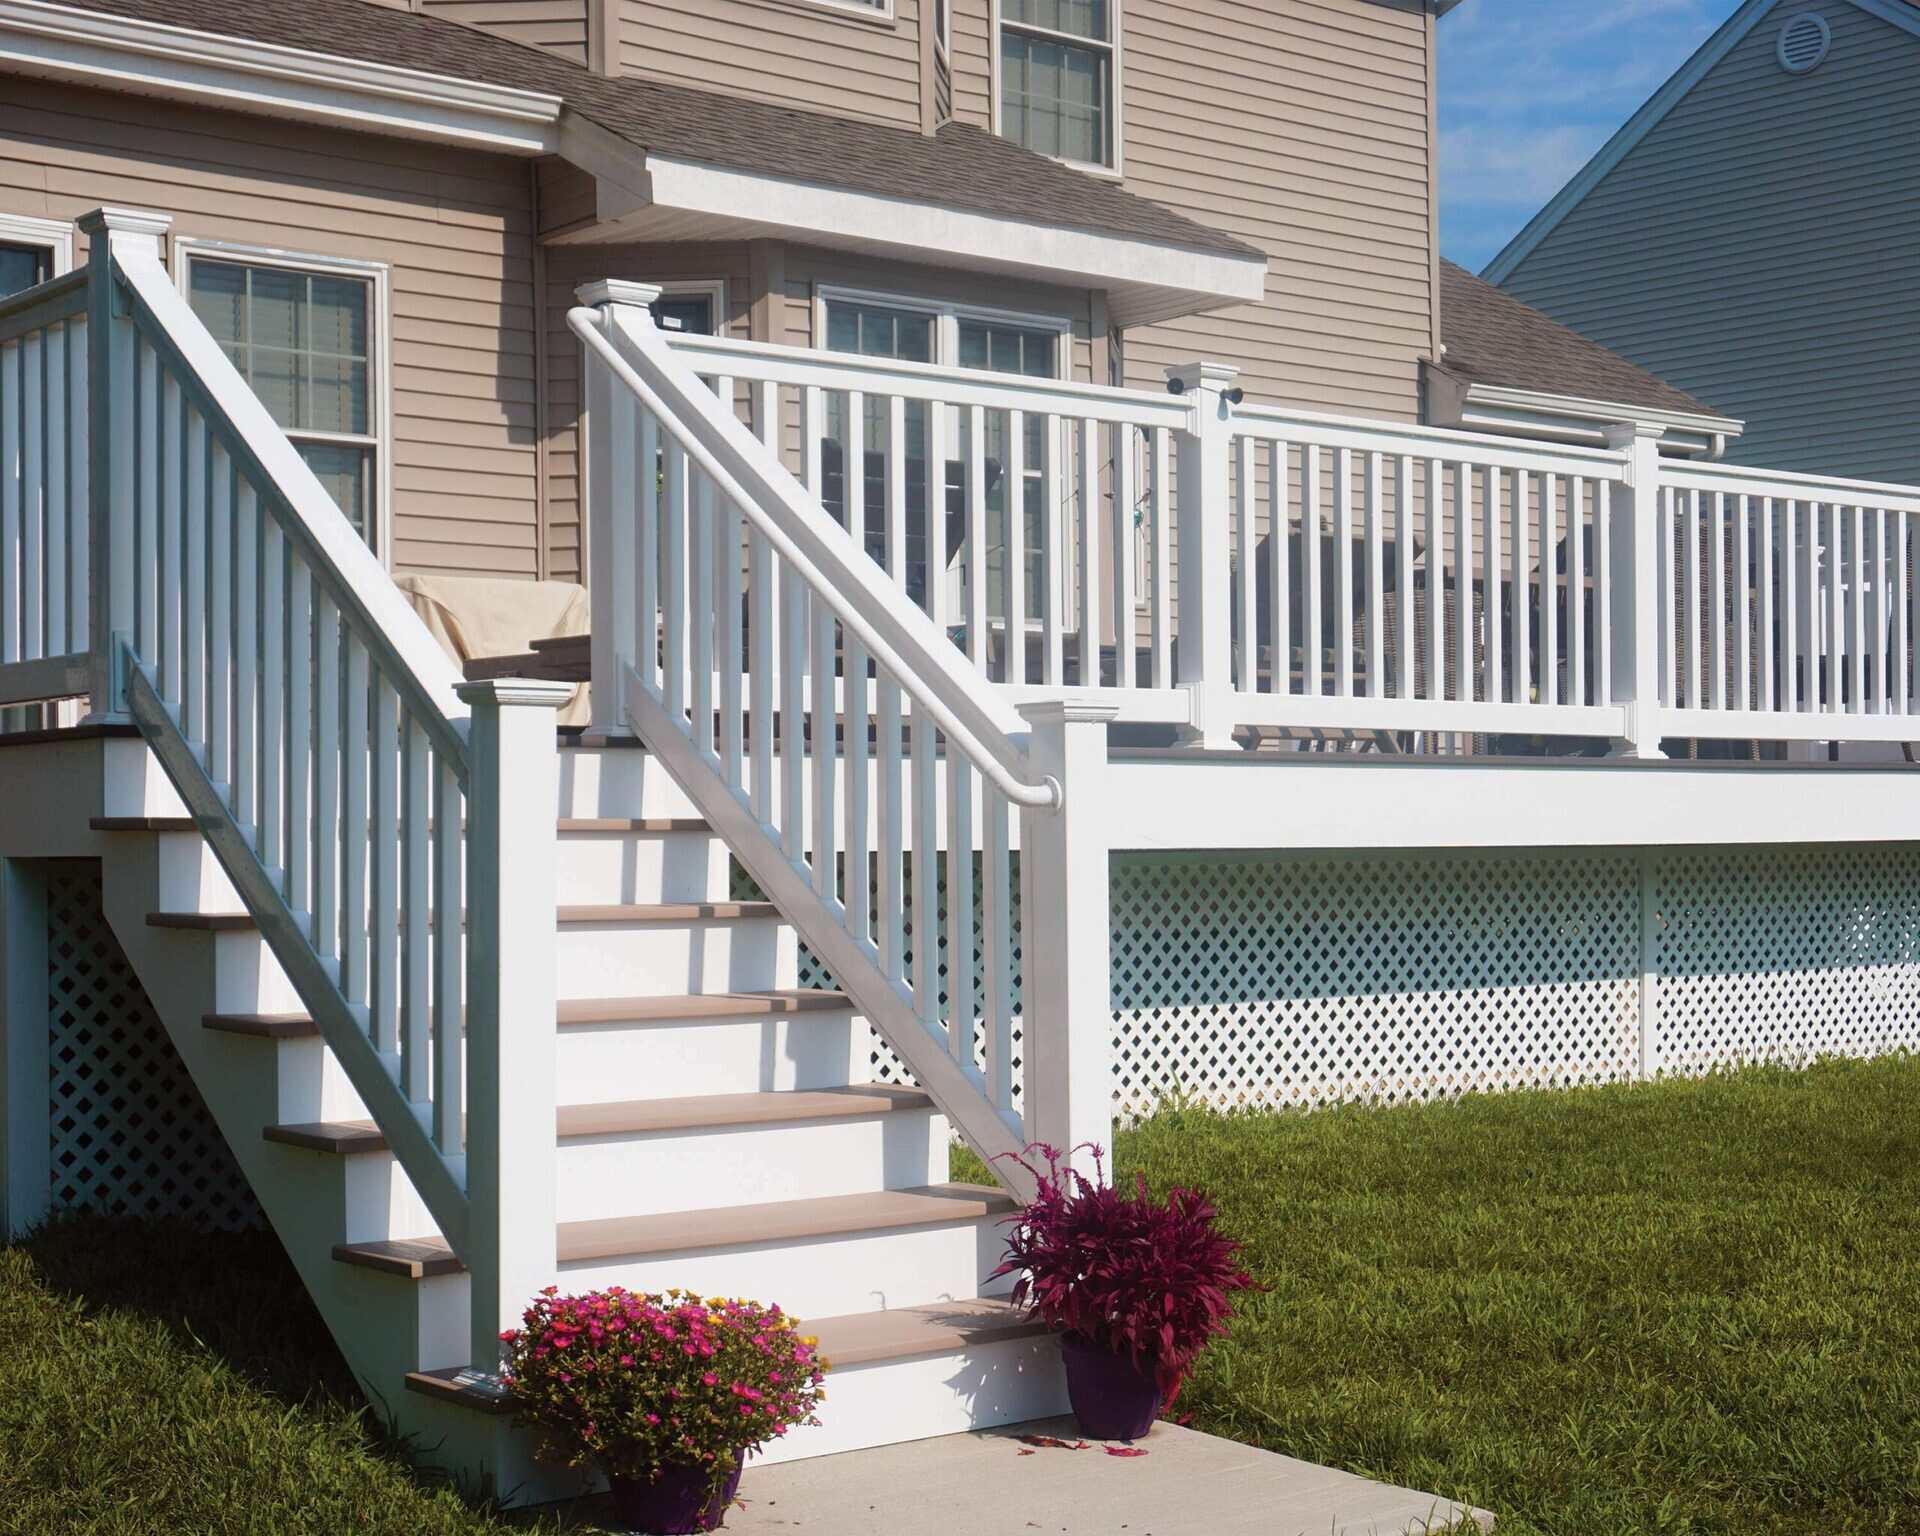
Welcome to our step-by-step guide on how to install vinyl porch railing. Adding a porch railing not only adds a touch of style and elegance to your home, but it also provides safety and security for you and your family. Vinyl porch railings are a popular choice due to their durability, low maintenance, and versatile design options.
In this guide, we will walk you through the process of installing vinyl porch railing, from gathering the necessary tools and materials to the final finishing touches. Whether you are a seasoned DIYer or a beginner, this guide will provide you with all the information you need to successfully complete this project.
Before we dive into the installation process, it’s important to note that every porch is unique, and the specific steps and measurements may vary based on your porch’s design and condition. It’s always a good idea to consult the manufacturer’s instructions and check with local building codes to ensure compliance and safety.
Now, let’s get started with the first step: gathering the tools and materials you’ll need for the installation process.
Key Takeaways:
- Installing vinyl porch railing enhances home safety and curb appeal. Follow step-by-step instructions, gather tools, measure, and secure the railing for a successful DIY project.
- Completing the finishing touches, such as cleaning and applying a vinyl protectant, ensures a visually appealing and long-lasting vinyl porch railing. Regular maintenance is key to its longevity.
Read more: How To Clean Vinyl Porch Railing
Step 1: Gather the Tools and Materials
Before you begin the installation process, it’s important to gather all the necessary tools and materials. Having everything on hand will help ensure a smooth and efficient installation.
Here’s a list of the tools and materials you’ll need:
- Tape Measure: This will be essential for measuring the dimensions of your porch and the railing components.
- Level: A level is necessary to ensure that the railing is installed straight and level.
- Hacksaw or Miter Saw: You’ll need a saw to cut the railing and balusters to the appropriate length.
- Drill: A drill will be required for drilling pilot holes and screws into the porch posts.
- Screwdriver: Depending on the type of screws used, a screwdriver may be needed to tighten them.
- Vinyl Porch Railing Kit: Purchase a vinyl porch railing kit that includes all the necessary components for installation. This typically includes the top and bottom rails, balusters, brackets, and screws.
- Leveling Blocks or Shims: These are used to ensure that the bottom rail is level and secure.
- Gloves and Safety Glasses: It’s important to protect your hands and eyes while working with tools and materials.
Once you have gathered all the tools and materials, double-check that everything is in good condition and ready for use. If any components are missing or damaged, contact the manufacturer or supplier to obtain replacements before starting the installation process.
Now that you have everything you need, it’s time to move on to the next step: measuring and preparing the porch for the installation of the vinyl porch railing.
Step 2: Measure and Prepare the Porch
Before you can begin installing the vinyl porch railing, it’s important to accurately measure your porch and make any necessary preparations to ensure a proper fit and secure installation.
Here are the steps to measure and prepare your porch:
- Measure the Length: Start by measuring the length of your porch where the railing will be installed. Use a tape measure to determine the distance between the starting and ending points for the railing.
- Measure the Height: Next, measure the height from the porch floor to the desired height of the railing. Standard railing heights are typically between 36 and 42 inches.
- Mark the Placement: Use a pencil or chalk to mark the placement of the railing on the porch posts. Make sure the marks are level and aligned for a visually appealing installation.
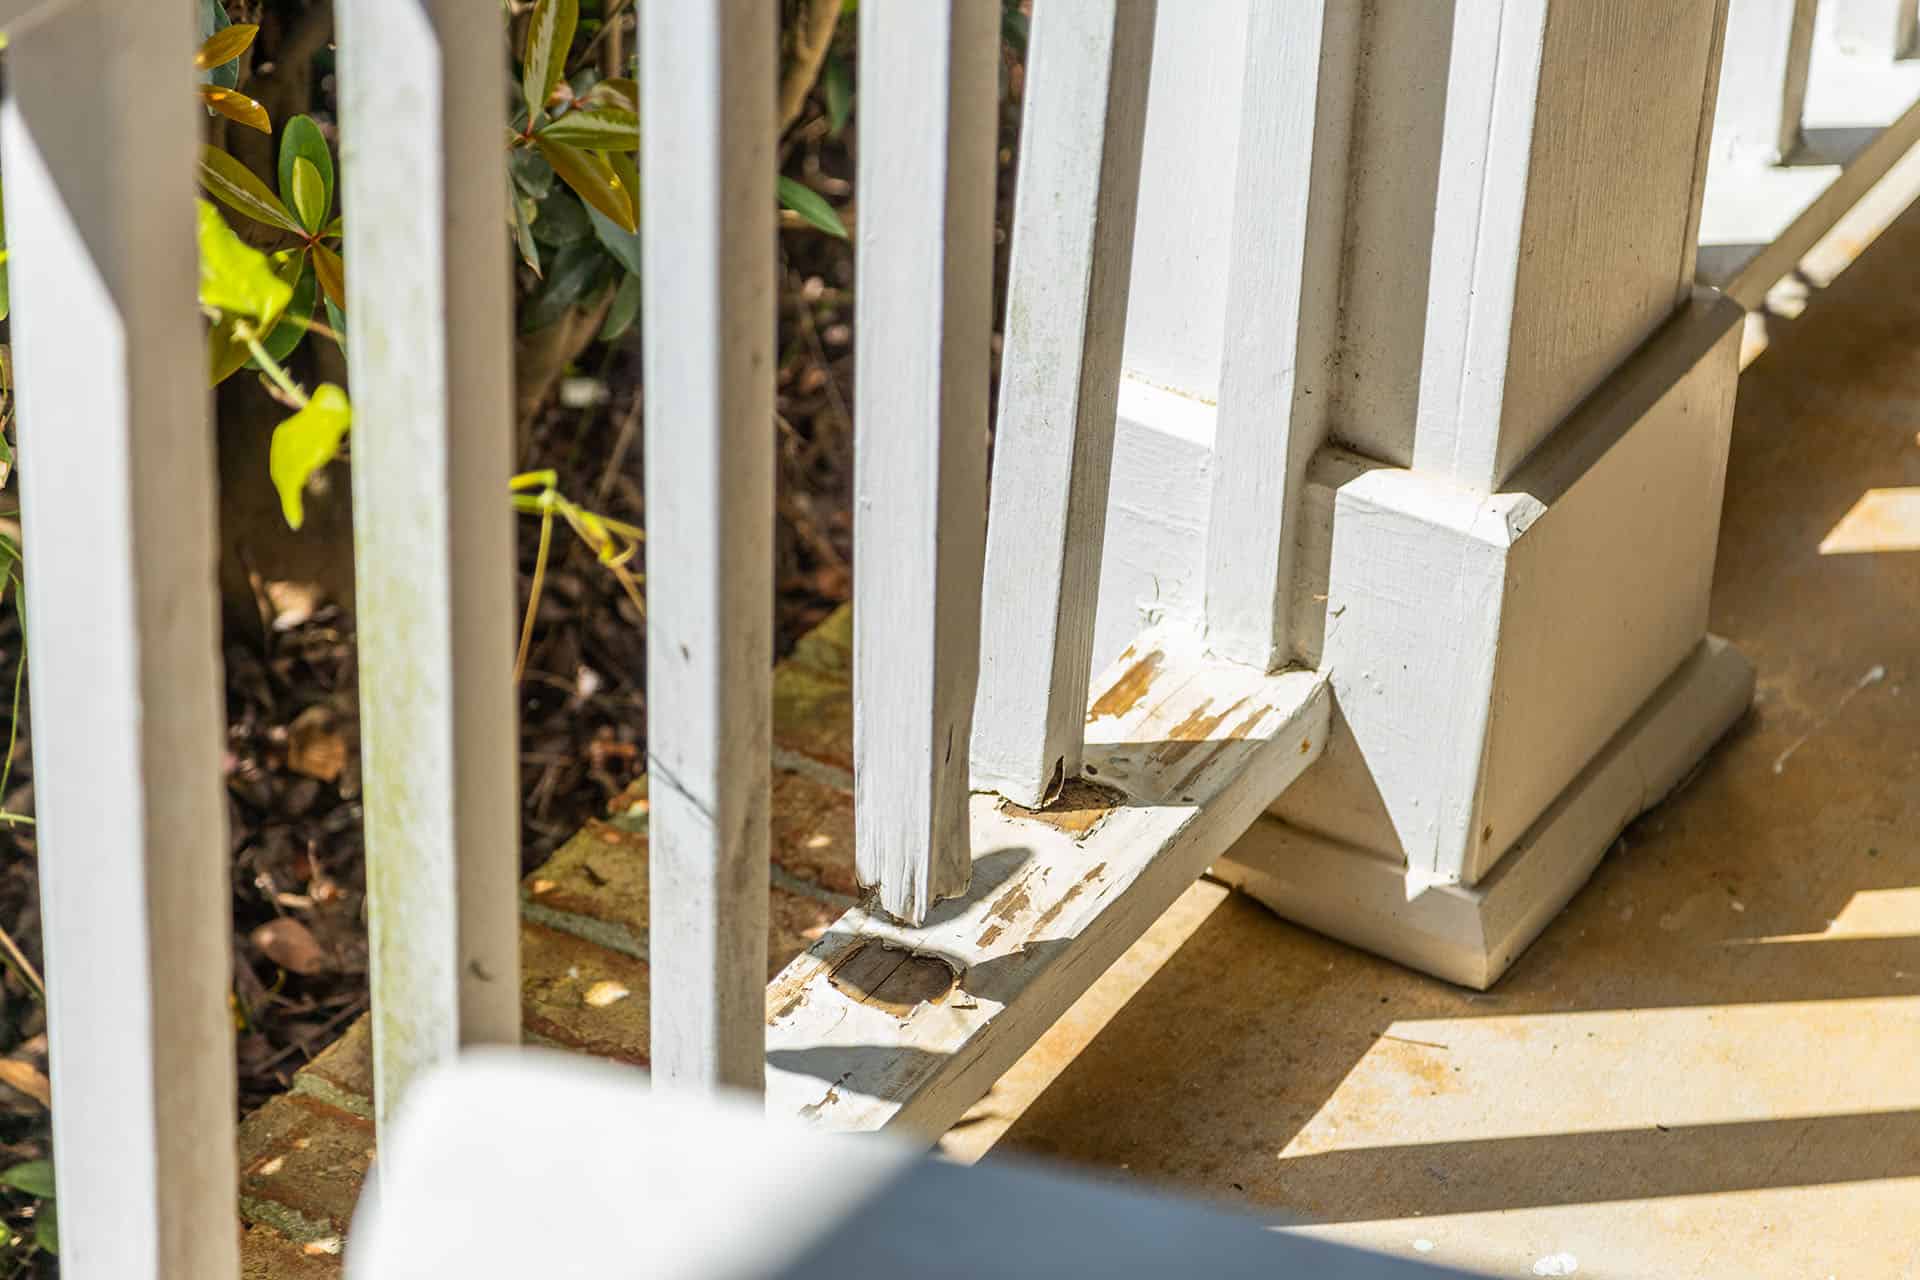
- Prepare the Porch Posts: Examine the porch posts to ensure they are sturdy and in good condition. If needed, repair or reinforce the posts before proceeding with the installation.
- Clear the Area: Remove any obstacles or debris from the installation area to provide a clear and safe workspace.
Once you have measured your porch and made the necessary preparations, you are ready to move on to the next step: attaching the bottom rail of the vinyl porch railing. Stay tuned for step-by-step instructions on how to securely install the bottom rail!
Step 3: Attach the Bottom Rail
Now that you have measured and prepared your porch, it’s time to start installing the vinyl porch railing. The first component to install is the bottom rail, which provides a sturdy base for the entire railing system.
Follow these steps to attach the bottom rail:
- Position the Bottom Rail: Place the bottom rail along the marks you made on the porch posts, ensuring that it is level and aligned. Use a level to double-check its positioning.
- Secure the Rail Brackets: Using a drill, attach the rail brackets to the porch posts. Make sure to follow the manufacturer’s instructions for the specific placement and number of brackets required.
- Insert the Bottom Rail: Slide the bottom rail into the rail brackets, making sure it is securely seated. Gently tap it with a rubber mallet if needed.
- Check for Level and Plumb: Confirm that the bottom rail is level and plumb by using a level. Adjust the position as necessary before moving on to the next step.
- Attach the Bottom Rail to the Brackets: Secure the bottom rail to the rail brackets using screws or the specified fasteners provided in the vinyl porch railing kit. Tighten them securely to ensure a stable connection.
Once you have attached the bottom rail, double-check that it is securely fastened and level. This step lays the foundation for the rest of the vinyl porch railing installation.
Next, we will move on to step 4: installing the balusters. Stay tuned for detailed instructions on how to securely incorporate the balusters into your vinyl porch railing system!
Step 4: Install the Balusters
With the bottom rail securely installed, it’s time to move on to installing the balusters. Balusters not only provide aesthetic appeal to your vinyl porch railing but also play a crucial role in enhancing safety and preventing falls.
Follow these steps to install the balusters:
- Measure and Cut the Balusters: Measure the spacing between the bottom rail and the top rail to determine the length of each baluster. Use a hacksaw or miter saw to cut the balusters to the appropriate length.
- Position the First Baluster: Starting at one end of the railing, position the first baluster in the pre-drilled holes or slots on the bottom rail. Ensure that it is securely seated and upright.
- Continue Installing Balusters: Proceed to install the remaining balusters at the desired spacing along the bottom rail. Use a level to ensure that they are plumb and aligned vertically.
- Secure the Balusters: Once all the balusters are in position, use screws or the specified fasteners provided in the vinyl porch railing kit to secure them to the bottom rail. Tighten them securely to ensure stability.
As you install the balusters, periodically check for levelness and alignment to maintain a visually appealing and secure railing system.
With the balusters installed, your vinyl porch railing starts to take shape, adding a decorative element to your porch while ensuring safety. The next step, step 5, involves attaching the top rail. Ready to learn how? Keep reading!
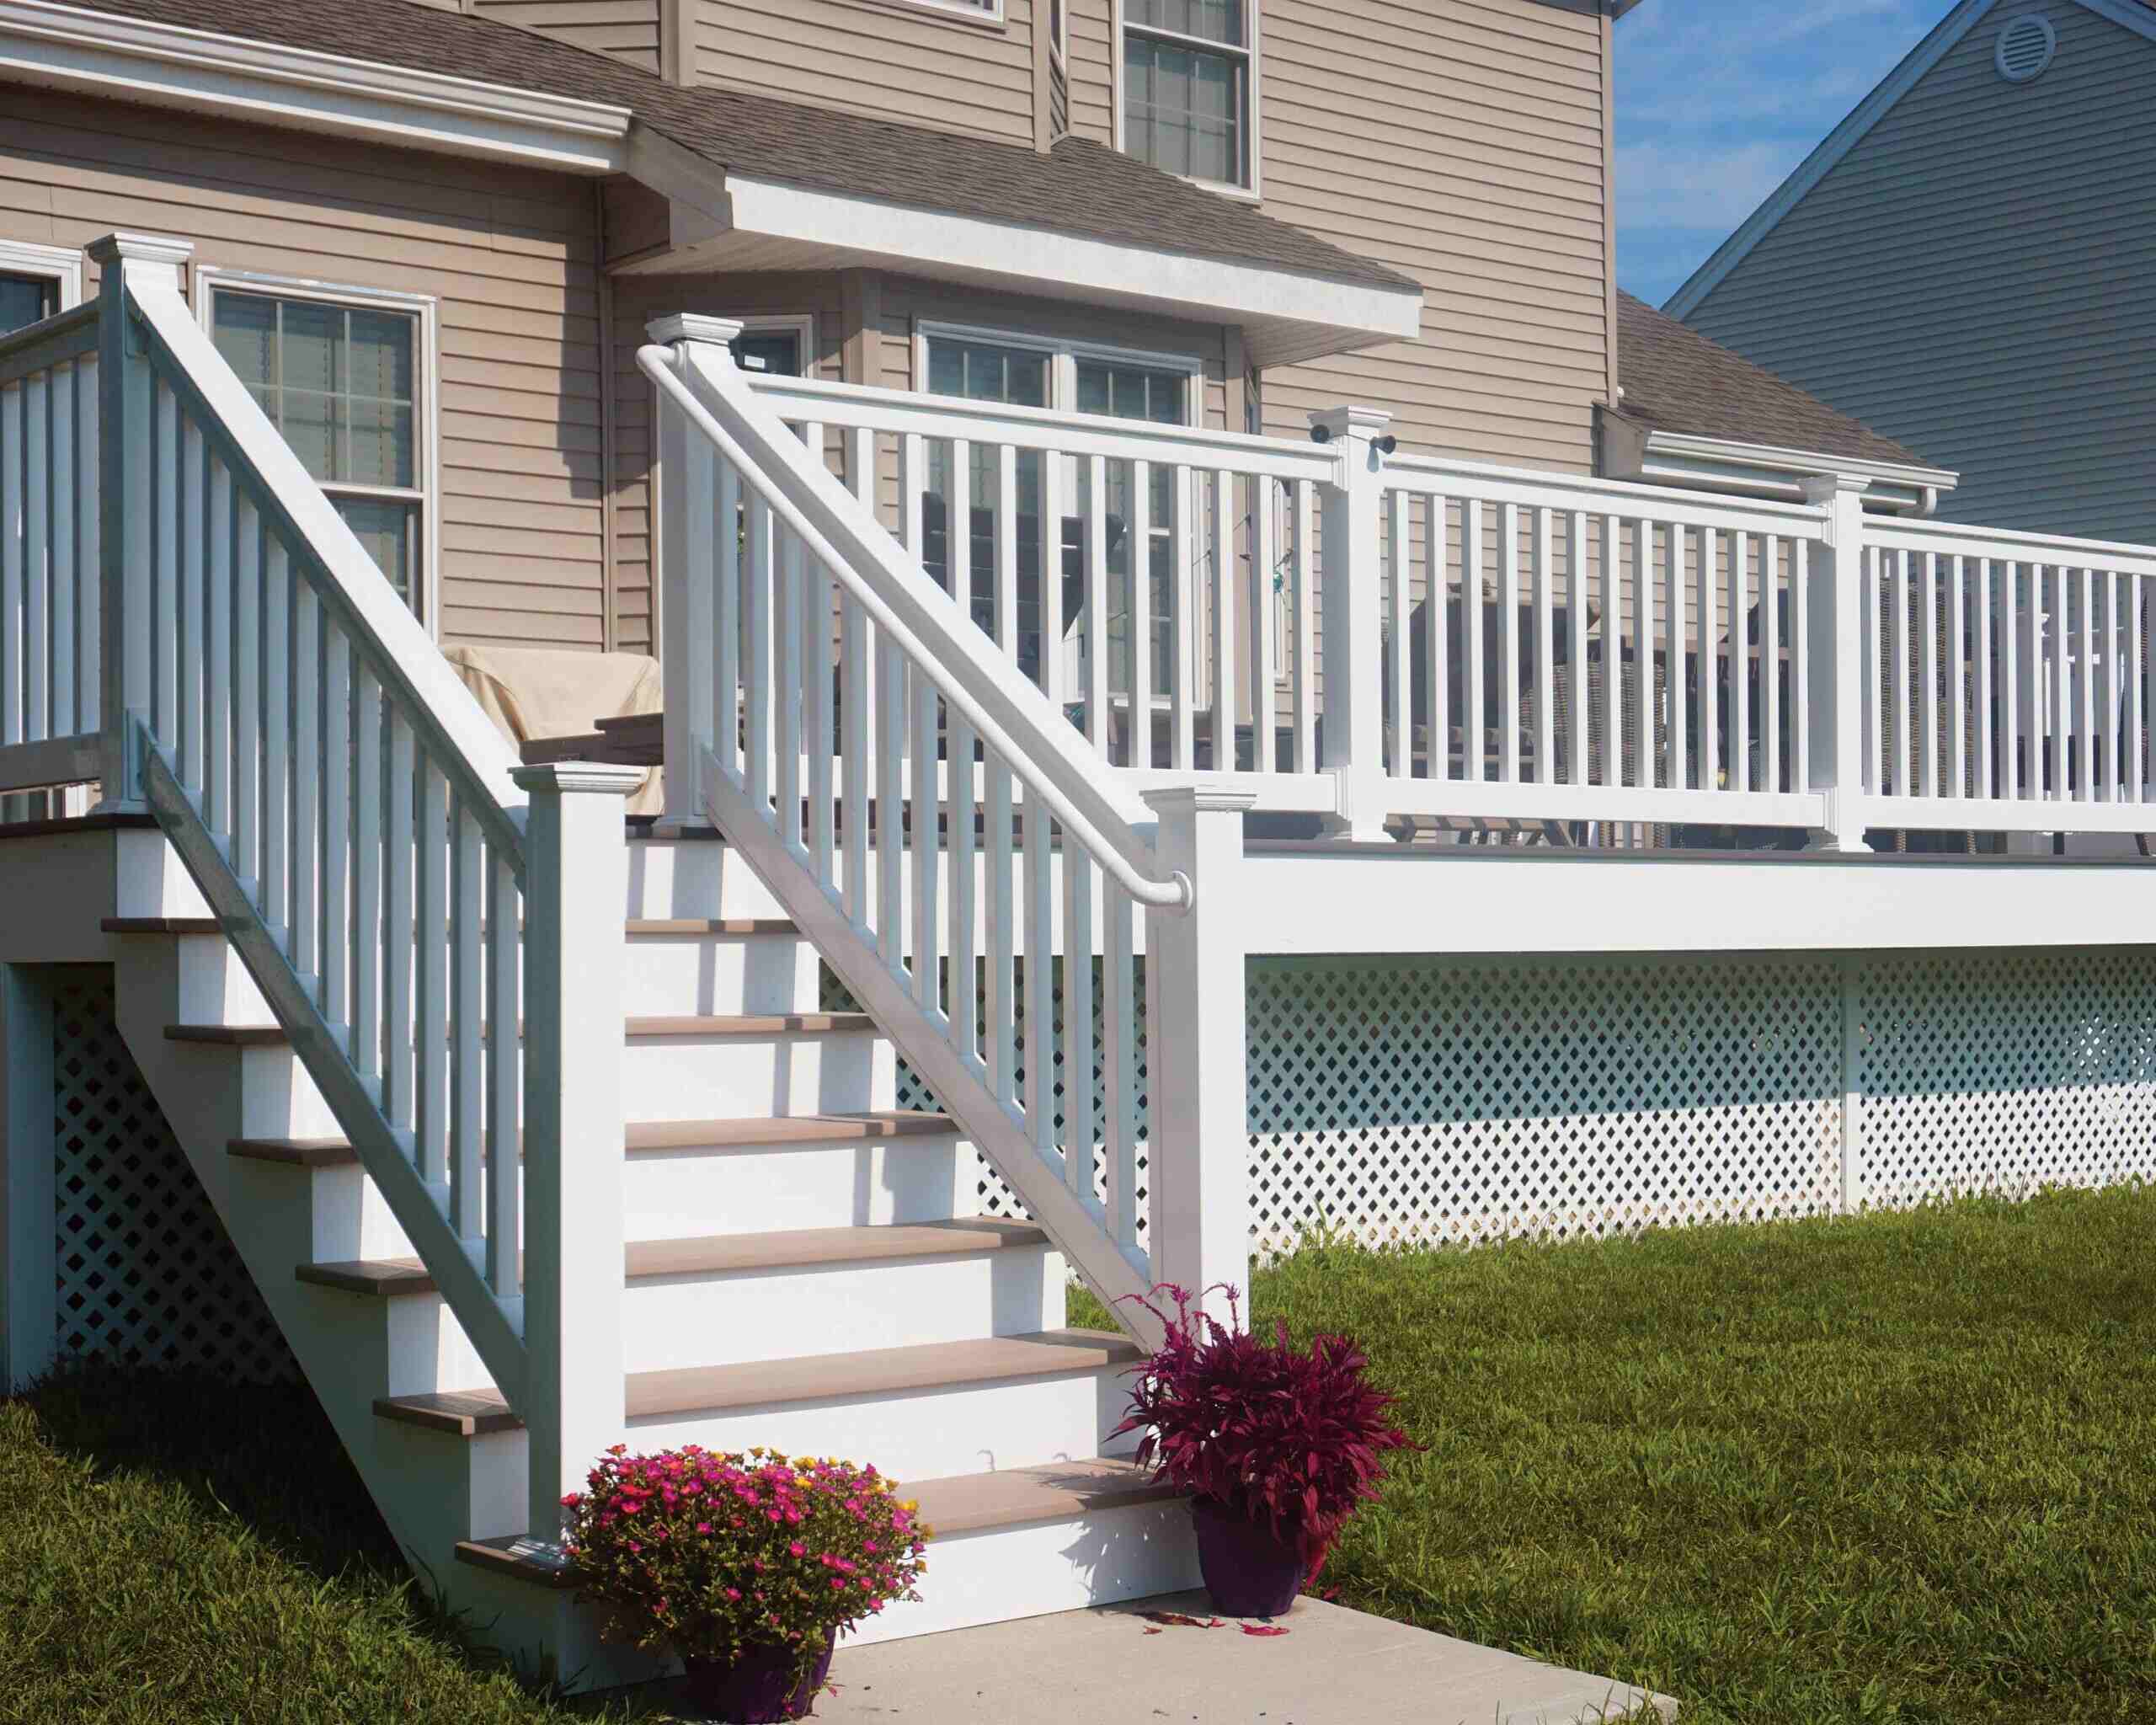
When installing vinyl porch railing, make sure to measure and plan carefully before starting. Use a level to ensure the railing is straight and secure all fasteners according to the manufacturer’s instructions.
Read more: How To Build Porch Rails
Step 5: Attach the Top Rail
Now that the balusters are securely installed, it’s time to move on to step 5: attaching the top rail. The top rail serves as the finishing touch to your vinyl porch railing system, providing a comfortable and stylish handrail for added support.
Follow these steps to attach the top rail:
- Position the Top Rail: Place the top rail on top of the installed balusters, aligning it with the pre-drilled holes or slots on the balusters. Ensure that it fits snugly and evenly on the balusters.
- Secure the Top Rail: Use screws or the specified fasteners provided in the vinyl porch railing kit to attach the top rail to the balusters. Make sure to tighten them securely, but be cautious not to overtighten and damage the materials.
- Check for Levelness: Use a level to verify that the top rail is level and aligned with the bottom rail. Make any adjustments as necessary to ensure a symmetrical and professional-looking installation.
Once the top rail is securely attached, step back and admire your vinyl porch railing taking shape. The combination of the bottom rail, balusters, and top rail adds both visual appeal and safety to your porch.
Now, let’s move on to step 6, where we will secure the entire railing system to ensure its stability and durability. Keep reading to learn more!
Step 6: Secure the Railing System
With the bottom rail, balusters, and top rail securely in place, it’s time to ensure the overall stability and durability of the vinyl porch railing system. Properly securing the railing system will provide added strength and resistance to external forces.
Follow these steps to secure the railing system:
- Check the Connections: Double-check all the connections between the bottom rail, balusters, and top rail to ensure they are tight and secure. If any screws or fasteners appear loose, tighten them accordingly.
- Inspect the Brackets: Examine the rail brackets that secure the bottom rail and top rail to the porch posts. Ensure that they are securely in place and not damaged. Replace any worn-out or damaged brackets as needed.
- Stabilize the Railing: Use leveling blocks or shims to provide additional support and stability to the bottom rail. Place them strategically under the bottom rail and adjust them as necessary to ensure a level and secure railing.
- Check for Movement: Give the entire railing system a gentle shake to check for any excessive movement or looseness. If you detect any significant movement, reinforce the connections or consult a professional for assistance.
By securing the railing system, you can ensure that it will withstand various weather conditions and provide reliable safety and stability for years to come.
Now that the railing system is securely installed, let’s move on to the final step, step 7, where we will add the finishing touches to complete the installation process. Keep reading to learn more about those crucial details!
Step 7: Finishing Touches
Congratulations! You’re almost done with the installation of your vinyl porch railing. Step 7 is all about adding the finishing touches to ensure a polished and visually appealing result.
Follow these steps to complete the finishing touches:
- Trim any Excess: If there are any excess lengths of railing or balusters protruding beyond the desired dimensions, use a hacksaw or miter saw to carefully trim them to the appropriate length. Take caution and wear protective gloves while handling sharp tools.
- Clean the Railing: Use a mild soap solution and a soft cloth or sponge to clean the vinyl porch railing. Gently scrub away any dirt, dust, or debris to keep it looking its best.
- Apply Vinyl Protectant: Optional but recommended, apply a vinyl protectant to help keep your porch railing looking fresh and prevent any long-term damage caused by prolonged exposure to the elements.
- Final Inspection: Take a few moments to inspect the entire railing system for any loose connections, visible damage, or imperfections. Make any necessary adjustments or repairs before considering the installation complete.
With these finishing touches, your vinyl porch railing is ready to impress both visually and functionally. Sit back and enjoy the enhanced curb appeal and safety that your newly installed railing provides.
Remember to regularly inspect and maintain your vinyl porch railing to ensure its longevity and continued performance. Follow any specific care and maintenance instructions provided by the manufacturer to keep it in optimal condition.
Thank you for following this step-by-step guide on how to install vinyl porch railing. We hope this has been an informative and helpful resource for your DIY project. Happy railing installation!
Conclusion
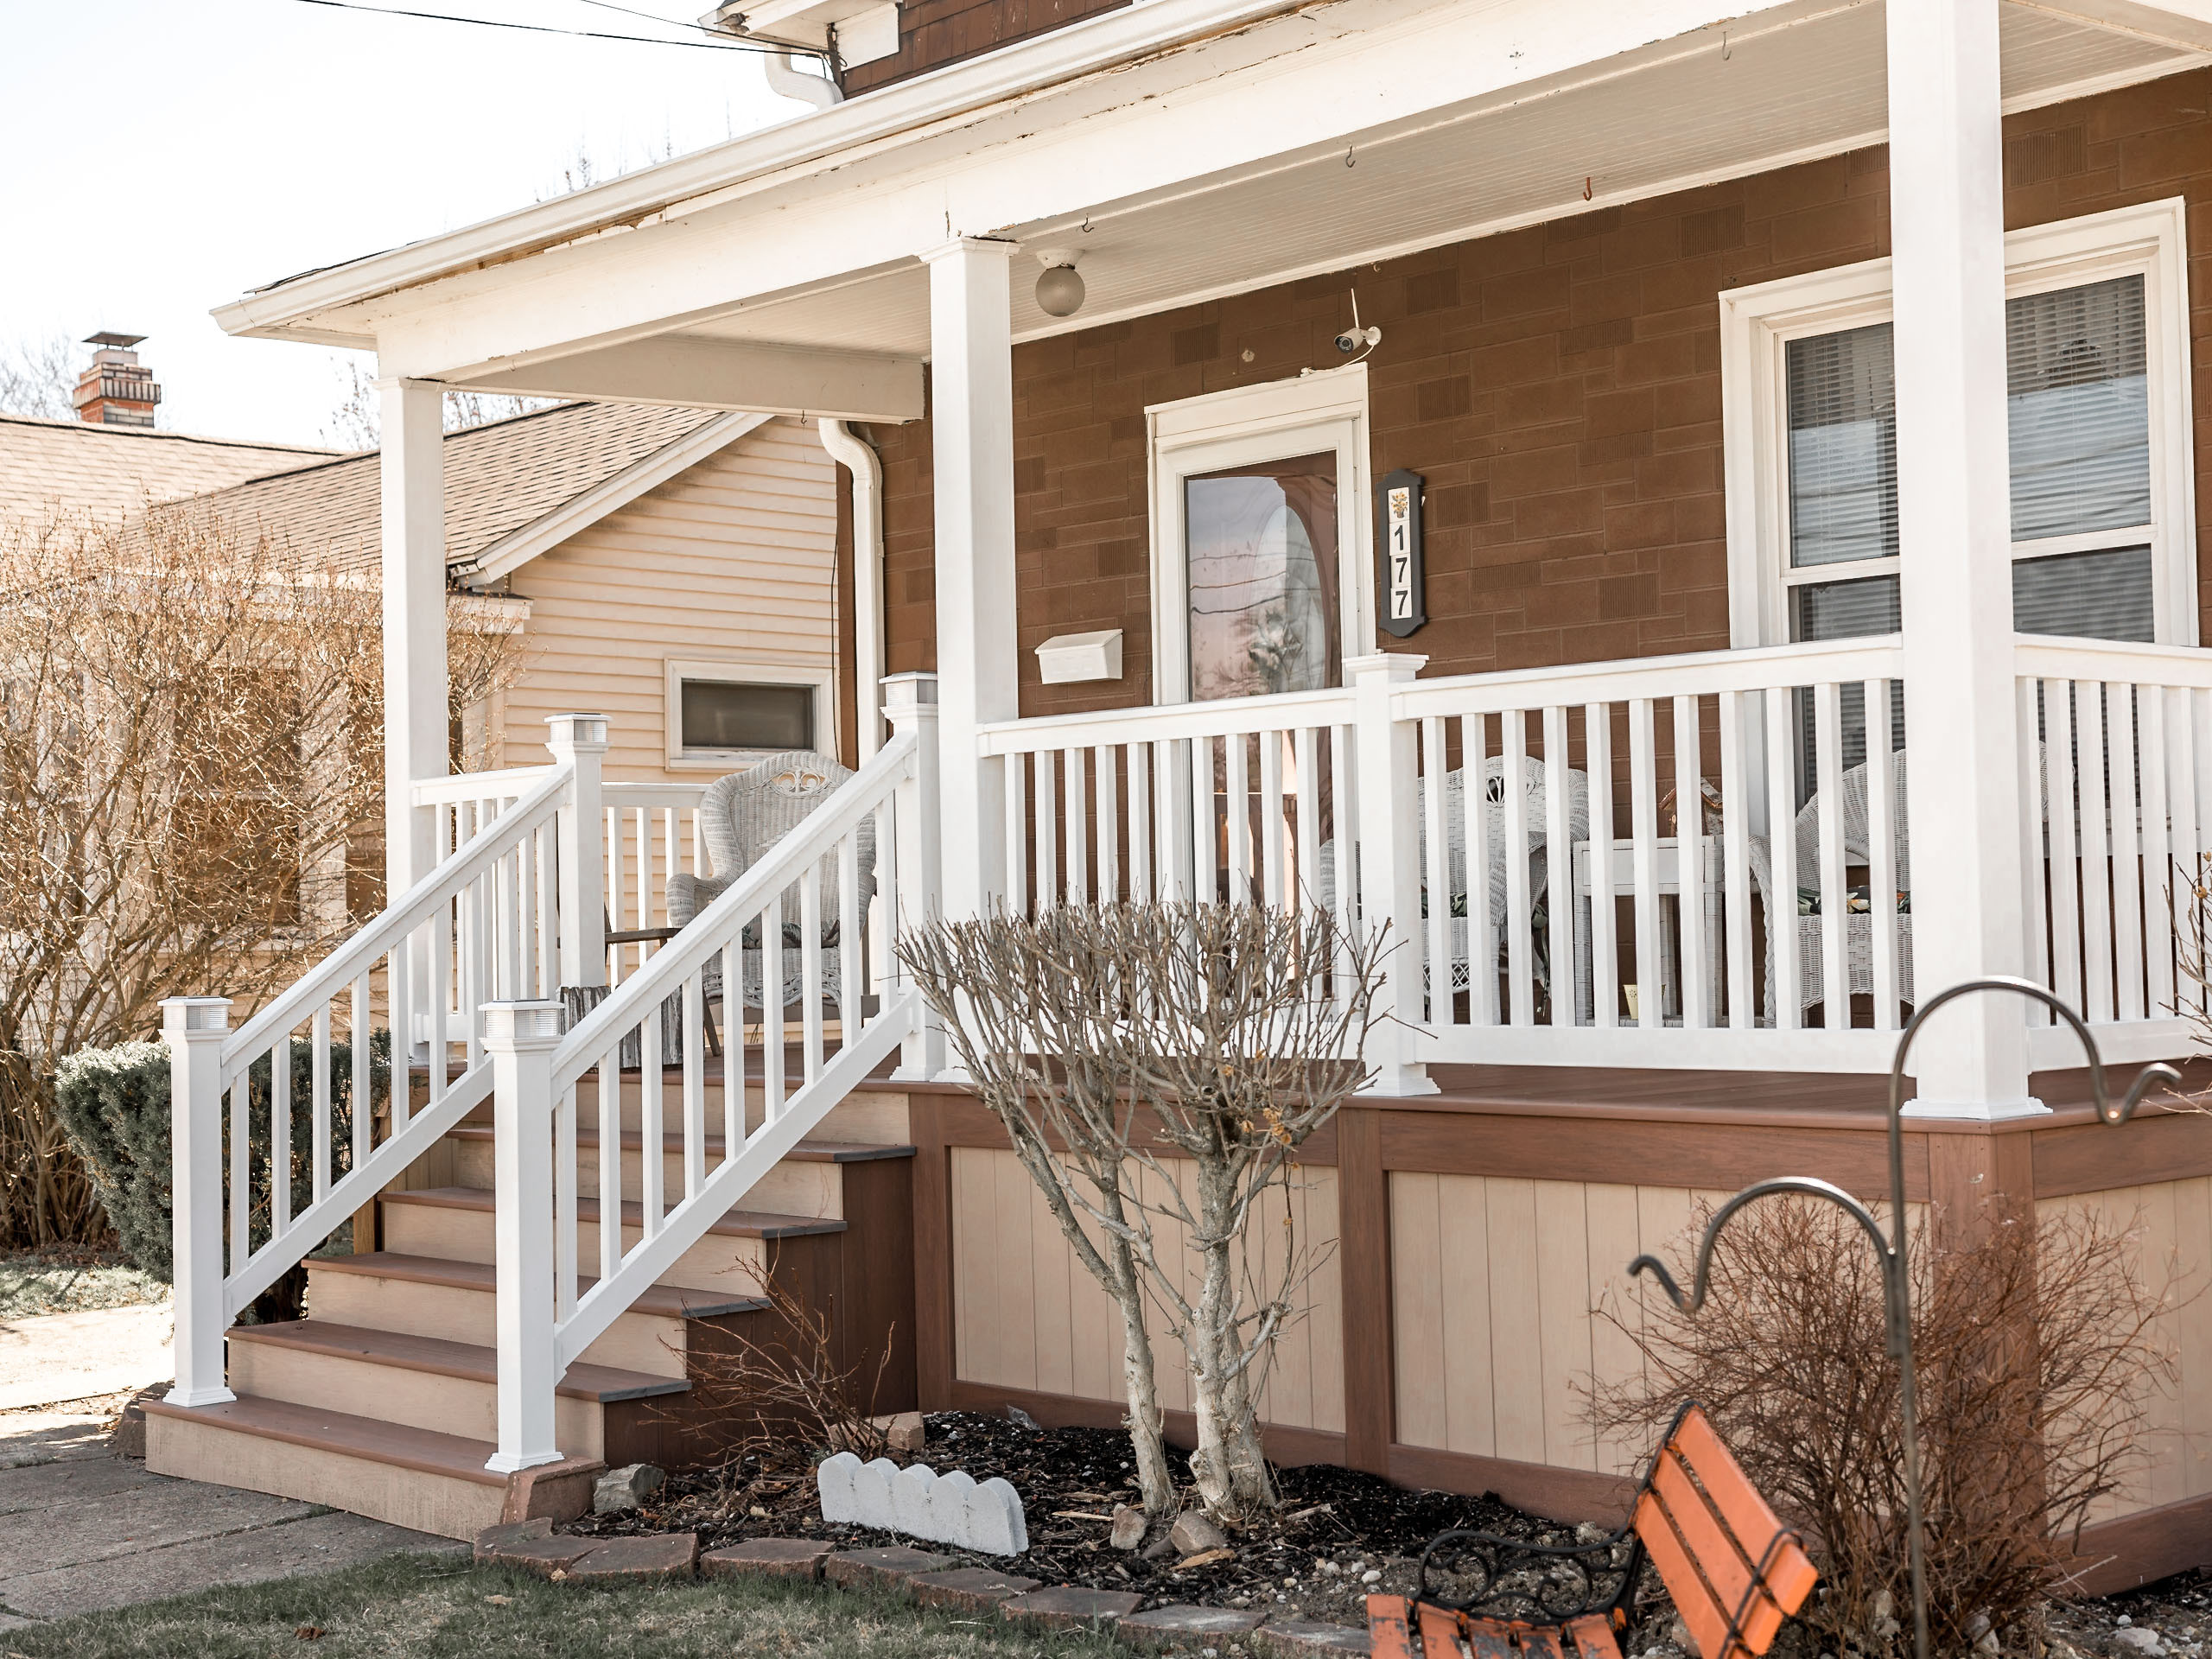
Installing vinyl porch railing is a great way to enhance the beauty, safety, and value of your home. With its durability, low maintenance requirements, and versatile design options, vinyl porch railing is a popular choice among homeowners.
In this comprehensive guide, we have walked you through the step-by-step process of installing vinyl porch railing. From gathering the tools and materials to adding the finishing touches, we’ve covered all the essential steps to ensure a successful installation.
Remember, every porch is unique, so be sure to consult the manufacturer’s instructions and local building codes to ensure compliance and safety throughout the installation process. Take accurate measurements, carefully attach the bottom rail, install the balusters, attach the top rail, and secure the entire railing system to ensure stability and durability.
Don’t forget the finishing touches, such as trimming excess lengths, cleaning the railing, and applying a vinyl protectant. These small details can make a big difference in the overall appearance and longevity of your vinyl porch railing.
We hope that this guide has provided you with the knowledge and confidence to tackle the installation of vinyl porch railing. By following these steps and taking the necessary precautions, you can enjoy a beautiful and secure porch railing for years to come.
Thank you for choosing to work on this DIY project, and we wish you success in your vinyl porch railing installation journey!
Frequently Asked Questions about How To Install Vinyl Porch Railing
Was this page helpful?
At Storables.com, we guarantee accurate and reliable information. Our content, validated by Expert Board Contributors, is crafted following stringent Editorial Policies. We're committed to providing you with well-researched, expert-backed insights for all your informational needs.


0 thoughts on “How To Install Vinyl Porch Railing”