Articles
How To Install Porch Railing Posts
Modified: January 8, 2024
Learn step-by-step instructions for installing porch railing posts with our informative articles. Transform your porch with ease and efficiency.
(Many of the links in this article redirect to a specific reviewed product. Your purchase of these products through affiliate links helps to generate commission for Storables.com, at no extra cost. Learn more)
Introduction
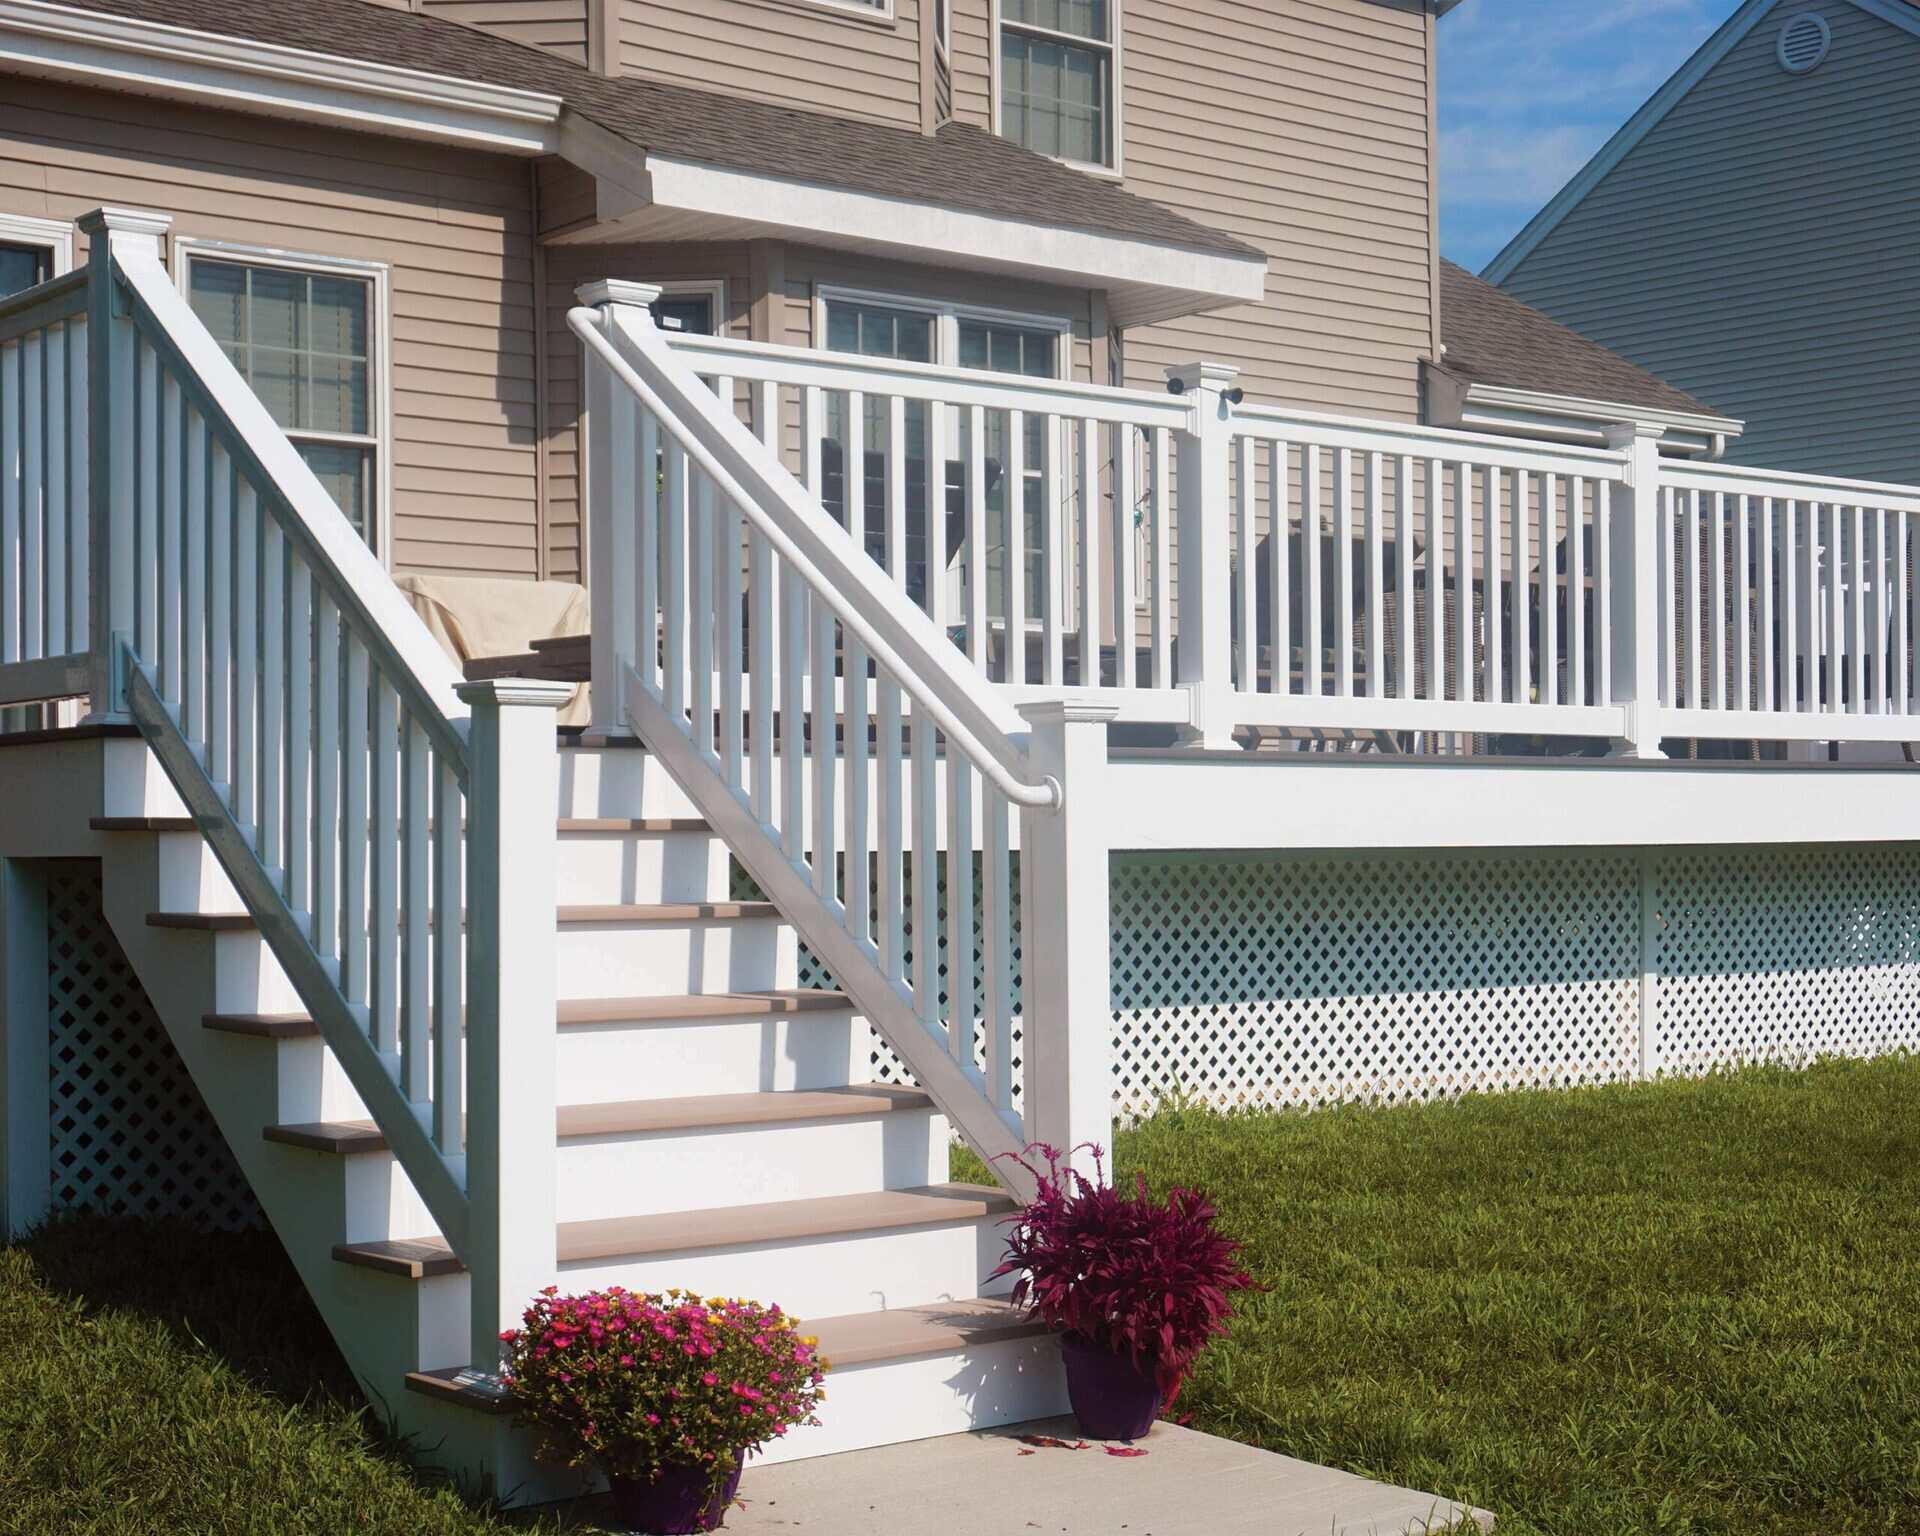
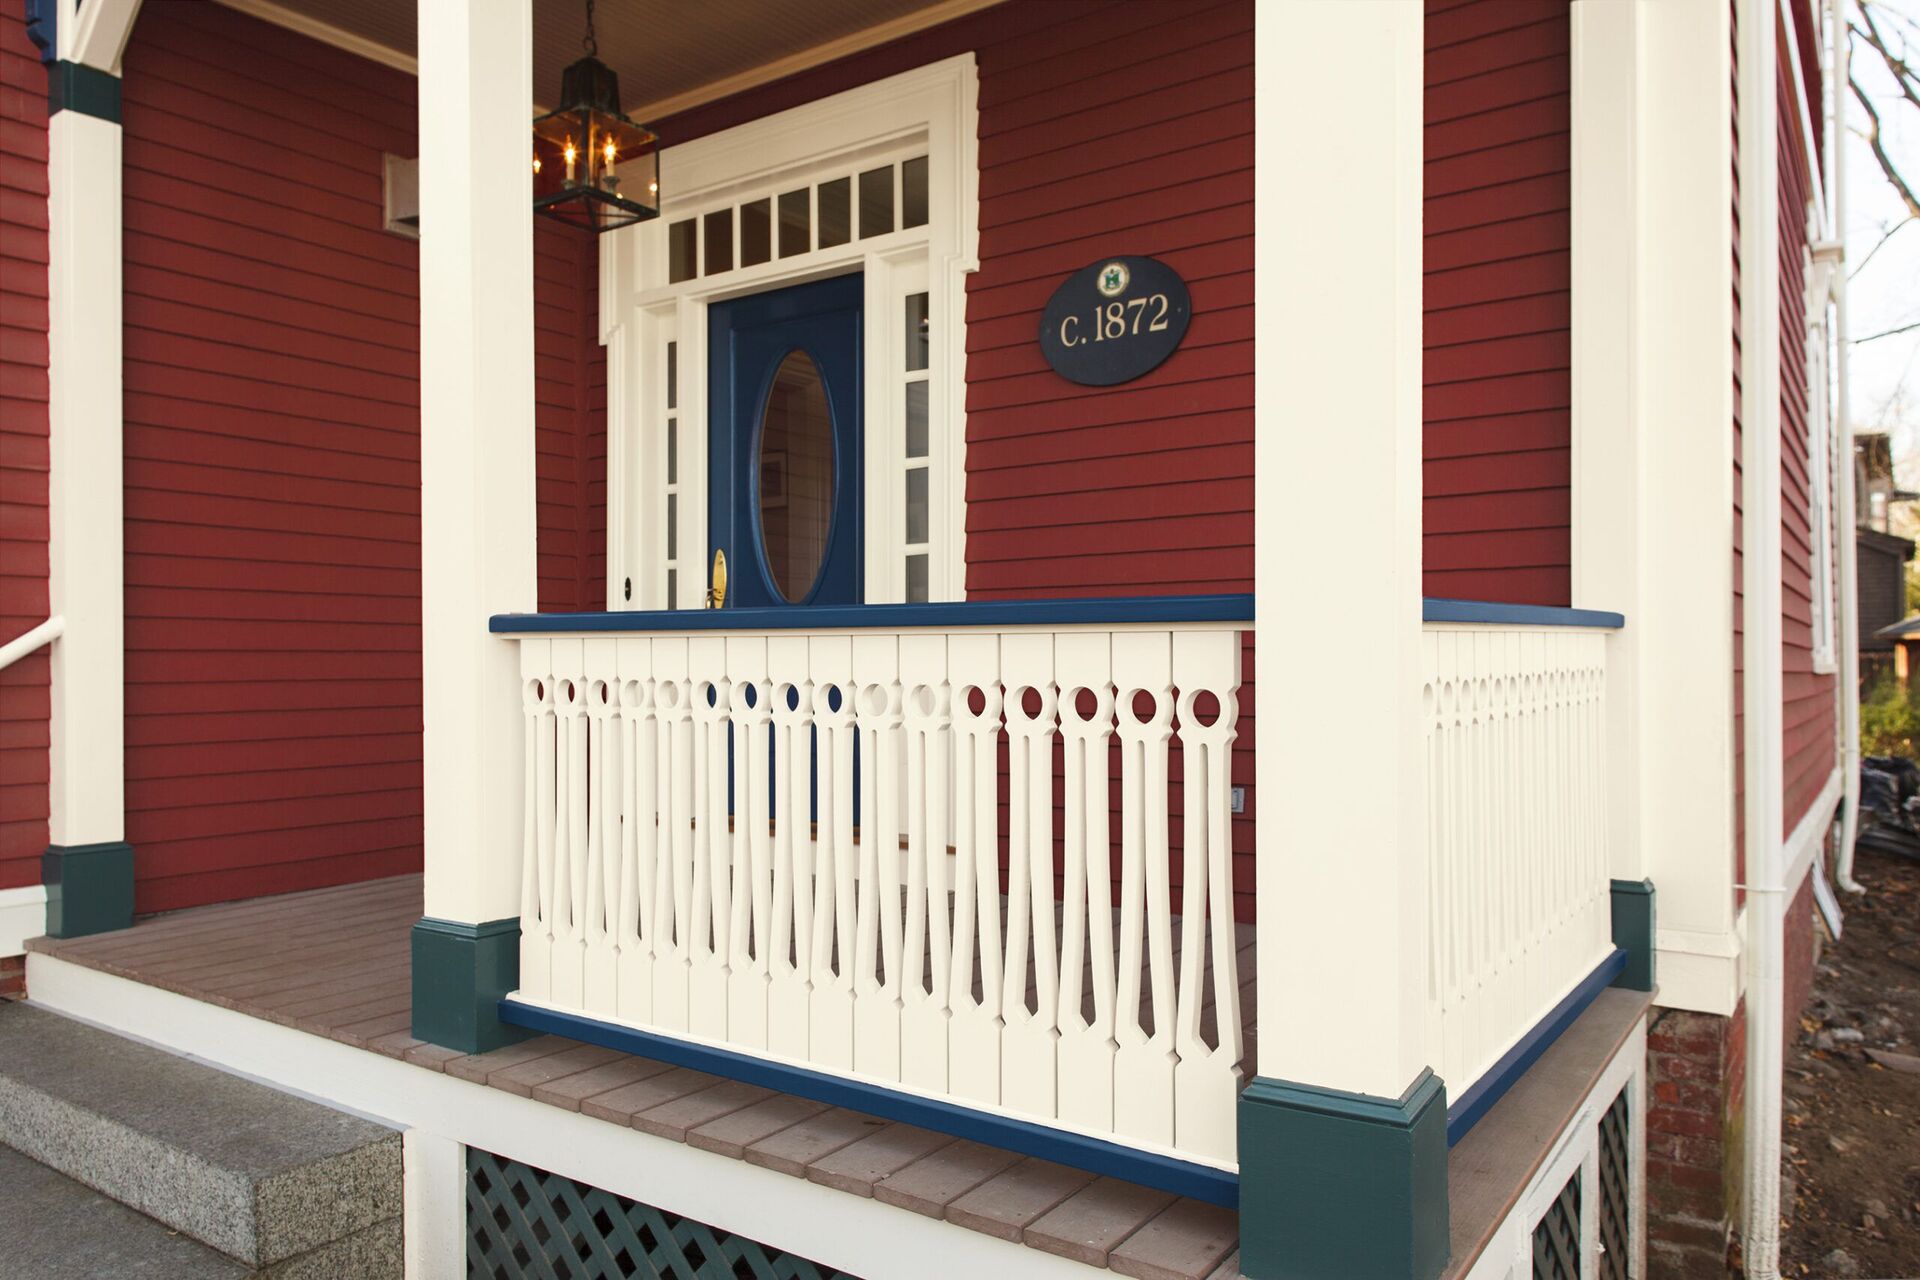
Adding a porch railing to your home can not only enhance its curb appeal but also provide safety and support for those using the porch. Porch railing posts play a crucial role in the stability and strength of the railing system. Installing porch railing posts may seem like a daunting task, but with the right tools, materials, and a step-by-step guide, you can easily tackle this project.
In this article, we will walk you through the process of installing porch railing posts, from measuring and planning to securing the posts with concrete. By following these steps, you can ensure a sturdy and attractive porch railing that will last for years to come.
Before you start, it’s important to gather the necessary tools and materials for the project. Let’s take a look at what you’ll need:
Key Takeaways:
- Proper planning, measurement, and selection of materials are crucial for a successful porch railing post installation. Consider the layout, post material, and local building codes to ensure a sturdy and visually appealing railing system.
- Securing porch railing posts with concrete and following manufacturer’s guidelines for installation are essential for stability and longevity. Attention to detail, from post alignment to attaching railing sections, ensures a safe and attractive porch railing.
Read more: How To Install Porch Railing
Tools and Materials Needed
Before starting the installation process, it’s important to gather all the necessary tools and materials. Here is a list of items you will need:
- Tape measure
- Pencil
- Level
- Drill
- Auger or post hole digger
- Concrete mix
- Mixing bucket
- Water source
- Screws or nails
- Post anchors
- Railing sections
- Post caps
- Protective gloves
- Safety glasses
- Dust mask
Make sure you have all the necessary tools and materials before you begin the installation process. This will help you complete the project smoothly and efficiently.
Step 1: Measure and Plan
The first step in installing porch railing posts is to measure and plan the layout. Before you start, take some time to envision the look and design of your porch railing system. Consider the height of the railing, the spacing between posts, and the overall style that complements your home.
Start by measuring the length of your porch or the area where you want to install the railing posts. Use a tape measure to get an accurate measurement. Mark the start and end points of the railing system with a pencil.
Next, determine the spacing between each post. The general rule of thumb is to place the posts approximately 6 feet apart, but you can adjust this based on your personal preference and local building codes. Use a tape measure to mark the location of each post along the length of the porch railing.
Now, take into consideration any corners or turns in your porch railing. Measure the angles and add additional posts as needed to ensure stability and a seamless appearance. Planning the layout beforehand will save you time and effort during the installation process.
Lastly, check local building codes and regulations to ensure you are complying with any requirements for porch railing height, spacing, and materials. This information can be obtained from your local building department or online resources.
Once you have measured and planned the layout, you are ready to move on to the next step: choosing the porch railing posts.
Step 2: Choose the Porch Railing Posts
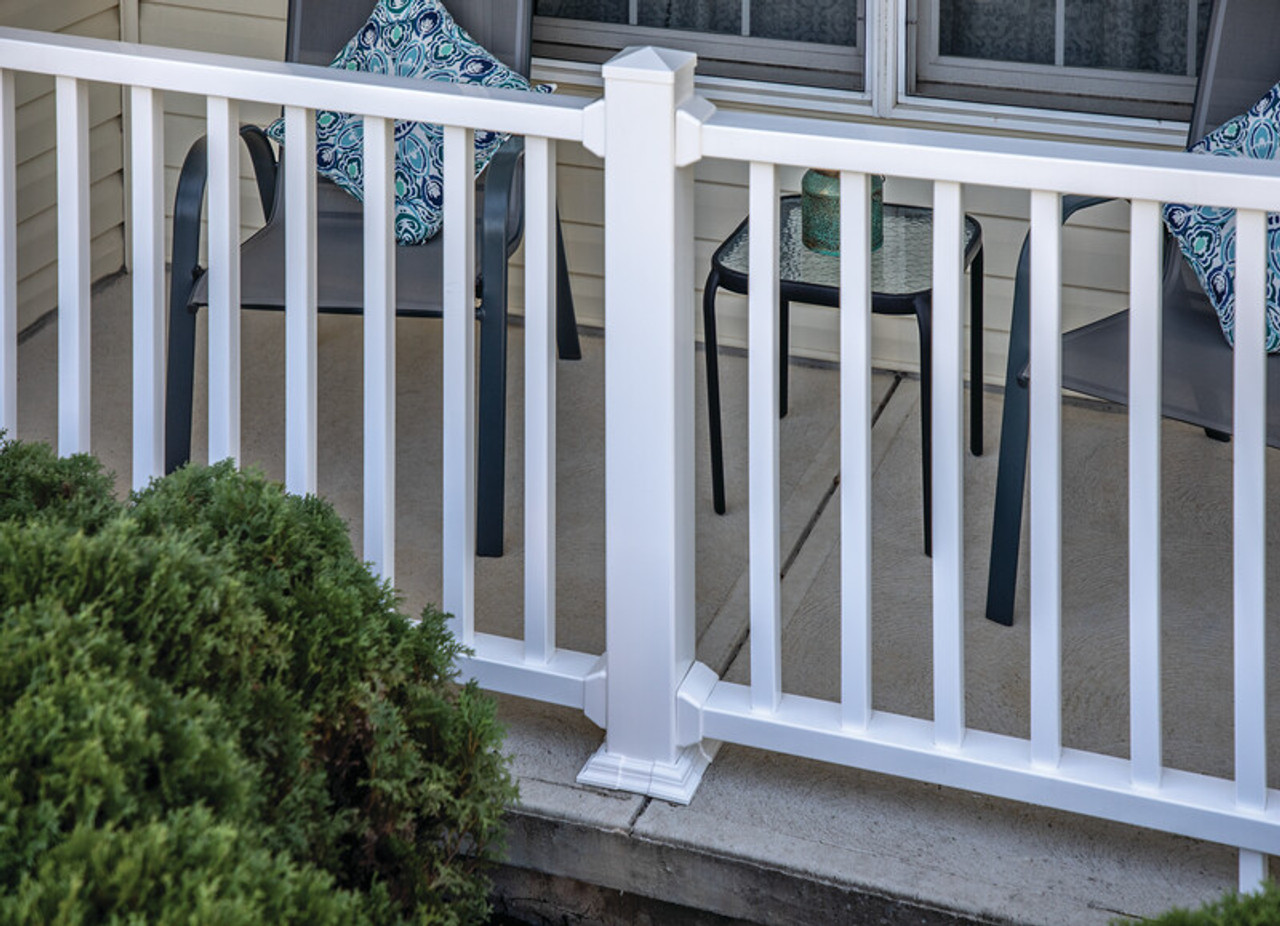
Choosing the right porch railing posts is essential for both the aesthetic appearance and the structural integrity of your railing system. There are various materials and styles to choose from, such as wood, metal, or composite. Consider the overall design of your home, the level of maintenance desired, and your budget when selecting the porch railing posts.
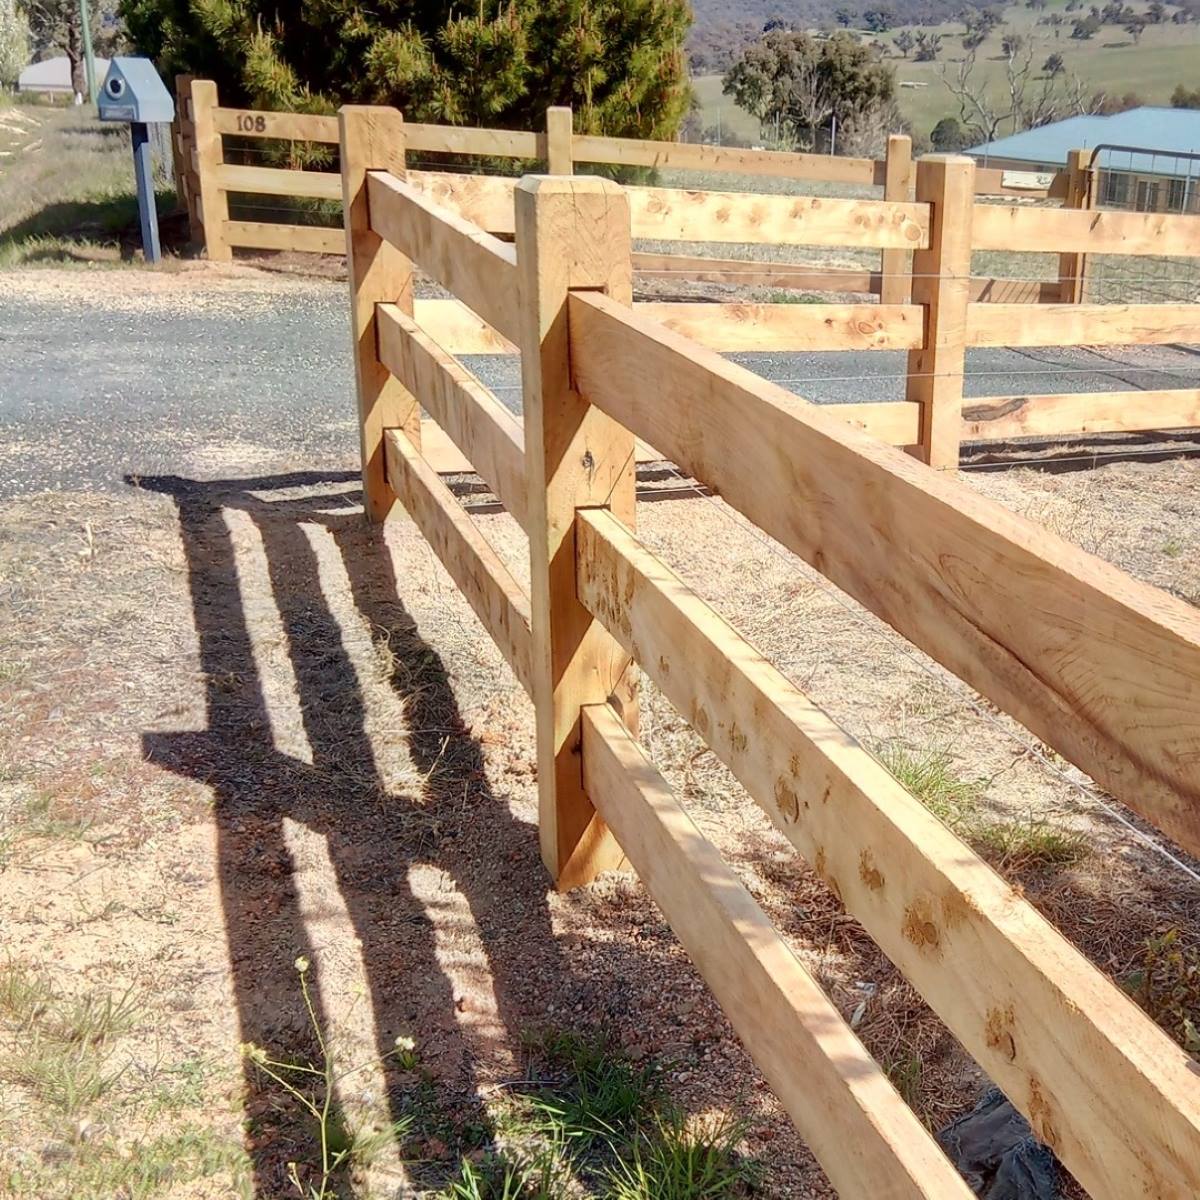
If you prefer a classic and traditional look, wooden porch railing posts are a popular choice. They can be stained or painted to match the color scheme of your porch and provide a warm and inviting feel. However, keep in mind that wood requires regular maintenance, such as sealing or repainting, to protect it from the elements.
For a more modern and low-maintenance option, metal or composite porch railing posts are worth considering. Metal posts, such as aluminum or steel, are durable and resistant to weathering. They often feature sleek designs and can be powder-coated for added protection and customization.
Composite porch railing posts, made from a combination of wood fibers and plastic, offer the look of wood without the maintenance. They are resistant to rot, insects, and warping, making them a long-lasting and hassle-free choice. Composite posts are available in a variety of colors and styles to suit your preference.
When selecting porch railing posts, ensure that they are compatible with your chosen railing system. Check the specifications and recommendations from the manufacturer or consult with a professional if you have any doubts.
Once you have decided on the material and style of the porch railing posts, you can proceed to the next step: marking the post locations.
Step 3: Mark the Post Locations
Once you have chosen the porch railing posts, it’s time to mark the post locations on your porch. This step is crucial as it ensures that the railing system is installed evenly and securely.
Start by using a tape measure and pencil to mark the exact positions where each post will be installed. Refer to your earlier measurements and plan to determine the spacing between the posts. Measure from the edge of the porch to ensure consistency.
Using a level, check that each mark is plumb and level. Adjust as necessary to ensure the railing system will be straight and visually appealing. Taking the time to double-check your measurements and alignment will save you from future adjustments and headaches.
It is also important to mark the position of any additional posts needed for corners or turns in the porch railing. Measure and mark these locations accurately to ensure stability and a seamless appearance.
Consider marking the height of each post as well. This will help you during the installation process, ensuring that the posts are cut to the correct height and that the railing system is installed at the desired height.
Take a step back and review your marked post locations. Ensure that you are satisfied with the placement and alignment before moving on to the next step.
Now that you have marked the post locations, you are ready to move on to Step 4: digging post holes.
Read more: How To Install Deck Railing Posts
Step 4: Dig Post Holes
With the post locations marked, it’s time to start digging the post holes. The depth and diameter of the holes will depend on the size of your porch railing posts and local building codes. It’s important to ensure that the holes are deep enough to provide stability and support for the railing system.
Using an auger or a post hole digger, start digging the holes at the marked locations on your porch. Make sure to remove any grass, plants, or debris from the area before digging to ensure a clean hole.
As you dig, periodically check the depth of the hole with a measuring tape or a level. The depth may vary depending on the type of post anchors or the requirement of your chosen railing system. Make sure to leave enough space at the top of the hole for the post to be inserted and secured.
Keep the holes centered and aligned with the marked post locations to maintain the integrity of the railing system. Take your time to dig each hole carefully, considering the stability of the porch and the type of soil in your area. If the soil is loose or sandy, you may need to add gravel or concrete to stabilize the post.
Once all the holes are dug, remove any excess dirt or debris from the holes. This will ensure a clean and secure fit for the porch railing posts.
With the post holes dug, you are now ready to move on to the next step: inserting the railing posts.
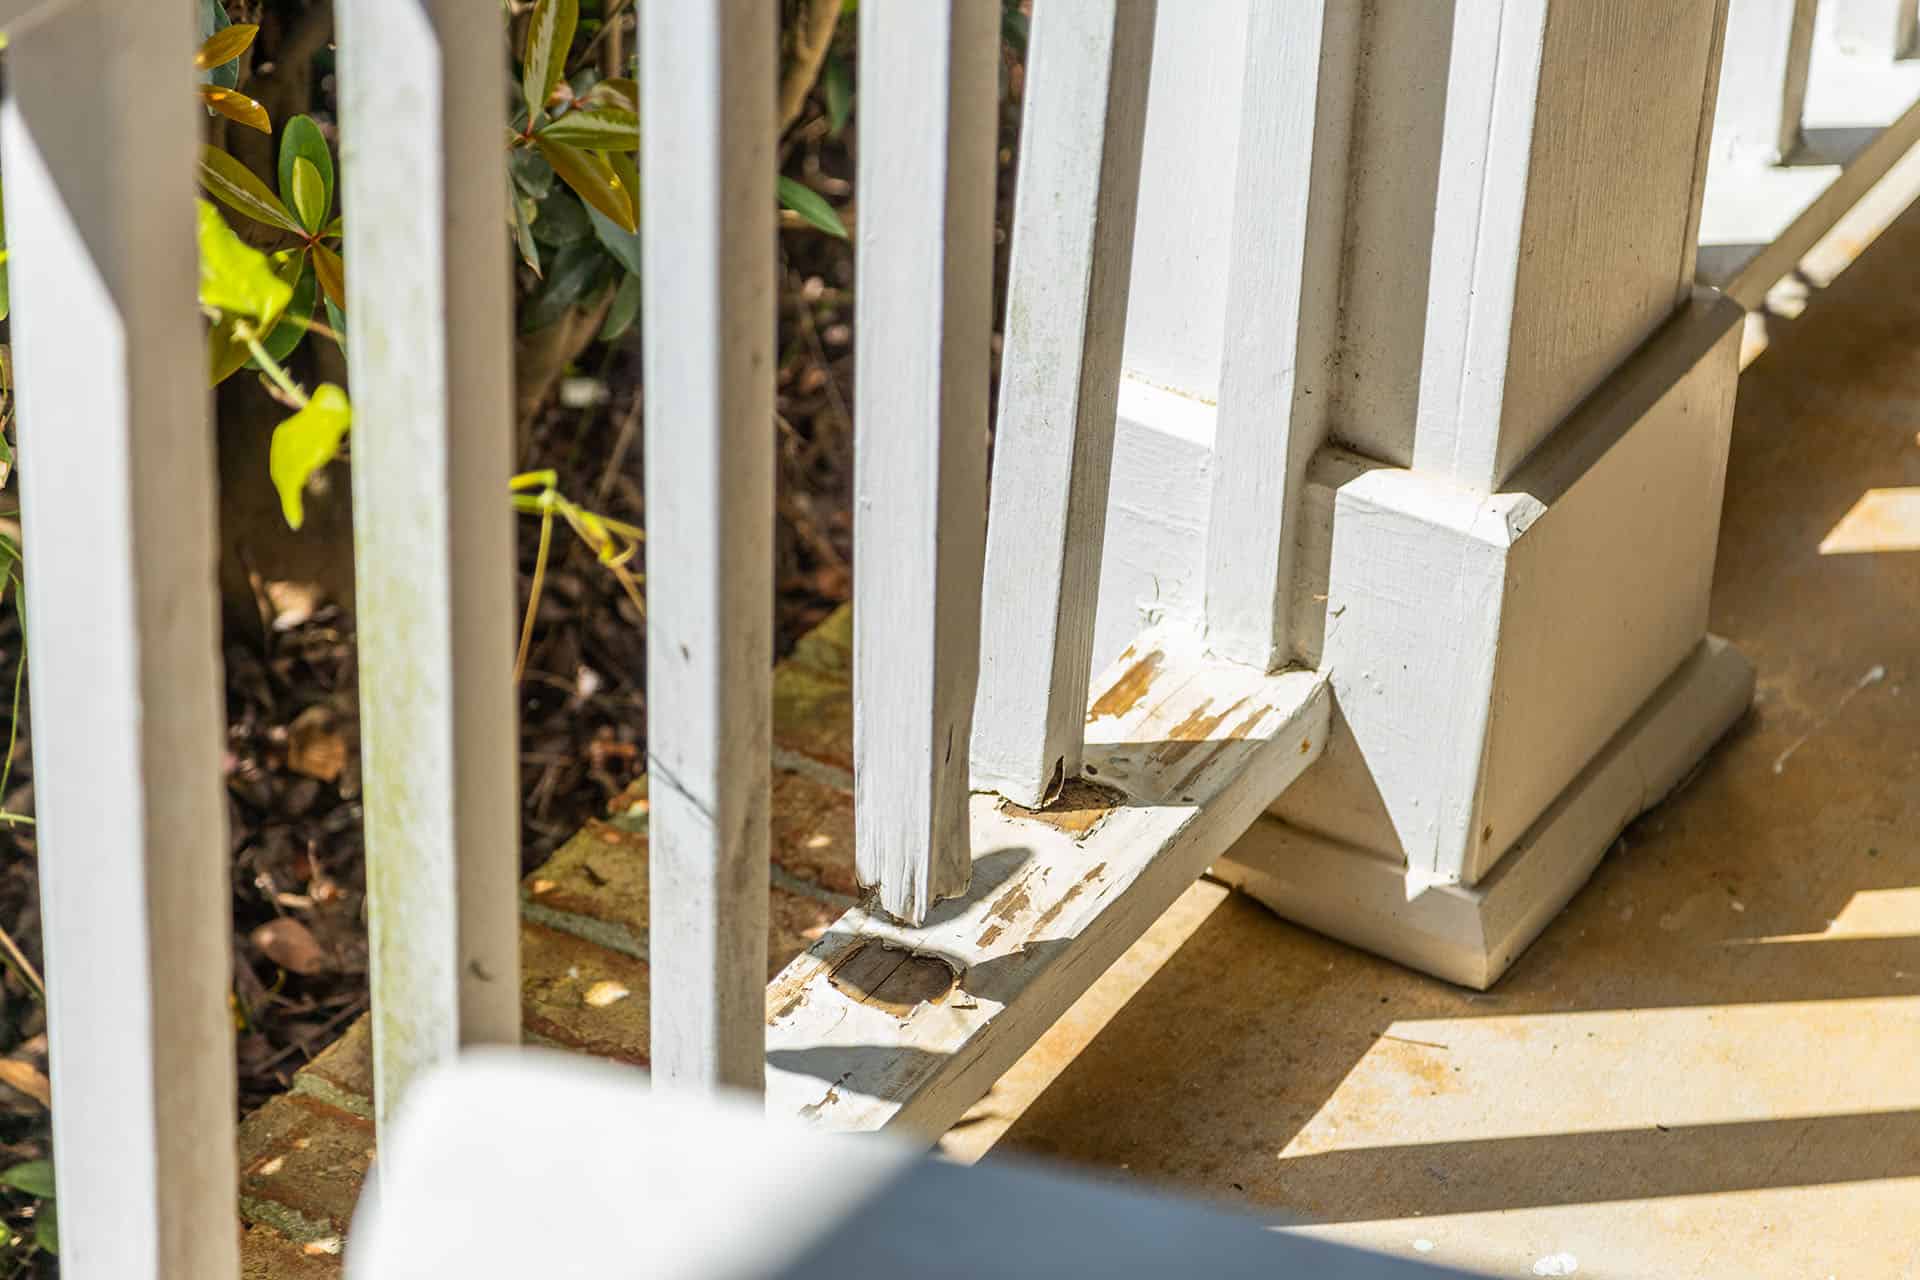
When installing porch railing posts, make sure to use pressure-treated lumber to prevent rot and decay. Additionally, ensure that the posts are securely anchored to the porch floor for stability and safety.
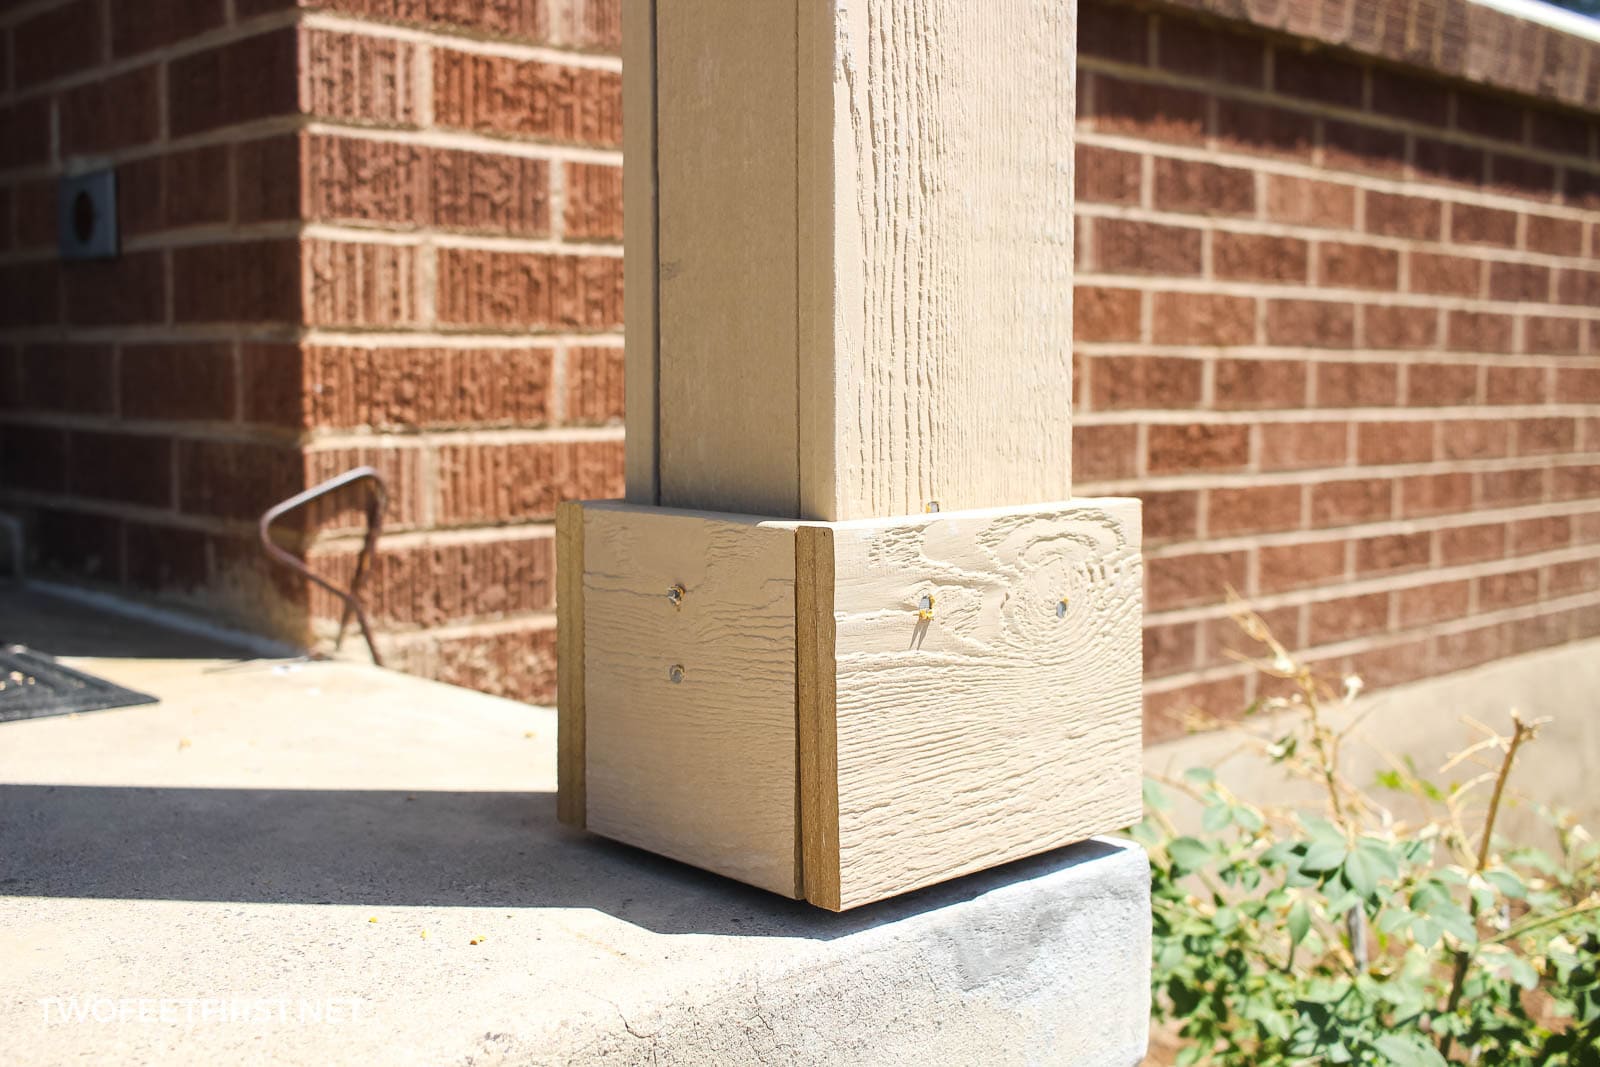
Step 5: Insert the Railing Posts
Now that the post holes are dug, it’s time to insert the porch railing posts. This step is crucial as it sets the foundation for the entire railing system. Follow these steps to ensure a secure and stable installation:
- Start by placing the first porch railing post into one of the post holes. Make sure the bottom of the post is fully seated in the hole.
- Check the post for plumb and alignment using a level. Adjust it as necessary to ensure it is straight and true.
- Repeat the process for the remaining porch railing posts, inserting each one into its designated post hole.
- Ensure that each post is aligned and level with the others. This step is crucial to maintain the stability and appearance of the railing system.
- If needed, make any final adjustments to the position and alignment of the posts. This will ensure that the porch railing will be properly aligned and visually appealing.
Once you have inserted all the porch railing posts, take a step back and visually inspect the alignment and positioning of the posts. Make any necessary adjustments before moving on to the next step.
Now that the porch railing posts are in place, it’s time to secure them with concrete to ensure stability and longevity.
Proceed to Step 6: Secure the Posts with Concrete.
Step 6: Secure the Posts with Concrete
Securing the porch railing posts with concrete is an essential step to ensure the stability and longevity of your railing system. Follow these steps to properly secure the posts:
- Prepare the concrete mix according to the manufacturer’s instructions. Mix it in a bucket or wheelbarrow, adding water gradually until you achieve a workable consistency.
- Fill each post hole with the concrete mixture, ensuring that it completely surrounds the base of the porch railing post. Use a shovel or trowel to pack the concrete firmly.
- As you fill the holes, periodically check the alignment and plumb of the porch railing posts. Adjust them as necessary to maintain proper alignment.
- Continue filling all the post holes until each one is securely surrounded by the concrete mixture.
- Smooth the surface of the concrete around the base of each post, removing any excess material and creating a clean finish.
- Allow the concrete to cure according to the manufacturer’s instructions. This typically takes at least 24 hours but may vary depending on the specific concrete mix.
Once the concrete has fully cured, double-check the stability and alignment of the porch railing posts. Apply gentle pressure to ensure they are securely anchored and do not move.
With the posts securely set in concrete, you’re ready to move on to the next step: attaching the railing sections.
Proceed to Step 7: Attach the Railing Sections.
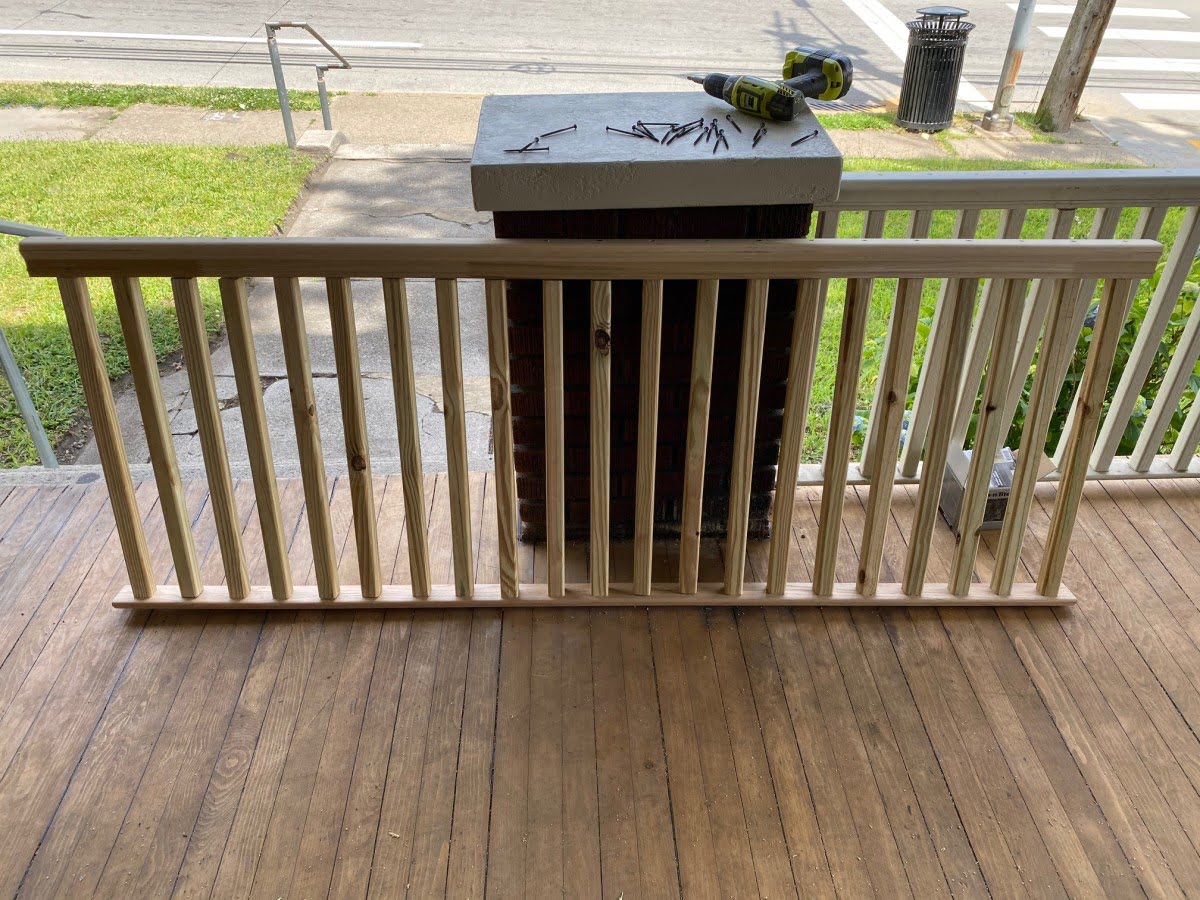
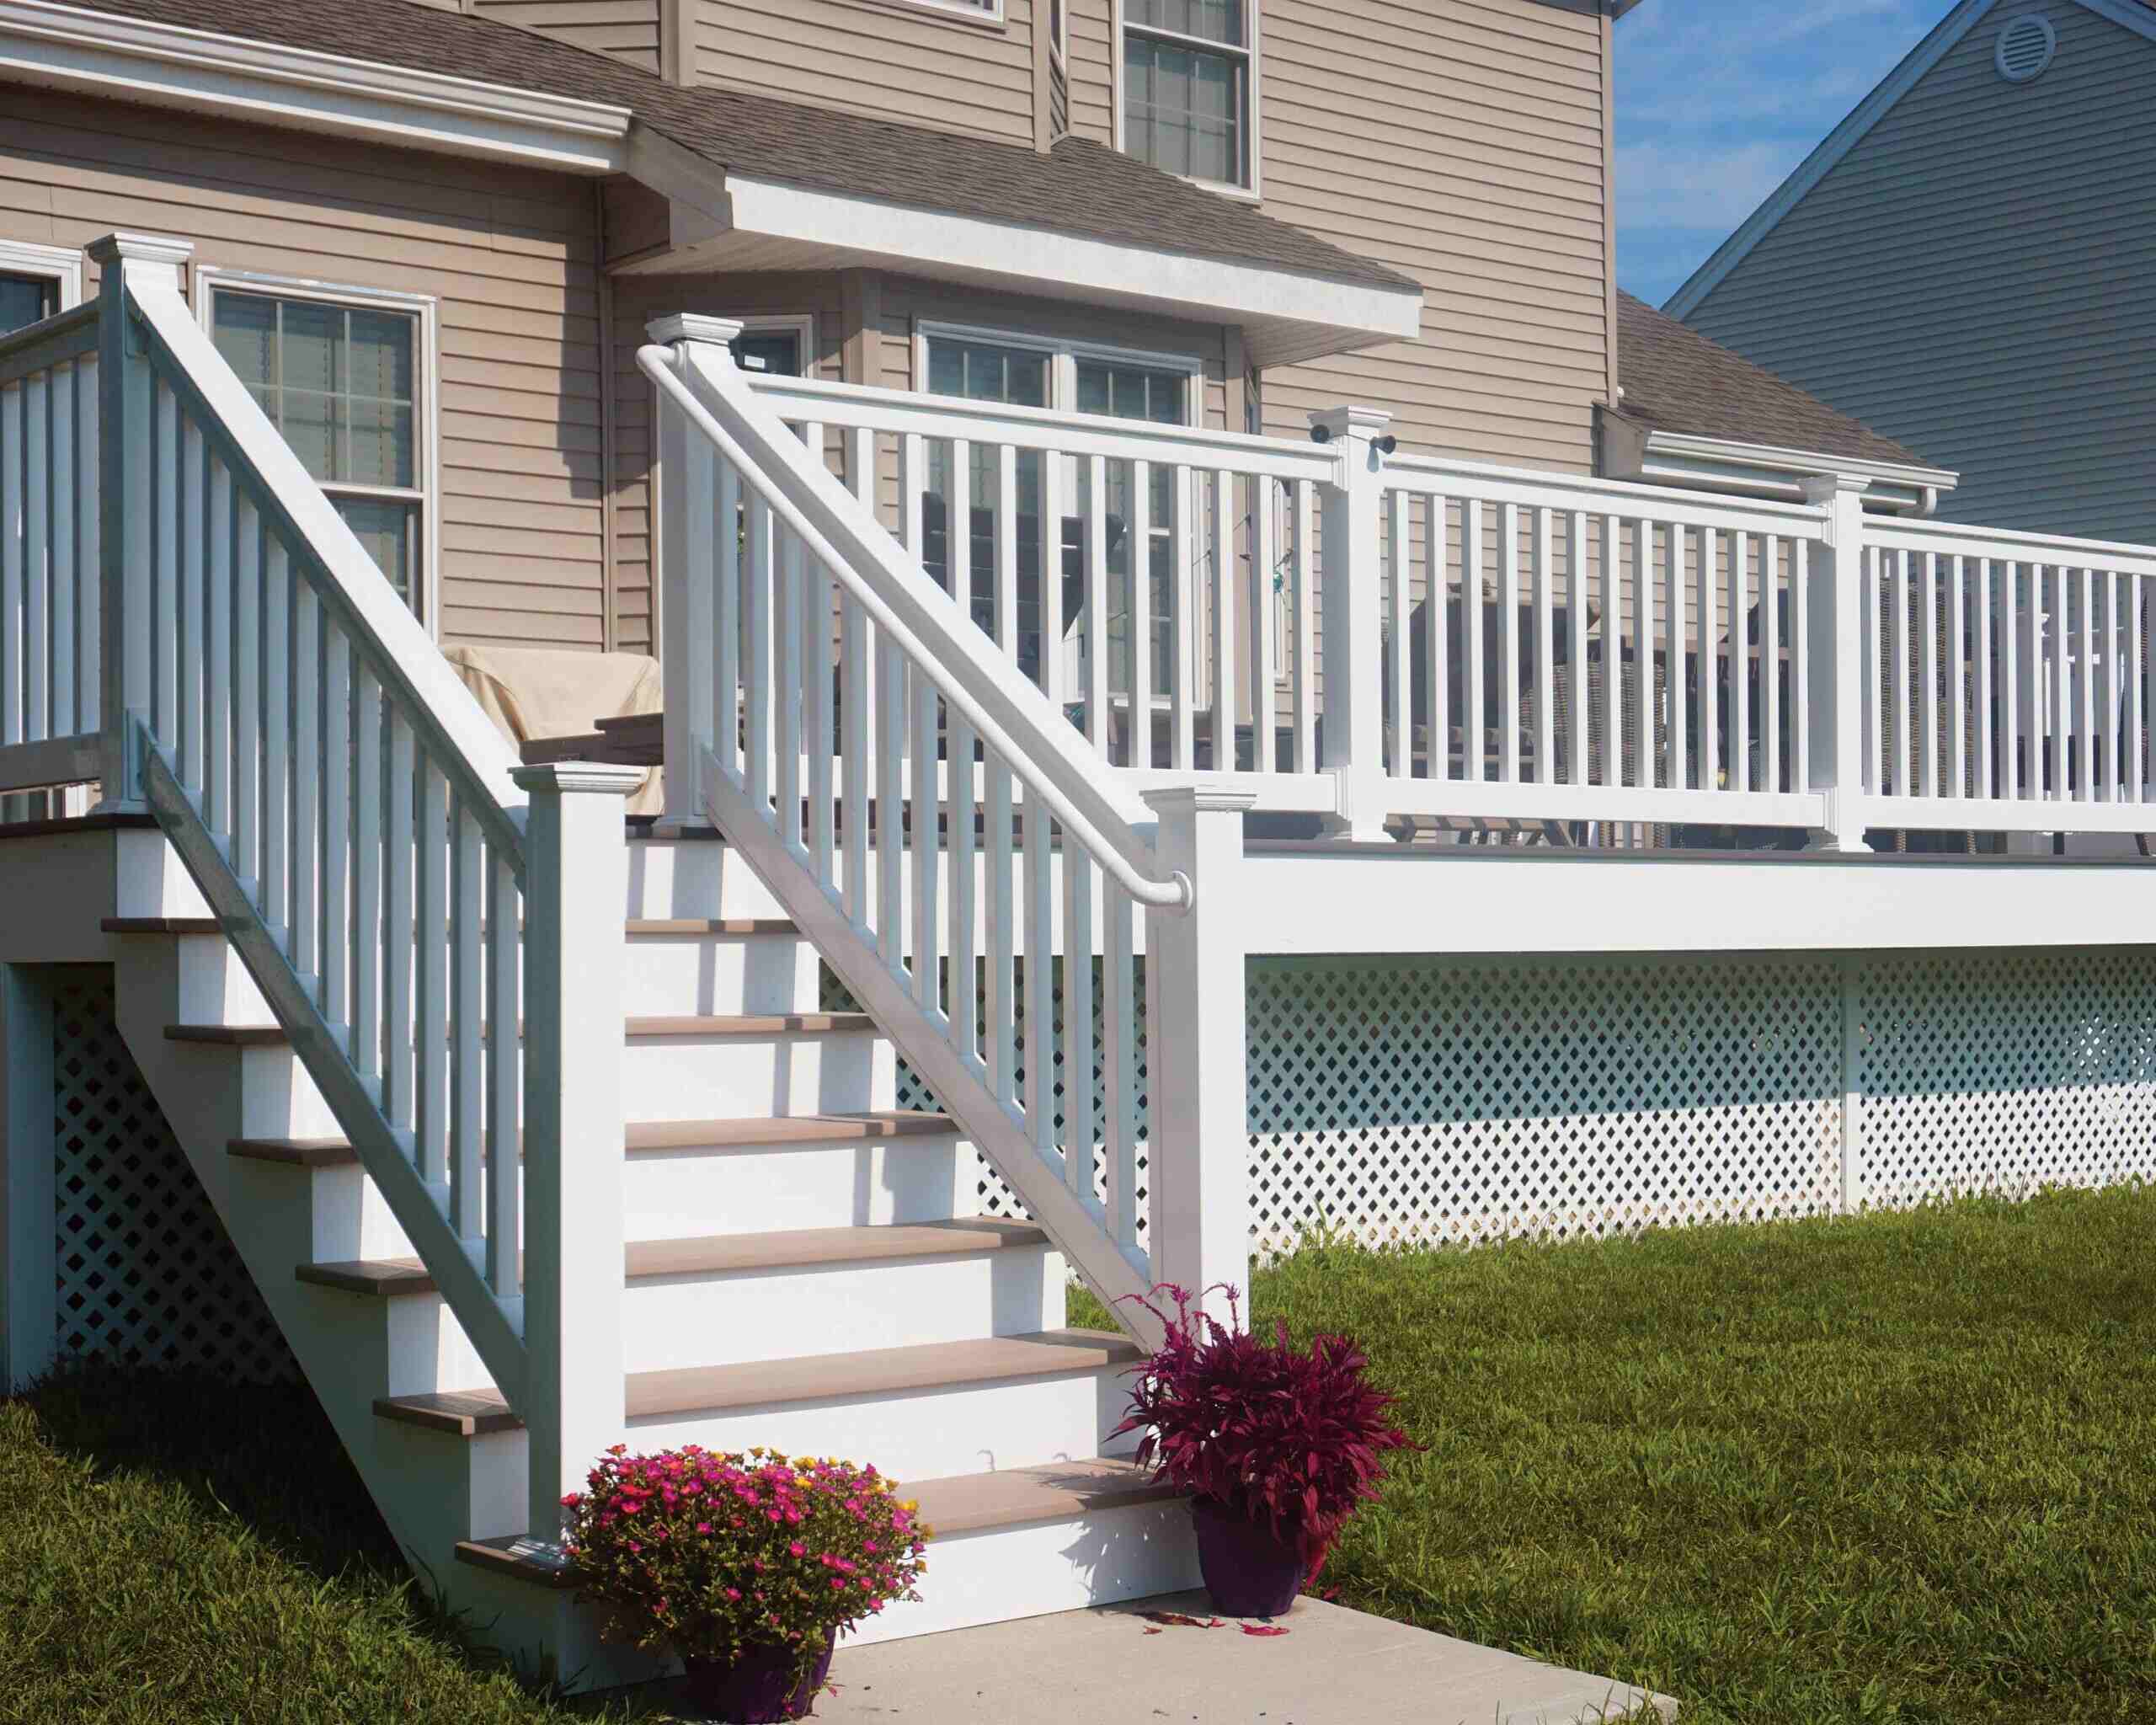
Step 7: Attach the Railing Sections
Now that the porch railing posts are securely set, it’s time to attach the railing sections. Follow these steps to properly install the railing sections:
- Start by positioning the first railing section between two porch railing posts. Ensure that it aligns properly and is level with the posts.
- Using screws or nails, secure the railing section to the porch railing posts. Make sure to follow the manufacturer’s instructions for the specific railing system you are using.
- Repeat this process for the remaining railing sections, attaching each one between the porch railing posts.
- Check the alignment and levelness of each railing section as you go along. Make any necessary adjustments to ensure a straight and visually pleasing installation.
- Ensure that there is a secure connection between the railing sections and the porch railing posts. This will provide stability and support for the entire system.
As you attach the railing sections, keep in mind any specific guidelines and recommendations provided by the railing system manufacturer. This will ensure that you are installing the sections correctly and in accordance with the intended design.
Once all the railing sections are attached, take a step back and visually inspect the entire porch railing system. Check for any loose connections or areas that require further adjustment.
With the railing sections securely attached, you’re almost done! The final step is to install post caps, which not only enhance the appearance of the railing system but also provide additional protection.
Proceed to Step 8: Install Post Caps.
Read more: How To Install Front Porch Railing
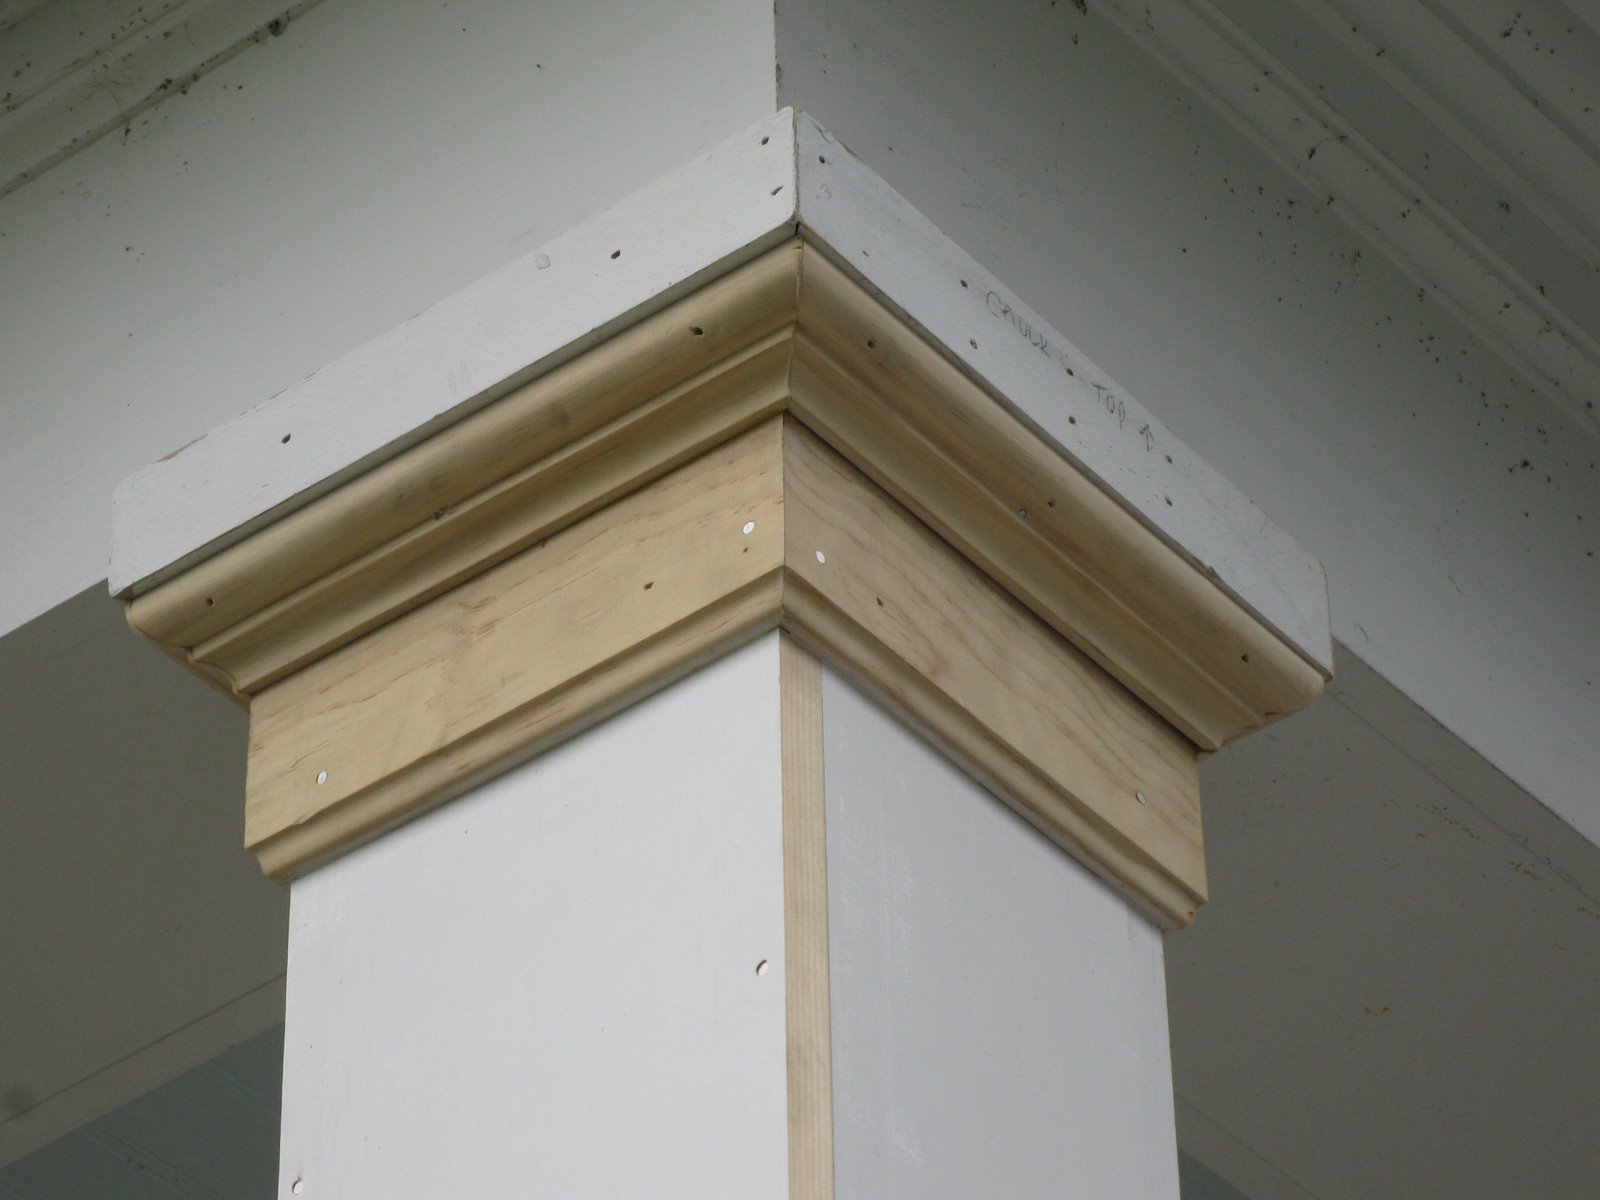
Step 8: Install Post Caps
The final touch to your porch railing installation is to install post caps. Post caps not only add a finishing touch to the railing system but also provide protection to the top of the porch railing posts. Follow these steps to properly install post caps:
- Select the desired post caps that match the style and material of your porch railing system. There are various options available, including wood, metal, and composite post caps.
- Place a post cap on top of each porch railing post. Make sure it fits securely and aligns properly with the post.
- Depending on the type of post cap, it may require screws, adhesive, or other fastening methods for installation. Follow the manufacturer’s instructions to ensure a proper and secure attachment.
- Take a step back and visually inspect the post caps. Ensure that they are level, aligned, and securely attached to the porch railing posts.
- If necessary, make any final adjustments to the post caps to ensure a uniform and visually appealing appearance.
Installing post caps not only adds a decorative element to your porch railing but also helps protect the posts from moisture and other elements that could cause damage over time. It’s a small but important step to complete your porch railing installation.
With the post caps securely installed, take a moment to appreciate your completed porch railing project. Admire the improved curb appeal and the added safety and support it provides.
Congratulations! You have successfully installed porch railing posts and completed the steps to create a beautiful and functional porch railing system for your home.
Remember to follow any additional maintenance or care instructions provided by the manufacturer to keep your porch railing looking its best for years to come.
Thank you for reading this guide on how to install porch railing posts. We hope it has been helpful in guiding you through the installation process. Enjoy your new porch railing!
If you have any further questions or need assistance, don’t hesitate to reach out to a professional contractor or consult additional resources specific to your railing system and local building codes.
Conclusion
Installing porch railing posts may initially seem like a complex task, but with the right tools, materials, and a step-by-step guide, it can be accomplished successfully. By following these steps, you can create a sturdy, visually appealing, and functional porch railing system for your home.
Starting with measuring and planning, you ensure that your porch railing posts are positioned accurately and aligned to create a visually pleasing layout. Choosing the right porch railing posts based on your desired style, maintenance level, and budget is essential to achieve the desired look for your porch.
Marking the post locations and digging post holes with proper depth and alignment are critical for establishing a solid foundation for the railing system. Inserting the porch railing posts and securing them with concrete ensure the stability and longevity of the structure.
Attaching the railing sections securely between the posts not only enhances the structural integrity but also provides safety for those using the porch. Installing post caps adds the finishing touch while adding protection to the top of the posts.
Throughout the installation process, it’s essential to follow the recommendations and guidelines provided by the manufacturer and comply with local building codes to ensure a safe and durable porch railing system.
By completing the steps outlined in this guide, you’ve accomplished a significant home improvement project that enhances both the aesthetic appeal and functionality of your porch. Enjoy the added safety, support, and curb appeal that your new porch railing provides.
Remember, proper maintenance and care are crucial to keep your porch railing in optimal condition. Regularly inspect and clean the railing, address any necessary repairs promptly, and follow the manufacturer’s maintenance recommendations for your specific railing system.
Thank you for taking the time to read this guide on how to install porch railing posts. We hope it has provided you with the knowledge and confidence to tackle this project successfully. If you need further assistance, don’t hesitate to consult with professionals or additional resources that are specific to your porch railing system and local regulations.
Frequently Asked Questions about How To Install Porch Railing Posts
Was this page helpful?
At Storables.com, we guarantee accurate and reliable information. Our content, validated by Expert Board Contributors, is crafted following stringent Editorial Policies. We're committed to providing you with well-researched, expert-backed insights for all your informational needs.


0 thoughts on “How To Install Porch Railing Posts”