Articles
How To Install Porch Railing
Modified: February 23, 2024
Learn step-by-step articles on how to install porch railing for a beautiful and safe outdoor space. Expert tips and guidance for a successful installation.
(Many of the links in this article redirect to a specific reviewed product. Your purchase of these products through affiliate links helps to generate commission for Storables.com, at no extra cost. Learn more)
Introduction
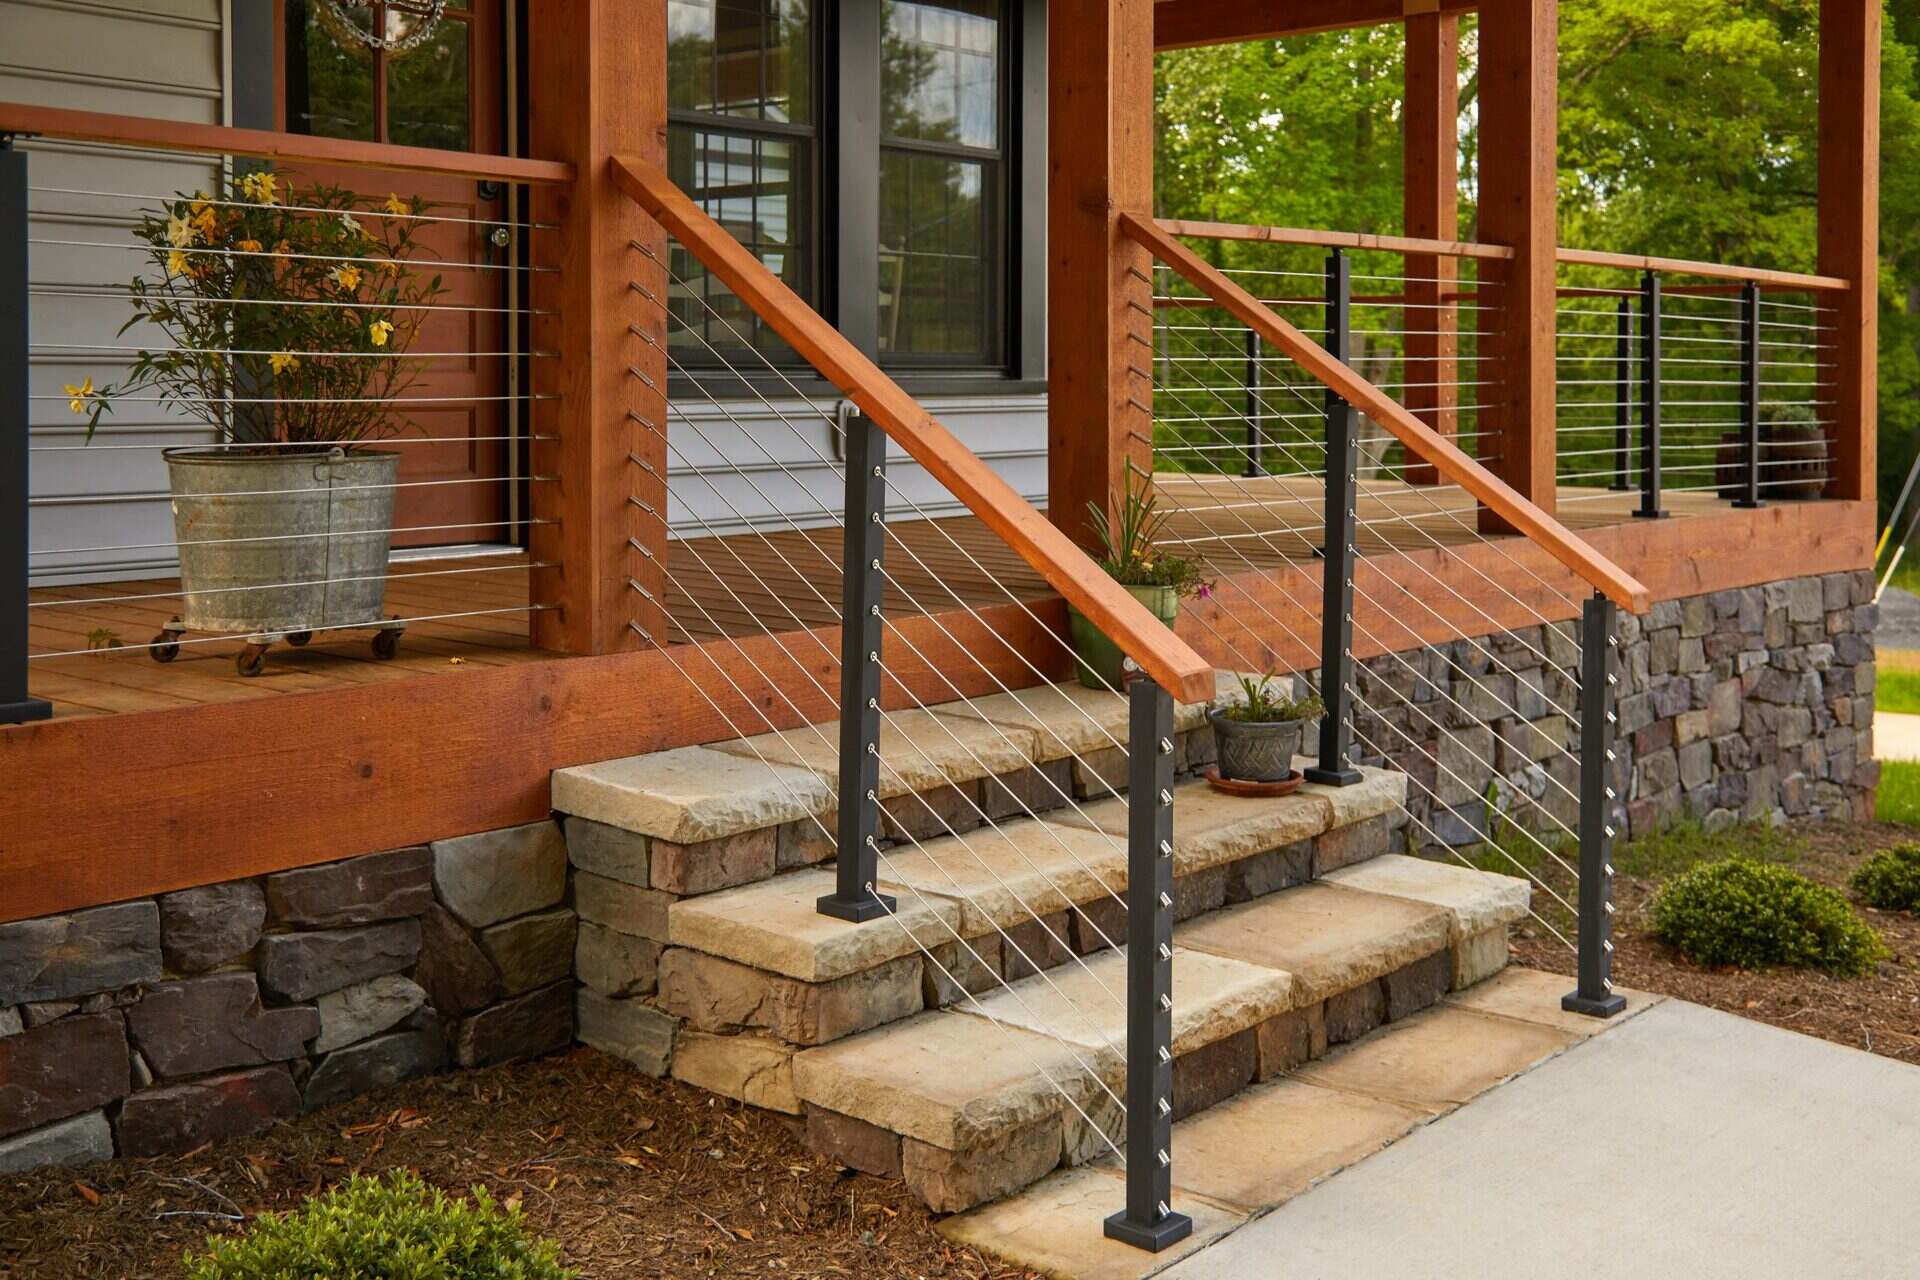
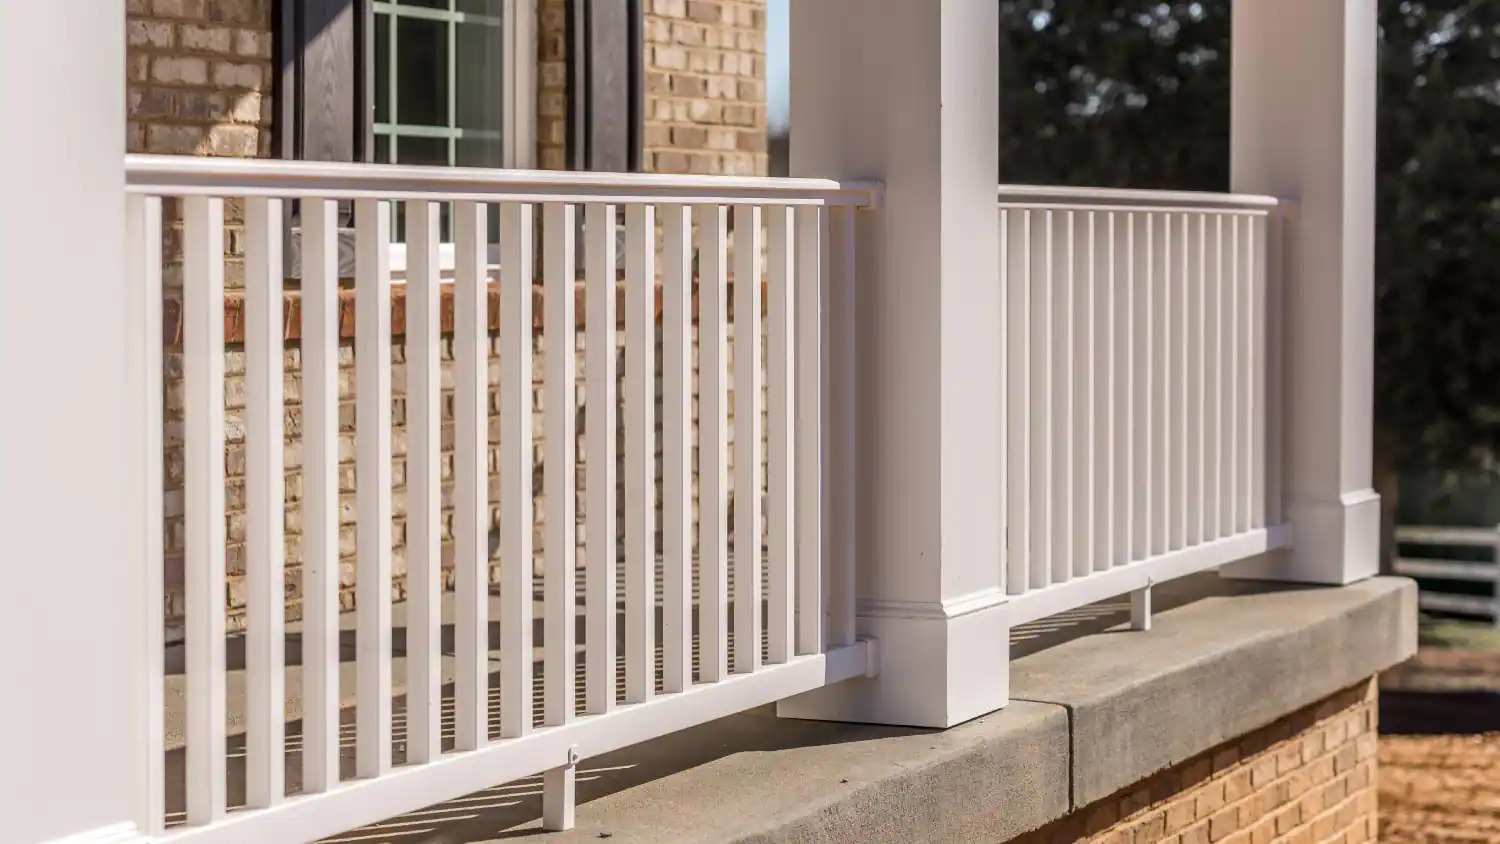
Welcome to our step-by-step guide on how to install porch railing. Whether you want to add a touch of elegance to your home or enhance safety for your outdoor space, installing a porch railing is a great idea. Not only does it provide support and stability, but it can also greatly improve the overall aesthetic appeal of your porch.
In this article, we will walk you through the process of installing porch railing, from measuring and planning to securing the final touches. By following these steps, you will be able to install a sturdy and stylish porch railing that not only meets your functional needs but also complements the design of your home.
Before we dive into the installation process, it’s important to note that porch railing requirements may vary depending on your location and local building codes. It is always important to familiarize yourself with the regulations in your area and obtain any necessary permits before starting the installation. Additionally, if you are not comfortable undertaking this project on your own, it is advisable to hire a professional contractor.
Now, let’s gather the materials needed for the installation.
Key Takeaways:
- Installing a porch railing involves careful planning, precise measurements, and attention to detail. By following the step-by-step guide, you can create a sturdy and stylish railing that enhances both safety and aesthetic appeal.
- From preparing the porch and installing the posts to adding finishing touches, the process of installing a porch railing requires patience and thoroughness. The result is a welcoming and secure outdoor space that adds value to your home.
Read more: How To Install Porch Railing Posts
Materials Needed
Before you begin the installation process, you will need to gather the necessary materials. Here is a list of items you will need:
- Porch railing kit: This will typically include the top and bottom rails, balusters, and any necessary hardware.
- Posts: These are vertical supports that the railing will attach to. The number of posts needed will depend on the length and design of your porch.
- Fasteners: You will need screws or nails to secure the railing and balusters to the porch and posts.
- Post caps: These decorative elements are placed on top of the posts to add a finishing touch.
- Level: A level is essential to ensure that your railing is perfectly straight and even.
- Tape measure: Use a tape measure to accurately measure the dimensions of your porch and determine the placement of the railing.
- Pencil: This will come in handy for marking the placement of the railing and posts.
- Drill: A drill will be needed to attach the railing and balusters to the porch and posts.
- Saw: Depending on your specific porch design, you may need a saw to cut the railing and balusters to the correct size.
- Safety equipment: Don’t forget to wear safety goggles and gloves to protect yourself during the installation process.
Ensure that you have all these materials before starting the installation to avoid any delays or interruptions. Once you have gathered all the necessary supplies, you can move on to the next step: measuring and planning.
Step 1: Measure and Plan
Before you begin the installation of your porch railing, it is important to carefully measure and plan the layout. This step will ensure that your railing fits properly and is aligned correctly with your porch. Here’s how to get started:
- Measure the length of your porch: Use a tape measure to determine the total length of your porch where you want the railing to be installed. This will help you determine how many railing panels or sections you will need.
- Mark the placement of posts: Determine where you want to install the posts which will support the railing. Typically, posts are placed at the corners of the porch and evenly spaced along the length of the porch. Mark these locations with a pencil.
- Check local building codes: Consult your local building codes to determine the specific requirements for post spacing and railing height. It is important to comply with these regulations to ensure safety and avoid any issues with inspections.
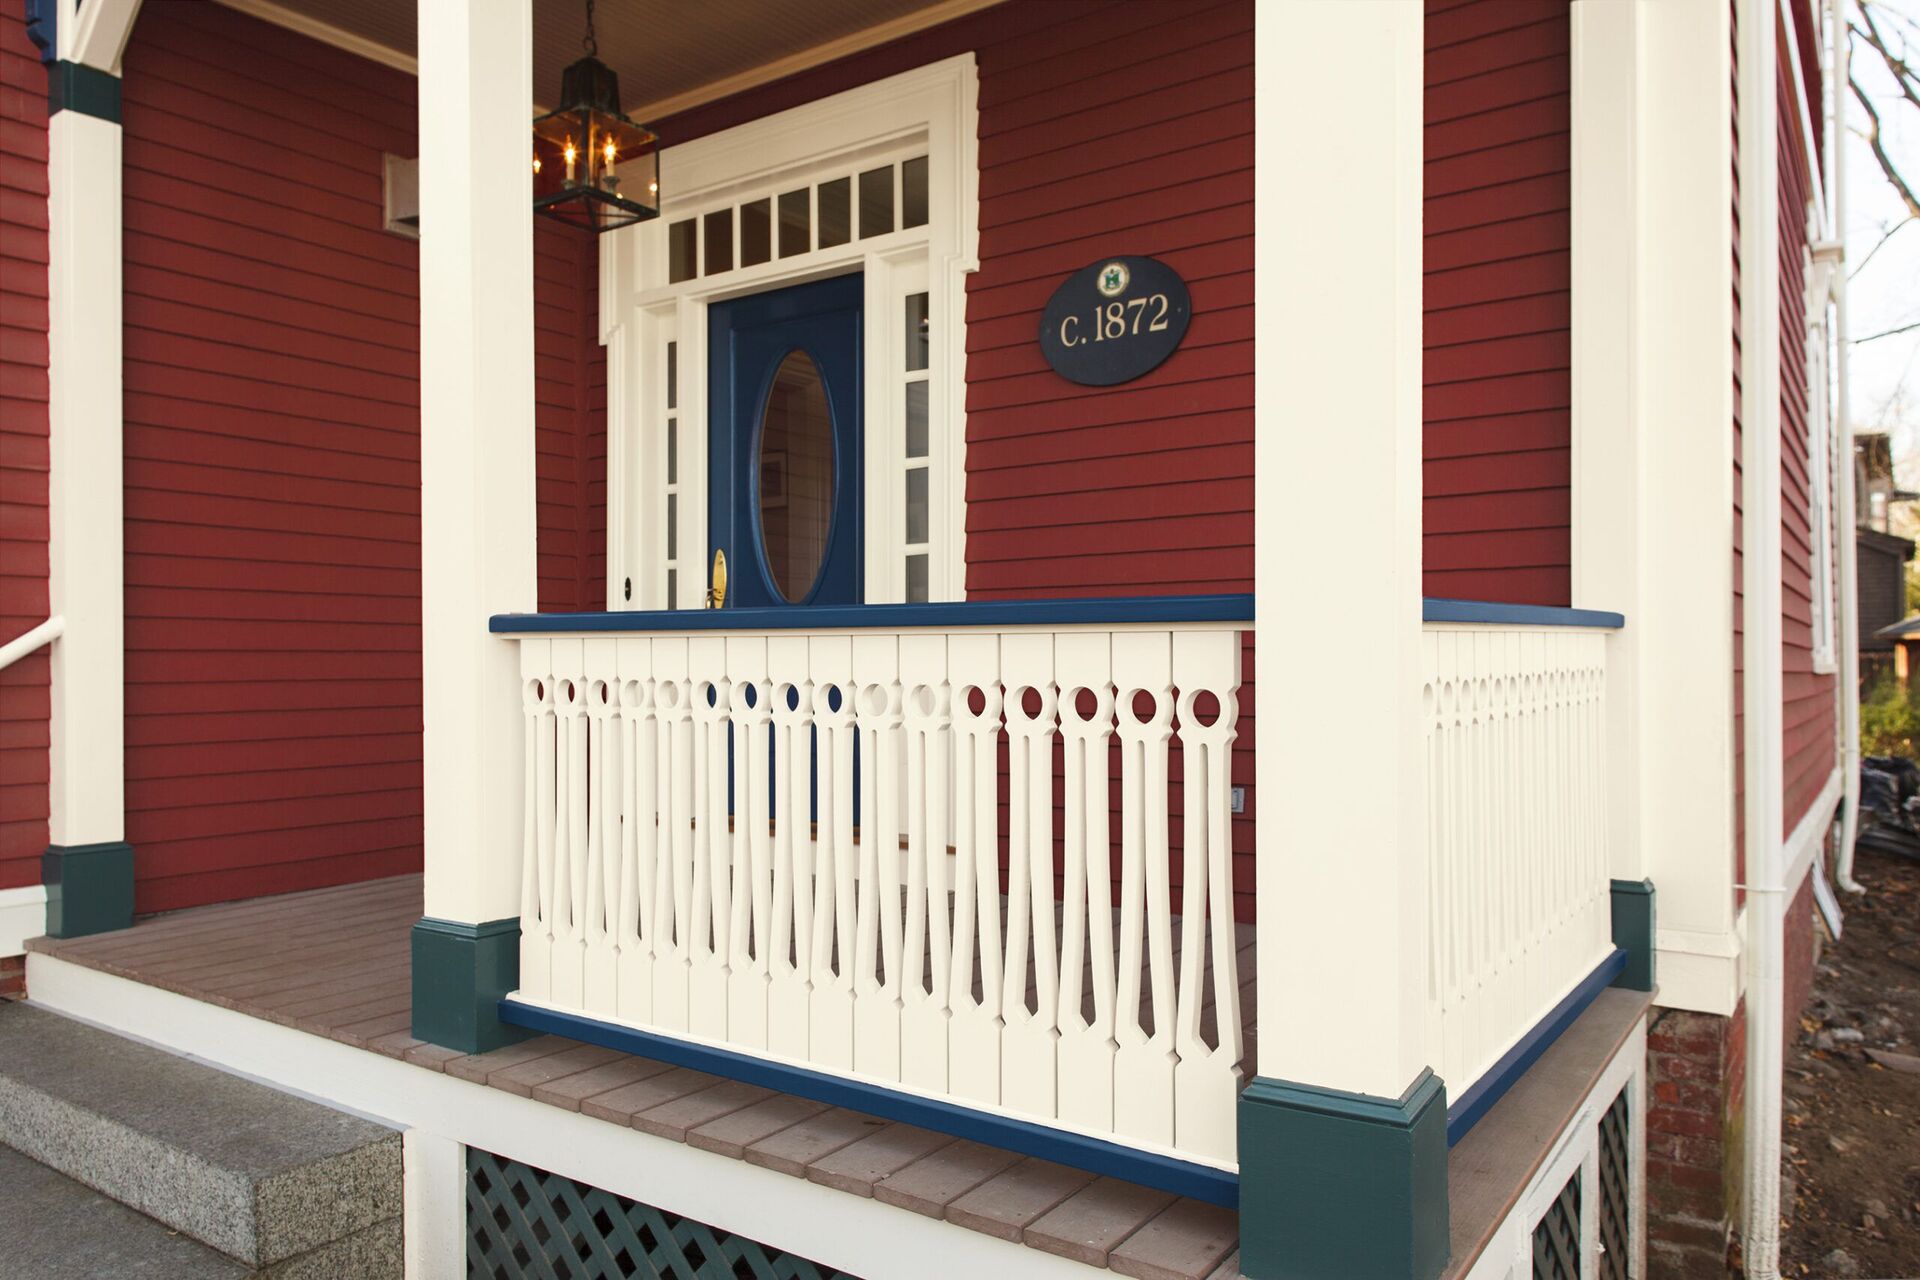
- Consider the design and style: Think about the style and design of your porch and choose a railing that complements the overall aesthetic. Whether you prefer a traditional look or a more modern design, there are plenty of options available to suit your taste.
- Plan for baluster spacing: Decide on the spacing between balusters, which are the vertical supports in the railing. The spacing should be such that it meets the local building codes and prevents any small children or pets from getting stuck between them.
Once you have completed these steps, you will have a clear plan for the installation of your porch railing. This preparation will make the installation process smoother and ensure a professional-looking end result. With your plan in place, it’s time to move on to the next step: purchasing the necessary supplies.
Step 2: Purchase Necessary Supplies
Now that you have measured and planned for your porch railing, it’s time to gather the necessary supplies. Here are the steps to follow when purchasing the items you need:
- Choose a reputable supplier: Look for a trusted supplier that specializes in porch railing kits. They will have a variety of options to choose from, ensuring that you find one that fits your needs and style.
- Select the type of railing: Decide on the material and style of railing that you prefer. Common options include wood, metal, vinyl, and composite. Each material has its own advantages and aesthetic appeal, so choose the one that suits your personal preferences and the overall look of your home.
- Determine the number of railing panels: Based on your measurements and desired spacing, calculate the number of railing panels required. It’s always a good idea to buy an extra panel or two to account for any mistakes or future replacements.
- Consider the necessary accessories: Don’t forget to purchase any additional accessories that may be needed for the installation, such as post caps, fasteners, and decorative elements. These small details can add a finishing touch to your porch railing.
- Compare prices and quality: Take the time to compare prices and quality from different suppliers. While cost is a significant factor, it’s also important to consider the durability and longevity of the railing materials. Investing in a high-quality product will ensure that your porch railing lasts for years to come.
- Place your order: Once you have made your selection, place your order with the supplier. Double-check the quantities and specifications to ensure that you are getting the correct items.
By following these steps, you can ensure that you have all the necessary supplies for your porch railing installation. Once everything arrives, you will be ready to move on to the next step: preparing your porch for the installation process.
Step 3: Prepare Porch for Installation
Before you start installing your porch railing, it is essential to prepare the porch area to ensure a smooth and successful installation. Here are the steps to follow when preparing your porch:
- Clean the porch: Remove any debris, dirt, or plants from the porch surface. A clean and clear workspace will make the installation process easier and prevent any obstacles or damage to the railing.
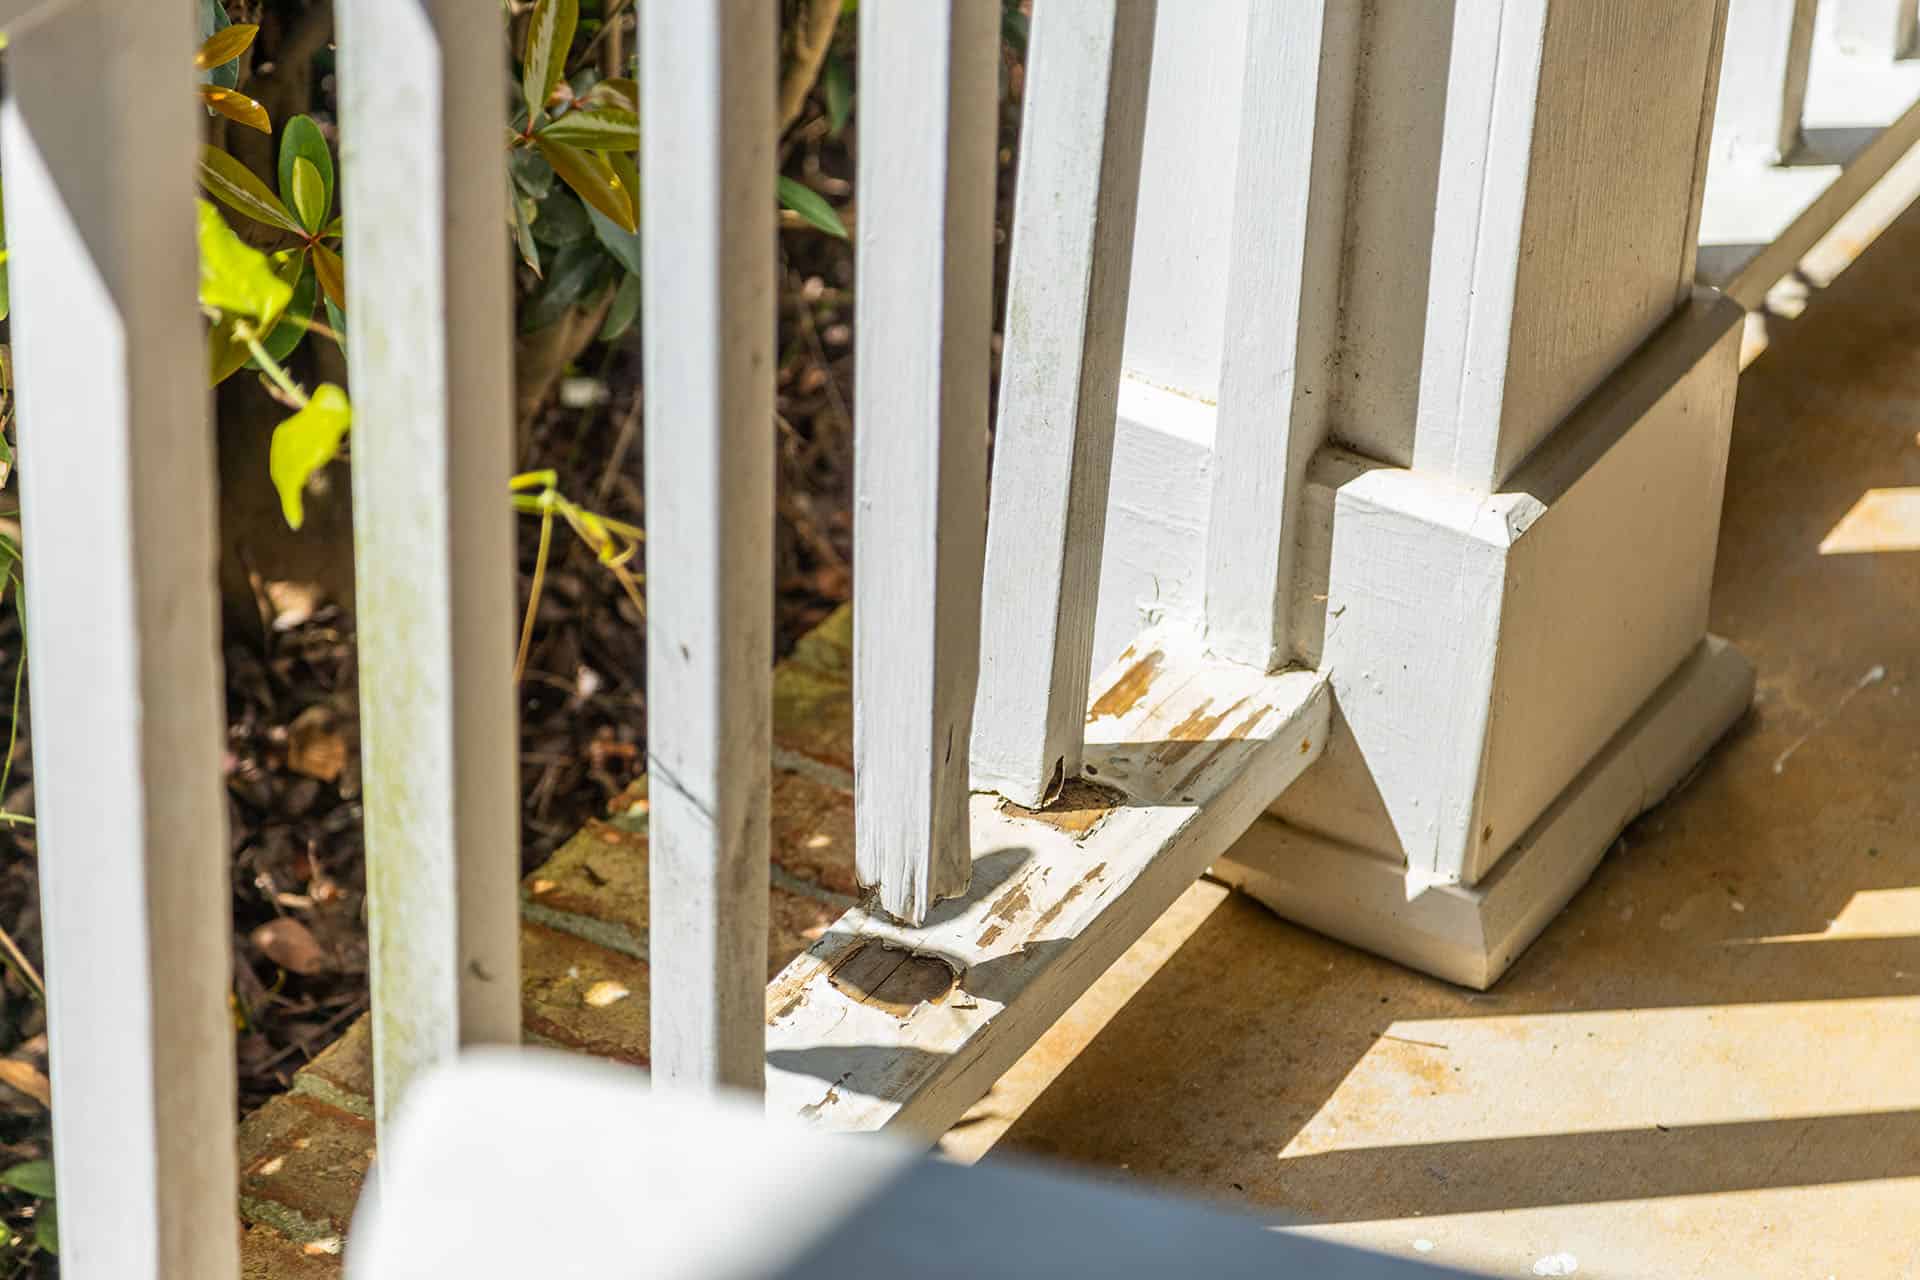
- Check for structural integrity: Examine the porch structure for any signs of damage or weakness. Ensure that the porch is sturdy enough to support the weight of the railing and the people who will lean or grip it.
- Repair any existing damage: If you notice any rot, cracks, or other damage to the porch, repair it before proceeding with the installation. Replace any damaged boards or address any structural issues to ensure a solid foundation for the railing.
- Mark the post locations: Using the pencil marks from the planning stage, mark the exact locations for the posts on the porch surface. Double-check the measurements and ensure that the spacing is consistent.
- Prep the posts: Depending on the type of posts you are using, you may need to trim them to the desired height. Make sure each post is cut evenly, and any sharp edges or corners are smoothed out.
- Apply protective coating: If you are using wood posts or railing components, consider applying a protective coating to prevent weathering, rot, or termite damage. Follow the manufacturer’s instructions for the appropriate coating and allow it to dry fully before continuing with the installation.
By properly preparing your porch, you will create a stable foundation for your railing installation. Taking the time to clean, inspect, and make any necessary repairs will ensure a safe and durable porch railing. Once your porch is ready, it’s time to move on to the next step: installing the posts.
When installing porch railing, make sure to measure and mark the placement of the railing posts accurately to ensure a secure and level installation. Use a level to check for straightness before securing the posts.
Read more: How To Install Front Porch Railing
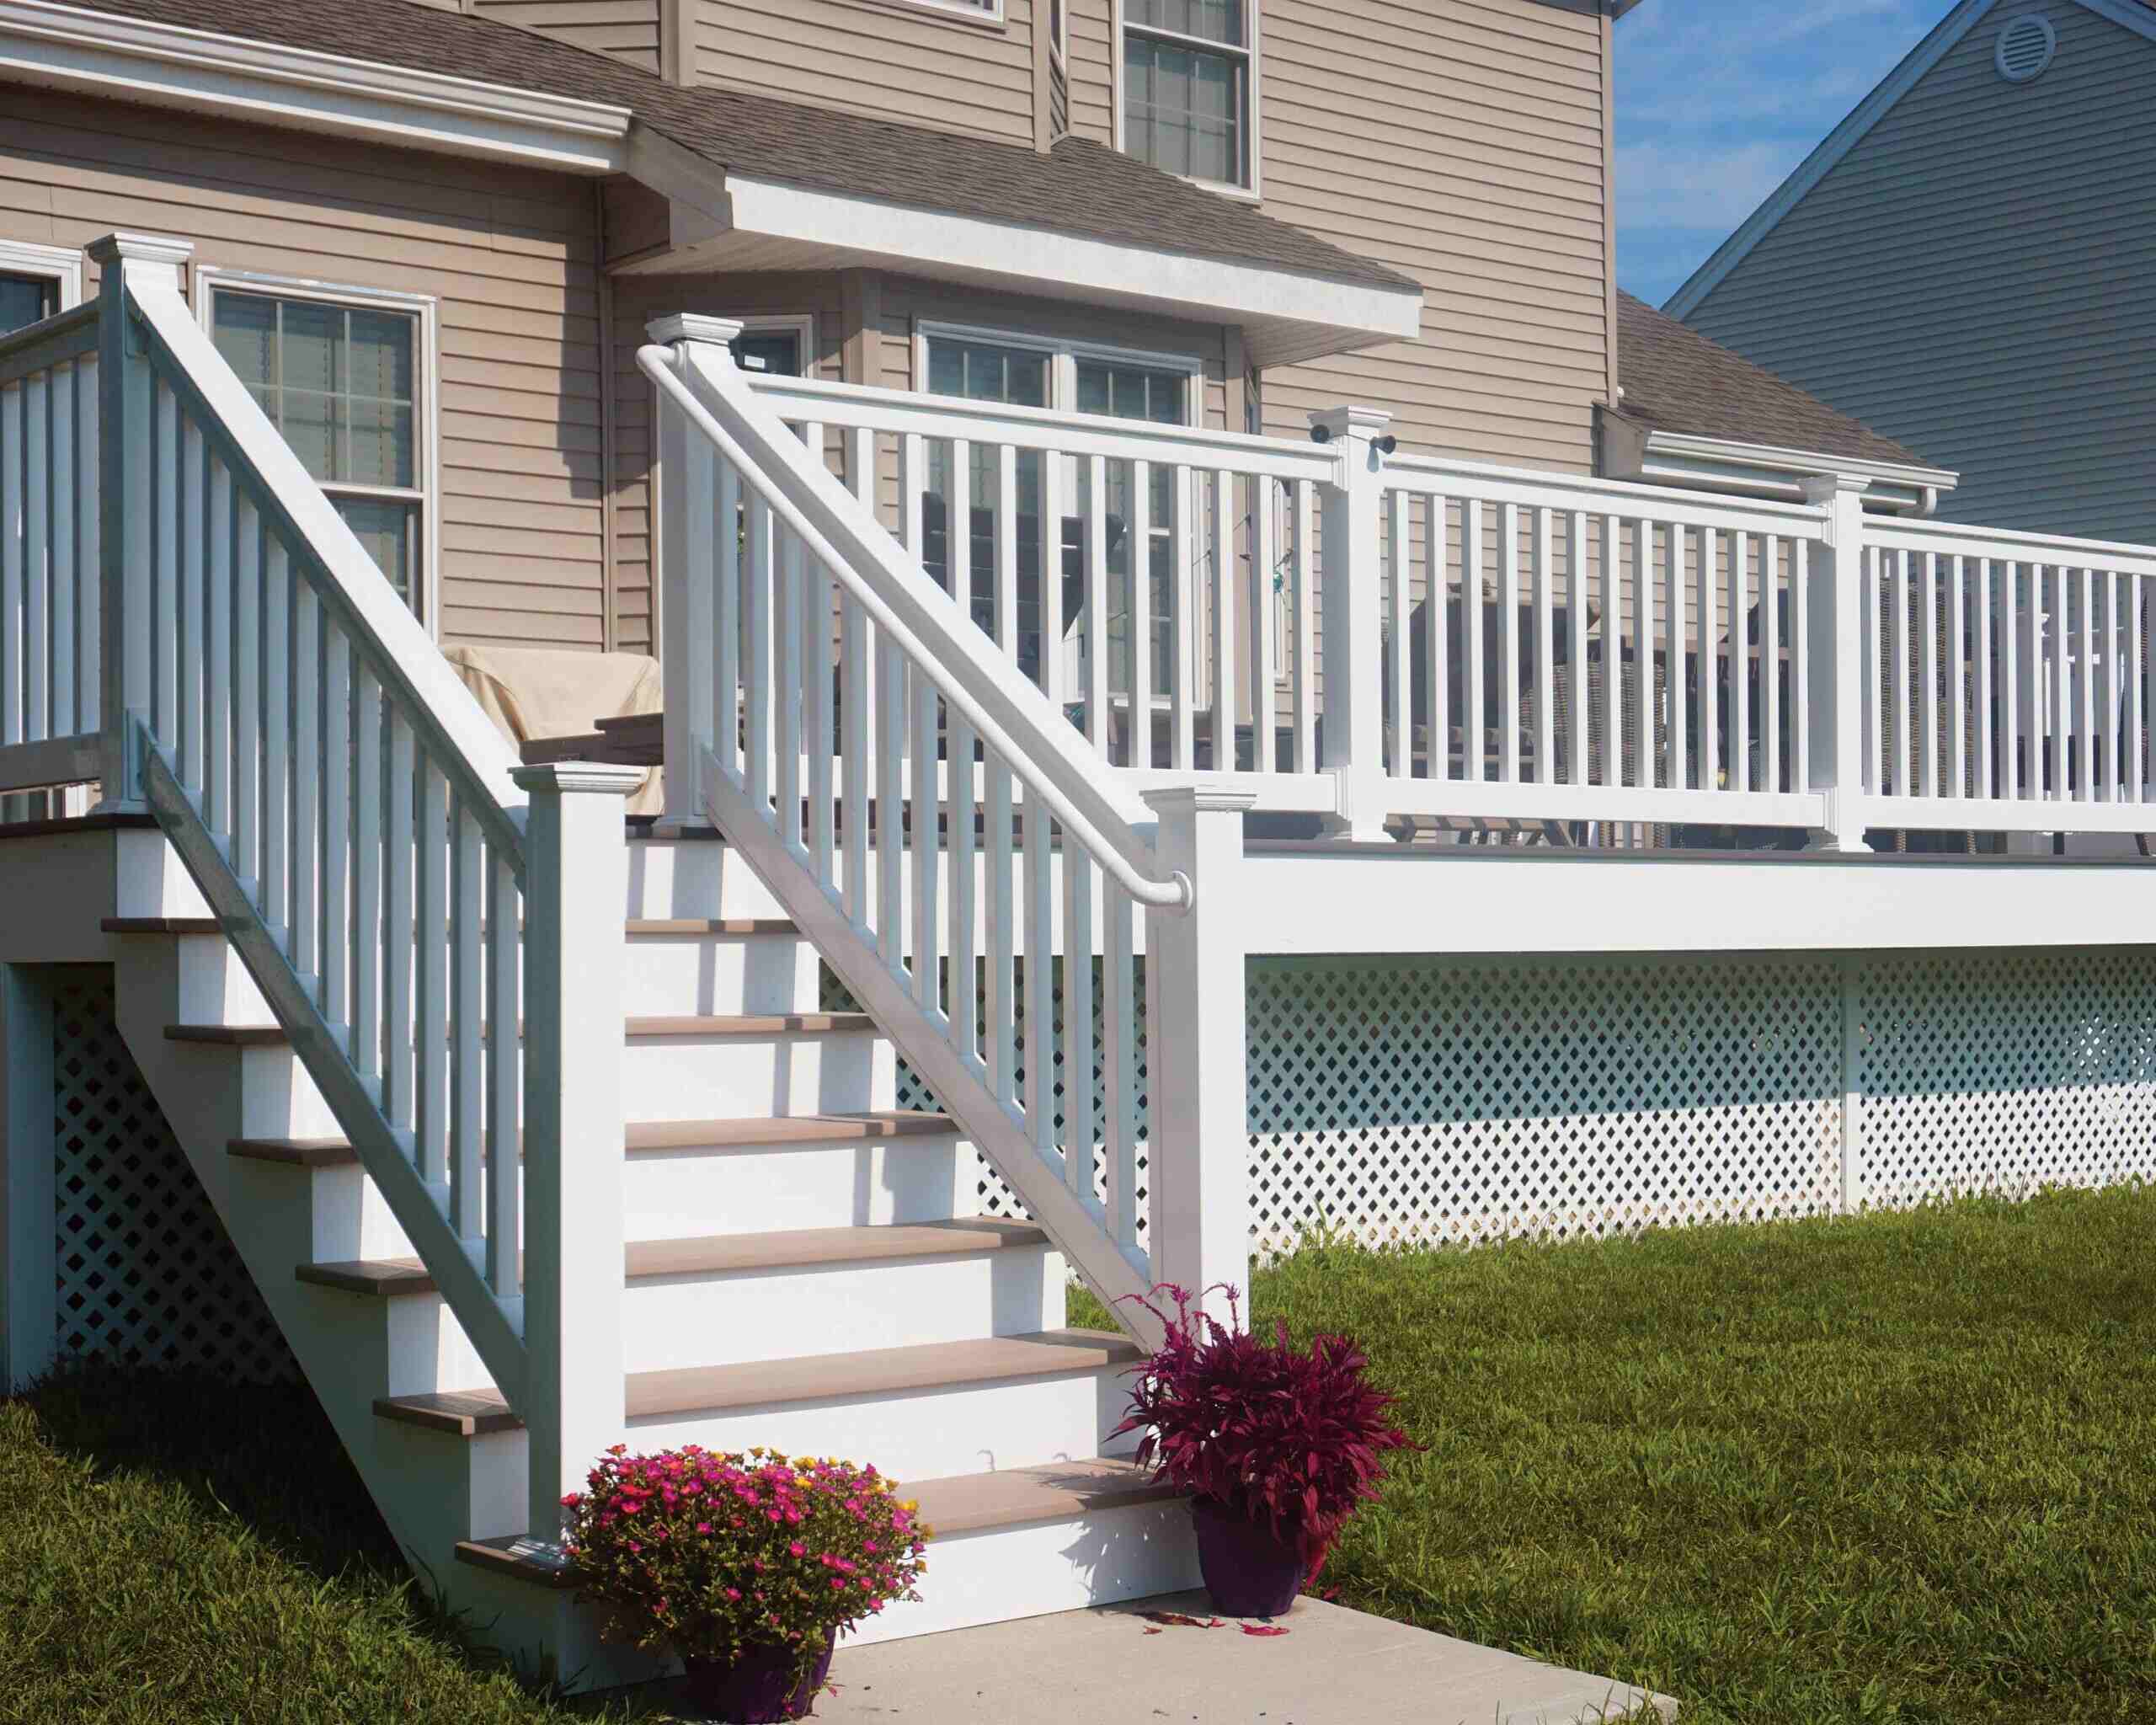
Step 4: Install Posts
With your porch prepared, it’s time to start installing the posts for your porch railing. The posts are the vertical supports that will provide stability and support for the railing. Here’s how to install the posts:
- Position the first post: Begin by placing the first post at one of the marked locations on the porch. Use a level to ensure that the post is perfectly vertical. Adjust the position as needed to achieve the desired alignment.
- Mark the post height: Measure and mark the desired height for the post. This can be determined based on the height requirements specified by local building codes or personal preference. Use a saw to trim the post to the correct height.
- Attach the post to the porch: Secure the post to the porch using appropriate fasteners. Screws or nails can be used, depending on the material of the porch surface. Make sure the post is securely fastened and does not wobble or move.
- Repeat for the remaining posts: Continue positioning, marking, and attaching the remaining posts along the porch. Use a level to ensure each post is plumb and aligned with the others.
- Check for stability: Once all the posts are installed, check for stability by applying gentle pressure to each post. They should feel sturdy and securely anchored to the porch surface. Make any necessary adjustments or reinforcements as needed.
- Allow for proper curing: If you used concrete or an adhesive to secure the posts, allow sufficient time for it to cure and harden. Follow the manufacturer’s instructions for the recommended curing time.
By following these steps, you will have successfully installed the posts for your porch railing. These sturdy supports will ensure the stability and longevity of your railing. With the posts in place, it’s time to move on to the next step: attaching the top and bottom rails.
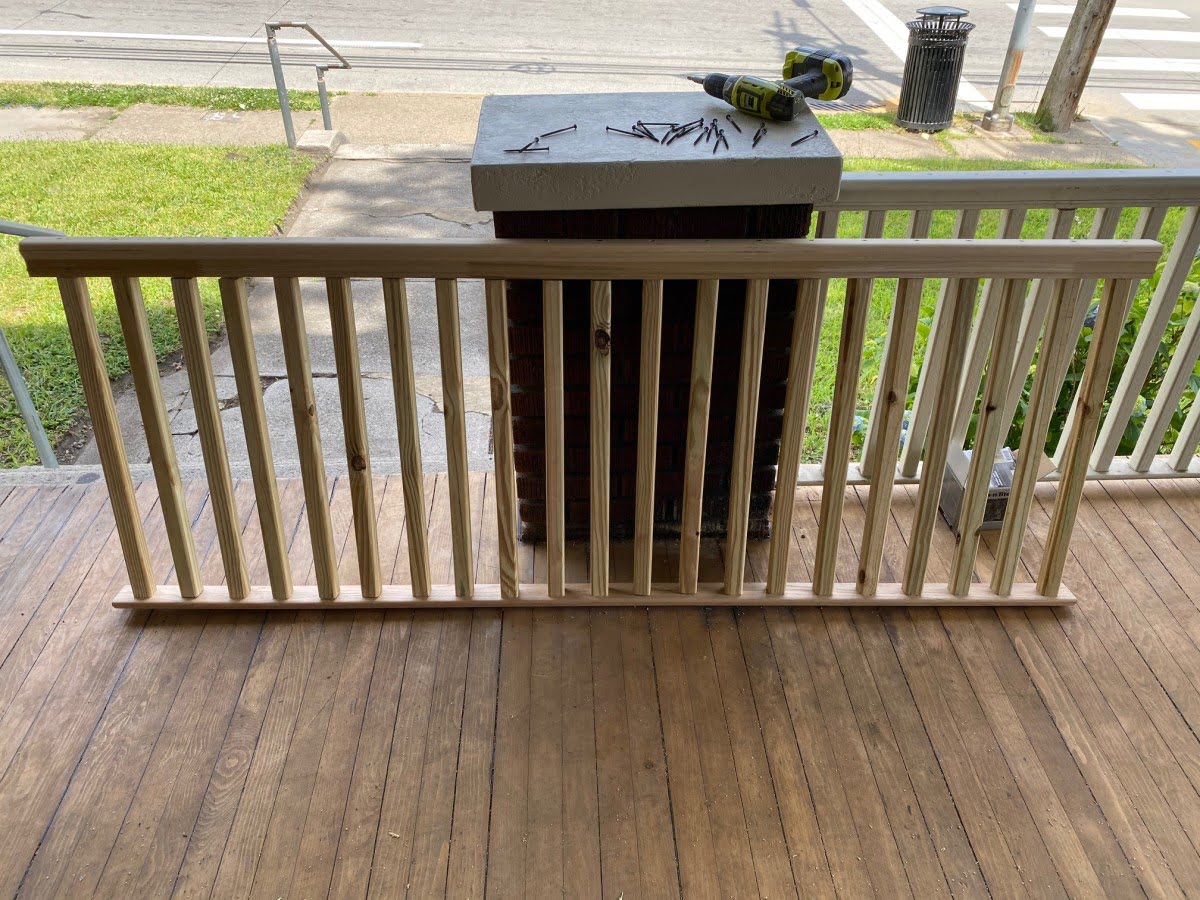
Step 5: Attach Top and Bottom Rails
Now that the posts are securely installed, it’s time to attach the top and bottom rails of your porch railing. The top and bottom rails provide support and serve as the framework for the balusters. Here’s how to attach them:
- Measure and cut the rails: Measure the distance between the installed posts to determine the length of the top and bottom rails. Use a saw to cut the rails to the appropriate size, ensuring a precise fit.
- Position the bottom rail: Start by attaching the bottom rail to the posts. Place the rail on the predetermined marks, ensuring that it is level and aligned with the posts. Use screws or nails to secure the rail to the posts.
- Attach the top rail: Next, position the top rail on top of the balusters or the previously installed bottom rail. Ensure that it is level and aligned with the posts. Again, use screws or nails to securely attach the rail to the posts.
- Check for proper alignment: Step back and check that the top and bottom rails are level and visually pleasing. Make any adjustments as necessary to ensure a straight and well-aligned railing.
- Secure the rails: Once you are satisfied with the alignment and positioning, go back and reinforce the attachment of the rails to the posts. Ensure that they are firmly secured, with no wobbling or movement.
- Cover the attachment points: Depending on the railing kit you are using, there may be cover plates or additional decorative elements provided. Use these to cover the attachment points for a clean and finished look.
By following these steps, you will have successfully attached the top and bottom rails, creating the framework for your porch railing. The rails will provide stability and support to the balusters. With the rails in place, it’s time to move on to the next step: securing the balusters.
Step 6: Secure Balusters
With the top and bottom rails securely in place, it’s time to install the balusters, which are the vertical supports that fit between the rails. Balusters not only add to the structural integrity of the porch railing but also contribute to its aesthetic appeal. Here’s how to secure the balusters:
- Measure and mark baluster spacing: Determine the desired spacing between each baluster. This can be determined based on local building codes or personal preference. Measure and mark the placement of each baluster on the top and bottom rails.
- Pre-drill holes (if needed): Depending on the type of balusters and railing material, it may be necessary to pre-drill holes for the screws or fasteners. This will prevent the wood or other materials from splitting. Follow the manufacturer’s guidelines for pre-drilling.
- Attach the balusters: Place each baluster in its designated position between the top and bottom rails. Use screws or other appropriate fasteners to secure the balusters to the rails. Make sure each baluster is level and aligned with the others.
- Check for stability: Once all the balusters are installed, check for stability by applying gentle pressure to each one. They should feel secure and not move or wobble. Make any necessary adjustments or additional fastening as needed.
- Trim balusters (if needed): If any balusters are too long or protrude above the railings, use a saw to trim them to the desired height. Ensure that all balusters are evenly cut and visually appealing.
By following these steps, you will have successfully secured the balusters to your porch railing. The balusters provide additional support and enhance the aesthetic appeal of the railing. With the balusters in place, it’s time to move on to the final step: adding the finishing touches.
Step 7: Add Finishing Touches
Now that your porch railing is coming together, it’s time to add the final touches that will elevate its appearance and complete the installation. These finishing touches will enhance the overall look and functionality of your porch railing. Here’s what you need to do:
- Install post caps: Attach post caps to the top of each post to provide a decorative finish and protect the post from water damage and rot. Choose post caps that complement the style of your porch and railing.
- Apply paint or stain (if desired): If you have chosen a wood railing, consider applying a coat of paint or stain to protect the wood from the elements and give it a finished look. Follow the manufacturer’s instructions and allow adequate drying time.
- Clean up any debris: Take the time to clean up any debris or sawdust that may have accumulated during the installation process. A clean porch will make your railing look even more polished.
- Inspect for any loose parts: After the installation is complete, thoroughly inspect the railing for any loose parts or connections. Tighten any screws or fasteners that may have become loose during the installation process.
- Test the stability: Give the railing a gentle shake to ensure that it is secure and stable. If you notice any wobbling or instability, double-check the fastenings and make any necessary adjustments.
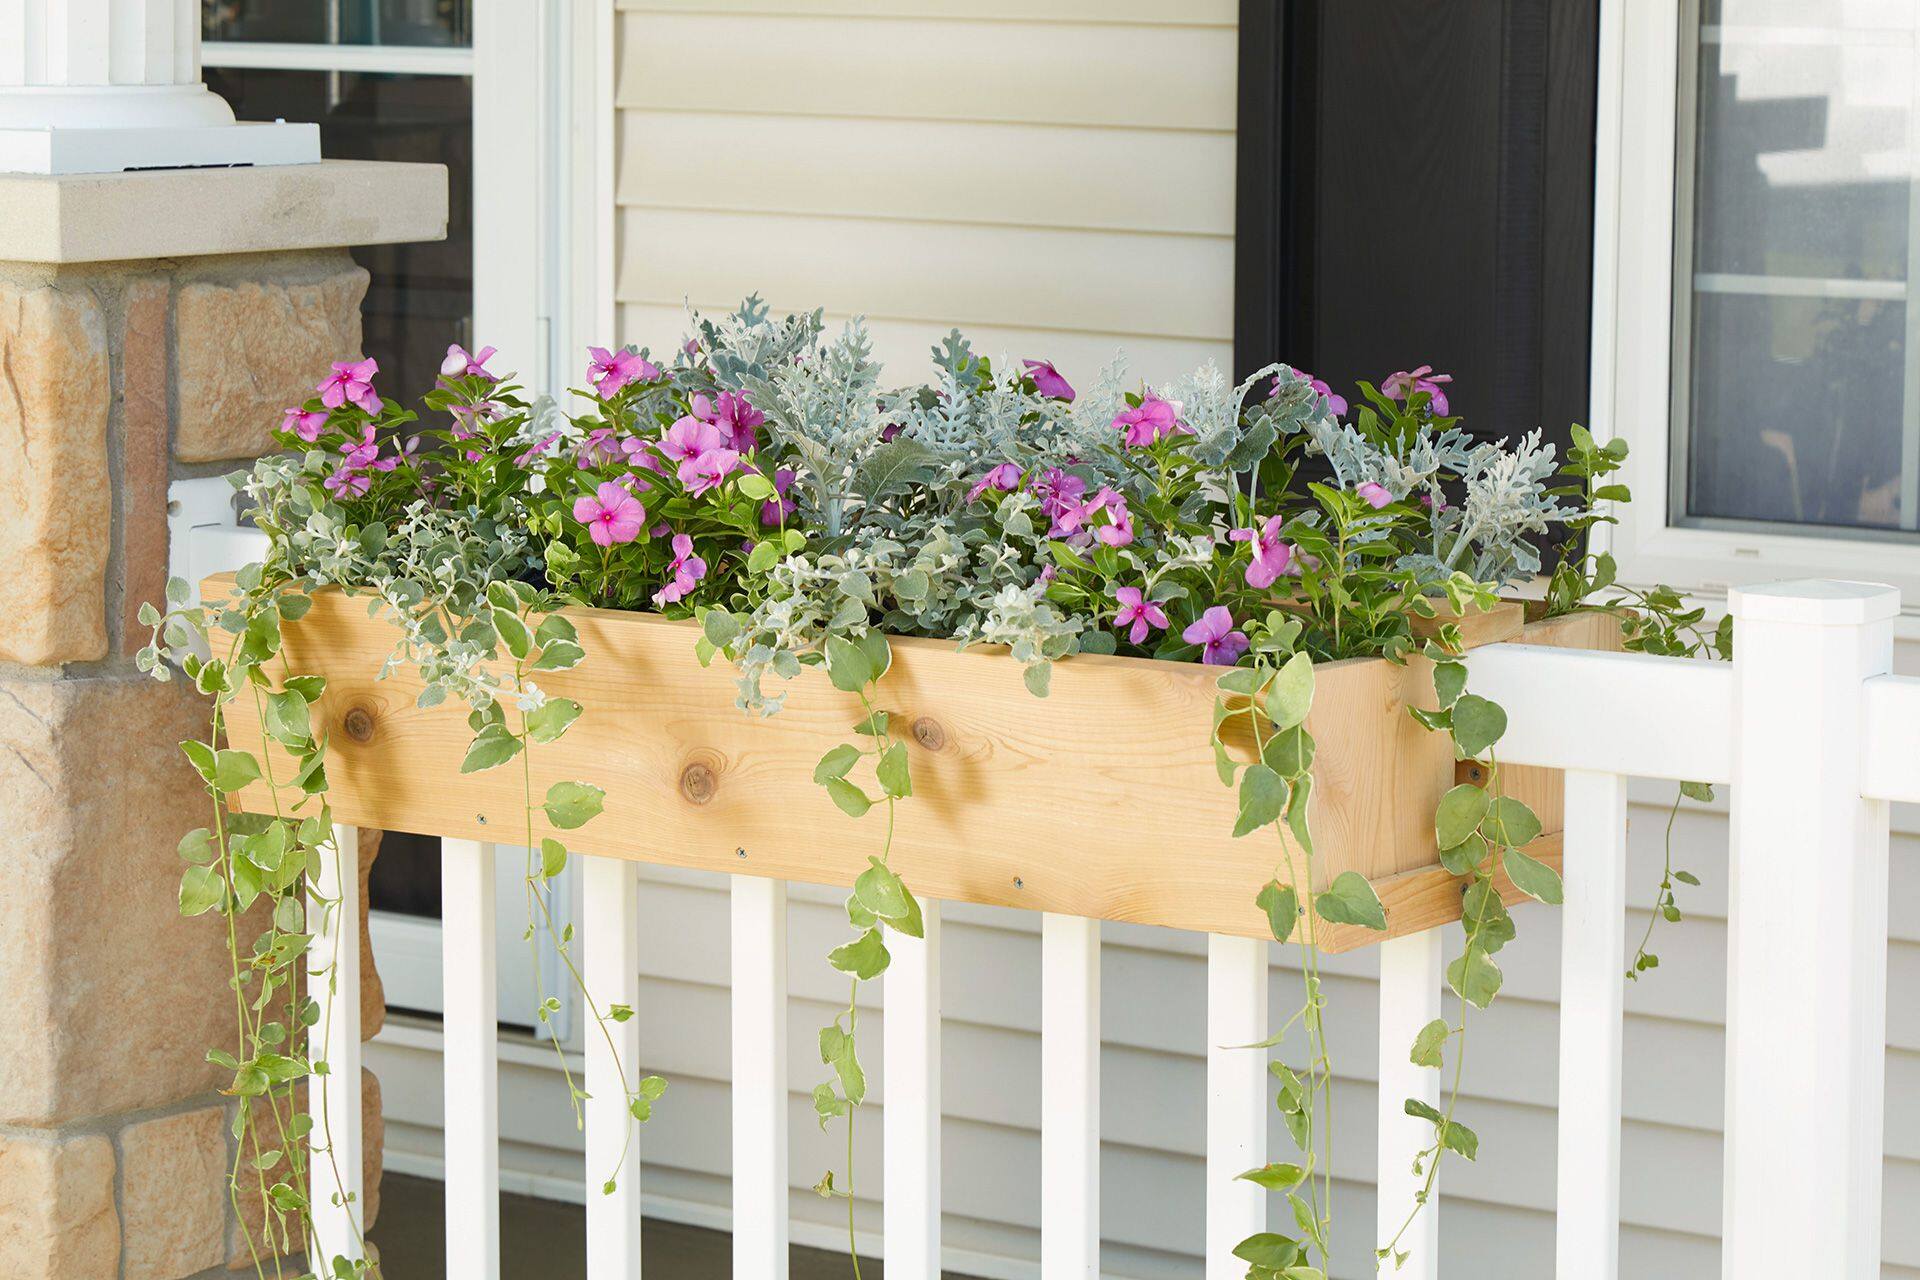
- Admire your finished porch railing: Step back and take a moment to admire your completed porch railing. Enjoy the enhanced safety, support, and aesthetic appeal it provides to your outdoor space.
By adding these finishing touches, you will complete the installation of your porch railing and ensure that it is not only functional but also visually appealing. Your porch will now be transformed into a welcoming and stylish area that enhances the overall value of your home.
With the finishing touches complete, you have successfully installed a beautiful and secure porch railing. Congratulations on completing this project! Remember to regularly inspect and maintain your railing to keep it in top condition for years to come.
Read more: How To Install Vinyl Porch Railing
Conclusion
Installing a porch railing is a worthwhile project that can enhance both the safety and beauty of your outdoor space. By following the step-by-step guide outlined in this article, you can successfully install a sturdy and stylish porch railing that meets your functional needs and complements the design of your home.
Starting with measuring and planning, you carefully assessed the dimensions of your porch, determined the placement of posts, and considered the design and style that best suits your taste. Then, you purchased the necessary supplies, ensuring the quality and durability of the railing materials.
Preparing your porch for installation involved cleaning the area, checking for any structural issues, and marking the locations for the posts. With the porch ready, you moved on to installing the posts, securing them firmly to the porch surface.
Attaching the top and bottom rails provided the framework for the railing, ensuring stability and guiding the placement of the balusters. By securely securing the balusters between the rails, you achieved both structural support and aesthetic appeal.
Once the porch railing was fully installed, it was time to add the finishing touches. You added post caps for a decorative touch, applied paint or stain to protect the wood (if applicable), and ensured that everything was secure and stable.
With the project complete, your porch now showcases a beautiful and functional railing that enhances the overall appearance and safety of your outdoor space. Remember to regularly inspect and maintain your porch railing to keep it in optimal condition.
By following this comprehensive guide, you have successfully installed a porch railing that adds value and charm to your home. Enjoy the benefits of your new porch railing as you create lasting memories with family and friends in a safe and stylish outdoor environment.
Frequently Asked Questions about How To Install Porch Railing
Was this page helpful?
At Storables.com, we guarantee accurate and reliable information. Our content, validated by Expert Board Contributors, is crafted following stringent Editorial Policies. We're committed to providing you with well-researched, expert-backed insights for all your informational needs.


0 thoughts on “How To Install Porch Railing”