Articles
How To Build Porch Rails
Modified: August 31, 2024
Looking for articles on how to build porch rails? Find step-by-step guides and expert tips to help you create a stunning porch railing for your home.
(Many of the links in this article redirect to a specific reviewed product. Your purchase of these products through affiliate links helps to generate commission for Storables.com, at no extra cost. Learn more)
Introduction
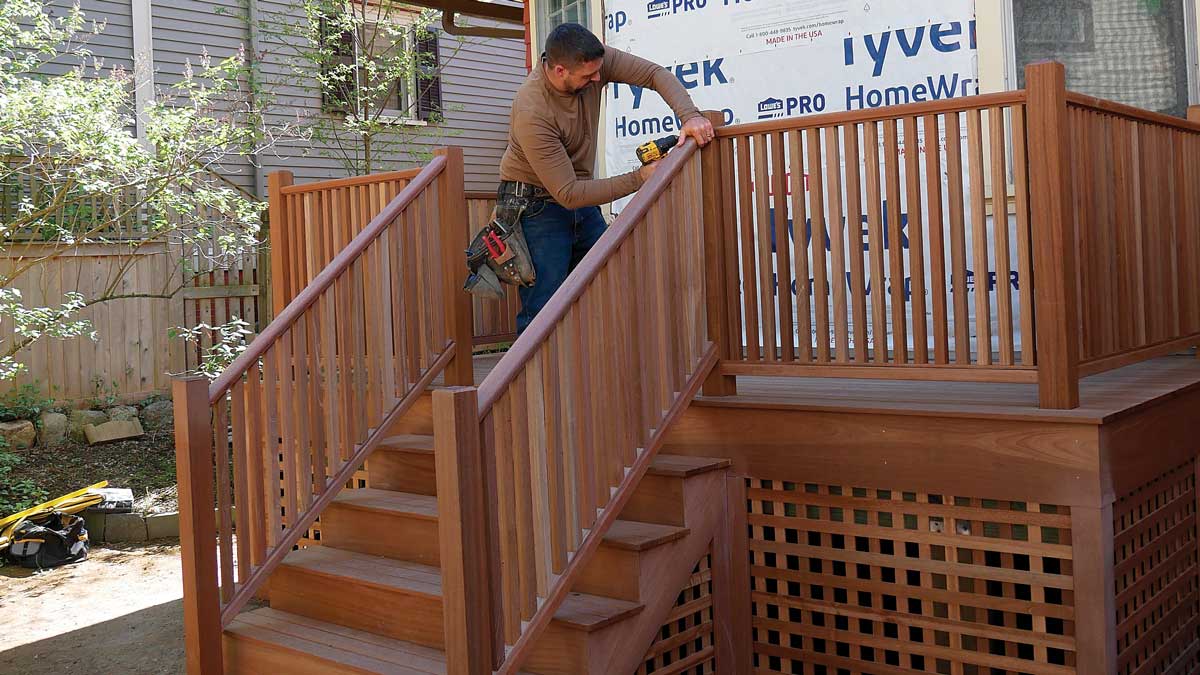
Building porch rails is an essential project for homeowners looking to enhance the safety and aesthetic appeal of their outdoor spaces. Porch rails not only serve as a protective barrier, but they also add charm and character to the overall design. Whether you’re a seasoned DIY enthusiast or a novice looking to tackle your first home improvement project, building porch rails can be accomplished with the right materials, tools, and a little bit of guidance.
In this article, we will provide a step-by-step guide on how to build porch rails from start to finish. We’ll cover everything from measuring and planning to the final installation of the balusters. By following these instructions, you’ll be well on your way to creating a beautiful and functional railing system for your porch.
Before we dive into the process, it’s important to note that building codes and regulations vary by location. It’s always a good idea to consult with your local authorities or a professional to ensure that the porch rails you build meet the necessary safety standards. Safety should always be the top priority when undertaking any construction project.
Now, let’s gather our materials and tools and get started on building those porch rails!
Key Takeaways:
- Building porch rails requires careful planning, precise measurements, and the right materials and tools. Prioritize safety, consult local regulations, and enjoy the process of creating a beautiful and functional railing system for your porch.
- Adding finishing touches such as protective finishes and decorative elements not only enhances the durability of porch rails but also elevates the aesthetic appeal of outdoor spaces. Regular maintenance ensures the longevity and visual charm of the railing system.
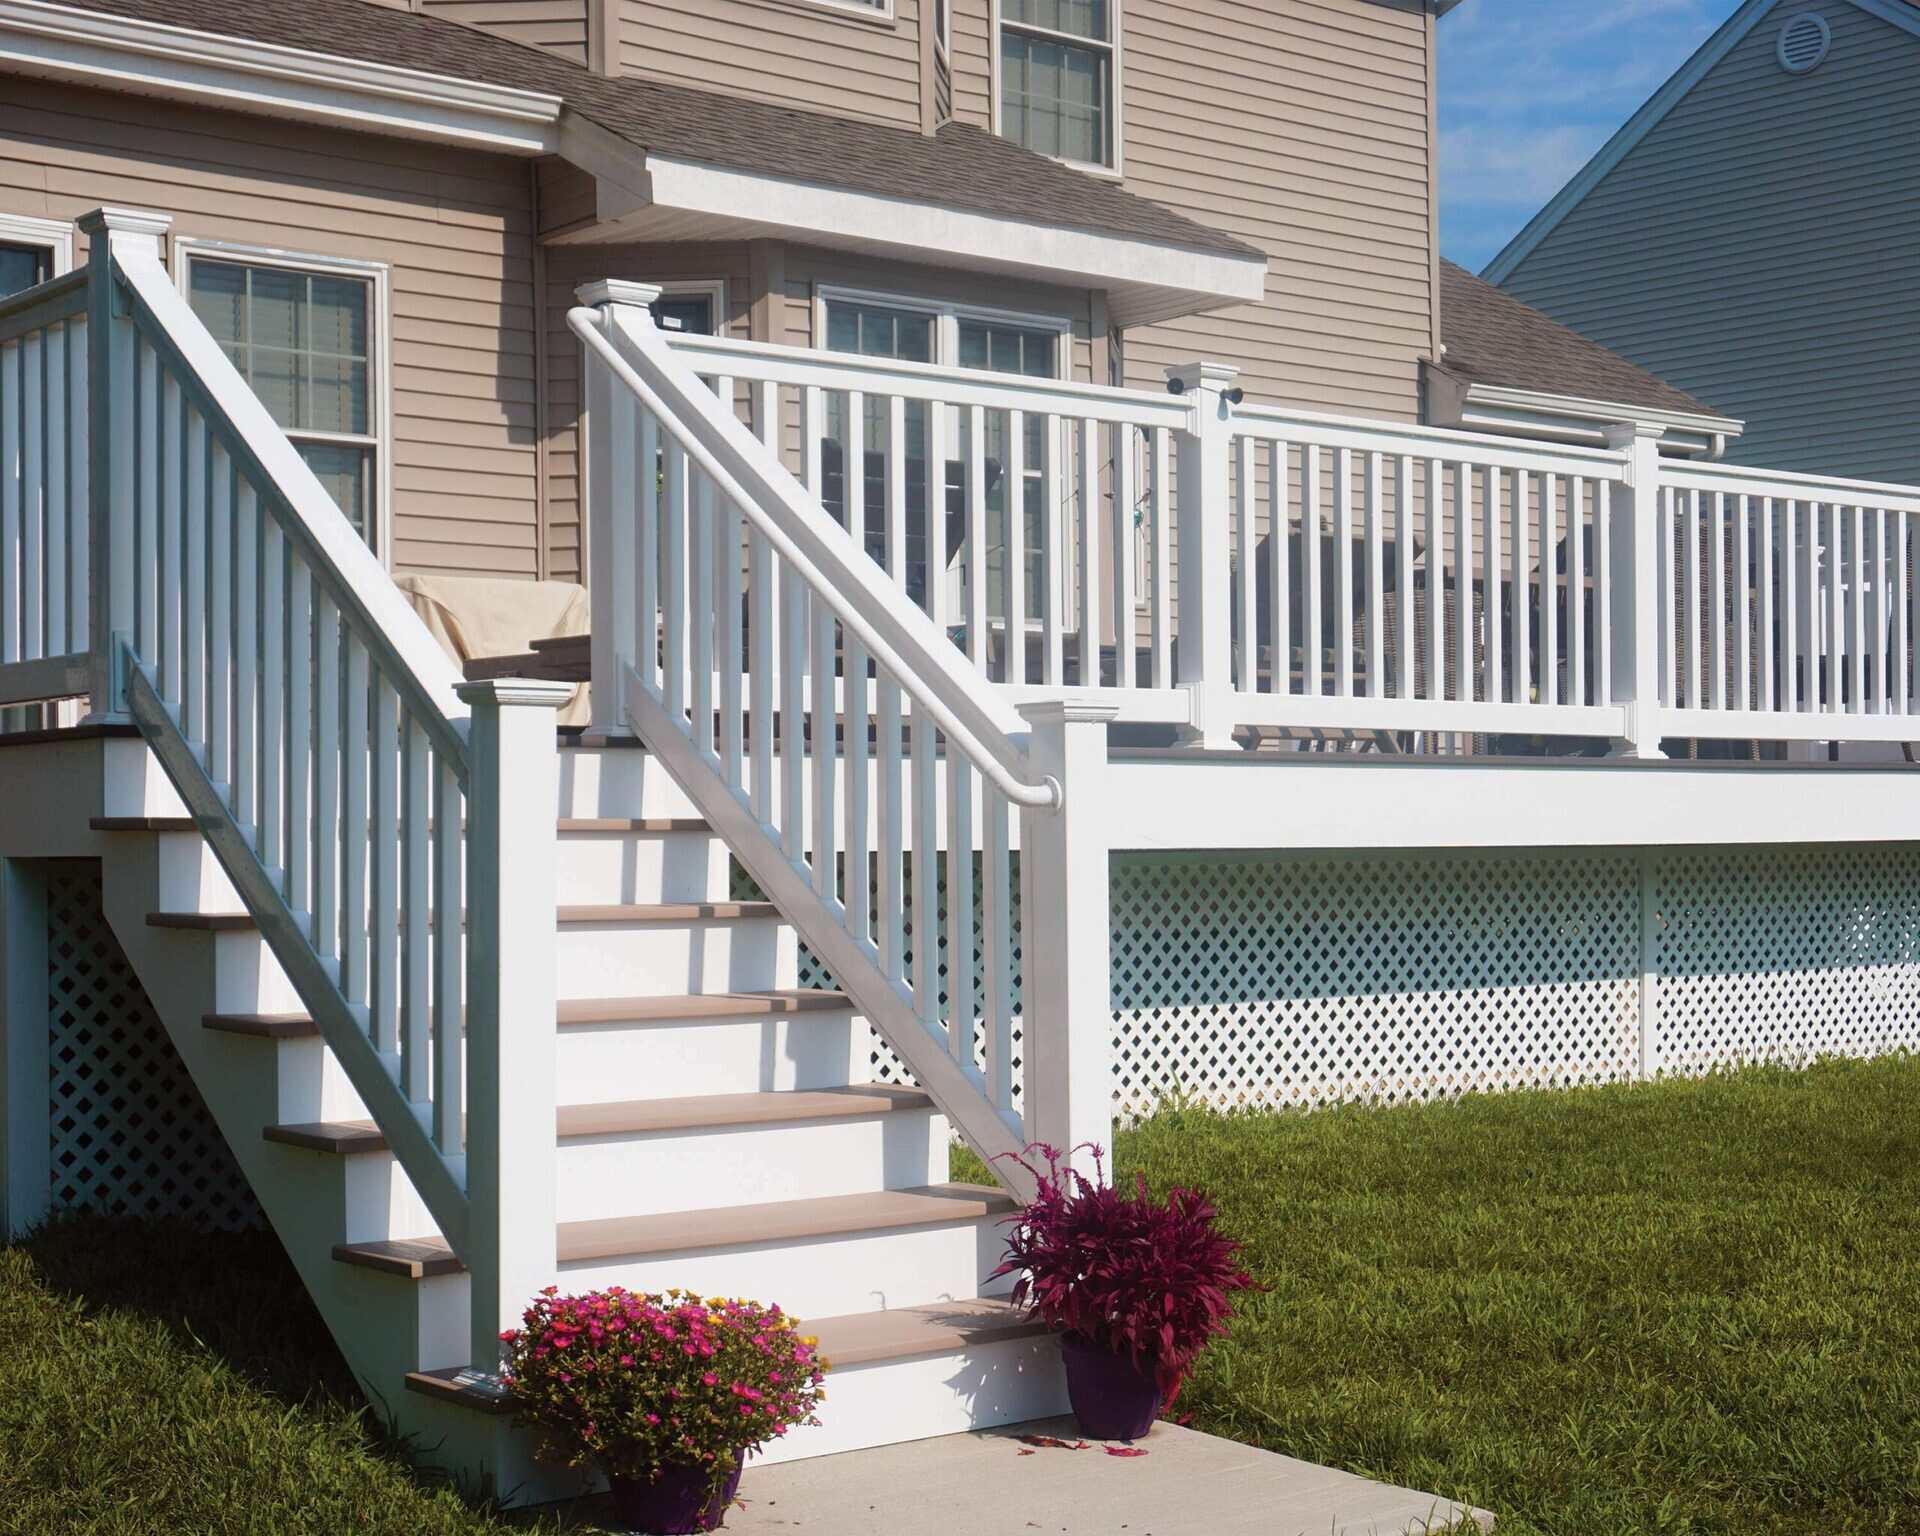
Read more: How To Build A Porch Stair Railing
Materials Needed
Before you begin building porch rails, it’s important to gather all the necessary materials. Here’s a list of the items you’ll need:
- Wooden posts: These will serve as the main support for the porch rails.
- Wooden rails: These horizontal pieces will connect the posts and provide stability to the railing system.
- Balusters: These vertical spindles are installed between the rails to create a secure barrier.
- Screws or bolts: These will be used to attach the posts, rails, and balusters together.
- Level: A level is essential for ensuring that the porch rails are installed straight and even.
- Tape measure: This tool will be used to accurately measure the dimensions of your porch and the length of the rails.
- Saw: A saw will be required to cut the posts, rails, and balusters to the desired length.
- Drill: A drill is necessary for creating holes for the screws or bolts.
- Sandpaper: Sandpaper will be used to smooth out any rough edges on the wood.
- Paint or stain: You’ll need paint or stain to finish the porch rails and protect them from the elements.
- Protective equipment: Don’t forget to wear goggles, gloves, and a dust mask to protect yourself during the construction process.
Make sure to gather all the materials before you start building to avoid any unnecessary delays. It’s also a good idea to double-check the quantity of each item, ensuring that you have enough for the size of your porch.
Now that you have all the necessary materials, let’s move on to the tools required for the project.
Tools Required
When building porch rails, you will need a few essential tools to complete the project successfully. Here are the tools you will need:
- Measuring tape: A measuring tape is crucial for accurately measuring the dimensions of your porch and the length of the rails.
- Saw: You will need a saw to cut the wooden posts, rails, and balusters to the desired length. A circular saw or a miter saw will work well for this task.
- Drill: A drill is necessary for creating holes for screws or bolts. Make sure to have the appropriate drill bits for your project.
- Screwdriver or wrench: You will need a screwdriver or a wrench to tighten screws or bolts during the installation process.
- Level: A level is essential for ensuring that the porch rails are installed straight and even. This tool will help you achieve a professional-looking result.
- Sanding block or sandpaper: Use a sanding block or sandpaper to smooth out any rough edges on the wood and prepare it for finishing.
- Paintbrush or roller: Depending on your preference, use a paintbrush or a roller to apply paint or stain to the porch rails.
- Protective equipment: It’s important to protect yourself during the construction process. Wear goggles, gloves, and a dust mask to keep yourself safe.
Having the right tools on hand will not only make the construction process easier but also ensure that your porch rails are installed properly and securely. Make sure to check that your tools are in good working condition before you begin the project.
Now that you have your materials and tools ready, it’s time to move on to the first step: measuring and planning.
Step 1: Measure and Plan
Before you start building porch rails, it’s crucial to measure and plan the layout. This step will help you determine the amount of materials you will need and ensure that the railing system fits your porch perfectly.
Here’s how to measure and plan your porch rails:
- Measure the length of the porch: Use a measuring tape to measure the length of your porch where the railing will be installed. Write down the measurement.
- Measure the height: Measure the desired height for your porch rails. This measurement will depend on your local building codes and personal preference for safety and aesthetics.
- Determine the number of posts: Decide how many posts you will need for your porch rails. The number of posts will depend on the length of your porch and the spacing you prefer between each post. Typically, posts are placed 4-6 feet apart.
- Sketch the layout: Create a rough sketch or diagram of your porch and mark where each post will be placed. This will give you a visual representation of the railing system.
- Calculate the materials needed: Based on the measurements and layout, calculate the number of wooden rails, balusters, screws or bolts, and other materials needed for your project.
Remember to check your local building codes and regulations to ensure that you are meeting all necessary requirements for porch rail construction. Additionally, consider any special features or design elements you want to incorporate into your railing system, such as decorative post caps or intricate baluster patterns.
By carefully measuring and planning, you can make sure that your porch rails will fit your porch perfectly and create a safe and beautiful outdoor space. With the measurements and layout in hand, you’re now ready to gather the necessary supplies for your project.
Step 2: Gather Supplies
Once you have measured and planned your porch rail project, it’s time to gather all the necessary supplies. By having everything on hand, you can ensure a smooth and efficient construction process. Here’s what you need to do:
- Refer to your materials list: Take a look at the materials list you created during the planning phase. Double-check that you have everything you need, including the correct quantities of wooden posts, rails, balusters, screws or bolts, and any other items required for your specific project.
- Purchase the materials: If you don’t have all the supplies, head to your local home improvement store or order them online. Make sure to choose high-quality materials that are suitable for outdoor use and will withstand the weather conditions in your area.
- Check the quality: Before you start building, inspect all the materials to ensure they are free from defects and damage. Check for any warping, cracks, or splinters in the wood. If you notice any issues, consider replacing the damaged pieces before proceeding.
- Organize and prepare the work area: Clean the work area and prepare a designated space to store your materials. This will help you stay organized throughout the construction process and make it easier to access the supplies as you need them.
It’s important to have all the necessary supplies before starting the construction process to avoid any delays or interruptions. By being well-prepared, you can focus on building your porch rails efficiently and effectively.
Now that you have gathered all the supplies, it’s time to prepare your porch for the installation of the rails. Move on to the next step to learn how to prepare the porch area.
Read more: How To Paint Porch Railing
Step 3: Prepare the Porch
Before you begin installing the porch rails, it’s essential to prepare the porch area to ensure a smooth and successful construction process. Taking the time to properly prepare the porch will help ensure a secure and long-lasting railing system. Follow these steps to prepare your porch:
- Clean the porch: Remove any debris, dirt, or cobwebs from the porch surface. Use a broom, brush, or pressure washer to clean the area thoroughly. This will provide a clean and stable foundation for the railing installation.
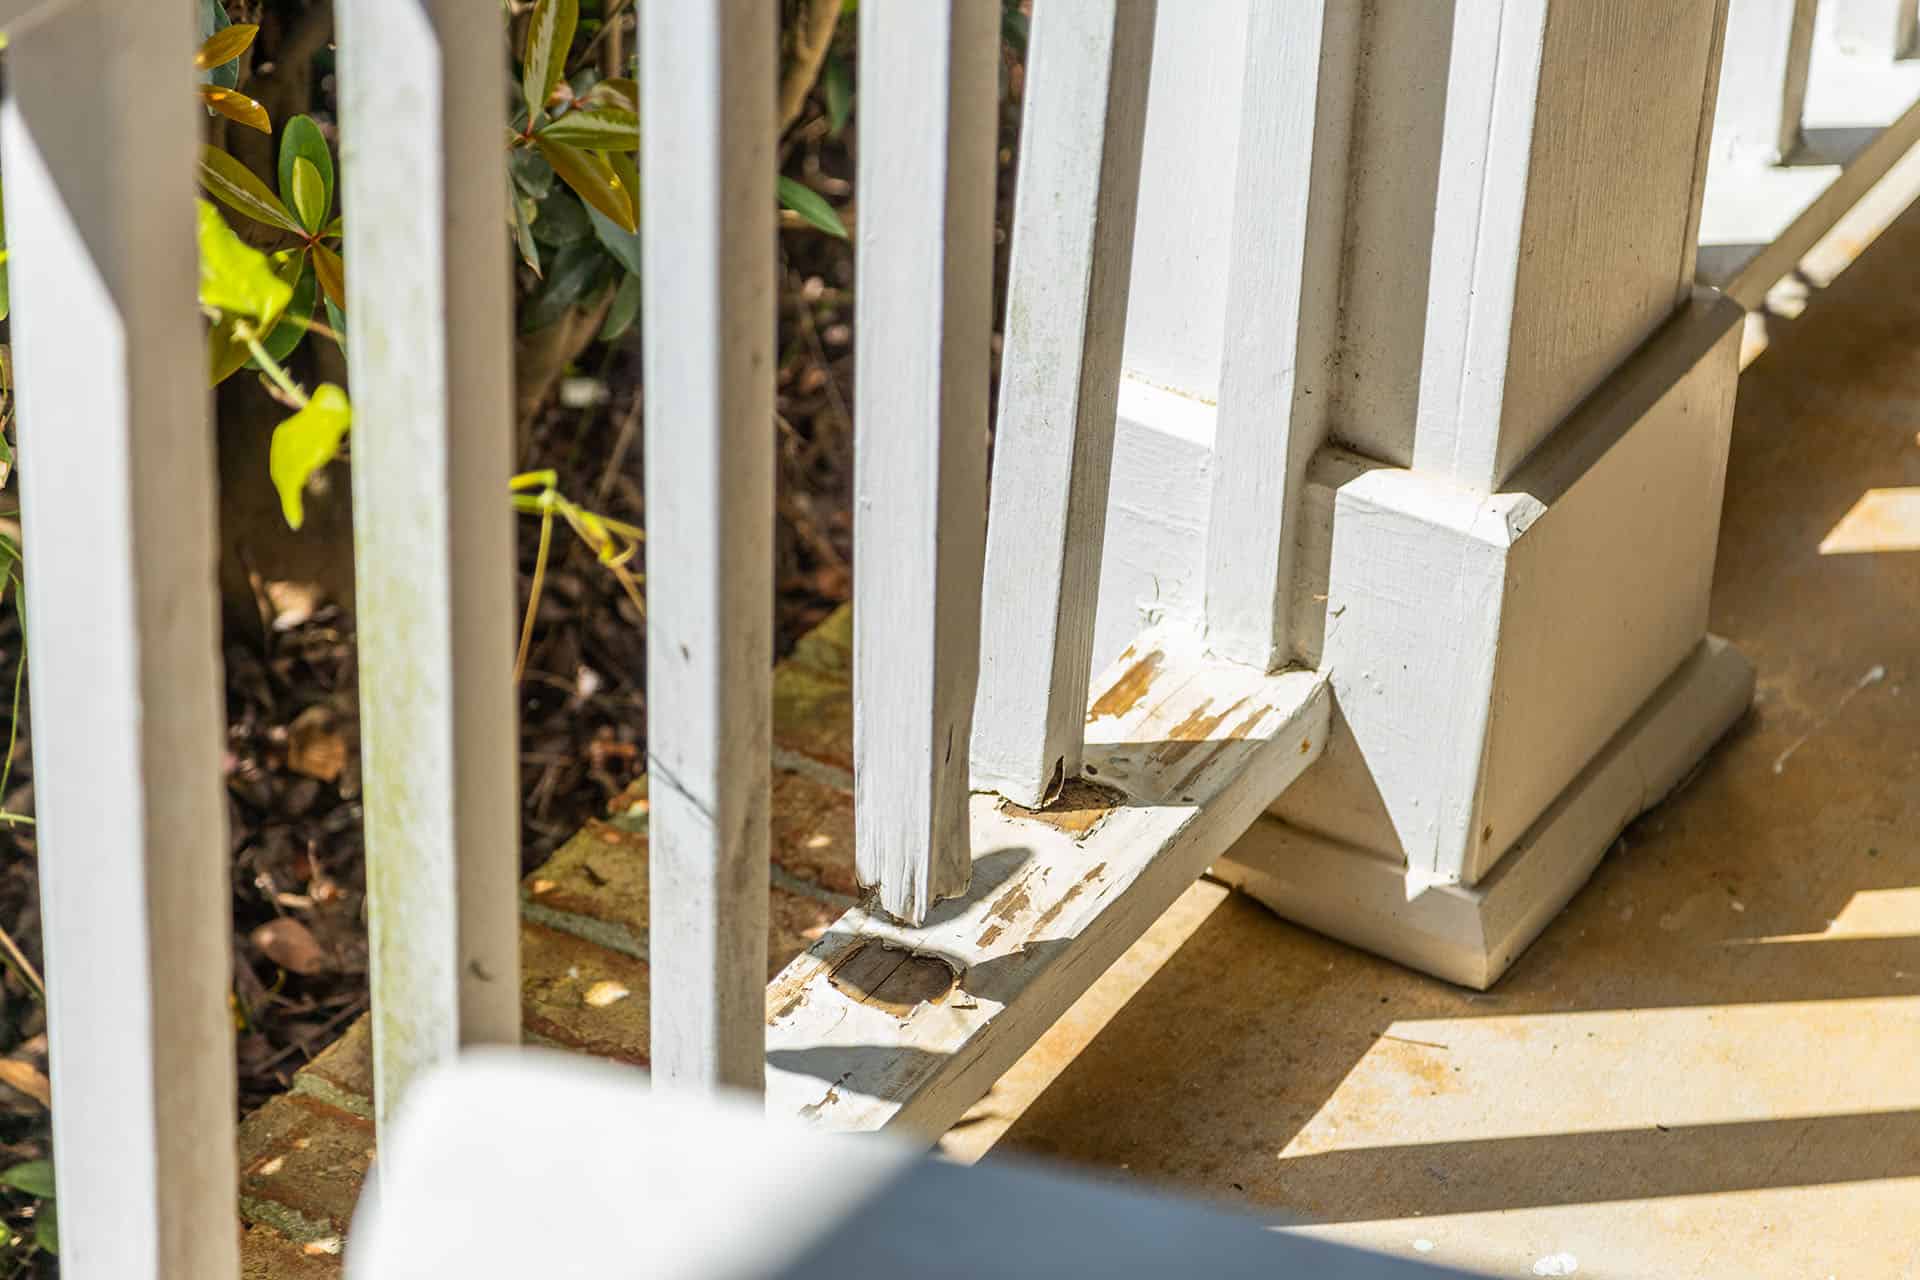
- Inspect the porch surface: Check the condition of the porch to ensure it is structurally sound. Look for any signs of damage, rot, or decay. If you notice any issues, address them before proceeding with the railing installation. This may involve repairing or replacing damaged boards.
- Mark the post locations: Using your layout sketch as a guide, mark the locations where the posts will be installed. Measure and mark the spacing between each post to ensure they are evenly distributed along the porch.
- Create pilot holes: To make the installation process easier, consider creating pilot holes for the screws or bolts that will attach the posts to the porch surface. This will prevent the wood from splitting and make it easier to drive in the fasteners.
- Secure the posts: Using appropriate fasteners, secure the posts to the porch surface. Make sure they are level and plumb by using a level. Double-check the measurements and alignment before fully tightening the fasteners.
Preparing the porch ensures that you have a stable and secure base for your porch rails. By properly cleaning and inspecting the porch surface, marking post locations, and securing the posts, you can create a solid foundation for the remaining railing installation steps.
With the porch properly prepared, you are now ready to move on to the next step: installing the posts. This step is crucial for the stability and strength of your porch railing system.
When building porch rails, make sure to use pressure-treated wood or rot-resistant materials to ensure durability and longevity. Regular maintenance and sealing will also help prolong the life of the rails.
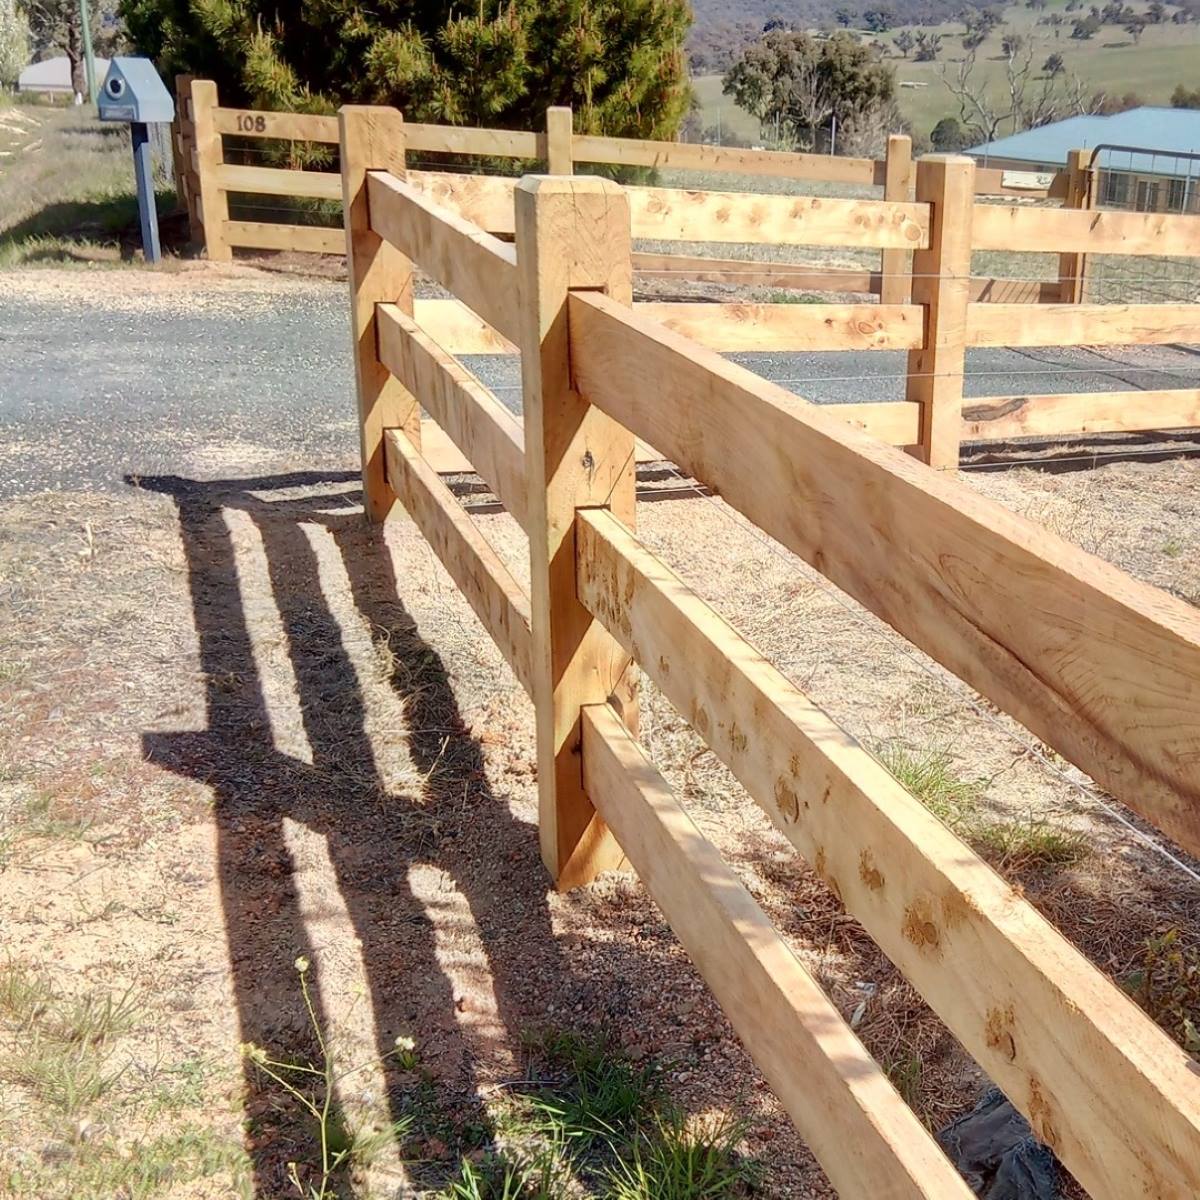
Step 4: Install the Posts
Once your porch is prepared, it’s time to install the posts for your porch rails. The posts provide the main support for the railing system, so it’s important to ensure they are securely attached. Follow these steps to install the posts:
- Place the first post: Start by placing the first post in the designated location on the porch. Make sure it is positioned according to your layout plan and aligned with the markings you made earlier.
- Check for plumb: Use a level to check that the post is plumb (vertically straight). Adjust as necessary by tapping the post with a rubber mallet or adding shims to achieve a perfectly vertical position.
- Secure the post: Once the post is plumb, secure it to the porch surface using appropriate fasteners such as screws or bolts. Make sure to attach the post securely to the porch, ensuring it won’t wobble or shift.
- Repeat for remaining posts: Follow the same process for each of the remaining posts. Place the posts in their designated locations, check for plumb, and secure them to the porch surface.
- Double-check alignment: Once all the posts are installed, double-check their alignment to ensure they are evenly spaced and aligned with the markings on your porch. Adjust as needed for a consistent and visually appealing look.
- Allow for proper curing: If you are using treated lumber for your posts, allow them to cure according to the manufacturer’s instructions. This will ensure the posts are fully stabilized and ready for the railing installation.
By carefully installing the posts, you lay a solid foundation for the rest of the porch railing system. Take your time to ensure the posts are properly aligned and secured, as this will greatly affect the stability and overall quality of your porch rails.
Once all the posts are securely installed, you’re ready to move on to the next step: attaching the rails. This step will create the horizontal structure of your porch railing system.
Step 5: Attach the Rails
With the posts securely installed, it’s time to attach the rails to create the horizontal structure of your porch railing system. The rails serve as the connection points between the posts and provide stability to the overall design. Follow these steps to attach the rails:
- Measure and cut the rails: Measure the distance between each post horizontally to determine the length of the rails. Use a saw to cut the rails to the appropriate size.
- Position the first rail: Start by placing the first rail horizontally between the posts at the desired height. Make sure it is level by using a level. Adjust as needed to achieve a straight and even railing.
- Secure the rail: Once the first rail is properly positioned, secure it to the posts using screws or bolts. Make sure to choose fasteners that are appropriate for the material of your posts and rails.
- Repeat for remaining rails: Follow the same process for each of the remaining rails. Measure, position, and secure them to the posts, ensuring they are level and evenly spaced.
- Double-check alignment: Once all the rails are attached, double-check their alignment to ensure they are straight and parallel to each other. This will create a visually appealing and cohesive railing system.
During the railing installation process, it’s important to ensure a tight and secure fit between the rails and the posts. This will provide the strength and stability needed for the porch railing system to withstand regular use and external forces.
With the rails securely attached, you’re now one step closer to completing your porch railing system. The next step will focus on installing the balusters, which will act as the vertical spindles that provide an additional level of safety and aesthetic appeal.
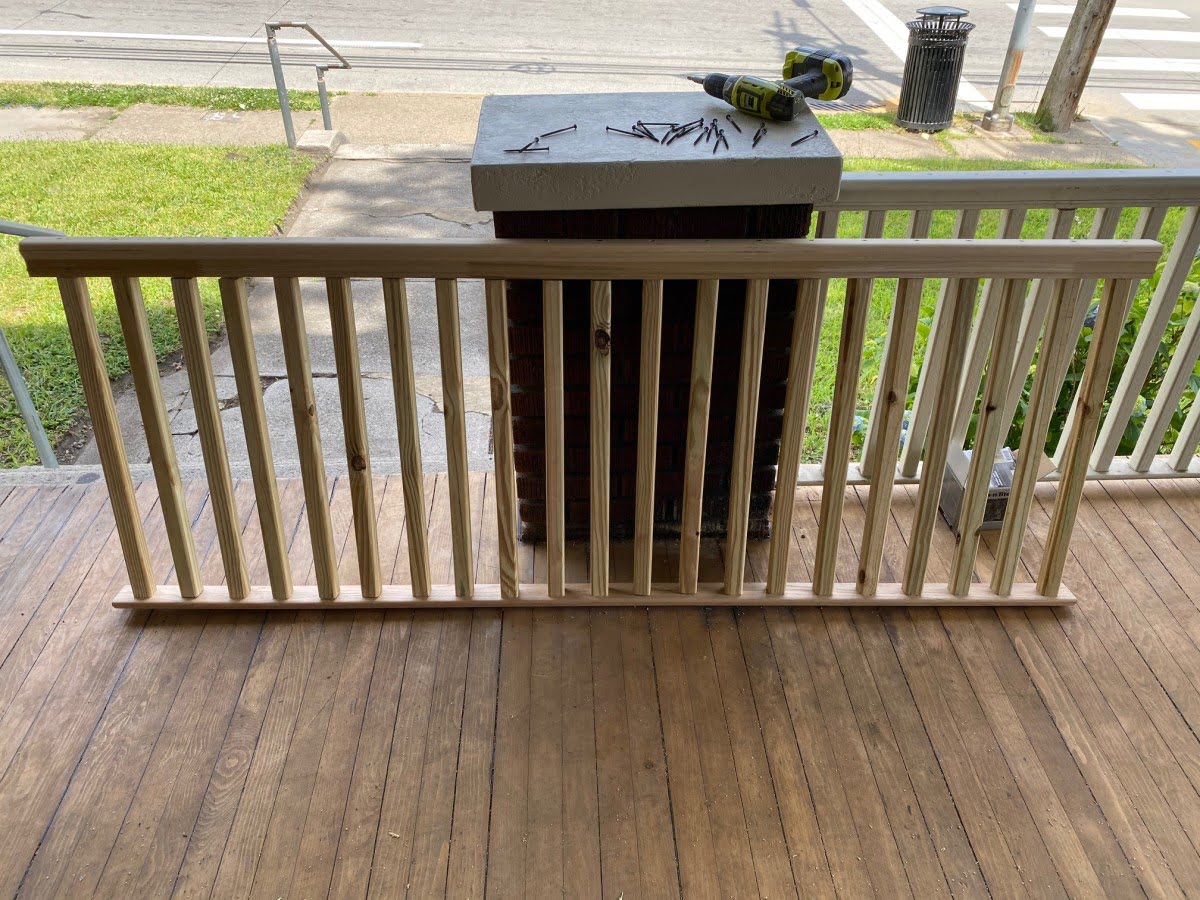
Step 6: Install the Balusters
Installing the balusters is the next step in building your porch railing system. Balusters are the vertical spindles that fill the space between the rails, providing safety and aesthetic appeal. Follow these steps to install the balusters:
- Measure and cut the balusters: Measure the distance between the top and bottom rails to determine the length of the balusters. Use a saw to cut the balusters to the appropriate size. Take into account any spacing requirements or design preferences you may have.
- Position the first baluster: Start by positioning the first baluster in the desired location between the top and bottom rails. Make sure it is straight and aligned with the top and bottom rails.
- Secure the baluster: Once the first baluster is properly positioned, secure it to the top and bottom rails using screws or baluster connectors. Make sure to follow the manufacturer’s instructions for the specific type of connectors you are using.
- Repeat for remaining balusters: Follow the same process for each of the remaining balusters. Measure, position, and secure them to the top and bottom rails, ensuring they are evenly spaced and aligned.
- Double-check spacing and alignment: Once all the balusters are installed, double-check their spacing and alignment to ensure they are evenly distributed and visually appealing. Make any necessary adjustments to achieve a uniform look.
Installing the balusters not only adds a layer of safety to your porch railing system but also contributes to the overall aesthetic of your outdoor space. Take your time to ensure each baluster is securely attached and properly aligned.
With the balusters in place, your porch railing system is almost complete. The final step will focus on adding the finishing touches to enhance the durability and visual appeal of your porch rails.
Read more: What Are The Best Porch Railings
Step 7: Add Finishing Touches
Adding the finishing touches to your porch rails will not only enhance their durability but also elevate the overall appearance of your outdoor space. Follow these steps to complete your porch railing project:
- Sand the surfaces: Use sandpaper or a sanding block to smooth out any rough edges or surfaces on the posts, rails, and balusters. This will create a more polished and professional look.
- Apply a protective finish: Consider applying a protective finish to the wood to protect it from the elements and extend its lifespan. Choose a high-quality paint or stain that is suitable for outdoor use. Follow the manufacturer’s instructions for proper application.
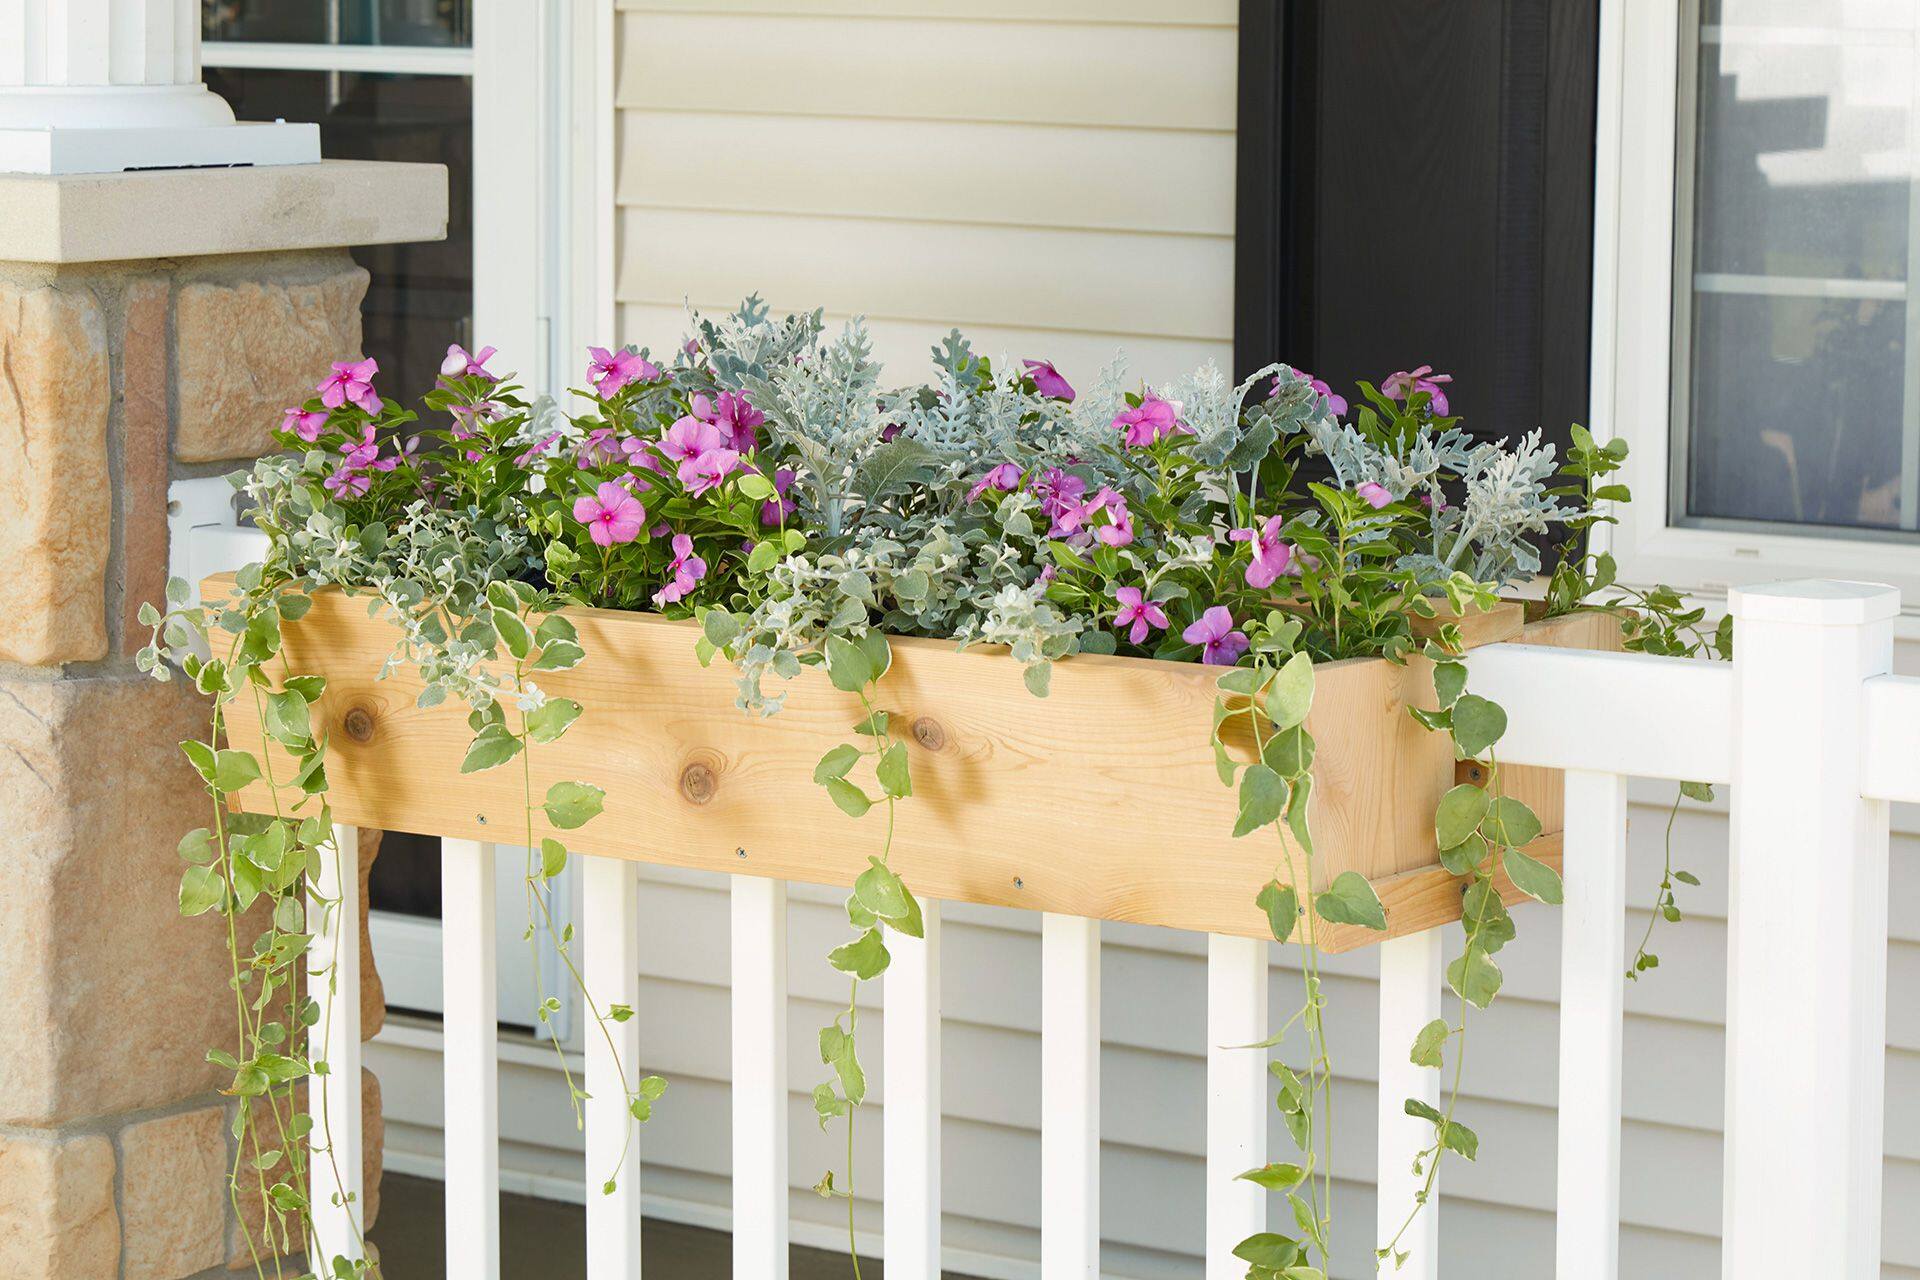
- Add decorative elements: If desired, you can incorporate decorative elements to further enhance the aesthetic appeal of your porch rails. This can include post caps, trim pieces, or other embellishments that complement the style of your home.
- Clean up the work area: Once the finishing touches are complete, clean up the work area by removing any tools or debris. This will ensure a tidy space and allow you to fully enjoy your newly installed porch rails.
By sanding the surfaces, applying a protective finish, and adding decorative elements, you can transform your porch rails into a visually appealing and resilient feature of your home. These finishing touches will not only protect the wood but also add character and charm to your outdoor space.
With the completion of Step 7, your porch rail project is finished! Take a step back and admire your hard work and the beautiful transformation of your porch. Enjoy the added safety, functionality, and beauty that your new porch rails provide.
Remember to periodically inspect and maintain your porch rails to ensure they remain in good condition. This includes occasional cleaning, reapplying protective finishes, and checking for any signs of wear or damage.
Congratulations on successfully building your porch rails!
Disclaimer: The information provided in this article is for educational purposes only. Always consult with professionals and follow local building codes and safety regulations when undertaking any home improvement project.
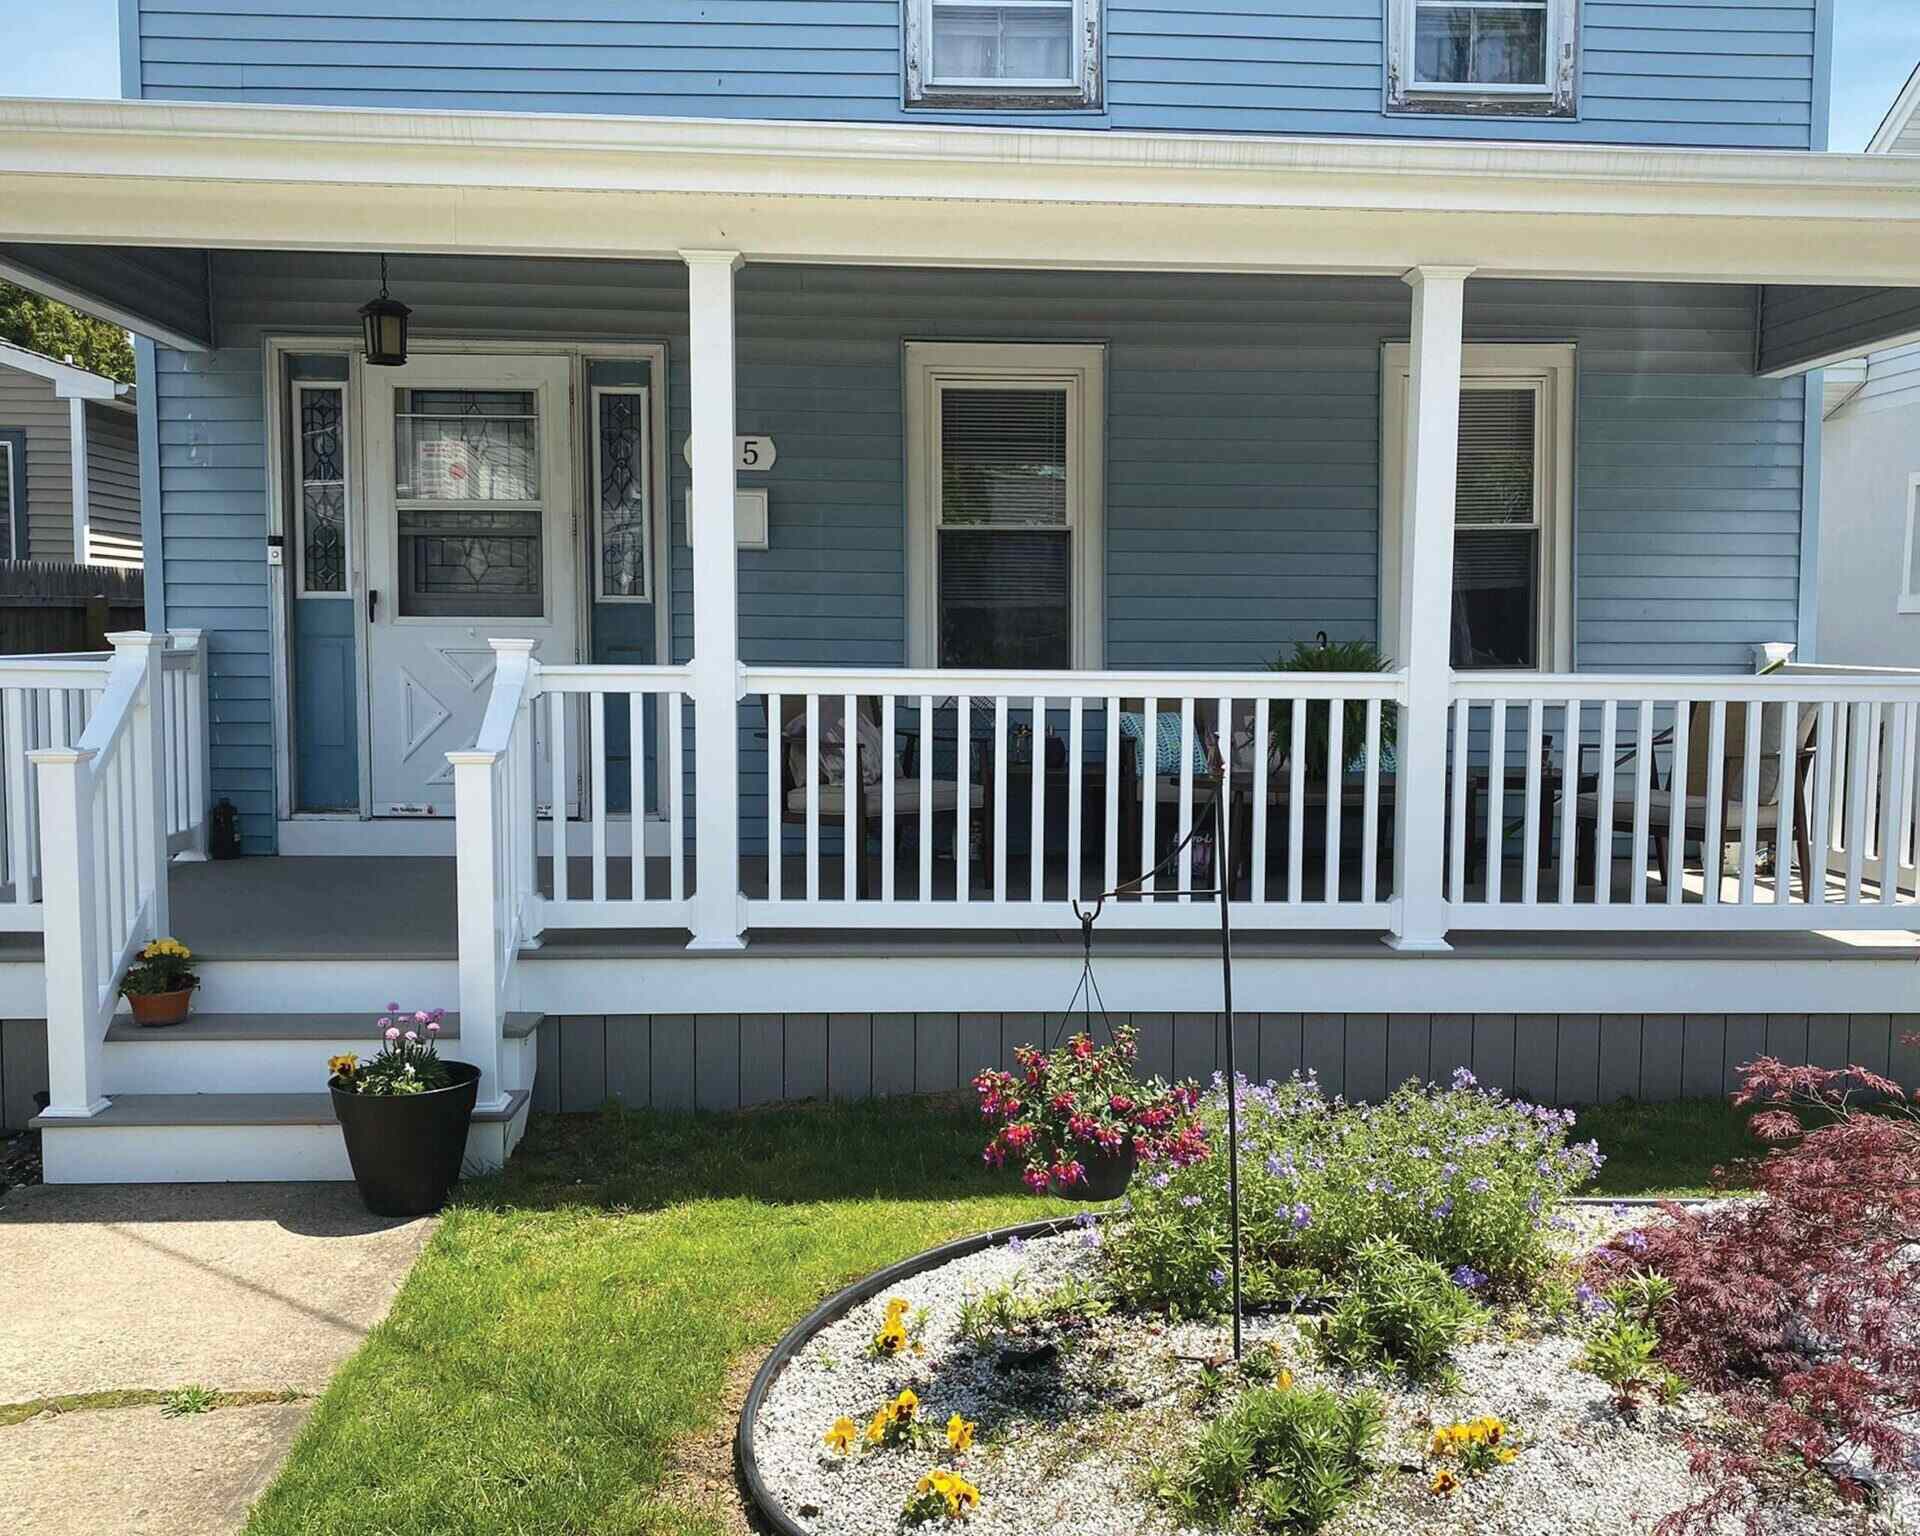
Conclusion
Building porch rails is a rewarding home improvement project that can enhance both the safety and aesthetic appeal of your outdoor space. By following the step-by-step guide outlined in this article, you have learned how to measure and plan, gather the necessary supplies, prepare the porch, install the posts, attach the rails, install the balusters, and add the finishing touches to create a beautiful and functional porch railing system.
Throughout the process, it’s important to prioritize safety and take into account local building codes and regulations. Consulting with professionals or local authorities can provide valuable guidance to ensure your porch rails meet safety standards.
Remember to choose high-quality materials that are suitable for outdoor use to ensure the longevity and durability of your porch rails. Taking the time to properly install and secure the posts, rails, and balusters will provide a stable and secure railing system for years to come.
Don’t forget the importance of maintenance and periodic inspections to keep your porch rails in optimal condition. Regular cleaning, applying protective finishes, and addressing any signs of wear or damage will help extend the lifespan of your porch rails and maintain their visual appeal.
Now that you have completed your porch railing project, take a moment to step back and admire your handiwork. Your new porch rails not only provide safety and functionality but also add a touch of charm and elegance to your outdoor space.
Enjoy your newly enhanced porch, and may it bring you years of joy and relaxation!
Disclaimer: The information provided in this article is for educational purposes only. Always consult with professionals and follow local building codes and safety regulations when undertaking any home improvement project.
Frequently Asked Questions about How To Build Porch Rails
Was this page helpful?
At Storables.com, we guarantee accurate and reliable information. Our content, validated by Expert Board Contributors, is crafted following stringent Editorial Policies. We're committed to providing you with well-researched, expert-backed insights for all your informational needs.


0 thoughts on “How To Build Porch Rails”