Home>Furniture & Design>Bathroom Accessories>How To Install Bidet In Apartment
Bathroom Accessories
How To Install Bidet In Apartment
Modified: October 27, 2024
Learn how to easily install a bidet in your apartment bathroom with our step-by-step guide. Upgrade your bathroom with essential accessories.
(Many of the links in this article redirect to a specific reviewed product. Your purchase of these products through affiliate links helps to generate commission for Storables.com, at no extra cost. Learn more)
Introduction
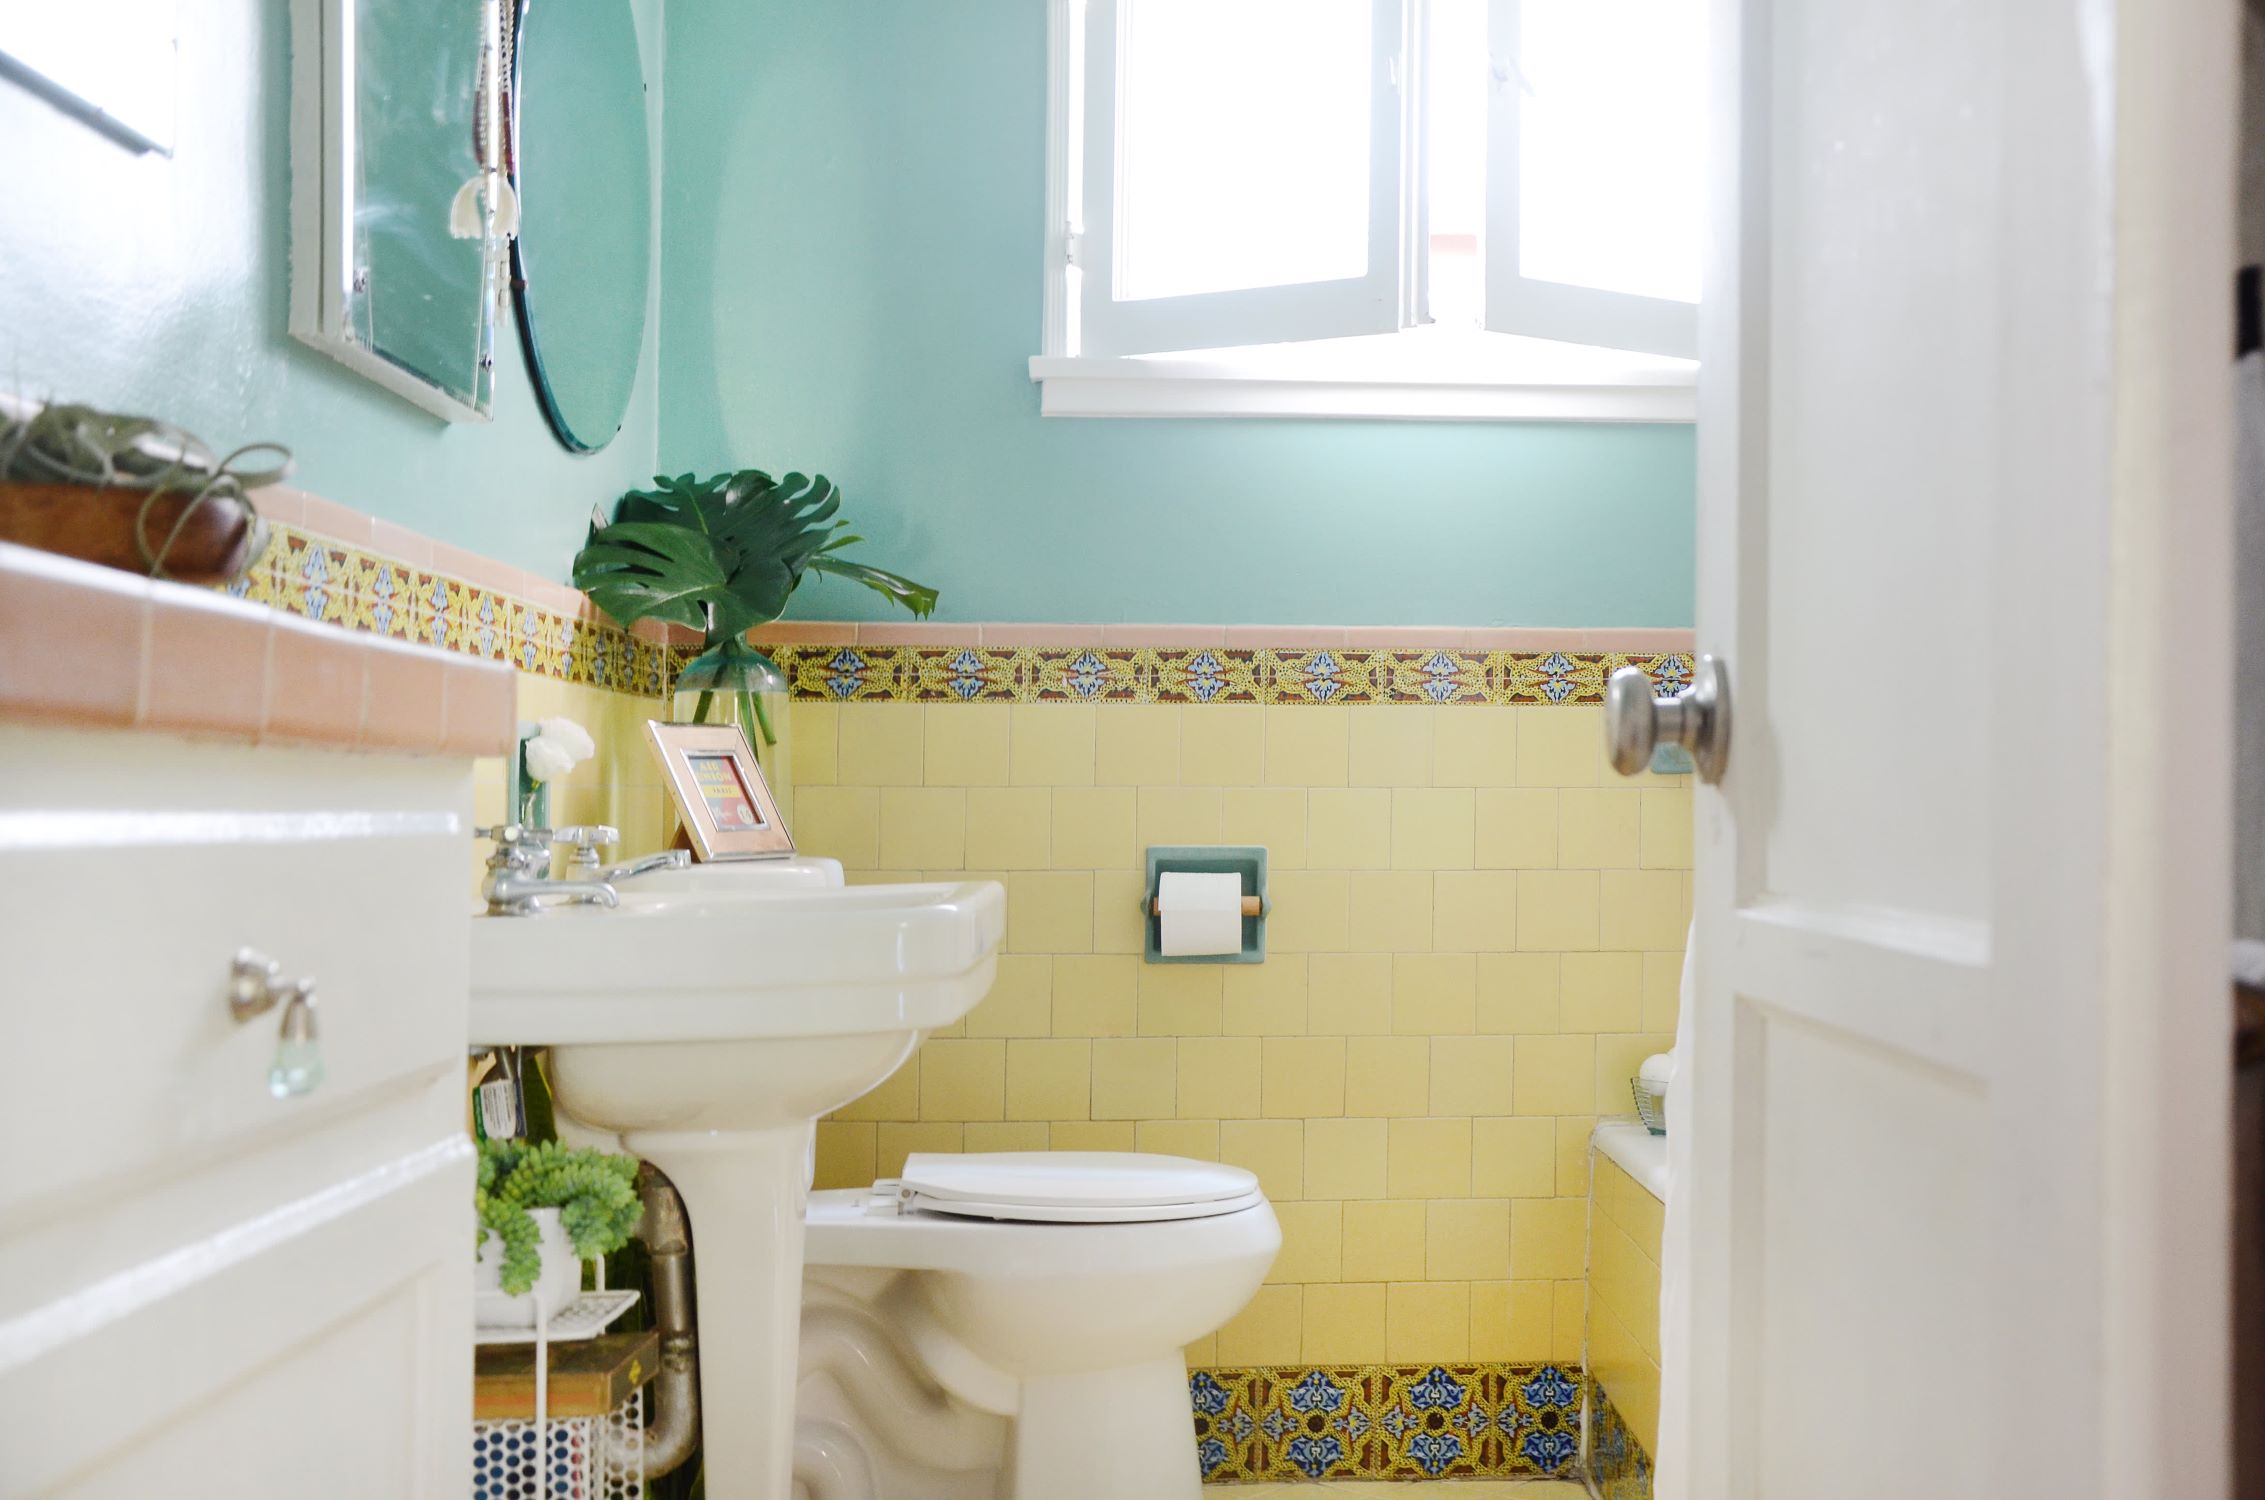
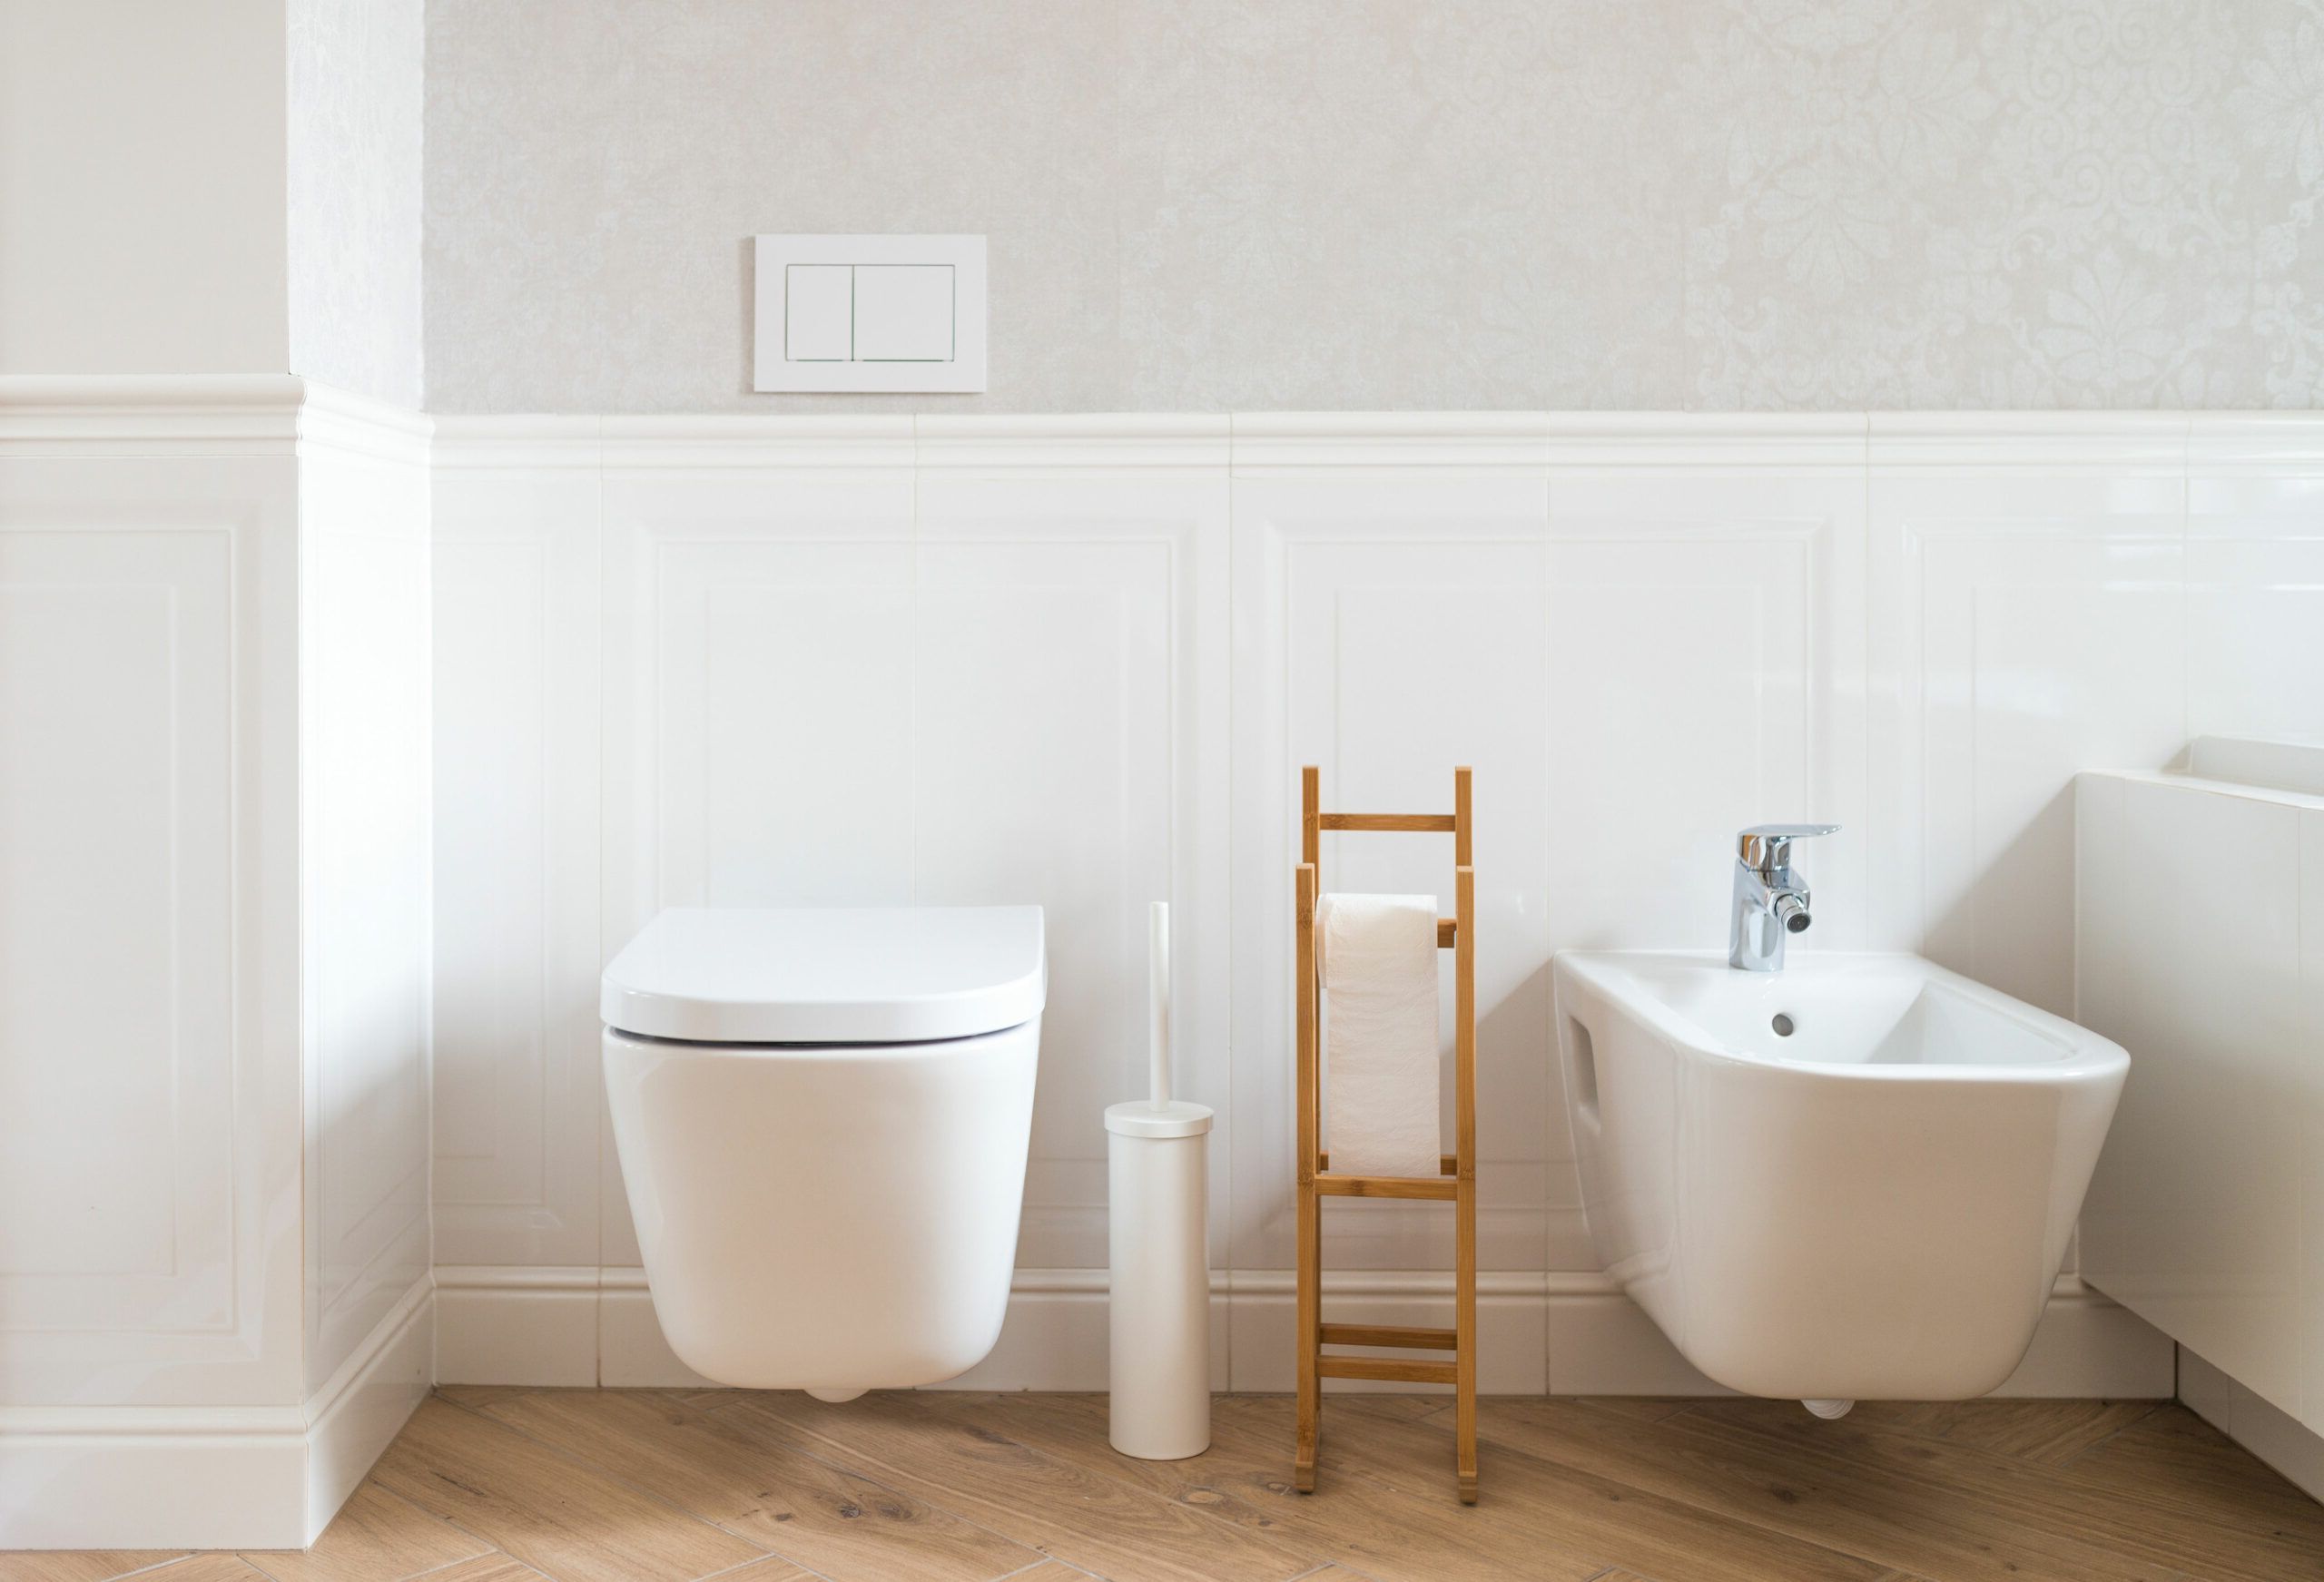
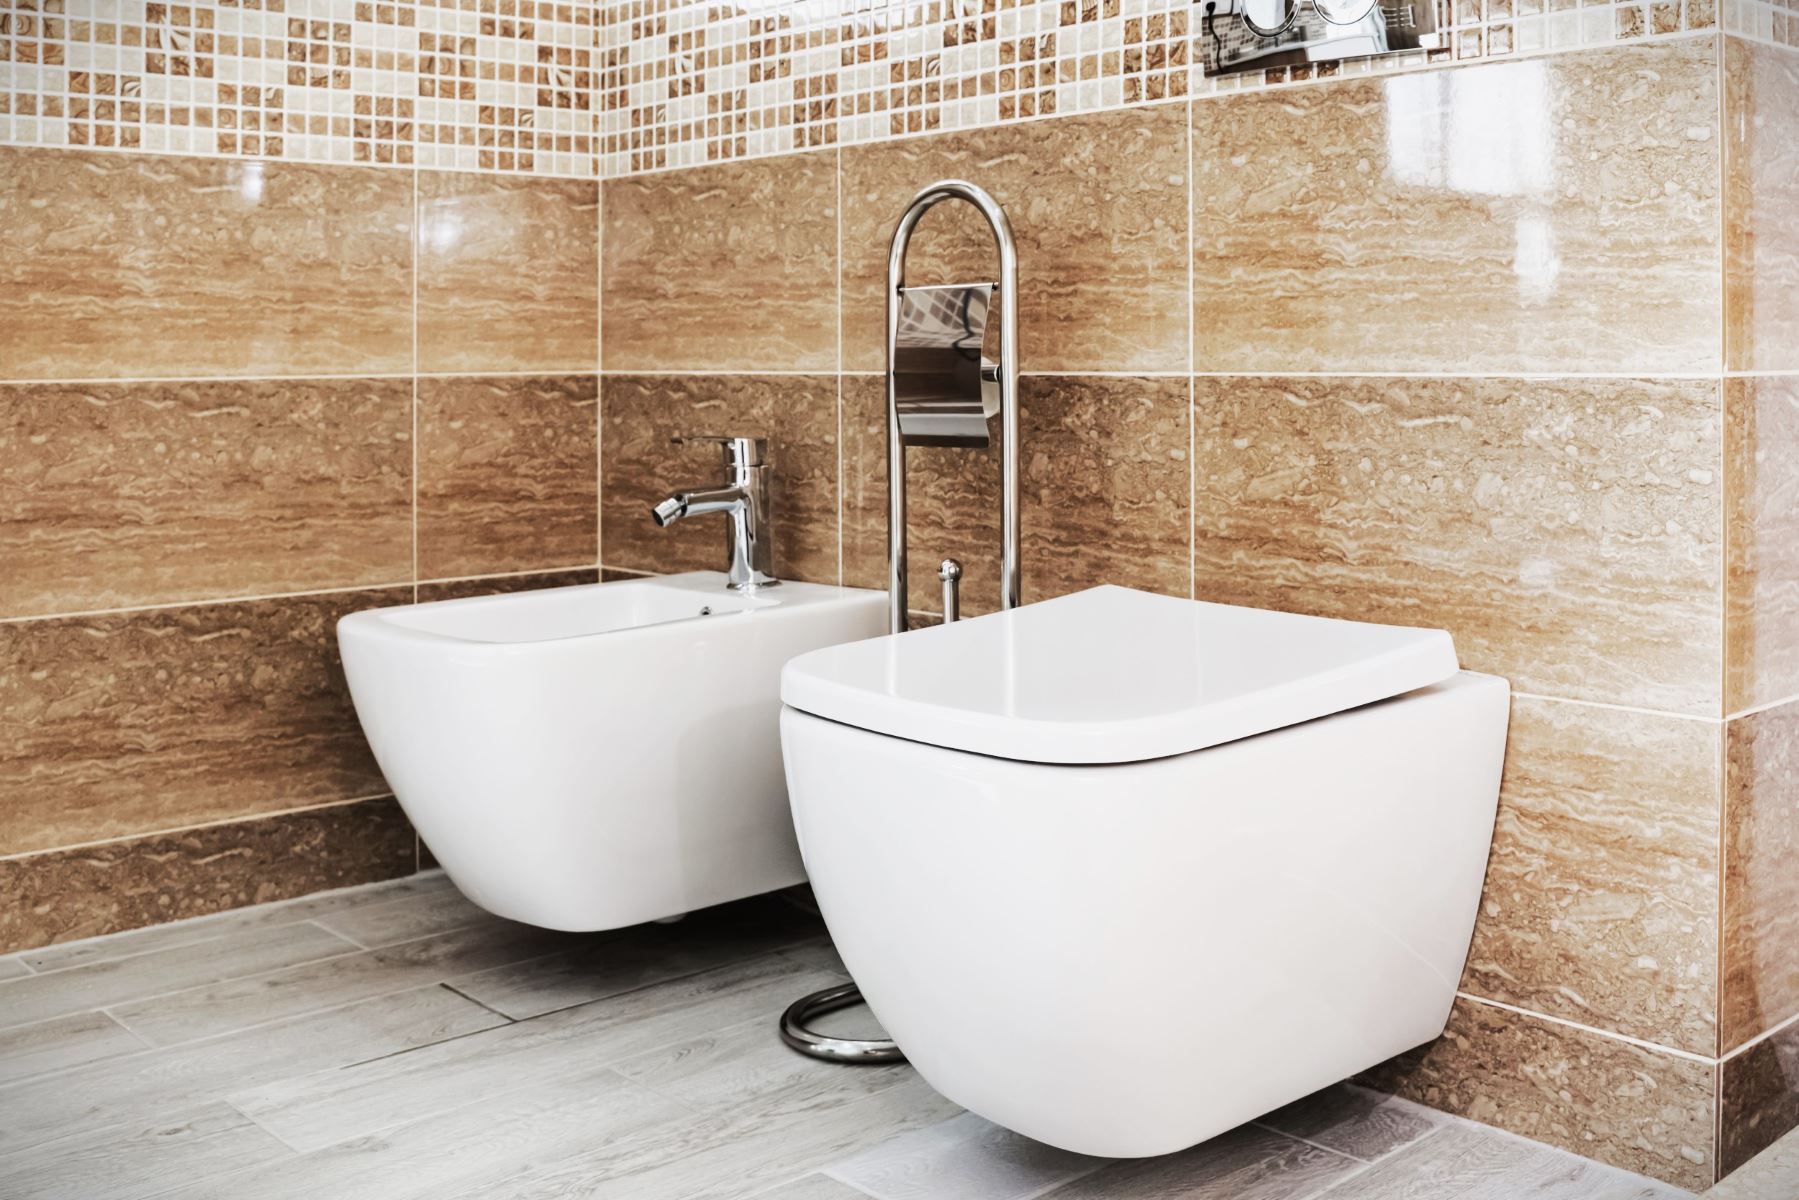
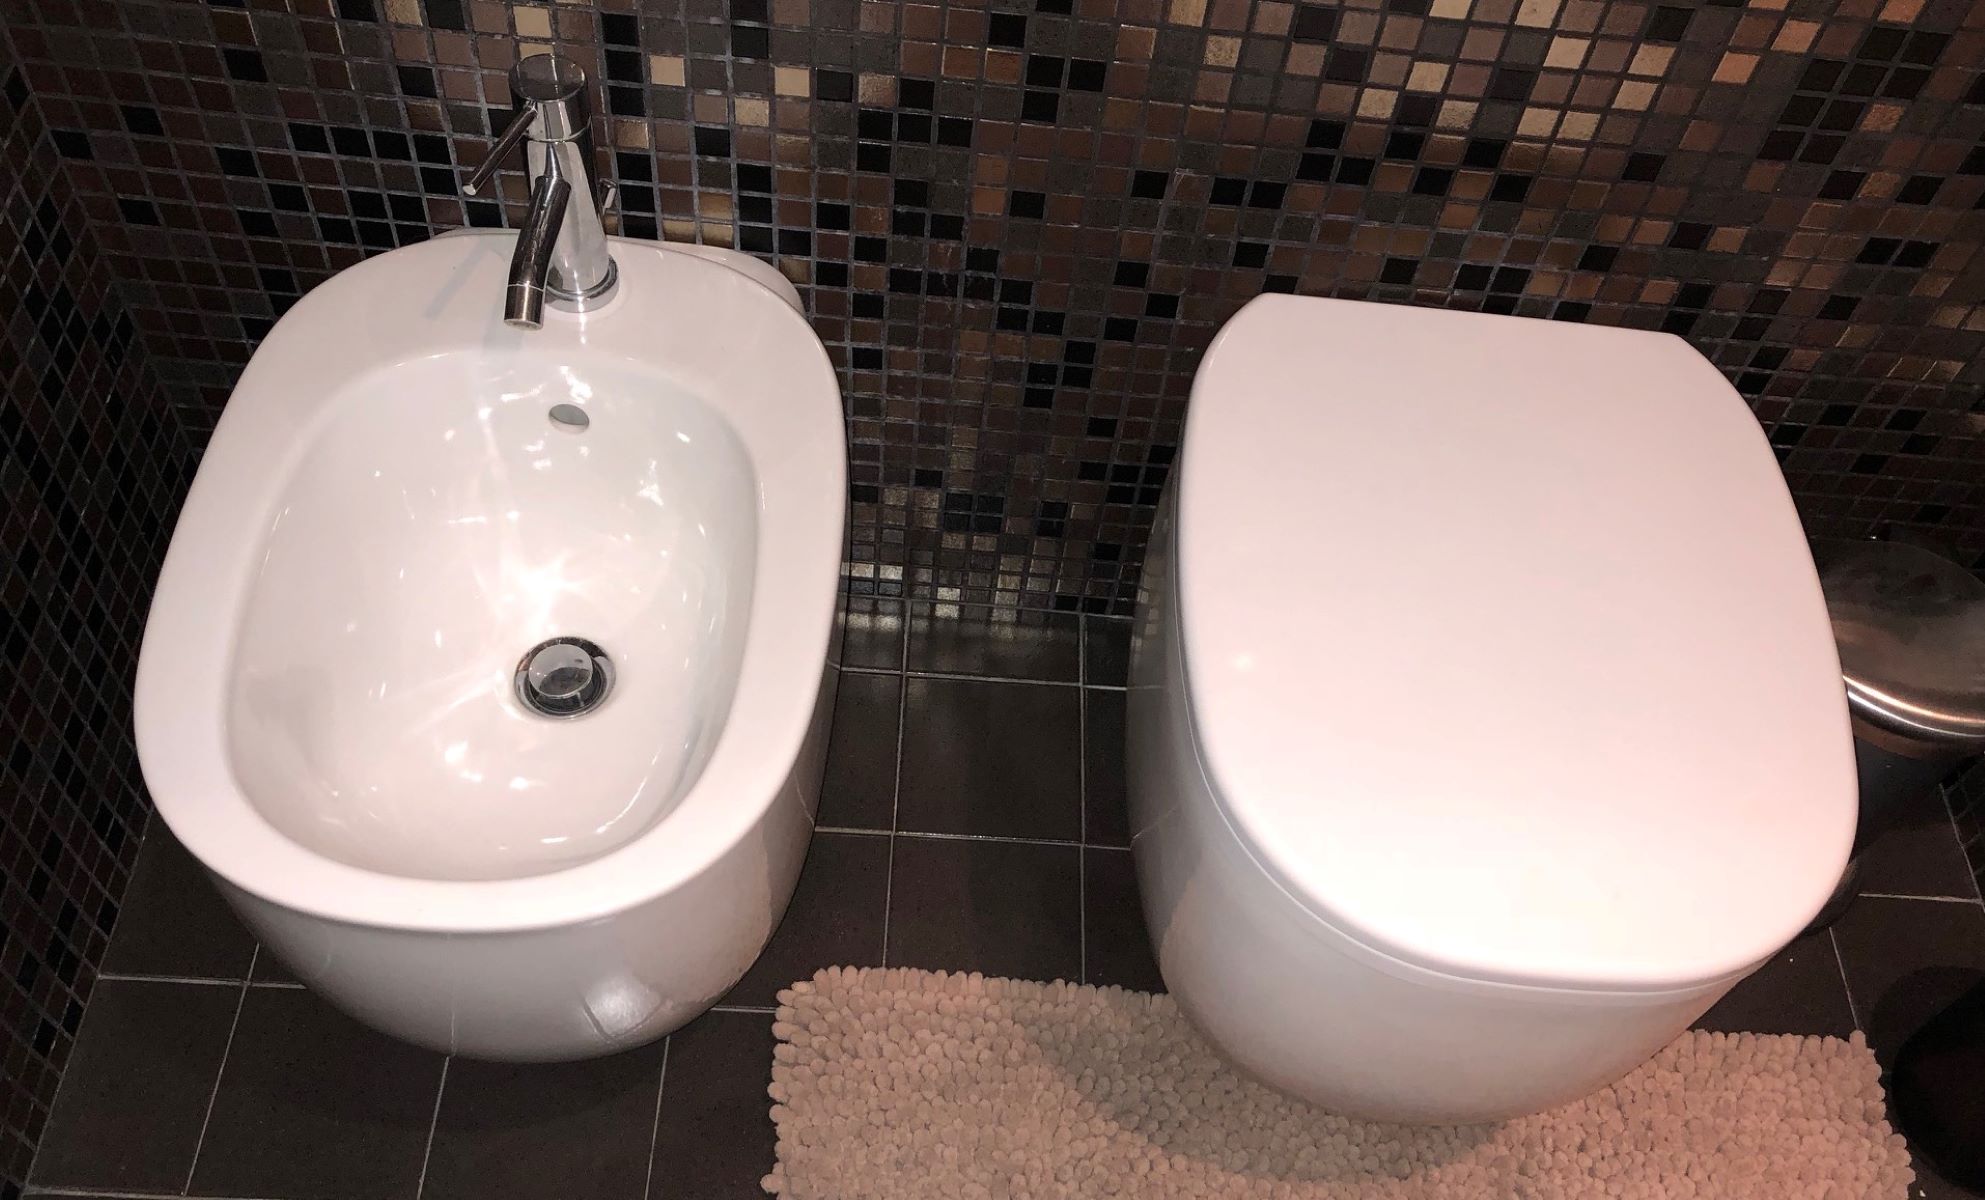
Are you considering adding a bidet to your apartment bathroom? Installing a bidet is a fantastic way to enhance your personal hygiene and bring a touch of luxury to your daily routine. Whether you're new to bidets or have been considering one for a while, this comprehensive guide will walk you through the process of installing a bidet in your apartment bathroom. With the right tools, materials, and a clear understanding of the steps involved, you can easily transform your bathroom experience.
In this guide, we'll cover everything you need to know to successfully install a bidet attachment in your apartment. From gathering the necessary tools and materials to testing the bidet after installation, each step is crucial to ensure a seamless and functional upgrade to your bathroom. By following these steps, you'll be well on your way to enjoying the comfort and cleanliness that a bidet provides.
So, if you're ready to take the plunge and elevate your bathroom experience, let's dive into the process of installing a bidet in your apartment. With a bit of patience and attention to detail, you'll soon be reaping the benefits of this modern and convenient addition to your bathroom routine. Let's get started!
Key Takeaways:
- Upgrade your apartment bathroom with a bidet for enhanced hygiene and comfort. Follow the step-by-step guide to install and enjoy the modern convenience it brings to your daily routine.
- By installing a bidet, you’re embracing sustainability, independence, and a luxurious cleansing experience. Enjoy the comfort, cleanliness, and eco-friendly benefits it adds to your apartment bathroom.
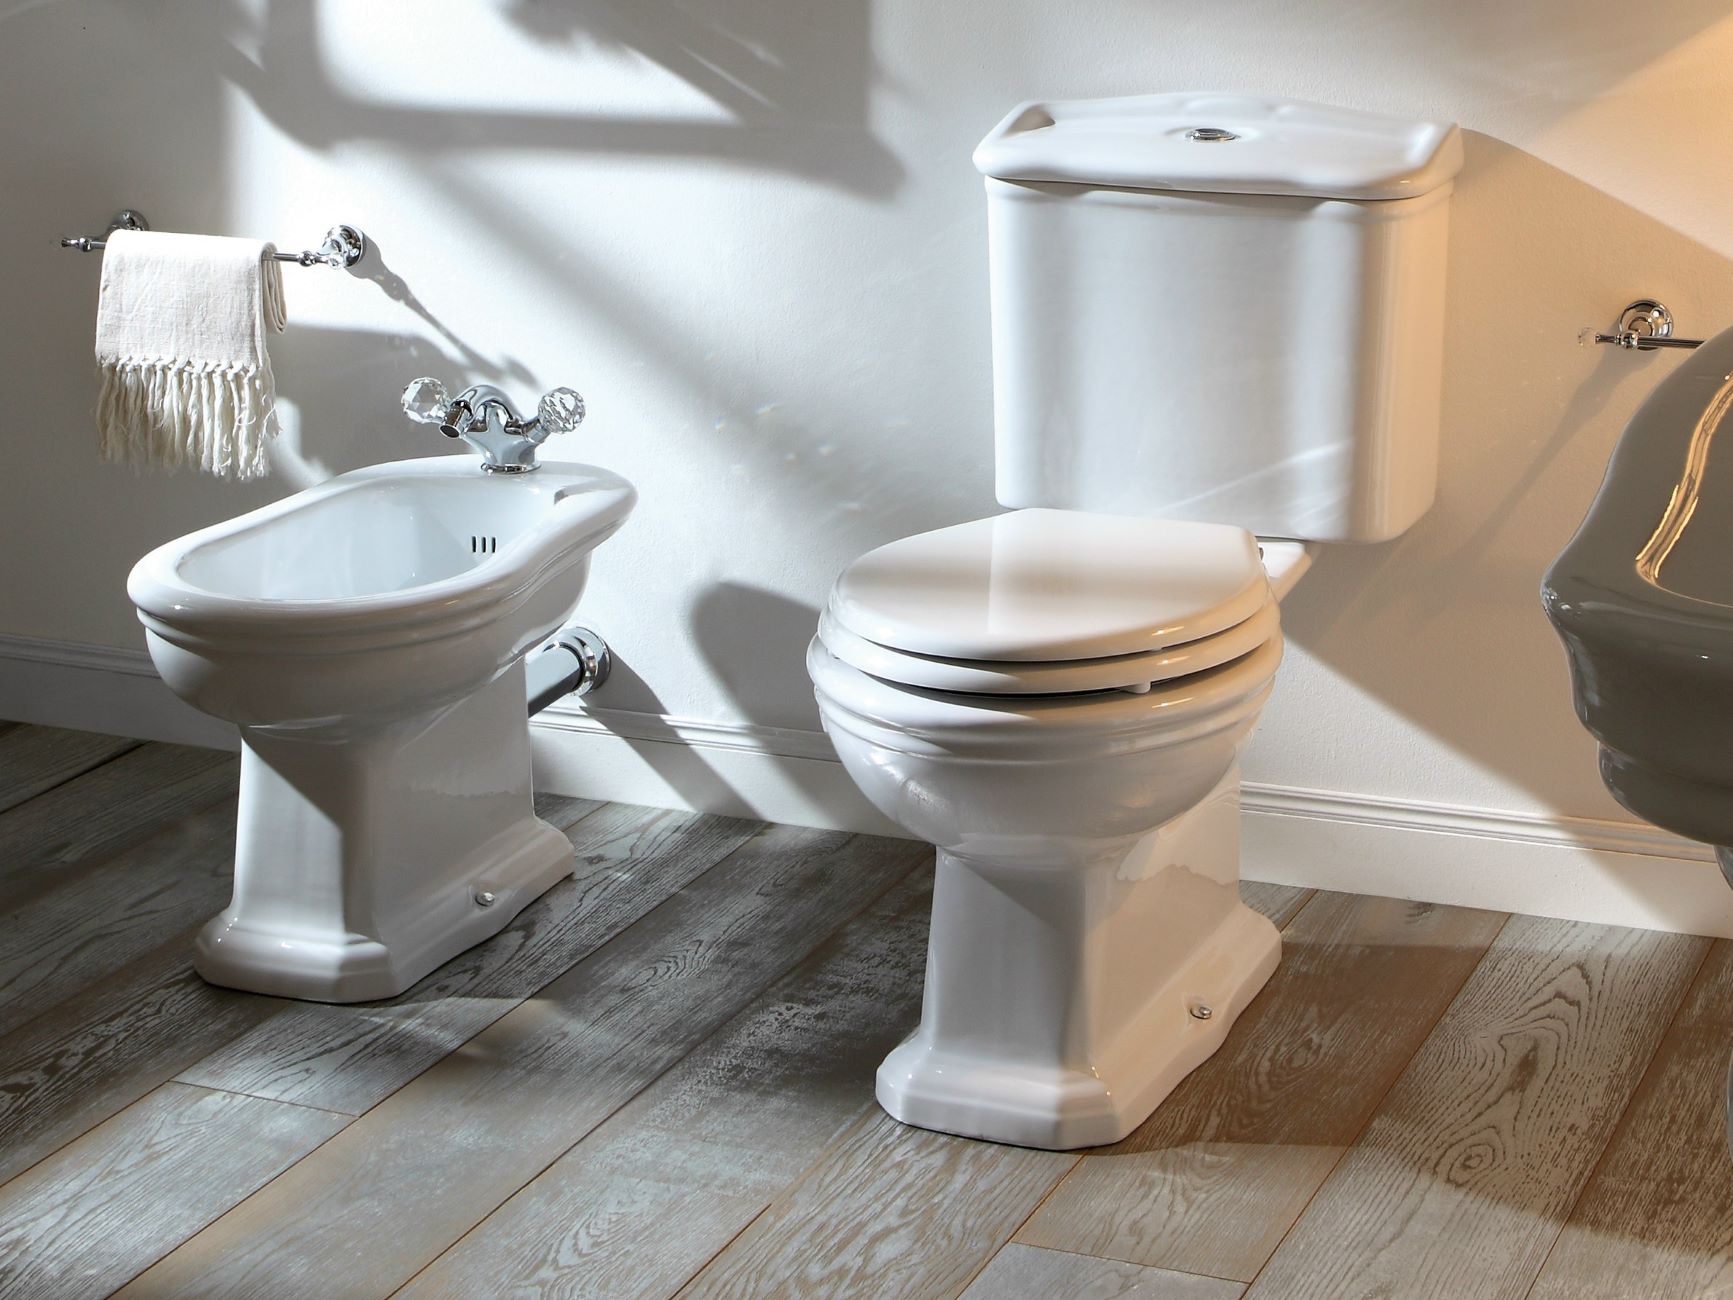
Read more: Bidet Toilet: How To Install
Step 1: Gather Necessary Tools and Materials
Before embarking on the installation process, it's essential to gather all the necessary tools and materials to ensure a smooth and efficient setup. Here's a comprehensive list of items you'll need:
Tools:
- Adjustable Wrench: This versatile tool will come in handy for securing and adjusting various components during the installation process.
- Screwdriver: Both flat-head and Phillips-head screwdrivers may be required for removing the existing toilet seat and attaching the bidet.
- Teflon Tape: Also known as plumber's tape, this thin white tape is used to seal pipe threads, preventing leaks in the water supply connections.
- Pliers: A pair of pliers will be useful for tightening and adjusting connections as needed.
- Bucket or Container: Having a bucket or container nearby will help catch any excess water when disconnecting the water supply.
Materials:
- Bidet Attachment: Select a bidet attachment that is compatible with your toilet and meets your preferences for features such as water pressure and temperature control.
- Water Supply Adapter: Depending on your existing water supply connection, you may need an adapter to ensure compatibility with the bidet attachment.
- Rubber Washers: These small but essential components will help create a watertight seal at the connection points, preventing leaks.
- Cleaning Supplies: It's a good idea to have some mild cleaning solution and a cloth on hand to wipe down the toilet and surrounding areas before and after installation.
By ensuring that you have all the necessary tools and materials at the outset, you'll be well-prepared to proceed with the installation process without interruptions. With these items in hand, you can move on to the next step of turning off the water supply in preparation for installing the bidet attachment.
Step 2: Turn Off Water Supply
Before beginning the installation of your bidet attachment, it is crucial to turn off the water supply to your toilet. This step is essential for ensuring a safe and mess-free installation process. Here's a detailed guide on how to turn off the water supply:
-
Locate the Shut-Off Valve: The shut-off valve is typically located behind the toilet, near the floor. It is connected to the water supply line that feeds water into the toilet tank. The valve is usually circular and can be turned clockwise to shut off the water flow.
-
Turn Off the Valve: Using your hand or an adjustable wrench, gently turn the valve clockwise until it stops. This action will cut off the water supply to the toilet tank and the bidet attachment, preventing any leaks or spills during the installation process.
-
Flush the Toilet: After shutting off the water supply, flush the toilet to drain the remaining water from the tank and bowl. This step will minimize the water present in the toilet, making it easier to disconnect the water supply hose without creating a mess.
-
Prepare a Container: Place a bucket or container near the toilet to catch any residual water that may drain from the water supply line when it is disconnected. This precaution will help prevent water from spilling onto the floor and ensure a tidy work area.
By following these steps to turn off the water supply, you will create a safe and controlled environment for installing the bidet attachment. This proactive approach minimizes the risk of water damage and simplifies the subsequent steps of removing the existing toilet seat and installing the bidet. With the water supply turned off and the area prepared, you are now ready to proceed to the next step of the installation process.
Read more: How To Install A Handheld Bidet
Step 3: Remove Existing Toilet Seat
Removing the existing toilet seat is a crucial step in preparing the toilet for the installation of the bidet attachment. This process requires attention to detail and careful maneuvering to ensure a smooth transition to the next phase of the installation. Here's a detailed guide on how to remove the existing toilet seat:
-
Gather the Necessary Tools: Before starting, ensure that you have the required tools, including a screwdriver, possibly a wrench, and any additional tools specific to your toilet model. Having the right tools on hand will make the removal process more efficient.
-
Locate the Seat Mounting Bolts: The toilet seat is typically attached to the toilet bowl with two mounting bolts located at the rear underside of the bowl. These bolts are often covered with decorative caps that can be pried off to reveal the bolt heads.
-
Unscrew the Mounting Bolts: Using a screwdriver or wrench, depending on the type of bolts used, carefully unscrew the nuts securing the mounting bolts. Hold the bolt heads in place from the top while loosening the nuts from below. Once the nuts are removed, the bolts can be pulled out from the top of the toilet bowl.
-
Lift and Remove the Seat: With the mounting bolts removed, gently lift the toilet seat and lid assembly away from the toilet bowl. Be mindful of any remaining attachments or clips that may be securing the seat to the bowl. Once detached, set the old seat aside for disposal or recycling.
-
Clean the Area: After removing the old seat, take the opportunity to clean the toilet bowl and surrounding areas. Use a mild cleaning solution and a cloth to wipe down the bowl and hinges, ensuring that the surface is clean and free of any debris or residue.
By following these steps, you can successfully remove the existing toilet seat in preparation for installing the bidet attachment. This process sets the stage for the next steps of attaching the bidet and connecting the water supply. With the old seat removed and the area cleaned, you are now ready to proceed with the installation of the bidet attachment, bringing you one step closer to enjoying the benefits of this modern bathroom upgrade.
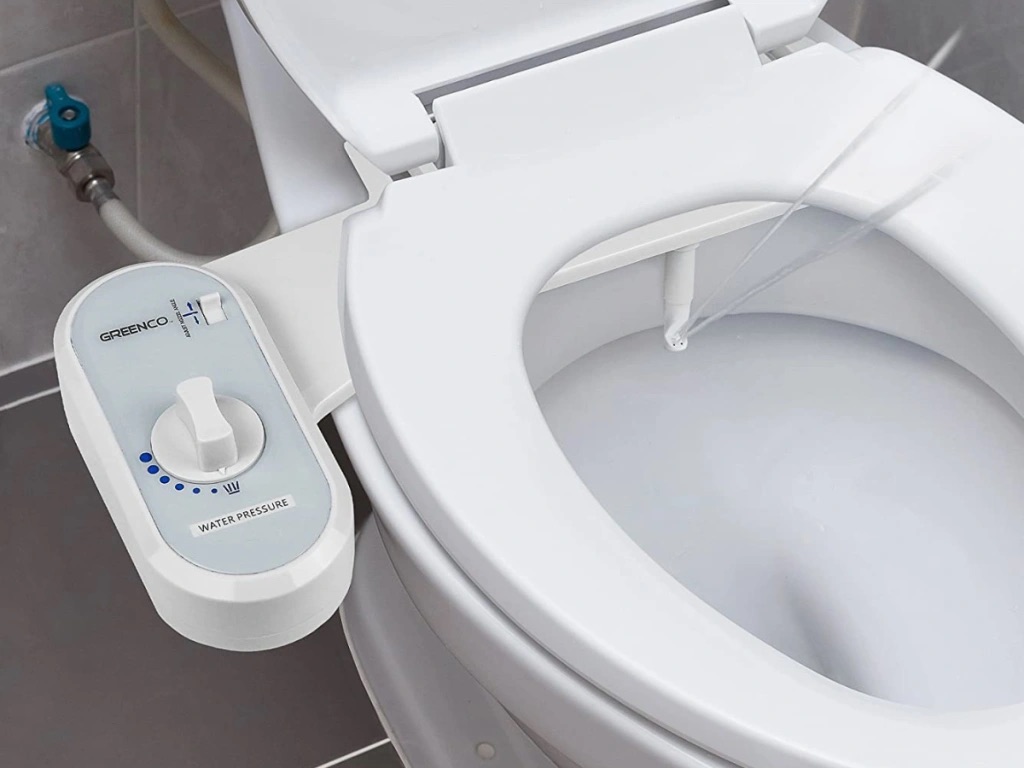
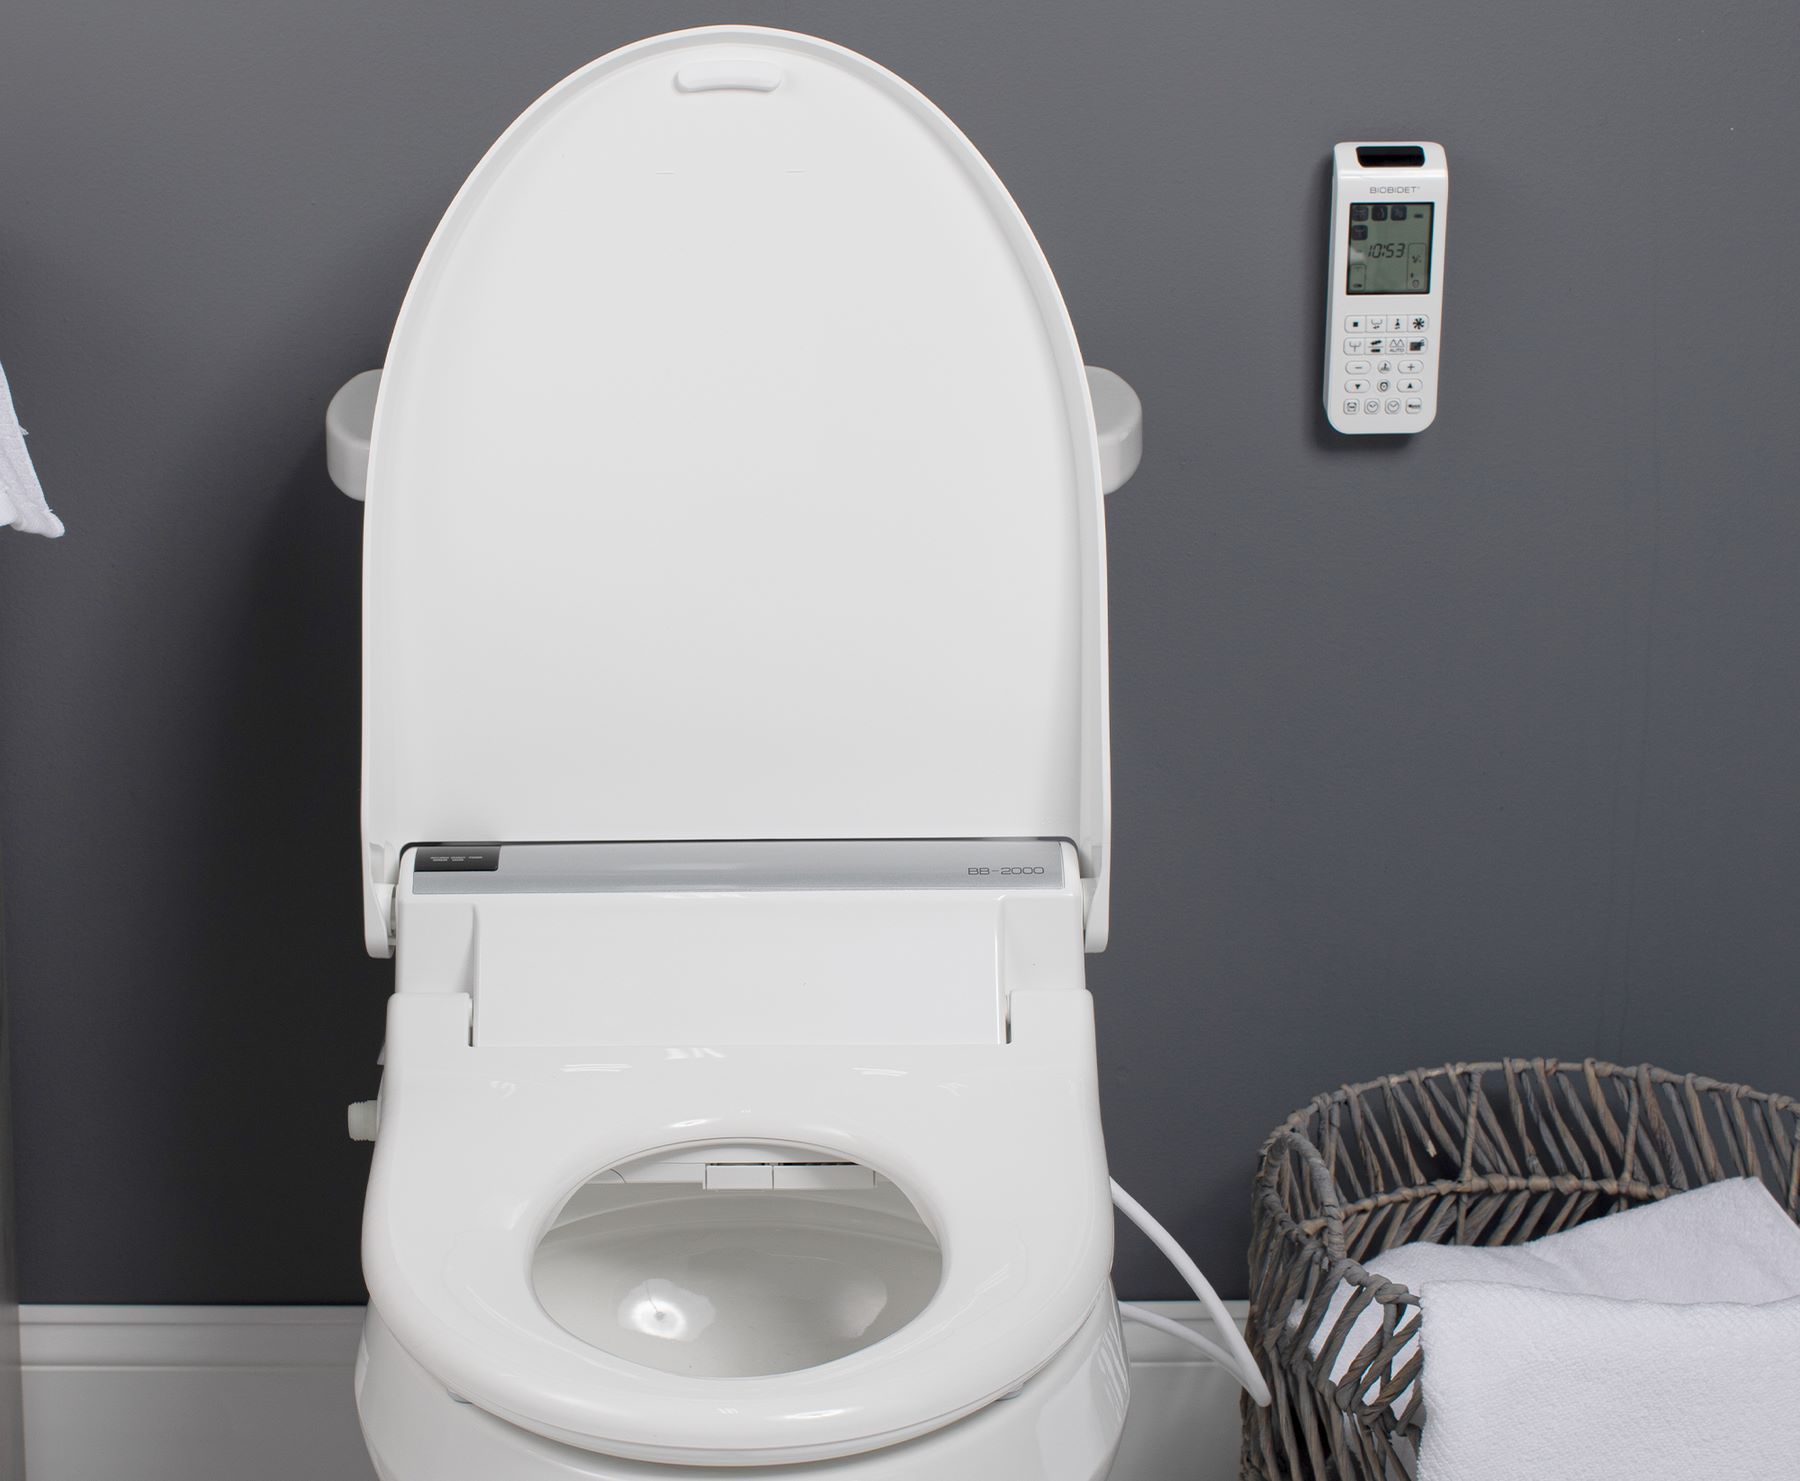
Step 4: Install Bidet Attachment
With the existing toilet seat removed and the area cleaned, you are now ready to install the bidet attachment. This transformative addition will bring enhanced comfort and hygiene to your bathroom routine. Follow these detailed steps to ensure a successful installation:
-
Position the Bidet Attachment: Carefully position the bidet attachment on the toilet bowl, aligning it with the mounting holes at the rear of the bowl. Ensure that the attachment is centered and level for a balanced and secure fit.
-
Secure the Attachment: Insert the mounting bolts through the bracket on the bidet attachment and the corresponding holes in the toilet bowl. From underneath the bowl, secure the bolts with the provided nuts, tightening them evenly to ensure a stable and wobble-free attachment.
-
Adjust the Position: Once the attachment is secured, make any necessary adjustments to the position and alignment. Ensure that the bidet is comfortably positioned for use and does not interfere with the operation of the toilet seat.
-
Connect the Water Supply: Locate the water supply connection on the bidet attachment. Depending on the model, this may involve connecting a T-valve to the existing water supply line and attaching a flexible hose to the bidet. Use pliers to tighten the connections, ensuring a snug fit without over-tightening.
-
Check for Leaks: Turn on the water supply and check for any leaks at the connection points. Look for any drips or seepage around the water supply hose and T-valve. If necessary, tighten the connections further to eliminate any leaks.
-
Test the Functionality: With the bidet attachment securely installed and the water supply connected, test the functionality of the bidet. Adjust the water pressure and temperature settings as per the manufacturer's instructions. Ensure that the controls operate smoothly and that water flows as expected.
By following these steps, you can effectively install the bidet attachment, bringing a new level of comfort and cleanliness to your bathroom. With the bidet in place and fully functional, you are now ready to enjoy the benefits of this modern addition to your apartment bathroom.
When installing a bidet in an apartment, make sure to check with your landlord or property management for any restrictions or guidelines. It’s also important to turn off the water supply and follow the manufacturer’s instructions carefully.
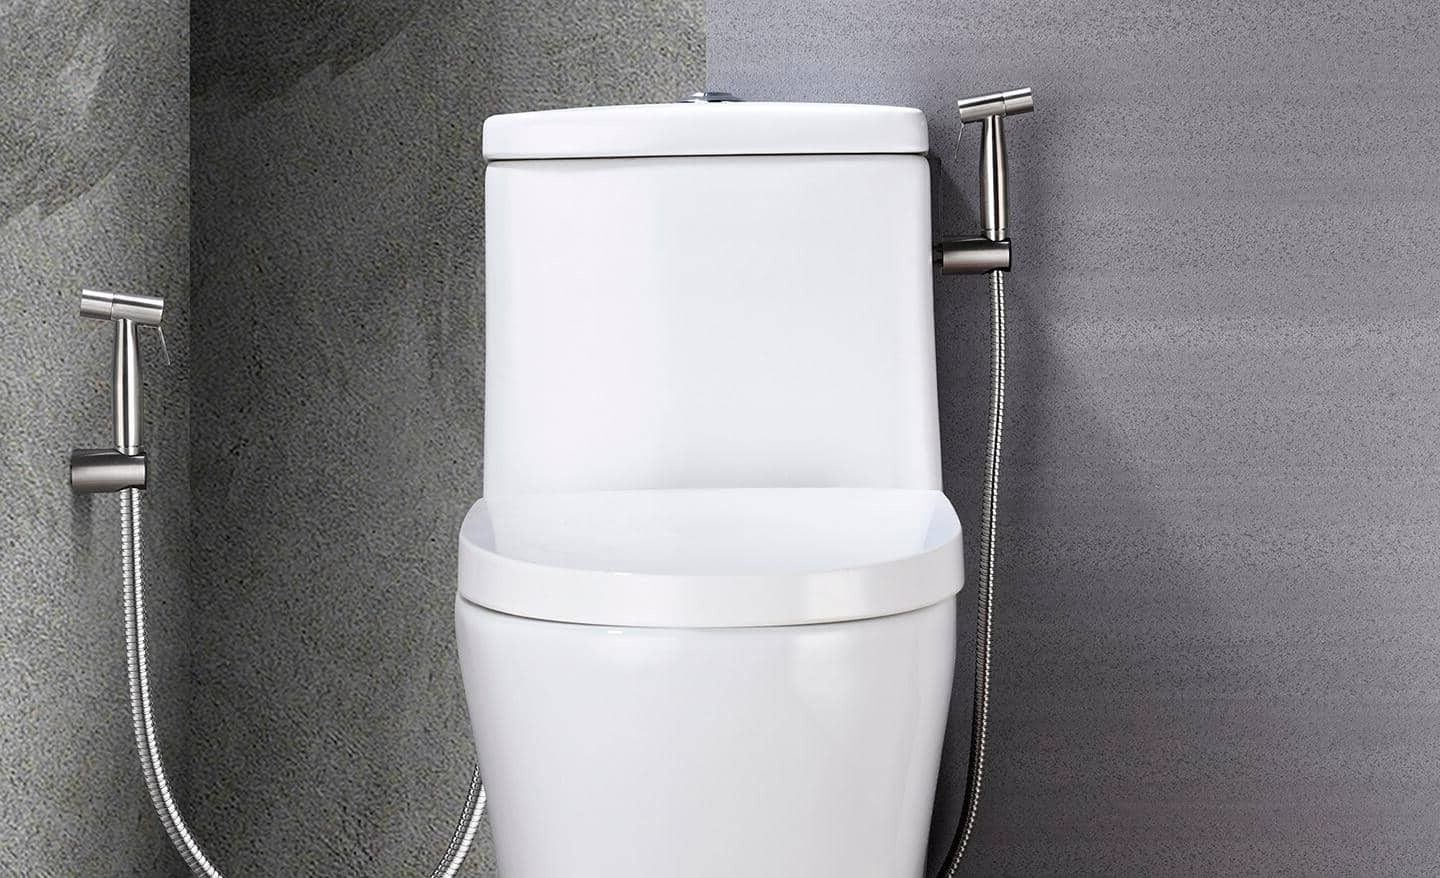
Step 5: Connect Water Supply
Connecting the water supply is a critical step in the installation of a bidet attachment, as it ensures the proper flow of water to the bidet for its optimal functionality. This step requires attention to detail and careful handling of the water supply connections to prevent leaks and ensure a seamless integration with the bidet attachment. Here's a detailed guide on how to connect the water supply to the bidet attachment:
-
Locate the Water Supply Connection: The water supply connection point on the bidet attachment is typically located at the rear or underside of the unit. It may consist of a T-valve that connects to the existing water supply line, allowing water to flow to the bidet for cleansing purposes.
-
Prepare the Water Supply Line: Before connecting the water supply, ensure that the existing water supply line is in good condition and free of any debris or obstructions. If necessary, clean the threads of the water supply line and ensure that it is ready for the connection.
-
Attach the T-Valve: If the bidet attachment requires a T-valve for the water supply connection, carefully attach the T-valve to the existing water supply line. Use Teflon tape to seal the threads and prevent any potential leaks. Tighten the T-valve securely using pliers, ensuring a snug and watertight connection.
-
Connect the Flexible Hose: Once the T-valve is in place, connect the flexible hose provided with the bidet attachment to the outlet of the T-valve. The flexible hose is designed to carry water from the existing water supply to the bidet for its operation. Ensure that the hose is securely attached and tightened to prevent any water leakage.
-
Tighten the Connections: Using pliers, carefully tighten the connections between the T-valve, water supply line, and the flexible hose. It is essential to achieve a secure and watertight seal at each connection point to prevent any potential leaks during operation.
-
Check for Leaks: After connecting the water supply, turn on the water supply valve and check for any leaks at the T-valve and hose connections. Look for any drips or seepage around the connection points and ensure that all fittings are secure and free of leaks.
By following these steps to connect the water supply to the bidet attachment, you can ensure a reliable and leak-free water supply for the optimal functionality of the bidet. With the water supply successfully connected, you are now ready to proceed to the next step of testing the bidet to ensure its proper operation.
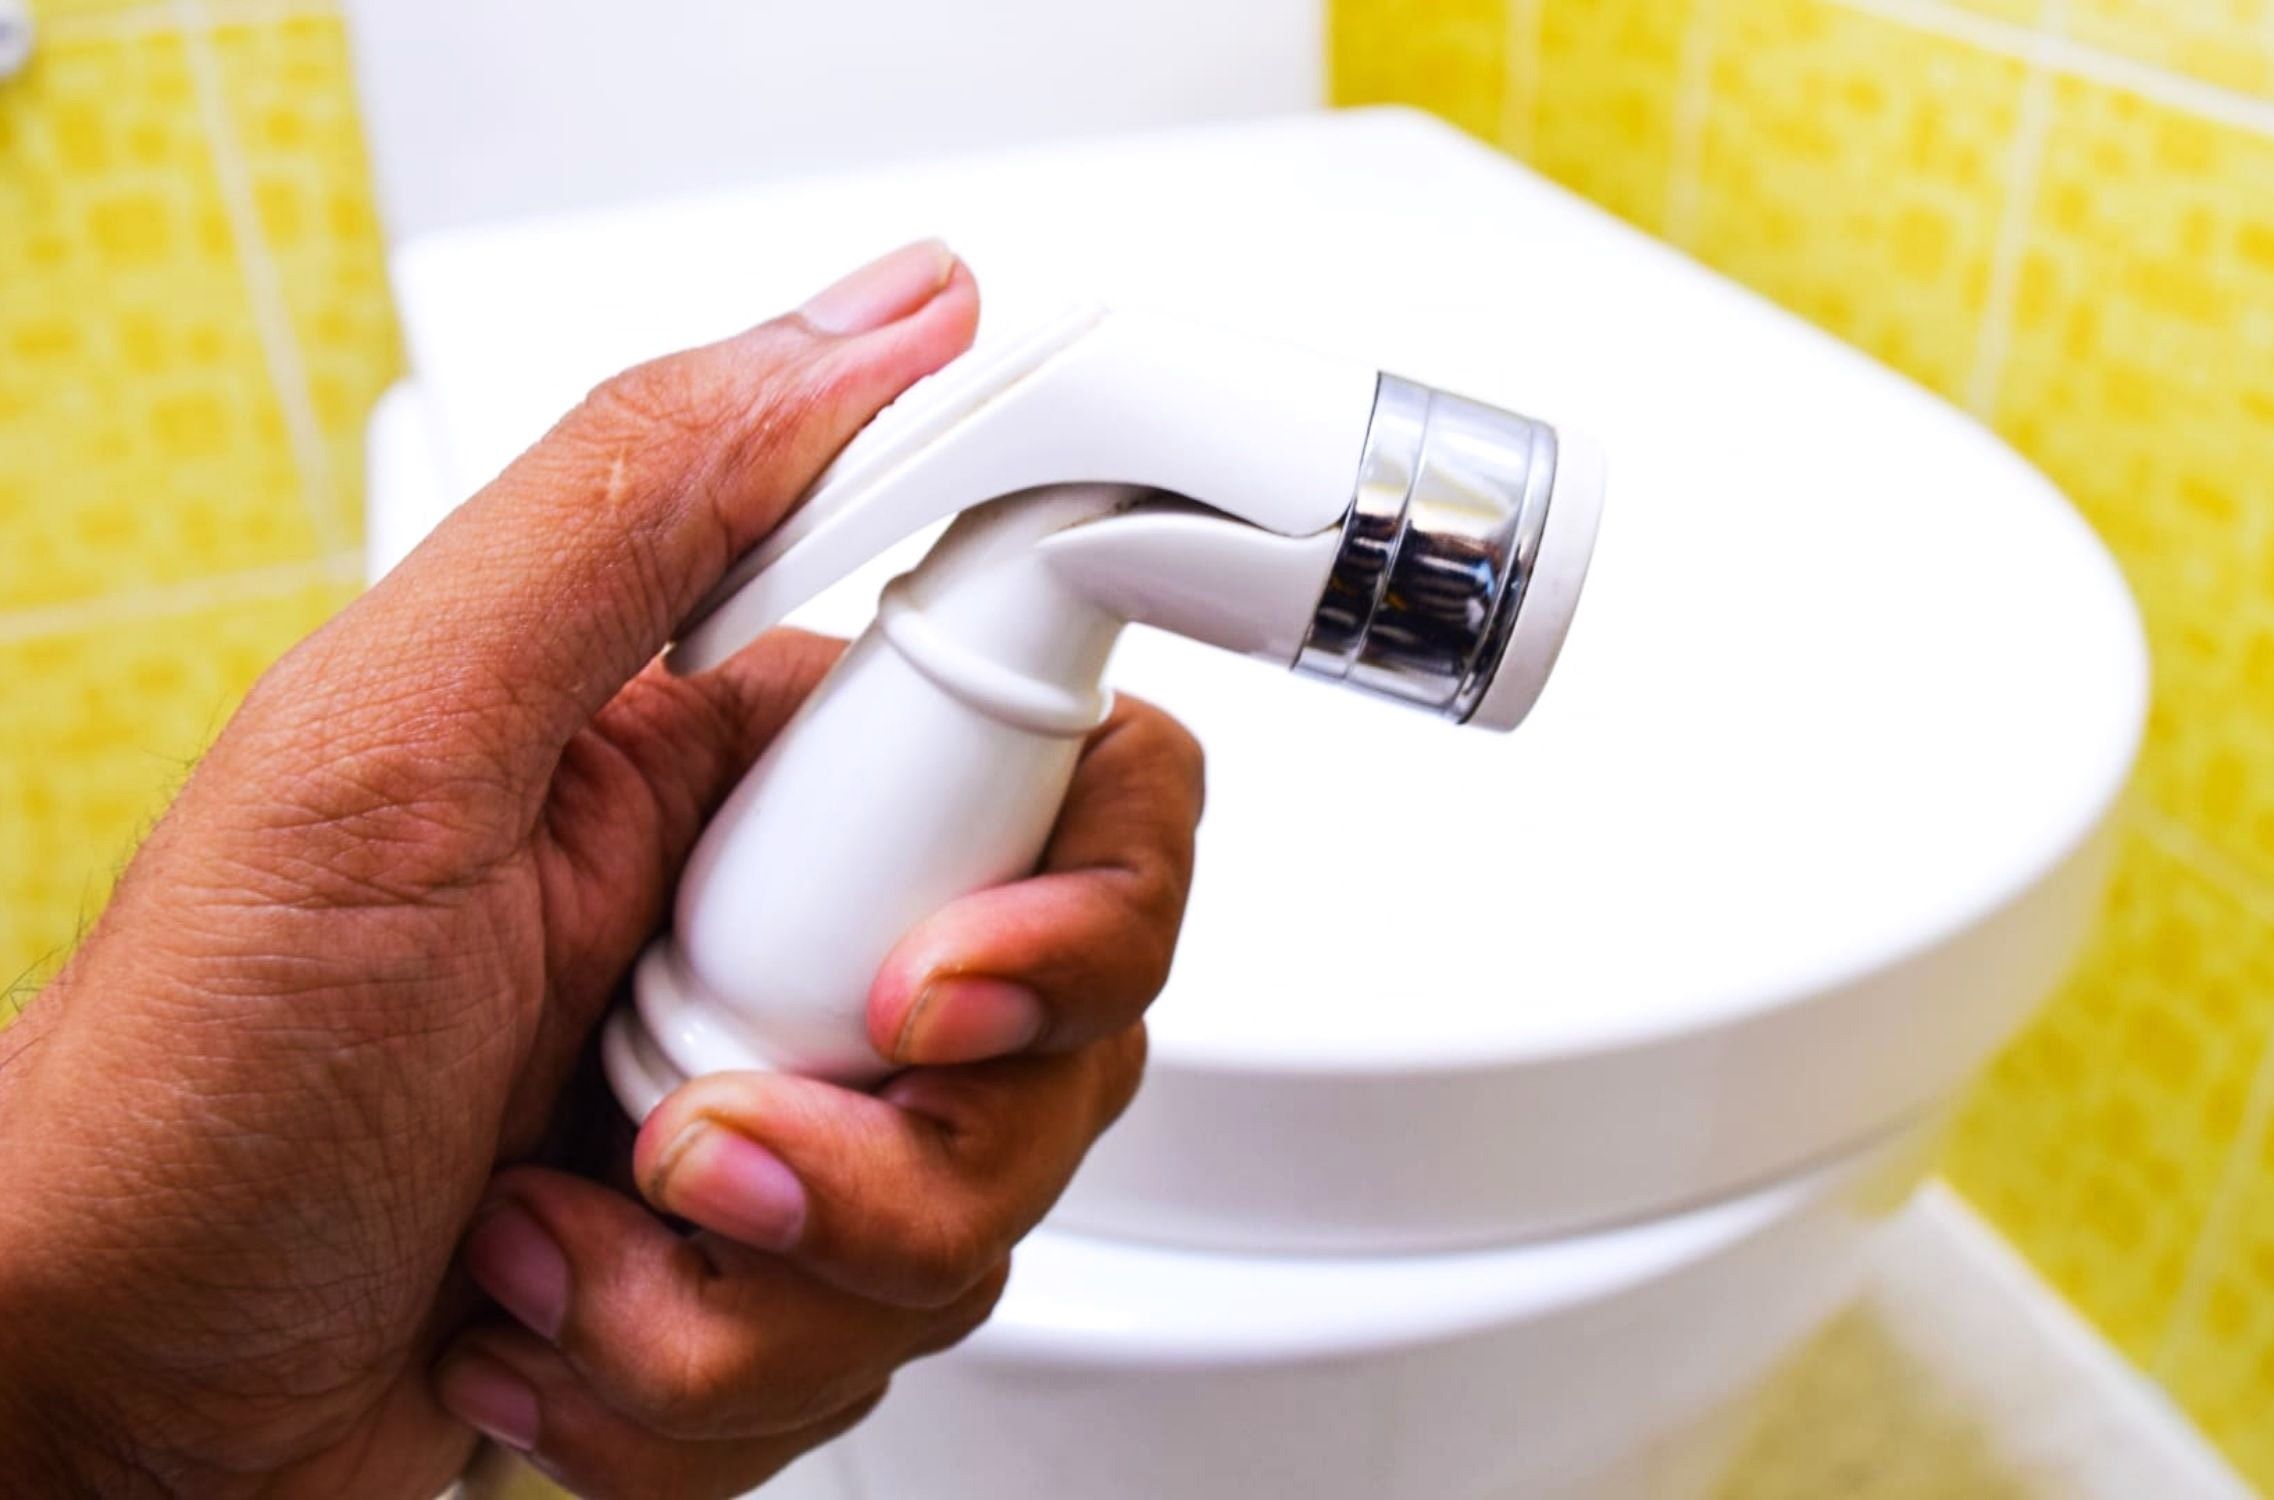
Step 6: Test the Bidet
After successfully installing the bidet attachment and connecting the water supply, it's essential to test the bidet to ensure its proper functionality and performance. This crucial step allows you to verify that the bidet operates as intended, providing a comfortable and effective cleansing experience. Here's a detailed guide on how to test the bidet:
-
Activate the Water Flow: Begin by activating the water flow to the bidet using the controls or knobs provided. Depending on the model, you may have options to adjust the water pressure and temperature to suit your preferences. Gradually increase the water pressure to gauge the flow and make adjustments as needed.
-
Check for Proper Aim and Coverage: As the water flows from the bidet nozzle, observe the direction and coverage of the water spray. Ensure that the spray pattern effectively reaches the desired areas for cleansing. Adjust the position and angle of the bidet attachment if necessary to optimize the spray coverage.
-
Assess Water Temperature: If your bidet attachment includes temperature control, test the warm water functionality to ensure that it reaches a comfortable and suitable temperature. Verify that the temperature adjustment settings align with your preferences for a pleasant cleansing experience.
-
Evaluate Control Operation: Test the functionality of the control knobs or buttons for adjusting water pressure, temperature, and spray patterns. Ensure that the controls operate smoothly and respond accurately to your adjustments, providing a user-friendly experience.
-
Check for Leaks and Drips: While the bidet is in operation, inspect the connection points and surrounding areas for any signs of water leaks or drips. Pay close attention to the water supply connections, T-valve, and flexible hose to ensure that all fittings remain secure and leak-free during use.
-
Assess Comfort and Convenience: Sit on the toilet seat and experience the bidet's functionality firsthand. Evaluate the comfort and convenience of the cleansing process, taking note of any adjustments or enhancements that may further improve the overall experience.
By thoroughly testing the bidet attachment, you can confirm its proper operation and address any potential issues or adjustments before regular use. This proactive approach ensures that the bidet functions optimally, providing a reliable and comfortable cleansing experience for your daily routine.
With the bidet successfully tested and verified for its functionality, you can now look forward to enjoying the enhanced comfort, cleanliness, and convenience that this modern bathroom addition brings to your apartment.
Read more: How To Install A Tushy Bidet
Conclusion
In conclusion, the installation of a bidet attachment in your apartment bathroom represents a significant upgrade that enhances personal hygiene and comfort. By following the comprehensive steps outlined in this guide, you have successfully navigated the process of transforming your bathroom experience. From gathering the necessary tools and materials to testing the bidet after installation, each step has contributed to the seamless integration of this modern convenience into your daily routine.
As you reflect on the journey of installing a bidet in your apartment, it's important to recognize the numerous benefits it brings. The bidet attachment not only promotes superior cleanliness and hygiene but also contributes to environmental sustainability by reducing the consumption of toilet paper. Additionally, the adjustable water pressure and temperature settings offer a personalized and luxurious cleansing experience tailored to your preferences.
Furthermore, the installation process has empowered you to take control of your bathroom environment, fostering a sense of independence and self-sufficiency. By mastering the installation of the bidet attachment, you have gained valuable insights into plumbing connections and fixtures, enhancing your overall knowledge and confidence in home maintenance tasks.
As you embark on this new chapter of enhanced bathroom comfort, it's essential to appreciate the convenience and modernity that the bidet brings to your apartment. The seamless integration of this innovative fixture reflects your commitment to embracing modern amenities while prioritizing personal well-being and sustainability.
With the bidet successfully installed and tested, you can now look forward to enjoying the daily benefits it offers. The comfort, cleanliness, and eco-friendly nature of the bidet attachment align with your commitment to a modern and sustainable lifestyle, enhancing your overall well-being and satisfaction with your apartment's amenities.
In essence, the installation of a bidet attachment in your apartment represents a significant step toward elevating your bathroom experience. By embracing this modern convenience, you have not only enhanced your personal hygiene but also demonstrated a commitment to sustainable living and self-improvement. As you continue to enjoy the comfort and benefits of the bidet, you can take pride in the accomplishment of successfully integrating this innovative fixture into your apartment bathroom.
Frequently Asked Questions about How To Install Bidet In Apartment
Was this page helpful?
At Storables.com, we guarantee accurate and reliable information. Our content, validated by Expert Board Contributors, is crafted following stringent Editorial Policies. We're committed to providing you with well-researched, expert-backed insights for all your informational needs.


0 thoughts on “How To Install Bidet In Apartment”