Home>Furniture & Design>Bathroom Accessories>How To Install A Handheld Bidet
Bathroom Accessories
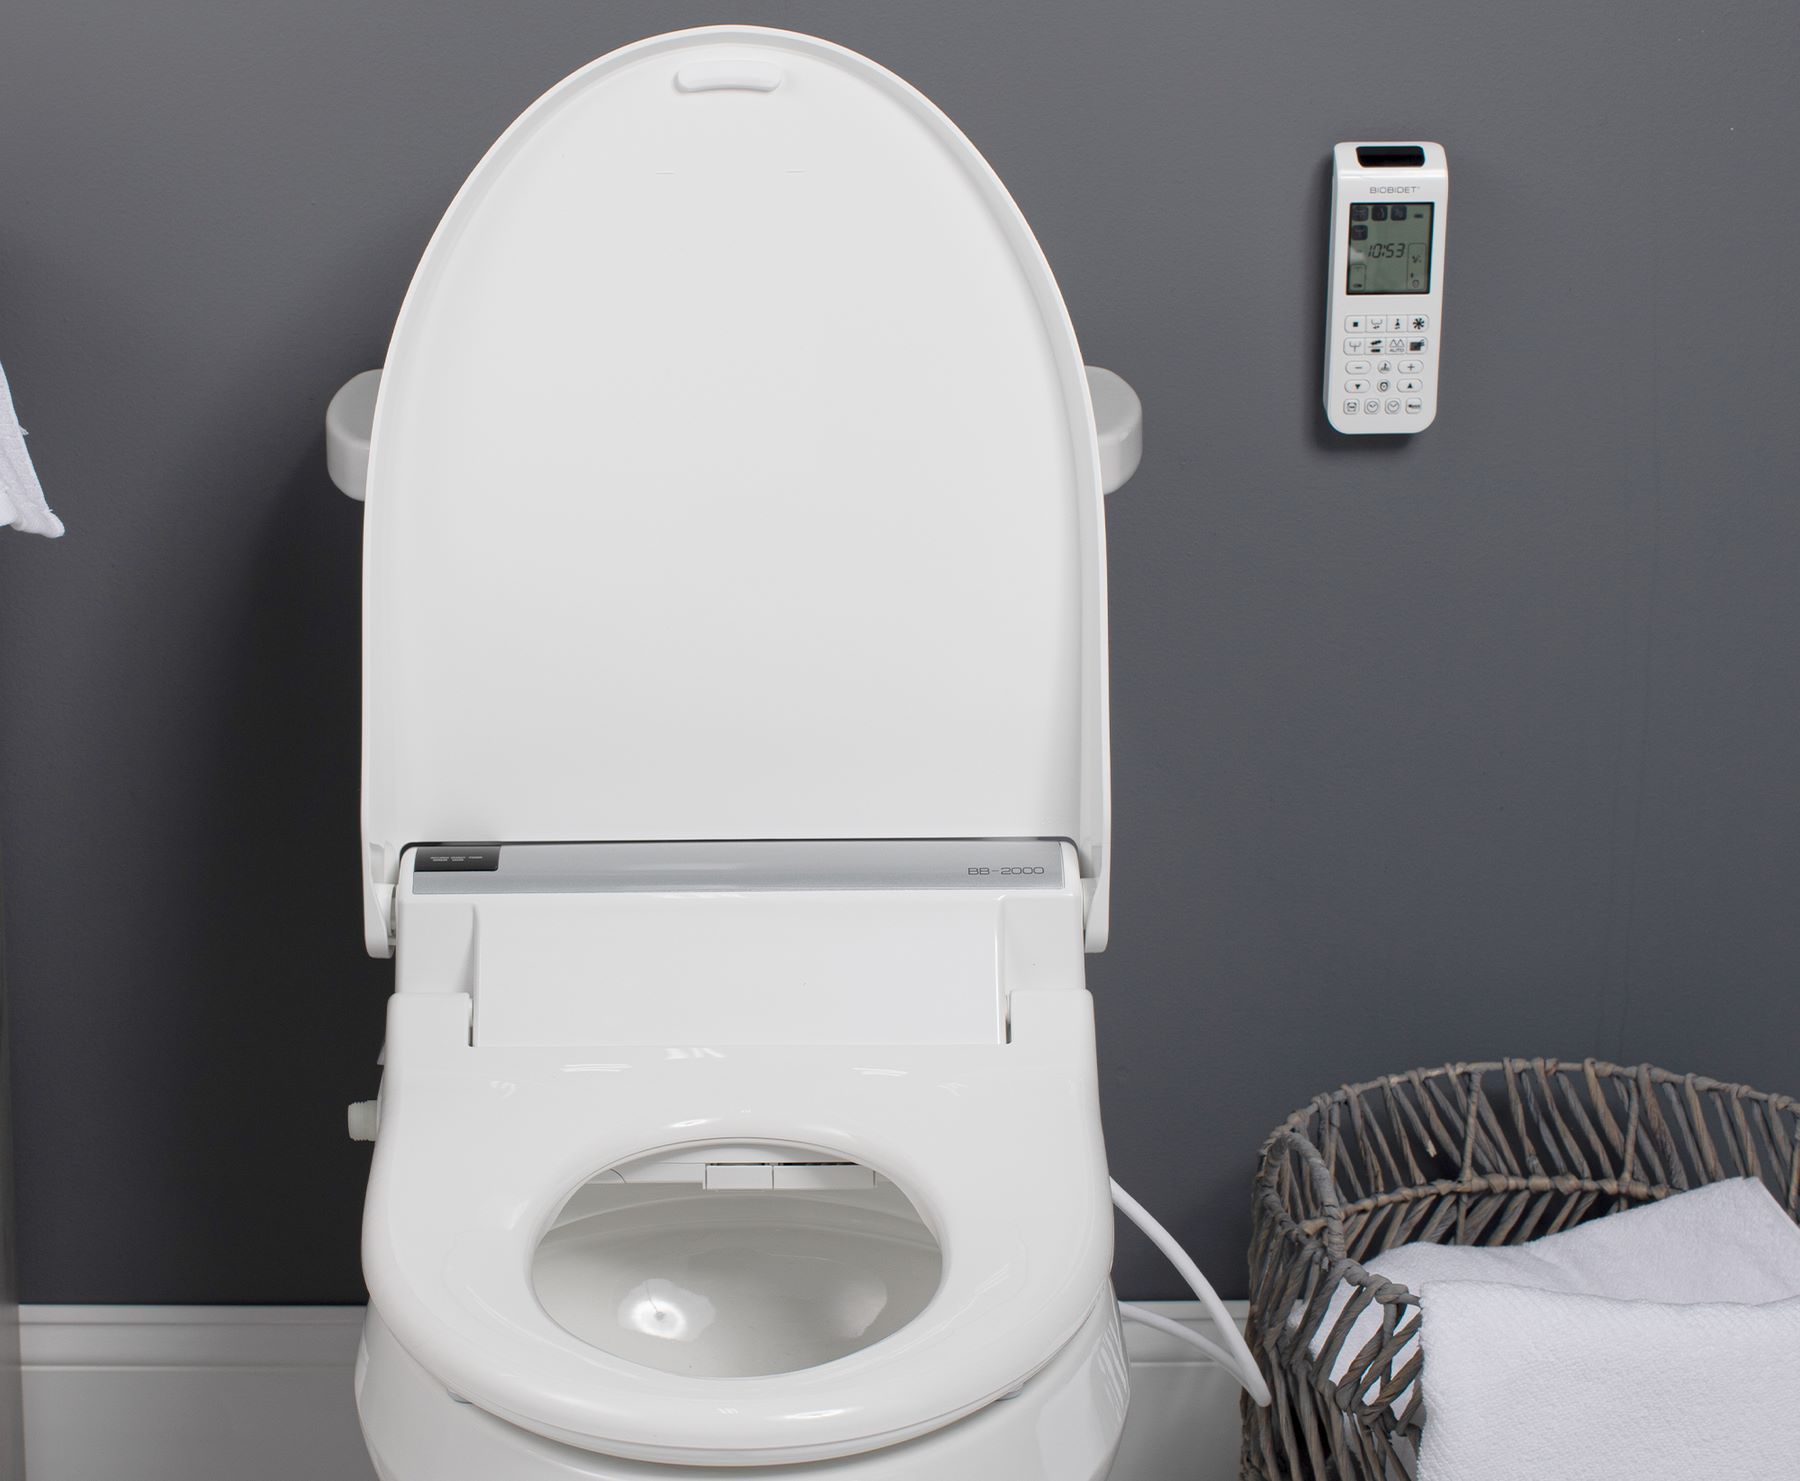
How To Install A Handheld Bidet
Modified: October 20, 2024
Learn how to easily install a handheld bidet in your bathroom with our step-by-step guide. Upgrade your bathroom accessories today!
(Many of the links in this article redirect to a specific reviewed product. Your purchase of these products through affiliate links helps to generate commission for Storables.com, at no extra cost. Learn more)
Introduction
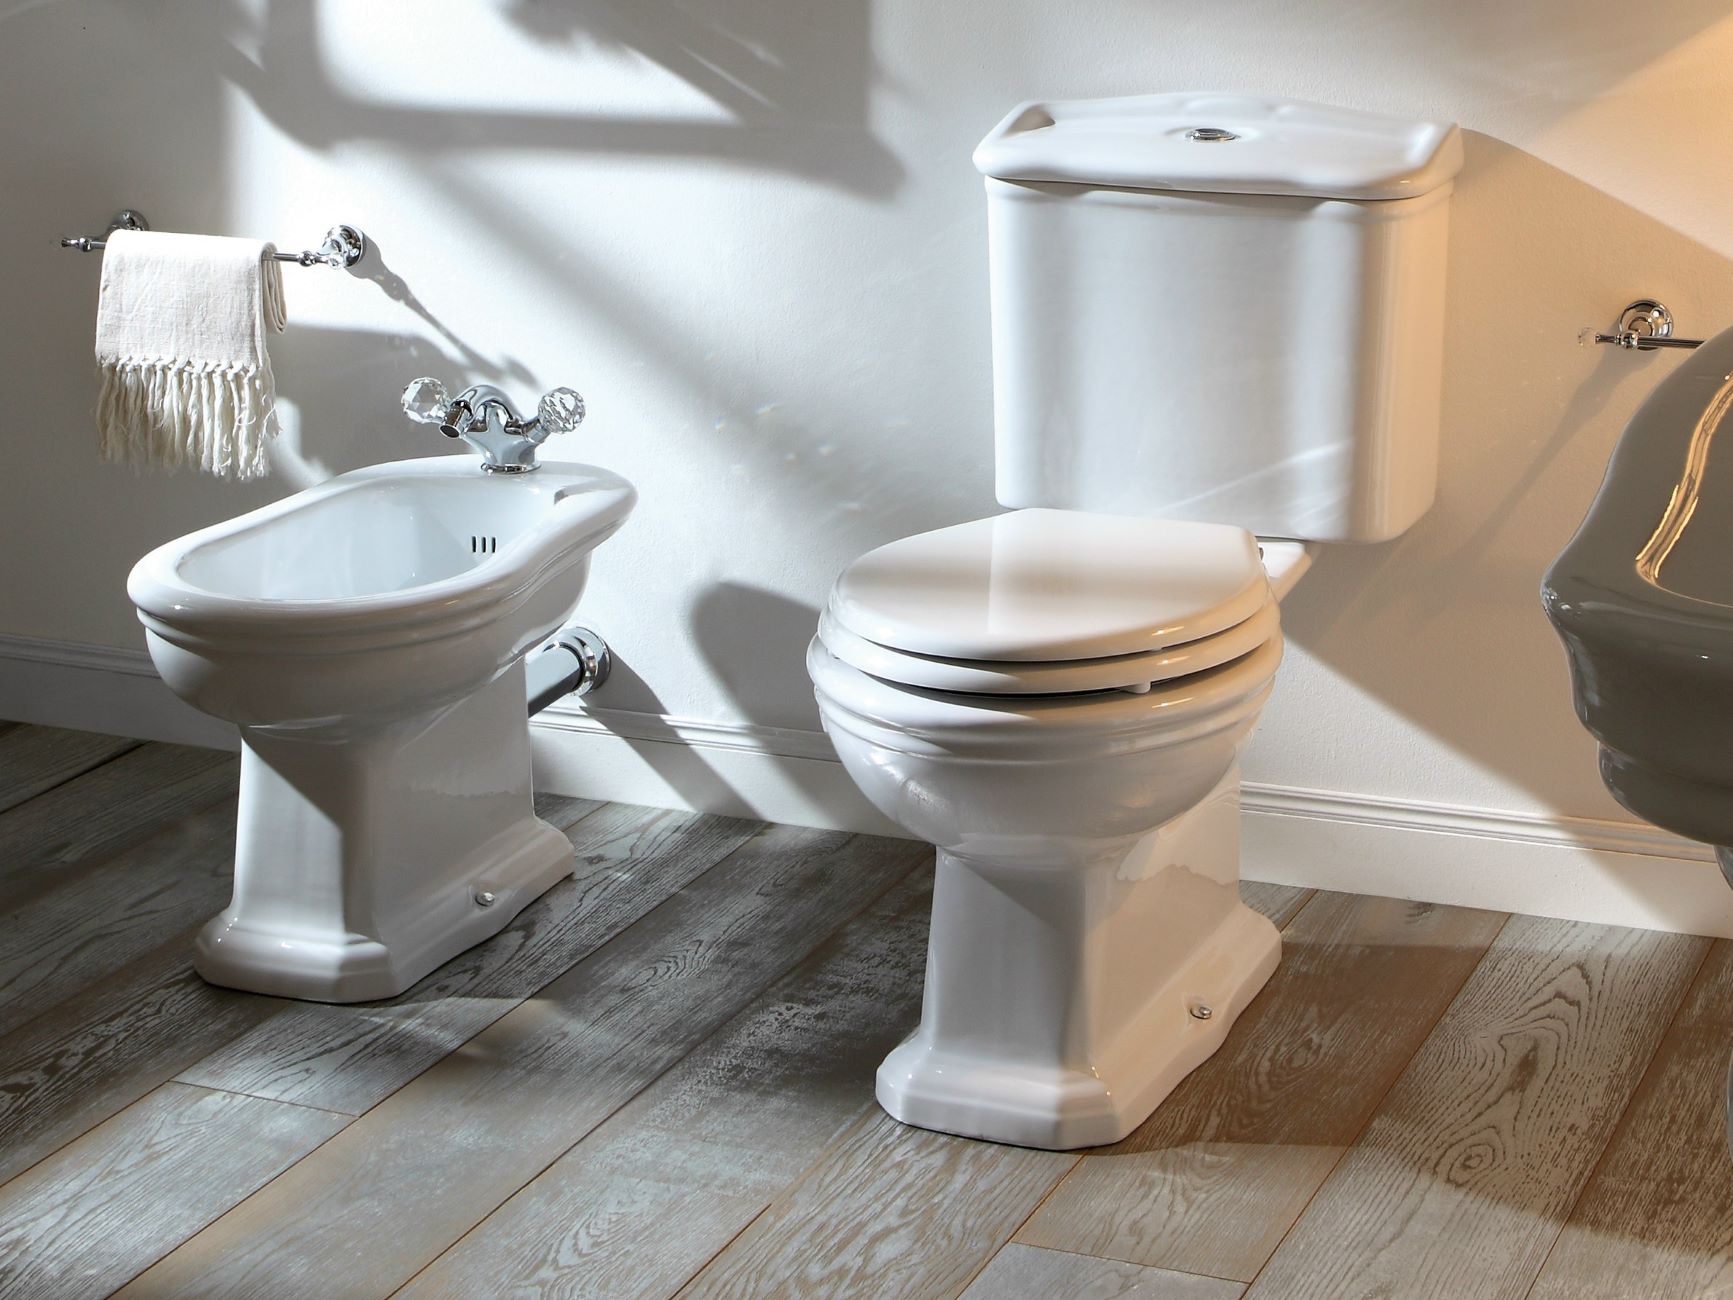
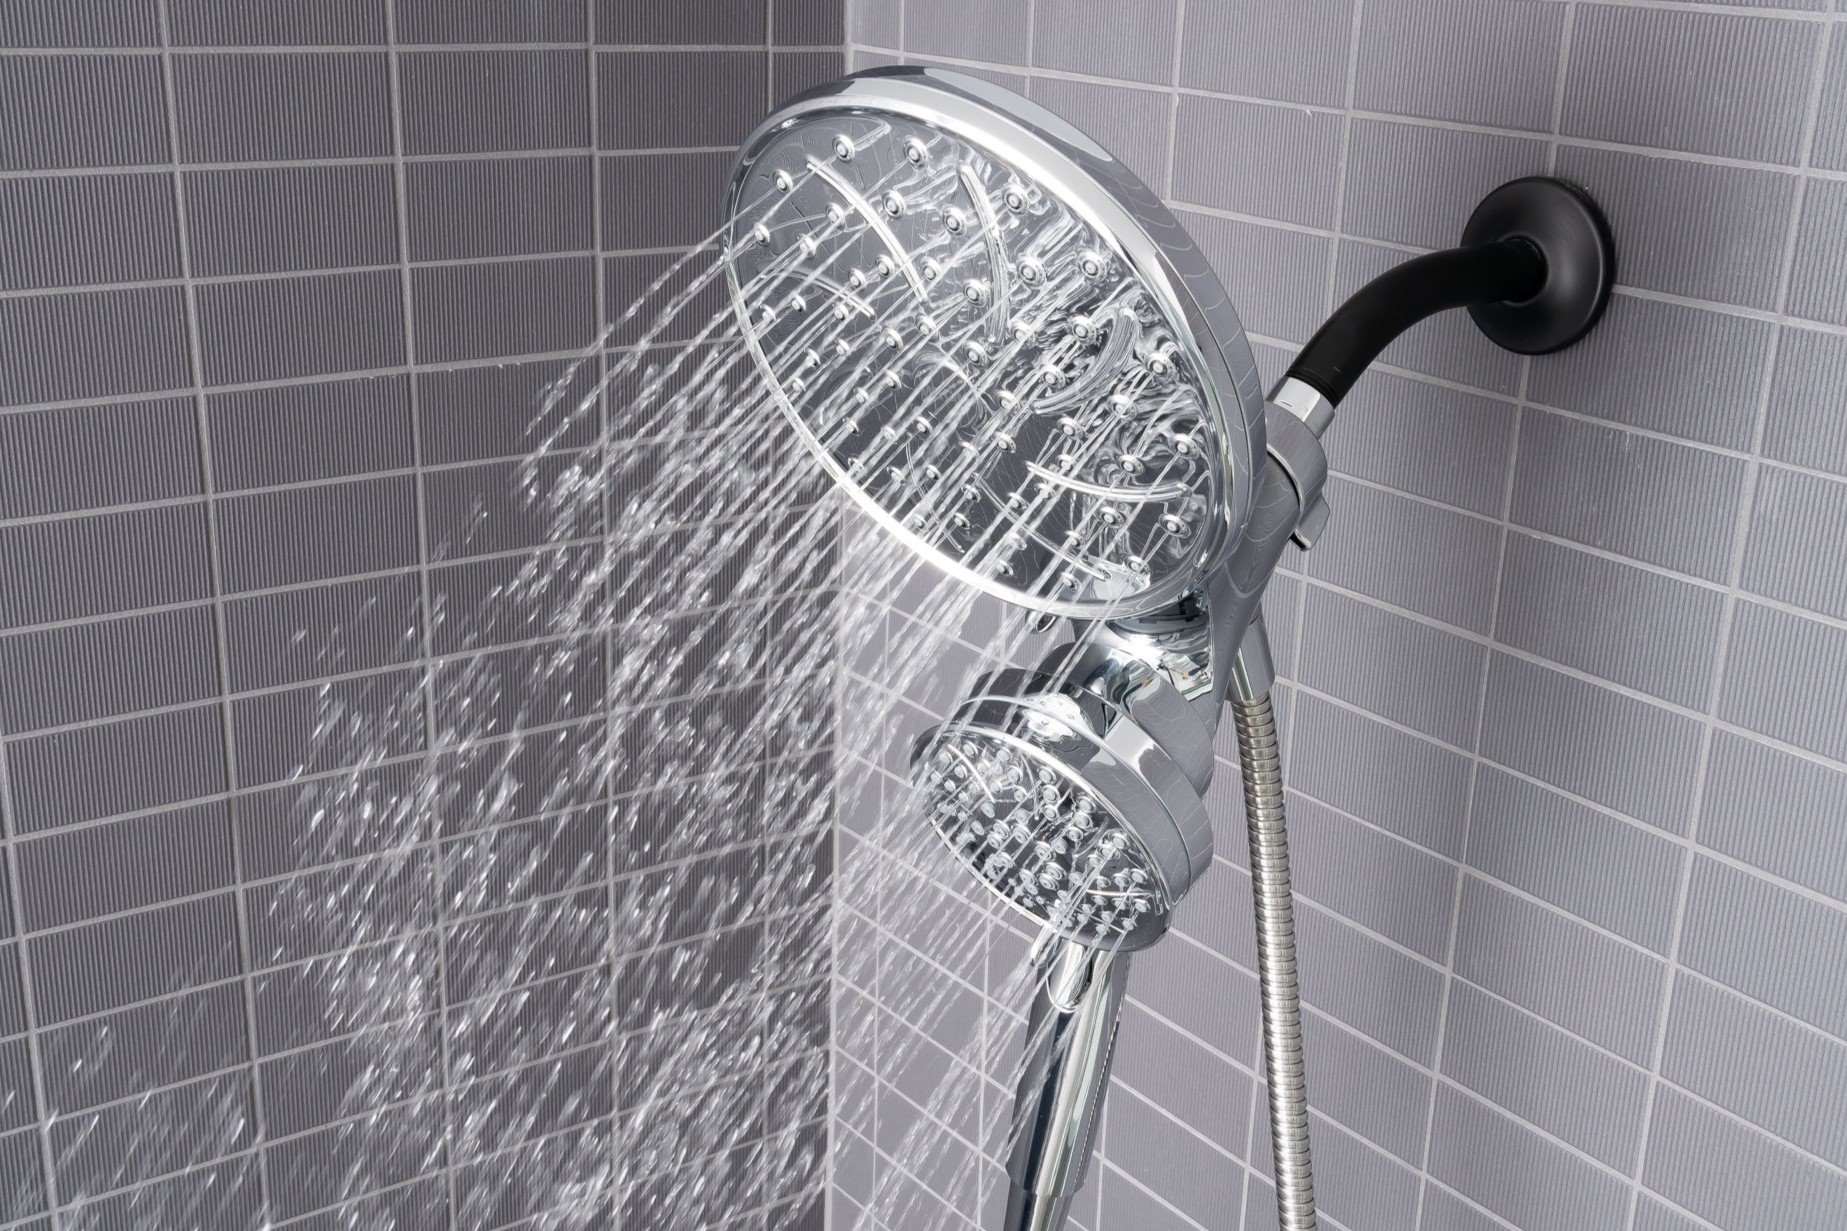
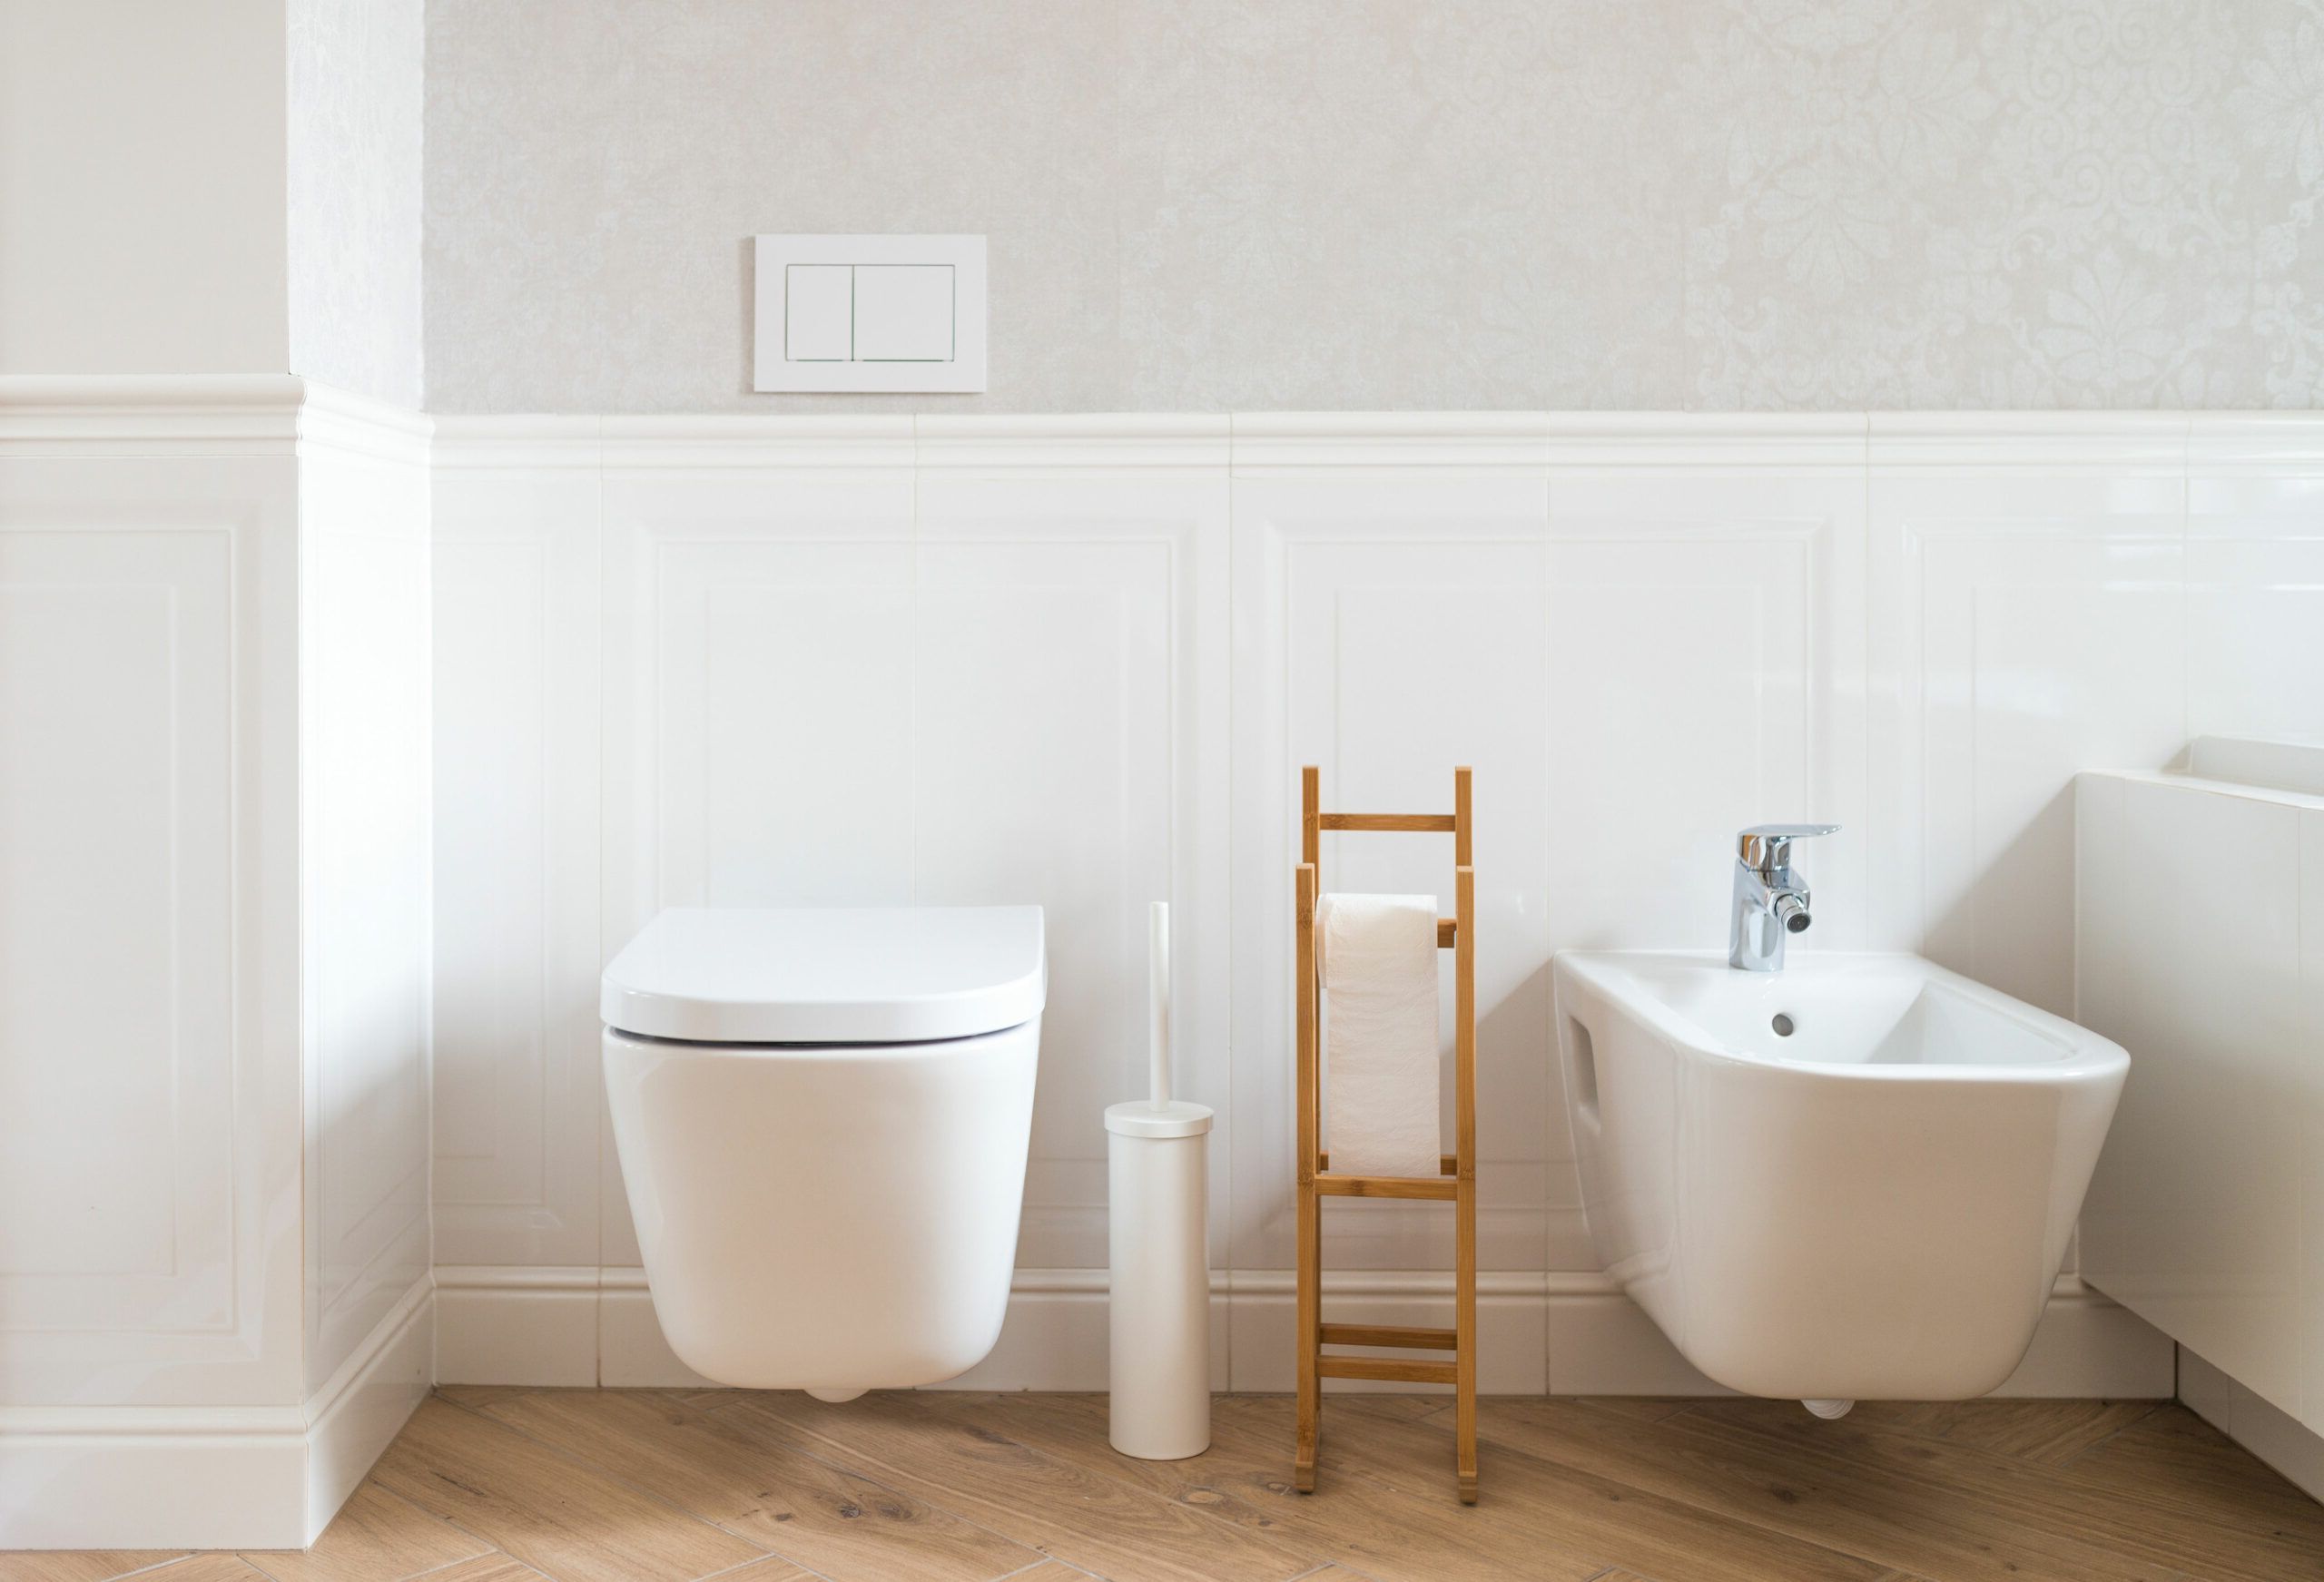
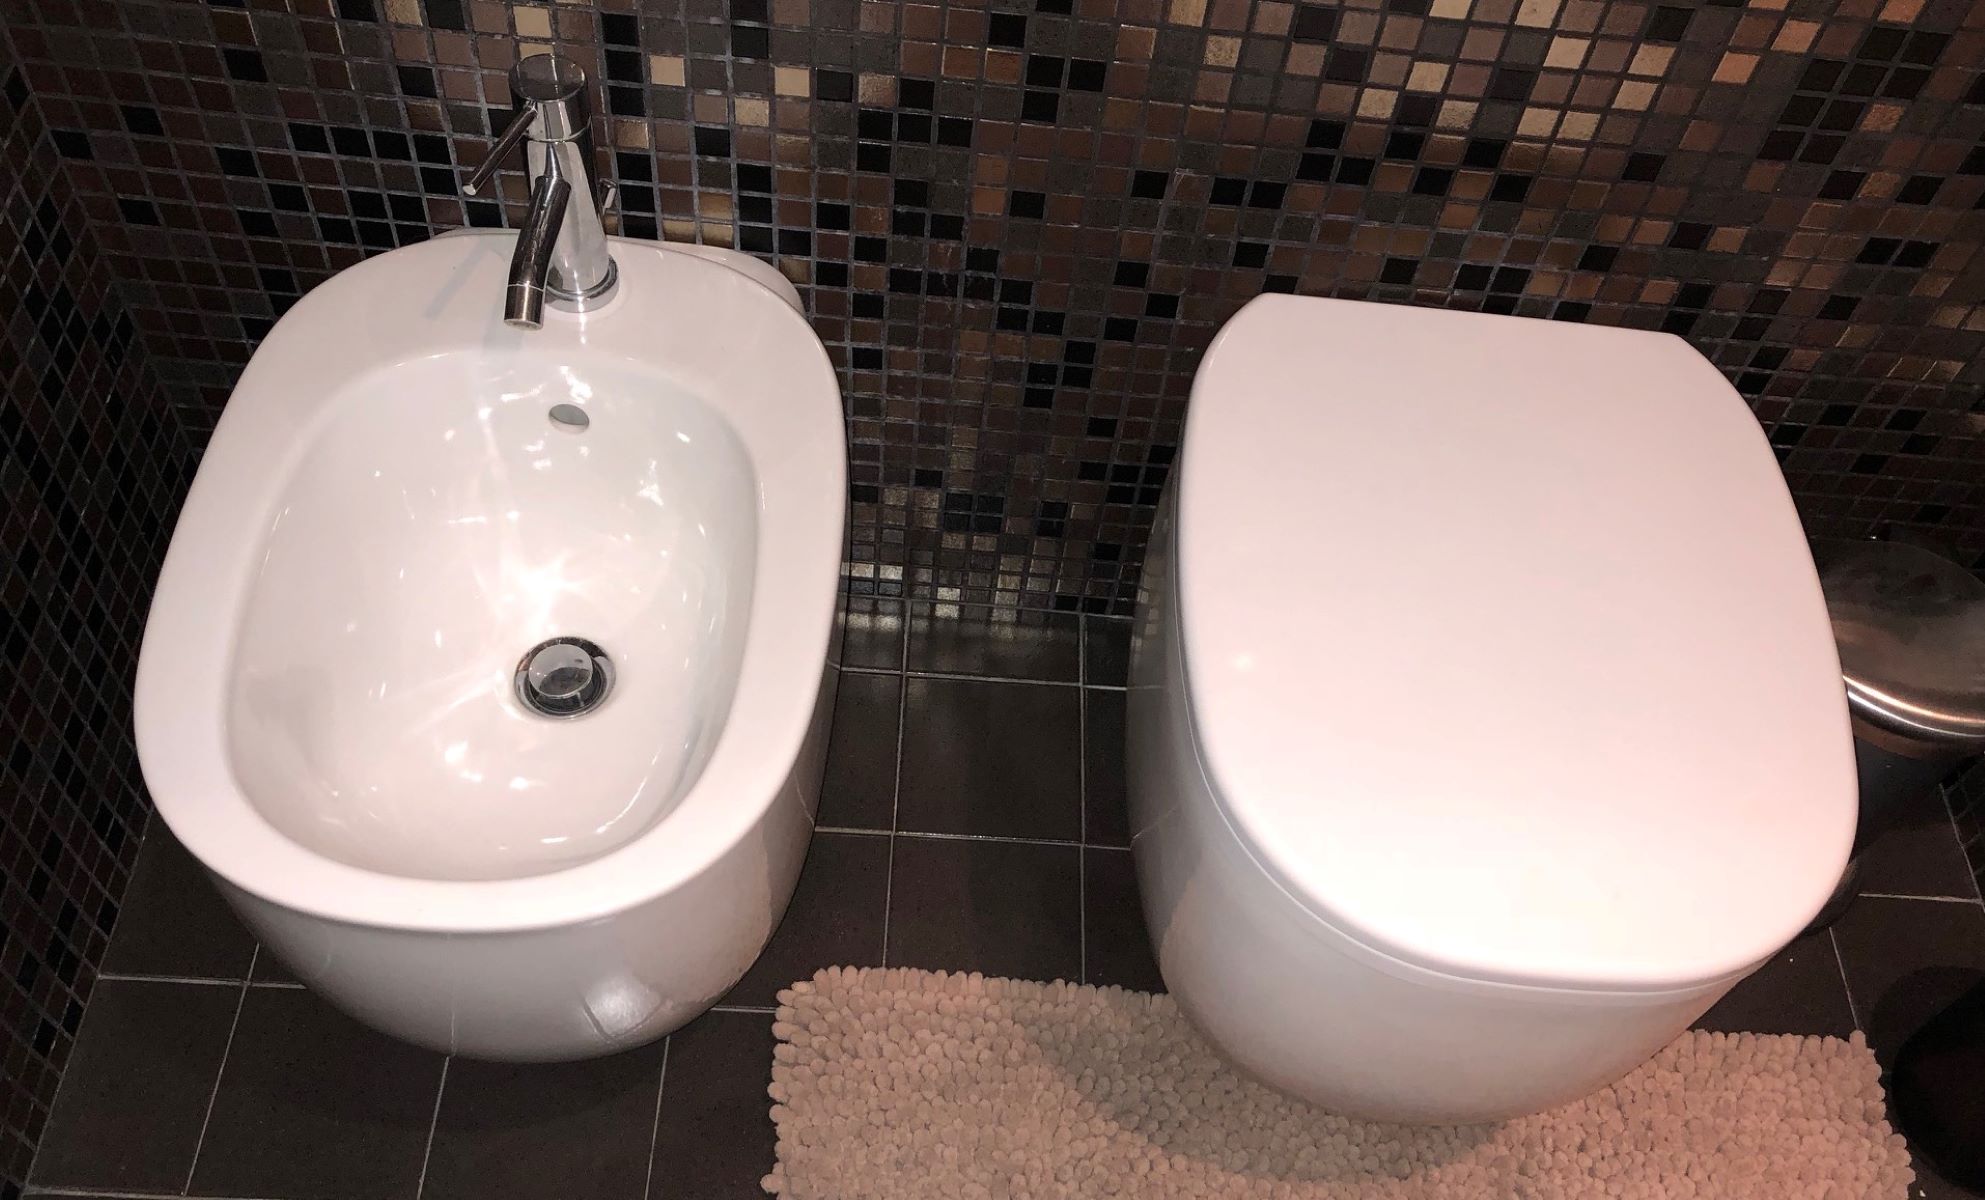
Installing a handheld bidet is a simple and effective way to upgrade your bathroom experience. A handheld bidet, also known as a bidet sprayer or shattaf, offers a convenient and hygienic alternative to traditional toilet paper. With its adjustable water pressure and easy-to-use design, a handheld bidet provides a refreshing and thorough clean after each use, promoting personal hygiene and reducing environmental impact.
In this comprehensive guide, we will walk you through the step-by-step process of installing a handheld bidet in your bathroom. Whether you are a seasoned DIY enthusiast or a novice homeowner looking to embark on your first home improvement project, this guide will equip you with the knowledge and confidence to complete the installation with ease.
By following the instructions outlined in this guide, you will be able to transform your bathroom into a more functional and eco-friendly space. Say goodbye to the hassle and waste associated with traditional toilet paper, and embrace the convenience and sustainability of a handheld bidet. Let's dive into the installation process and take the first step toward enhancing your bathroom experience.
Key Takeaways:
- Upgrade your bathroom with a handheld bidet for a refreshing and eco-friendly cleansing experience. Follow the step-by-step guide to install it easily and enjoy the convenience it brings to your daily routine.
- Embrace sustainability and personal hygiene by installing a handheld bidet in your bathroom. Say goodbye to traditional toilet paper and hello to a more functional and eco-friendly space.
Read more: Handheld Bidet: How To Use
Step 1: Gather the Necessary Tools and Materials
Before embarking on the installation of a handheld bidet, it is essential to gather all the required tools and materials. Having everything at hand will streamline the installation process and ensure a smooth and efficient experience. Here's a comprehensive list of the necessary items:
Tools:
- Adjustable Wrench: This versatile tool will be used to tighten and secure various connections during the installation process.
- Phillips Head Screwdriver: A screwdriver is essential for removing the existing toilet seat and potentially for other components of the bidet installation.
- Teflon Tape: Also known as plumber's tape, this thin white tape is used to seal pipe threads, preventing leaks in the connections.
- Towel or Rag: Keep a towel or rag handy to wipe away any excess water or to clean up spills during the installation.
Materials:
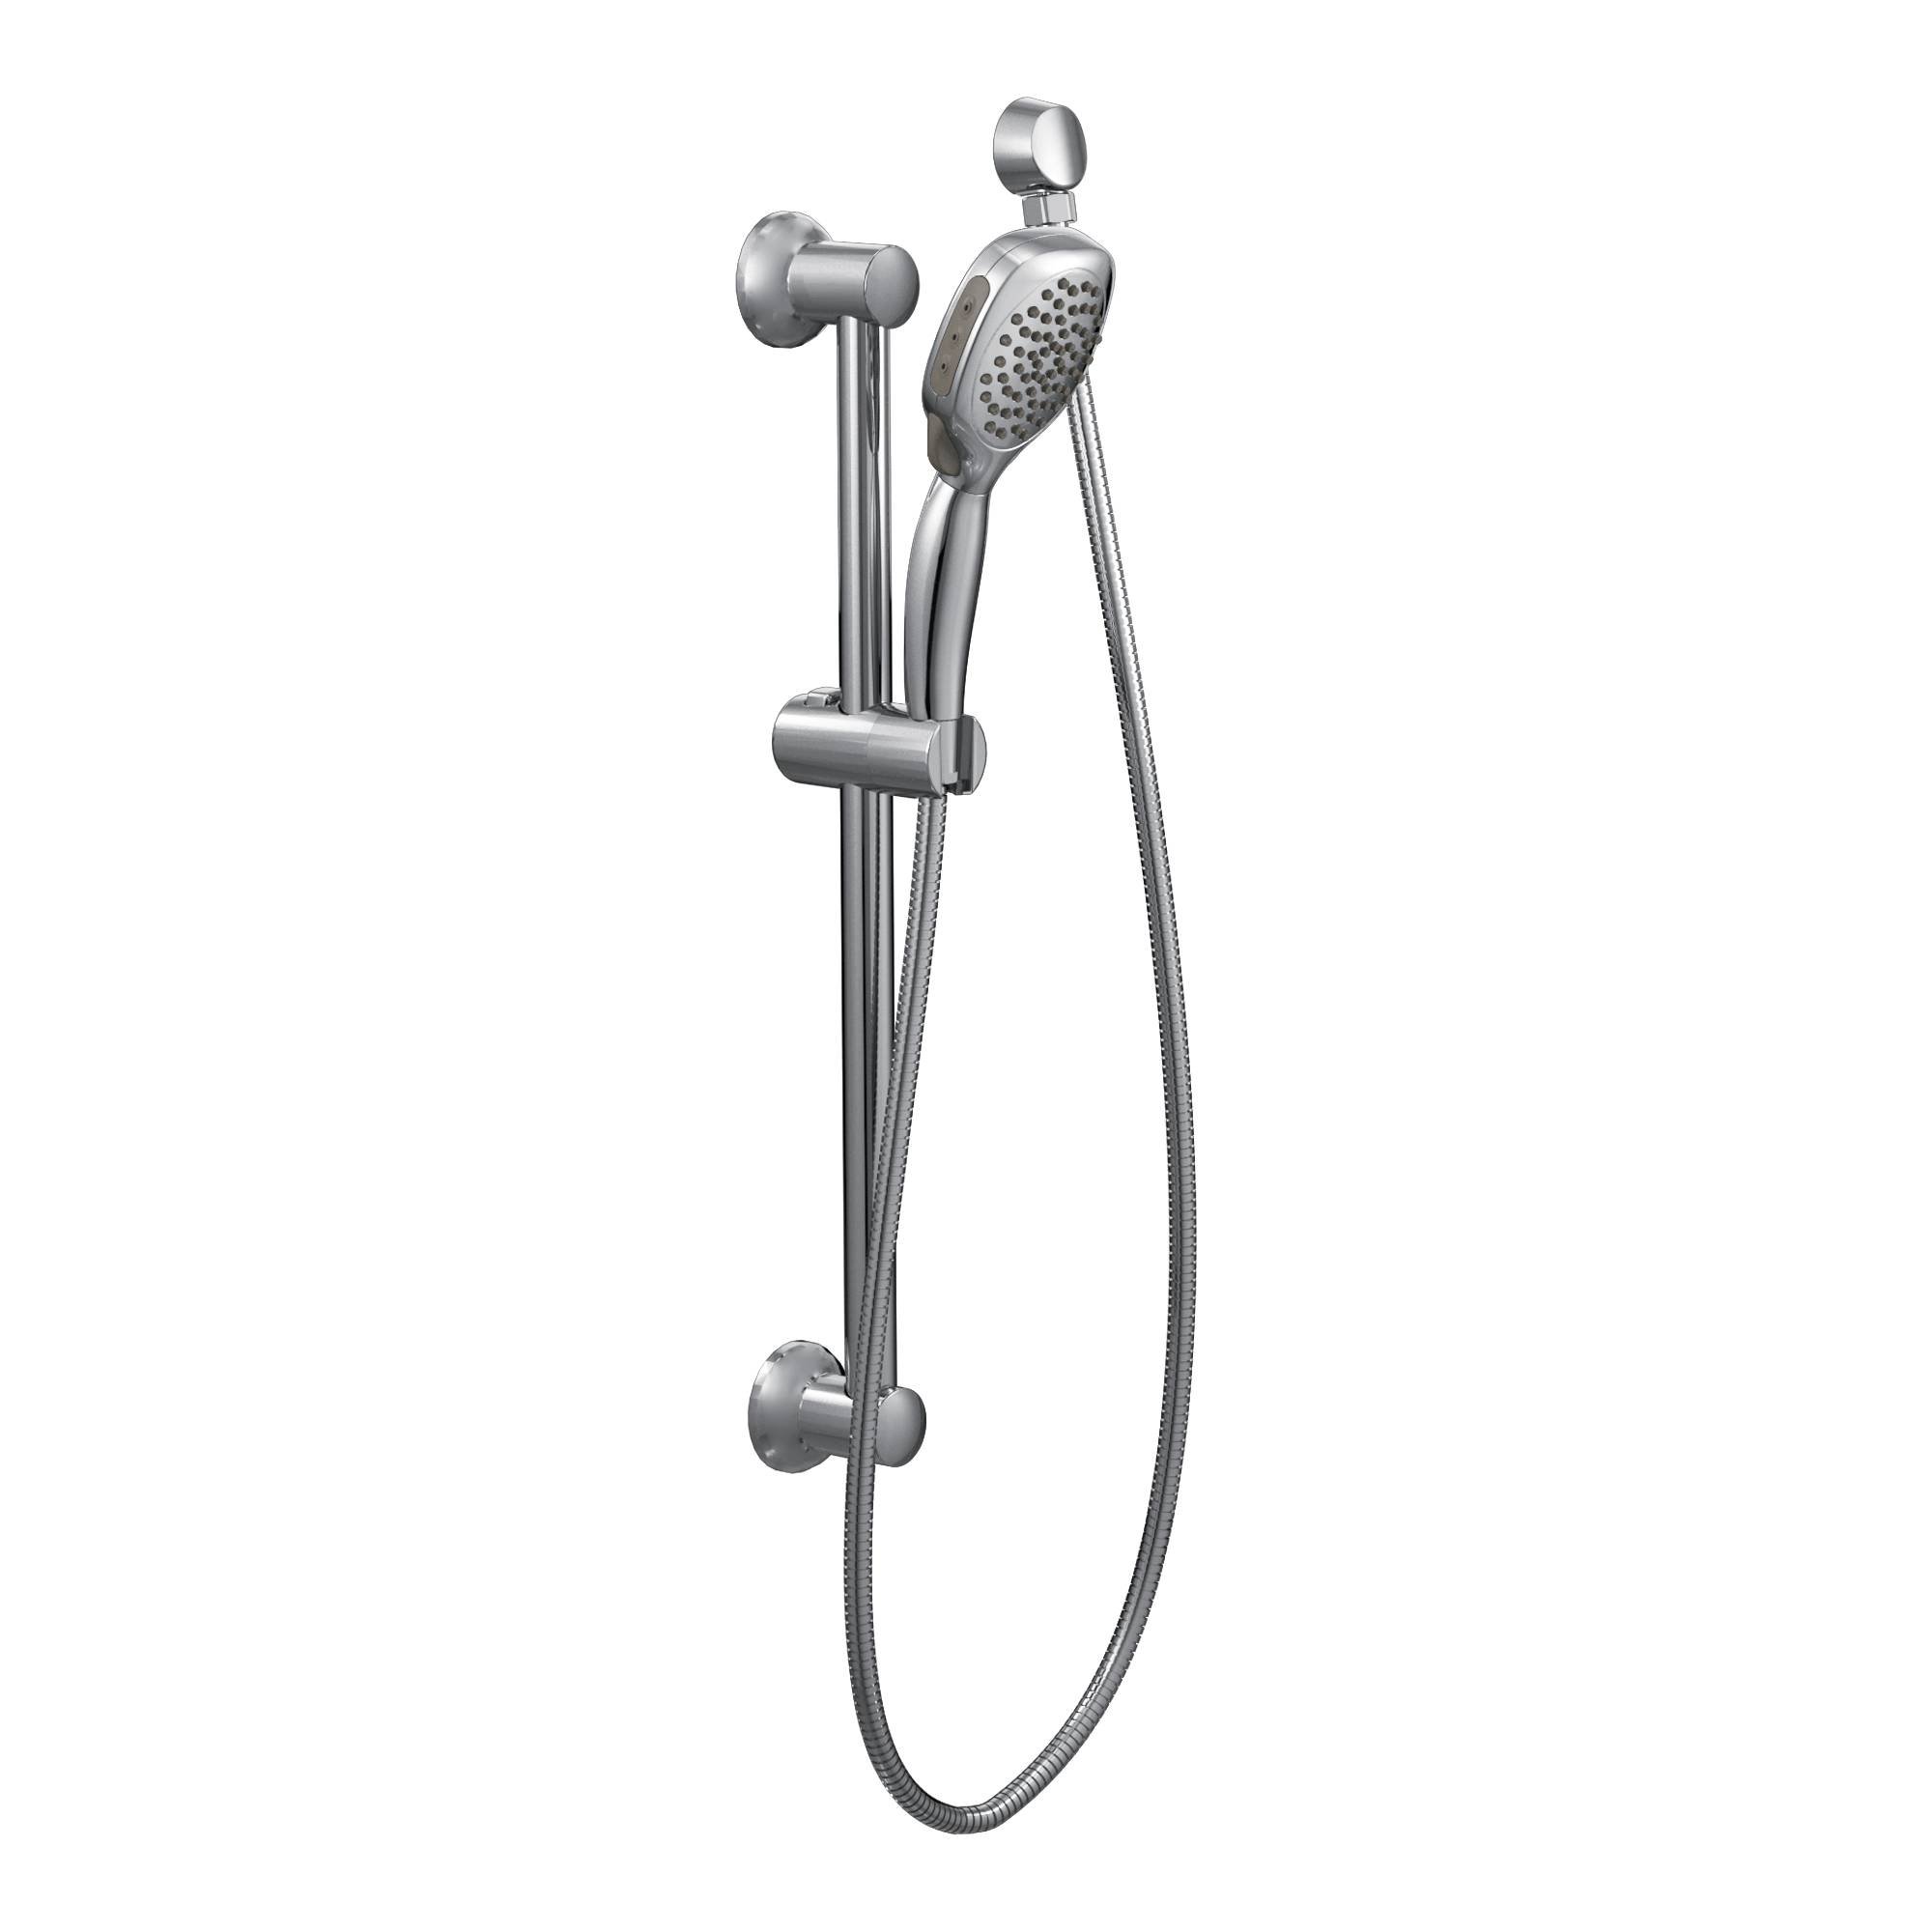
- Handheld Bidet Kit: Ensure that you have the complete bidet kit, including the sprayer, hose, mounting bracket, and any additional components specified by the manufacturer.
- Mounting Hardware: Depending on the specific bidet model, you may need screws or bolts to secure the mounting bracket to the toilet or wall.
- Bidet Hose: This flexible hose connects the handheld bidet to the water supply, allowing for the delivery of water to the sprayer.
- Rubber Washers: These small, circular washers are used to create a watertight seal at the connections, preventing leaks.
- Bucket or Container: Having a bucket or container on hand can be useful for catching any water that may drip during the installation process.
By ensuring that you have all the necessary tools and materials ready, you can proceed with confidence to the next steps of the installation process. With everything in place, you are well-prepared to transform your bathroom with the addition of a convenient and hygienic handheld bidet.
Step 2: Turn Off the Water Supply
Before beginning the installation of a handheld bidet, it is crucial to turn off the water supply to the toilet. This step is essential to prevent any water leakage or potential mess during the installation process. Here's a detailed guide on how to turn off the water supply and prepare for the next steps:
-
Locate the Shut-Off Valve: The shut-off valve is typically located behind the toilet, near the bottom on the wall. It is essential to familiarize yourself with the location of the shut-off valve before proceeding. Once located, ensure that there is clear access to the valve for easy operation.
-
Turn Off the Water: Using a clockwise motion, turn the shut-off valve handle to the right until it is fully closed. This action will stop the flow of water to the toilet, effectively shutting off the water supply. It is advisable to check that the valve is fully closed by attempting to flush the toilet and confirming that no water enters the tank.
-
Release Pressure: After turning off the water supply, flush the toilet to release any remaining water and pressure in the system. This step will help minimize the amount of water that may escape when disconnecting the water supply line.
-
Prepare for Disconnection: Once the water supply is turned off, it is essential to prepare for the disconnection of the water supply line. Place a towel or rag beneath the connection point to catch any residual water that may drain out when disconnecting the hose.
By carefully following these steps to turn off the water supply, you will create a safe and controlled environment for the subsequent stages of the handheld bidet installation. This proactive approach will help minimize the risk of water damage and ensure a smooth transition to the next step in the process. With the water supply effectively turned off, you are now ready to proceed with confidence to the next phase of the installation.
Read more: Bidet Toilet: How To Install
Step 3: Remove the Existing Toilet Seat
Removing the existing toilet seat is a crucial preliminary step in the installation of a handheld bidet. This process involves disassembling the current seat to create space for the bidet mounting bracket and ensure a seamless transition to the new fixture. Here's a detailed guide on how to remove the existing toilet seat:
-
Gather the Necessary Tools: Before starting the removal process, ensure that you have a Phillips head screwdriver on hand. This tool will be essential for loosening and removing the screws that secure the toilet seat to the bowl.
-
Locate the Seat Attachment Points: Examine the underside of the toilet seat to locate the attachment points where the seat is connected to the toilet bowl. In most cases, there are two plastic caps covering the screws or bolts that secure the seat in place. These caps can be pried open using a flathead screwdriver or simply lifted by hand, revealing the fastening hardware beneath.
-
Loosen and Remove the Screws or Bolts: Using the Phillips head screwdriver, carefully loosen and remove the screws or bolts that secure the toilet seat to the bowl. It is advisable to hold the nuts or bolts from the underside of the bowl to prevent them from spinning as you unscrew the fasteners from the top. Once the screws or bolts are fully removed, lift the old seat and carefully set it aside.
-
Clean the Area: With the old toilet seat removed, take the opportunity to clean the area beneath it. Wipe the surface of the toilet bowl and the attachment points to remove any accumulated debris or residue. This step will ensure a clean and smooth surface for the installation of the bidet mounting bracket.
-
Inspect the Attachment Points: Before proceeding, inspect the attachment points on the toilet bowl to ensure that they are in good condition and free from any damage. If the attachment points show signs of wear or damage, it may be necessary to address these issues before installing the new bidet mounting bracket.
By following these detailed steps to remove the existing toilet seat, you will effectively prepare the toilet bowl for the installation of the handheld bidet mounting bracket. This process sets the stage for the subsequent phases of the installation, bringing you one step closer to enjoying the convenience and functionality of a handheld bidet in your bathroom.
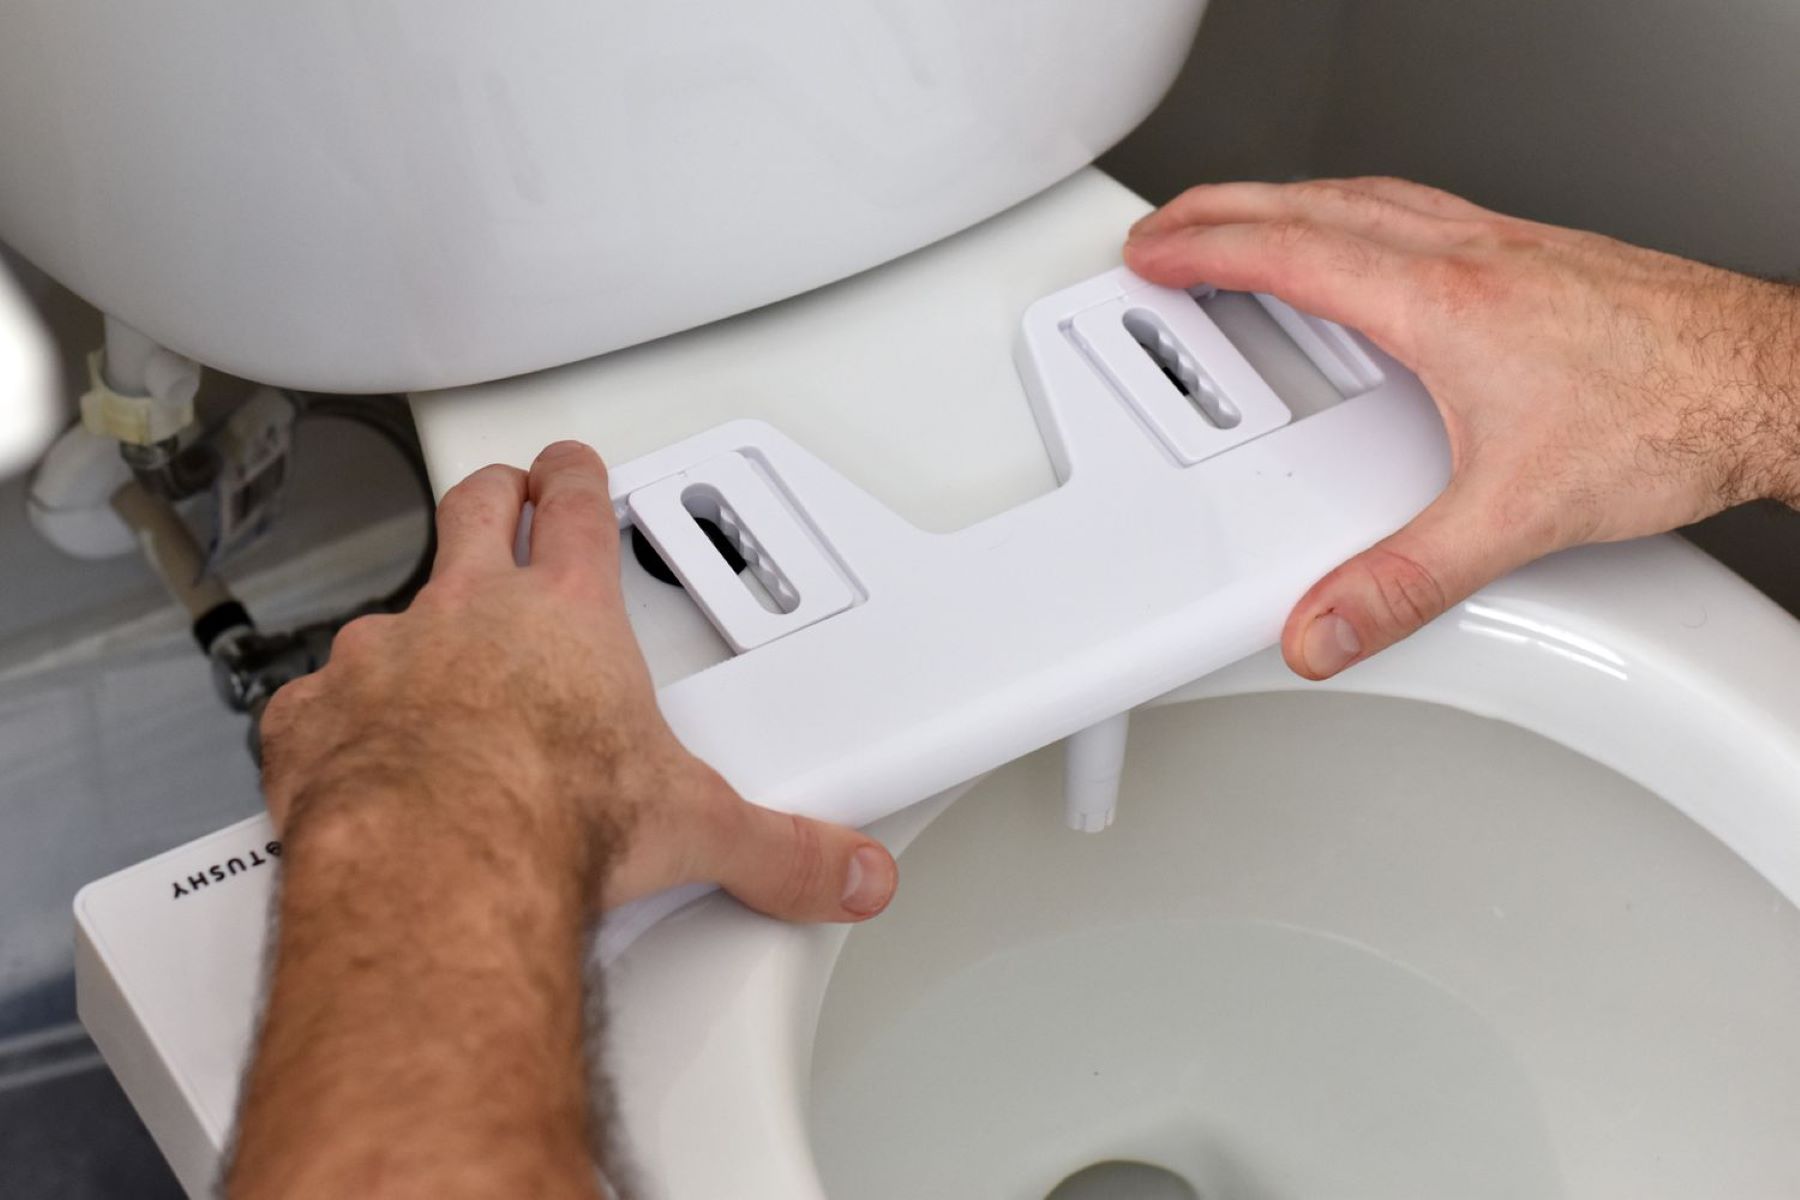
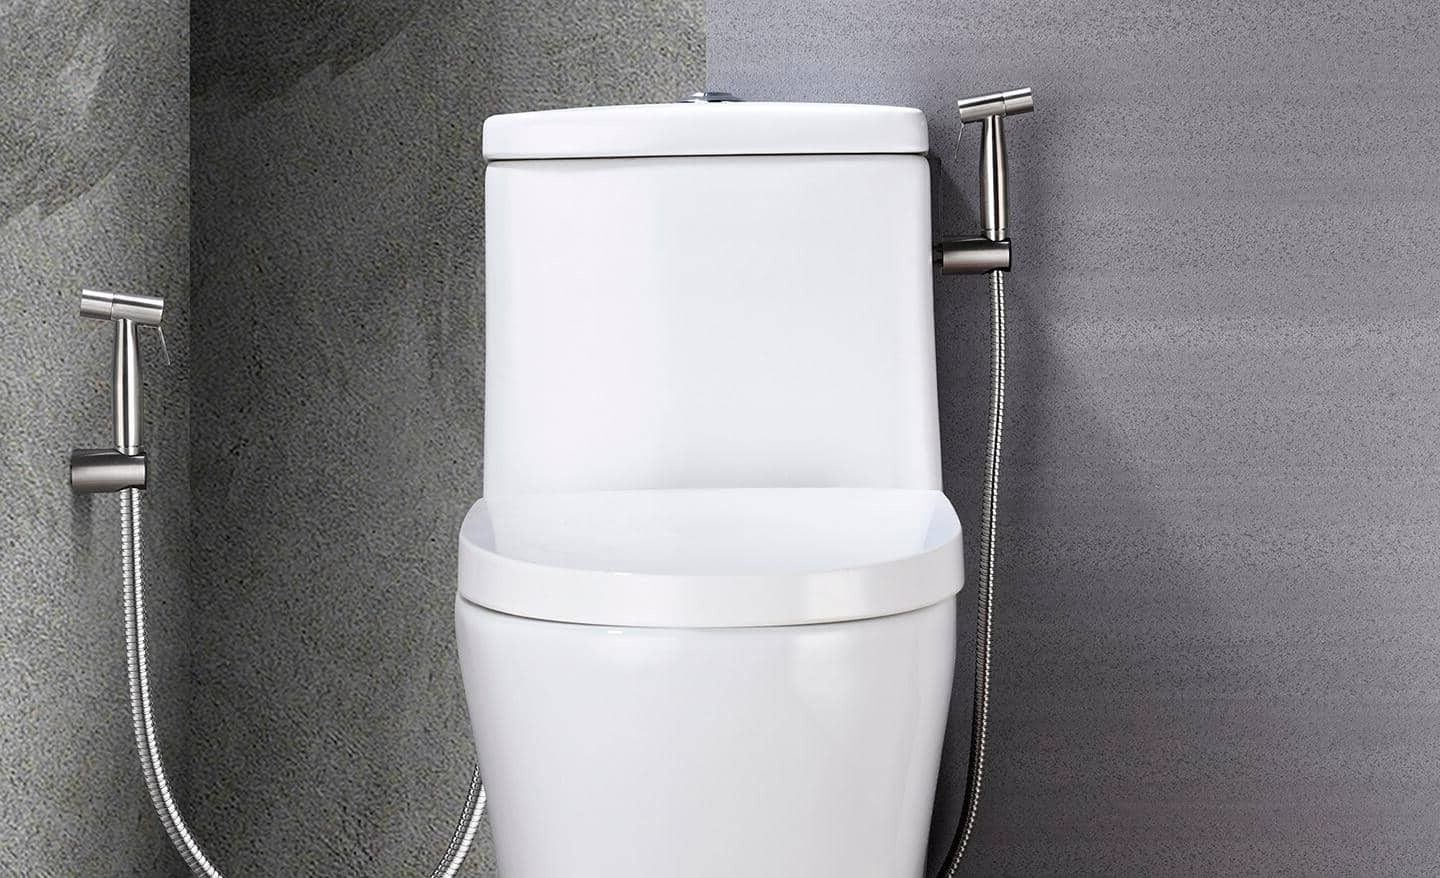
Step 4: Install the Mounting Bracket
With the existing toilet seat removed, the next crucial step in the installation of a handheld bidet involves installing the mounting bracket. The mounting bracket serves as the anchor point for securing the handheld bidet sprayer, providing stability and support for the fixture. Here's a detailed guide on how to install the mounting bracket for your handheld bidet:
-
Positioning the Bracket: Begin by positioning the mounting bracket in the desired location on the toilet bowl. The ideal placement may vary depending on the specific design of the bidet kit and the configuration of your toilet. In most cases, the bracket is installed on the side of the toilet bowl, within easy reach for convenient access.
-
Marking the Hole Locations: Once you have determined the optimal placement for the mounting bracket, use a pencil or marker to mark the locations of the screw holes on the toilet bowl. These marks will serve as a guide for drilling pilot holes to accommodate the screws that will secure the bracket in place.
-
Drilling Pilot Holes: Using an appropriate-sized drill bit, carefully drill pilot holes at the marked locations on the toilet bowl. It is important to exercise caution and precision during this step to avoid damaging the porcelain surface of the bowl. Pilot holes facilitate the insertion of screws and help prevent the bowl from cracking during the installation process.
-
Securing the Bracket: With the pilot holes in place, align the mounting bracket with the holes and use the provided screws to secure it to the toilet bowl. Ensure that the bracket is firmly attached and level to provide a stable foundation for the handheld bidet. Use a screwdriver to tighten the screws, taking care not to over-tighten and risk damaging the porcelain.
-
Adjusting the Bracket Angle (if applicable): Some handheld bidet kits feature a mounting bracket with an adjustable angle to accommodate user preferences. If your bracket offers this feature, take the opportunity to adjust the angle to your desired position before proceeding with the installation of the bidet sprayer.
By following these detailed steps to install the mounting bracket, you will establish a secure and reliable foundation for the handheld bidet in your bathroom. The successful installation of the mounting bracket sets the stage for the subsequent phases of the bidet installation, bringing you closer to enjoying the convenience and hygiene benefits of a handheld bidet in your home.
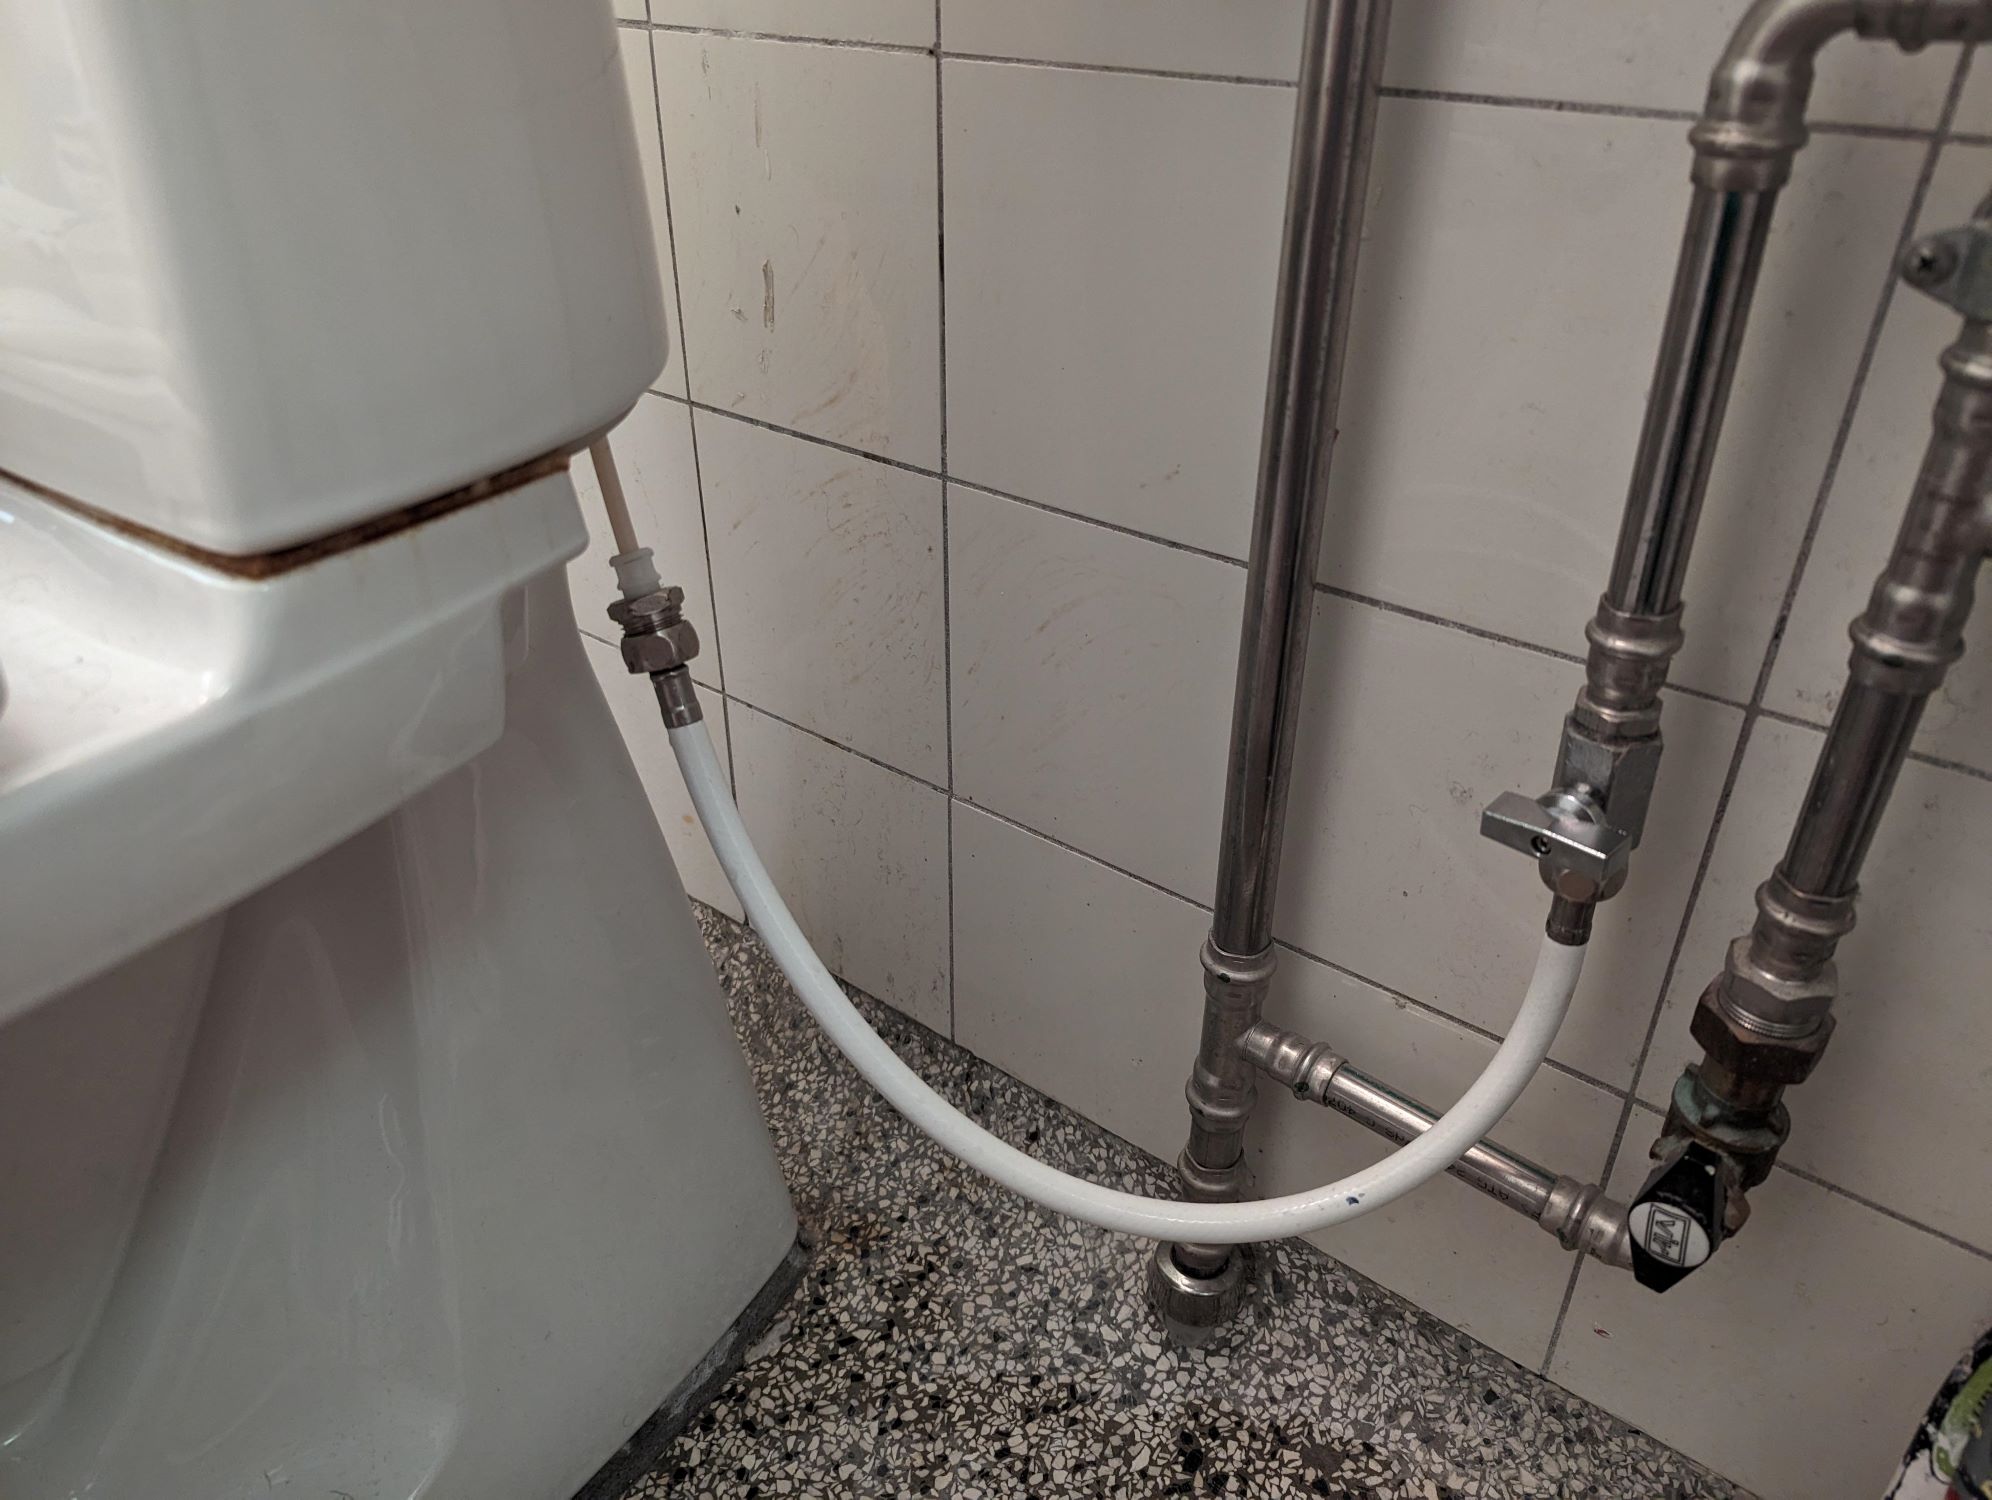
Step 5: Connect the Bidet Hose
Connecting the bidet hose is a pivotal step in the installation process, as it establishes the essential link between the water supply and the handheld bidet sprayer. This connection enables the delivery of water to the bidet, allowing for the efficient and adjustable cleansing function that defines the handheld bidet experience. Here's a detailed guide on how to connect the bidet hose as part of the installation process:
-
Prepare the Bidet Hose: Before connecting the bidet hose, ensure that it is free from any kinks or tangles. Straighten the hose to facilitate a smooth and unobstructed installation process. Additionally, inspect the hose for any signs of damage or wear, and replace it if necessary to ensure optimal performance.
-
Attach the Hose to the Bidet Sprayer: Begin by attaching one end of the bidet hose to the handheld bidet sprayer. Depending on the specific design of the bidet kit, this connection may involve screwing the hose onto the sprayer or utilizing a quick-connect mechanism. Ensure that the connection is secure to prevent any potential leaks during use.
-
Connect the Other End to the Water Supply: With the bidet hose attached to the sprayer, proceed to connect the other end of the hose to the water supply. In most cases, this involves connecting the hose to the water inlet located at the base of the toilet tank. Ensure that the connection is tight and secure, using Teflon tape to seal the threads and prevent any leaks.
-
Check for Leaks: Once the bidet hose is connected to both the sprayer and the water supply, it is essential to check for any leaks at the connection points. Turn on the water supply and carefully inspect the hose connections for any signs of water leakage. Address any leaks by tightening the connections or reseating the hose to achieve a watertight seal.
-
Adjust Water Pressure (if applicable): Some handheld bidet sprayers feature adjustable water pressure settings to accommodate user preferences. If your bidet sprayer offers this feature, take the opportunity to adjust the water pressure to your desired level. Testing the water pressure ensures that the bidet functions according to your comfort and cleansing needs.
By following these detailed steps to connect the bidet hose, you will establish a crucial link that enables the functionality of the handheld bidet in your bathroom. This pivotal connection sets the stage for the final phase of the installation process, bringing you closer to experiencing the convenience, hygiene, and eco-friendly benefits of a handheld bidet in your home.
Make sure to turn off the water supply before installing the handheld bidet. This will prevent any water from leaking or causing a mess during the installation process.
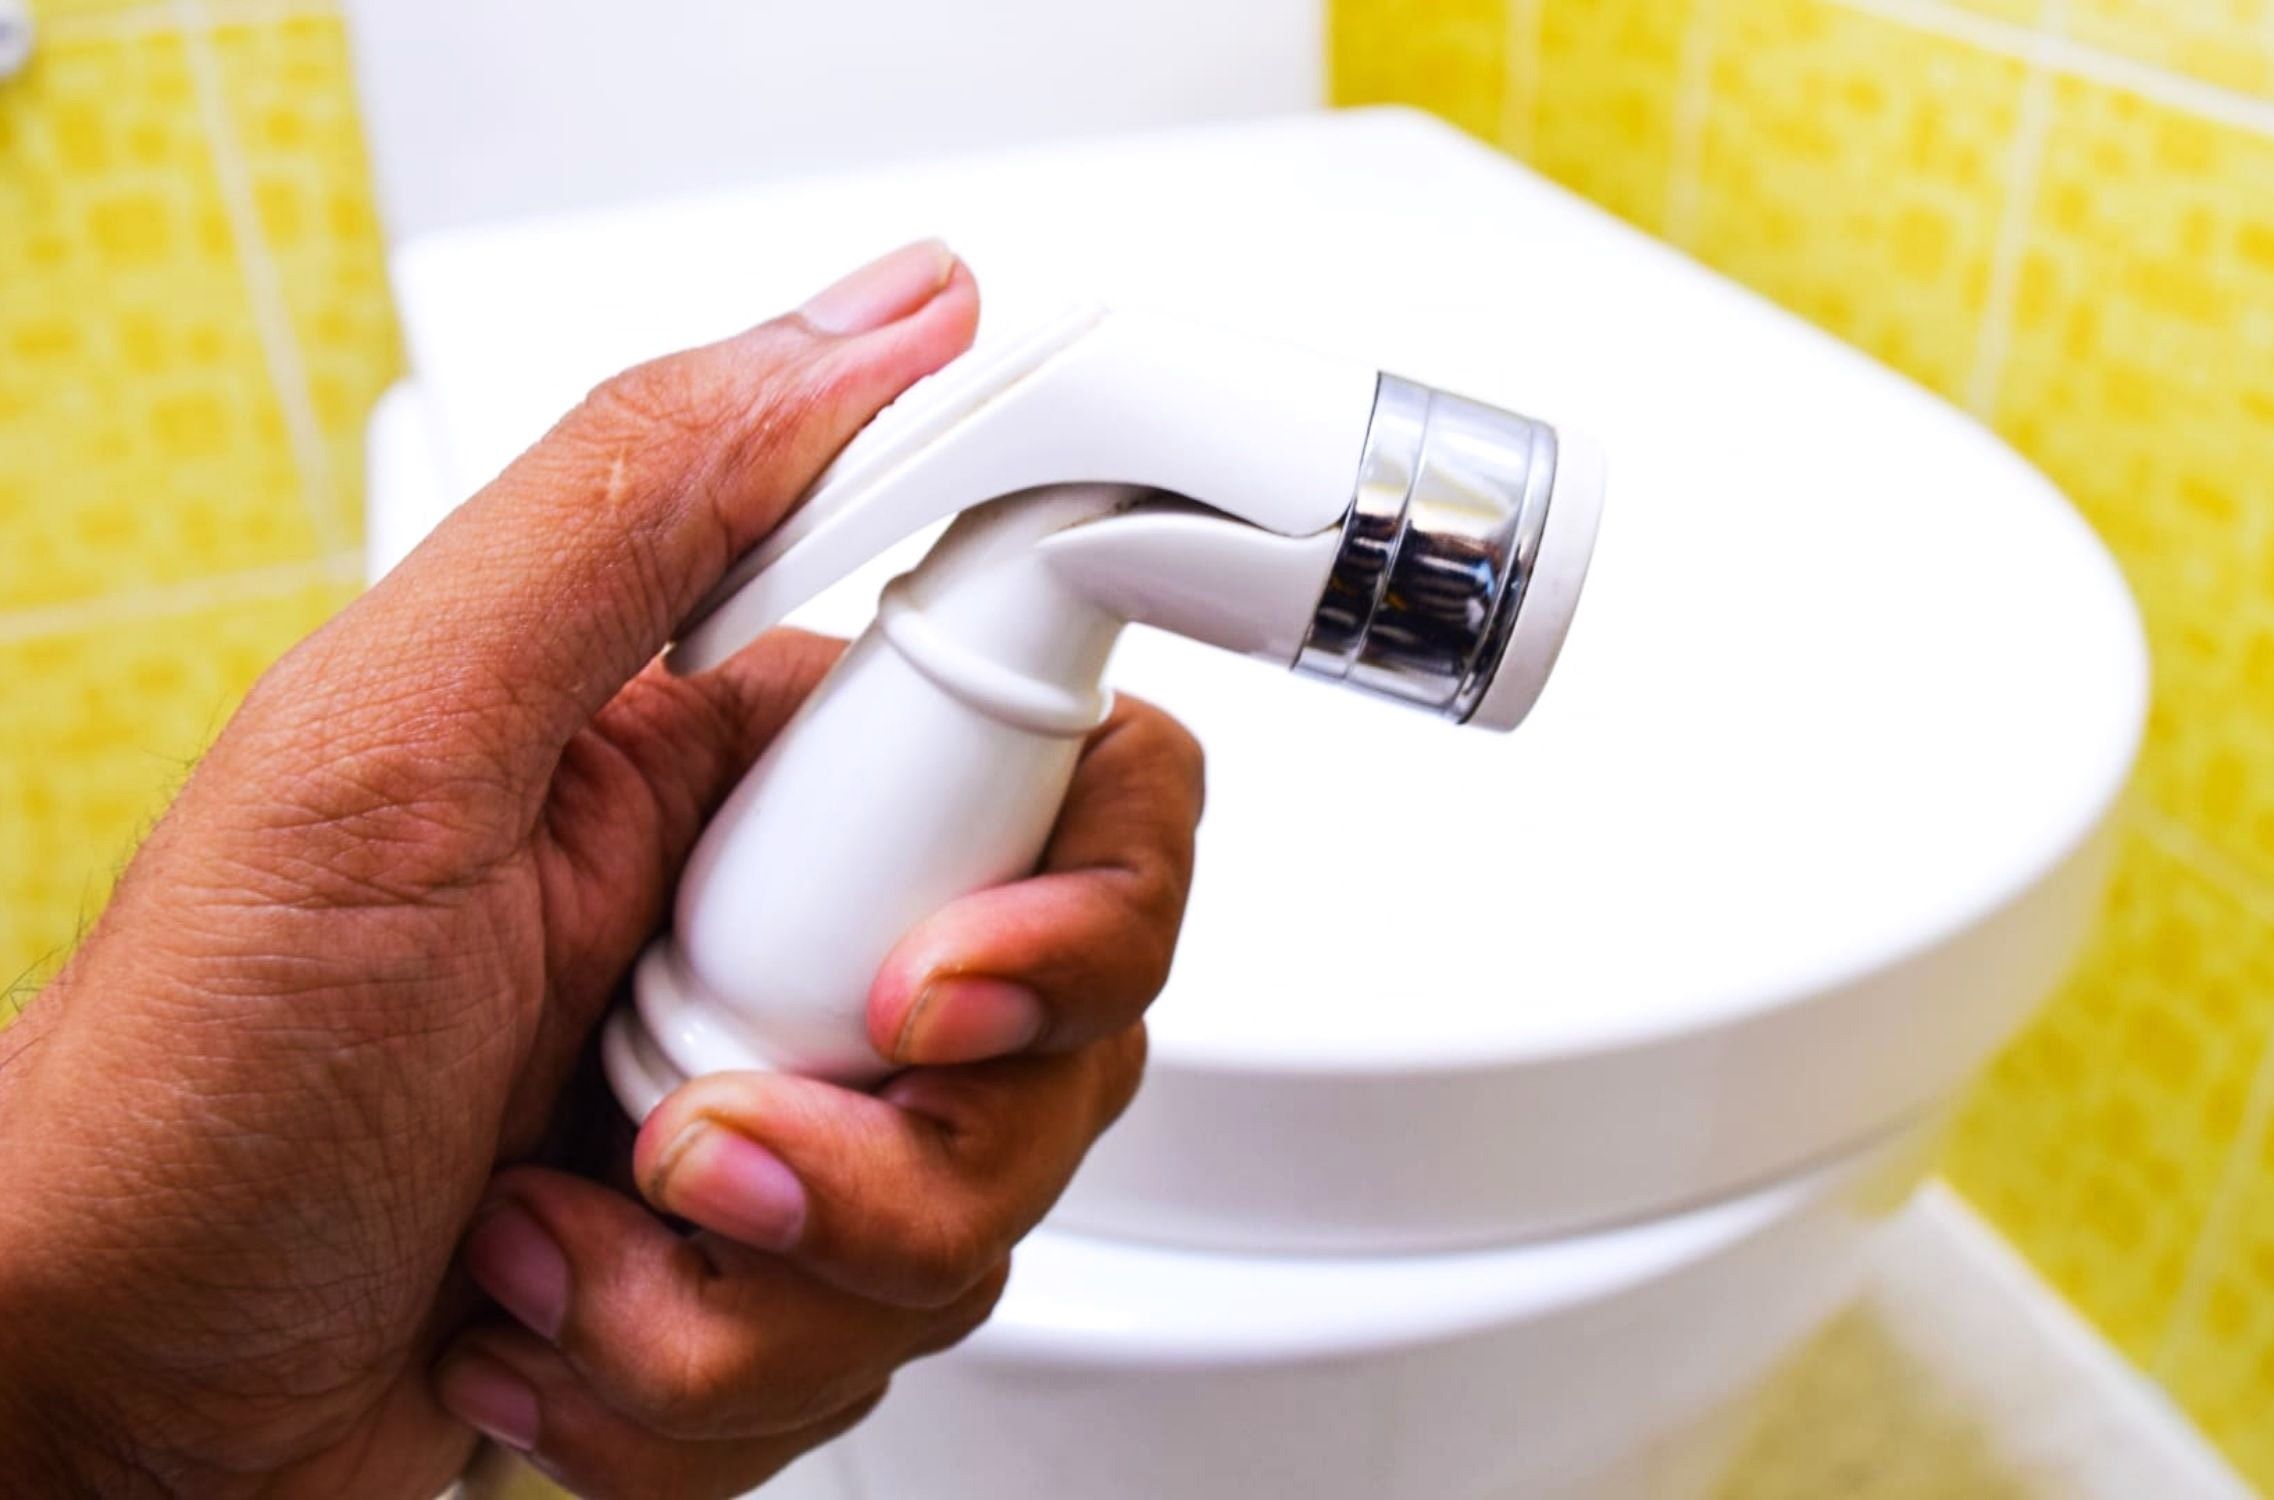
Step 6: Attach the Handheld Bidet
Attaching the handheld bidet is the culminating step in the installation process, bringing the transformative fixture to its functional position in your bathroom. This pivotal phase involves securing the handheld bidet sprayer to the previously installed mounting bracket and ensuring that all connections are secure and properly aligned. Here's a detailed guide on how to attach the handheld bidet as part of the installation process:
-
Positioning the Bidet Sprayer: Begin by positioning the handheld bidet sprayer in the mounting bracket, ensuring that it aligns with the designated holder and sits securely in place. The sprayer should be easily accessible and within comfortable reach for effortless use.
-
Securing the Bidet Sprayer: Once the bidet sprayer is positioned in the mounting bracket, secure it in place according to the manufacturer's instructions. This may involve tightening a locking mechanism or fastening a securing clip to ensure that the sprayer remains stable and stationary when not in use.
-
Testing the Movement: After securing the bidet sprayer, test its movement and adjustability within the mounting bracket. Ensure that the sprayer can be easily removed from the holder and maneuvered for optimal reach and coverage during use. This step is essential to confirm that the bidet sprayer functions smoothly and meets your preferences.
-
Checking the Connections: With the bidet sprayer in place, carefully inspect all the connections, including the hose attachment and the mounting bracket. Verify that the connections are secure and free from any potential leaks. Address any loose fittings or connections to ensure a watertight and reliable setup.
-
Functional Testing: Before completing the installation process, conduct a functional test of the handheld bidet sprayer. Turn on the water supply and activate the sprayer to confirm that it delivers water effectively and that the pressure settings meet your comfort and cleansing needs. Adjust the water pressure if necessary to achieve the desired functionality.
By following these detailed steps to attach the handheld bidet, you will bring the installation process to its culmination, positioning the transformative fixture for everyday use in your bathroom. The successful attachment of the handheld bidet sprayer marks the completion of the installation process, allowing you to enjoy the convenience, hygiene, and eco-friendly benefits of a handheld bidet in your home.
Read more: How To Install Bidet In Apartment
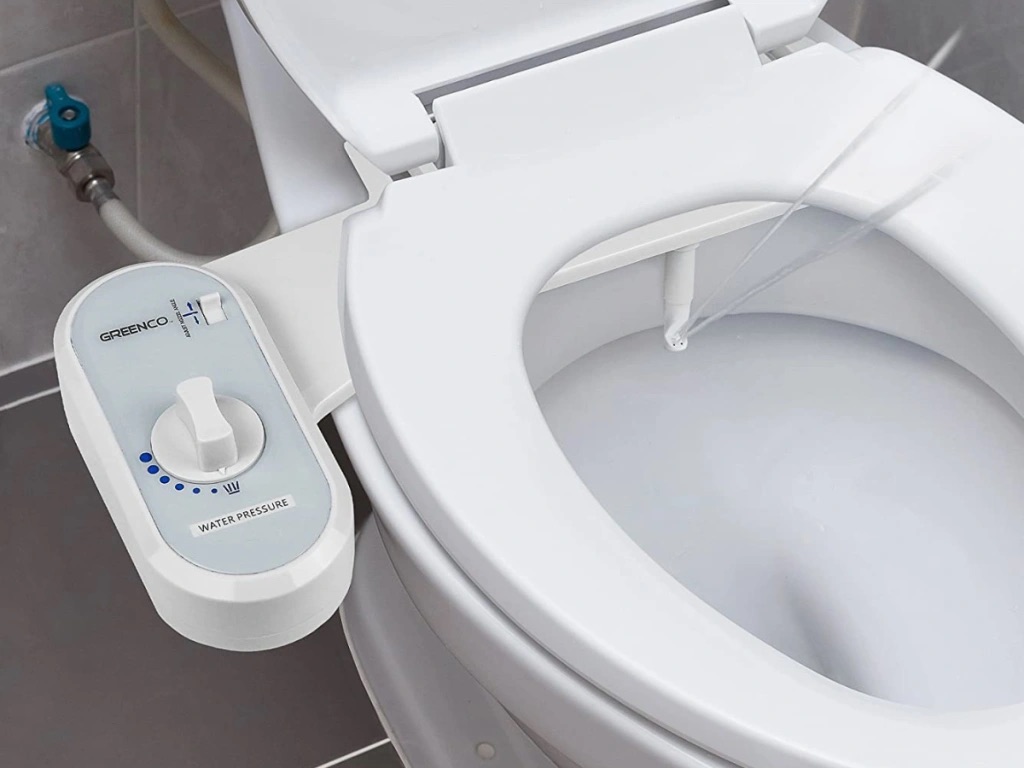
Step 7: Turn On the Water Supply and Test the Bidet
With the handheld bidet securely installed, the final step in the installation process involves turning on the water supply and conducting a comprehensive test of the bidet's functionality. This pivotal phase ensures that the bidet operates as intended, delivering a refreshing and hygienic cleansing experience while allowing you to make any necessary adjustments to achieve optimal performance.
To initiate the testing phase, carefully turn the shut-off valve for the water supply back to the open position. This action restores the flow of water to the toilet and, by extension, to the handheld bidet. As the water supply is reinstated, listen for any unusual sounds or signs of water leakage around the bidet connections. It is essential to address any leaks promptly to prevent water damage and ensure the bidet's efficient operation.
Once the water supply is restored, proceed to test the handheld bidet's functionality. Activate the bidet sprayer and adjust the water pressure to your comfort level using the designated controls. As the water flows from the sprayer, assess its coverage and adjustability, ensuring that it meets your cleansing needs and preferences. Take note of the water pressure and make any necessary adjustments to achieve the desired level of cleansing effectiveness.
During the testing phase, consider the convenience and ease of use offered by the handheld bidet. Evaluate the sprayer's maneuverability and accessibility, confirming that it provides a comfortable and intuitive cleansing experience. Test the bidet's retractability and storage within the mounting bracket, ensuring that it remains securely in place when not in use.
As you test the bidet, pay attention to any potential issues or areas for improvement. Verify that all connections remain secure and free from leaks during the testing process. If you encounter any concerns, such as unexpected water leakage or inadequate water pressure, take the necessary steps to address these issues promptly. This may involve tightening connections, adjusting the water pressure, or repositioning the bidet sprayer for optimal functionality.
By thoroughly testing the handheld bidet and addressing any potential issues, you can ensure that the installation process culminates in a fully functional and reliable fixture in your bathroom. The testing phase provides an opportunity to familiarize yourself with the bidet's operation and make any final adjustments to enhance its performance. With the bidet successfully tested and confirmed to meet your expectations, you can look forward to enjoying the convenience, hygiene, and eco-friendly benefits it brings to your daily routine.
Conclusion
In conclusion, the installation of a handheld bidet represents a transformative upgrade to the bathroom experience, offering unparalleled convenience, hygiene, and sustainability. By following the comprehensive step-by-step guide outlined in this article, you have gained the knowledge and confidence to embark on the installation process, transforming your bathroom into a more functional and eco-friendly space.
The journey began with gathering the necessary tools and materials, ensuring that you were well-prepared to undertake the installation with ease. Turning off the water supply and removing the existing toilet seat set the stage for the subsequent phases, creating a safe and controlled environment for the installation process. Installing the mounting bracket and connecting the bidet hose established the essential foundation for the handheld bidet, laying the groundwork for its functionality.
Attaching the handheld bidet marked the culmination of the installation process, positioning the transformative fixture for everyday use in your bathroom. The successful completion of the installation allows you to enjoy the convenience, hygiene, and eco-friendly benefits of a handheld bidet, enhancing your daily routine and contributing to a more sustainable lifestyle.
As you turn on the water supply and conduct a comprehensive test of the bidet's functionality, you have the opportunity to familiarize yourself with the bidet's operation and make any final adjustments to enhance its performance. By thoroughly testing the handheld bidet and addressing any potential issues, you can ensure that the installation process culminates in a fully functional and reliable fixture in your bathroom.
With the handheld bidet securely installed, you can look forward to a refreshing and thorough cleansing experience after each use, promoting personal hygiene and reducing environmental impact. The convenience and ease of use offered by the handheld bidet, coupled with its adjustable water pressure and intuitive design, make it a valuable addition to any modern bathroom.
In embracing the installation of a handheld bidet, you have taken a proactive step toward enhancing your bathroom experience and embracing sustainable living. The transformative benefits of a handheld bidet extend beyond personal hygiene, contributing to a more eco-friendly lifestyle by reducing the reliance on traditional toilet paper and minimizing environmental waste.
By incorporating a handheld bidet into your bathroom, you have embraced a practical and sustainable solution that aligns with modern hygiene practices and environmental consciousness. The installation process has equipped you with the knowledge and skills to integrate this innovative fixture into your home, elevating the functionality and comfort of your bathroom space.
As you embark on this journey, the installation of a handheld bidet represents a meaningful investment in your well-being and environmental stewardship. With the completion of the installation process, you are now poised to enjoy the transformative benefits of a handheld bidet, enhancing your daily routine and contributing to a more sustainable and eco-friendly lifestyle.
Frequently Asked Questions about How To Install A Handheld Bidet
Was this page helpful?
At Storables.com, we guarantee accurate and reliable information. Our content, validated by Expert Board Contributors, is crafted following stringent Editorial Policies. We're committed to providing you with well-researched, expert-backed insights for all your informational needs.


0 thoughts on “How To Install A Handheld Bidet”