Home>Articles>How To Install Built-Ins For A Gorgeous Custom Look On A Budget

Articles
How To Install Built-Ins For A Gorgeous Custom Look On A Budget
Modified: August 28, 2024
Discover step-by-step articles on how to achieve a stunning custom look with affordable built-ins for your home. Explore our budget-friendly installation tips today!
(Many of the links in this article redirect to a specific reviewed product. Your purchase of these products through affiliate links helps to generate commission for Storables.com, at no extra cost. Learn more)
Introduction
Welcome to the world of built-ins! If you’re looking to transform your space and add a touch of elegance, built-ins are the way to go. Built-in cabinets, shelves, and other custom features not only maximize your storage space, but they also create a cohesive and stylish look for any room. While having custom built-ins may sound expensive, it doesn’t have to break the bank. In this article, we will guide you through the process of installing built-ins on a budget, so you can achieve that gorgeous custom look without compromising your wallet.
Before we dive into the nitty-gritty details, let’s talk about the benefits of adding built-ins to your home. Not only do they provide ample storage space, but they also add value to your property. Built-ins can be customized to fit your specific needs and preferences, whether it’s extra shelving for your book collection or a display case for your favorite items. Additionally, built-ins can help you optimize your space by utilizing every nook and cranny, making your room feel more spacious and organized.
Now that you’re convinced that built-ins are the way to go, let’s get started with the installation process. We’ll walk you through the step-by-step instructions, from planning and measurements to final touches and styling. So, grab your measuring tape and let’s begin!
Key Takeaways:
- Transform your space with budget-friendly built-ins that add elegance, functionality, and value to your home. Careful planning, quality materials, and DIY know-how can create a stunning custom look without breaking the bank.
- From precise measurements to stylish finishing touches, installing built-ins is a creative and rewarding DIY project. With the right materials, careful planning, and attention to detail, you can achieve a gorgeous custom look on a budget.
Step 1: Planning and Measurements
The first step in installing built-ins is proper planning and measurements. This stage is crucial as it will determine the overall look and functionality of your built-ins. Here are a few key points to consider:
- Identify the Purpose: Determine the function of your built-ins. Are you looking to add storage space, display items, or create a focal point in the room? Understanding the purpose will help you design the layout and choose the right components for your built-ins.
- Assess the Space: Take a thorough look at the available space where your built-ins will be installed. Observe the dimensions, angles, and any unique features that you need to work around. Measure the height, width, and depth of the area to ensure your built-ins will fit seamlessly.
- Consider Existing Elements: Take into account the existing elements in the room, such as windows, doors, outlets, and vents. These factors will influence the placement and design of your built-ins. You may need to make adjustments or create custom solutions to accommodate these elements.
- Create a Design Plan: Use graph paper or design software to create a visual representation of your built-ins. Sketch out the layout, including the placement of cabinets, shelves, and any other components. This will help you visualize the final result and make any necessary adjustments before moving forward.
- Consider Accessibility: Think about how you will access the items stored in your built-ins. Plan for easy reach and consider incorporating features like pull-out shelves or adjustable racks for convenience.
Once you have completed the planning stage, it’s time to take precise measurements. Measure the height, width, and depth of the space where your built-ins will be installed. Make sure to account for any baseboards, crown molding, or trim that may affect the measurements. Double-check your measurements to ensure accuracy.
By investing time in careful planning and accurate measurements, you’ll lay a solid foundation for the successful installation of your built-ins. In the next step, we’ll delve into choosing the right materials and finishes to bring your vision to life.
Step 2: Choosing Materials and Finishes
Now that you have a solid plan and measurements in place, it’s time to choose the materials and finishes for your built-ins. This step is crucial as it will determine the durability, aesthetic appeal, and overall quality of your custom installation. Here are some factors to consider when making your selection:
- Wood Type: Selecting the right type of wood is essential for achieving the desired look and durability. Hardwoods like oak, maple, or cherry are popular choices due to their strength and long-lasting nature. If you’re on a budget, you can opt for engineered wood or plywood, which offer a more cost-effective yet sturdy alternative.
- Finish Options: Consider the desired finish for your built-ins. This could include painted, stained, or natural wood finishes. Each option has its own unique appeal and can complement the overall style of the room. Keep in mind that certain wood types may lend themselves better to specific finishes.
- Hardware: Pay attention to the hardware you choose for your built-ins. Cabinet pulls, knobs, hinges, and drawer slides can add a touch of style and functionality. Opt for hardware that complements your overall design aesthetic and consider the durability and functionality of the chosen pieces.
- Budget Considerations: Keep your budget in mind when selecting materials and finishes. While solid hardwood may be the ideal choice for some, there are affordable alternatives that can still achieve a beautiful look. Don’t be afraid to explore different options and compare prices to ensure you stay within your budget.
- Maintenance: Consider the maintenance requirements of the materials and finishes you choose. Some finishes may require regular upkeep, such as refinishing or resealing, while others may be more low-maintenance. Factor in how much time and effort you’re willing to invest in maintenance when making your decision.
Before making any final decisions, it’s a good idea to consult with professionals at your local hardware store or talk to experienced contractors. They can provide valuable insights, suggest suitable materials for your project, and offer advice based on their expertise.
Once you’ve made your selections, it’s time to move on to the next step: preparing the space for installation. We’ll cover this in detail in the upcoming step.
Step 3: Preparing the Space
With your materials and finishes chosen, it’s time to prepare the space for the installation of your built-ins. Proper preparation is essential to ensure a smooth and successful installation process. Here are the key steps to follow:
- Clear the Area: Remove any furniture, decor, or obstacles from the designated area where your built-ins will be installed. This will give you sufficient space to work and prevent any damage or accidents during the installation process.
- Remove Baseboards and Trim: If your built-ins will be installed against the wall, you may need to remove the baseboards and trim to achieve a seamless and integrated look. Use a pry bar or trim removal tool to carefully remove the existing trim, taking care not to damage the walls or flooring.
- Repair and Patch: Inspect the walls for any holes, cracks, or imperfections. Use spackling compound or putty to fill in any gaps or damaged areas. Once the compound is dry, sand the patched areas until smooth for a seamless finish.
- Paint or Finish the Walls: Depending on your design plan, you may want to paint or finish the walls before the installation of your built-ins. This will ensure that the walls behind the cabinets and shelves are consistent with the rest of the room. Use painter’s tape to protect any areas that won’t be painted or finished.
- Install Backing or Support: Depending on the weight and size of your built-ins, you may need to install additional support or backing to the walls. This can be done using plywood, brackets, or wall anchors. Follow the manufacturer’s instructions and ensure a secure and sturdy base for your built-ins.
Taking the time to properly prepare the space will ensure that your built-ins are installed on a solid foundation and will help to prevent any issues or complications during the installation process. Once the space is prepared, you’re ready to move on to the exciting part of building the framework for your custom installation.
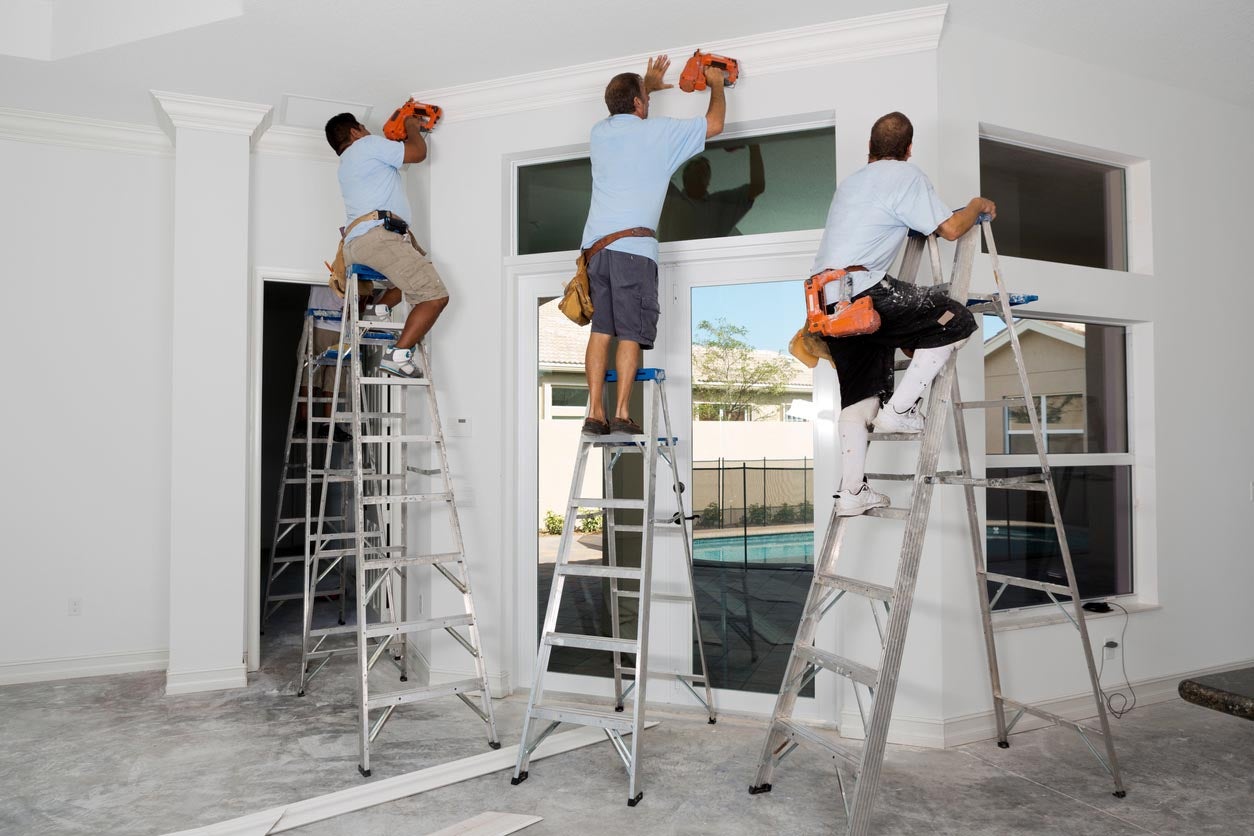
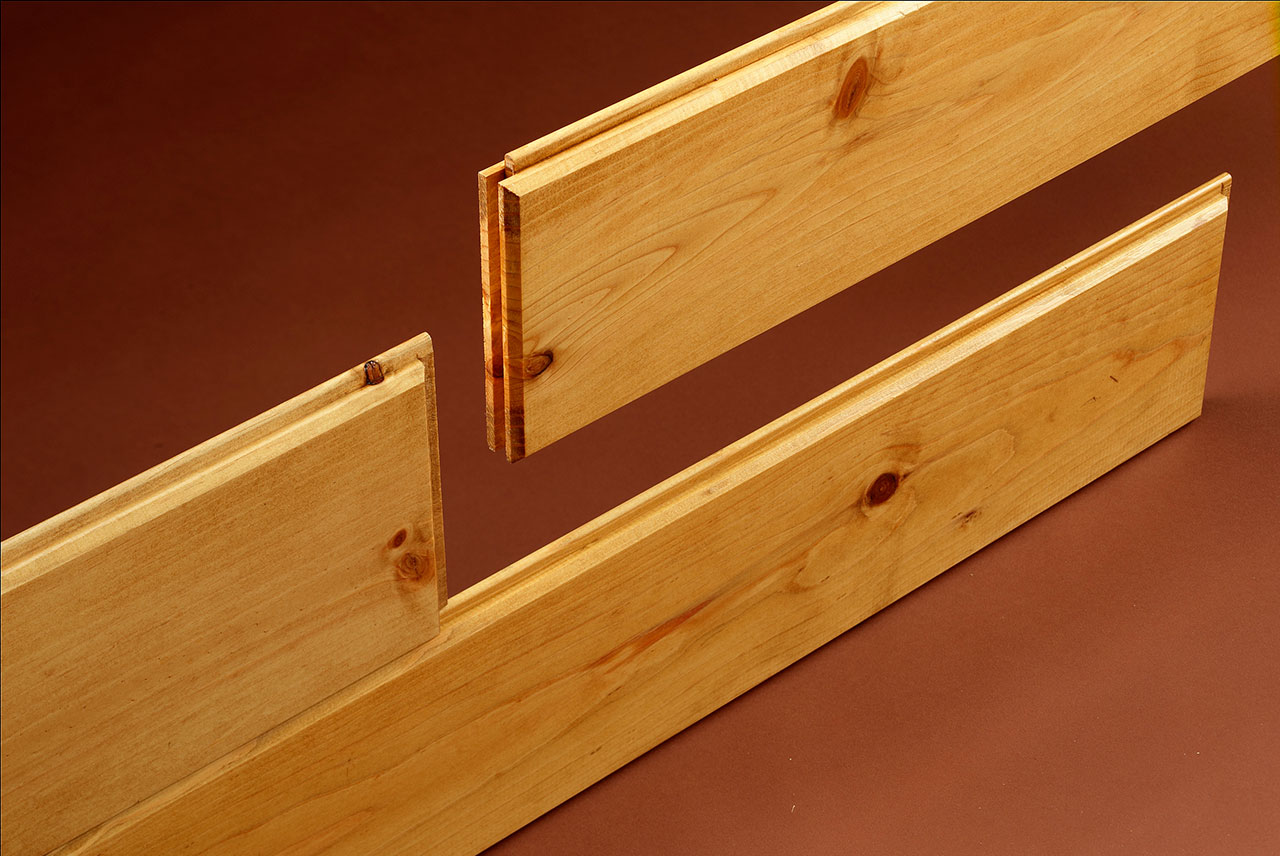
Step 4: Building the Framework
With the space prepared, it’s time to start building the framework for your built-ins. This step involves constructing the structure that will hold the cabinets, shelves, and other components in place. Here’s a step-by-step guide to building the framework:
- Measure and Cut: Begin by measuring and cutting the pieces of wood that will form the vertical supports and horizontal rails of the framework. Use a saw or a circular saw to make precise cuts according to your measurements.
- Assemble the Vertical Supports: Start by attaching the vertical supports to the wall using screws or nails. Make sure they are level and plumb by using a level and a plumb line. This will ensure that your built-ins are straight and aligned.
- Attach the Horizontal Rails: Next, attach the horizontal rails to the vertical supports. These rails will provide stability and support for the cabinets, shelves, and other components. Use screws or nails to secure them firmly in place.
- Add Additional Support: As you build the framework, you may need to add additional support in areas where more weight will be placed, such as the bottom shelf or areas where heavy items will be stored. This can be done by adding extra vertical supports or reinforcing the existing ones.
- Double-Check for Stability: Once the framework is assembled, double-check for stability and ensure that everything is securely fastened. Rock or shake the framework gently to test its sturdiness. Make any necessary adjustments or reinforcements as needed.
Building a strong and stable framework is crucial for the overall durability and functionality of your built-ins. Take your time with this step and ensure that all the measurements are accurate and the framework is properly aligned.
Once the framework is complete, you’re ready to move on to the next step: installing the cabinets and shelves. This is where you’ll start to see your built-ins take shape, so get ready for the exciting part of the installation process.
Read more: Fall Porch Ideas: 18 Gorgeous Autumnal Looks
Step 5: Installing Cabinets and Shelves
With the framework in place, it’s time to move on to installing the cabinets and shelves for your built-ins. This step brings your vision to life and adds functionality to your custom installation. Here’s how to install the cabinets and shelves:
- Start with the Cabinets: Begin by installing the base cabinets. Place the cabinet onto the framework, making sure it is level and flush against the wall. Secure the cabinet in place using screws or cabinet mounting hardware. Repeat this process for each cabinet, ensuring proper alignment and spacing between them.
- Add the Upper Cabinets: Once the base cabinets are in place, move on to installing the upper cabinets. Use a level to ensure proper alignment, and secure the cabinets to the framework using screws or mounting hardware. Again, double-check the positioning and alignment of each cabinet as you go.
- Install Shelves: After the cabinets are in place, it’s time to install the shelves. Measure and cut the shelves according to your design plan. Use shelf brackets or supports to hold the shelves in place. Make sure they are level and securely attached to the framework.
- Adjust and Level: As you install the cabinets and shelves, periodically check for levelness and make any necessary adjustments. Use shims or wood wedges to level out uneven surfaces or gaps between the cabinets and framework.
- Secure Cabinets and Shelves: Once all the cabinets and shelves are installed and properly aligned, secure them to the framework using screws or mounting hardware. This will ensure that they are securely attached and can withstand the weight of items you’ll place on them.
Throughout the installation process, take your time to ensure accuracy, alignment, and levelness. Make any necessary adjustments along the way to ensure a professional and seamless look for your built-ins.
Now that the cabinets and shelves are in place, it’s time to move on to the next step: adding trim and molding to enhance the visual appeal of your custom installation.
When installing built-ins on a budget, consider using pre-made cabinets and customizing them with trim, paint, and hardware for a high-end look without the high-end price tag.
Step 6: Adding Trim and Molding
Adding trim and molding to your built-ins is the next step in creating a polished and custom look. Trim and molding can enhance the visual appeal of your installation, hide any gaps or imperfections, and add a touch of elegance to the overall design. Here’s how to add trim and molding to your built-ins:
- Select the Right Trim: Choose the type of trim that suits your design aesthetic and complements the style of your built-ins. Common options include crown molding, baseboards, and decorative trim. Consider the size, shape, and material of the trim to ensure it matches the overall look you want to achieve.
- Measure and Cut: Measure the dimensions of each section where trim will be installed and cut the trim accordingly. Be sure to make precise cuts and account for any angles or corners in the layout. Use a miter saw or coping saw for accurate cuts.
- Attach the Trim: Apply a thin bead of construction adhesive to the back of the trim pieces and firmly press them into place along the edges and corners of your built-ins. Use a nail gun with finishing nails to secure the trim in place. Countersink the nails and fill the holes with putty for a seamless finish.
- Fill Gaps and Seams: Pay attention to any gaps or seams between the trim pieces or where the trim meets the cabinets or shelves. Fill these areas with wood filler or caulk and smooth it out for a seamless look. Sand the filled areas once dry to create a smooth and even surface.
- Paint or Stain: After the trim and molding are securely in place, it’s time to paint or stain them to match the rest of your built-ins. Choose a paint color or stain that complements the overall design aesthetic of the room. Apply multiple coats as needed and allow proper drying time between each coat.
Adding trim and molding is a detail-oriented process that requires precision and attention to detail. Take your time to ensure accurate measurements, clean cuts, and seamless installation of the trim. The finished result will add a touch of sophistication and completeness to your custom built-ins.
Now that you’ve added the finishing touches with trim and molding, it’s time to move on to the next step: applying paint or stain to complete the look of your built-ins.
Step 7: Applying Paint or Stain
Applying paint or stain is the final step in the transformation of your built-ins. This step adds color, texture, and personality to your custom installation. Whether you prefer a bold statement or a subtle and natural look, here’s how to apply paint or stain to your built-ins:
- Prepare the Surface: Make sure the surface of your built-ins is clean and free of dust or debris. Use a damp cloth or tack cloth to wipe down the cabinets, shelves, and trim to ensure a smooth and even application of paint or stain.
- Choose the Right Paint or Stain: Select a high-quality paint or stain that is suitable for the type of wood and finish you have chosen. Consider the desired color, finish, and sheen to achieve the look you envision for your built-ins. Test a small area or a sample piece of wood to ensure the color and finish align with your expectations.
- Apply Primer (If Needed): If you are painting over bare wood or a lighter color, applying a primer can help achieve a smooth and more even finish. Follow the manufacturer’s instructions for the specific primer you are using.
- Apply Paint or Stain: Using a brush, roller, or sprayer, apply the paint or stain to the surfaces of your built-ins. Work in small sections, ensuring even coverage and removing any drips or excess product along the way. Follow the recommended number of coats for your chosen paint or stain, allowing sufficient drying time between each coat.
- Consider Distressing or Antiquing (Optional): If you prefer a distressed or aged look, you can consider distressing the painted surface by sanding the edges or using techniques like glazing or antiquing. Experiment with different techniques on a sample piece of wood before applying it to your built-ins.
- Apply Protective Finish (Optional): To protect the painted or stained surfaces of your built-ins, you can apply a clear protective finish. This can be a varnish, polyurethane, or a wax depending on your preference and the level of protection you desire. Follow the manufacturer’s instructions for application and drying time.
Applying paint or stain is the final step in bringing your built-ins to life. Take your time to ensure a smooth and professional finish. Allow ample drying time before reattaching hardware and adding accessories to avoid any damage or smudging of the paint or stain.
With the paint or stain applied and dried, it’s time for the exciting final touches and styling in the next step of the installation process.
Step 8: Installing Hardware
Installing hardware is a crucial step in completing the look and functionality of your built-ins. Hardware such as cabinet pulls, knobs, hinges, and drawer slides can add a touch of style and convenience to your custom installation. Here’s how to install hardware on your built-ins:
- Measure and Mark: Determine the placement of your hardware by measuring and marking where each piece will be installed. Use a tape measure, level, and pencil for accurate measurements and alignment.
- Pre-drill Holes (If Needed): Depending on the type of hardware and the material of your built-ins, you may need to pre-drill holes to ensure easy installation. Use an appropriately sized drill bit to create pilot holes for the screws.
- Attach Cabinet Pulls and Knobs: For cabinets and drawers, start by attaching the cabinet pulls or knobs. Insert the screws through the pre-drilled holes and tighten them with a screwdriver or drill. Ensure that the hardware is secured firmly, but don’t overtighten, as it could damage the wood or affect the functionality.
- Install Hinges: If your built-ins have doors, install the hinges according to the manufacturer’s instructions. Ensure that the hinges are properly aligned and provide smooth movement. Adjust the hinges if necessary to achieve proper alignment and a snug fit.
- Add Drawer Slides (If Applicable): If your built-ins include drawers, install the drawer slides according to the manufacturer’s instructions. Ensure that the slides are aligned and mounted securely to the framework. Test the smooth movement of the drawers and make any necessary adjustments.
- Test and Adjust: Once all the hardware is installed, test the functionality of the cabinets, drawers, and other components. Ensure that everything opens, closes, and operates smoothly. Make any necessary adjustments to hinges, slides, or fastenings to achieve optimal functionality.
Installing hardware is the final touch that adds both aesthetic appeal and practicality to your built-ins. Take your time to align the hardware properly and secure it firmly. Remember to step back and admire your hard work as you see the transformation come together.
With the hardware installed, it’s time for the exciting final step: adding the finishing touches and styling your built-ins to perfection.
Step 9: Final Touches and Styling
Congratulations on reaching the final step of installing your built-ins! Now it’s time to add the finishing touches and put your personal stamp on the project. Here’s how to bring your built-ins to life with final touches and styling:
- Clean and Declutter: Before adding any decor or accessories, make sure to clean and declutter your built-ins. Remove any dust, wipe down the surfaces, and organize the items you’ll be placing on the shelves or inside the cabinets. This will help create a clean and visually appealing display.
- Arrange Decorative Items: Place decorative items such as vases, books, art pieces, or collectibles on the shelves and in the cabinets. Consider the overall aesthetic and theme of the room, and arrange the items in an aesthetically pleasing way. Mix and match heights, textures, and colors to create visual interest.
- Add Lighting: If your built-ins have space for lighting, consider adding some accent lighting to highlight the display items. Install LED strip lights or small spotlights to add a warm and inviting glow to your built-ins. This can create a cozy ambiance and draw attention to your favorite decor pieces.
- Incorporate Functionality: Think about how you’ll use the built-ins in your daily life. Add storage baskets, bins, or trays to keep smaller items organized and easily accessible. Consider incorporating features like adjustable shelves or pull-out drawers to optimize functionality and make the most of your built-ins.
- Add Personal Touches: Infuse your personality into the design by displaying personal photos, artwork, or sentimental objects. This will make the space feel more personalized and meaningful to you and your family.
- Consider Seasonal Changes: Don’t forget to update and refresh the accessories on your built-ins with the changing seasons. Swap out decor items and rotate your display to keep the look fresh and interesting throughout the year.
By paying attention to the final touches and styling, you can create a stunning and personalized display with your built-ins. Remember to step back and assess the overall look to ensure it reflects your desired style and functionality.
With the final touches complete, you can now enjoy your gorgeous custom built-ins. Bask in the satisfaction of your hard work and enjoy the transformed space that perfectly combines functionality and style.
Thank you for following along with this step-by-step guide on installing built-ins on a budget. We hope this process has inspired and empowered you to tackle your own custom installation project. Happy decorating!
Conclusion
Installing built-ins can be a rewarding and cost-effective way to enhance the beauty and functionality of your space. By following this step-by-step guide, you’ve learned how to install built-ins on a budget without compromising on style or quality.
We started with careful planning and measurements, ensuring that the built-ins would fit seamlessly into the designated space. Then, we discussed the importance of choosing the right materials and finishes that align with your design vision and budget.
You learned how to properly prepare the space, building a solid framework to support your cabinets and shelves. The addition of trim and molding provided a polished look, while the application of paint or stain added personality and character to your built-ins.
By installing hardware, you added functionality and style to the cabinets and drawers. Finally, with the final touches and styling, you transformed your built-ins into a personalized and visually appealing showcase.
Throughout the process, you’ve discovered that installing built-ins is a creative endeavor that requires careful planning, attention to detail, and a bit of DIY know-how. The reward is a stunning and custom look that meets your needs and elevates the aesthetics of your space.
Remember, building built-ins on a budget doesn’t mean compromising on quality. With thoughtful choices in materials, finishes, and hardware, you can create a beautiful and functional space without breaking the bank.
Now it’s your turn to take these steps and ideas and apply them to your own project. Whether you’re creating a cozy reading nook, a stylish entertainment center, or a functional storage solution, the possibilities are endless.
So, gather your tools, get creative, and enjoy the process of transforming your space with budget-friendly built-ins. The end result will be a customized and stunning addition that enhances the overall look and functionality of your home.
Good luck, and happy building!
Frequently Asked Questions about How To Install Built-Ins For A Gorgeous Custom Look On A Budget
Was this page helpful?
At Storables.com, we guarantee accurate and reliable information. Our content, validated by Expert Board Contributors, is crafted following stringent Editorial Policies. We're committed to providing you with well-researched, expert-backed insights for all your informational needs.


0 thoughts on “How To Install Built-Ins For A Gorgeous Custom Look On A Budget”