Home>Articles>How To Install And Tile A Heat Shield Behind A Gas Or Wood Stove
Articles
How To Install And Tile A Heat Shield Behind A Gas Or Wood Stove
Modified: August 26, 2024
Learn how to install and tile a heat shield behind your gas or wood stove with our informative articles. Protect your home and enhance your stove's efficiency with our step-by-step guide.
(Many of the links in this article redirect to a specific reviewed product. Your purchase of these products through affiliate links helps to generate commission for Storables.com, at no extra cost. Learn more)
Introduction
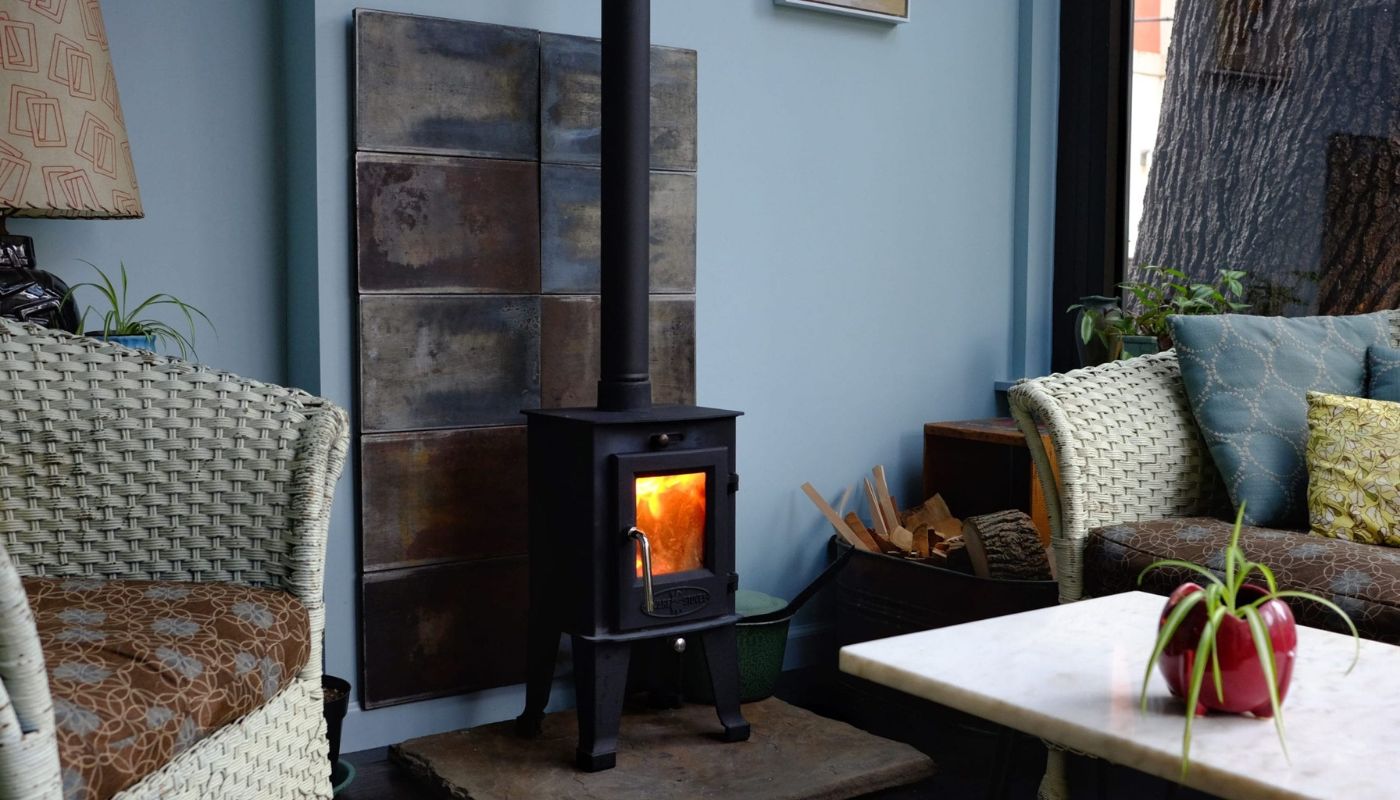
Installing a heat shield behind your gas or wood stove is crucial for both safety and aesthetics. The heat shield helps protect the wall from any potential damage caused by the intense heat radiating from the stove. It also adds a decorative touch to your stove area, enhancing the overall look of your room.
Whether you’re a DIY enthusiast or someone looking to save some money on installation costs, installing a heat shield is a relatively simple and rewarding project. In this article, we will guide you through the step-by-step process of installing and tiling a heat shield behind your gas or wood stove.
Before we dive into the installation process, let’s take a look at the tools and materials you’ll need:
Key Takeaways:
- Protect your wall and enhance your stove area by installing a heat shield. Measure, prepare, choose the right materials, and follow the step-by-step process for a safe and stylish installation.
- Tiling the heat shield adds protection and style. Cut, fit, and install tiles with precision. Grout the joints for a polished finish, and clean for a professional, long-lasting installation.
Read more: How To Install Wood Patio Tiles
Tools and Materials Needed
Before you begin installing a heat shield behind your gas or wood stove, gather the following tools and materials:
- Measuring tape
- Pencil
- Level
- Heat-resistant adhesive
- Trowel
- Tile cutter or wet saw
- Grout
- Grout float
- Sponge or cloth
- Protective gloves and eyewear
- Heat shield panels
- Ceramic or porcelain tiles
- Spacers
- Tile adhesive
- Thinset mortar
- Grout sealer
Make sure you have all these tools and materials on hand before you begin the installation process. This will ensure a smooth and efficient installation without any unnecessary interruptions.
Now that you have your tools and materials ready, let’s move on to the step-by-step process of installing and tiling a heat shield behind your gas or wood stove.
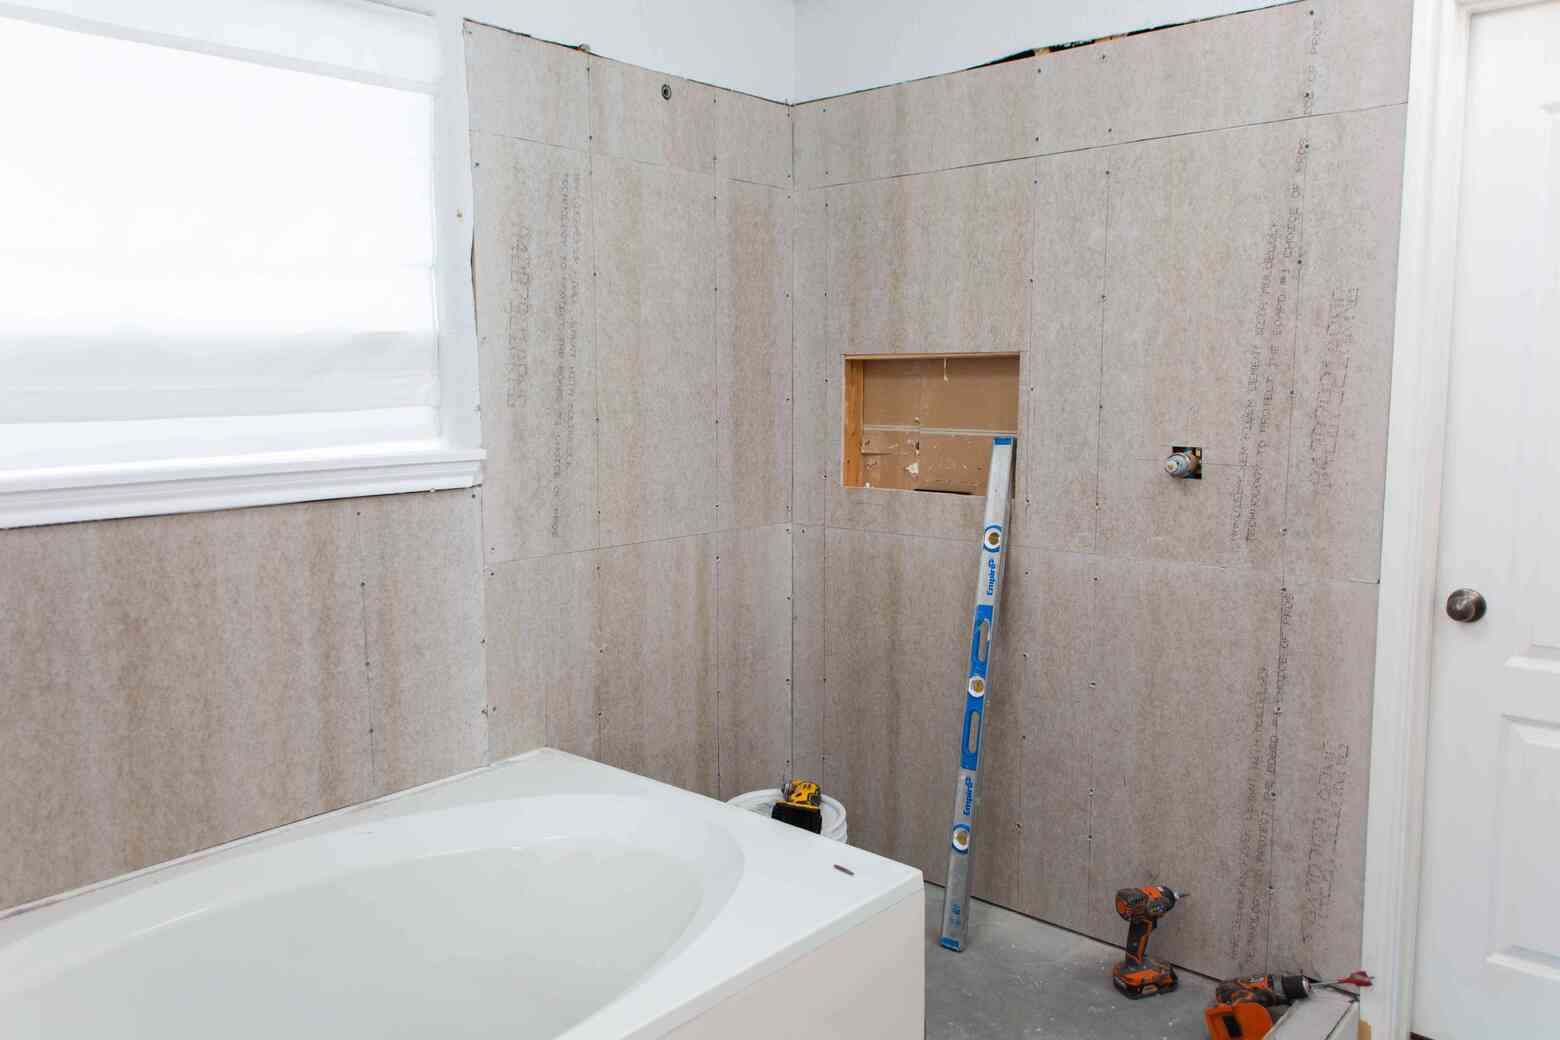
Step 1: Measure and Prepare the Area
The first step in installing a heat shield behind your gas or wood stove is to measure and prepare the area where the heat shield will be installed.
Start by measuring the dimensions of the wall space behind your stove. Use a measuring tape to measure the height and width of the area. Ensure that you include any areas where the heat shield will extend beyond the stove to provide adequate protection.
Next, mark the measurements on the wall using a pencil. Use a level to ensure that the marks are straight and level. This will help you achieve a professional-looking installation.
Once the area is marked, prepare the wall for the installation. Clean the wall surface thoroughly, removing any dirt, grease, or paint. It’s important to have a clean and smooth surface for proper adhesion of the heat shield and tiles.
Consider using a primer to ensure better adhesion of the heat shield to the wall. Apply the primer according to the manufacturer’s instructions, and allow it to dry completely before proceeding with the installation.
With the area measured, marked, and prepared, you’re now ready to move on to the next step: choosing and purchasing the heat shield for installation.
Step 2: Choose and Purchase the Heat Shield
Choosing the right heat shield for your gas or wood stove is crucial for the overall effectiveness and safety of the installation. When selecting a heat shield, consider factors such as heat resistance, durability, and aesthetics.
Before making a purchase, determine the required clearance distance between the stove and the heat shield. This distance will vary depending on the stove’s manufacturer and the specific model. Ensure that the heat shield you choose meets the recommended clearance distance for your stove.
When it comes to heat resistance, opt for a heat shield made of materials that can withstand high temperatures. Common options include stainless steel, aluminum, or heat-resistant panels specifically designed for this purpose.
In addition to heat resistance, consider the durability and maintenance requirements of the heat shield. Look for a product that is easy to clean and resistant to stains or discoloration. This will ensure that your heat shield remains in good condition over time.
Lastly, keep aesthetics in mind. The heat shield can become a focal point in your kitchen or living room, so choose a design or finish that complements your existing decor. There are a variety of styles and finishes available, ranging from modern and sleek to classic and rustic.
Once you have decided on the heat shield that meets your requirements, it’s time to make the purchase. Visit your local home improvement store or browse online retailers to find the heat shield that matches your criteria. Compare prices and read customer reviews to ensure you’re investing in a quality product.
With the heat shield in hand, you are now ready to proceed to the next step: preparing the heat shield for installation.
Step 3: Prepare the Heat Shield for Installation
Before you can install the heat shield behind your gas or wood stove, you need to prepare it for installation. This involves ensuring that the heat shield is clean, properly sized, and ready to be attached to the wall.
Start by laying the heat shield flat on a clean and stable surface. Inspect the shield for any defects, such as dents, scratches, or misalignments. If you notice any issues, contact the manufacturer for a replacement or repair.
Next, measure the dimensions of the heat shield to confirm that it aligns with the measurements you took in step 1. Use a measuring tape to measure the height and width of the shield, ensuring that it fits within the marked area on the wall. If necessary, trim the heat shield to the correct size using a cutting tool recommended by the manufacturer.
Once the heat shield is the correct size, clean it thoroughly. Remove any dust, debris, or protective films that may be on the surface. This will ensure proper adhesion when it’s time to attach the heat shield to the wall.
In addition to cleaning, consider applying a heat-resistant primer or sealant to the heat shield. This extra layer of protection can enhance the durability and heat resistance of the shield. Follow the manufacturer’s instructions for the primer or sealant and allow it to dry completely.
With the heat shield cleaned, sized, and prepared, it’s time to move on to the next step: attaching the heat shield to the wall.
Read more: How To Install Heated Floor Under Tile
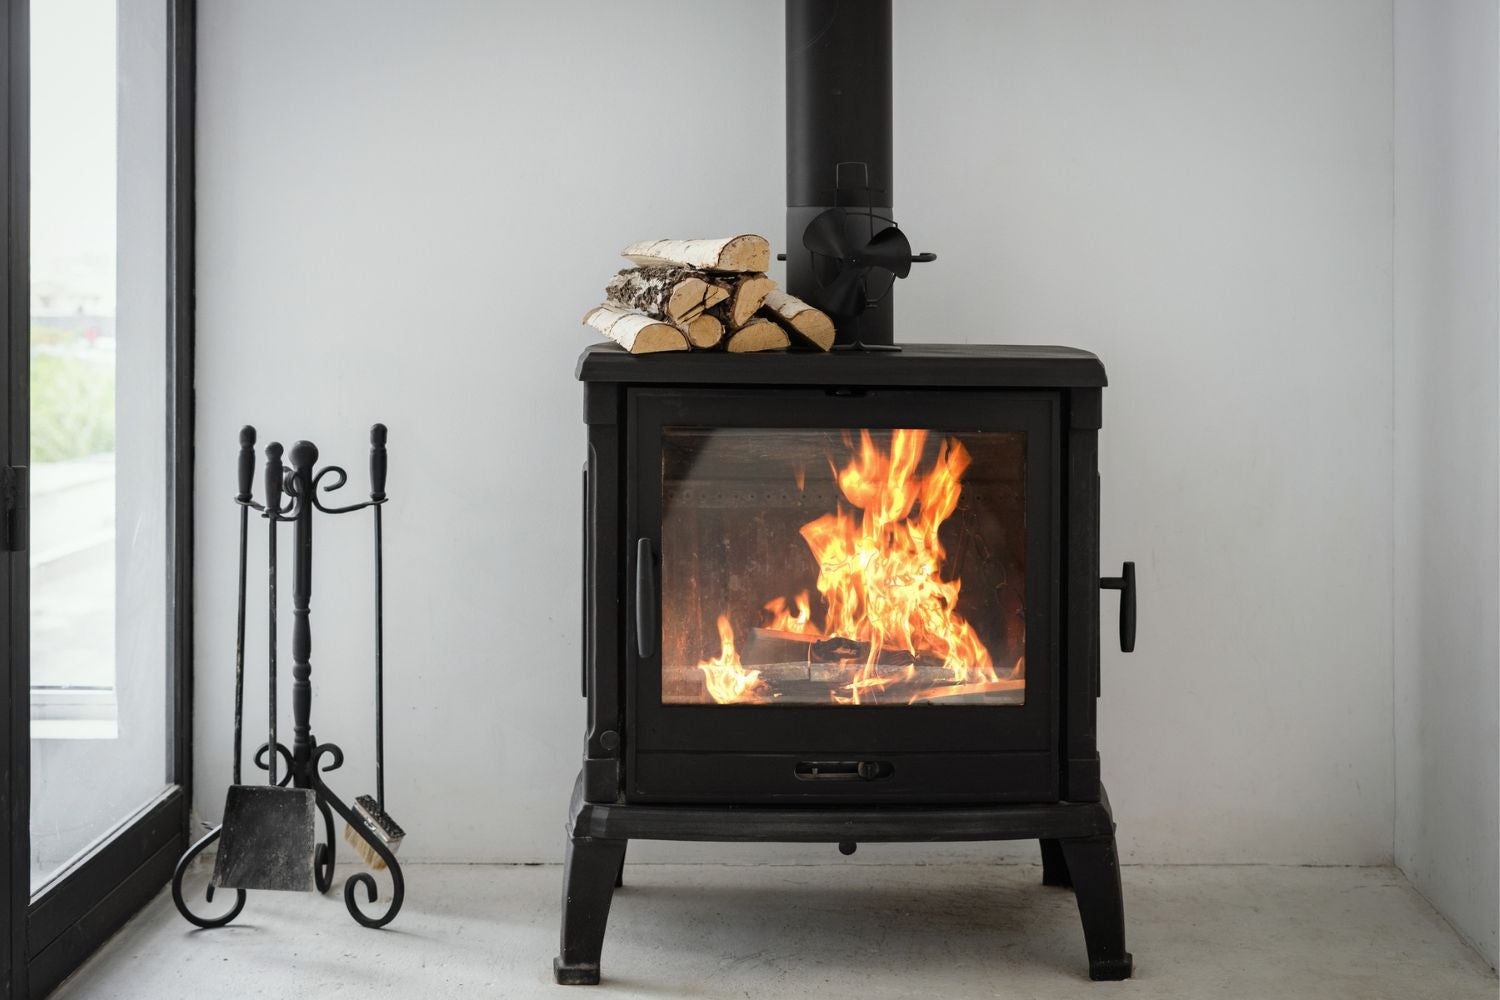
Step 4: Attach the Heat Shield to the Wall
Now that you have prepared the heat shield, it’s time to attach it to the wall behind your gas or wood stove. Properly securing the heat shield is essential for its effectiveness in protecting the wall from heat damage.
Before you begin, make sure you have the appropriate heat-resistant adhesive that is suitable for the specific materials of your heat shield and the wall surface. Follow the adhesive manufacturer’s instructions for the correct application.
Start by applying a thin, even layer of heat-resistant adhesive to the back of the heat shield. Ensure that you cover the entire surface area and leave no gaps or patches without adhesive.
Position the heat shield against the marked area on the wall, aligning it with the measurements you took in step 1. Gently press the heat shield against the wall, applying even pressure to ensure proper adhesion. Use a level to double-check that the heat shield is straight and level.
Allow the adhesive to dry and cure according to the manufacturer’s instructions. This usually takes a few hours, but make sure to wait for the recommended amount of time to ensure a secure bond.
During the drying process, it’s essential to avoid placing any weight or pressure on the heat shield. This can compromise the adhesive’s effectiveness and result in an unstable installation.
Once the adhesive has fully cured, give the heat shield a light tug or gently press on it to ensure that it is securely attached to the wall. If there’s any movement, apply more adhesive and allow it to dry before proceeding.
With the heat shield properly attached to the wall, you have completed an important step in protecting your wall from the heat of your gas or wood stove. Next, we’ll move on to cutting and fitting the tiles on the heat shield.
When installing a heat shield behind a gas or wood stove, make sure to use non-combustible materials such as ceramic tiles or sheet metal to protect the wall. Always follow the manufacturer’s guidelines for proper installation.
Step 5: Cut and Fit the Tiles on the Heat Shield
Now that the heat shield is securely attached to the wall, it’s time to take your installation to the next level by adding tiles. Tiling the heat shield not only enhances its appearance but also provides additional protection and durability.
Before you begin, gather all the necessary materials, including ceramic or porcelain tiles, tile adhesive, spacers, a tile cutter or wet saw, and a trowel.
Start by selecting the tiles you want to use. Consider the style and color scheme of your room to ensure the tiles complement the overall aesthetic. Measure the heat shield to determine the number of tiles you’ll need.
Using a tile cutter or wet saw, carefully cut the tiles to fit the heat shield. Measure and mark the tiles with a pencil before making any cuts. Take your time to ensure accurate measurements and precise cuts.
Once all the tiles are cut, it’s time to apply the tile adhesive. Use a trowel to spread a thin, even layer of adhesive onto the back of each tile. Make sure to cover the entire surface of the tile to ensure proper adhesion.
Place the adhesive-coated tiles onto the heat shield, pressing them firmly into place. Use spacers to maintain consistent gaps between the tiles for grouting. Adjust the position of the tiles as needed to achieve a straight and uniform appearance.
Continue this process until all the tiles are installed on the heat shield. Allow the adhesive to dry and cure according to the manufacturer’s instructions. This typically takes 24 to 48 hours, but check the adhesive packaging for specific drying times.
As the adhesive dries, periodically check that the tiles remain level and aligned. Adjust any tiles that may have shifted or settled during the curing process.
With the tiles securely attached to the heat shield, you’re one step closer to completing your installation. The next step is to apply grout to the tile joints, which will provide a finished and polished look.
Step 6: Apply Adhesive and Install the Tiles
Now that the heat shield is secure and the tiles are cut to fit, it’s time to apply the adhesive and install the tiles onto the heat shield. This step brings your heat shield installation closer to completion and adds a stylish touch to your stove area.
Before you begin, gather all the necessary materials, including tile adhesive, a notched trowel, a grout float, and a damp sponge or cloth.
Start by preparing the tile adhesive according to the manufacturer’s instructions. Generally, this involves mixing the adhesive with water to achieve the right consistency. Use the notched trowel to spread a layer of adhesive, known as the “thinset,” onto the heat shield.
Begin in one corner of the heat shield and work in small sections. Use the notched edge of the trowel to create ridges in the adhesive. These ridges help provide an even distribution of adhesive and create a strong bond between the tile and heat shield.
Place the first tile onto the adhesive, pressing it firmly into place. Wiggle the tile slightly to ensure it is fully embedded in the adhesive. Continue to apply adhesive and install the tiles, working your way across the heat shield in a row-by-row pattern.
Make sure to use tile spacers to maintain even gaps between the tiles. These spacers will be removed later during the grouting process.
As you progress, periodically check that the tiles are level and aligned. Adjust the position of any tiles that may have shifted or settled during installation.
Continue applying adhesive and installing the tiles until the entire heat shield is covered. Allow the adhesive to dry and cure according to the manufacturer’s instructions. Typically, this takes 24 to 48 hours, but always refer to the adhesive packaging for specific drying times.
During the drying process, avoid placing any weight or pressure on the tiles to prevent them from shifting or becoming uneven.
Once the adhesive has fully dried and cured, you’re ready to move on to the next step: grouting the tile joints to complete the installation.
Step 7: Grout the Tile Joints
With the tiles securely installed on the heat shield, the next step in completing your installation is to grout the tile joints. Grouting not only adds a polished and finished look to the tiles but also helps protect them from moisture and dirt.
Before you begin, gather all the necessary materials, including grout, a grout float, a sponge or cloth, and a bucket of water.
Start by selecting the appropriate color of grout that complements your tile and overall design. Follow the manufacturer’s instructions to prepare the grout mixture, ensuring that it reaches the desired consistency.
Using the grout float, apply the grout mixture to the tile joints, holding the float at a 45-degree angle. Apply the grout diagonally, working it into the joints and making sure to fill them completely. Continue this process, covering small sections at a time.
After applying the grout, wait for a few minutes to allow it to set. Then, holding the grout float at a 45-degree angle, use it to remove any excess grout from the surface of the tiles. Use a damp sponge or cloth to wipe away any remaining grout residue, working in a circular motion.
Continue to rinse and wring out the sponge or cloth regularly, ensuring that you remove all excess grout and keep the tiles clean.
Once you have finished grouting the entire surface, allow the grout to dry for the recommended time specified by the manufacturer. This typically ranges from 24 to 72 hours, depending on the type of grout used.
After the grout has dried, you can use a grout sealer to protect the grout from stains and make it easier to clean. Apply the sealer according to the manufacturer’s instructions, making sure to cover all the grout lines.
With the grout applied and the necessary drying time observed, your heat shield installation is nearly complete. The final step is to clean and finish the installation.
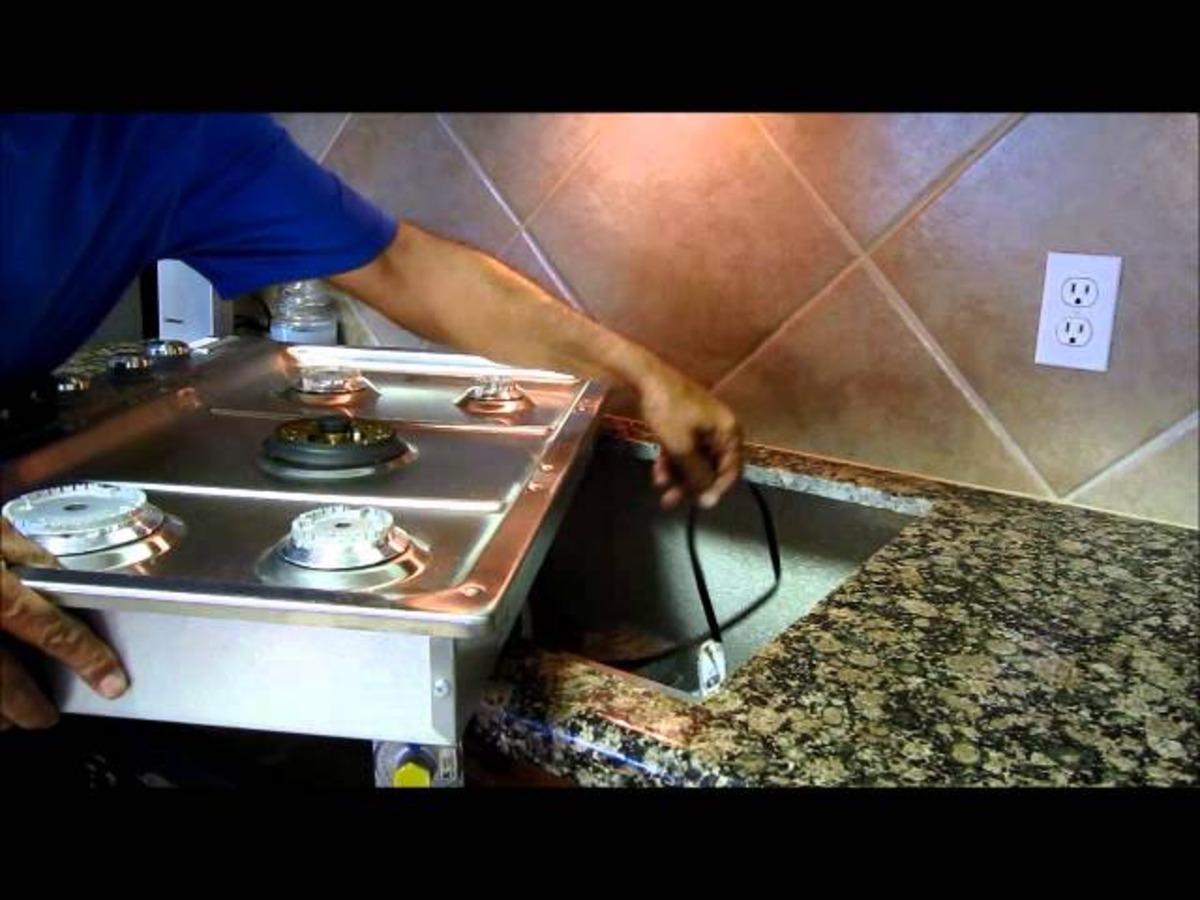
Read more: How To Install Gas Cooktop On Granite
Step 8: Clean and Finish the Installation
Cleaning and finishing the installation of your heat shield behind the gas or wood stove is the final step in achieving a polished and professional look. This step ensures that your heat shield not only provides protection but also enhances the visual appeal of your stove area.
Start by carefully removing any spacers that were used between the tiles. Use a pair of tweezers or a small tool to gently lift and remove the spacers without disturbing the tiles.
Next, use a damp sponge or cloth to wipe down the entire surface of the tiles. This will remove any grout residue, dust, or dirt that may have accumulated during the installation process. Make sure to wring out the sponge or cloth regularly and change the water as needed to prevent spreading grout residue.
Once the tiles are clean and dry, inspect the entire installation for any visible gaps or imperfections. If you notice any gaps between the tiles, use a small brush to carefully apply touch-up grout. Smooth out the grout with a damp cloth or sponge, ensuring that it blends seamlessly with the existing grout lines.
Finally, take a step back and assess the overall appearance of your heat shield installation. Ensure that the tiles are aligned, level, and evenly spaced. Clean up any excess grout or debris that may be present on the surrounding surfaces.
If desired, you can also apply a tile or surface cleaner to the tiles to give them a final polish and shine. Follow the manufacturer’s instructions for the specific cleaner you choose.
By taking the time to clean and finish the installation, you will achieve a professional and aesthetically pleasing heat shield behind your gas or wood stove.
Once you have completed the cleaning and finishing process, step back and admire your handiwork. Your heat shield is now installed, tiled, and ready to provide both protection and style to your stove area.
Congratulations on successfully installing and tiling a heat shield behind your gas or wood stove!
Remember to regularly clean and maintain your heat shield to keep it looking its best and to ensure its longevity. Enjoy the warmth and beauty that your newly installed heat shield brings to your living space.
Stay safe and happy heating!
Conclusion
Installing and tiling a heat shield behind your gas or wood stove is a project that enhances both safety and aesthetics. By following the step-by-step process outlined in this guide, you can successfully protect your wall from heat damage while adding a stylish touch to your stove area.
Starting with measuring and preparing the area, you carefully chose and purchased a heat shield that met your requirements. You then prepared the heat shield, ensuring it was clean and properly sized for installation.
Attaching the heat shield to the wall securely was the next step, followed by cutting and fitting the tiles onto the shield. Applying adhesive and installing the tiles brought your project closer to completion.
Grouting the tile joints provided the finishing touch, giving a polished and professional appearance to your heat shield installation. Finally, thoroughly cleaning and finishing the installation ensured that it looked its best and was ready for use.
Remember to always prioritize safety during the installation process. Use heat-resistant materials and ensure that the installation meets the recommended clearance distances between the stove and the heat shield.
Regularly clean and maintain the heat shield and tiles to keep them looking their best and functioning effectively. This will extend the longevity of your installation and ensure its continued safety and durability.
With your newly installed and tiled heat shield, you can now enjoy the warmth and beauty of your gas or wood stove with peace of mind. Your stove area becomes a focal point in your room, providing both functionality and visual appeal.
We hope this guide has been informative and helpful in successfully installing and tiling a heat shield behind your gas or wood stove. Enjoy your cozy and stylish stove area for years to come!
Now that you've mastered installing and tiling a heat shield, why not dive into more home improvement projects? Our latest feature on DIY projects offers a wealth of tips and tricks to tackle new challenges around your house. Whether you're looking to spruce up your space or undertake a major renovation, DIY projects provide a satisfying way to enhance your living environment. Get your tools ready for more creative and rewarding work!
Frequently Asked Questions about How To Install And Tile A Heat Shield Behind A Gas Or Wood Stove
Was this page helpful?
At Storables.com, we guarantee accurate and reliable information. Our content, validated by Expert Board Contributors, is crafted following stringent Editorial Policies. We're committed to providing you with well-researched, expert-backed insights for all your informational needs.
0 thoughts on “How To Install And Tile A Heat Shield Behind A Gas Or Wood Stove”