Home>Furniture>Office Furniture>How To Make IKEA Bookshelves Look Built In
Office Furniture
How To Make IKEA Bookshelves Look Built In
Modified: December 7, 2023
Learn how to transform your IKEA bookshelves into custom built-ins and upgrade your office furniture with this step-by-step guide.
(Many of the links in this article redirect to a specific reviewed product. Your purchase of these products through affiliate links helps to generate commission for Storables.com, at no extra cost. Learn more)
Introduction
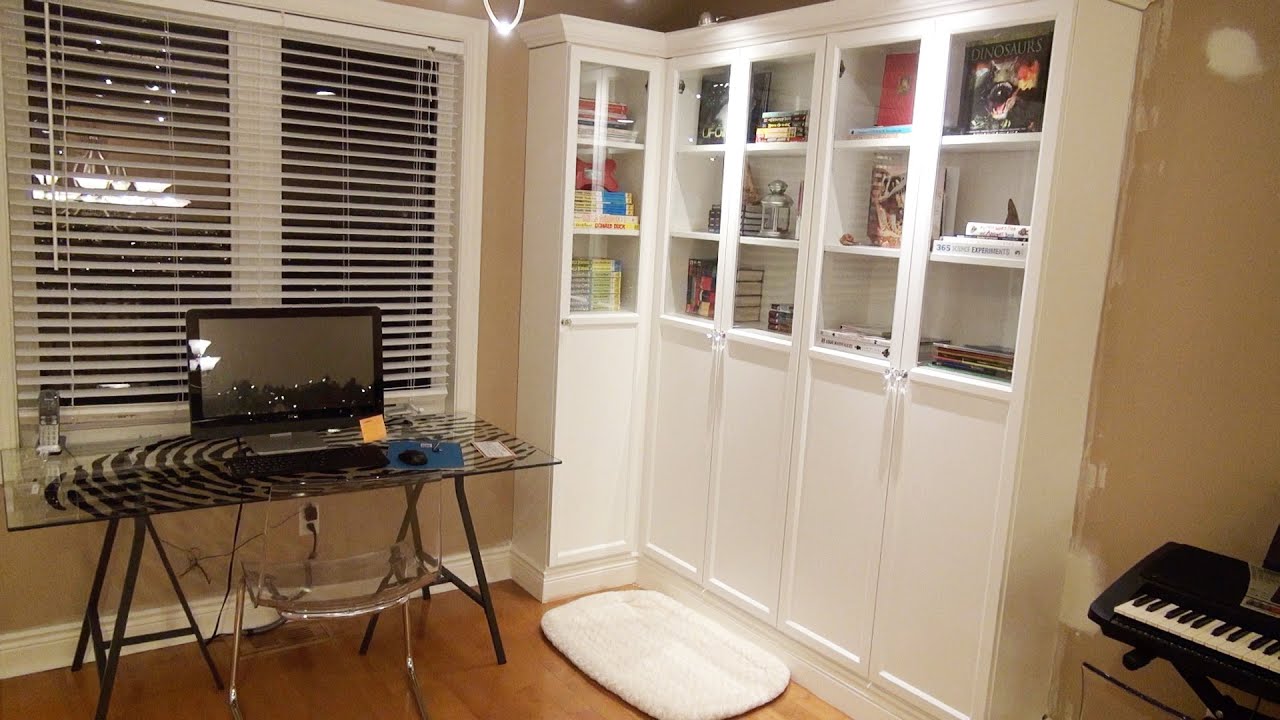
When it comes to furnishing your home, bookshelves are a versatile and practical addition to any space. They not only provide storage for your beloved books but also serve as a platform for displaying decorative items, photos, and personal mementos. While store-bought bookshelves may offer convenience, they often lack the custom look and built-in feel that can truly elevate your space.
If you’re looking to add a touch of sophistication and personalization to your bookshelves, this article is for you. In this guide, we’ll explore how to transform ordinary IKEA bookshelves into stunning built-in masterpieces that seamlessly blend with your existing decor. With a little planning, measuring, and some DIY skills, you can achieve the look of custom built-ins at a fraction of the price.
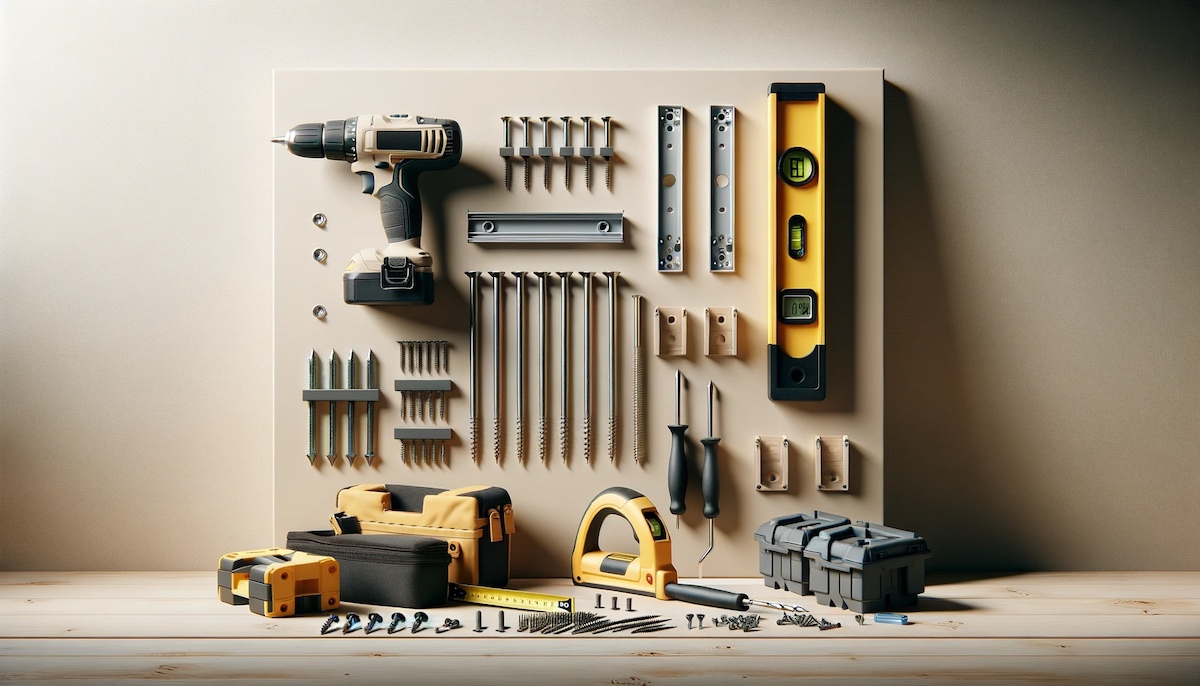
Before we delve into the step-by-step process, it’s important to note that this project will require some basic tools and materials such as a measuring tape, level, drill, screws, and potentially some wood filler and paint or stain. It’s also essential to follow proper safety precautions and consult professional assistance if needed.
Now, let’s begin our journey to transform your IKEA bookshelves into beautiful built-ins that will be the envy of all your friends and family!
Key Takeaways:
- Transform ordinary IKEA bookshelves into stunning built-ins with the right tools, materials, and DIY skills. Achieve a custom look at a fraction of the cost and elevate your space with personalized design.
- Carefully plan, measure, and execute each step to seamlessly integrate bookshelves into your space. From securing to styling, create visually appealing built-ins that reflect your style and enhance functionality.
Read more: How To Make Bookshelves Look Less Cluttered
Choosing the Right Bookshelves
Before you can transform your bookshelves into custom built-ins, it’s essential to choose the right bookshelves that will seamlessly integrate with your existing space. When selecting bookshelves, consider the following aspects:
- Size and Scale: Measure the area where you plan to install the built-ins and choose bookshelves that fit the dimensions of the space. Ensure that the height, width, and depth of the bookshelves are proportional to the room and any surrounding furniture.
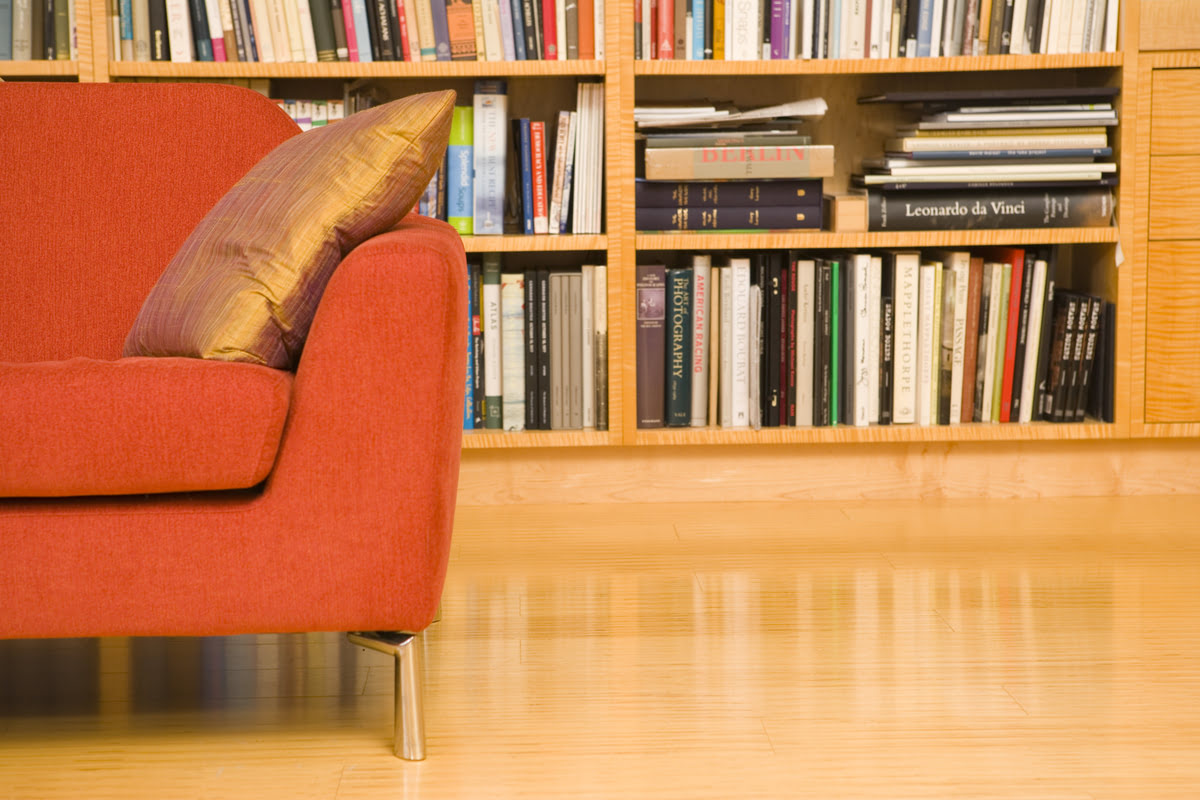
- Style: Take into account the overall style and decor of your room. Consider whether you prefer a more modern, contemporary look or a traditional, timeless aesthetic. Look for bookshelves that complement the existing furniture and design elements in the space.
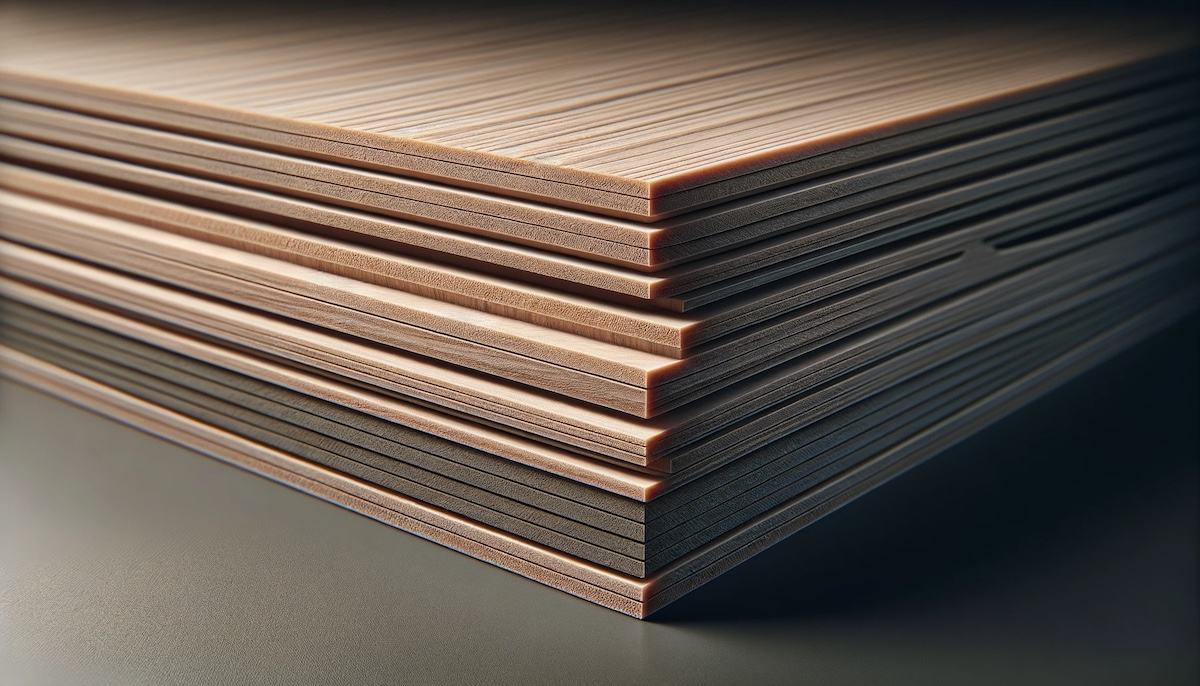
- Material: Bookshelves come in a variety of materials, including wood, metal, and laminate. Choose a material that matches your personal style and desired level of durability. Keep in mind that certain materials may require additional preparation, such as sanding or priming, before painting or staining.
- Storage Needs: Think about how you will be using the bookshelves. Consider the number of books and other items you plan to store and whether you need adjustable shelves or cabinets for concealed storage.
- Price: Set a budget for your built-in project and look for bookshelves that fit within that budget. IKEA offers a wide range of affordable options that can be easily customized to achieve a built-in look.
Once you have considered these factors, head to your nearest IKEA store or browse their website to explore their extensive collection of bookshelves. Take note of the models that align with your requirements and preferences. Remember that you can mix and match different bookshelf pieces to create a unique look for your built-ins.
Now that you have chosen the right bookshelves, it’s time to move on to the next phase – measuring and planning your built-in installation.
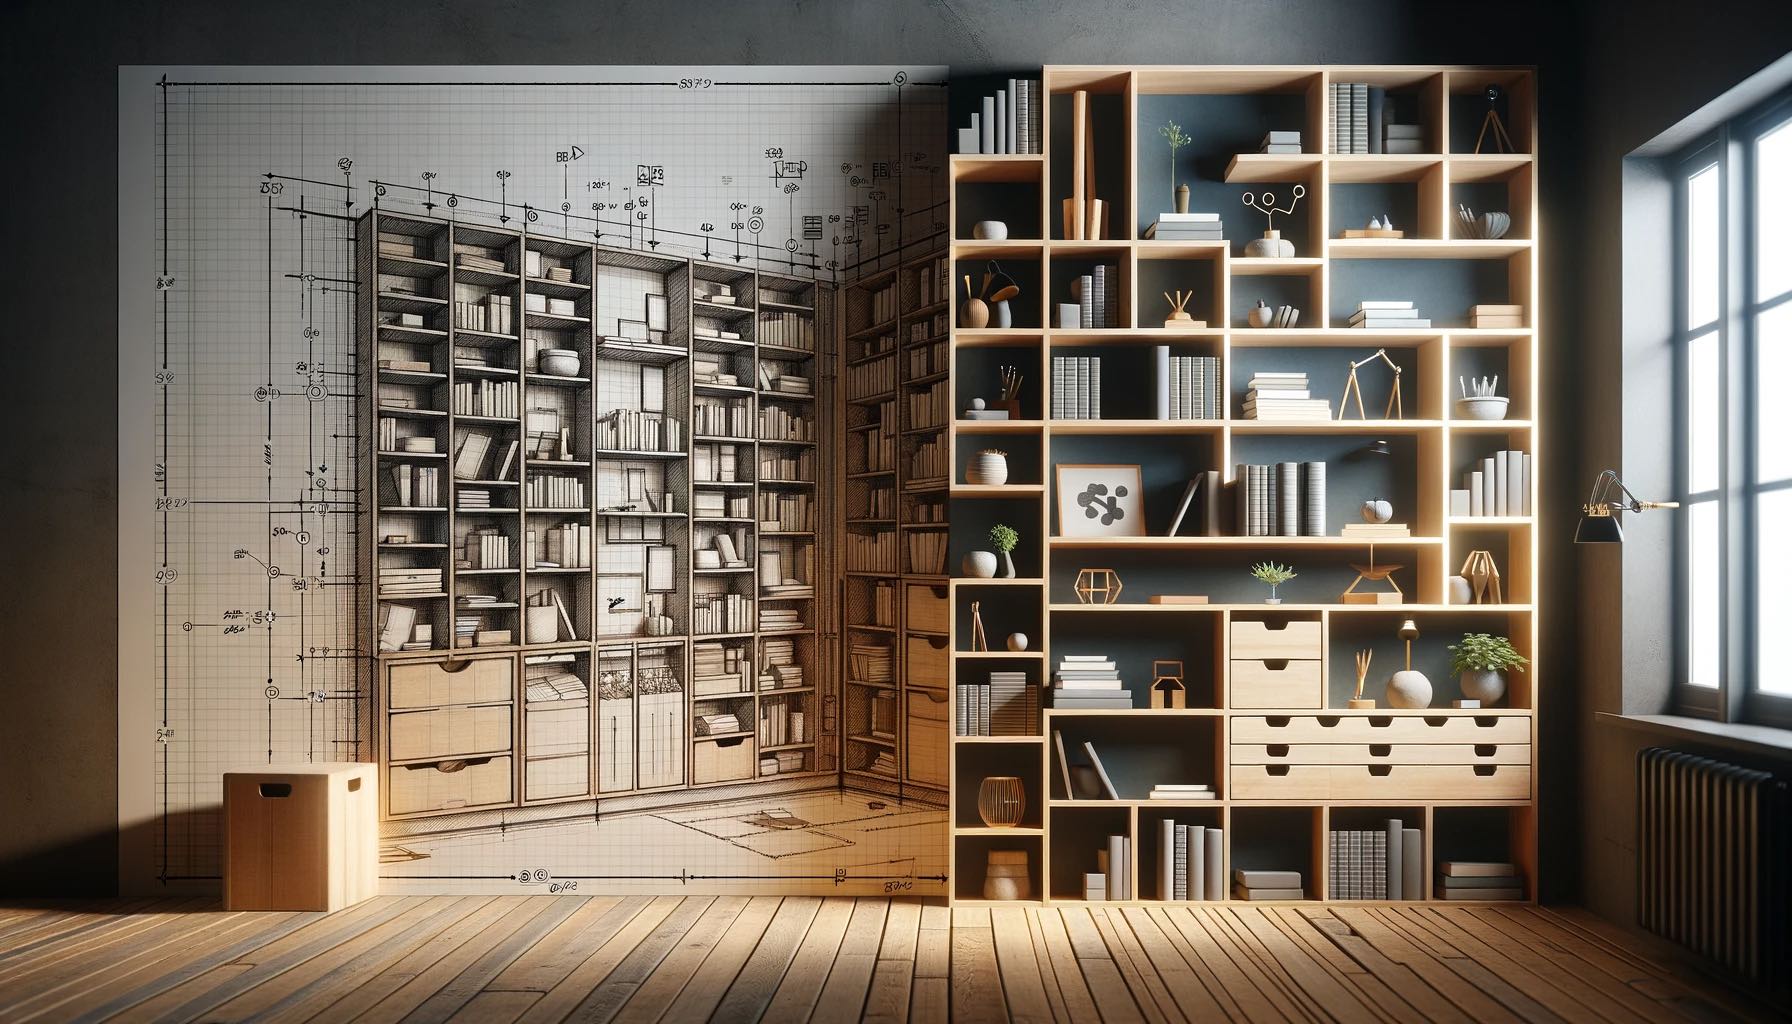
Measuring and Planning
Before you start the installation process, it’s crucial to take accurate measurements and create a well-thought-out plan. Here are the essential steps:
1. Measure the Space: Use a tape measure to measure the height, width, and depth of the area where you intend to install the bookshelves. Take note of any obstacles such as outlets, baseboards, or vents that may need to be taken into account during installation.
2. Sketch Your Design: Create a rough sketch of your desired built-in design. Consider the configuration of the bookshelves, including the positioning of vertical dividers, if desired. Visualize how the bookshelves will fit into the space and how they will align with other furniture or architectural features.
3. Consider Electrical Outlets: If you plan to include lighting or any electrical components within your built-ins, make sure to account for the positioning of electrical outlets. Consult with a professional electrician if needed to ensure compliance with safety standards.
4. Check for Level: Use a level to check if the floor and walls are level. This is important to ensure that your bookshelves will be installed straight and not appear uneven or crooked.
5. Create a Materials List: Based on your measurements and planned design, create a list of materials needed for the installation, including any additional tools or hardware. This may include screws, brackets, anchors, and wood filler. Make sure to gather all the necessary items before you begin the installation process.
Once you have completed these steps, you will have a clear plan for how to proceed with the installation. It’s crucial to measure twice and cut once to ensure a seamless and professional-looking outcome. Now, let’s move on to the next step – removing baseboards and trim.
Removing Baseboards and Trim
To achieve a built-in look for your bookshelves, you’ll need to remove any existing baseboards and trim along the walls where the bookshelves will be installed. Here’s how to do it:
1. Gather the Necessary Tools: Before you begin, gather the tools you’ll need, including a pry bar, a utility knife, a small crowbar, a hammer, and a putty knife.
2. Mark the Baseboards: Use a pencil to mark the location of the baseboards and trim that need to be removed. This will help you remember where they go once it’s time to reinstall them.
3. Score the Edges: Run a utility knife along the top edge of the baseboards and trim where they meet the wall. This will help prevent any chipping or damage to the wall during removal.
4. Loosen the Baseboards: Insert a small pry bar or a putty knife between the baseboard and the wall. Gently pry the baseboard away from the wall, working your way along the length until it becomes loose. Be careful not to damage the baseboard in the process.
5. Remove the Baseboards: Once the baseboards are loose, carefully pull them away from the wall. If necessary, use a small crowbar or a hammer to assist in removing stubborn sections if the baseboards are nailed or glued in place.
6. Take Out the Trim: Follow the same steps for removing any trim along the walls, such as chair rail, crown molding, or picture rail.
7. Label and Store: As you remove the baseboards and trim, label them accordingly with masking tape or a marker to indicate their location. This will make reinstalling them later much easier. Store them in a safe place until the installation process is complete.
By removing the baseboards and trim, you’ll create a clean and seamless wall surface for the bookshelves to be flush against. With this step complete, you’re ready to move on to securing the bookshelves to the wall.
Securing Bookshelves to the Wall
Once you have removed the baseboards and trim, it’s time to secure the bookshelves to the wall. This step is crucial to ensure stability and safety. Follow these steps for a secure installation:
1. Locate Wall Studs: Use a stud finder to locate the wall studs along the area where the bookshelves will be installed. Wall studs provide the necessary support for anchoring the bookshelves.
2. Mark the Studs: Mark the location of each stud with a pencil. This will guide you in placing the screws or brackets to secure the bookshelves.
3. Attach Bookshelves: Depending on the design of your bookshelves, there are a few methods for securing them to the wall:
- If your bookshelves have an open back panel, drill pilot holes into the back of the bookshelf at the locations of the wall studs. Use screws to secure the bookshelf directly into the studs.
- If your bookshelves have a solid back panel, consider using L-brackets or metal brackets to attach the bookshelves to the wall. Position the brackets at the top, bottom, and sides of the bookshelf, aligning them with the wall studs. Use screws or anchors as needed for added stability.
- For freestanding bookshelves, consider anchoring them to the wall using an anti-tip kit. These kits include straps or brackets that attach to the bookshelf and the wall, preventing tipping and ensuring the safety of children or pets.
4. Level and Secure: Use a level to ensure the bookshelves are straight and aligned. Adjust as needed before fully securing them into place. Double-check that all screws or brackets are tightened securely to provide stability.
5. Reinstall Baseboards: Now that the bookshelves are secured to the wall, you can reinstall the baseboards and trim that you removed earlier. Align them with the marked locations and use a nail gun or appropriate adhesive to attach them securely.
By following these steps, your bookshelves will be secure and stable, creating the illusion of custom built-ins. Next, we’ll cover the process of filling gaps and holes to enhance the seamless look of your newly installed bookshelves.
Use trim and molding to create a seamless built-in look for your IKEA bookshelves. By adding trim to the top, bottom, and sides, you can give the shelves a custom, built-in appearance.
Read more: How To Make Pallet Bookshelves
Filling Gaps and Holes
After securing the bookshelves to the wall, you may notice small gaps or holes between the bookshelves and the surrounding walls. Filling these gaps will help achieve a polished and seamless built-in look. Here’s how to do it:
1. Assess the Gaps: Carefully inspect the areas where there are noticeable gaps between the bookshelves and the walls. Measure the width and depth of these gaps to determine the appropriate filler material.
2. Choose the Filler Material: Depending on the size of the gaps, you can use different materials for filling. For small gaps, lightweight spackling compound or wood filler can be used. For larger gaps, consider using foam backer rod or strips of wood to provide more substantial support.
3. Apply the Filler: Fill the gaps by applying the chosen filler material. For spackling compound or wood filler, use a putty knife to spread it evenly across the gap until it is level with the surrounding surface. For foam backer rod or wood strips, press them firmly into the gap until they are snugly in place.
4. Smooth and Sand: Once the filler material has dried, use sandpaper or a sanding block to smooth the filled areas. Sand in a gentle circular motion until the filler is flush with the surrounding surface. This will create a seamless transition between the bookshelves and the walls.
5. Prime and Paint: If necessary, apply a coat of primer to the filled areas to ensure better paint adhesion. Once the primer is dry, paint over the entire bookshelf and the filled gaps with the desired color. Use a brush or roller for a smooth and even finish.
6. Touch-Up: After painting, inspect the filled areas for any imperfections or rough spots. If needed, lightly sand and apply a second coat of paint to achieve a flawless finish.
By filling the gaps and holes, you will create a seamless and professional-looking installation. The next step is to add crown molding to enhance the aesthetic appeal of your bookshelves turned built-ins.
Adding Crown Molding
One of the most elegant finishing touches you can add to your built-in bookshelves is crown molding. Crown molding not only adds a touch of sophistication but also creates a seamless transition between the bookshelves and the ceiling. Here’s how to add crown molding to your built-ins:
1. Select the Crown Molding: Visit your local home improvement store to choose crown molding that matches your style and complements the overall design of the room. Consider the height, width, and profile of the molding to ensure it fits well with the scale and aesthetic of your built-ins.
2. Measure and Cut: Measure the length of the top of your bookshelves and mark the corresponding measurements on the crown molding. Use a miter saw or coping saw to make precise cuts at a 45-degree angle. Make sure to cut the molding with the correct orientation – inside or outside – depending on the direction of the corner.
3. Install the Crown Molding: Start by applying a thin bead of construction adhesive along the backside of the crown molding. Carefully position the molding at the top front edge of the bookshelves, pressing it firmly against the wall. Secure the molding in place using finish nails or a nail gun, making sure to nail into the studs or use appropriate anchors for extra support.
4. Fill Nail Holes: After the crown molding is installed, use wood filler to fill any visible nail holes or gaps at the joints. Once the filler is dry, carefully sand the filled areas to create a smooth and seamless finish.
5. Prime and Paint: Apply a coat of primer to the crown molding, allowing it to dry completely. Then, paint the molding with your chosen color, ensuring an even and smooth finish. Use a brush or small roller for precision.
6. Touch-Up: After painting, inspect the crown molding for any imperfections or rough spots. If needed, lightly sand and apply a second coat of paint to achieve a flawless finish.
Adding crown molding to your built-ins will give them a custom and high-end look. The next step is to paint or stain your bookshelves to complement the overall style of the room.
Painting or Staining
After installing crown molding, the next step is to paint or stain your bookshelves to achieve the desired look and seamlessly blend them with the rest of the room’s décor. Whether you prefer a painted or stained finish, here’s how to transform your bookshelves:
1. Prepare the Surface: Before applying paint or stain, ensure that the bookshelves are clean and free of dust or debris. Use a damp cloth or mild cleaner to wipe down the surfaces. If your bookshelves are made of unfinished wood, consider lightly sanding them to create a smooth surface for better paint or stain adhesion.
2. Choose Your Finish: Decide whether you want to paint or stain your bookshelves. The choice will depend on the look you want to achieve and the existing color scheme of the room. Paint offers a wide range of color options and allows you to customize your bookshelves to match your style. Stain, on the other hand, enhances the natural beauty of the wood grain while adding a touch of warmth.
3. Painting Process:
- Primer: If you are painting your bookshelves, start by applying a coat of primer to ensure better paint adhesion and a more even finish. Follow the manufacturer’s instructions and allow the primer to dry completely.
- Paint: Once the primer is dry, apply two or more coats of paint to achieve the desired color and coverage. Use a brush or roller for larger surfaces and a smaller brush for corners and edges. Allow each coat to dry before applying the next. Consider using a paint with a durable finish to withstand daily use and potential scuffs.
4. Staining Process:
- Preparation: If you are staining your bookshelves, ensure that the wood is clean and free from any dirt or previous finishes. Consider using a wood conditioner or pre-stain to promote an even stain application.
- Stain Application: Follow the manufacturer’s instructions for your chosen stain. Using a brush or a clean cloth, apply the stain in even, smooth strokes, following the direction of the wood grain. Allow the stain to penetrate for the recommended amount of time before wiping off any excess. If desired, apply additional coats of stain for a darker color.
- Protective Finish: Once the stain is completely dry, consider applying a protective finish, such as polyurethane or a clear coat, to seal the wood and enhance its durability. Apply the protective finish according to the manufacturer’s instructions, ensuring even coverage.
5. Touch-Up: After painting or staining, inspect the bookshelves for any areas that may need touch-up or additional coats. Use sandpaper to smooth out any imperfections and touch up with paint or stain as needed.
With your bookshelves painted or stained, they will seamlessly blend into your space, completing the transformation into stunning built-ins. The final step is to arrange and style your newly transformed bookshelves.
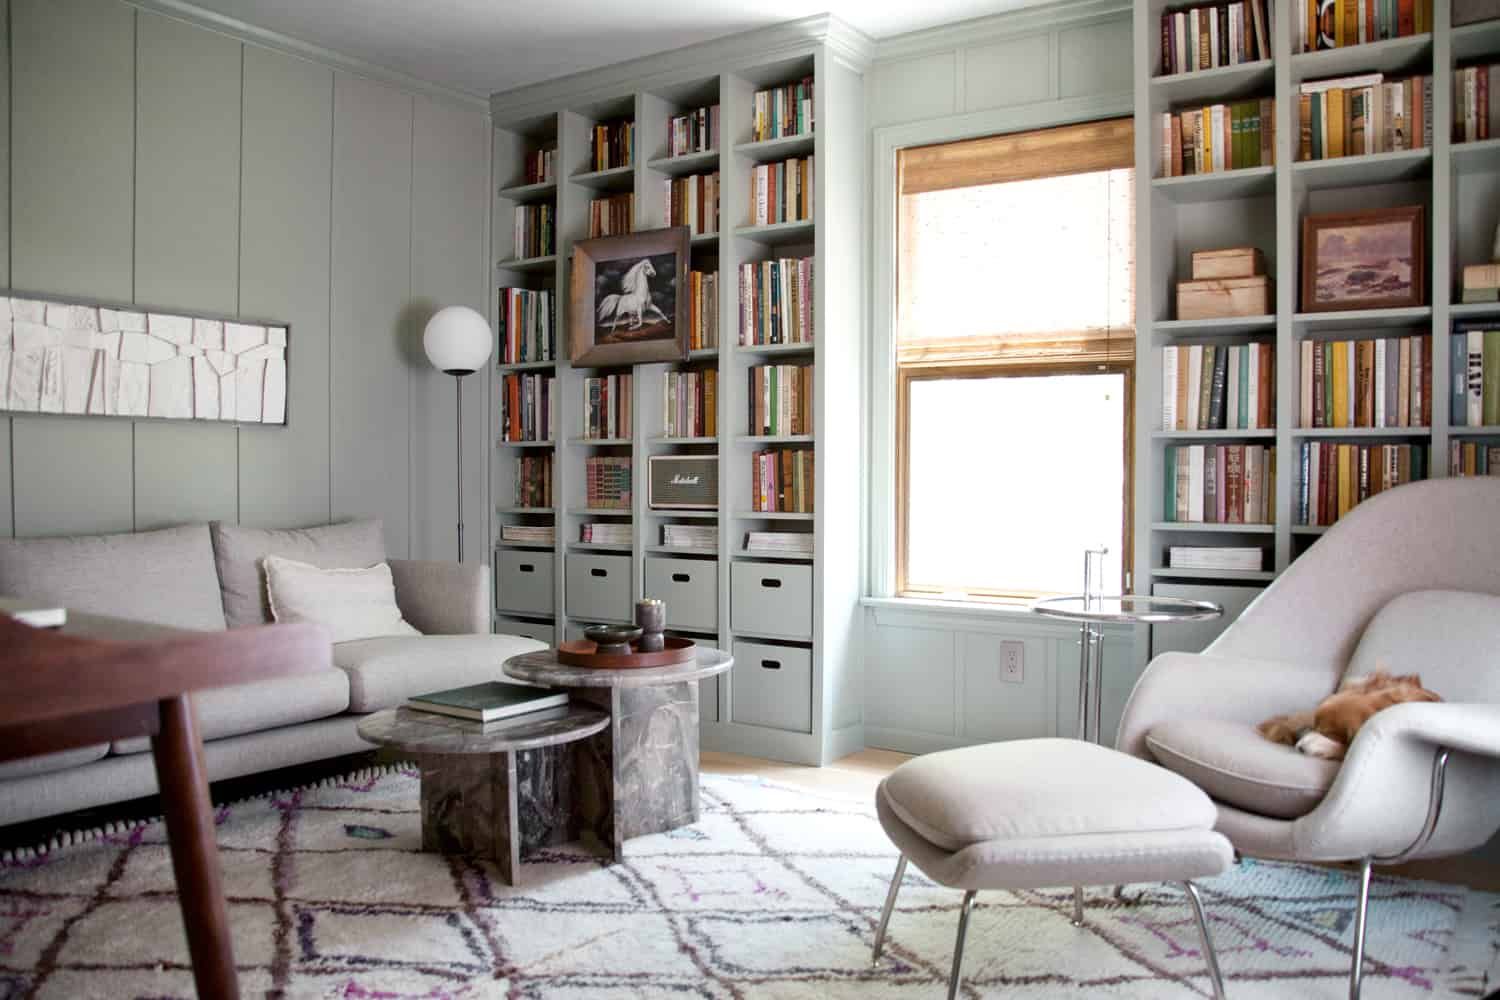
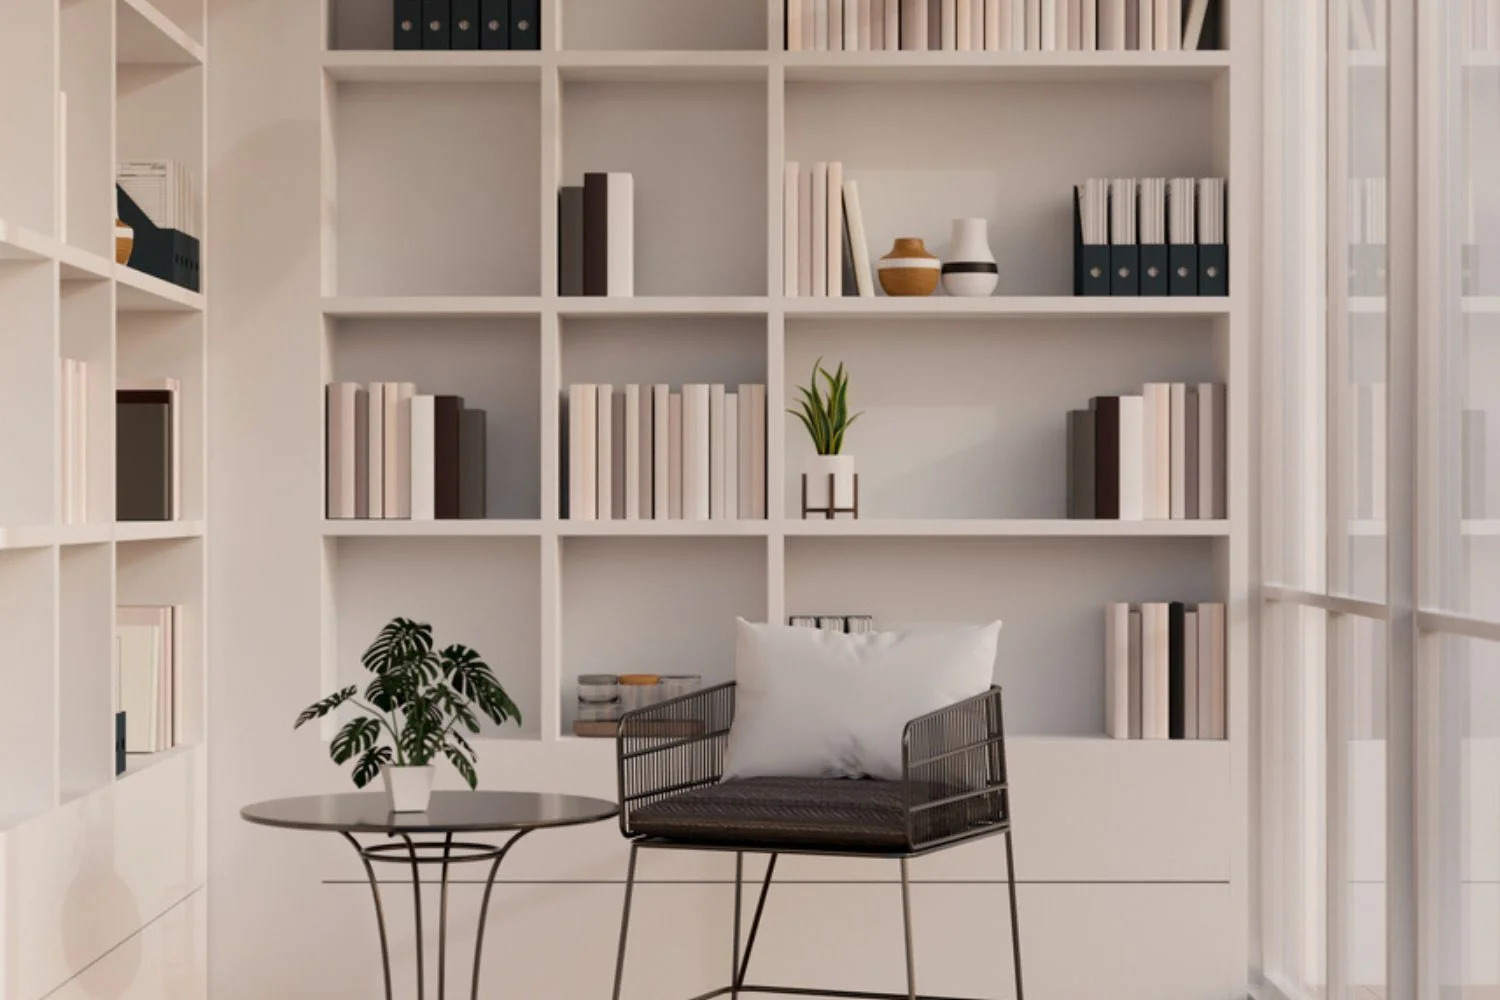
Arranging and Styling the Bookshelves
Once you have completed the installation and customization of your built-in bookshelves, it’s time to arrange and style them for a visually appealing and functional display. Here are some tips to help you create a cohesive and attractive arrangement:
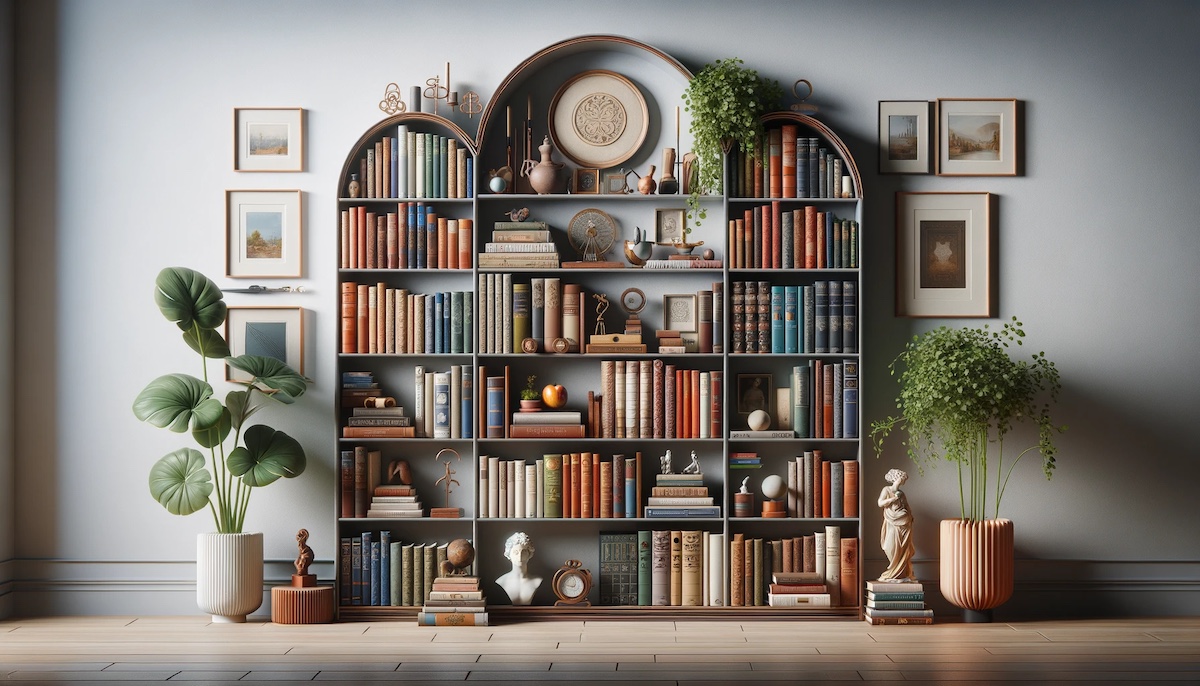
1. Group Similar Items: Start by categorizing your items and grouping similar ones together. This will help create a sense of organization and make it easier to find specific books or objects. Consider grouping books by genre, color, or size, and arrange decorative items by theme or style.
2. Use a Mix of Vertical and Horizontal Stacking: Varying the orientation of your books adds visual interest and breaks the monotony. Mix vertical and horizontal stacks to create balance and texture. You can also include bookends or decorative objects to anchor the stacks.
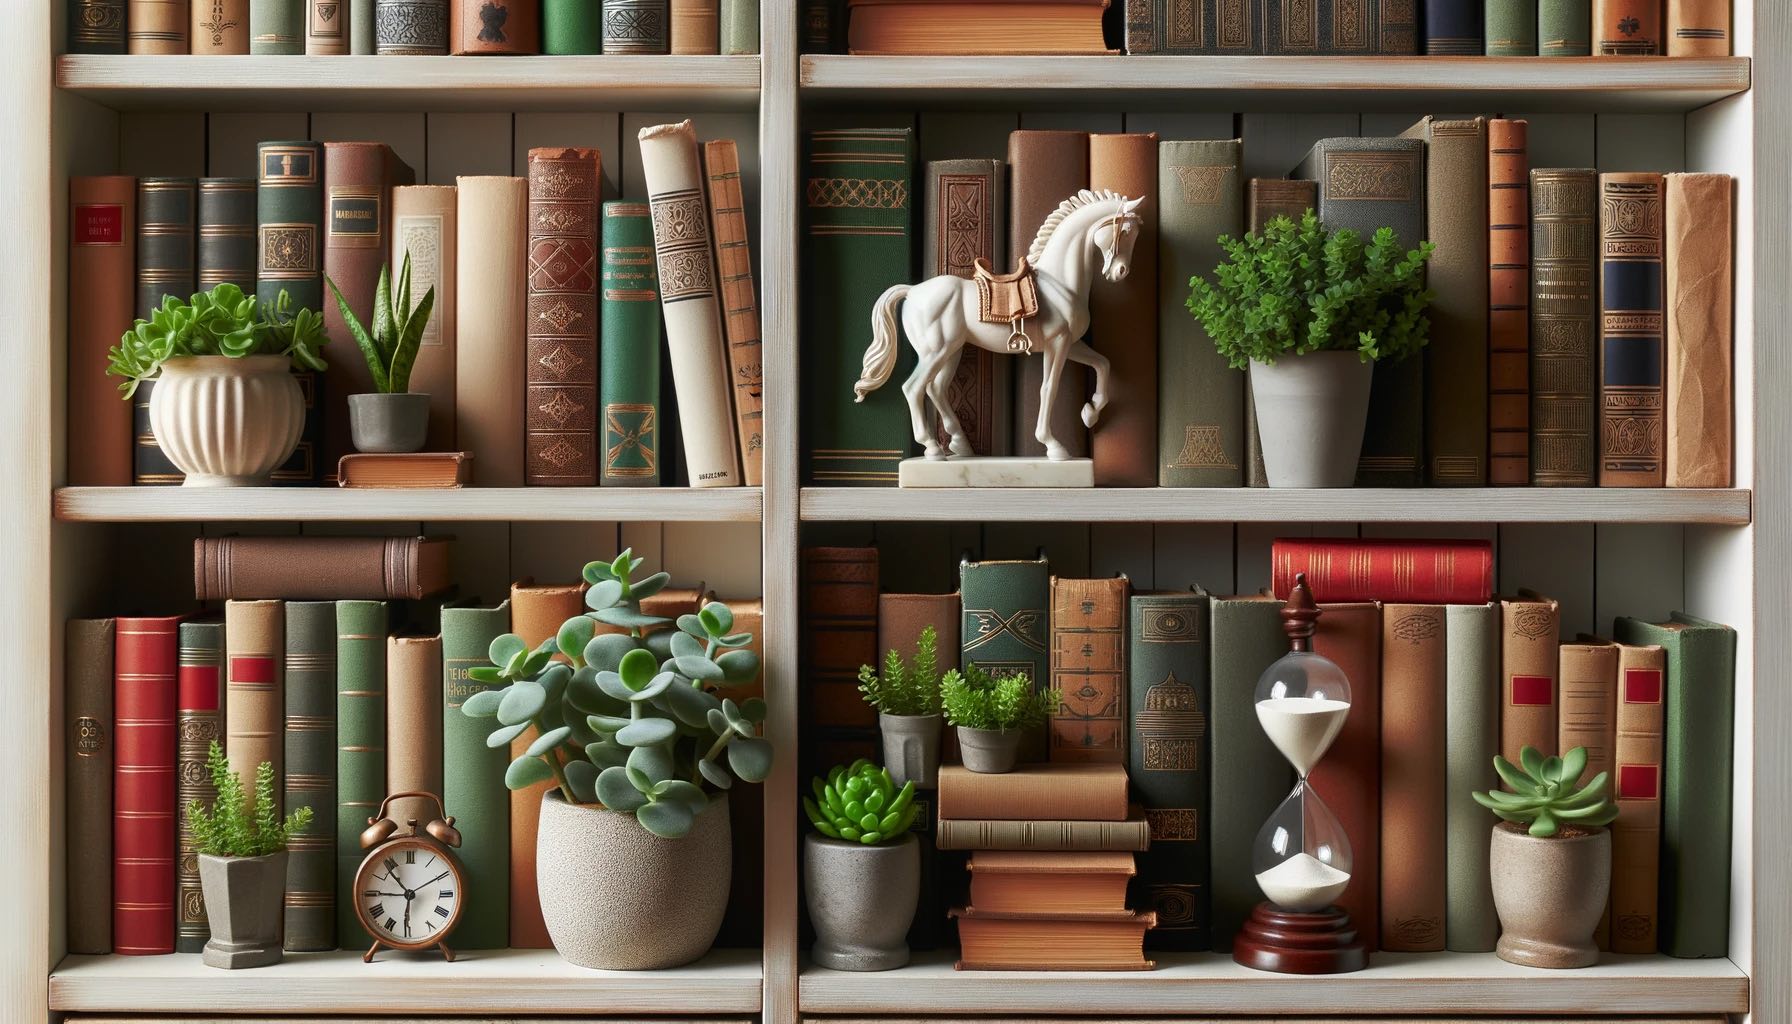
3. Play with Heights: Create visual appeal by incorporating items of different heights. Use taller objects such as vases, candle holders, or sculptures to add vertical interest, while shorter items like small plants or framed photos can fill in the gaps and provide balance.
4. Balance Colors and Textures: Consider the color scheme of your room and choose items that complement it. Arrange books and objects in a way that distributes colors and textures evenly throughout the shelves. Introduce pops of color or metallic accents to add visual interest.
5. Add Decorative Elements: Include decorative items such as artwork, mirrors, or framed photos to break up the book display and add a personal touch. Lean artwork against the back of the shelves or hang it at eye level to create layers and depth.
6. Negative Space: Closely packed shelves can look cluttered, so remember to leave some negative space. This will allow the eye to rest and highlight the curated items on display. Experiment with different spacing options until you find a balanced arrangement.
7. Regularly Rearrange and Update: Don’t be afraid to rearrange your bookshelves periodically to keep the display fresh and dynamic. Swap out decorative items, rotate book arrangements, and incorporate seasonal touches to reflect your evolving style and interests.
8. Lighting: Consider adding lighting elements, such as small LED strip lights or battery-operated puck lights, to illuminate your bookshelves and create a cozy ambiance. Strategically place the lights to highlight focal points and create a warm glow.
Remember, arranging and styling your bookshelves is a creative process that allows you to showcase your personality and bring a sense of harmony to the room. Take your time to experiment and find a layout that speaks to you and complements the overall design of your space.
With your bookshelves expertly arranged and styled, step back and admire the transformation you have achieved – custom built-ins that are not only functional but also visually stunning.
Read more: How To Make Floor To Ceiling Bookshelves
Conclusion
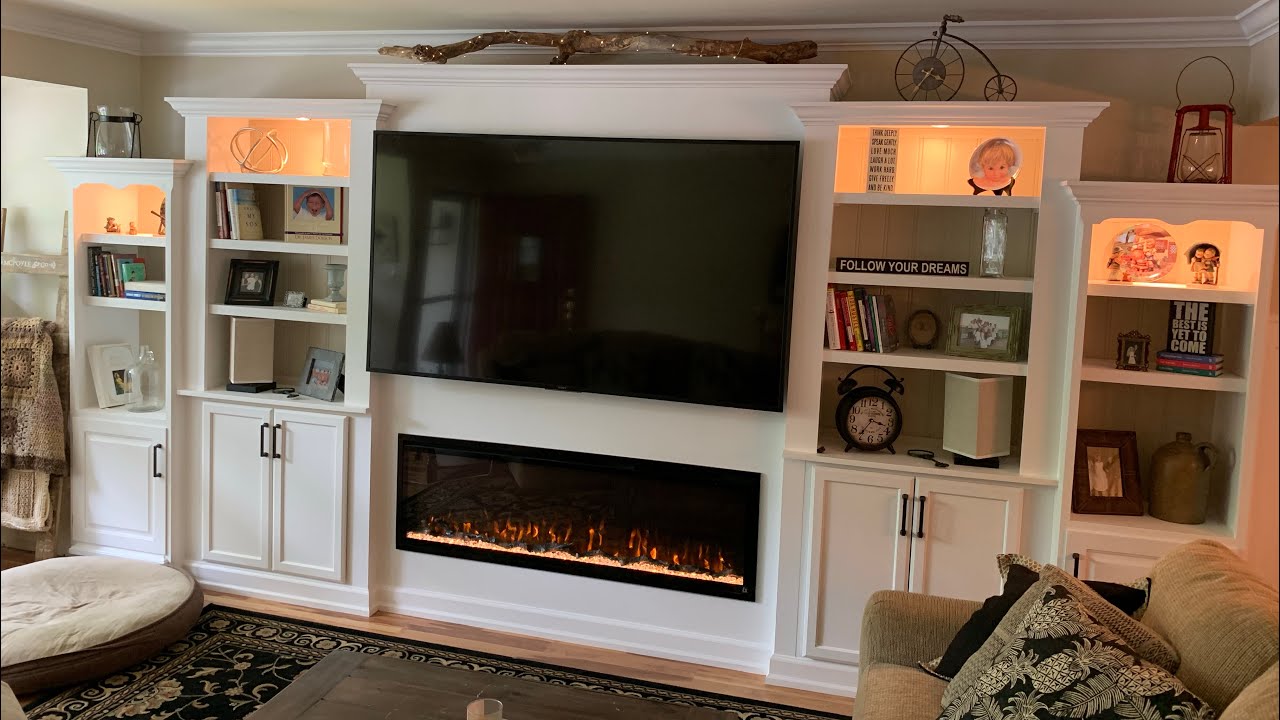
Transforming your ordinary IKEA bookshelves into beautiful built-in pieces can add character, functionality, and a sense of custom design to your space. By following the steps outlined in this article, you can create stunning built-ins that seamlessly blend with your existing decor.
From choosing the right bookshelves and measuring the space to securing them to the wall and adding finishing touches like crown molding, painting or staining, and arranging and styling, each step plays a vital role in achieving a cohesive and visually appealing look.
Through careful planning and attention to detail, you can create the illusion of expensive custom built-ins at a fraction of the cost. The result will be a personalized space that reflects your style and provides a functional storage and display solution for your books and treasured items.
Remember to embrace your creativity and experiment with different arrangements and styling options. Regularly refresh the look by rearranging and updating the items on display.
With a little DIY skill and some office furniture know-how, you can transform your IKEA bookshelves into impressive built-ins that will enhance the aesthetic appeal of any room. So go ahead, embark on this exciting project, and enjoy the satisfaction of creating a customized and visually captivating space.
Frequently Asked Questions about How To Make IKEA Bookshelves Look Built In
Was this page helpful?
At Storables.com, we guarantee accurate and reliable information. Our content, validated by Expert Board Contributors, is crafted following stringent Editorial Policies. We're committed to providing you with well-researched, expert-backed insights for all your informational needs.


0 thoughts on “How To Make IKEA Bookshelves Look Built In”