
Articles
How To Install A Chimney Cap
Modified: October 20, 2024
Learn how to install a chimney cap with these step-by-step articles. Protect your chimney from debris and pests.
(Many of the links in this article redirect to a specific reviewed product. Your purchase of these products through affiliate links helps to generate commission for Storables.com, at no extra cost. Learn more)
Introduction
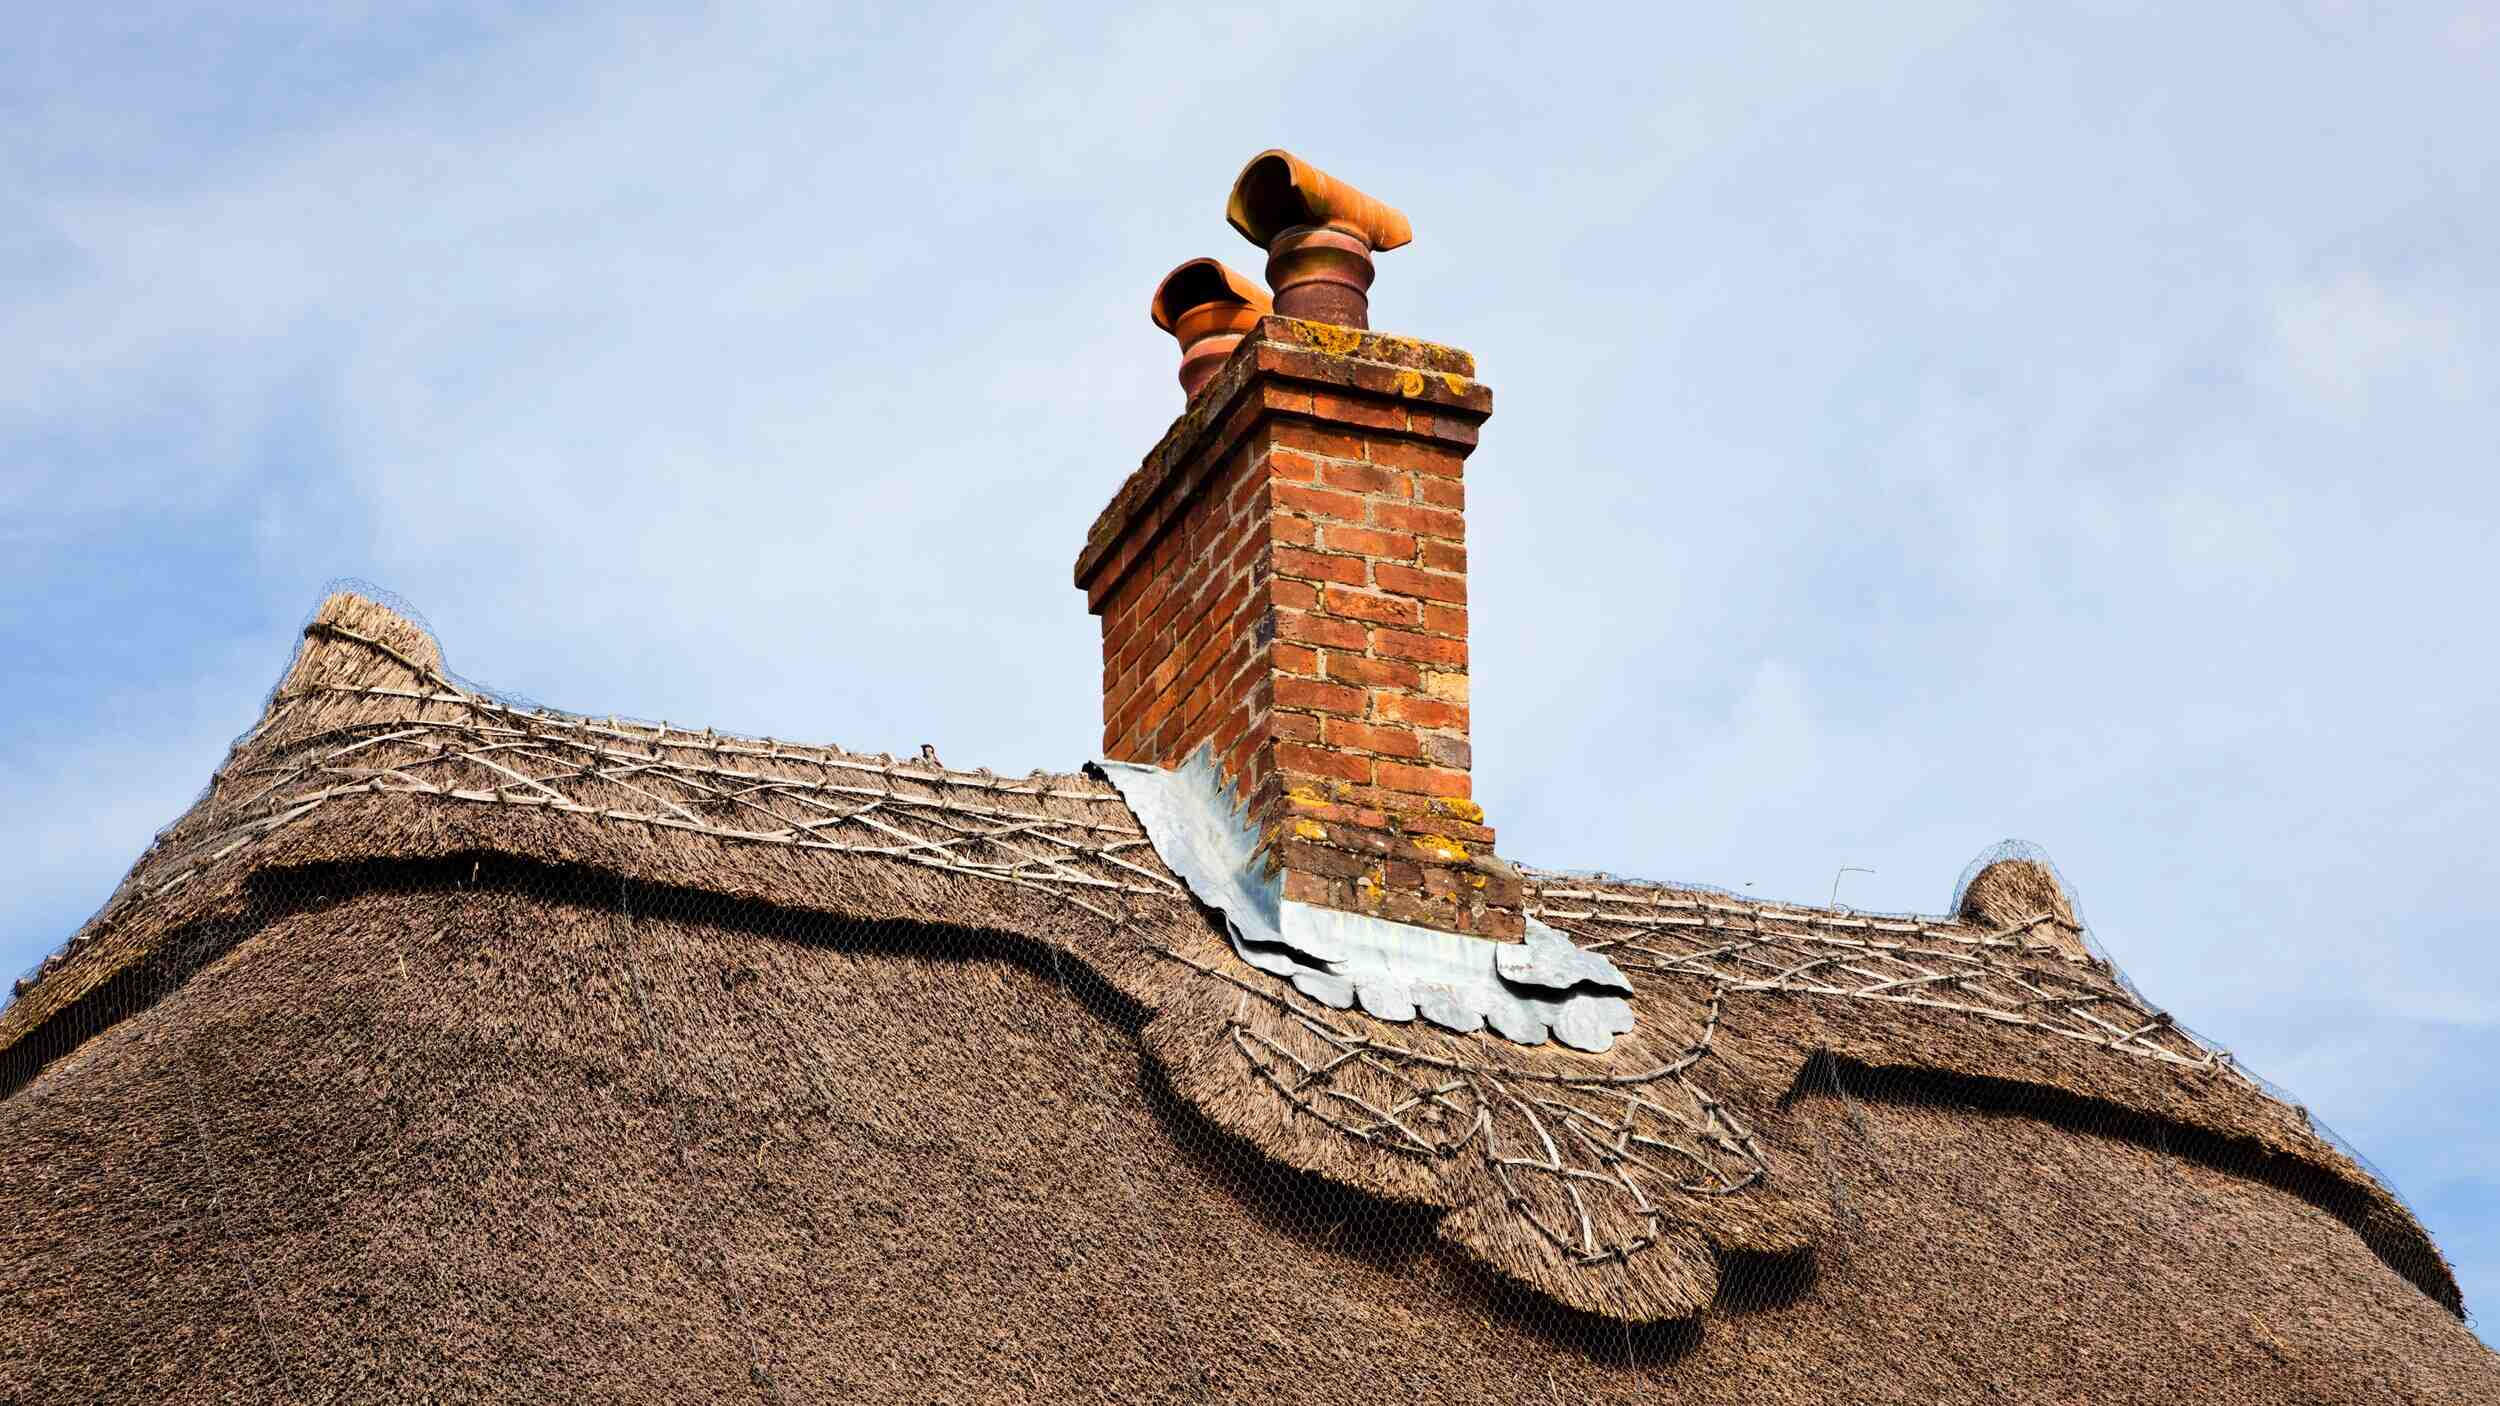
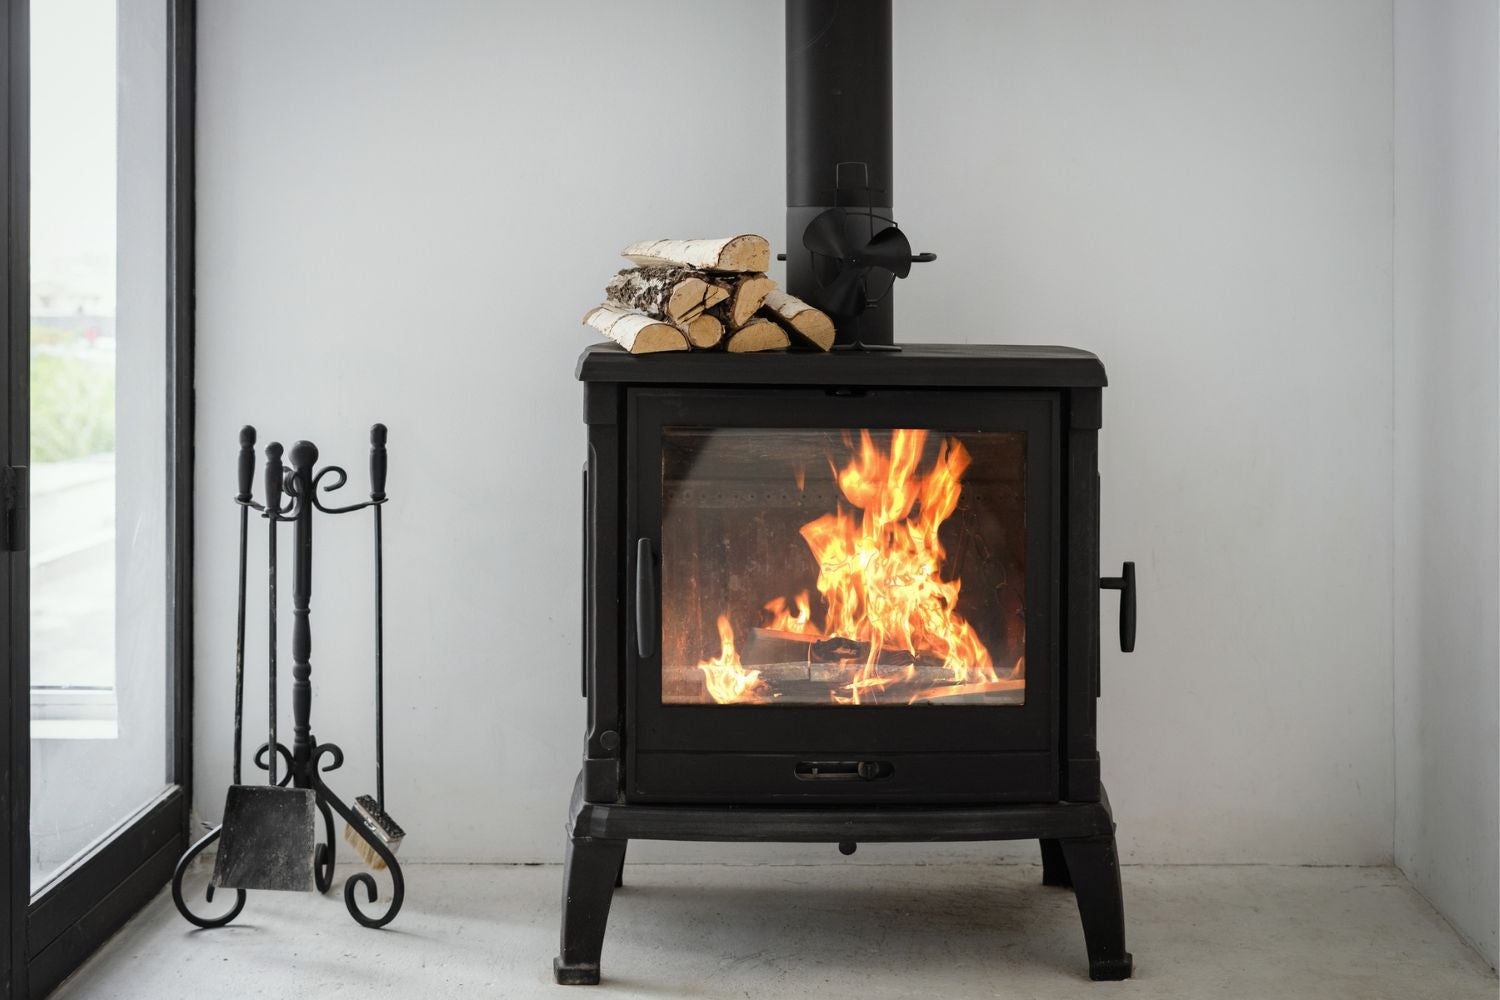
Welcome to our comprehensive guide on how to install a chimney cap. A chimney cap is an essential component for any chimney system, as it helps to protect your home from various elements, such as rain, snow, debris, and small animals. Additionally, it can improve the overall efficiency of your chimney by preventing downdrafts and increasing airflow. Whether you are a seasoned DIY enthusiast or just starting out with home maintenance, this step-by-step guide will provide you with all the information you need to successfully install a chimney cap.
Before getting started, it’s important to note that while installing a chimney cap may seem like a straightforward task, it requires some basic knowledge of chimney systems and the use of proper tools. If you are not comfortable working at heights or unsure about any aspect of the installation, it is always recommended to consult a professional chimney technician to ensure a safe and efficient installation process.
In this guide, we will walk you through each step of the installation process, from gathering the necessary materials to properly securing the chimney cap. By following these instructions, you can protect your chimney and enhance its functionality for years to come.
Key Takeaways:
- Proper chimney cap installation protects your home from elements and enhances chimney efficiency. Gather materials, measure dimensions, and choose the right cap for long-lasting protection and improved airflow.
- Regular testing and maintenance ensure the chimney cap’s effectiveness. Test for smoke ventilation, water resistance, and debris blockage to maintain optimal chimney functionality and a safer home environment.
Read more: How Much Does It Cost To Cap A Chimney
Step 1: Gather necessary materials
Before starting the installation process, it’s essential to gather all the necessary materials. Having everything on hand will save you time and ensure a smooth installation process. Here is a list of materials you will need:
- Chimney cap – Choose a chimney cap that is suitable for your specific chimney type and size. It is recommended to opt for a high-quality cap made of durable materials.
- Measuring tape – This will be used to measure the dimensions of your chimney for selecting the correct size cap.
- Work gloves – Protect your hands from any sharp edges or rough surfaces during the installation process.
- Safety goggles – Prevent any debris or particles from getting into your eyes while working on the chimney.
- Screwdriver or drill – Depending on the type of chimney cap, you may need a screwdriver or drill to secure it in place.
- Fasteners – These will be used to secure the chimney cap onto the chimney. Ensure that you have the appropriate fasteners for your specific cap and chimney material.
- Silicone sealant – This will help create a watertight seal between the chimney cap and the chimney, preventing any moisture from entering.
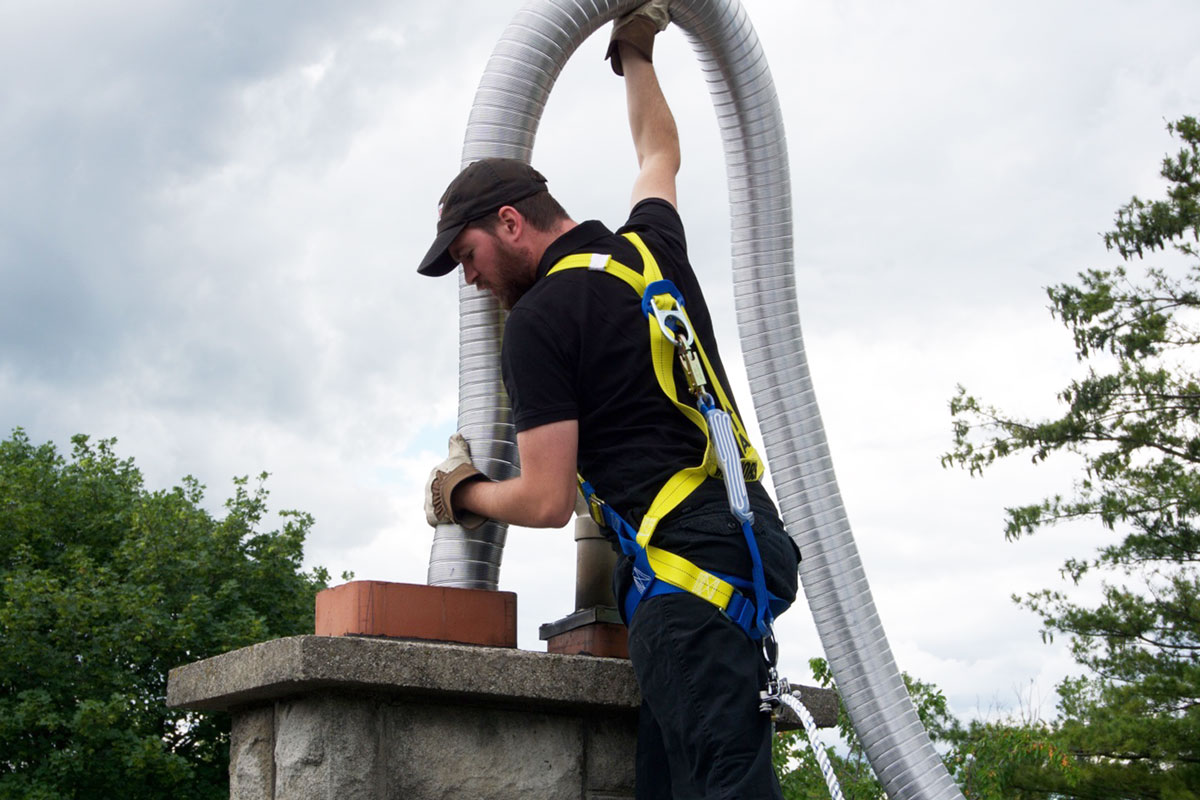
- Ladder or scaffolding – You will need a safe and stable platform to access the top of the chimney. Make sure the ladder or scaffolding is in good condition.
By gathering all these materials before starting the installation, you can work efficiently and minimize any interruptions or delays. Once you have everything ready, you can proceed to the next step of preparing the chimney for the installation process.
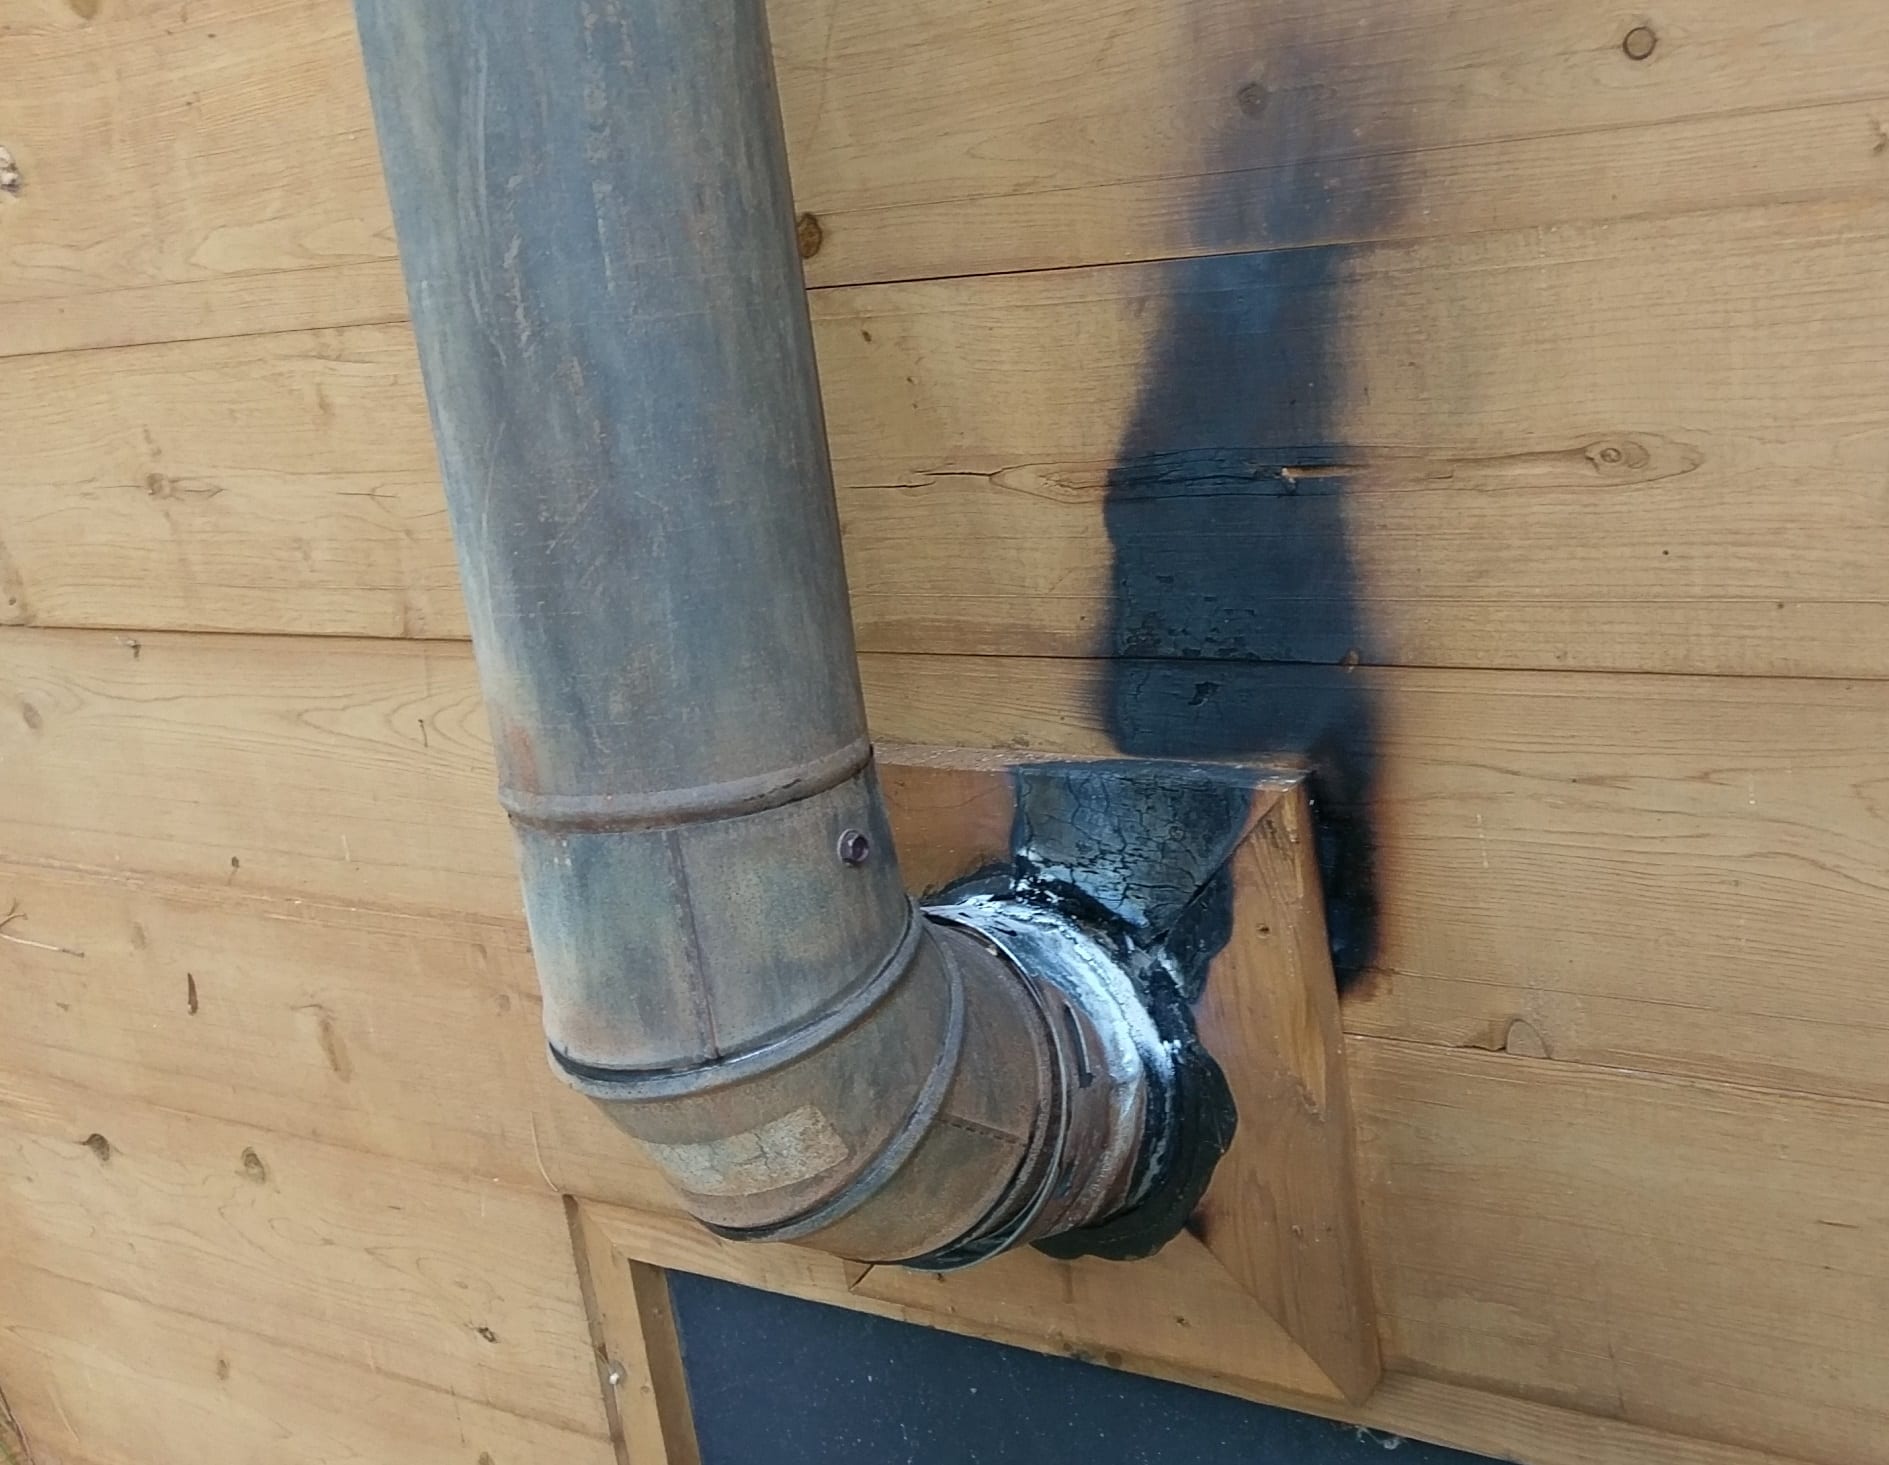
Step 2: Prepare the chimney
Before installing the chimney cap, it is crucial to prepare the chimney to ensure a secure and proper fit. Here are the steps to prepare the chimney for installation:
- Inspect the chimney: Take a close look at the chimney structure to ensure there are no cracks, loose bricks, or other structural issues. It is important to address any necessary repairs before installing the chimney cap.
- Clean the chimney: Remove any debris, such as leaves, twigs, and bird nests, from the chimney. This will ensure a clean and clear installation area.
- Remove the old cap (if applicable): If you are replacing an old chimney cap, carefully remove it using the appropriate tools. Inspect the condition of the cap and determine if it needs replacement.
- Check for obstructions: Look for any obstructions, such as tree branches or overhanging plants, near the chimney. Trim or remove them to prevent any interference with the chimney cap.
- Inspect the chimney liner: If your chimney has a liner, check its condition and make sure there are no cracks or gaps. A damaged liner may require repair or replacement before installing the chimney cap.
- Ensure proper ventilation: It is essential to have adequate ventilation for your chimney. Check that the chimney flue is open and unobstructed to allow proper airflow.
By preparing the chimney before installation, you ensure a stable and secure foundation for the chimney cap. It is important to address any necessary repairs or maintenance to maintain the longevity and efficiency of your chimney system.
Step 3: Measure the chimney cap dimensions
Accurate measurement of the chimney dimensions is crucial in selecting the right size chimney cap for your installation. Follow these steps to measure the chimney cap dimensions:
- Height measurement: Use a measuring tape to determine the height of the chimney. Measure from the base of the chimney crown to the top of the flue tile.
- Width measurement: Measure the width of the chimney by wrapping the measuring tape around the widest part of the chimney crown or the outer edge.
- Depth measurement: If your chimney has protruding flue tiles or a decorative crown, measure the depth from the outer edge to the front of the obstruction.
- Flue tile measurement: Measure the dimensions of the flue tile, including the inside height and width. This will help in selecting a chimney cap that fits securely over the flue.
It is important to note that chimney caps are typically available in standard sizes. Choose a chimney cap that closely matches your chimney dimensions. If you have a uniquely shaped or oversized chimney, consider consulting a professional chimney technician who can help you find a suitable custom chimney cap.
Accurate measurements will ensure that the chimney cap fits securely and covers the entire chimney opening, providing maximum protection and performance.
Step 4: Choose the right chimney cap
Choosing the right chimney cap is crucial for the success of your installation. Different types of chimney caps are available, each designed to cater to specific chimney systems and needs. Here are some factors to consider when selecting a chimney cap:
- Chimney type: Determine the type of chimney you have, such as masonry, metal, or prefabricated. Each type may require a different type of chimney cap for optimal fit and performance.
- Chimney size: Refer to the measurements taken in the previous step to select a chimney cap that matches the dimensions of your chimney. A properly fitting chimney cap is essential for its effectiveness.
- Material: Chimney caps come in various materials, such as stainless steel, galvanized steel, copper, or aluminum. Consider the durability, aesthetic appeal, and weather resistance when choosing the material.
- Features: Different chimney caps offer various features, such as spark arrestors, mesh screens, animal guards, or adjustable dampers. Determine the features that best suit your needs, taking into consideration factors like local wildlife or fire safety regulations.
- Budget: Set a budget for your chimney cap and consider the cost-effectiveness of various options. Remember that investing in a high-quality chimney cap will ensure long-term protection and functionality.
When choosing a chimney cap, it is vital to consult the manufacturer’s guidelines and recommendations. Additionally, you can seek advice from a professional chimney technician who can provide expert insights and recommend the best chimney cap for your specific chimney system.
By selecting the right chimney cap, you can ensure effective protection against debris, weather elements, and unwanted pests while maintaining proper airflow and ventilation within your chimney system.
When installing a chimney cap, make sure to measure the dimensions of your chimney flue accurately to ensure the cap fits properly. This will help prevent any water or debris from entering the chimney.
Read more: How To Install End Caps On Gutters
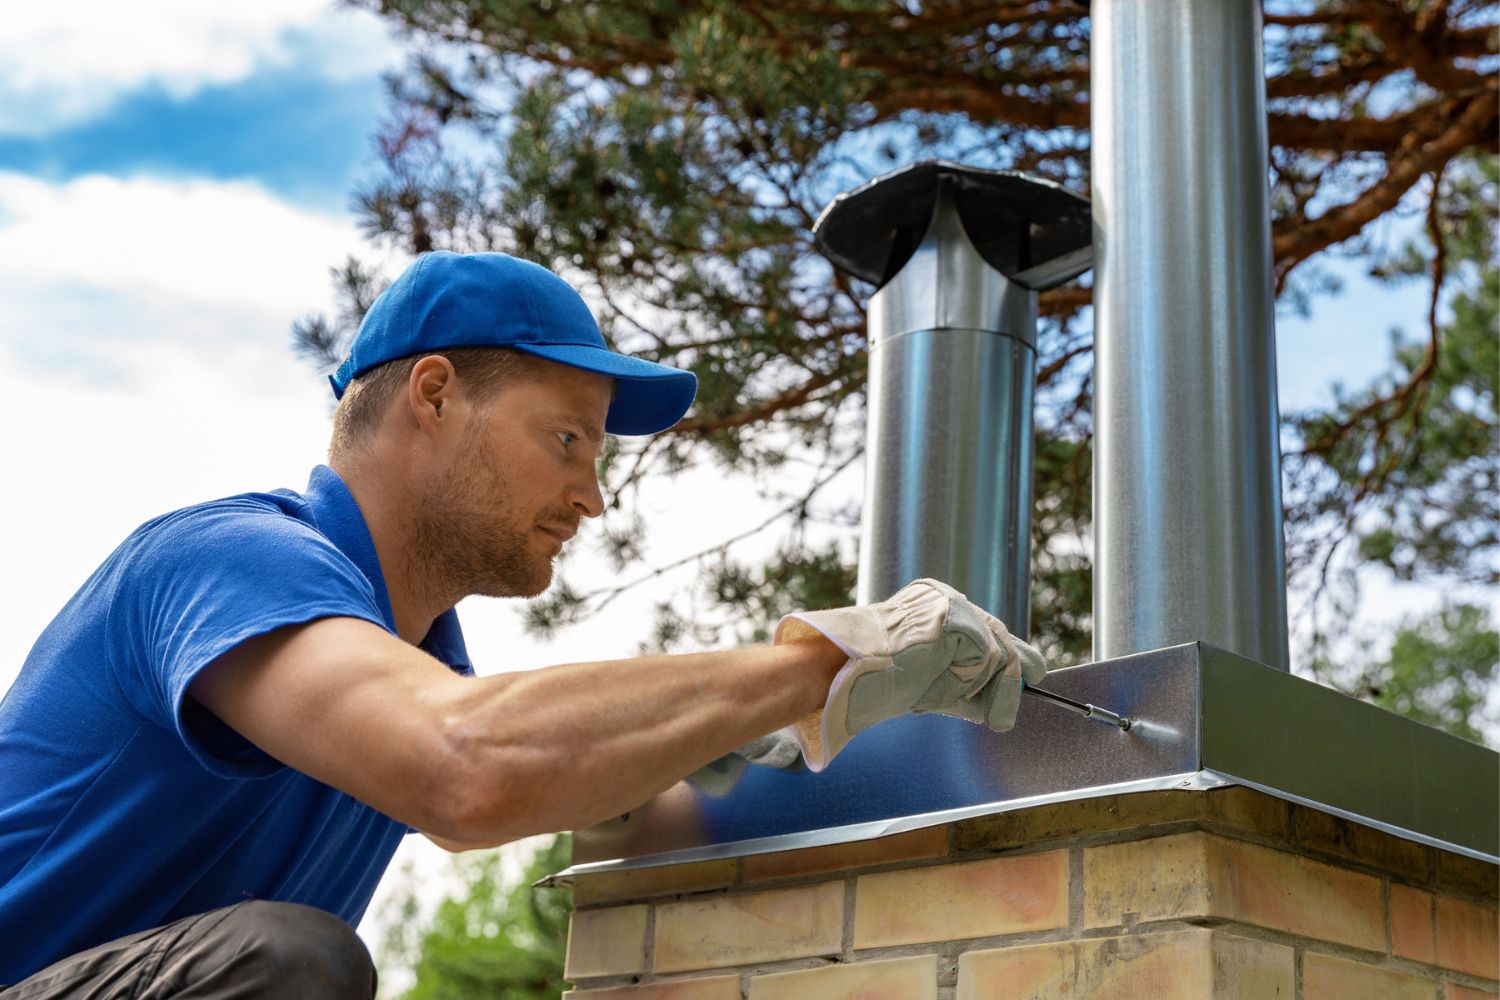
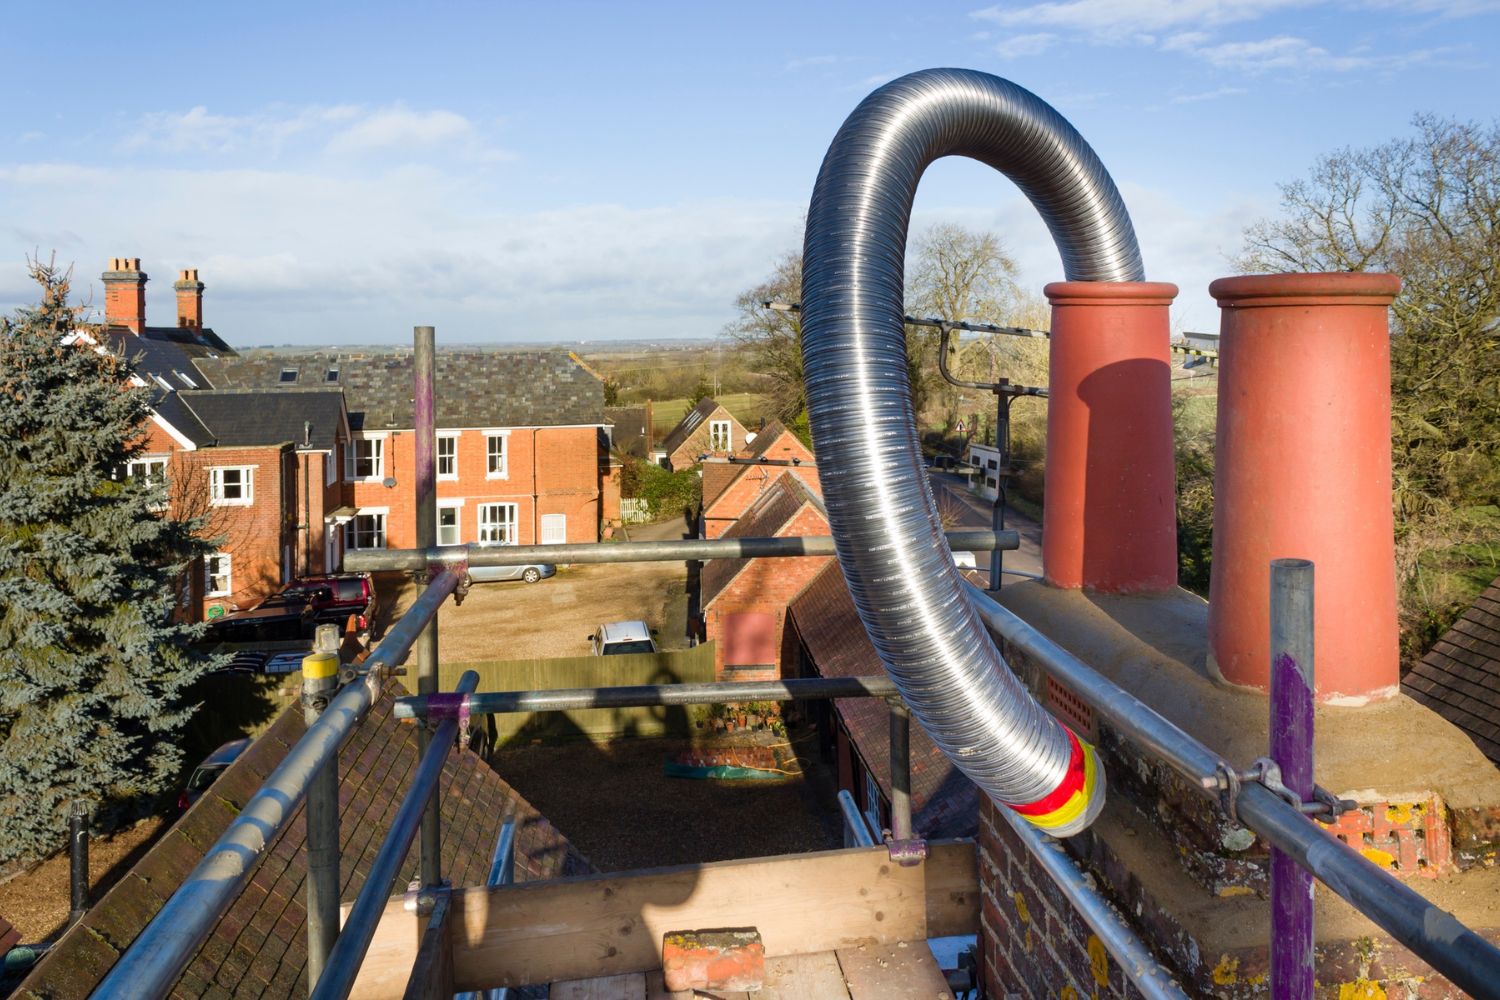
Step 5: Install the chimney cap
Now that you have gathered the necessary materials, prepared the chimney, and selected the right chimney cap, it’s time to proceed with the installation process. Follow these steps to install the chimney cap:
- Position the chimney cap: Carefully position the chimney cap over the flue opening, ensuring that it aligns with the chimney structure. Take careful note of any venting components or obstructions that need to be accommodated.
- Adjust for proper fit: Adjust the chimney cap as needed to ensure a snug and secure fit. The cap should cover the entire flue opening and have enough clearance to allow proper draft and airflow.
- Attach the chimney cap: Depending on the type of chimney cap you have, use the appropriate fasteners and follow the manufacturer’s instructions to secure the cap in place. This may involve screws, clamps, or adhesive depending on the design of the cap.
- Apply silicone sealant: To create a watertight seal, apply a bead of silicone sealant around the base of the chimney cap where it meets the chimney structure. This will help prevent any water leakage and ensure a secure installation.
- Inspect the installation: Step back and visually inspect the chimney cap to ensure it is properly aligned, securely fastened, and level. Double-check that all components are tightly secured and there are no loose connections.
During the installation process, it is important to exercise caution and follow safety guidelines. Use proper safety equipment, such as gloves and safety goggles, and work carefully to prevent any accidents or damage to the chimney or surrounding areas.
Once the chimney cap is securely installed, you are one step closer to enjoying the benefits of enhanced protection and improved chimney efficiency.
Step 6: Secure the chimney cap
To ensure that the chimney cap remains securely in place and withstands the elements, it is important to properly secure it. Follow these steps to secure the chimney cap:
- Tighten fasteners: Double-check that all fasteners, such as screws or clamps, are securely tightened. This will prevent the chimney cap from loosening or shifting over time.
- Inspect for stability: Test the stability of the chimney cap by giving it a slight push or gentle shake. It should remain firmly in place without any wobbling or movement.
- Check for proper alignment: Ensure that the chimney cap is still properly aligned with the flue opening and chimney structure. Make any necessary adjustments if needed.
- Verify weather resistance: Consider the weather conditions in your area and ensure that the chimney cap is designed to withstand those conditions. Check for any gaps or openings that may allow water or debris to enter.
- Install wind-resistant features: If you live in an area prone to strong winds, consider installing additional wind-resistant features, such as wind baffles or stabilizing brackets, to ensure the chimney cap remains in place during gusty conditions.
Regularly inspecting and maintaining the chimney cap will help prolong its lifespan and ensure optimal performance. Keep an eye out for any signs of damage, such as rust or corrosion, and address any issues promptly to prevent further deterioration.
Remember, if you are unsure about any aspect of securing the chimney cap or need assistance, it is always advisable to seek the help of a professional chimney technician who can ensure the best installation and long-term security of the chimney cap.
Step 7: Test the chimney cap
After installing and securing the chimney cap, it is important to test its functionality to ensure it is effectively protecting your chimney and maintaining proper airflow. Follow these steps to test the chimney cap:
- Observe smoke ventilation: Start by lighting a small piece of newspaper or a smoke pellet and hold it near the flue opening while the fireplace or heating appliance is not in use. Watch the smoke to see if it is drawn up and out of the chimney correctly. This indicates that the chimney cap is allowing proper draft and ventilation.
- Check for water resistance: Wait for a rainy day or use a hose to simulate rainfall. Observe if any water is entering the chimney through gaps or openings. If there are any signs of leakage, you may need to readjust the chimney cap or apply additional sealant to ensure proper water resistance.
- Inspect for debris blockage: Regularly check the chimney cap for any accumulation of debris, such as leaves, twigs, or bird nests. This can obstruct airflow and prevent proper ventilation. Remove any debris and clean the chimney cap as needed to maintain its functionality.
- Monitor animal intrusion: Keep an eye out for any signs of animals attempting to enter through the chimney cap. Some chimney caps come with animal guard features to prevent pests from entering. Ensure that these features are working effectively.
Regular testing will help ensure ongoing effectiveness of the chimney cap and identify any potential issues that need to be addressed. By properly maintaining and monitoring the chimney cap, you can enjoy a well-protected chimney system that enhances the overall efficiency and safety of your home.
Conclusion
Installing a chimney cap is a crucial step in protecting your chimney and maintaining its functionality. By following the steps outlined in this guide, you can successfully install a chimney cap and enjoy the benefits it provides.
Remember to gather all the necessary materials, prepare the chimney, and carefully measure the dimensions before selecting the right chimney cap. Proper installation and secure fastening will ensure a long-lasting and effective solution for protecting your chimney from rain, snow, debris, and unwanted pests.
Regularly inspect and maintain the chimney cap to ensure its proper functioning. Test it for smoke ventilation, water resistance, and debris blockage periodically to keep your chimney system in optimal condition.
If you are unsure about any aspect of the installation process or need assistance, it is always advisable to consult a professional chimney technician. They have the expertise and experience to ensure a safe and proper installation.
By installing a chimney cap and maintaining it properly, you can extend the lifespan of your chimney, improve its efficiency, and enjoy a cleaner and safer environment within your home.
So, don your work gloves, gather your tools, and embark on the journey of installing a chimney cap to protect and enhance your chimney system. Happy installation!
Frequently Asked Questions about How To Install A Chimney Cap
Was this page helpful?
At Storables.com, we guarantee accurate and reliable information. Our content, validated by Expert Board Contributors, is crafted following stringent Editorial Policies. We're committed to providing you with well-researched, expert-backed insights for all your informational needs.

0 thoughts on “How To Install A Chimney Cap”