Articles
How To Install Chimney Thatched Roof
Modified: December 7, 2023
Learn how to install a chimney thatched roof with our helpful articles. Find step-by-step instructions and expert tips to ensure a successful installation.
(Many of the links in this article redirect to a specific reviewed product. Your purchase of these products through affiliate links helps to generate commission for Storables.com, at no extra cost. Learn more)
Introduction
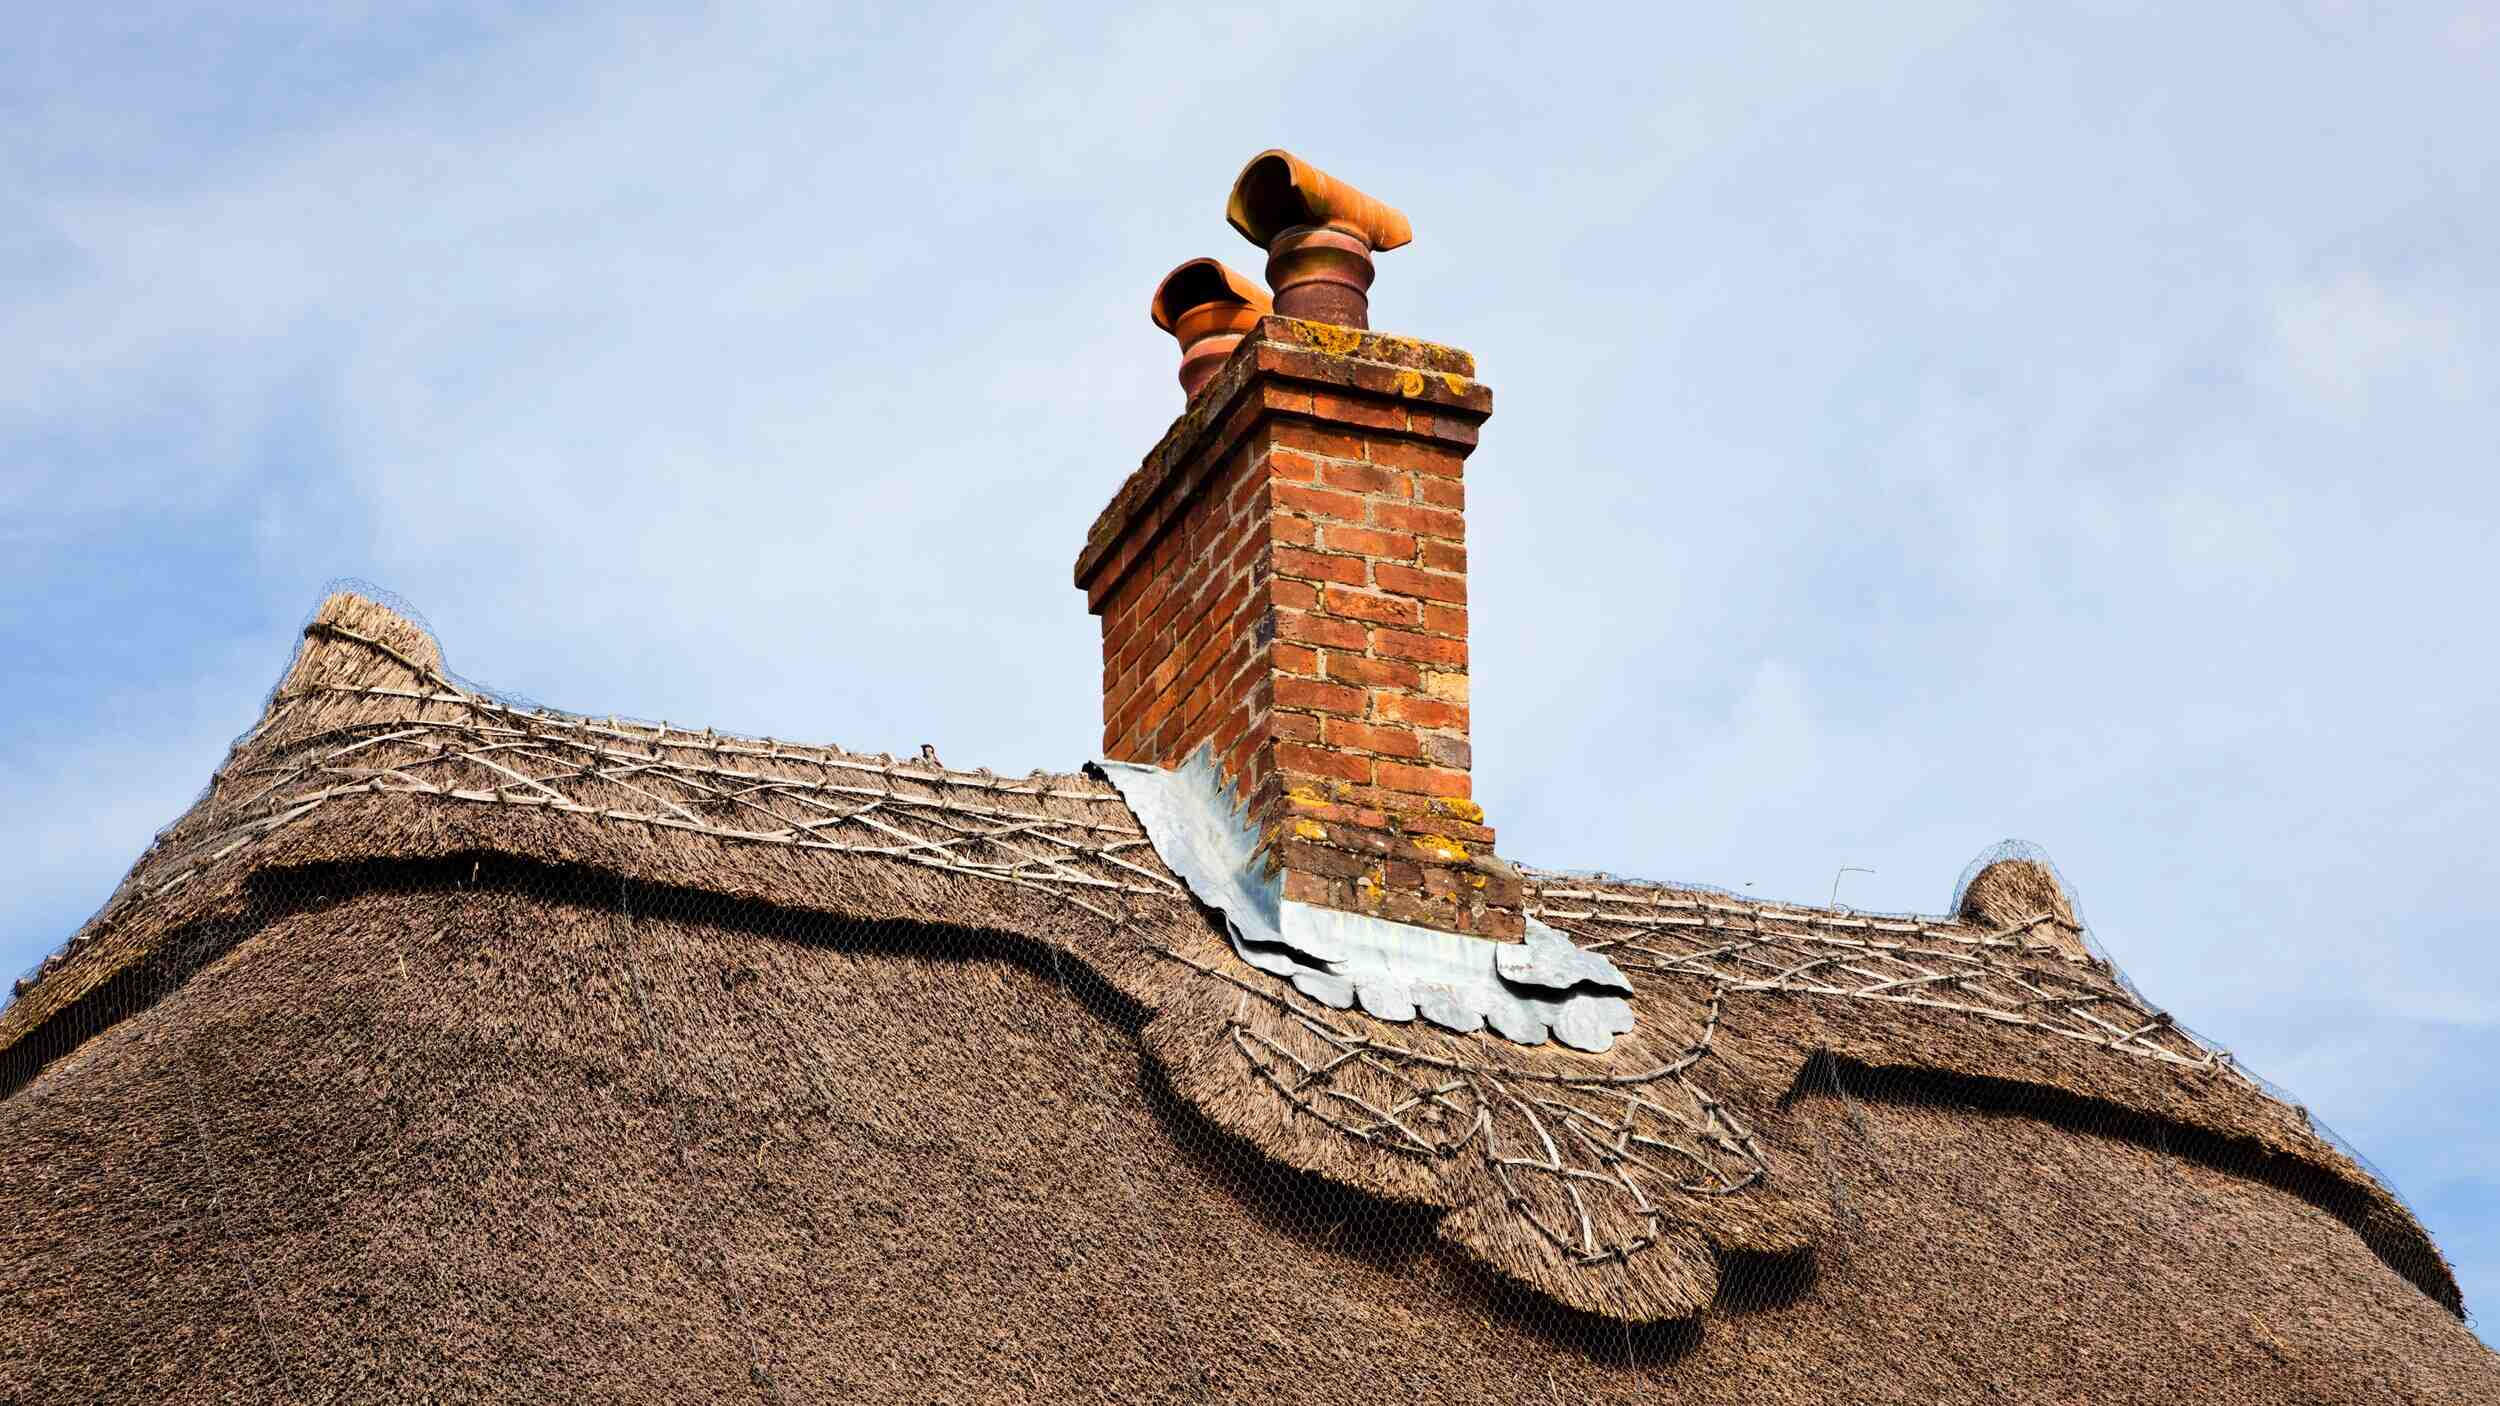
Welcome to our comprehensive guide on how to install a chimney thatched roof! Thatched roofing has a unique charm and adds a touch of rustic elegance to any structure. Whether you are renovating an old chimney or building a new one, installing a thatched roof can be a rewarding and visually pleasing endeavor. In this article, we will walk you through the step-by-step process of installing a chimney thatched roof, from preparing the chimney to putting on the finishing touches.
Before we begin, it is important to note that installing a thatched roof requires some level of skill and expertise. If you are not familiar with roofing tasks or working with thatch, it is recommended to consult a professional or seek guidance from an experienced thatcher. With that said, if you are ready to take on the challenge, let’s get started!
Throughout this guide, we will provide you with detailed instructions and tips to ensure a successful installation. We will cover everything from preparing the chimney to securing the thatch bundles and finishing the project with finesse. So, grab your tools, put on your work gloves, and let’s embark on this thatch-roofing journey together!
Key Takeaways:
- Embrace the timeless charm of a chimney thatched roof by following detailed steps for a DIY installation. Create a visually stunning and durable roof that adds rustic elegance to your structure.
- Ensure the longevity of your chimney thatched roof by meticulously preparing the chimney, securing the thatch bundles, and adding finishing touches. Regular maintenance will preserve its beauty for years to come.
Read more: How Long Does A Thatch Roof Last
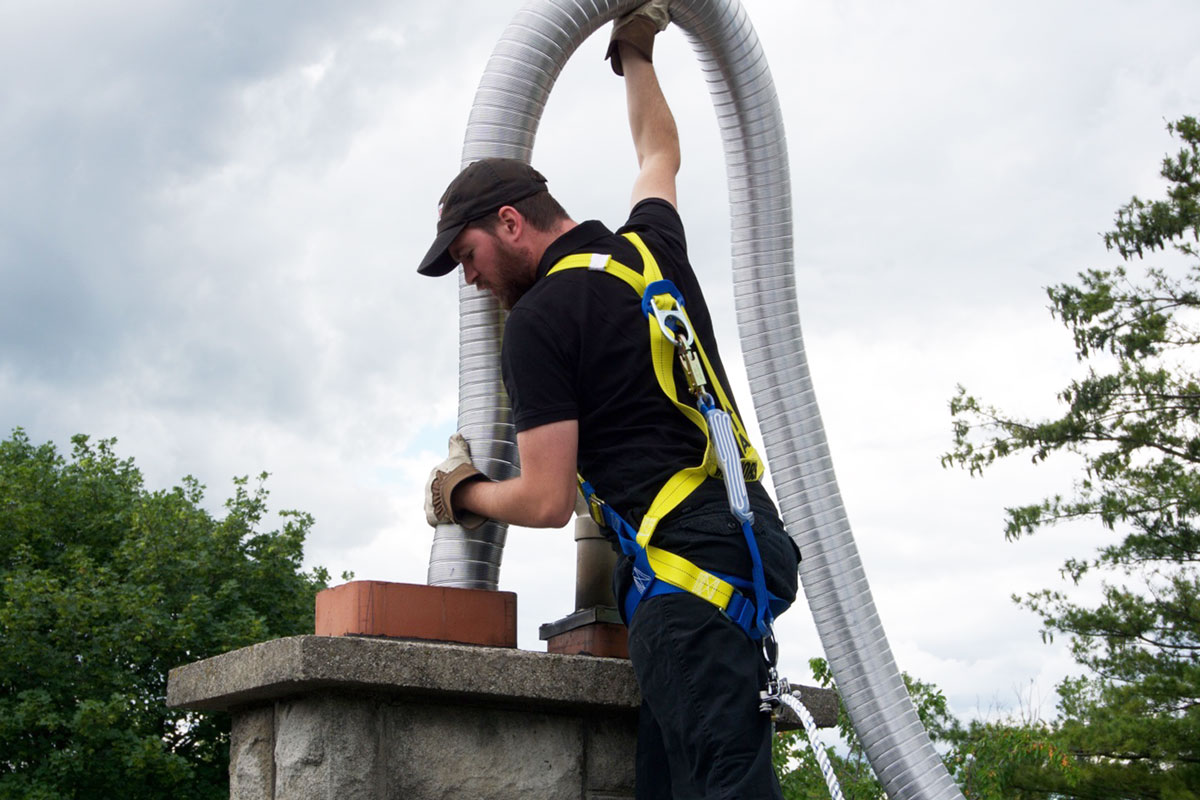
Step 1: Preparing the Chimney
The first step in installing a chimney thatched roof is to properly prepare the chimney. This involves inspecting the chimney for any damage or structural issues and making necessary repairs. Here is a breakdown of the key tasks involved in this step:
- Clean the chimney: Before you begin any repairs or installations, it is important to clean the chimney thoroughly. Remove any debris, dirt, or soot that may have accumulated over time. This will ensure a clean and sound surface for the thatch to be installed on.
- Inspect for damage: Carefully examine the chimney for any visible signs of damage. Look for cracks, gaps, or loose bricks that need to be repaired. It is crucial to address any structural issues before proceeding with the thatching process.
- Repair any damage: If you come across any damage during the inspection, it is essential to fix it promptly. Cracked or loose bricks should be replaced, and gaps should be filled with appropriate mortar. Ensure that the chimney is structurally sound and in good condition before moving on to the next step.
- Apply a chimney sealer: To protect the chimney and prolong the lifespan of the thatch, it is advisable to apply a chimney sealer. This will help prevent water penetration and minimize the risk of damage to the thatched roof. Follow the manufacturer’s instructions for applying the sealer and allow it to dry completely.
By completing these tasks, you will have a well-prepared chimney that is ready for the installation of the thatched roof. Taking the time to properly inspect and repair any damage will ensure the longevity and durability of your chimney thatched roof.
Step 2: Gathering Materials
Once you have prepared the chimney, the next step in installing a chimney thatched roof is to gather all the necessary materials. Having everything you need at hand will make the installation process smoother and more efficient. Here are the key materials you will need:
- Thatch: The most important material for a thatched roof is, of course, the thatch itself. Thatch is typically made from natural materials such as straw, reeds, or grasses. It is important to choose a high-quality thatch that is durable and weather-resistant. The quantity of thatch required will depend on the size and shape of your chimney.
- Thatch fixings: Thatch fixings are used to secure the thatch bundles to the roof structure. These can include wire, nails, or clips specifically designed for thatch installation. It is important to choose fixings that are compatible with the type of thatch you are using and that provide a secure hold.
- Ladder: A sturdy ladder will be necessary to access the chimney and work at a height. Make sure you select a ladder that is appropriate for the height of your chimney and that it is in good condition for safe use.
- Hand tools: Various hand tools will be needed for the installation process. These can include a hammer for fixing thatch, a trowel for applying mortar, and a pair of shears for trimming the thatch to size.
- Protective gear: Working with thatch and roofing materials can be messy and potentially hazardous. It is important to wear appropriate protective gear, including gloves, safety goggles, and a dust mask, to protect yourself from debris and dust.
Before you begin the installation process, ensure that you have all the necessary materials readily available. This will save you time and allow for a seamless workflow. Additionally, it is a good idea to double-check the quantities and quality of the materials to ensure that you have enough to complete the project.
Step 3: Measuring and Cutting Thatch
With the materials gathered, it’s time to move on to the next step of installing a chimney thatched roof: measuring and cutting the thatch. This crucial step ensures that the thatch fits perfectly on the chimney and creates a seamless and aesthetically pleasing roof. Here’s how to go about it:
- Measure the dimensions: Start by measuring the dimensions of the chimney. Measure the width, length, and height of each section where the thatch will be installed. It’s important to be precise to avoid any gaps or overlaps in the thatch.
- Add extra length: When cutting the thatch, it’s always a good idea to add a few extra inches to each bundle’s length. This additional length will make it easier to secure the thatch to the chimney and provide some flexibility during installation.
- Prepare the cutting area: Find a clean and spacious area where you can lay out the thatch bundles. Make sure you have a suitable work surface, such as a large cutting mat or a clean tarp, to protect the thatch and make the cutting process more manageable.
- Cut the thatch: Using a sharp pair of shears or a utility knife, carefully cut the thatch bundles according to your measurements. Take your time and make clean, straight cuts to ensure a neat and professional look. Remember to wear protective gloves and goggles while cutting to avoid any injuries.
- Organize the cut thatch: Once the thatch has been cut, organize the bundles based on the sections of the chimney where they will be installed. This will make the installation process smoother and more efficient.
Measuring and cutting the thatch is a crucial step in achieving a well-fitted and visually appealing chimney thatched roof. Taking the time to accurately measure and neatly cut the thatch will ensure a seamless installation process and a stunning end result.
When installing a chimney thatched roof, make sure to use fire-resistant materials around the chimney to prevent any potential fire hazards. Additionally, ensure that the thatch is properly compacted and layered to provide a tight seal around the chimney.
Step 4: Securing the Thatch Bundles
Now that you have measured and cut the thatch bundles, it’s time to move on to securing them onto the chimney. This step involves attaching the thatch to the roof structure and creating a sturdy and durable roof. Here’s what you need to do:
- Start at the bottom: Begin by securing the first row of thatch bundles at the bottom of the chimney. This will serve as the foundation for the rest of the roof. Use your chosen thatch fixings, such as wire or nails, to fasten the bundles securely to the roof structure. Space the fixings evenly to ensure an even and stable roof.
- Overlap the thatch: As you work your way up the chimney, be sure to overlap each row of thatch bundles slightly. This overlapping technique helps create a waterproof layer and adds strength to the roof. The amount of overlap can vary depending on the type of thatch you are using – consult with an experienced thatcher for specific recommendations.
- Secure the sides: Pay equal attention to securing the sides of the chimney. Use additional fixings to ensure that the thatch bundles are tightly secured to prevent any movement or gaps. This will help create a seamless and visually appealing roof.
- Trim any excess: As you progress with securing the thatch bundles, you may come across areas where excess thatch sticks out. Use scissors or shears to trim any excess thatch, creating a clean and tidy edge. This will add to the neatness and overall aesthetics of the thatched roof.
- Continue layering: Repeat the process of securing the thatch bundles row by row until you reach the top of the chimney. Take your time and ensure each row is securely fastened before moving on to the next. This will ensure the stability and longevity of your chimney thatched roof.
Securing the thatch bundles is a critical step in the installation process. By following these steps and taking care to create a sturdy and tightly packed roof, you will achieve a beautiful and long-lasting chimney thatched roof.
Step 5: Installing the Thatched Roof
With the thatch bundles securely fastened to the chimney, it’s time to move onto the next step: installing the thatched roof. This step involves arranging and shaping the thatch bundles to create a cohesive and visually appealing roof. Let’s delve into the process:
- Fluff and shape the thatch: Before installing the thatched roof, take some time to fluff and shape the thatch bundles. Gently separate the individual strands and manipulate them to create a fuller and more textured appearance. This will give your roof a more natural and organic look.
- Begin at the bottom: Start by layering the thatch bundles at the bottom of the roof, just above the secured rows. Carefully position each bundle to cover the fixings and overlap with the row below. Adjust the position and shape of the bundles as needed to achieve a uniform and seamless look.
- Create a tapered effect: As you move up the chimney, create a tapered effect by gradually reducing the width of the thatch bundles. This will give your roof a more aesthetically pleasing shape and help shed water efficiently.
- Ensure even coverage: Throughout the installation, pay attention to achieving even coverage of the thatch across the roof. Avoid any gaps or thin spots that could compromise the integrity of the roof. Use your hands or a gentle tapping motion to adjust and secure the thatch in place.
- Blend different thatching materials: If you are working with different types of thatching materials, such as straw and reeds, strategically blend them for added texture and visual interest. This can be done by alternating the materials in different rows or creating patterns with patches of each material.
- Step back and assess: Periodically step back and assess the overall appearance of the thatched roof. Make any necessary adjustments or tweaks to ensure a balanced and visually pleasing result.
Installing the thatched roof requires attention to detail and a keen eye for aesthetics. By following these steps and taking the time to shape and arrange the thatch bundles, you will achieve a beautiful and cohesive chimney thatched roof.
Step 6: Finishing Touches
As you near the completion of the chimney thatched roof installation, it’s time to add the finishing touches. These final steps will ensure that your roof is not only functional but also visually appealing. Let’s explore what needs to be done:
- Trim the top of the roof: Once all the thatch bundles are in place, carefully trim the top of the roof to create a clean and tidy edge. Use shears or scissors to cut any excess thatch, ensuring a neat and uniform appearance.
- Compact the thatch: Using a long-handled broom or a thatching comb, gently compact the thatch to create a more uniform and compacted appearance. This step will also help to improve the thatch’s water-shedding capabilities.
- Apply a protection layer: To enhance the longevity of the thatch and protect it from weather elements, consider applying a layer of waterproof coating or fire retardant. This will further strengthen the roof and provide added protection against potential hazards.
- Inspect for any gaps: Take a close look at the entire roof and inspect for any gaps or loose areas. If you find any, use the appropriate fixings to secure the thatch and close the gaps. This final inspection will ensure a tight and durable roof structure.
- Regular maintenance: Once the chimney thatched roof installation is complete, it’s crucial to prioritize regular maintenance. Regularly inspect the roof for signs of damage or wear, and address any issues promptly to extend the lifespan of the roof.
By completing these finishing touches, you will not only enhance the appearance of your chimney thatched roof but also ensure its long-term durability and functionality.
Congratulations! You have successfully completed the installation of a beautiful and authentic chimney thatched roof. Take a step back, admire your work, and revel in the charm and character that this unique roofing material brings to your chimney.
Conclusion
Congratulations on completing the installation of your chimney thatched roof! The process of installing a thatched roof requires careful planning, attention to detail, and a dedication to craftsmanship. By following the steps outlined in this comprehensive guide, you have created a stunning and unique roof that adds rustic charm and visual appeal to your chimney.
Thatched roofing has been used for centuries, and it continues to captivate with its timeless beauty and natural elegance. Not only does it provide excellent insulation and protection from the elements, but it also adds a touch of history and tradition to any structure.
Throughout this guide, we have covered essential steps such as preparing the chimney, gathering materials, measuring and cutting the thatch, securing the thatch bundles, installing the roof, and adding the finishing touches. Each of these steps plays a vital role in creating a sturdy, long-lasting, and visually pleasing chimney thatched roof.
Remember, while installing a thatched roof can be a rewarding DIY project, it does require some level of expertise and experience. If you ever feel unsure about any step or encounter challenges along the way, it is always best to consult a professional thatcher for guidance.
As you enjoy the unique beauty and character of your chimney thatched roof, remember to engage in regular maintenance and inspections. This will ensure its continued durability and longevity. With proper care and maintenance, your chimney thatched roof can last for many years to come.
We hope this guide has provided you with valuable insights and instructions to successfully install a chimney thatched roof. Embrace the charm of this traditional roofing material and create a cozy and enchanting atmosphere around your chimney.
Good luck, and may your chimney thatched roof bring you joy, admiration, and countless compliments!
Frequently Asked Questions about How To Install Chimney Thatched Roof
Was this page helpful?
At Storables.com, we guarantee accurate and reliable information. Our content, validated by Expert Board Contributors, is crafted following stringent Editorial Policies. We're committed to providing you with well-researched, expert-backed insights for all your informational needs.


0 thoughts on “How To Install Chimney Thatched Roof”