Articles
How To Fix A Leaking Delta Bathtub Faucet
Modified: August 28, 2024
Learn how to fix a leaking Delta bathtub faucet with helpful articles and step-by-step instructions. Stop the drip and save water today!
(Many of the links in this article redirect to a specific reviewed product. Your purchase of these products through affiliate links helps to generate commission for Storables.com, at no extra cost. Learn more)
Introduction
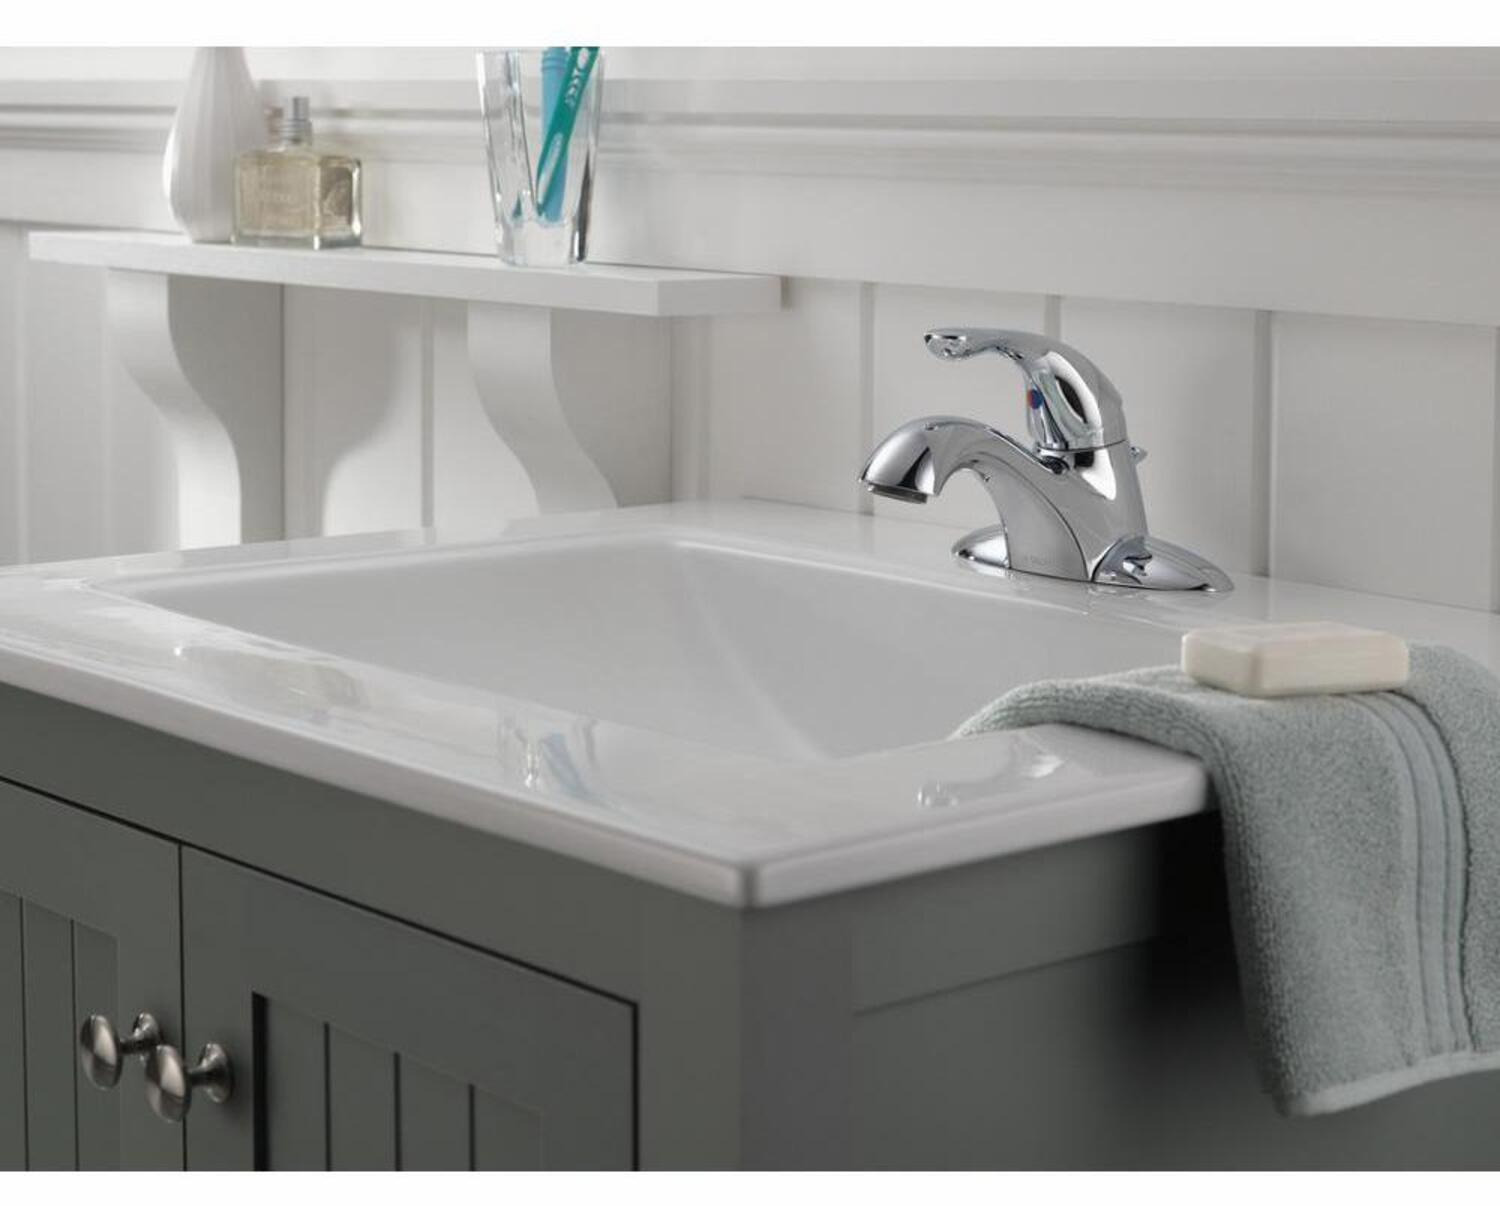
Welcome to our comprehensive guide on how to fix a leaking Delta bathtub faucet. A leaking bathtub faucet can be frustrating and costly, as it not only wastes water but also increases your water bill. Fortunately, with a few simple steps and some basic tools, you can easily repair a leaking Delta bathtub faucet on your own.
Delta is a reputable brand known for producing high-quality faucets. However, over time, even the best faucets can develop leaks due to normal wear and tear or faulty parts. It’s important to address these leaks promptly to prevent further damage to your plumbing system and to conserve water.
In this guide, we will walk you through the process of identifying and fixing a leaking Delta bathtub faucet. We will provide step-by-step instructions, along with helpful tips and illustrations, to make the process as straightforward as possible.
Before we dive into the details, it’s important to mention that safety should always be your top priority. Make sure to turn off the water supply before attempting any repairs to avoid accidental water damage or injury. If you are unsure or uncomfortable with any step of the repair process, it is always best to consult a professional plumber.
Now, let’s get started on fixing that leaking Delta bathtub faucet and restoring your bathroom to its former glory!
Key Takeaways:
- Fixing a leaking Delta bathtub faucet is a manageable DIY task that can save water and money. Identifying the problem, gathering the right tools, and thorough inspection are key to a successful repair.
- Prioritize safety, shut off the water supply, and follow step-by-step instructions to reassemble the faucet. Testing for leaks ensures a job well done, but professional help is available for complex issues.
Read also: 12 Amazing Delta Bathtub Faucet for 2025
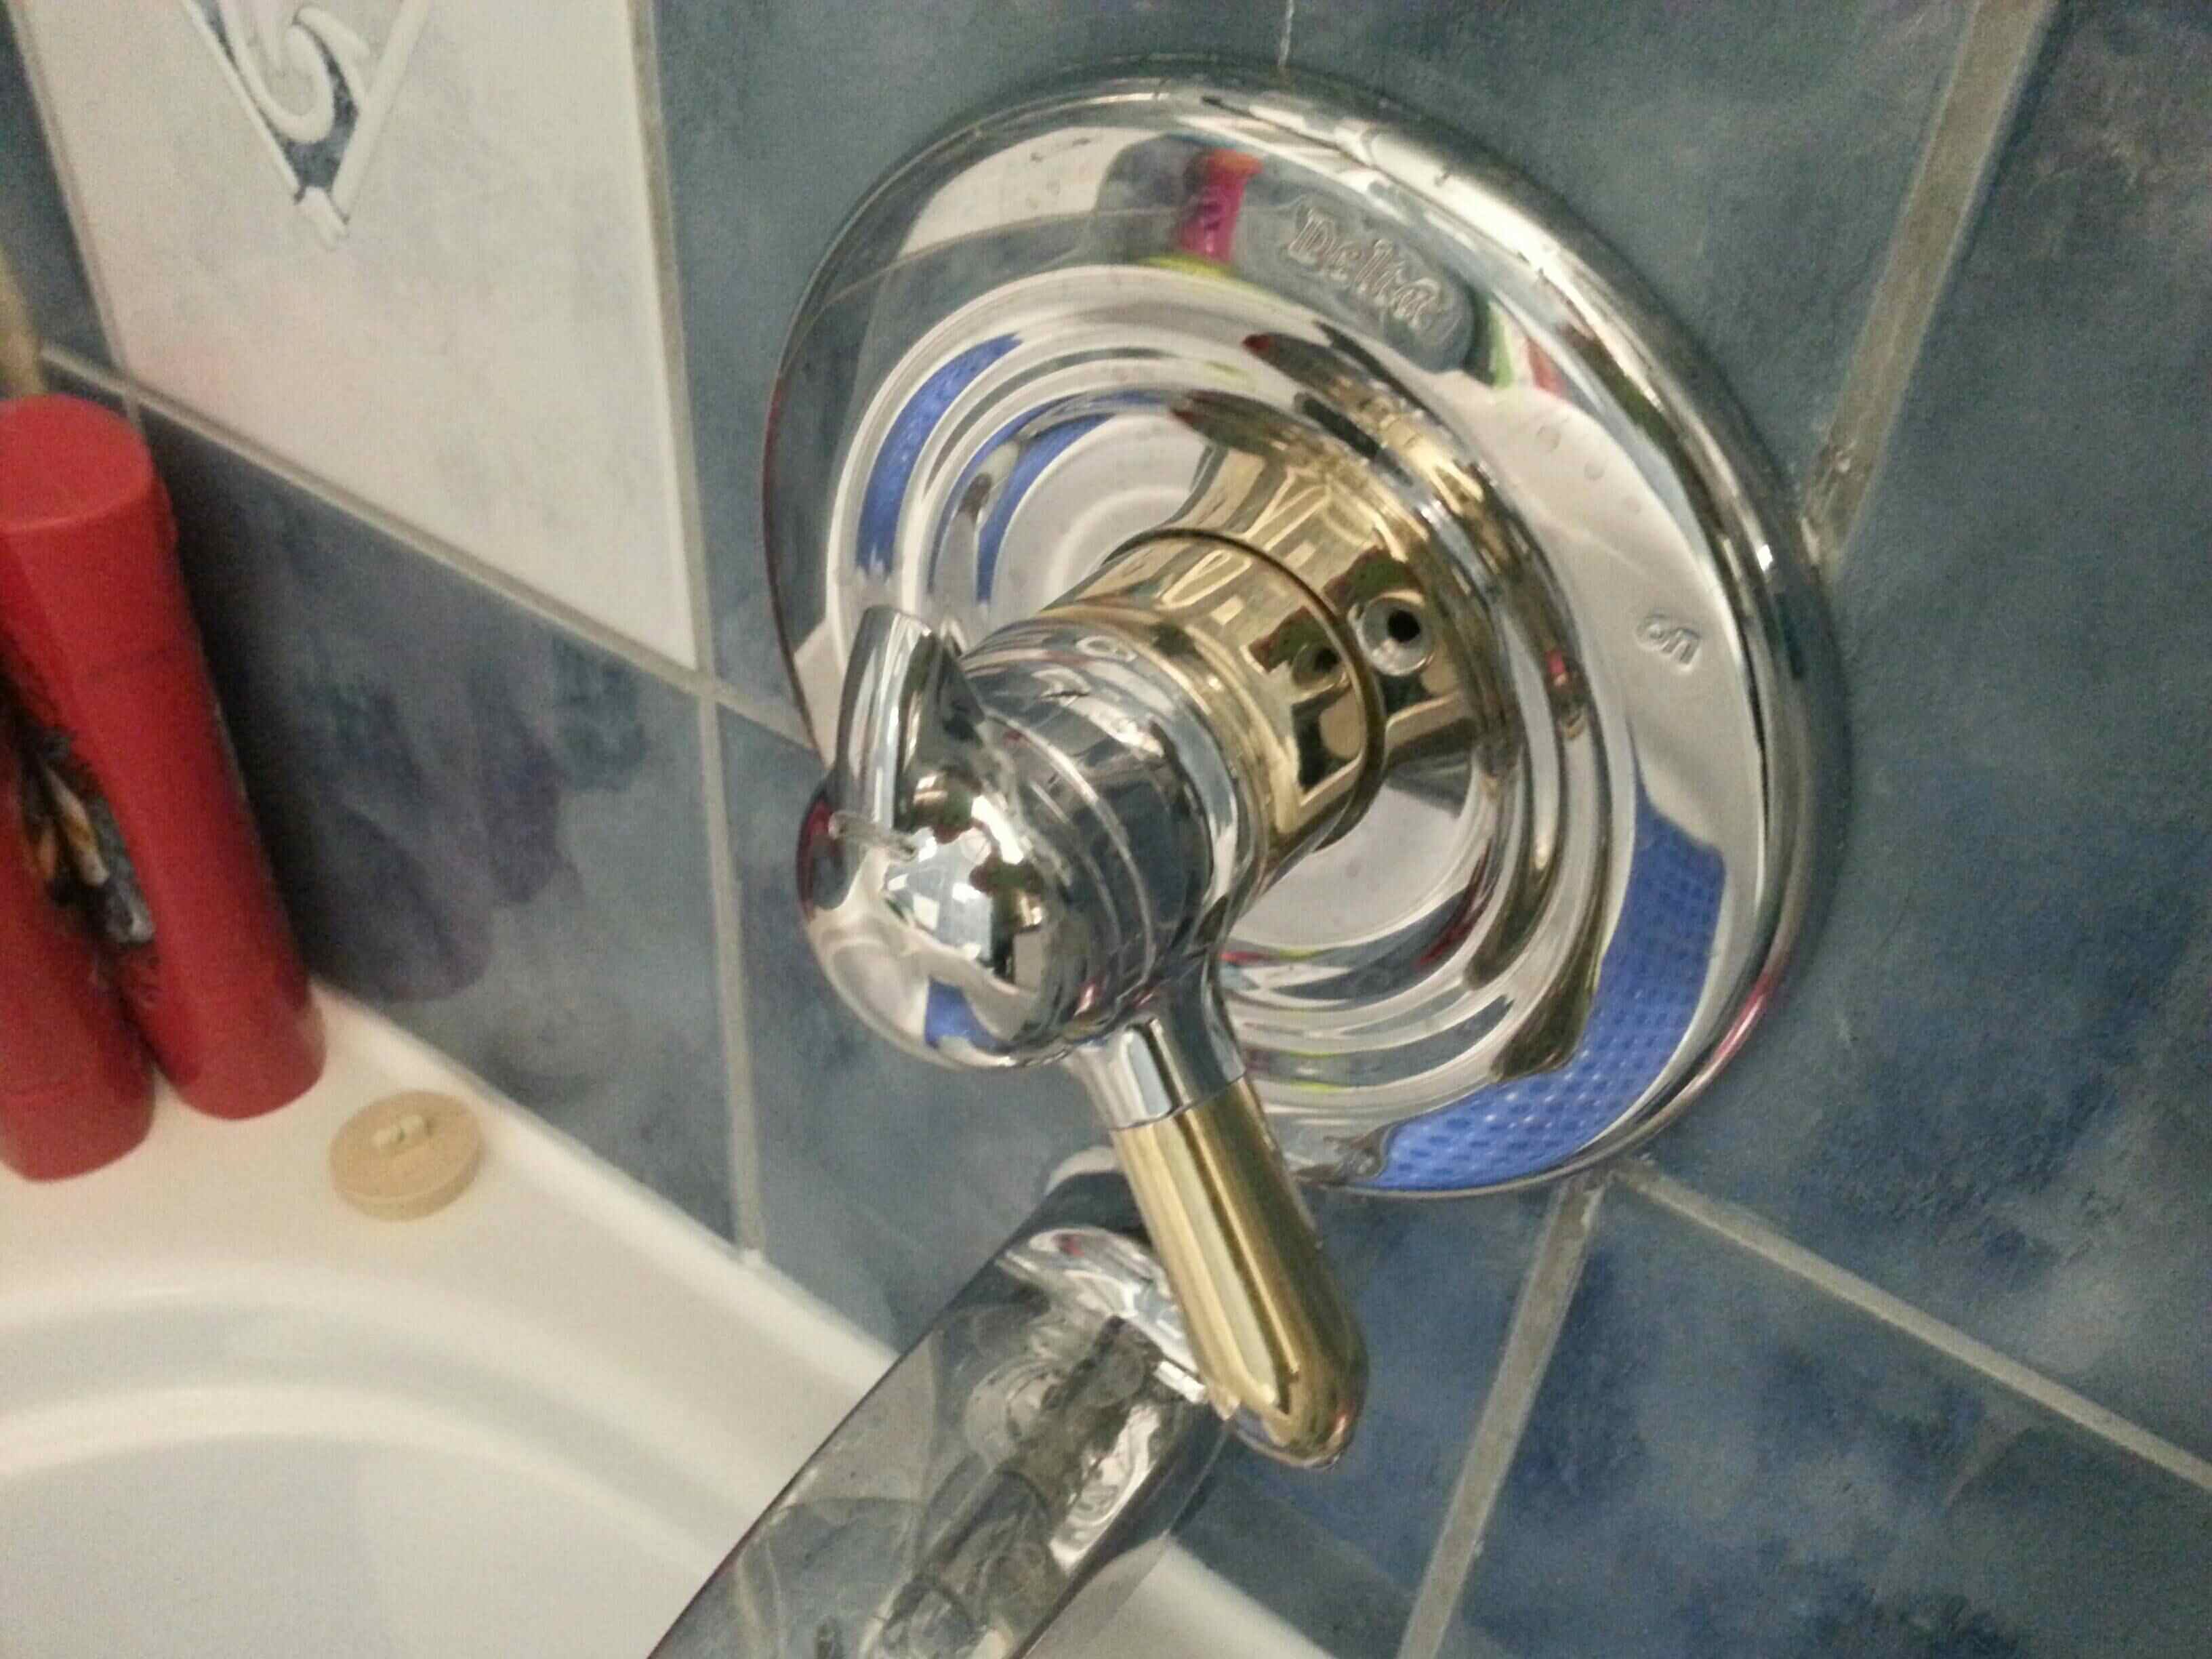
Identifying the Problem
Before you start fixing a leaking Delta bathtub faucet, it’s important to identify the root cause of the problem. Understanding the source of the leak will help you determine the appropriate solution and ensure a successful repair.
Here are some common signs that indicate you have a leaking Delta bathtub faucet:
- Dripping water: If you notice water dripping from the spout or handle of your bathtub faucet, it’s a clear sign that there is a leak.
- Water pooling around the base: If you see water pooling around the base of the faucet, it’s indicative of a leak that may be coming from the connections or seals.
- Unusual water flow: If the water flow from the faucet is irregular or weak, there may be an issue with the valves or cartridge inside the faucet.
- Constant running water: If the water continues to run even after you have turned off the faucet, it indicates a problem with the internal components.
Once you have confirmed that you have a leaking Delta bathtub faucet, the next step is to determine the specific type of Delta faucet you are dealing with. Delta offers a variety of faucet models, each with its own unique design and components.
Consult the Delta website or refer to the manufacturer’s documentation to identify the exact model of your faucet. This information will be helpful when it comes to purchasing replacement parts or seeking further assistance.
After identifying the problem and the faucet model, you are now ready to gather the necessary tools and materials for the repair process.
Tools and Materials Needed
Before you begin fixing a leaking Delta bathtub faucet, it’s important to gather the necessary tools and materials. Having everything prepared in advance will make the repair process smoother and more efficient.
Here are the tools and materials you will need:
- Adjustable wrench: This will be used to loosen and tighten various components of the faucet.
- Channel locks: These can help you grip and twist stubborn parts, if needed.
- Phillips and flathead screwdrivers: These will be necessary for removing screws and prying off covers.
- Replacement parts: Depending on the specific issue with your Delta bathtub faucet, you may need to replace certain components such as O-rings, washers, or cartridges. Make sure to check the model of your faucet and obtain the appropriate replacement parts.
- Plumber’s tape: Also known as Teflon tape, this will be used to create a watertight seal when reassembling the faucet.
- Cleaning supplies: Have a cloth or sponge ready to clean any accumulated dirt or grime from the faucet and surrounding area.
- Bucket or container: To catch any excess water that may flow out during the repair process.
It’s always a good idea to have all the necessary tools and materials within reach before you start working on your Delta bathtub faucet. This will save you time and prevent any unnecessary delays or interruptions.
Now that you have gathered the tools and materials, the next step is to shut off the water supply to your faucet. This will ensure a safe and dry environment for the repair process.
Shutting off the Water Supply
Before you begin working on fixing your leaking Delta bathtub faucet, it’s crucial to shut off the water supply to avoid any accidental water damage or injury. Here’s how you can safely shut off the water:
- Locate the main water valve: In most homes, the main water valve is typically located near the water meter or where the main water line enters the house. It may be in the basement, utility room, or outside. If you’re unsure about the location of the main water valve, consult your home’s floor plan or contact a plumber.
- Turn off the main water valve: Once you’ve located the main water valve, use a wrench or your hand to turn the valve clockwise (to the right) until it is fully closed. This will shut off the water supply to your entire house.
- Drain the water lines: After closing the main water valve, open a faucet on a lower floor or in the basement to drain any remaining water in the pipes. This will help prevent any excess water from spilling out when you disassemble the faucet.
By shutting off the water supply, you will minimize the risk of any water-related accidents or damage while working on the leaking Delta bathtub faucet. With the water supply turned off and the lines drained, you can now move on to the next step, which is removing the handle of the faucet.
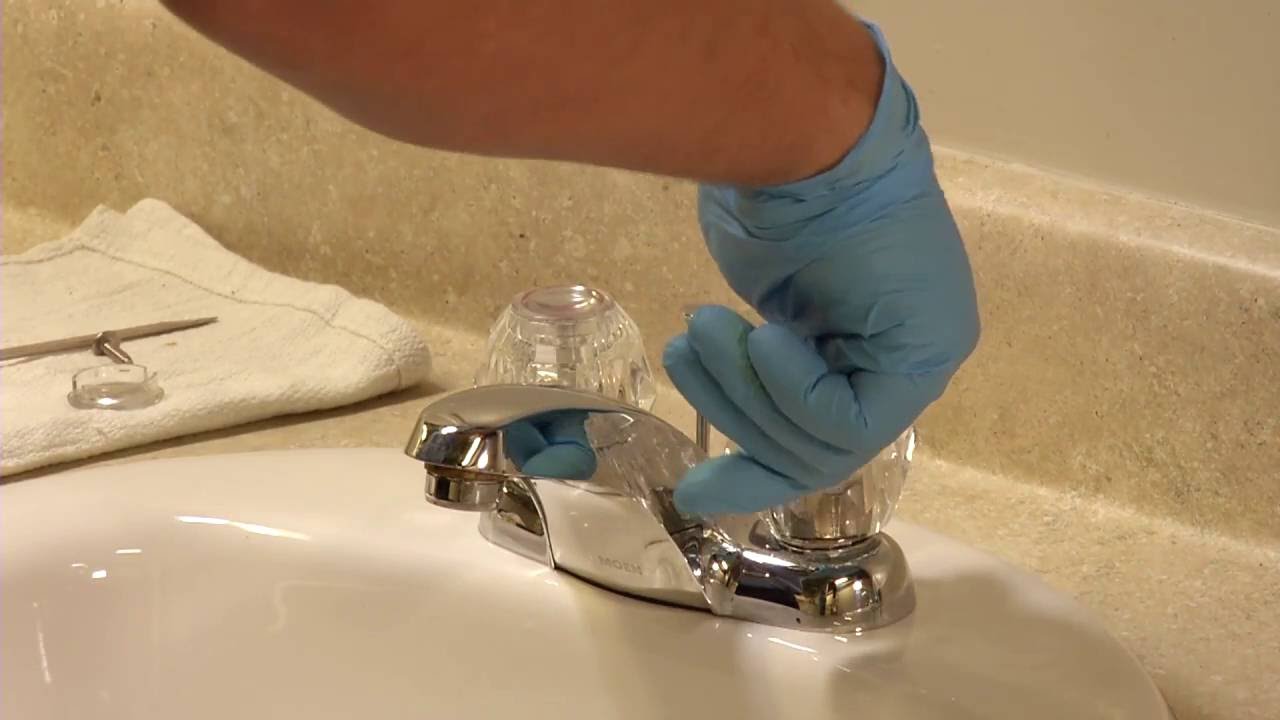
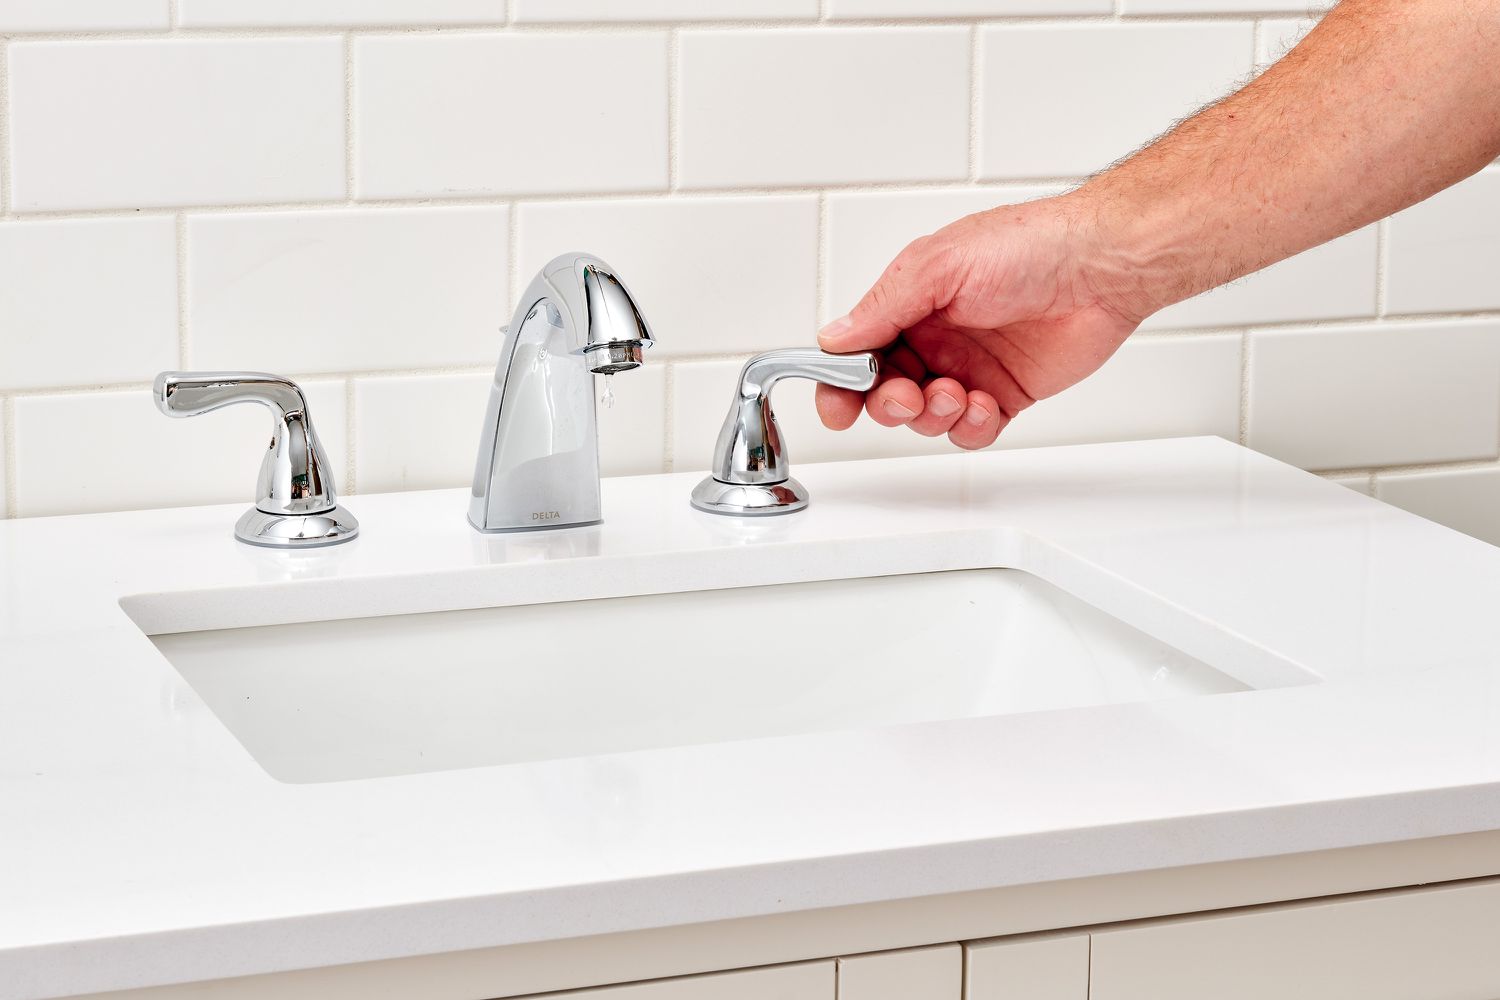
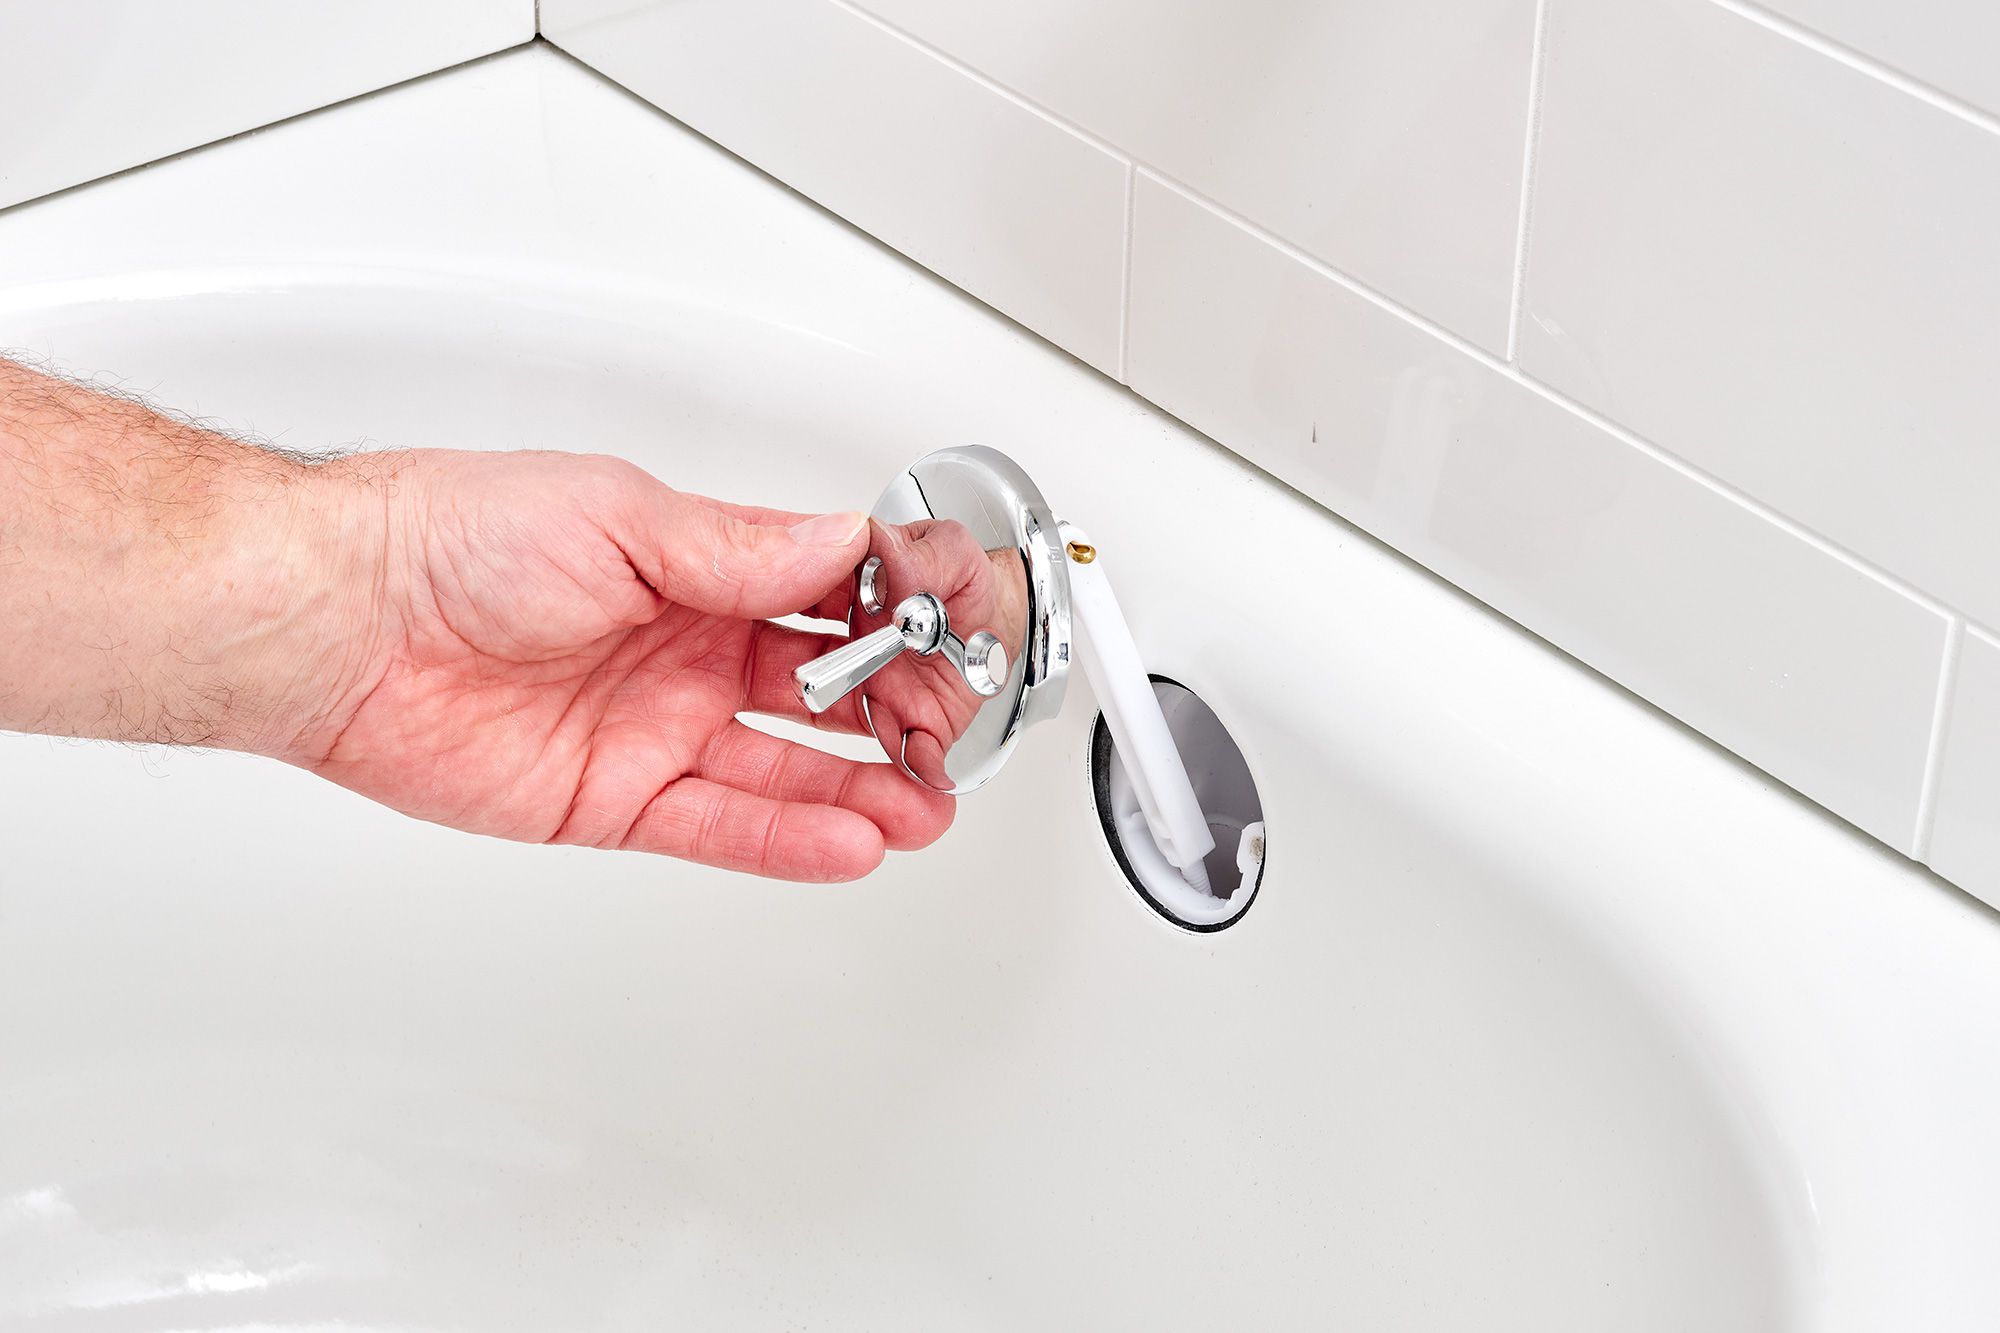
Removing the Handle
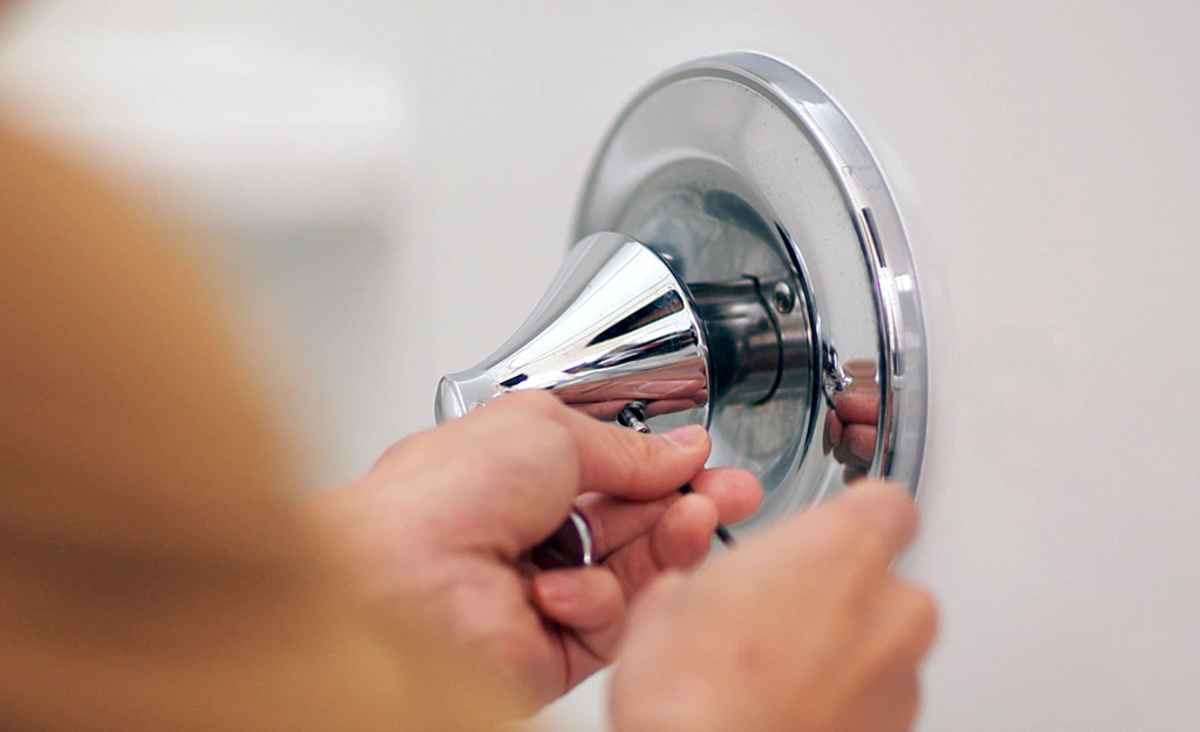
To begin fixing your leaking Delta bathtub faucet, you’ll need to remove the handle. The exact method for removing the handle might vary depending on the model of your Delta faucet, but here are the general steps:
- Locate the set screw: Look for a small screw on the handle. It is usually located on the underside or at the back of the handle. Use a Phillips screwdriver or an Allen wrench to loosen and remove the set screw.
- Remove decorative cover (if applicable): Some Delta faucet handles have a decorative cover that conceals the set screw. If your handle has a cover, carefully pry it off using a flathead screwdriver or your fingers. Be cautious not to damage the cover or the surrounding area.
- Gently pull off the handle: With the set screw removed, gently pull the handle straight up and off the faucet body. If the handle seems stuck or difficult to remove, try wiggling it gently while pulling upwards. If necessary, use a handle puller tool for extra leverage.
Once you have successfully removed the handle, set it aside in a safe place. You’ll now have access to the inner components of the Delta bathtub faucet, which will allow you to proceed with the next steps of the repair process.
It’s worth mentioning that some Delta faucet models may have different handle removal methods. If you’re having trouble removing the handle or if your faucet doesn’t match the general steps mentioned above, refer to the manufacturer’s documentation or contact Delta customer support for further assistance.
Now that the handle is removed, we can move on to the next step, which is removing the cartridge from the faucet body.
To fix a leaking Delta bathtub faucet, start by shutting off the water supply to the faucet. Then, disassemble the faucet and replace the damaged parts, such as the O-rings or cartridge. Reassemble the faucet and turn the water supply back on to test for leaks.
Read more: Why Is My Bathtub Faucet Leaking
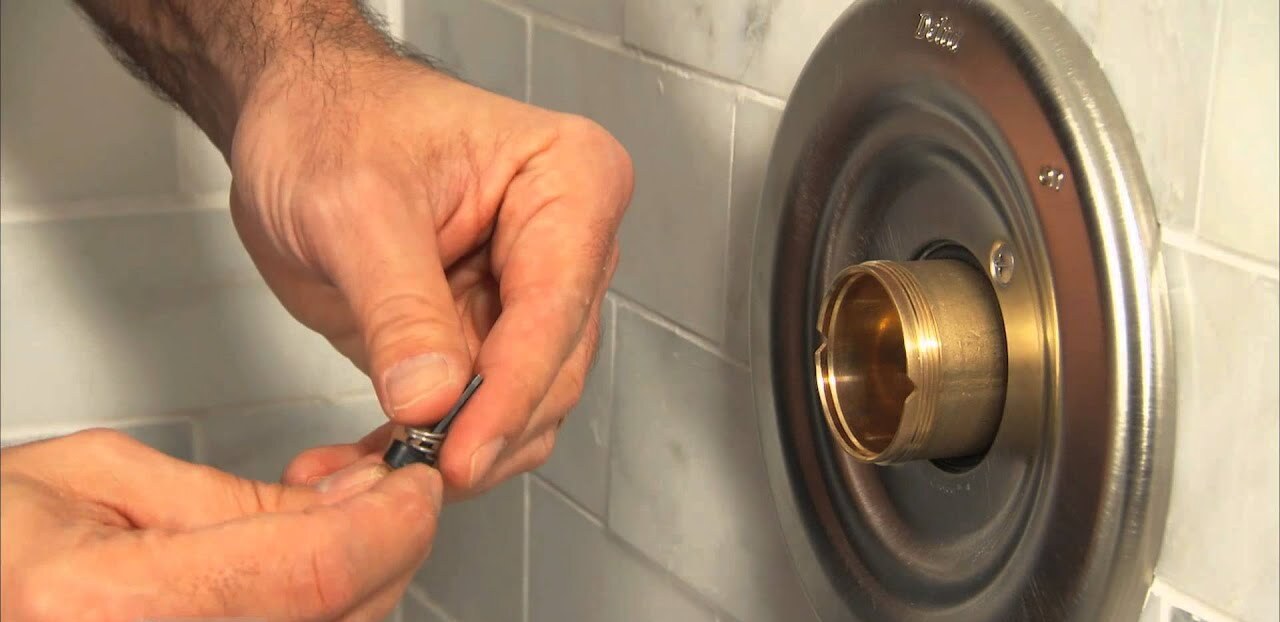
Removing the Cartridge
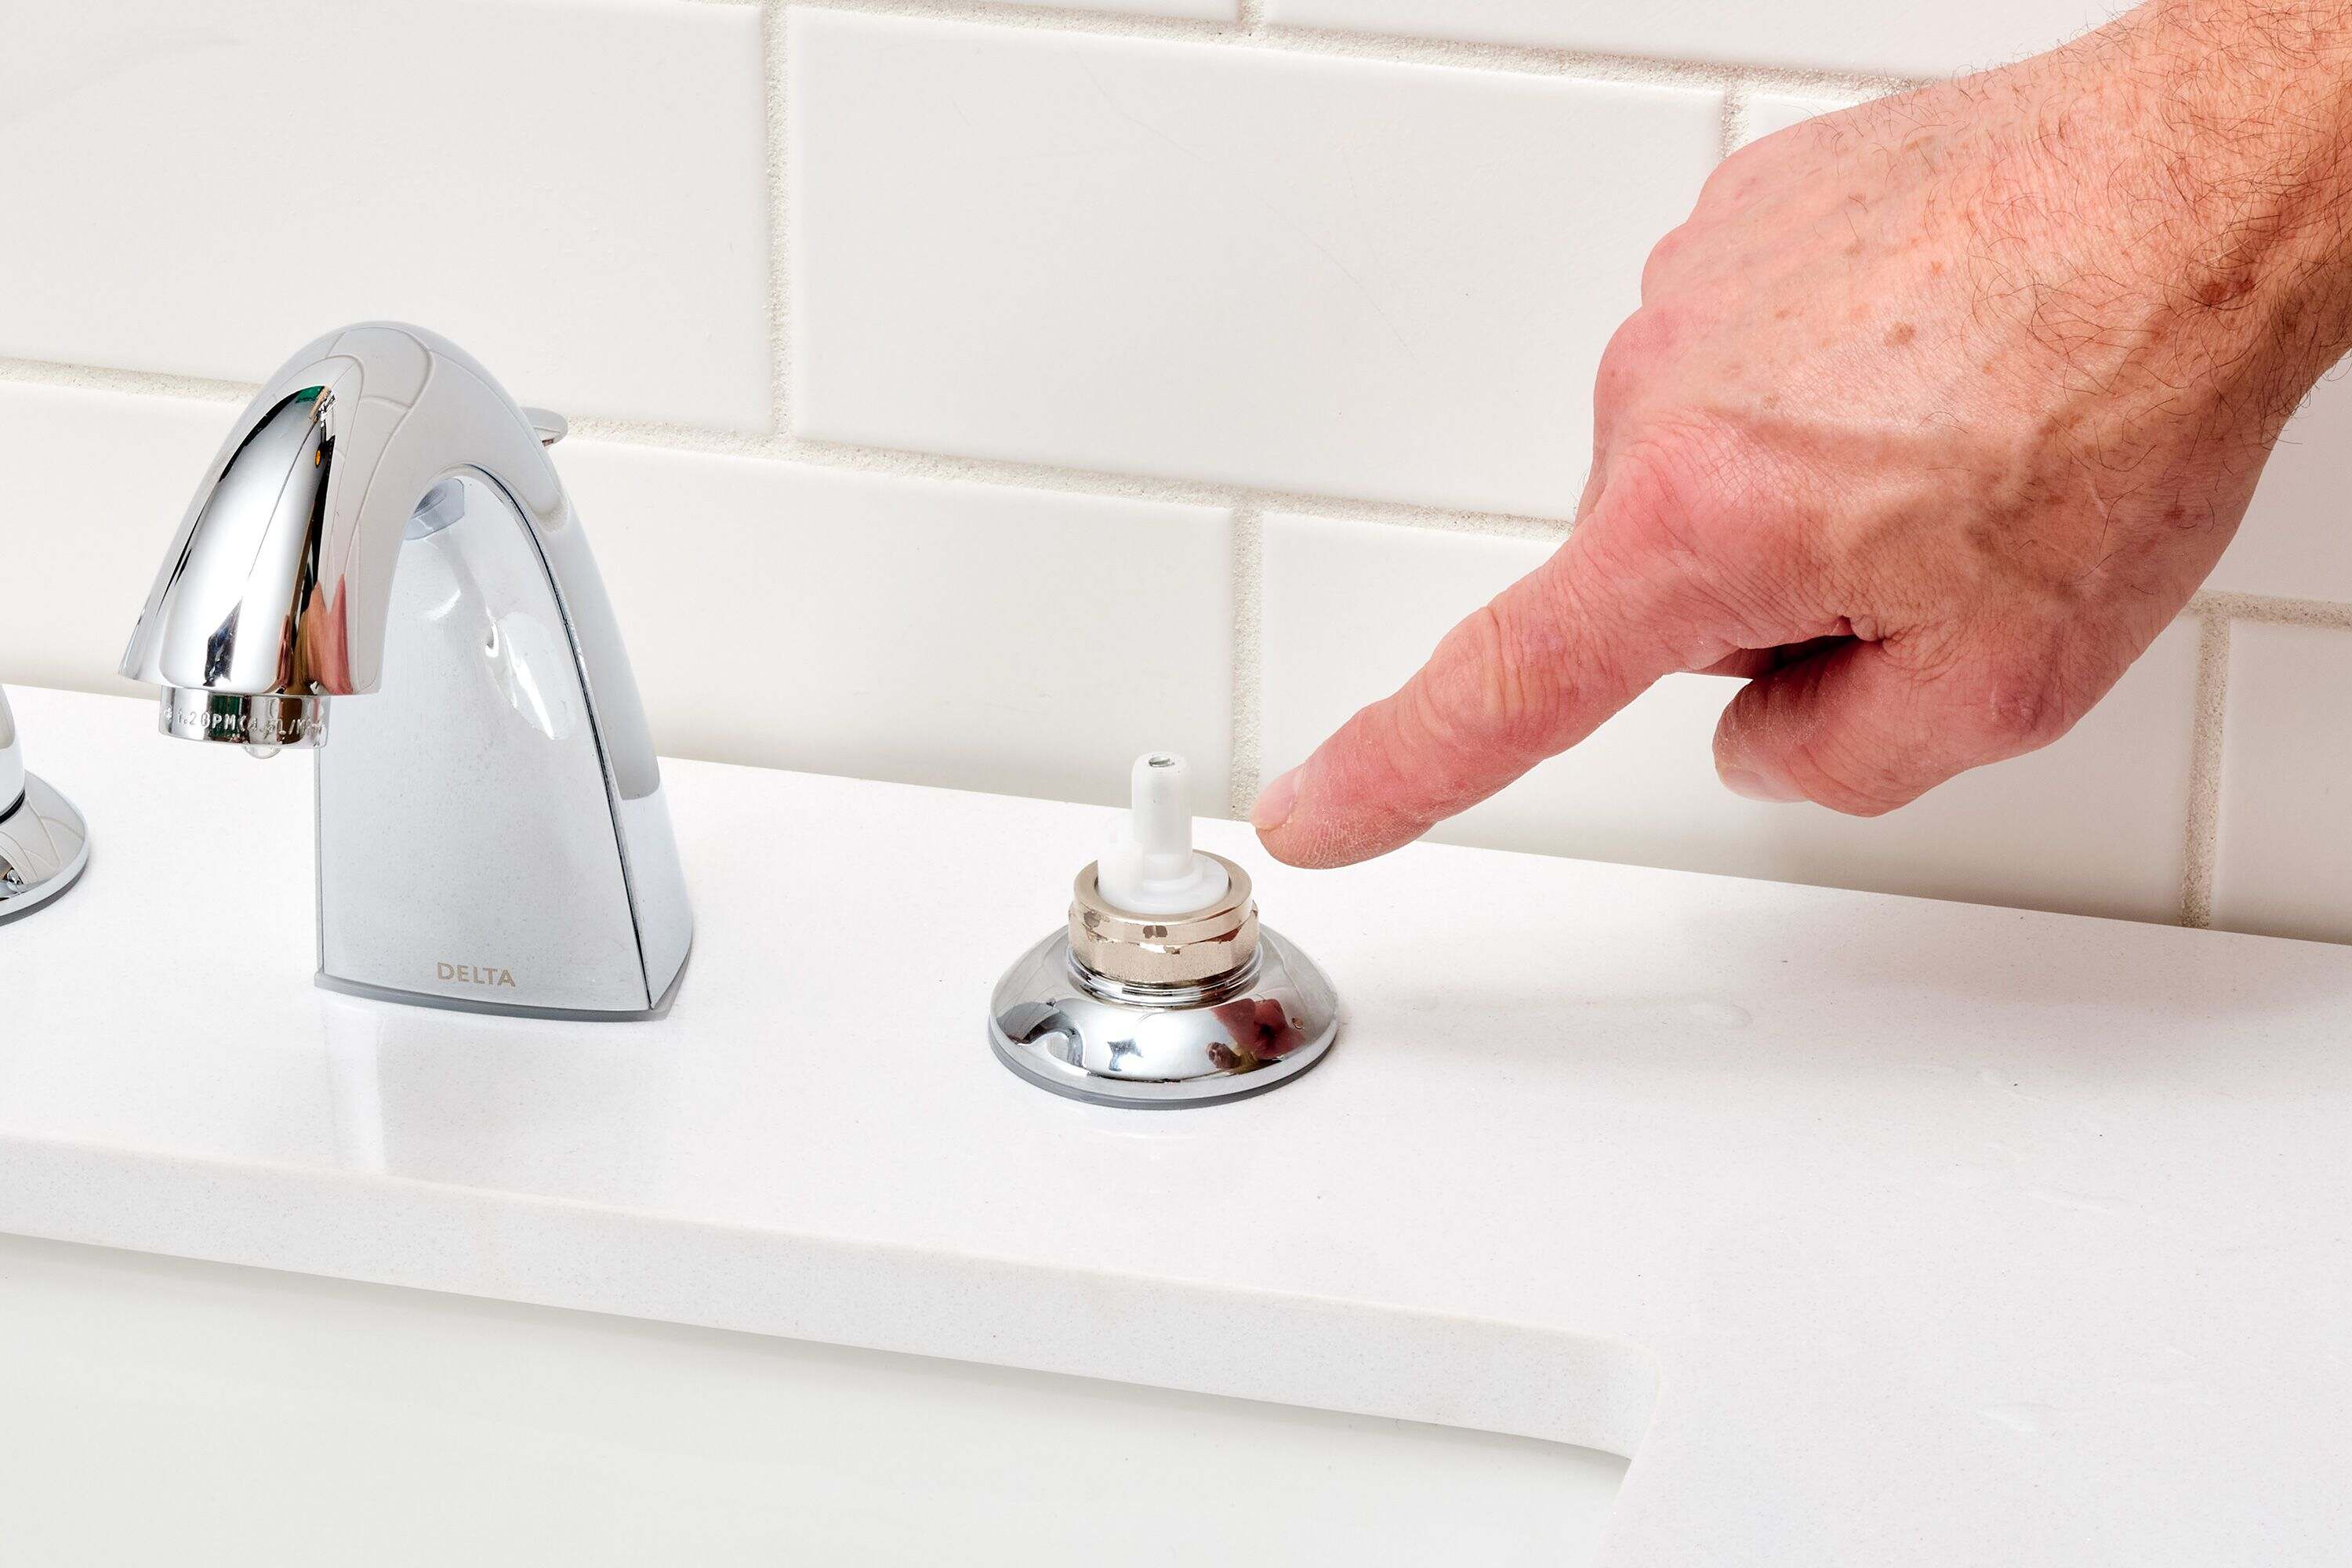
After removing the handle of your Delta bathtub faucet, the next step is to remove the cartridge. The cartridge is the inner component that controls the flow of water. Here’s how you can remove it:
- Locate the cartridge: Depending on the Delta faucet model, the cartridge can be found beneath the handle or inside the faucet body. Take a moment to familiarize yourself with the cartridge’s location before proceeding further.
- Use pliers or a cartridge removal tool: Grip the cartridge with a pair of pliers or use a specialized cartridge removal tool if available. Make sure to grip the cartridge firmly but gently to avoid damaging it.
- Twist and pull: Rotate the cartridge counterclockwise (to the left) while pulling it straight out from the faucet body. If the cartridge is stuck or resistant, you can try using a cartridge puller for added leverage.
Removing the cartridge can sometimes require some force, especially if it has been in place for a long time or if there is mineral buildup. However, be careful not to apply excessive force that may damage the faucet body.
Once the cartridge is successfully removed, inspect it for any signs of wear, damage, or debris. Look for worn-out seals, cracked components, or mineral deposits that may explain the cause of the leak. If necessary, replace the cartridge with a new one that matches the model of your Delta faucet.
Before proceeding to the next steps, take a moment to clean the inside of the faucet body using a cloth or brush to remove any accumulated dirt or grime. This will ensure smooth operation when you reassemble the faucet.
Now that the cartridge is out, we can move on to inspecting and replacing any damaged parts to fix the leaking Delta bathtub faucet.
Inspecting and Replacing Any Damaged Parts
With the cartridge removed from your Delta bathtub faucet, it’s time to inspect and replace any damaged components that may be causing the leak. Here’s how you can proceed:
- Examine the cartridge and O-rings: Inspect the cartridge for any signs of wear, cracks, or damage. Check the O-rings on the cartridge and ensure they are in good condition. If you notice any issues, it’s recommended to replace the cartridge with a new one. Make sure to match the replacement cartridge with the model of your Delta faucet.
- Inspect the seals: Take a close look at the seals inside the faucet body. These seals help create a watertight seal when the faucet is in use. If you spot any worn-out or damaged seals, replace them with new ones.
- Check other components: While you have the faucet disassembled, examine other components such as washers or springs for any signs of wear or damage. If necessary, replace these parts as well to ensure a complete and thorough repair.
- Clean and lubricate: Before reassembling the faucet, clean all the components that you have inspected or replaced. Use a cloth and a mild cleaning solution to remove any debris or mineral buildup. Once cleaned, apply plumber’s grease or silicone-based lubricant to the O-rings and seals to ensure smooth operation.
It’s important to note that when replacing any parts, it’s recommended to use genuine Delta replacement parts, as they are specifically designed for your faucet model and will ensure optimal performance and durability.
Once you have finished inspecting and replacing any damaged parts, you can move on to reassembling the faucet and preparing to test for leaks.
Keep in mind that the specific repair process may vary depending on the model of your Delta faucet. If you’re unsure about any step or encounter any difficulties, consult the manufacturer’s documentation or contact Delta customer support for further assistance.
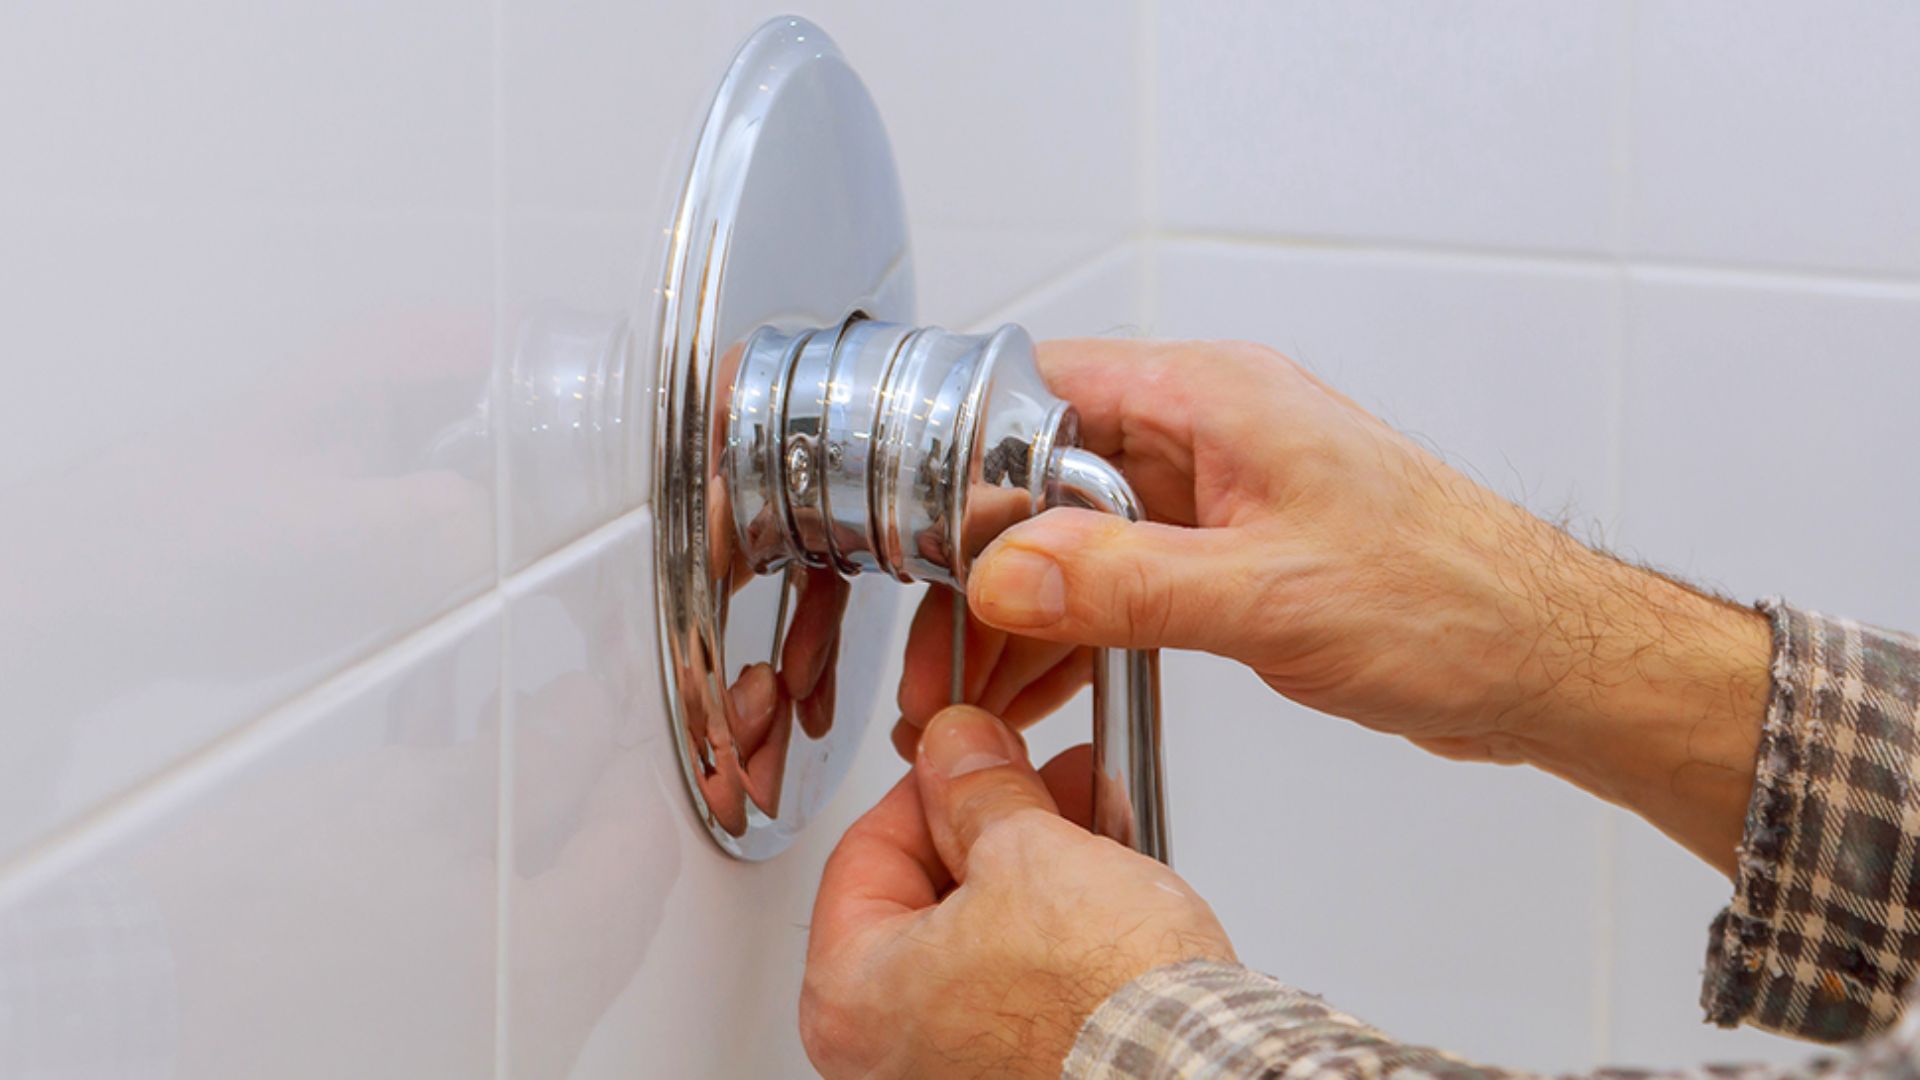
Reassembling the Faucet
Now that you have inspected and replaced any damaged parts in your Delta bathtub faucet, it’s time to reassemble the faucet. Follow these steps to properly put everything back together:
- Insert the cartridge back into the faucet body: Align the cartridge with the opening in the faucet body and gently push it in. Make sure it is fully seated and aligned correctly.
- Reattach any clips or retaining nuts: Some Delta faucet models may have clips or retaining nuts that hold the cartridge in place. If your faucet has these components, reattach them securely to ensure stability.
- Place the handle back onto the faucet: Position the handle over the cartridge and align it with the opening on the faucet body. Push the handle down firmly, ensuring it is properly aligned.
- Secure the handle with the set screw: Locate the previously removed set screw and insert it back into the handle. Use a Phillips screwdriver or Allen wrench to tighten the screw, securing the handle in place.
- Replace any decorative covers or caps: If your Delta bathtub faucet has decorative covers or caps, carefully put them back into place. Ensure they are aligned and snapped or screwed in securely.
As you reassemble the faucet, pay attention to ensure that all components fit snugly and align properly. Be cautious not to overtighten any screws or nuts, as this may cause damage to the faucet or affect its functionality.
After reassembling the faucet, take a moment to clean the surrounding area and remove any debris or fingerprints. This will give your faucet a polished look and make it ready for testing.
Now that the faucet is reassembled, it’s time to move on to the final step – testing for leaks.
Testing for Leaks
After reassembling your Delta bathtub faucet, it’s crucial to test for leaks to ensure that the repair was successful. Follow these steps to check for any signs of leakage:
- Turn on the water supply: With the faucet fully reassembled, slowly turn on the main water valve to restore the water supply. Allow the water to flow through the faucet.
- Observe the faucet: Look closely at the faucet, especially around the spout, handle, and base. Check for any signs of dripping, pooling water, or excess moisture.
- Run the faucet: Test the faucet by turning it on and off multiple times. Check for any changes in water flow, unusual sounds, or signs of leakage during operation.
- Inspect connections: Examine all the connections, such as where the spout or handles meet the faucet body. Ensure that they are tight and properly sealed.
If you notice any leaks or issues during the testing process, it may indicate that there are still underlying problems that need to be addressed. In this case, you may need to disassemble the faucet again and inspect the components for any further damage or faulty installation.
If the faucet is leak-free and functioning properly, congratulations! You have successfully fixed your leaking Delta bathtub faucet. Your efforts have not only saved water but also prevented further damage and potentially reduced your water bill.
Remember to clean up any excess water or wipe down the faucet to keep it in good condition. Regular maintenance and prompt attention to any future leaks or issues will help prolong the lifespan of your Delta bathtub faucet.
In the event that you encounter complex issues or are unable to stop the leak, it is recommended to contact a professional plumber for assistance. They have the expertise to tackle more intricate faucet problems and ensure proper repairs.
With your leak-free Delta bathtub faucet, you can now enjoy a fully functional and efficient bathroom. Keep an eye out for any signs of future leaks and address them promptly to maintain the longevity of your faucet.
Thank you for following our guide on how to fix a leaking Delta bathtub faucet. We hope this information has been helpful, and we wish you success in all your plumbing endeavors!
Read more: How To Fix A Leaking Tub Faucet
Conclusion
Fixing a leaking Delta bathtub faucet doesn’t have to be a daunting task. With the right knowledge and tools, you can successfully repair the faucet and save yourself from the frustration of a constant leak and the potential increase in your water bill.
In this comprehensive guide, we have walked you through the process of fixing a leaking Delta bathtub faucet step by step. From identifying the problem to reassembling the faucet, we have provided detailed instructions to help you along the way.
Remember to always prioritize safety and shut off the water supply before starting any repairs. Take the time to identify the specific model of your Delta faucet and gather the necessary tools and materials. Inspect and replace any damaged parts, clean and lubricate the components, and carefully reassemble the faucet.
Once you’ve completed the repair process, it’s essential to test for leaks and ensure that the faucet is functioning properly. Address any remaining issues promptly to prevent further damage and ensure the longevity of your Delta bathtub faucet.
If you encounter complex issues or are uncertain about any steps, it is advisable to consult a professional plumber for assistance. They have the expertise and experience to handle more intricate problems and provide you with the best solution.
We hope that this guide has been helpful in empowering you to fix your leaking Delta bathtub faucet. By taking the time to address this issue, you are not only saving water but also taking a step towards a more sustainable and efficient home.
Thank you for following our guide. We wish you success in all your DIY plumbing repairs, and may you enjoy many leak-free days in your bathroom!
Now that you've tackled fixing your Delta bathtub faucet, why stop there? Dive into our comprehensive guide on home repair for practical advice on maintaining every corner of your living space efficiently. Plus, if other faucets are giving you trouble, our detailed walkthrough on fixing leaky faucets from bathtubs to kitchen mixers is just what you need. Master these skills, keep your home in tip-top shape, and prevent future leaks effectively!
Frequently Asked Questions about How To Fix A Leaking Delta Bathtub Faucet
Was this page helpful?
At Storables.com, we guarantee accurate and reliable information. Our content, validated by Expert Board Contributors, is crafted following stringent Editorial Policies. We're committed to providing you with well-researched, expert-backed insights for all your informational needs.


0 thoughts on “How To Fix A Leaking Delta Bathtub Faucet”