
Articles
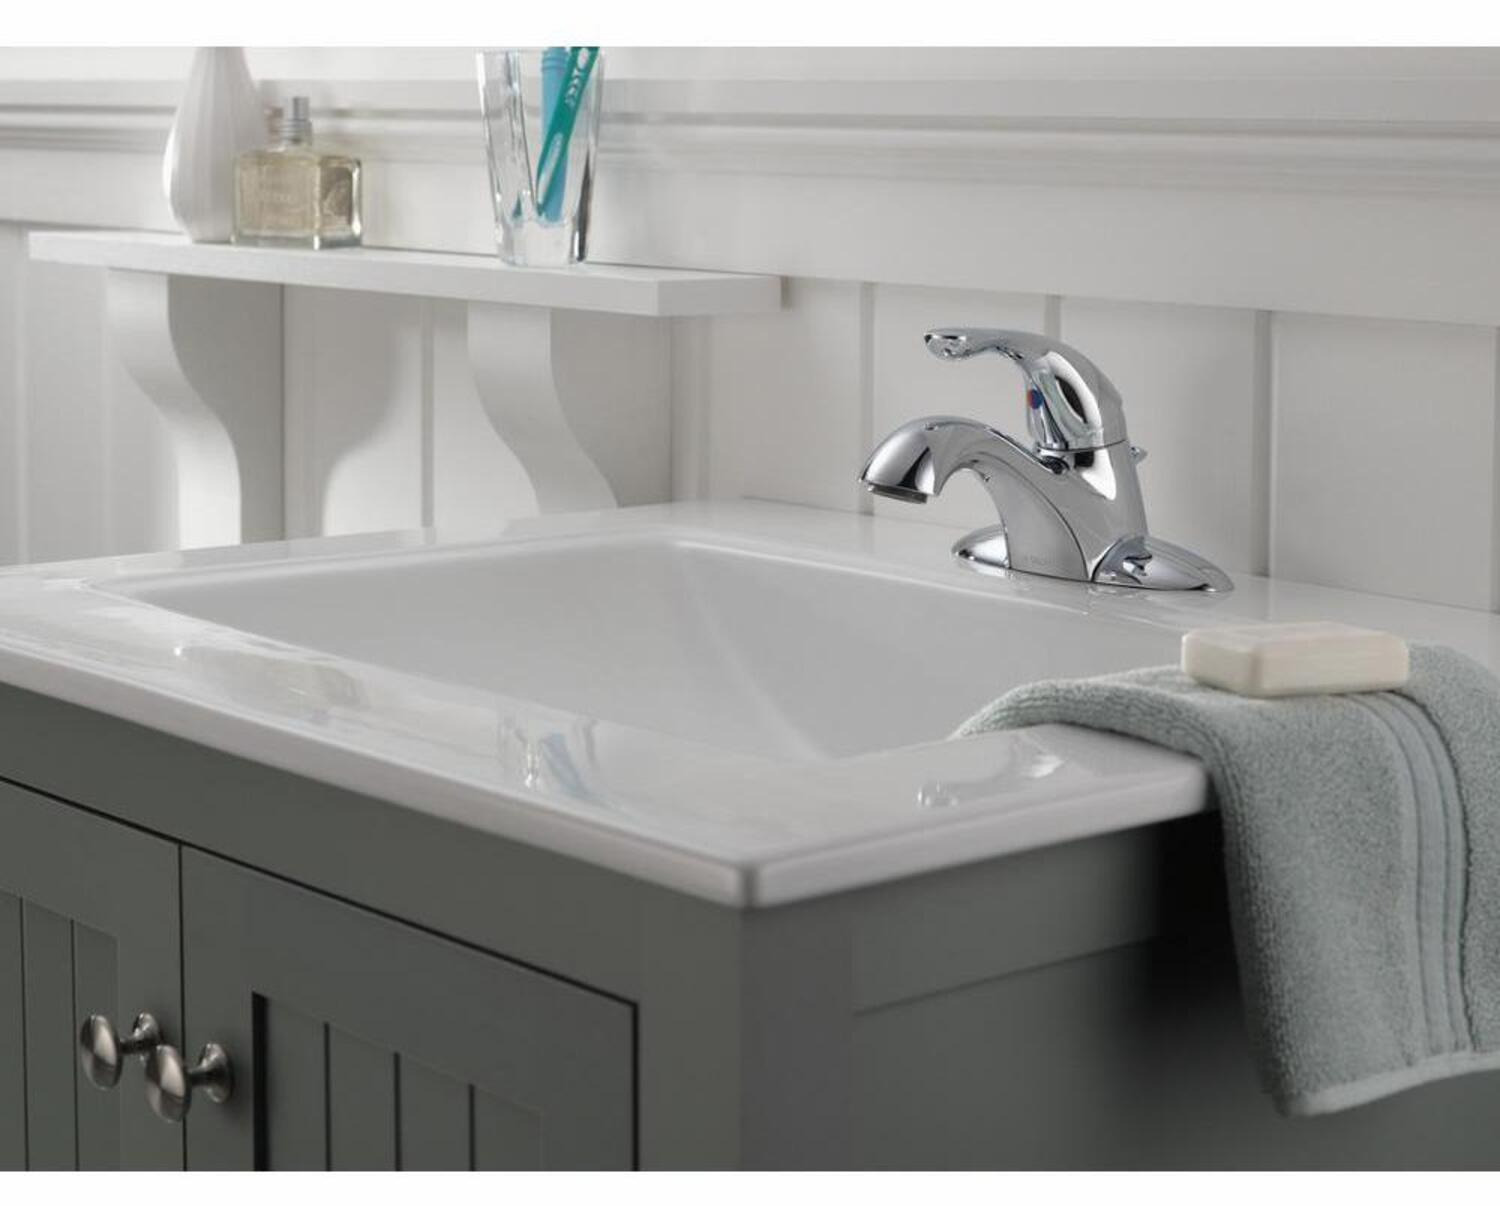
How To Tighten A Delta Kitchen Faucet
Modified: August 16, 2024
Learn how to tighten a Delta kitchen faucet with our step-by-step articles. Fixing your loose faucet has never been easier!
(Many of the links in this article redirect to a specific reviewed product. Your purchase of these products through affiliate links helps to generate commission for Storables.com, at no extra cost. Learn more)
Introduction
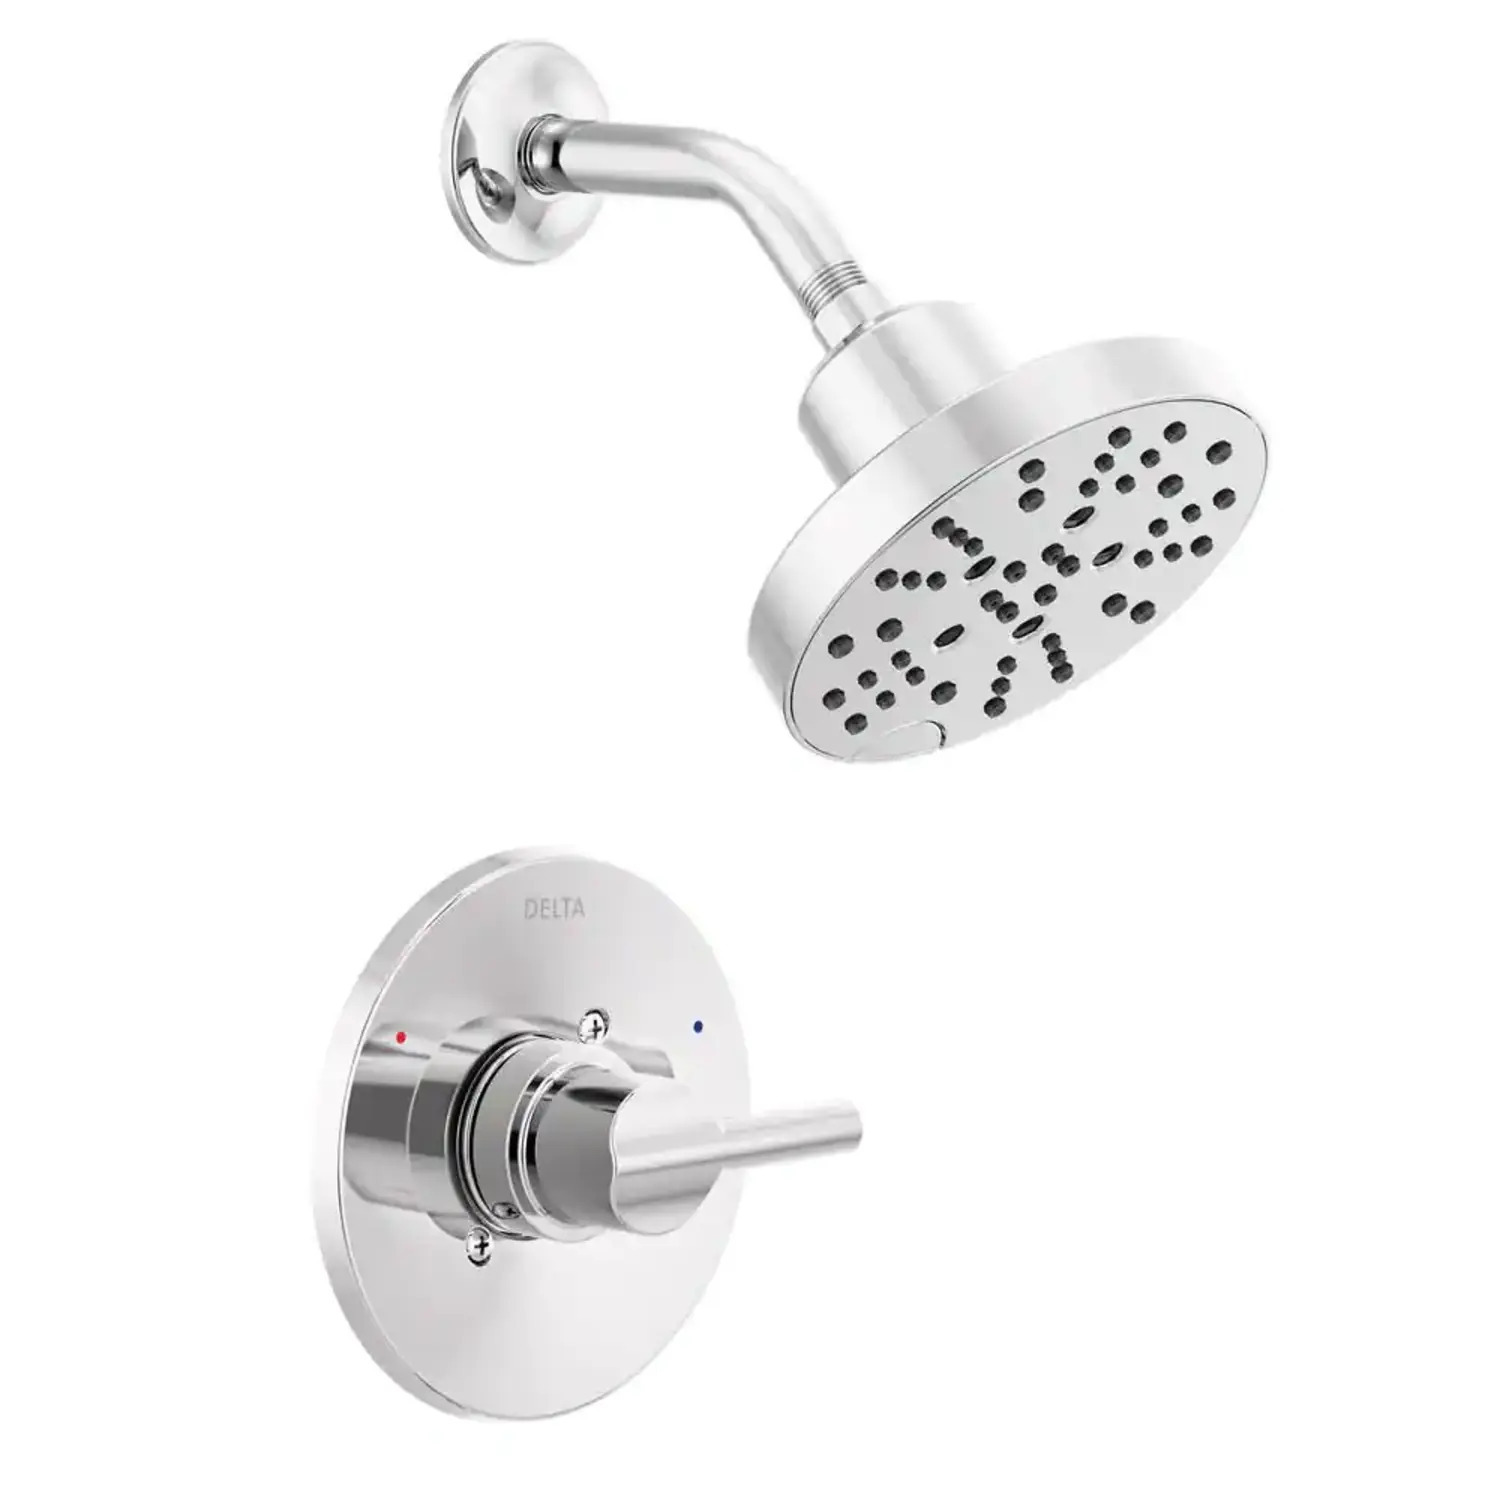
Welcome to our guide on how to tighten a Delta kitchen faucet. Over time, the handle of a faucet may become loose, causing it to wobble or even leak. If you’ve noticed these issues with your Delta kitchen faucet, fear not! With a few simple steps, you can tighten it up and restore its functionality.
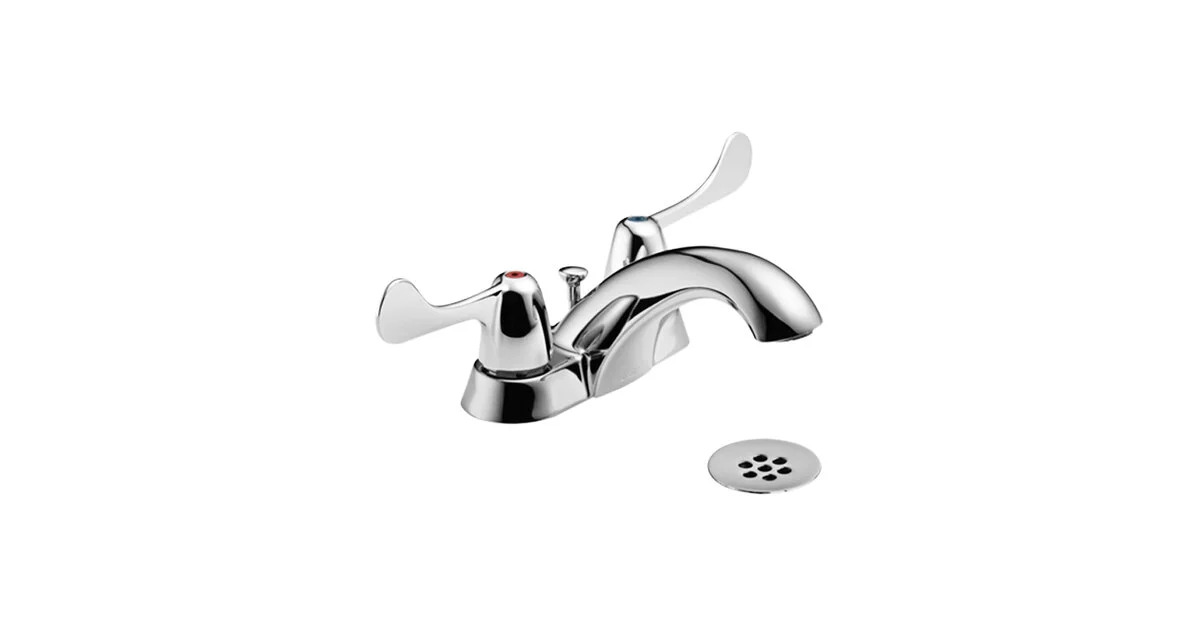
Before we dive into the process, it’s important to note that Delta faucets have a unique design that sets them apart from other brands. They feature a single-handle design that combines both the hot and cold water controls. This guide is specifically tailored to this type of faucet, but the general principles can be applied to other models as well.
To ensure a successful tightening process, you will need a few tools and materials. These include an adjustable wrench, a flathead screwdriver, a cloth or towel, and plumber’s tape. Having these items on hand will save you from having to search for them in the middle of the task.
Now that you’re equipped with the necessary tools, let’s move on to the step-by-step process of tightening a Delta kitchen faucet.
Key Takeaways:
- Easily tighten your Delta kitchen faucet using simple tools like an adjustable wrench and flathead screwdriver. Remember to shut off the water supply and reassemble the handle for a secure and leak-free fixture.
- Restoring stability and functionality to your Delta kitchen faucet is a straightforward process that can be accomplished with a few basic steps. Gather the necessary tools, tighten the bonnet nut, and reassemble the handle for a fully functional faucet.
Read more: How To Tighten Loose Faucet Handle
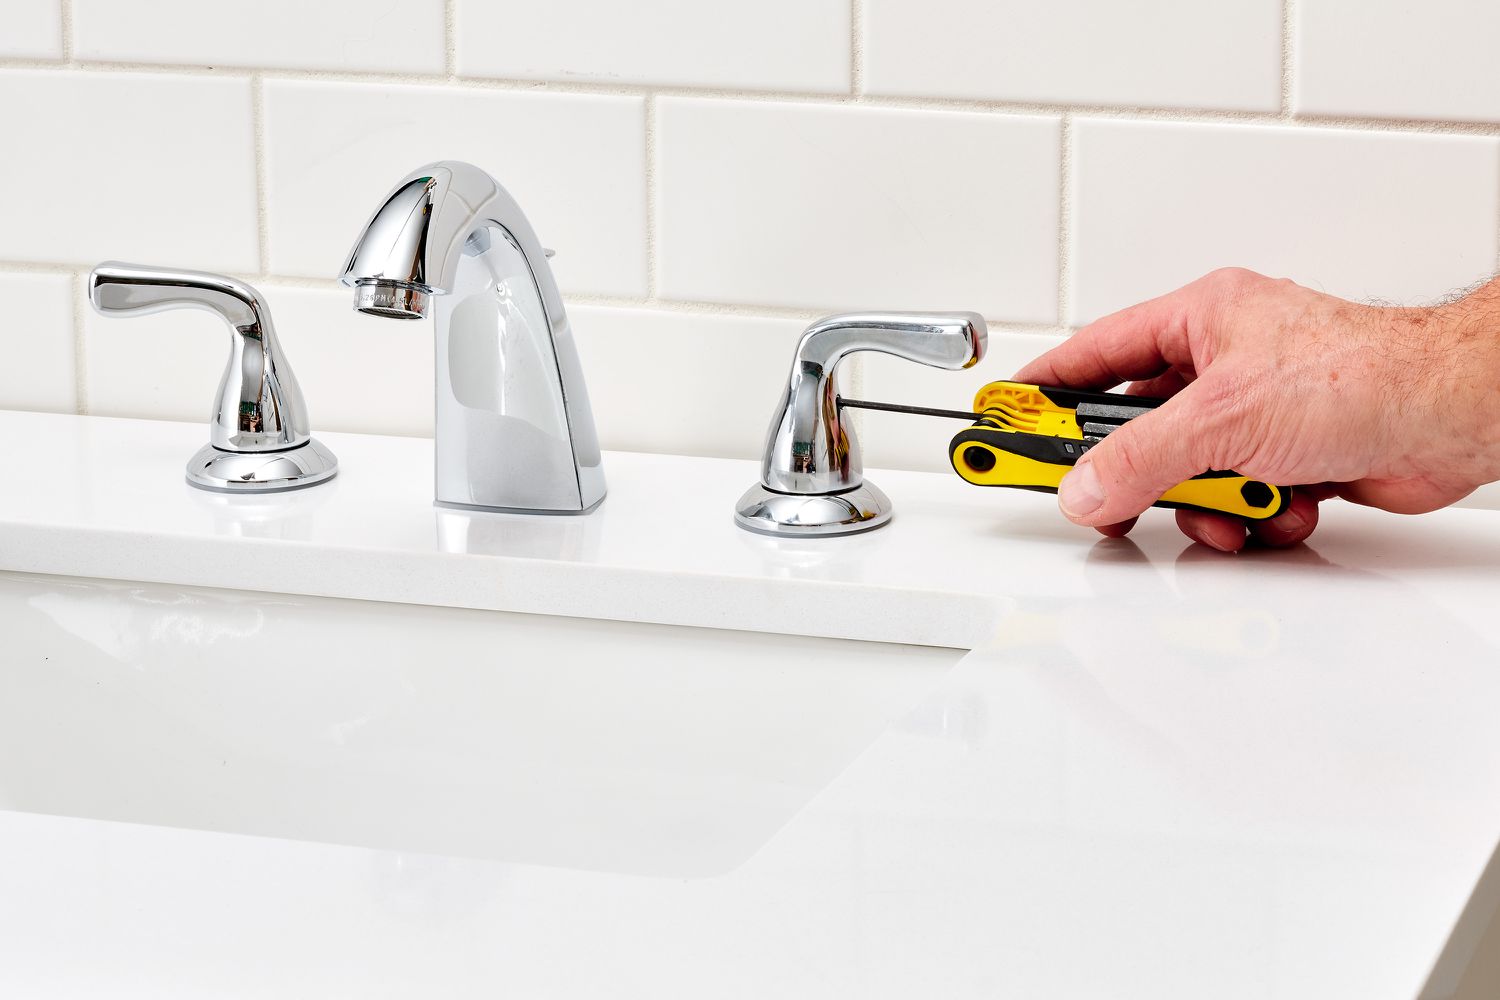
Step 1: Gather the necessary tools and materials
Before you begin, it’s essential to gather the tools and materials you’ll need to tighten your Delta kitchen faucet. By having everything ready, you can streamline the process and avoid interruptions. Here’s a list of what you’ll need:
- Adjustable wrench: This will be used to loosen and tighten the bonnet nut of your faucet.
- Flathead screwdriver: You’ll need this to remove the faucet handle.
- Cloth or towel: To protect the surface of your sink from scratches or damage, it’s a good idea to place a cloth or towel underneath the faucet.
- Plumber’s tape: Also known as Teflon tape, this thin white tape is used to create a watertight seal when reassembling the faucet.
Once you have all these tools and materials ready, you’ll be well-prepared to start the process of tightening your Delta kitchen faucet.
Step 2: Shut off the water supply
Before you begin working on your Delta kitchen faucet, it’s important to shut off the water supply to prevent any potential leaks or accidents. Here’s how you can do it:
- Locate the shut-off valves: Look under your sink for the shut-off valves connected to the water supply lines. These valves are usually located on or near the wall.
- Turn off the hot and cold water supply: Twist the shut-off valves clockwise until they are fully closed. This will stop the flow of water to your faucet.
- Test the water supply: To ensure that the water supply is effectively shut off, turn on your faucet’s handle and let any remaining water flow out. If no water comes out, you have successfully shut off the water supply.
By shutting off the water supply, you can avoid any potential mess and ensure a smooth tightening process. It’s always better to be safe than sorry when it comes to working with plumbing fixtures.
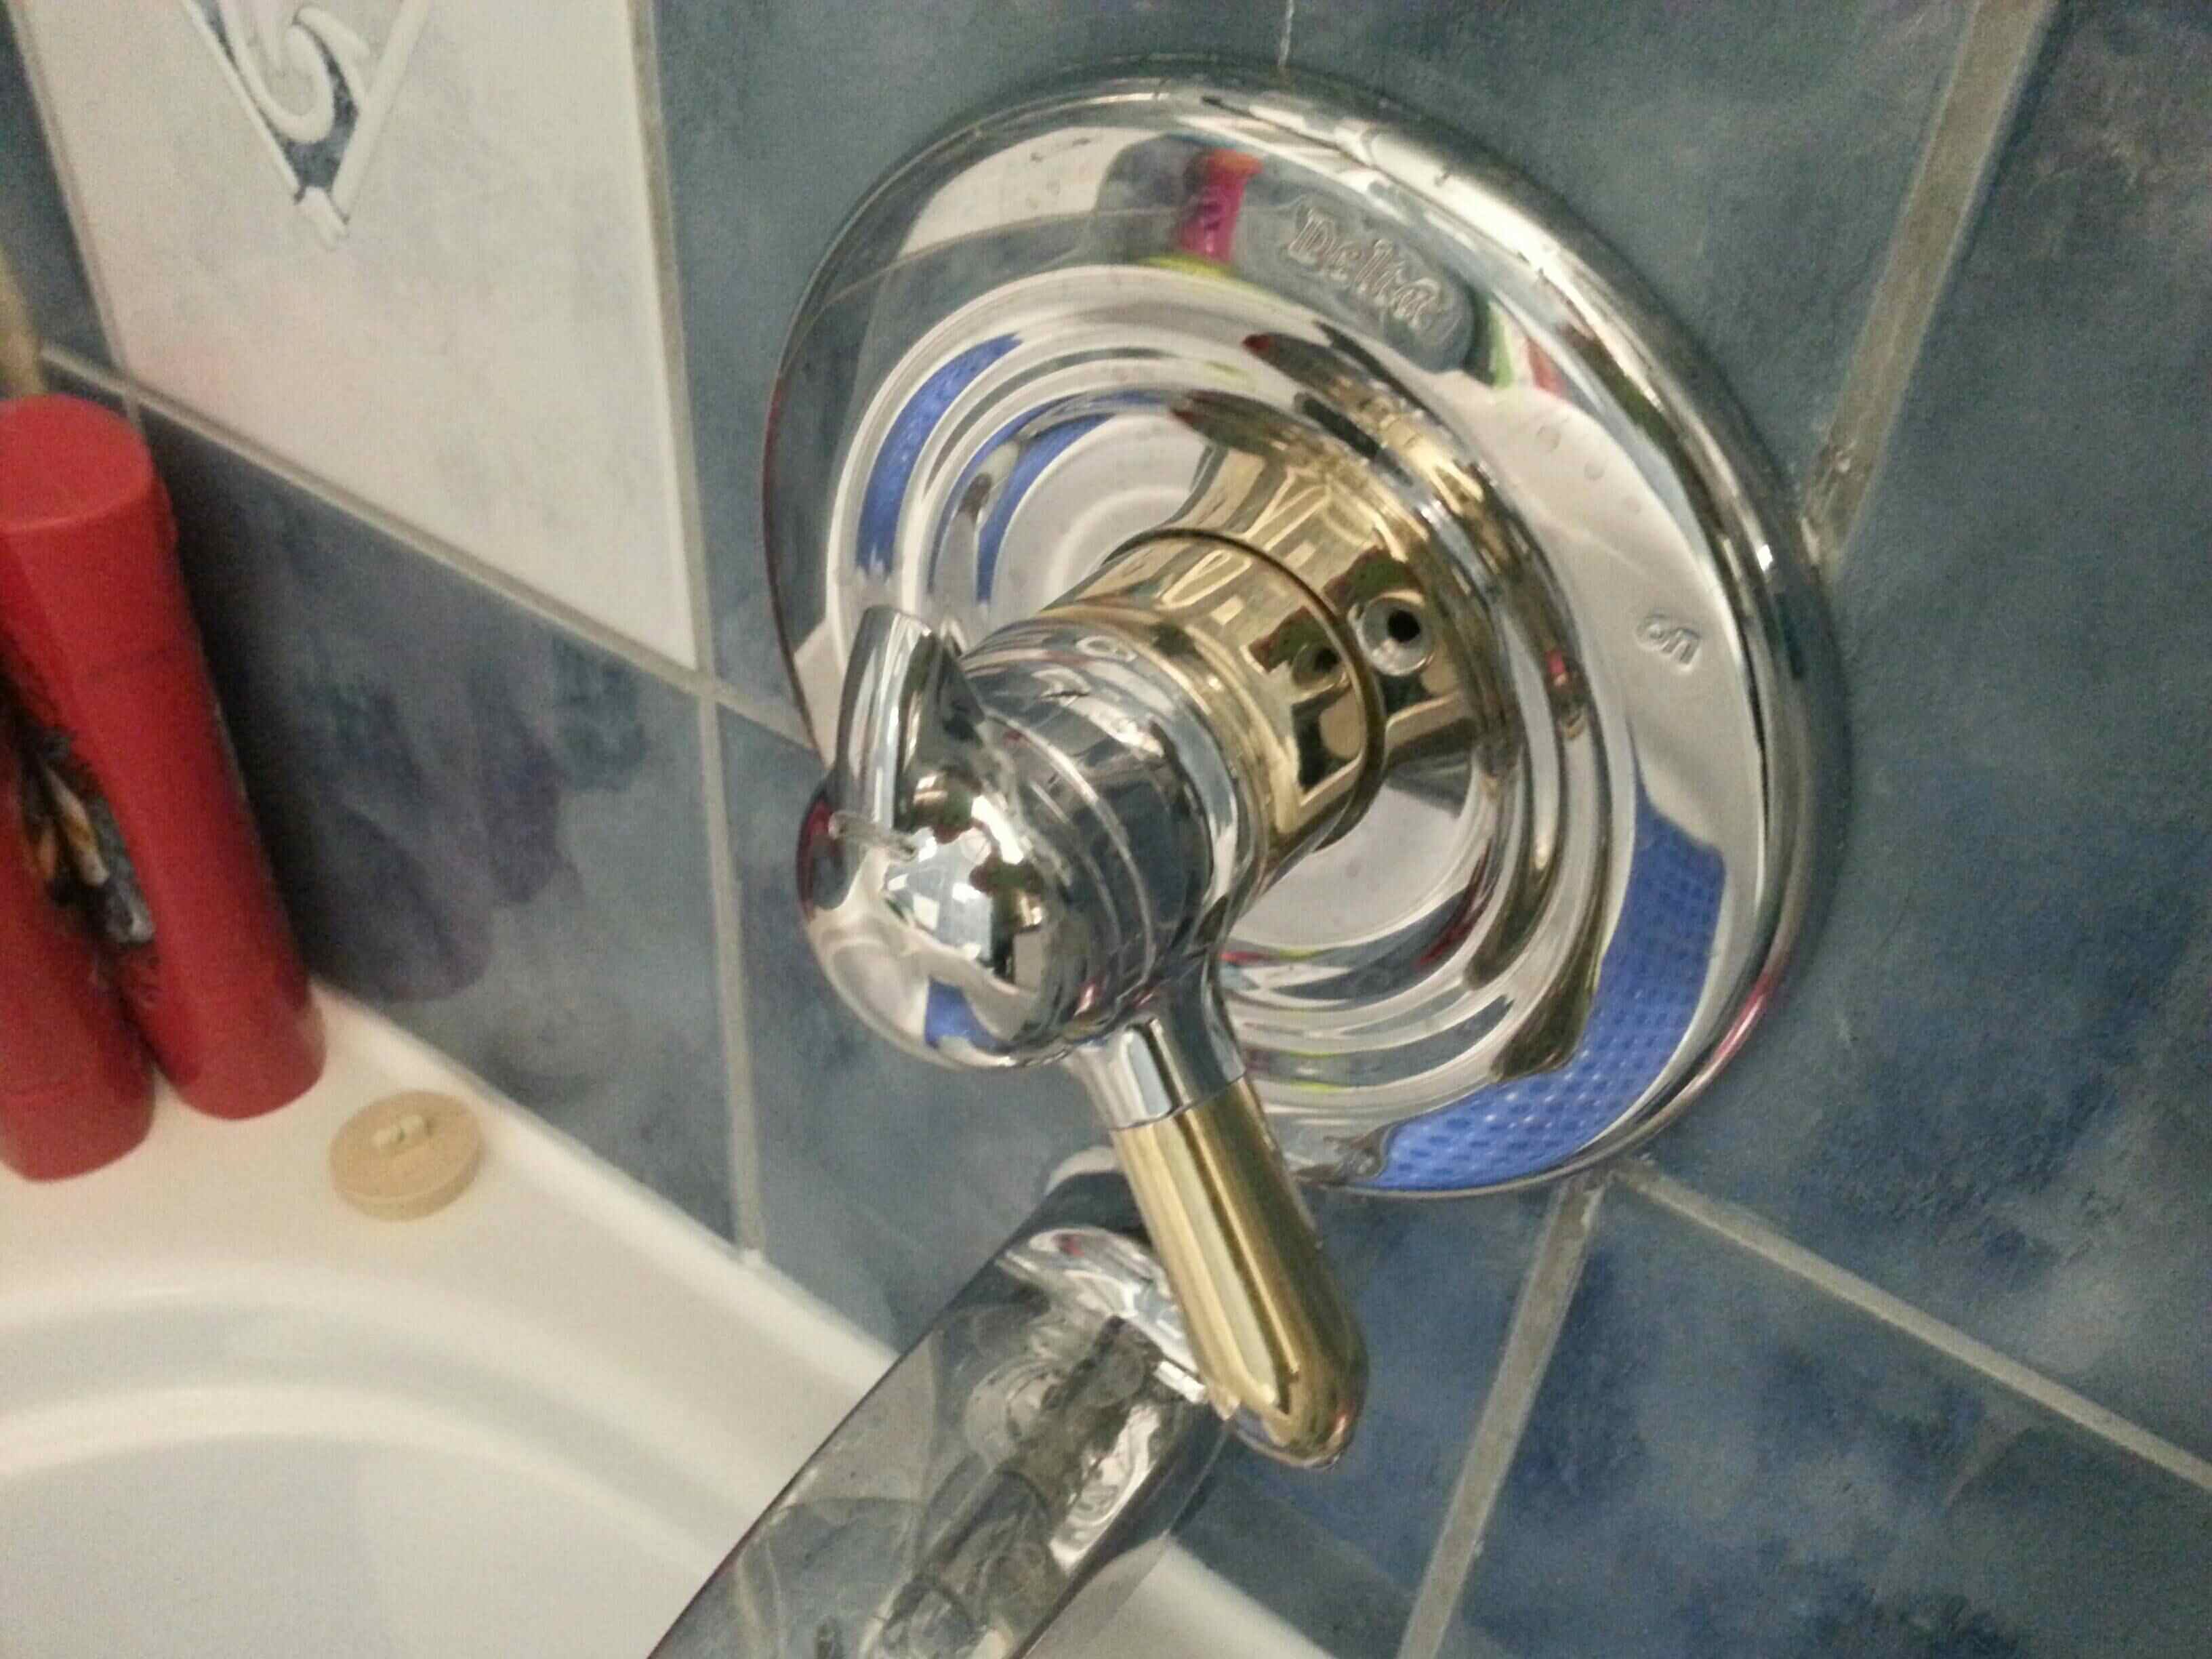
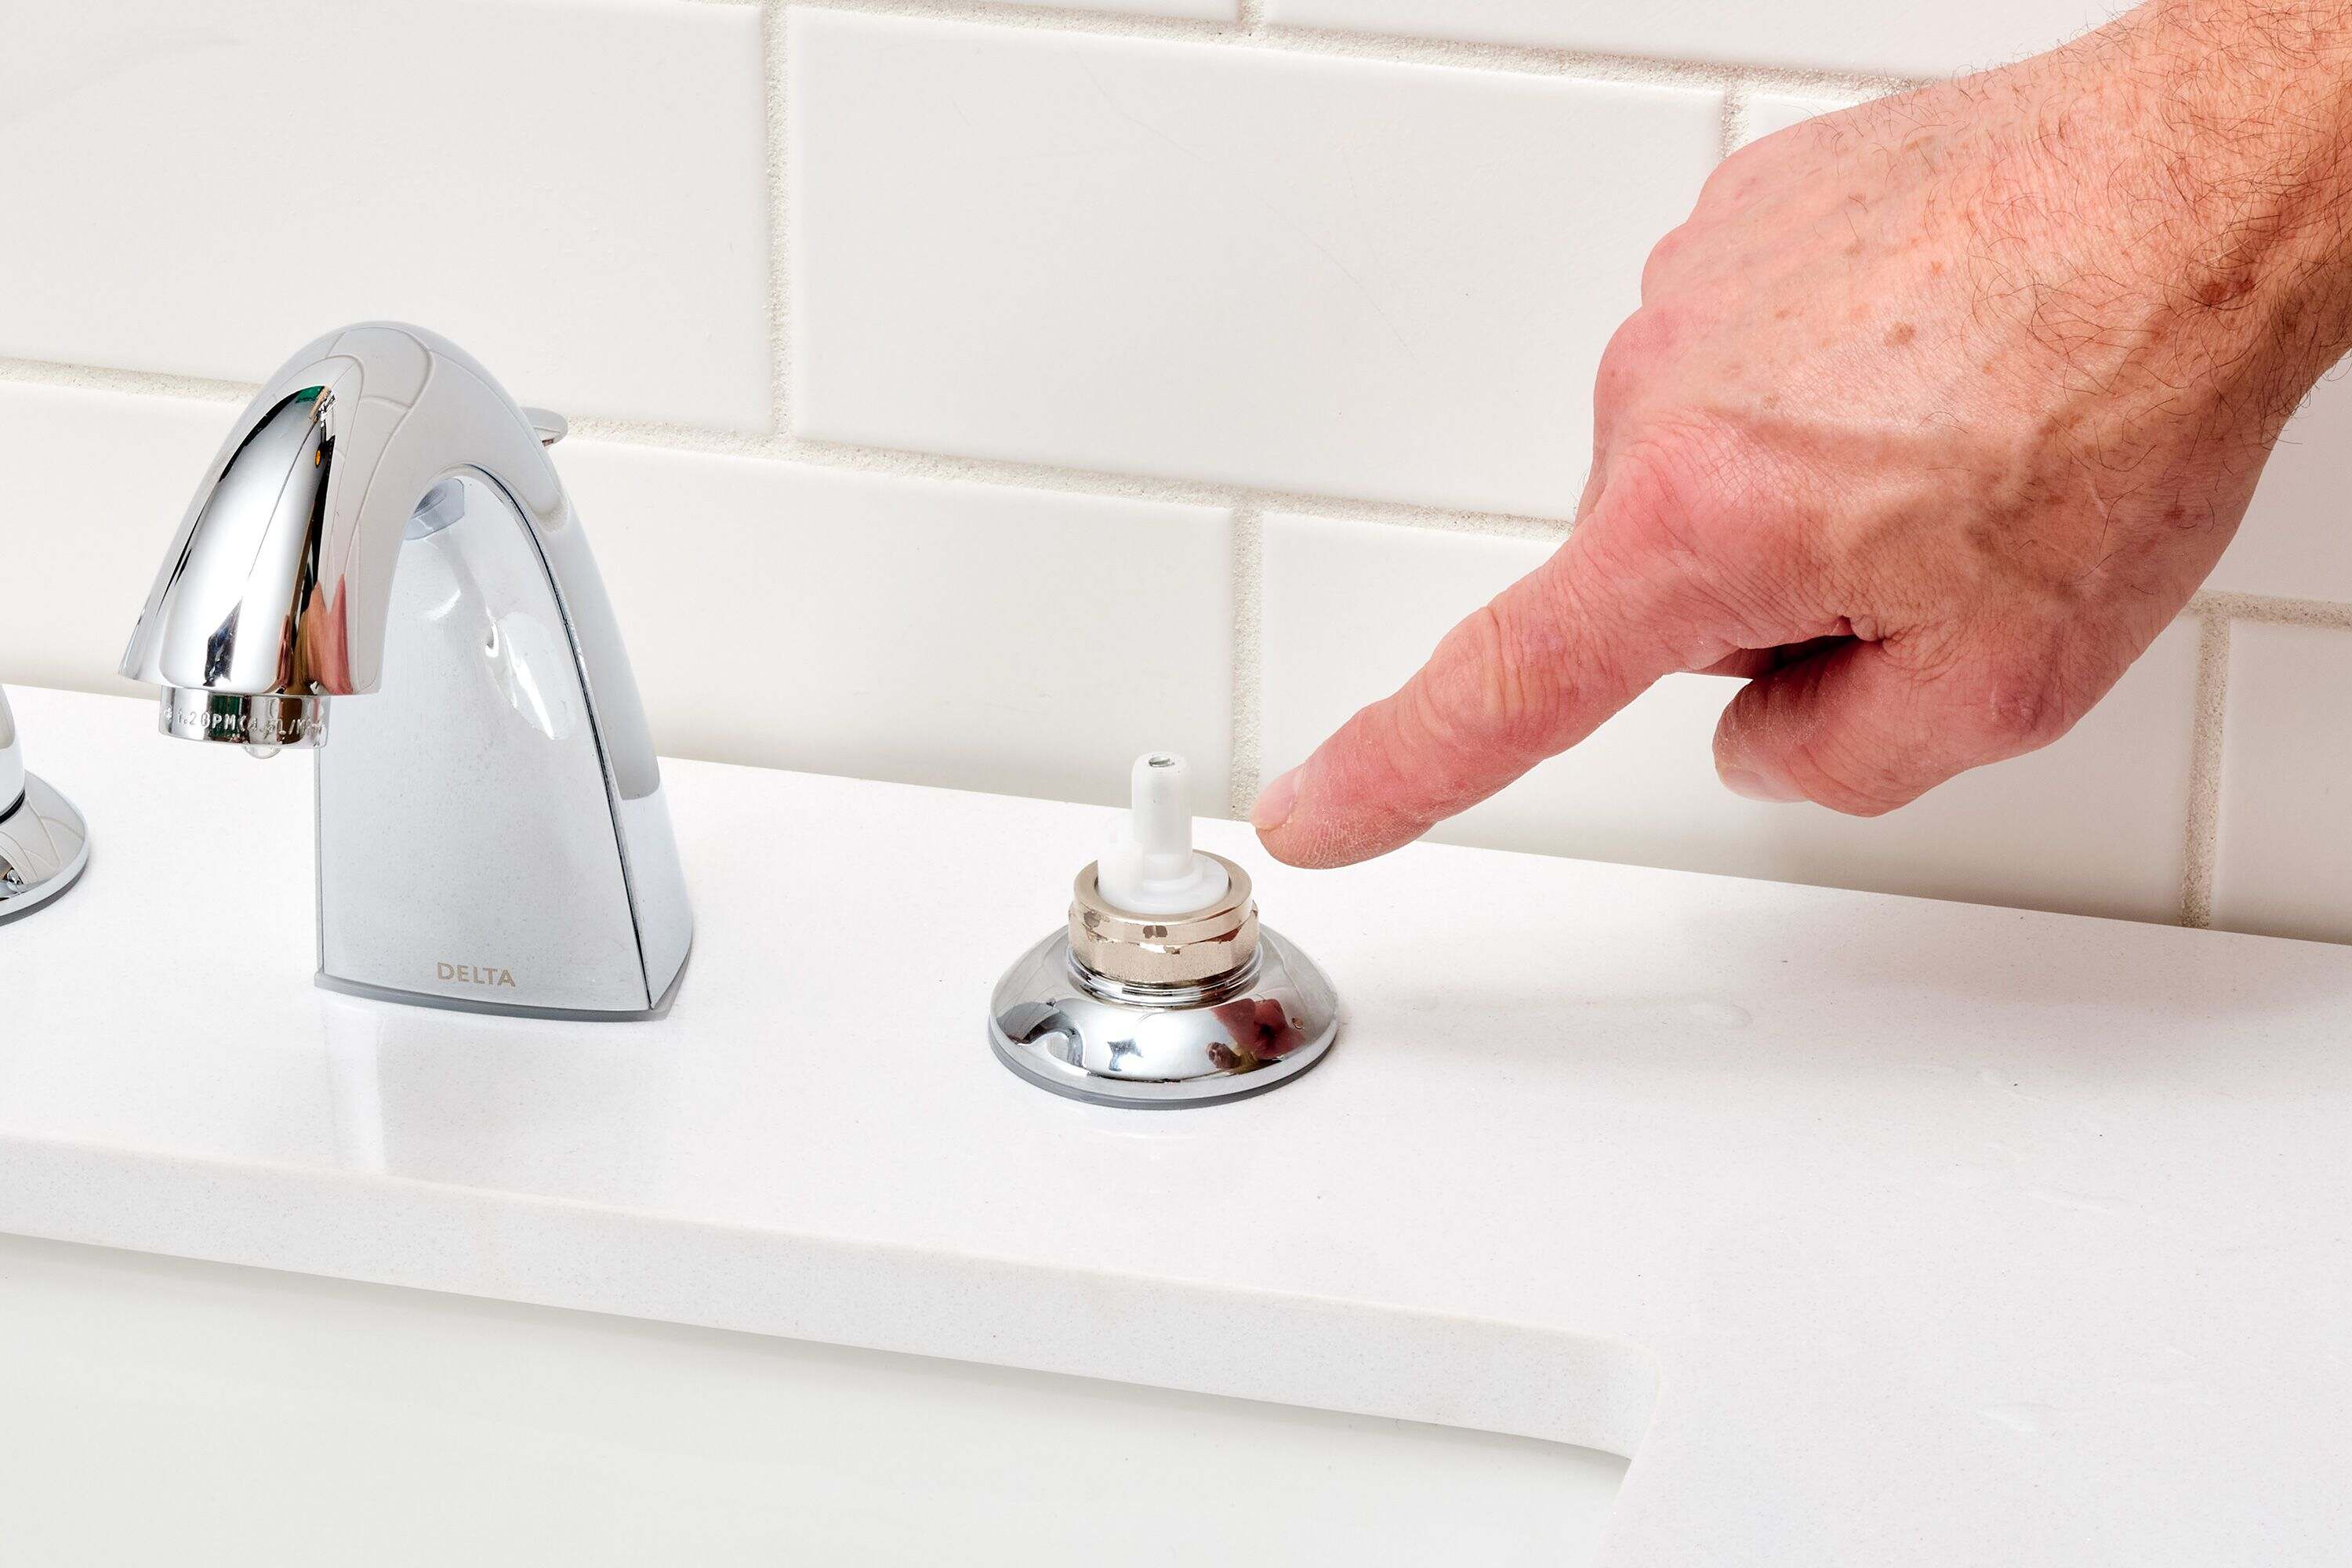
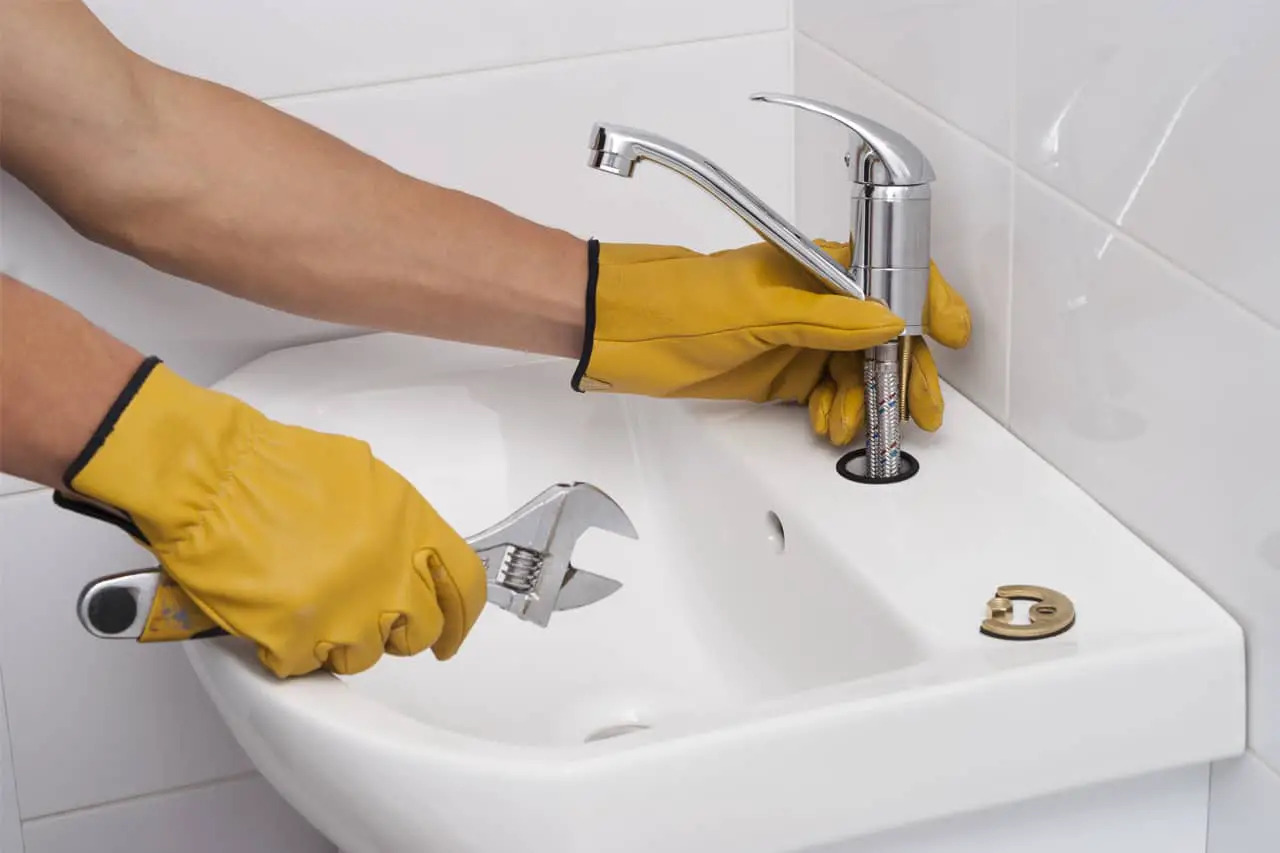
Step 3: Remove the handle
Now that the water supply is shut off, you’re ready to proceed with removing the handle of your Delta kitchen faucet. Follow these steps:
- Locate the set screw: Look for a small set screw on the base of the handle. This screw is usually located on the underside or back of the handle.
- Loosen the set screw: Use a flathead screwdriver to loosen and remove the set screw. Turn it counterclockwise until it is completely loosened. Be sure to keep track of the screw so that you can easily locate it for reassembly.
- Remove the handle: Gently lift and pull the handle away from the faucet. It may require a bit of wiggling or back-and-forth motion to detach it. Set the handle aside in a safe place.
By removing the handle, you’ll have better access to the inner components of the faucet, making it easier to tighten the necessary parts.
Remember to handle the handle (pun intended) with care to avoid any damage. If you encounter any resistance, double-check that you have loosened the set screw enough before attempting to remove the handle.
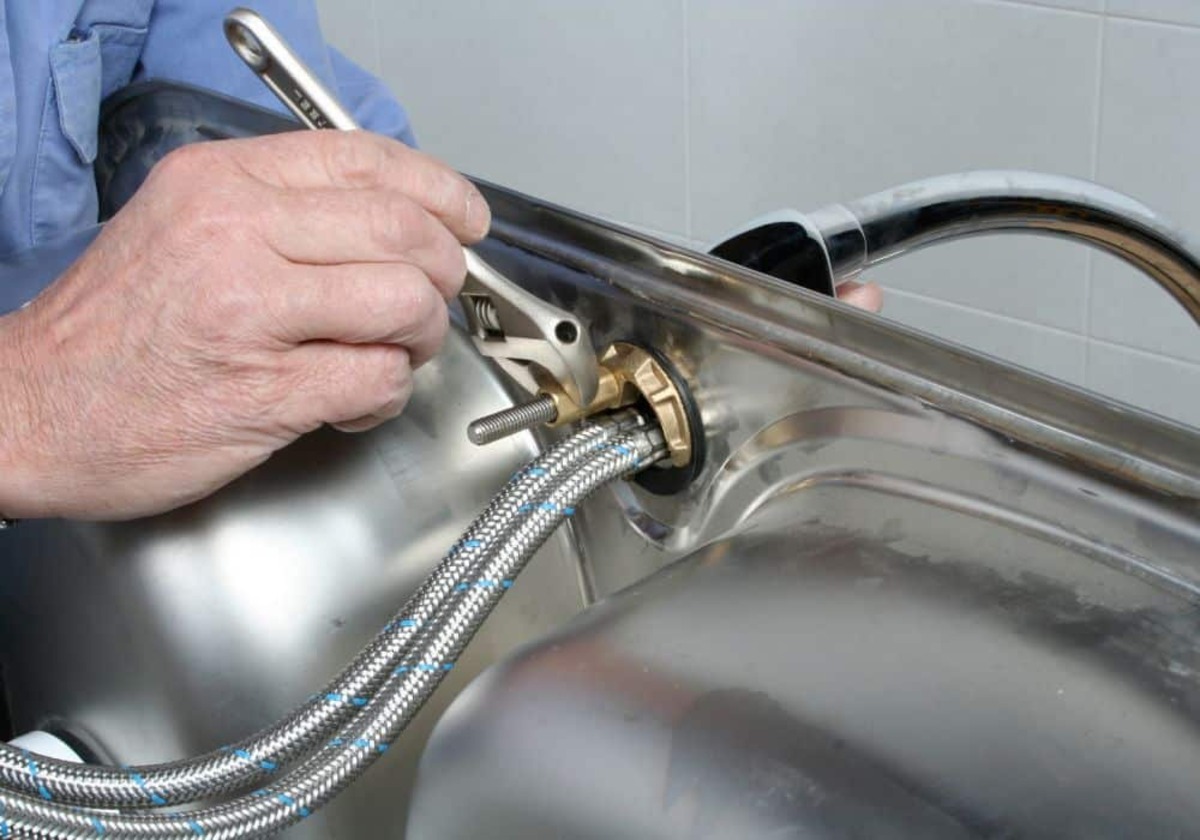
To tighten a Delta kitchen faucet, use a wrench to tighten the mounting nut underneath the sink. Make sure to turn the nut clockwise until it is snug to prevent any wobbling or leaks.
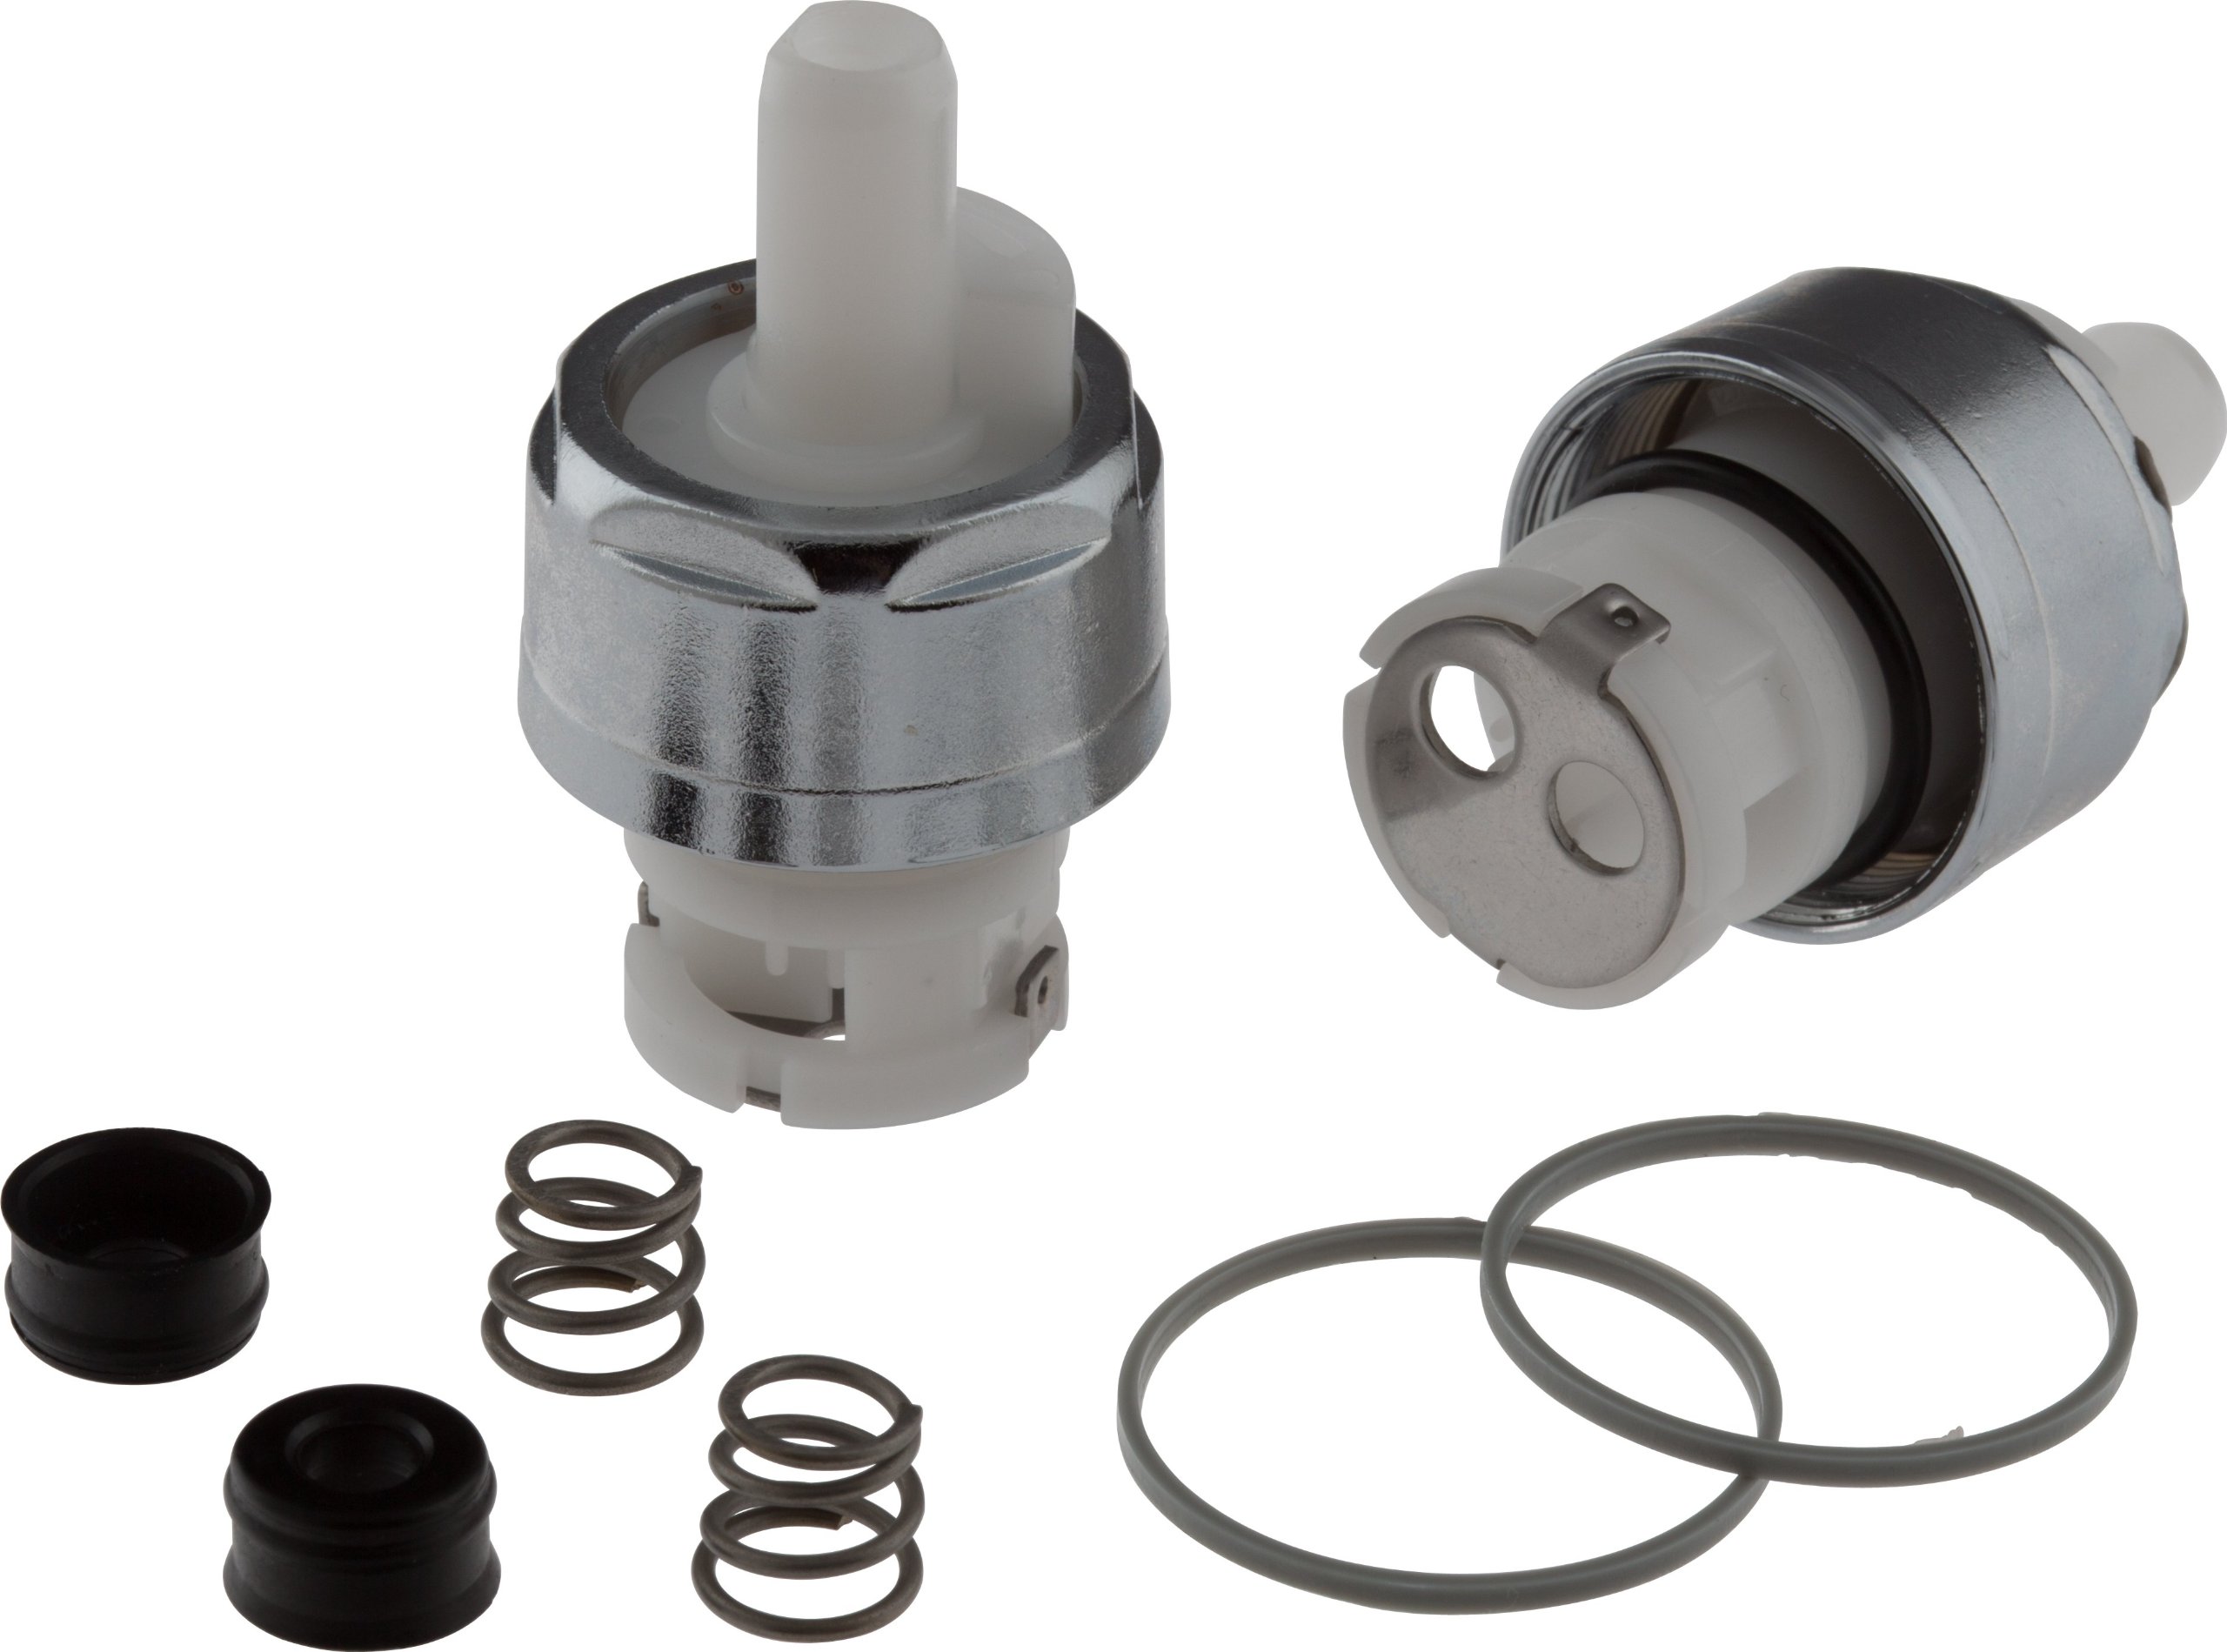
Step 4: Tighten the bonnet nut
With the handle removed, you can now focus on tightening the bonnet nut of your Delta kitchen faucet. The bonnet nut is located just below the handle and secures the faucet’s internal components. Here’s how to proceed:
- Locate the bonnet nut: Look for a round, dome-shaped nut directly beneath where the handle was previously attached.
- Use an adjustable wrench: Place an adjustable wrench around the bonnet nut, ensuring a firm grip.
- Turn the wrench clockwise: Slowly and steadily turn the wrench clockwise to tighten the bonnet nut. Be careful not to overtighten it, as this can cause damage to the faucet and its internal parts.
- Check the firmness: Once you feel that the bonnet nut is tight enough, give it a gentle tug to ensure it’s secured in place.
Tightening the bonnet nut will help stabilize the handle and prevent it from wobbling or coming loose. It’s crucial to find the right balance between a secure fit and avoiding excessive force.
Remember, different Delta faucet models may have slight variations in their internal structure, so the appearance and location of the bonnet nut may vary. However, the general concept and steps remain the same.
Read more: How To Tighten Sink Faucet Handle
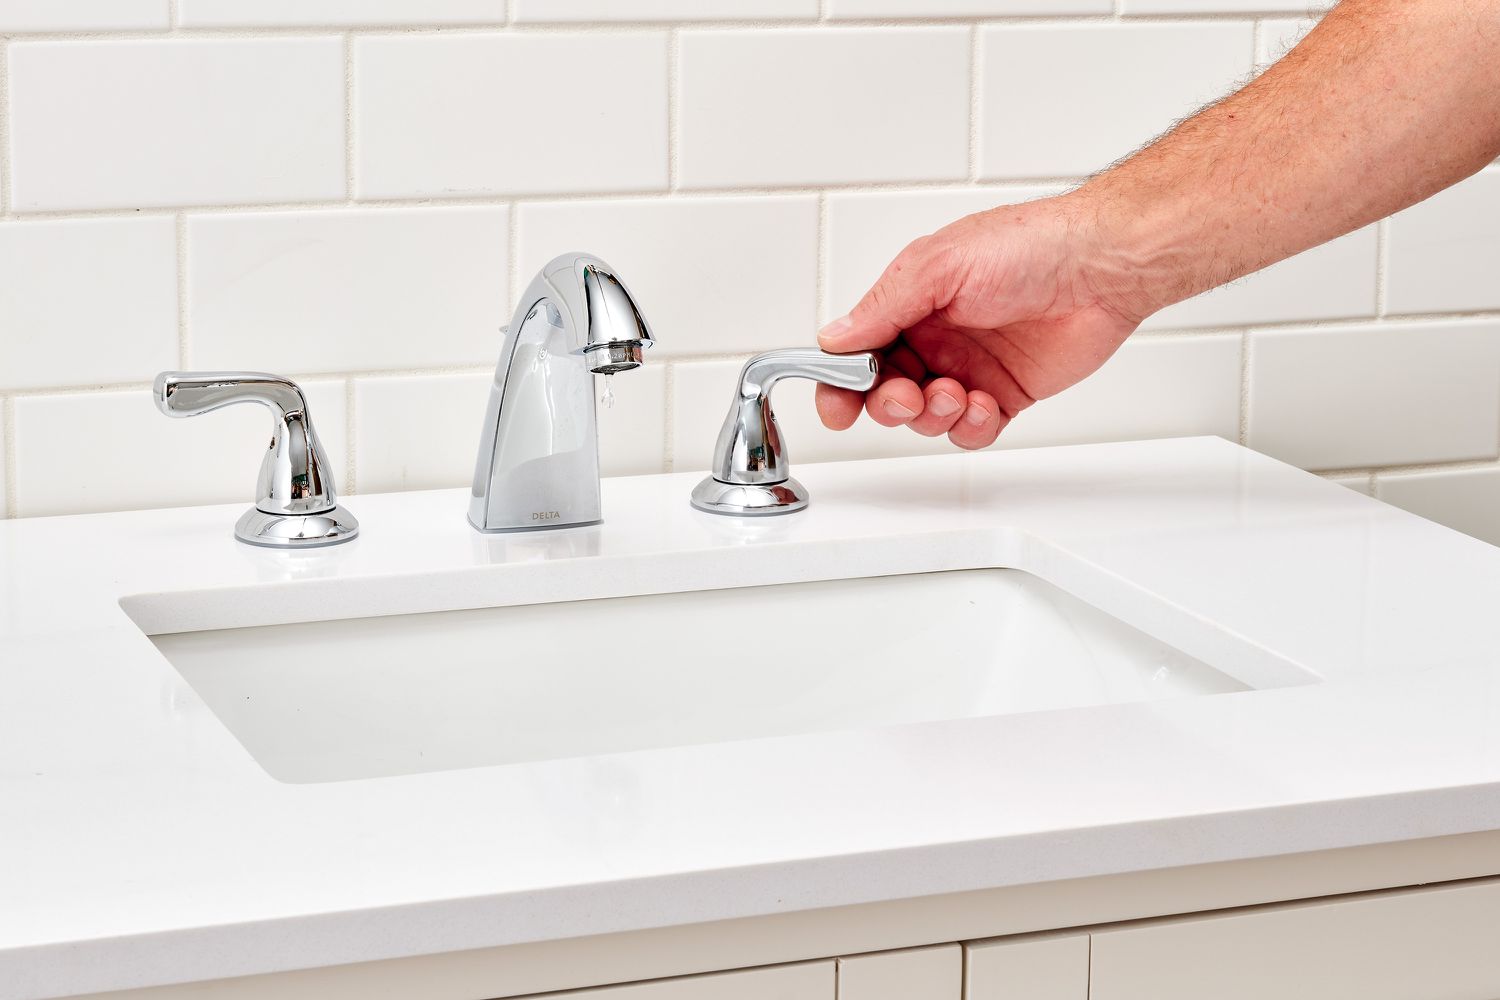
Step 5: Reassemble the handle
Now that the bonnet nut is tightened, it’s time to reassemble the handle of your Delta kitchen faucet. Follow these steps:
- Retrieve the handle and set screw: Take the handle you previously removed and locate the set screw that you set aside.
- Align the handle: Position the handle back onto the faucet, ensuring that it aligns properly with the valve stem.
- Insert the set screw: Once the handle is aligned, insert the set screw into the designated hole on the handle’s base.
- Tighten the set screw: Use a flathead screwdriver to tighten the set screw. Turn it clockwise until it is securely fastened.
By reassembling the handle correctly, you’ll restore the functionality of your Delta kitchen faucet and ensure that it remains firmly in place.
If you encounter any difficulty aligning the handle or inserting the set screw, double-check for any obstructions or debris that may be causing the issue. Clean the area if necessary, and ensure that the handle is properly aligned with the valve stem.
Once the handle is reassembled and the set screw is tightened, give it a gentle test to ensure that it operates smoothly and securely.
Step 6: Turn on the water supply
With the handle reassembled and secured in place, the final step is to turn on the water supply to your Delta kitchen faucet. Follow these steps to complete the process:
- Locate the shut-off valves: Refer back to Step 2 to locate the shut-off valves underneath your sink.
- Turn on the hot and cold water supply: Twist the shut-off valves counterclockwise to gradually open the flow of water. Start with a slow and steady turn to prevent any sudden pressure surges.
- Check for leaks: Once the water supply is turned on, observe the faucet and its connections for any signs of leaks. Pay attention to the base of the faucet, the handle, and the water supply lines.
- If you notice any leaks, turn off the water supply immediately and inspect the affected area. Check that all connections are properly tightened and consider using plumber’s tape to create a watertight seal. After making the necessary adjustments, turn on the water supply again and check for leaks once more.
By turning on the water supply, you’ll be able to test the newly tightened Delta kitchen faucet and ensure that it is functioning properly. Keep an eye out for any signs of leakage and take the necessary steps to address them promptly.
Congratulations! You have successfully tightened your Delta kitchen faucet and restored its stability. Enjoy the improved functionality and peace of mind that comes with a securely fixed faucet.
Conclusion
Fixing a loose Delta kitchen faucet is a simple task that can be accomplished by following a few straightforward steps. By tightening the bonnet nut and reassembling the handle, you can restore the stability and functionality of your faucet.
Remember to start by gathering the necessary tools and materials, including an adjustable wrench, a flathead screwdriver, a cloth or towel, and plumber’s tape. This will ensure that you have everything you need within reach, saving you time and effort during the process.
Be sure to shut off the water supply before beginning any work on your faucet. This step is crucial to prevent leaks and ensure a safe working environment. Double-check that the water is fully shut off before proceeding.
Removing the handle will give you access to the bonnet nut, which is responsible for securing the internal components of the faucet. Use an adjustable wrench to tighten the bonnet nut, being careful not to overtighten it to avoid damaging the faucet.
Next, reassemble the handle by aligning it properly and tightening the set screw with a flathead screwdriver. This step will ensure that the handle remains securely in place while using the faucet.
Finally, turn on the water supply and check for any leaks. If you notice any leaks, turn off the water supply again, inspect the affected area, and make the necessary adjustments. Repeat this process until you have a leak-free faucet.
By following these steps, you can tighten your Delta kitchen faucet and enjoy a stable and fully functional fixture in your kitchen. Remember to exercise caution and be attentive throughout the process to ensure a successful outcome.
We hope this guide has been helpful to you. Thank you for reading, and happy tightening!
Frequently Asked Questions about How To Tighten A Delta Kitchen Faucet
Was this page helpful?
At Storables.com, we guarantee accurate and reliable information. Our content, validated by Expert Board Contributors, is crafted following stringent Editorial Policies. We're committed to providing you with well-researched, expert-backed insights for all your informational needs.


0 thoughts on “How To Tighten A Delta Kitchen Faucet”