Articles
How To Install A Delta Bathroom Faucet
Modified: August 28, 2024
Learn how to install a Delta bathroom faucet with step-by-step instructions and helpful tips. Find all the information you need in our comprehensive articles.
(Many of the links in this article redirect to a specific reviewed product. Your purchase of these products through affiliate links helps to generate commission for Storables.com, at no extra cost. Learn more)
Introduction
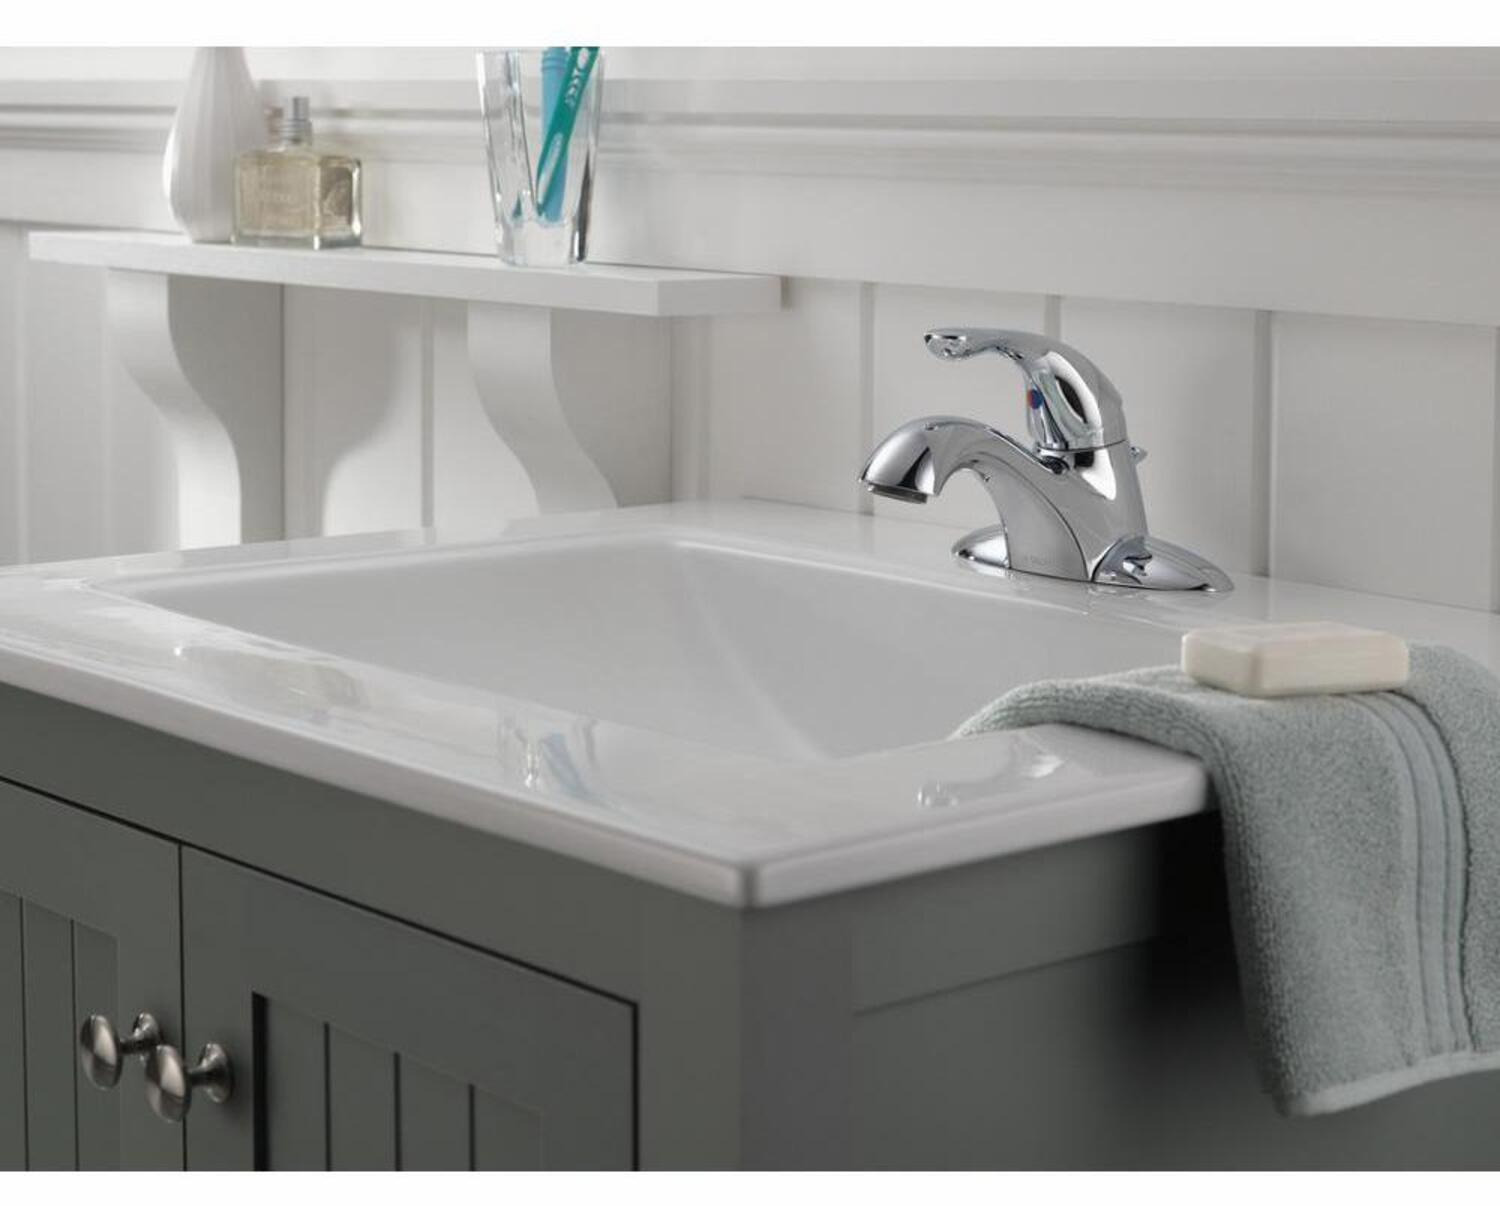
Installing a new faucet in your bathroom can not only enhance the aesthetics of the space but also improve the functionality. One popular brand known for its stylish and reliable faucets is Delta. Whether you are doing a bathroom renovation or simply replacing an old faucet, installing a Delta bathroom faucet can be a rewarding and straightforward DIY project.
In this article, we will guide you through the step-by-step process of how to install a Delta bathroom faucet. We will cover the tools and materials you will need, as well as provide detailed instructions to ensure a successful installation. So, let’s get started!
Key Takeaways:
- Transform your bathroom with a stylish and functional Delta faucet. Enhance aesthetics, improve functionality, and enjoy water efficiency with a rewarding and straightforward DIY installation process.
- Ensure a leak-free and properly functioning Delta faucet by following step-by-step instructions. From shutting off water to testing functionality, enjoy a seamless and satisfying installation experience.
Read more: How To Install Delta Shower Faucet
Tools and Materials Needed
Before you begin the installation process, it’s essential to gather all the necessary tools and materials. Here is a list of what you will need:
- Delta bathroom faucet kit (including the faucet, handles, and any other components)
- Adjustable wrench
- Plumber’s tape
- Screwdriver (Phillips or flathead, depending on the type of screws)
- Bucket or towels for water cleanup
- Flashlight (in case you need extra lighting under the sink)
- Plastic putty knife
- Cleaning supplies
- Optional: Basin wrench (useful for hard-to-reach areas)
Make sure you have all these tools and materials readily available before you start the installation process. This will save you time and frustration in case you need to make a trip to the hardware store.
Shutting off the Water
Before you begin removing the old faucet, it’s important to shut off the water supply to your bathroom. This will prevent any water leakage during the installation process. Follow these steps to shut off the water:
- Locate the shut-off valves under the sink. These are usually located on the pipes leading to the faucet.
- Turn the valve handles clockwise to shut off the water flow. If the valves are difficult to turn, you may need to use an adjustable wrench for better leverage.
- Once the water supply is shut off, turn on the faucet to release any remaining water pressure in the lines. This will help prevent any unexpected water spray when you start disconnecting the old faucet.
It’s always a good idea to double-check that the water supply is completely shut off by turning on the sink faucet in both hot and cold positions. If no water comes out, you can proceed with confidence.
Remember, if you are unable to locate the shut-off valves or if there aren’t any in your bathroom, you may need to shut off the main water supply to your entire home. Consult a professional plumber if you are uncertain about this step.
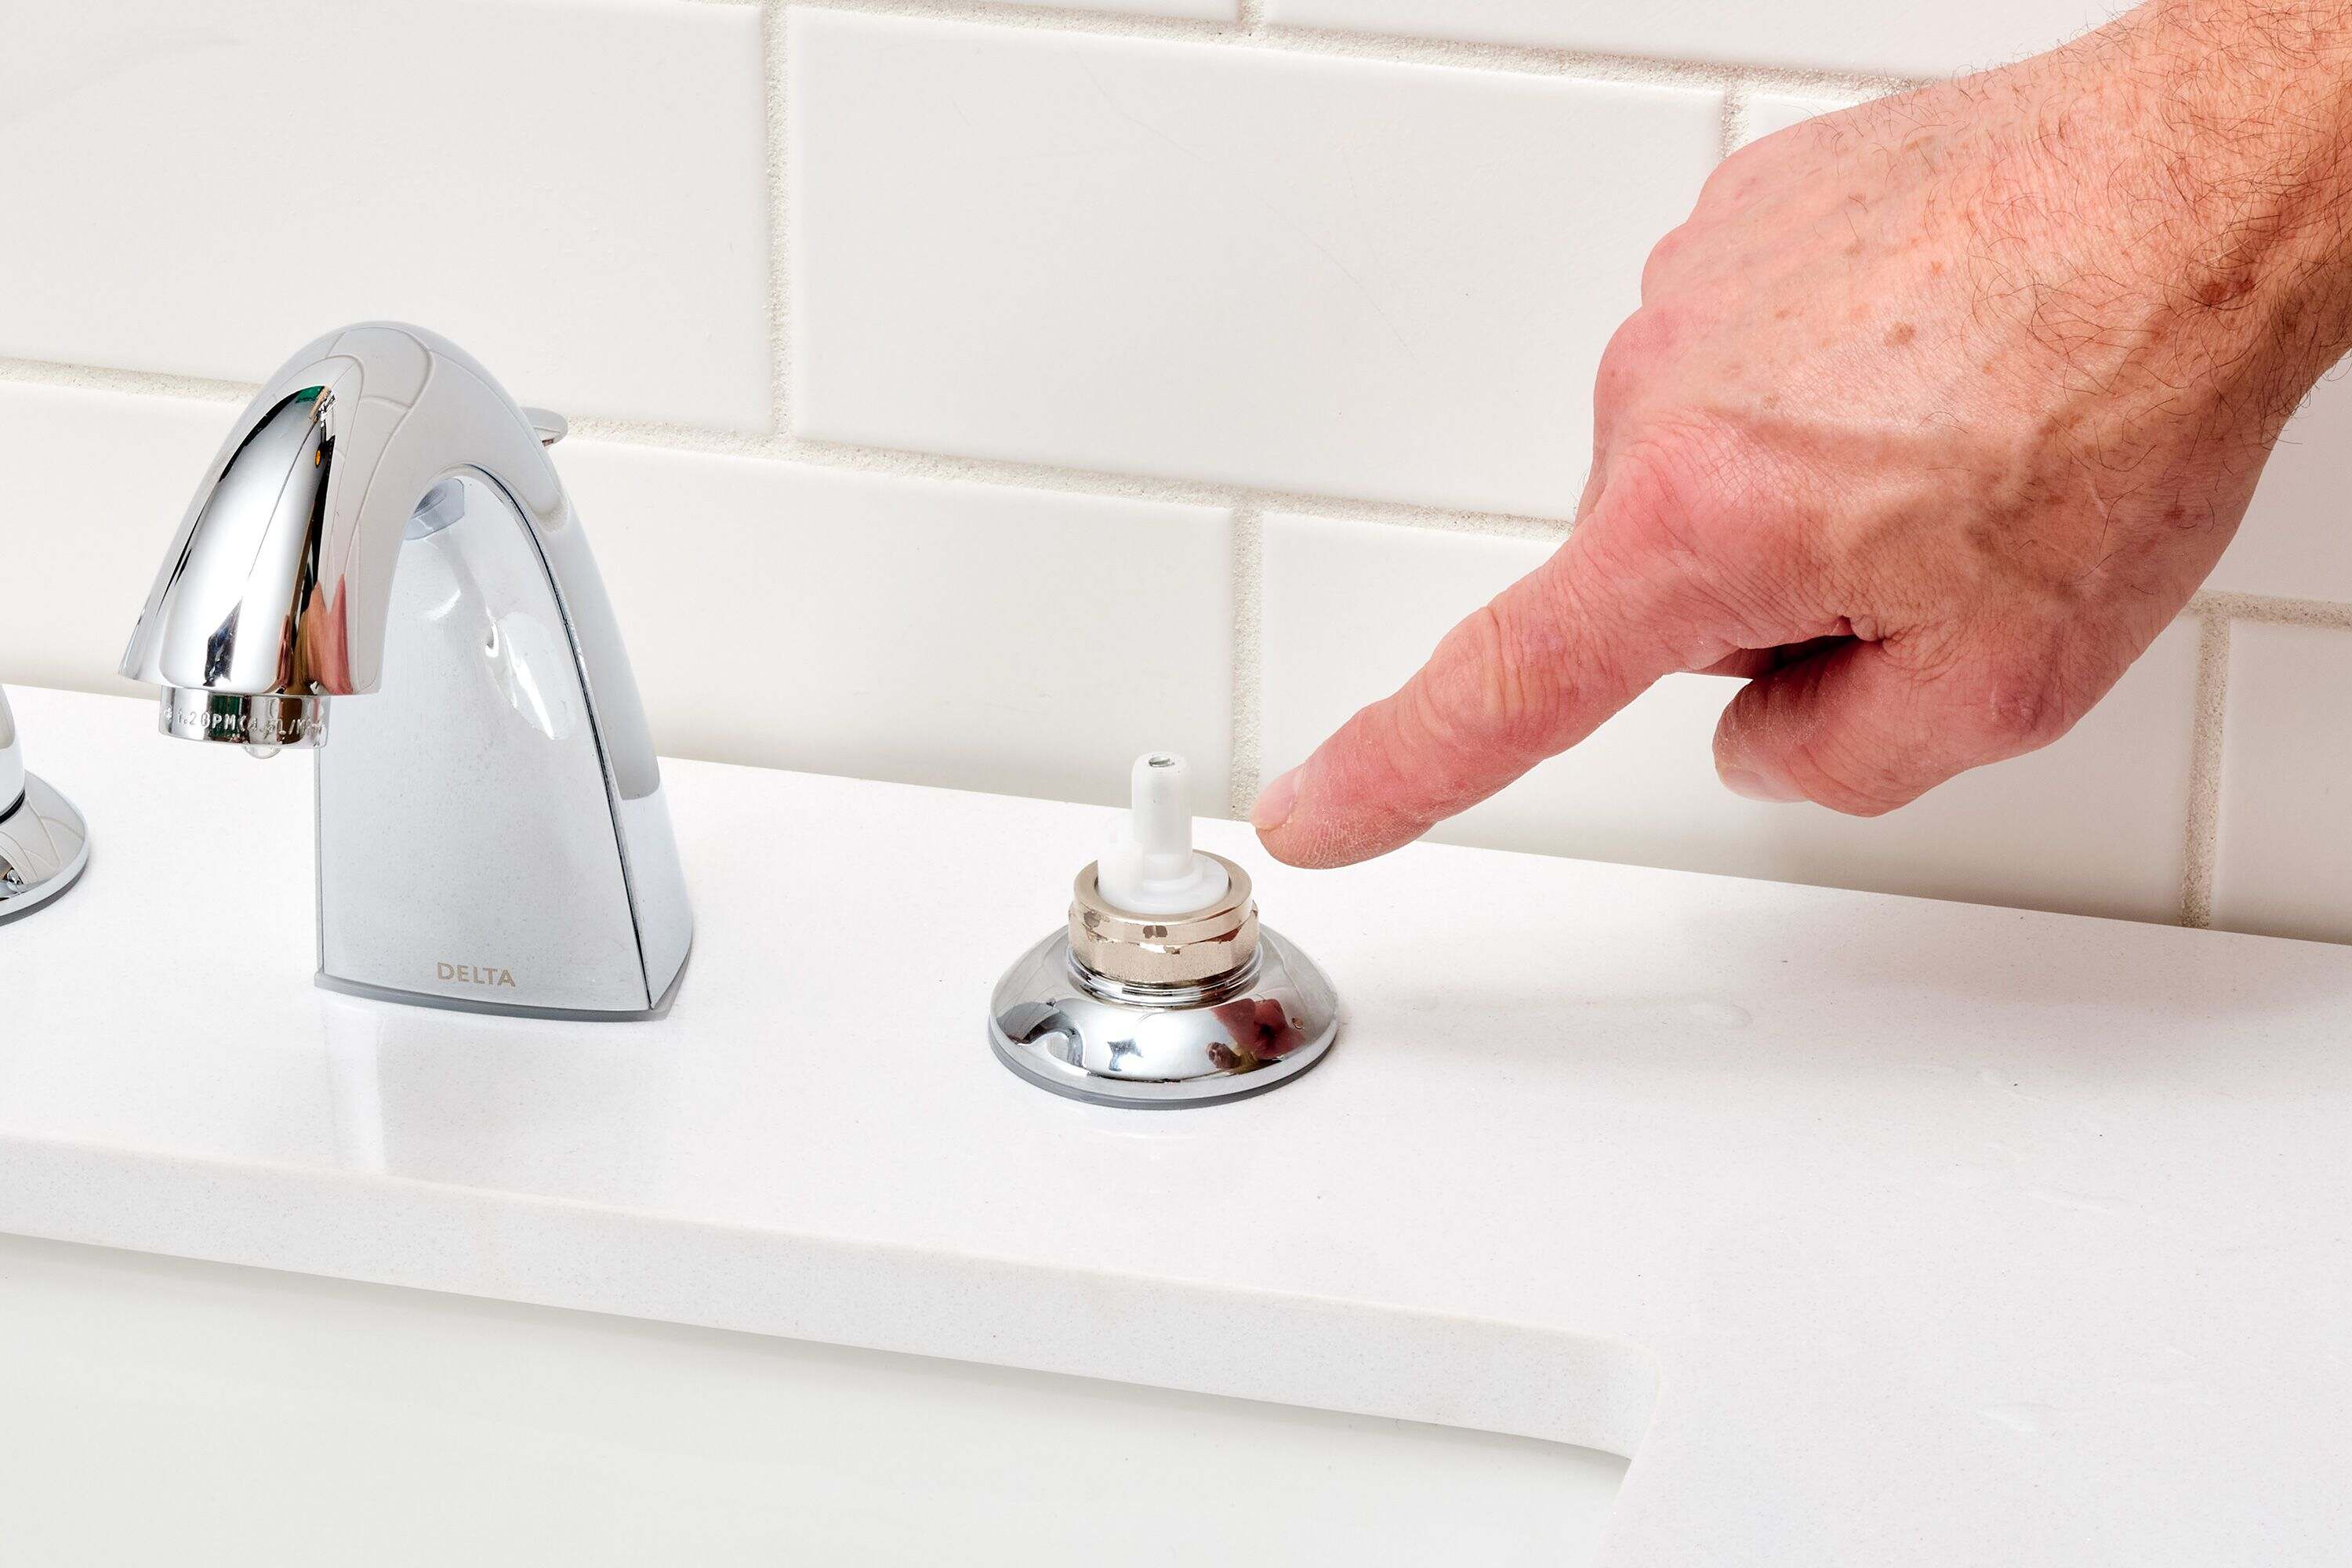
Removing the Old Faucet
Now that the water supply is shut off, it’s time to remove the old faucet. Follow these steps:
- Place a bucket or towels under the sink to catch any water that may still be in the pipes.
- Using a screwdriver, remove any visible screws or mounting hardware that secure the faucet to the sink or countertop.
- Under the sink, locate the connections that hold the faucet in place. These may include nuts, bolts, or mounting brackets.
- Using an adjustable wrench, carefully loosen and remove these connections. Be gentle to avoid damaging the sink or countertop.
- If the faucet has any supply lines connected to it, disconnect them using an adjustable wrench or pliers. Place a towel or bucket under these connections as well to catch any water that may drip out.
- Once all the connections are removed, lift the old faucet straight up to remove it from the sink. It may require some slight wiggling to loosen it if there is any residual sealant or corrosion.
- Inspect the area where the old faucet was installed. Clean off any debris, old sealant, or grime using a plastic putty knife or a damp cloth.
With the old faucet successfully removed, you are now ready to prepare the area for the installation of your new Delta bathroom faucet.
Preparing the Area
Now that the old faucet has been removed, it’s important to prepare the area for the installation of your new Delta bathroom faucet. Follow these steps to ensure a clean and smooth installation:
- Clean the surface: Use a mild cleaning agent and a damp cloth to clean the sink or countertop surface where the new faucet will be installed. Remove any dirt, grime, or old sealant to provide a clean and smooth surface.
- Apply plumber’s tape: Take a roll of plumber’s tape and wrap it around the threads of the faucet supply line connections. This will create a tight seal and prevent any potential leaks.
- Position the gasket: Place the rubber gasket or O-ring provided with your Delta faucet onto the bottom of the faucet body. This will help create a watertight seal between the faucet and the sink or countertop.
- Optional: Install a new drain assembly: If you are also replacing the drain assembly, now is a good time to do so. Follow the manufacturer’s instructions for installing the new drain assembly according to your specific sink type.
- Double-check the placement: Before proceeding with the installation, make sure the faucet and handles are properly positioned in the desired location on the sink or countertop. Ensure that the spout aligns with the sink’s drainage opening.
By taking the time to properly prepare the area, you will ensure a secure and professional installation of your new Delta bathroom faucet. With the area prepared, it’s time to move on to the exciting part – installing the new faucet!
When installing a Delta bathroom faucet, make sure to shut off the water supply before beginning the installation. This will prevent any water from leaking and causing a mess during the process.
Read more: How To Tighten A Delta Kitchen Faucet
Installing the New Delta Faucet
Now that you have prepared the area, it’s time to install your new Delta bathroom faucet. Follow these steps to ensure a successful installation:
- Place the faucet: Carefully lower the faucet body onto the sink or countertop and position it in the desired location. Ensure that the gasket or O-ring is in place and aligned with the sink’s drainage opening.
- Secure the faucet: From under the sink, thread the mounting hardware provided with your Delta faucet onto the faucet’s tailpieces. Tighten the nuts or bolts with an adjustable wrench, making sure the faucet is securely fastened to the sink or countertop. Avoid over-tightening, as it can cause damage to the faucet or the surface.
- Attach the handles: If your Delta faucet comes with separate handles, follow the manufacturer’s instructions to attach them. Use a screwdriver to tighten any screws or bolts to secure the handles in place.
- Connect the supply lines: Take the supply lines provided with your Delta faucet and connect them to the corresponding hot and cold water valves under the sink. Make sure to use an adjustable wrench to securely tighten the connections. Be careful not to cross-thread the connections.
- Turn on the water: Once all connections are securely fastened, turn on the shut-off valves or the main water supply to allow water flow to the faucet.
During this step, it’s important to be cautious and attentive. Double-check all the connections to ensure they are tight and free from leaks. If you notice any leaks, turn off the water supply and address the issue before proceeding.
With your new Delta faucet installed, it’s time to move on to the final step – checking for leaks.
Connecting the Water Supply Lines
With the new Delta faucet securely installed, the next step is to connect the water supply lines. Follow these steps to ensure proper connection:
- Locate the hot and cold water supply lines under the sink. These are usually connected to shut-off valves or directly to the main water supply pipes.
- Take the supply lines provided with your Delta faucet and attach them to the corresponding hot and cold water lines. Make sure to match the appropriate connectors – hot to hot and cold to cold.
- Use an adjustable wrench to tighten the connections, but be careful not to over-tighten and cause damage.
- If your faucet uses a quick-connect system, follow the manufacturer’s instructions for secure attachment.
- Wrap the threaded connections with plumber’s tape to ensure a tight seal and prevent any potential leaks.
- Once the connections are secure, turn on the water supply and check for any leaks at the connection points or around the faucet handles.
While checking for leaks, it’s important to observe any water drips or moisture carefully. If you notice any leaks, try tightening the connections a bit more. If the leak persists, you may need to disconnect the water supply lines and check for any damages or faulty parts before reconnecting.
By properly connecting the water supply lines, you can ensure a steady and leak-free flow of water to your new Delta bathroom faucet.
Checking for Leaks
Once the water supply lines are connected and the faucet is installed, it’s crucial to check for any leaks before completing the installation process. Follow these steps to ensure a leak-free Delta bathroom faucet:
- Turn on the water: Fully open the shut-off valves or main water supply to allow water flow to the faucet.
- Observe the connections: Carefully inspect all the connection points, including where the supply lines attach to the faucet and the shut-off valves. Look for any signs of water leakage or moisture.
- Watch for drips or sprays: Pay attention to the base of the faucet and handles. If there are any leaks, you may notice water dripping or spraying from these areas.
- Check underneath the sink: Look below the sink for any signs of water leakage or dampness. Sometimes, leaks can occur in unseen areas, so it’s important to inspect the entire area.
- Monitor for a few minutes: Leave the water running for a few minutes and continue to observe the faucet and surrounding areas for any signs of leaks.
- If you notice any leaks: If you see any leaks or drips, try tightening the connections slightly. If the leak persists, you may need to disconnect the water supply lines and inspect the connections for any damages or faulty parts. Replace any damaged components before reconnecting and testing again.
Ensuring a leak-free faucet is crucial to maintaining the functionality and efficiency of your Delta bathroom faucet. By carefully inspecting the connections and observing for any leaks, you can address and resolve any issues before they cause further damage.
Once you have thoroughly checked for leaks and are confident in the water flow, you can move on to the final step – testing the functionality of your new Delta bathroom faucet.
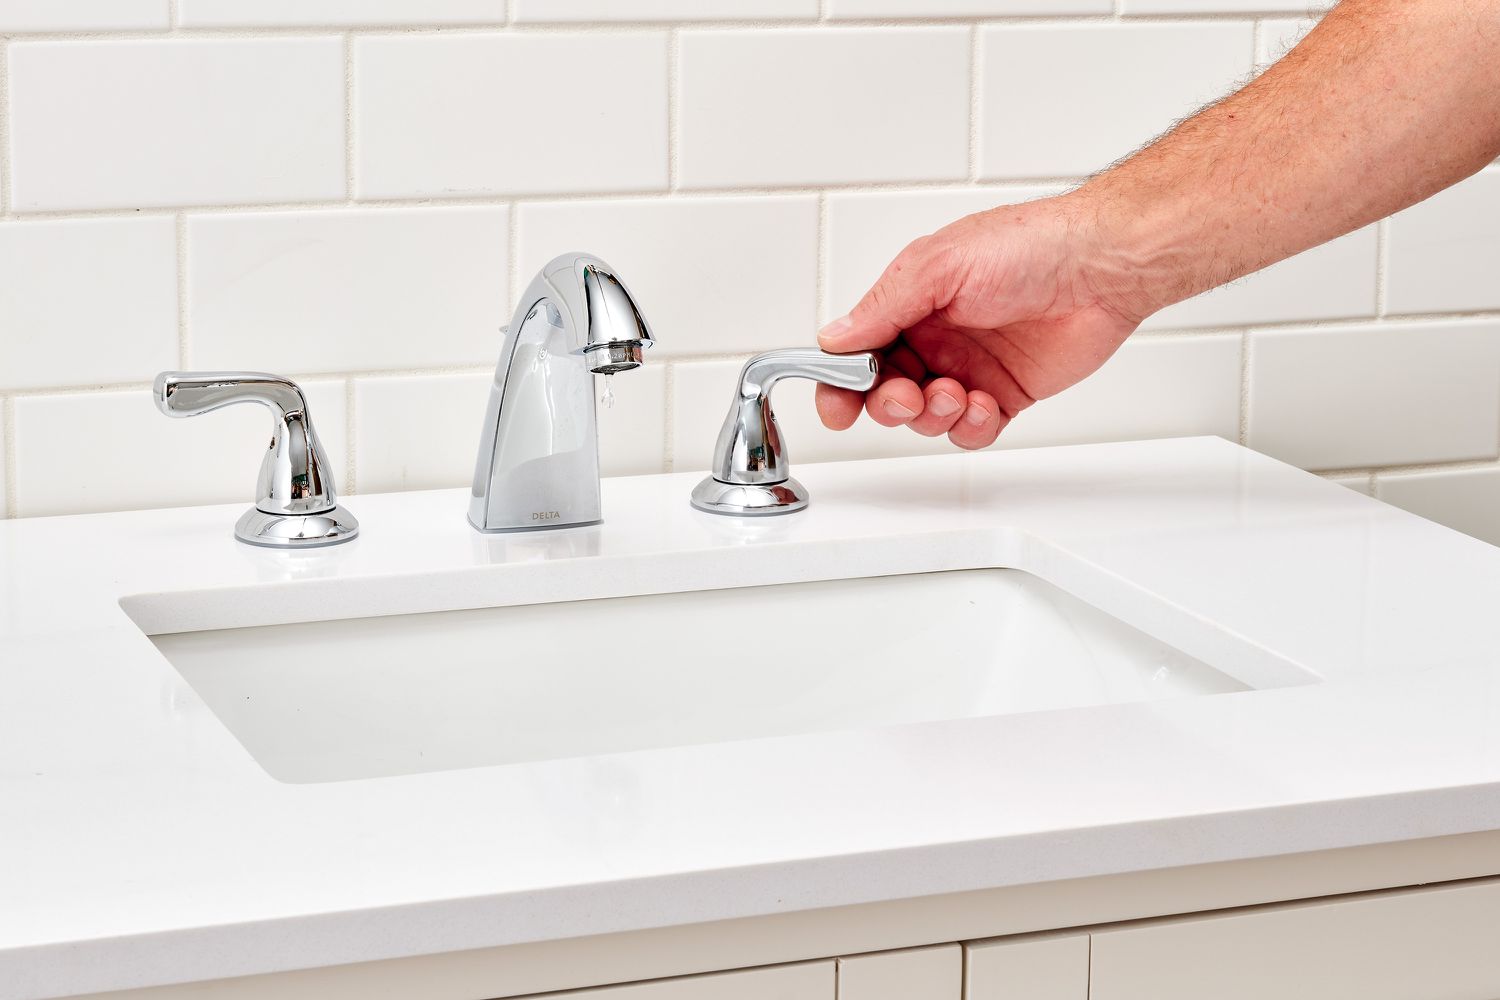
Testing the Functionality
With the installation of your new Delta bathroom faucet complete, it’s time to test its functionality and ensure everything is working as expected. Follow these steps to test your faucet:
- Turn on the water: Fully open the shut-off valves or main water supply to allow water flow to the faucet.
- Test the handles: Turn the faucet handles on and off to check for smooth operation. They should turn easily without any resistance.
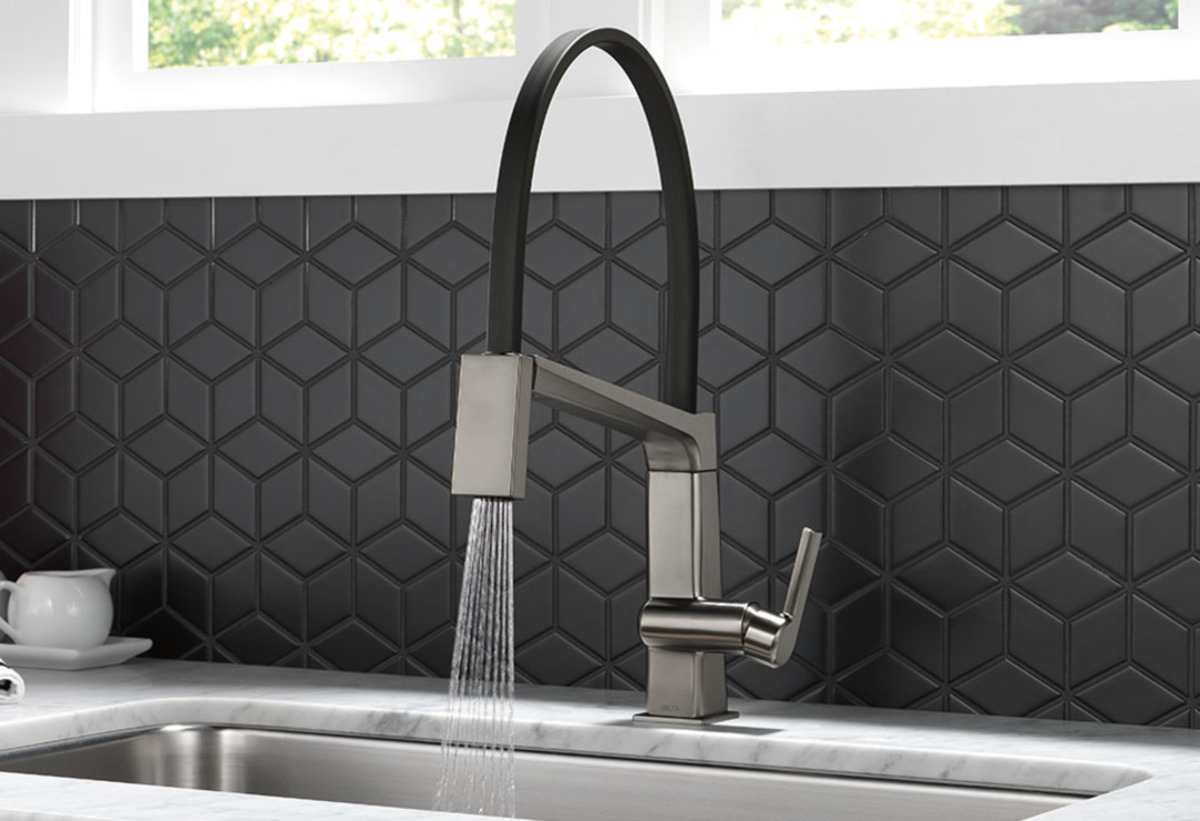
- Check the water flow: Turn on the hot and cold water separately to ensure proper flow from each side. Also, check if the water reaches its maximum flow rate when the handles are fully opened.
- Test the aerator: The faucet’s aerator is a small screen that helps reduce water splashing and conserve water. Check if it is installed properly and if the water flows evenly from all outlets.
- Inspect for any leaks: While the water is running, carefully examine the base of the faucet, handles, and all connection points to see if any leaks are present.
- Check the drainage: Ensure that the water drains properly without any backup or pooling in the sink or countertop.
- Test the hot and cold water: Feel the water temperature from both the hot and cold sides to ensure they are functioning correctly.
If you notice any issues during the functionality test, such as leaks, low water flow, or unusual noises, it’s important to address them. Double-check the connections and make any necessary adjustments. If the problem persists, consult the manufacturer’s instructions or contact a professional plumber.
By thoroughly testing the functionality of your new Delta bathroom faucet, you can ensure its proper operation and enjoy a functional and reliable fixture in your bathroom.
Read more: How To Remove Delta Shower Faucet
Conclusion
Congratulations! You have successfully installed your new Delta bathroom faucet. By following the step-by-step instructions and using the right tools and materials, you have transformed your bathroom with a stylish and functional fixture. Not only does a new faucet enhance the aesthetics of the space, but it also improves the overall functionality and water efficiency.
Throughout the installation process, you learned how to shut off the water, remove the old faucet, prepare the area, and connect the water supply lines. You also checked for leaks and tested the functionality of your new Delta faucet to ensure its proper operation.
Remember, if you encountered any difficulties or if you are unsure about any step, it’s always a good idea to seek guidance from a professional plumber. They can provide expert advice and assistance to help you complete the installation seamlessly.
Now that your new Delta bathroom faucet is installed, take a moment to appreciate your hard work and enjoy the upgraded look and functionality it brings to your bathroom. Keep up with regular maintenance and cleaning to keep your faucet in top condition for years to come.
Thank you for choosing Delta and for taking the time to follow this installation guide. We hope you find it helpful and that your new Delta faucet brings you years of satisfaction and convenience.
Happy plumbing!
Frequently Asked Questions about How To Install A Delta Bathroom Faucet
Was this page helpful?
At Storables.com, we guarantee accurate and reliable information. Our content, validated by Expert Board Contributors, is crafted following stringent Editorial Policies. We're committed to providing you with well-researched, expert-backed insights for all your informational needs.

0 thoughts on “How To Install A Delta Bathroom Faucet”