Articles
How To Install OSB On Interior Walls
Modified: December 7, 2023
Learn how to easily install OSB on your interior walls with our comprehensive articles. Transform your space with this step-by-step guide.
(Many of the links in this article redirect to a specific reviewed product. Your purchase of these products through affiliate links helps to generate commission for Storables.com, at no extra cost. Learn more)
Introduction
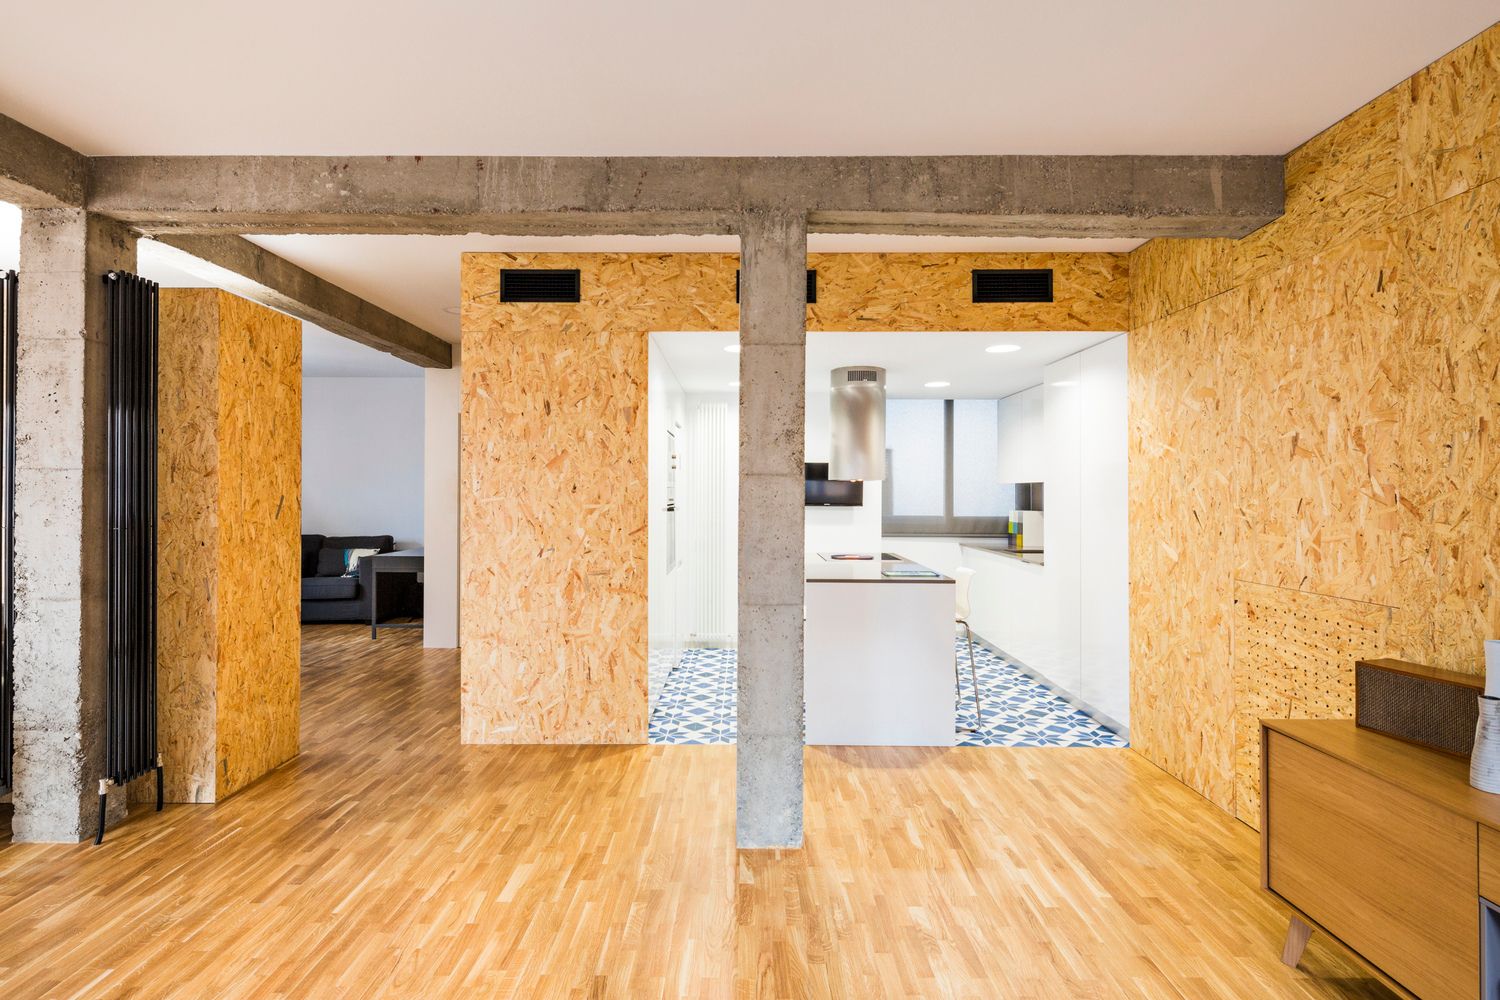
Welcome to our comprehensive guide on installing OSB (Oriented Strand Board) on interior walls. OSB is a versatile and cost-effective material commonly used for sheathing and structural applications in construction projects. It provides a strong and durable surface that can be easily finished or painted to suit your interior design preferences. Whether you’re looking to create an accent wall, improve insulation, or add stability to your walls, this article will guide you through the step-by-step process of installing OSB on your interior walls.
Before we dive into the installation process, it’s essential to gather the necessary materials and tools. This will ensure a smooth and efficient installation process. Additionally, we recommend taking proper safety precautions, such as wearing protective gear and working in a well-ventilated area. Now, let’s get started on transforming your interior walls with OSB!
Key Takeaways:
- Transform your interior walls with OSB by following a step-by-step process, from gathering materials to applying primer and paint for a polished and professional finish.
- Ensure a sturdy and visually appealing result by properly preparing the walls, measuring and cutting OSB sheets, and securely installing and finishing them with optional primer and paint.
Step 1: Gather the Required Materials
Before you begin the installation process, it’s important to have all the necessary materials and tools on hand. Here’s a list of items you’ll need:
- OSB Sheets: Determine the number of OSB sheets required based on the dimensions of your wall.
- Measuring Tape: Used to measure the dimensions accurately.
- Saw: A circular saw or a table saw can be used to cut the OSB sheets to the required size.
- Screws: Choose screws specifically designed for OSB installation.
- Drill: Used to create pilot holes for the screws.
- Safety Gear: Wear safety goggles, gloves, and a mask to protect yourself during the installation process.
- Sandpaper: To smooth out any rough edges or imperfections on the OSB sheets.
- Primer and Paint (Optional): If you plan to paint the OSB after installation, make sure to have primer and paint of your choice ready.
Having all these materials ready beforehand will ensure that your installation process goes smoothly and without any unnecessary delays.
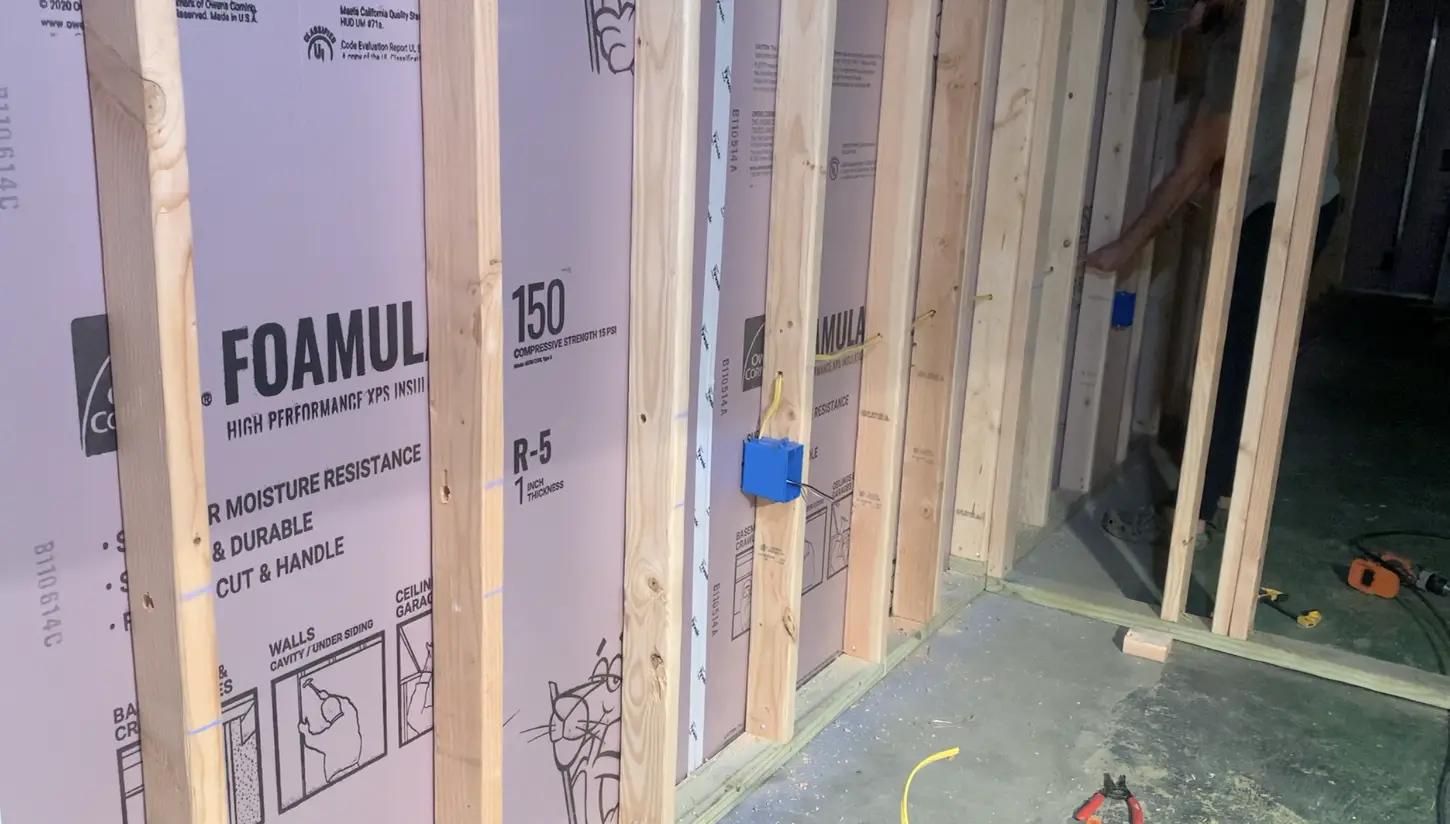
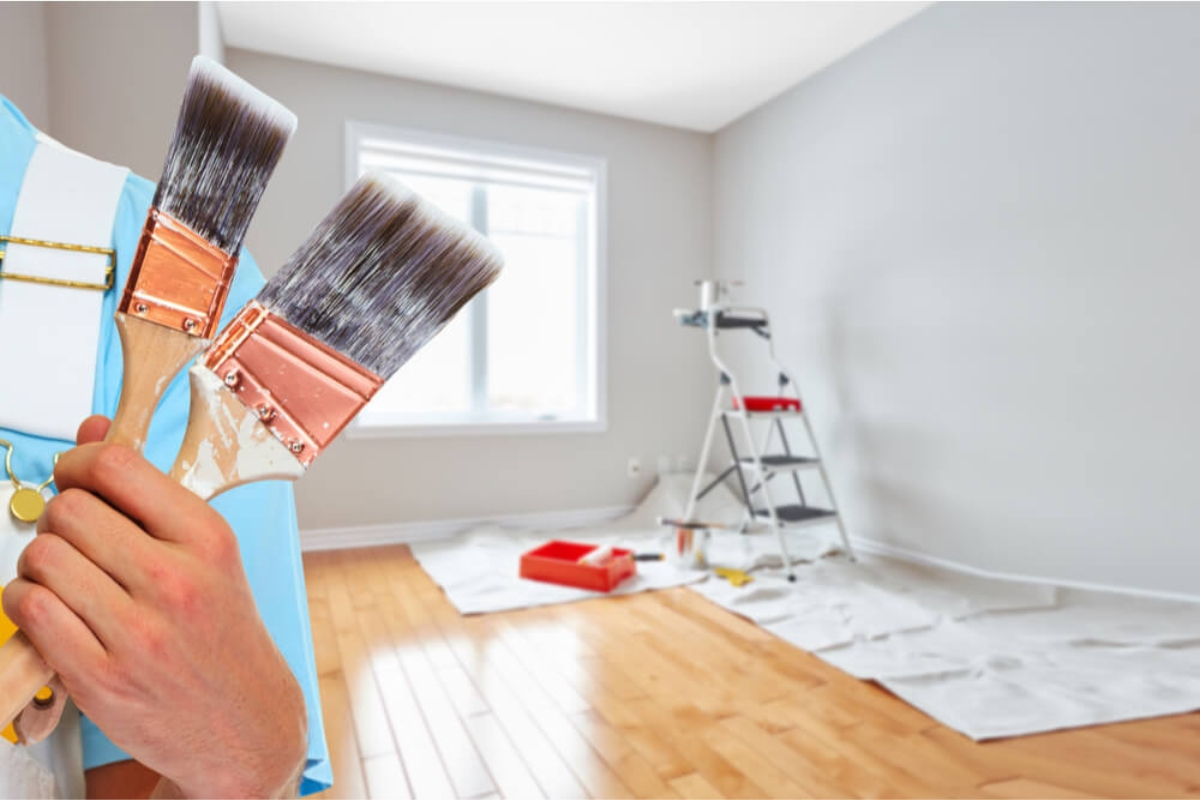
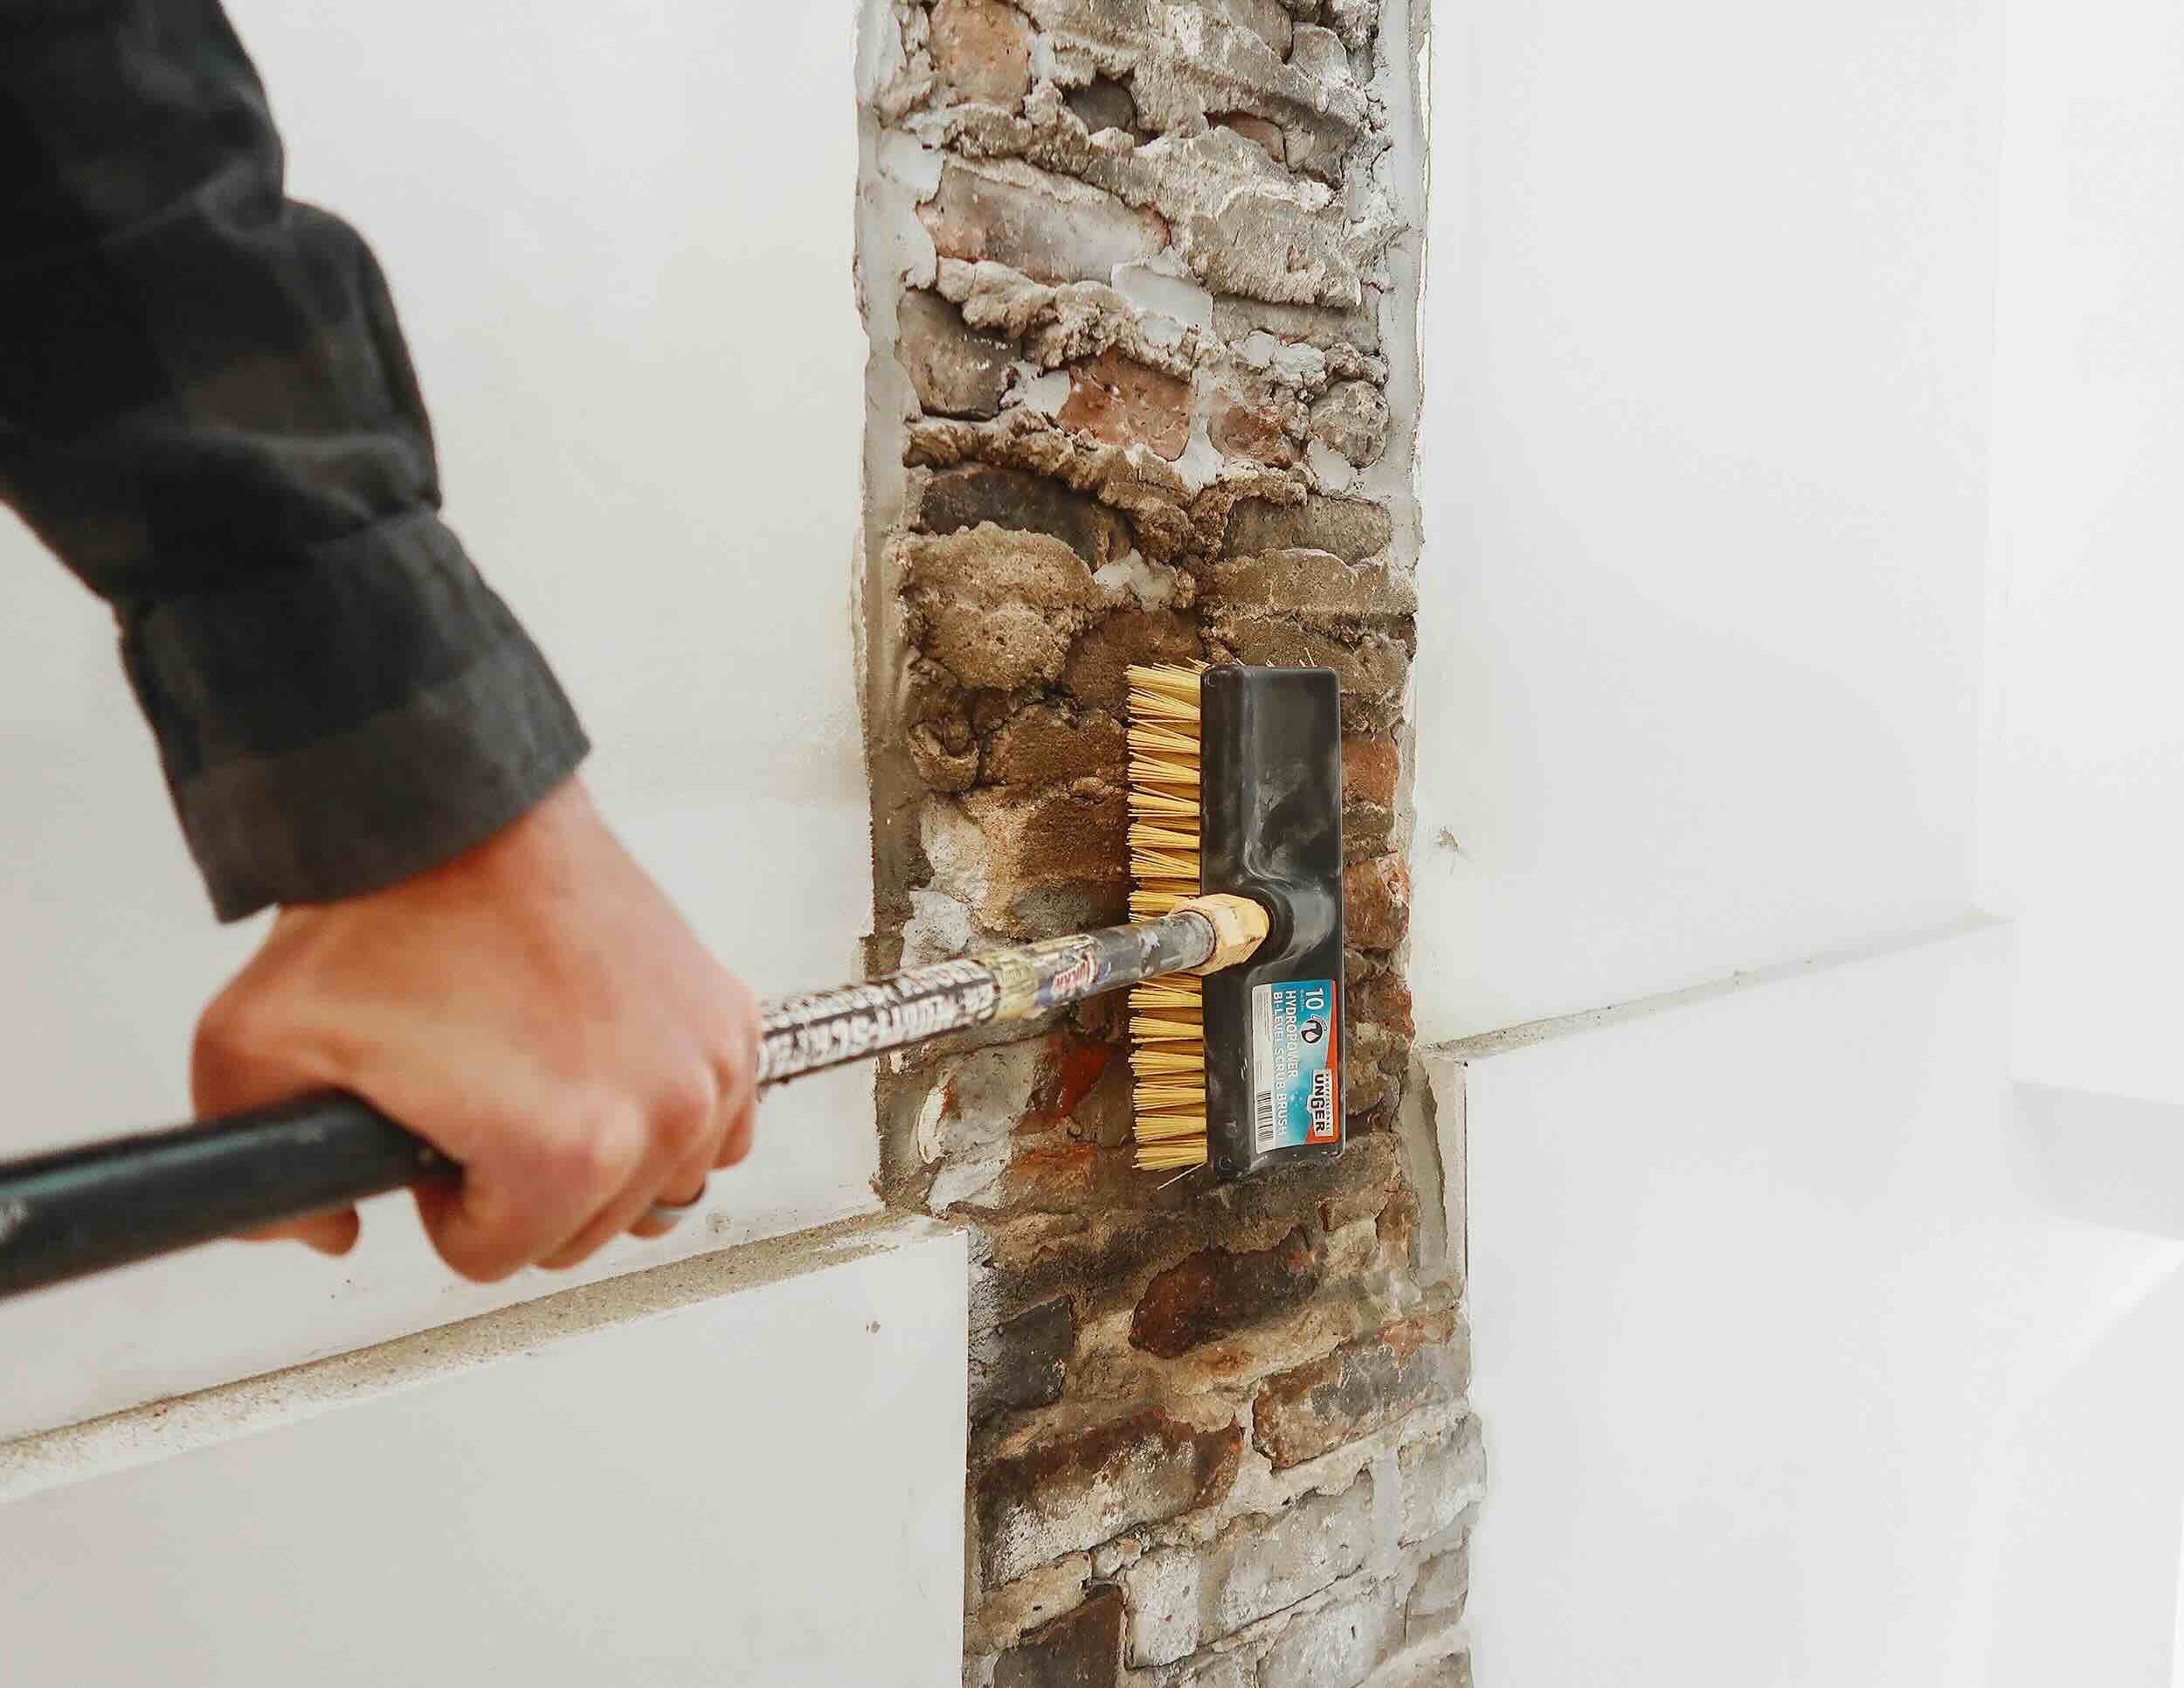
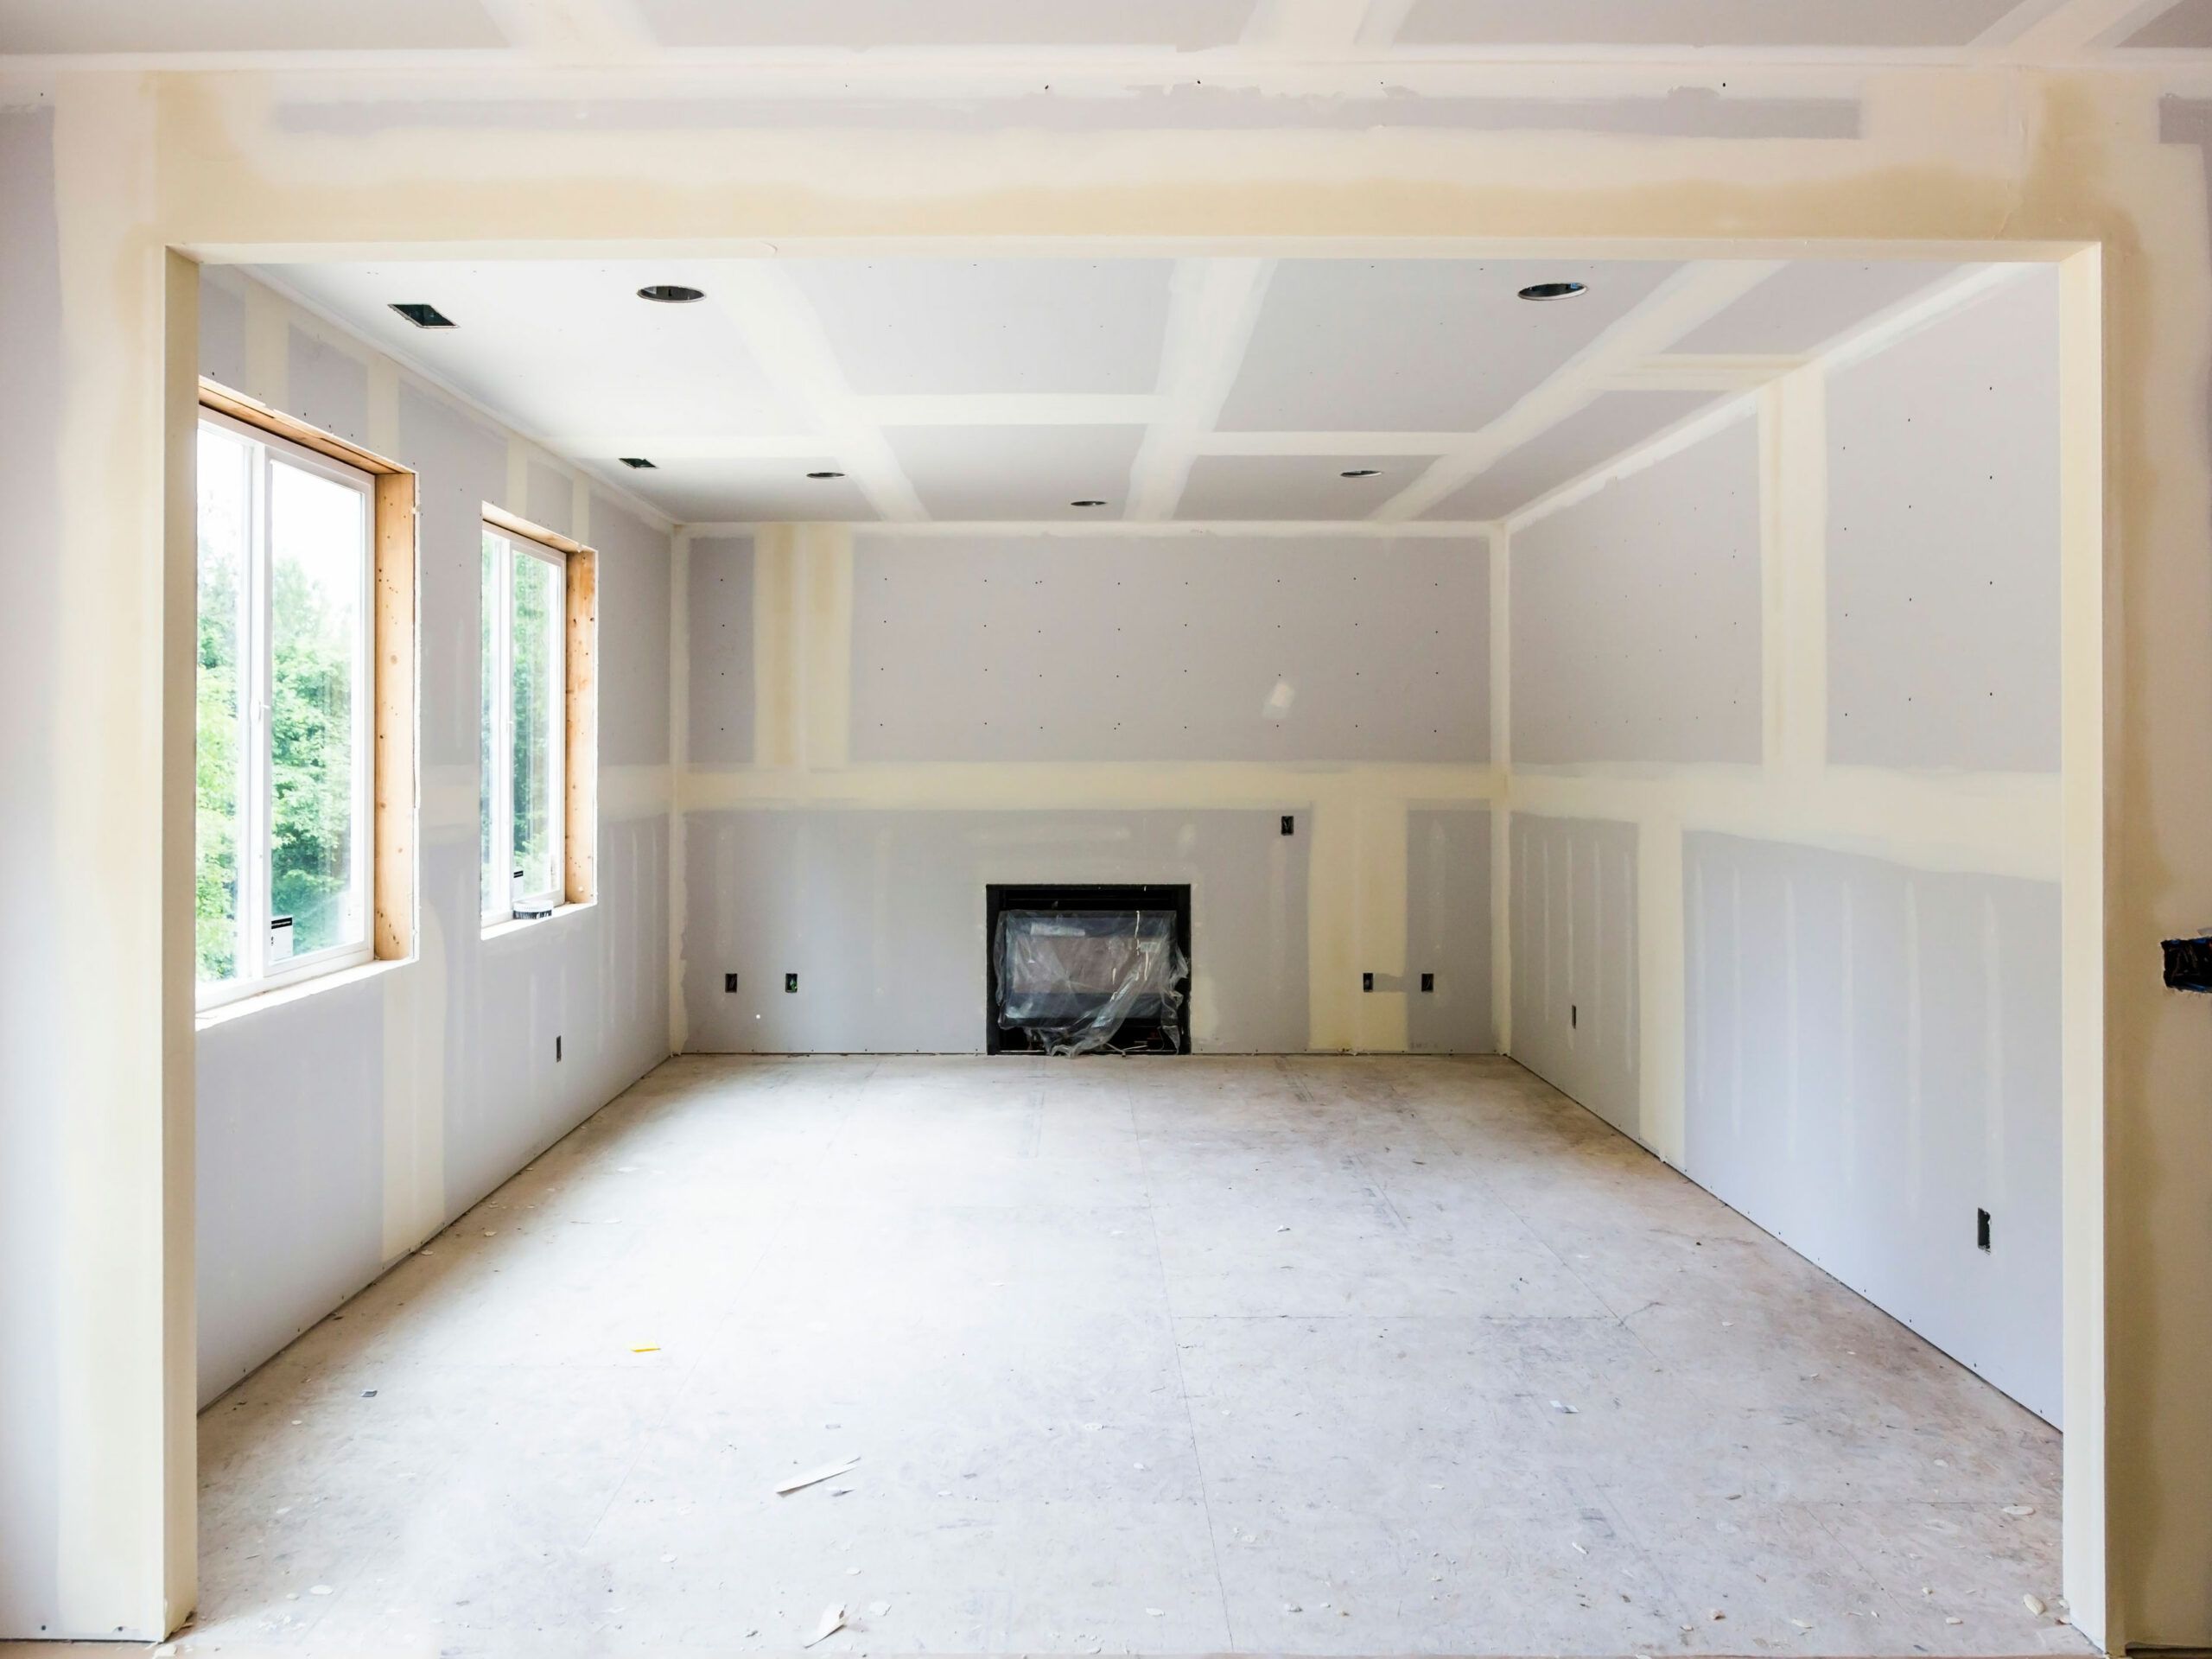
Step 2: Prepare the Interior Walls
Before installing OSB on your interior walls, it’s crucial to prepare the surface properly. Here’s how you can do it:
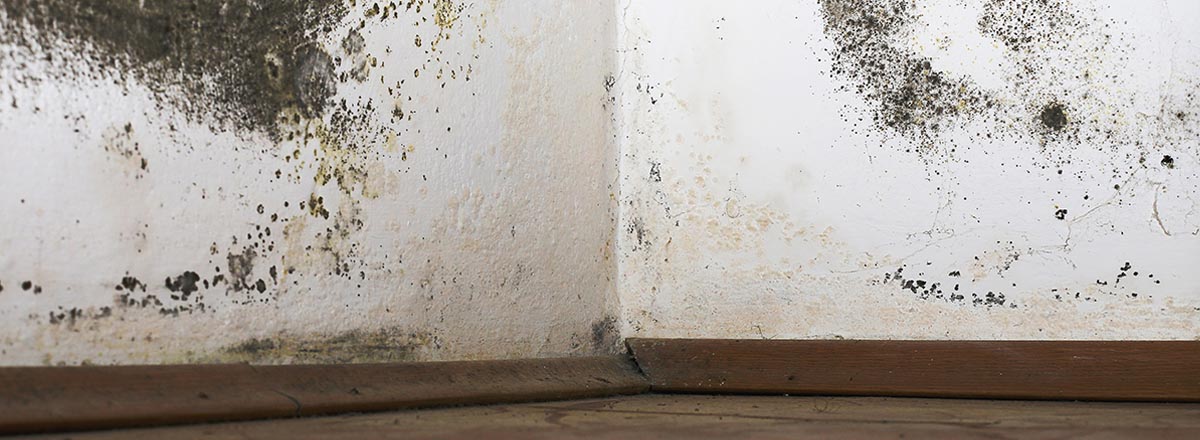
- Clean the walls: Remove any dirt, dust, or debris from the walls using a damp cloth or sponge. This will ensure proper adhesion of the OSB sheets.
- Inspect for damage: Check the walls for any cracks, holes, or other damages. Fill in any gaps or repair any imperfections using spackling compound or putty. Allow it to dry completely before proceeding.
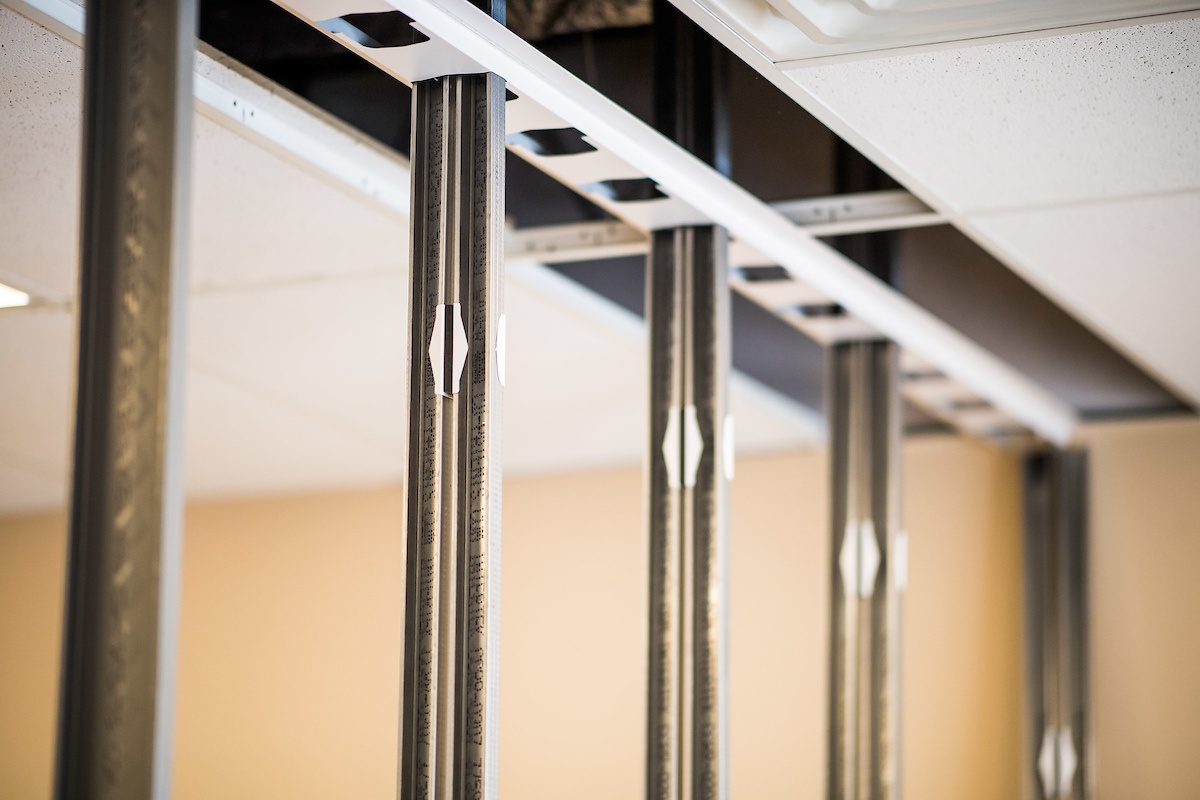
- Ensure a level surface: Use a level to ensure that the walls are plumb and straight. If you notice any significant irregularities, consider using furring strips or shims to create a level surface for the OSB installation.
- Remove any baseboards or trim: If there are baseboards or trim present on the walls, carefully remove them using a pry bar or a trim removal tool. This will allow for a seamless installation of the OSB sheets.
By properly preparing the interior walls, you’ll create a solid foundation for the OSB installation. This will help ensure a professional and long-lasting result.
Step 3: Measure and Cut the OSB Sheets
Once the walls are prepared, it’s time to measure and cut the OSB sheets to fit the dimensions of your interior walls.
- Measure the wall: Use a measuring tape to determine the height and width of the wall where you’ll be installing the OSB sheets. Measure from floor to ceiling and from corner to corner, ensuring accurate measurements.
- Transfer the measurements to the OSB sheets: Mark the measurements onto the OSB sheets using a pencil or a marker. Make sure to double-check the measurements before cutting.
- Cut the OSB sheets: Use a saw (circular saw or table saw) to cut the OSB sheets to the appropriate size. Take your time and ensure clean and precise cuts.
It’s important to note that it’s recommended to leave a small gap (around 1/8 inch) between the edge of the OSB sheet and the adjacent wall or corner. This gap allows for expansion and contraction of the OSB due to changes in humidity and temperature.
If you have multiple OSB sheets to install, repeat the measuring and cutting process for each sheet.
By accurately measuring and cutting the OSB sheets, you’ll ensure a proper fit and an aesthetically pleasing result once installed on the interior walls.
Step 4: Install the First OSB Sheet
Now that you have your OSB sheets cut to size, it’s time to start the installation process. Begin by installing the first OSB sheet onto your prepared interior wall.
- Position the sheet: Place the first OSB sheet against the wall, starting from the corner or edge of the wall. Ensure that it is aligned with the top and bottom of the wall.
- Secure the sheet: Using a drill and screws, attach the OSB sheet to the wall. Start at one corner and create pilot holes through the OSB sheet into the wall studs. Then, insert screws into the pilot holes and tighten them securely.
- Continue securing: Add more screws along the edges and in the middle of the OSB sheet, ensuring it is securely fastened to the wall.
It’s important to note that the frequency of screws will depend on the size and thickness of the OSB sheets. Follow the manufacturer’s recommendations or consult a professional if you’re unsure.
Once the first OSB sheet is securely installed, move on to the next step to continue the installation process.
Step 5: Install the Remaining OSB Sheets
After successfully installing the first OSB sheet, it’s time to install the remaining sheets to complete the coverage of your interior wall.
- Align the next sheet: Position the second OSB sheet adjacent to the first one, ensuring a tight and even fit. Leave a small gap (around 1/8 inch) between the edge of the sheets.
- Secure the sheet: Use a drill and screws to attach the second OSB sheet to the wall. Start by creating pilot holes through the sheet into the wall studs and then insert screws to secure it into place. Repeat this process for each OSB sheet you install.
- Check for levelness: Use a level to ensure that each OSB sheet is properly aligned and level with the previous one. Make any necessary adjustments to ensure a consistent and professional installation.
Continue installing the remaining OSB sheets in the same manner. Trim any excess or overhanging edges using a saw if needed.
Remember to stagger the seams between the OSB sheets for added strength and stability. This means that the seams of each row should not align directly with the seams of the adjacent rows.
By installing the remaining OSB sheets with precision and care, you’ll achieve a seamless and visually appealing result on your interior walls.
When installing OSB on interior walls, make sure to properly measure and cut the panels to fit the space. Use construction adhesive and nails to secure the panels in place, ensuring a strong and durable installation.
Step 6: Secure the OSB Sheets to the Interior Walls
With all the OSB sheets in place, the next step is to securely fasten them to the interior walls. This will ensure they stay in position and provide a stable surface. Follow these steps to get the OSB sheets properly secured:
- Add additional screws: Along the edges and in the middle of each OSB sheet, insert more screws to reinforce its attachment to the interior walls. This will help prevent any movement or shifting over time.
- Check for any loose sheets: Go over the installed OSB sheets to ensure no screws are missing or loose. Tighten any screws if necessary to firmly secure the sheets against the wall.
- Inspect for any gaps: Run your hand over the surface of the OSB sheets and check for any noticeable gaps between the sheets or between the edges and the adjacent walls. If any gaps are found, insert screws in those areas to eliminate the gaps and create a smooth and seamless surface.
It’s important to pay attention to the areas where the OSB sheets meet, ensuring they are properly aligned and flush. Taking the time to secure the OSB sheets thoroughly will result in a sturdy and long-lasting installation.
Once the OSB sheets are securely fastened to the interior walls, move on to the next step to address any gaps or holes that may be present.
Step 7: Fill in any Gaps or Holes
After securing the OSB sheets to the interior walls, it’s time to address any gaps or holes that may be present. Filling in these imperfections will help create a smooth and seamless surface for further finishing, such as painting or applying wallpaper. Follow these steps to fill in gaps or holes:
- Inspect for gaps: Carefully examine the surface of the OSB sheets, paying attention to the seams between the sheets and the areas where they meet the adjacent walls. Look for any noticeable gaps or holes that need filling.
- Use wood filler or caulk: Choose a suitable wood filler or caulk that matches the color of the OSB sheets. Apply the filler or caulk into the gaps or holes, using a putty knife or caulking gun.
- Smooth and level the surface: Once the gaps or holes are filled, use the putty knife to smooth and level the applied filler or caulk. This will create a seamless and flush surface.
- Allow it to dry: Follow the manufacturer’s instructions regarding drying time for the filler or caulk. Give it ample time to dry and harden before moving on to the next step.
Filling in gaps or holes in the OSB sheets will enhance the overall appearance and ensure a more professional finish. Once the filler or caulk is dry, you can proceed to the next step to prepare the OSB surface for further finishing and refinishing.
Step 8: Sand and Smooth the OSB Surface
After filling in any gaps or holes in the OSB sheets, it’s time to sand and smooth the surface. This step is crucial for creating a polished and even finish. Follow these steps to achieve a smooth OSB surface:
- Gather the necessary tools: You will need sandpaper and a sanding block or an orbital sander for this step. Choose sandpaper with a medium to fine grit for best results.
- Start sanding: Begin by sanding the surface of the OSB sheets, moving in smooth and even strokes. Pay close attention to any rough edges, uneven areas, or filled gaps. Sand in the direction of the wood grain for a more consistent result.
- Focus on problem areas: Give extra attention to areas where the filler or caulk was applied. Sand these areas thoroughly to ensure they blend seamlessly with the rest of the OSB sheet.
- Check for smoothness: Regularly run your hand over the sanded surface to check for any remaining rough patches or imperfections. Continue sanding until the entire OSB surface feels smooth and even.
- Remove dust: Use a clean cloth or a vacuum to remove any dust or debris left from the sanding process. A clean surface will ensure proper adhesion if you plan to apply primer or paint.
Sanding the OSB surface not only creates a more visually appealing finish but also prepares it for further refinishing, such as priming and painting. Once the surface is smooth, you can proceed with the optional step of adding primer and paint to enhance the appearance of the OSB walls.
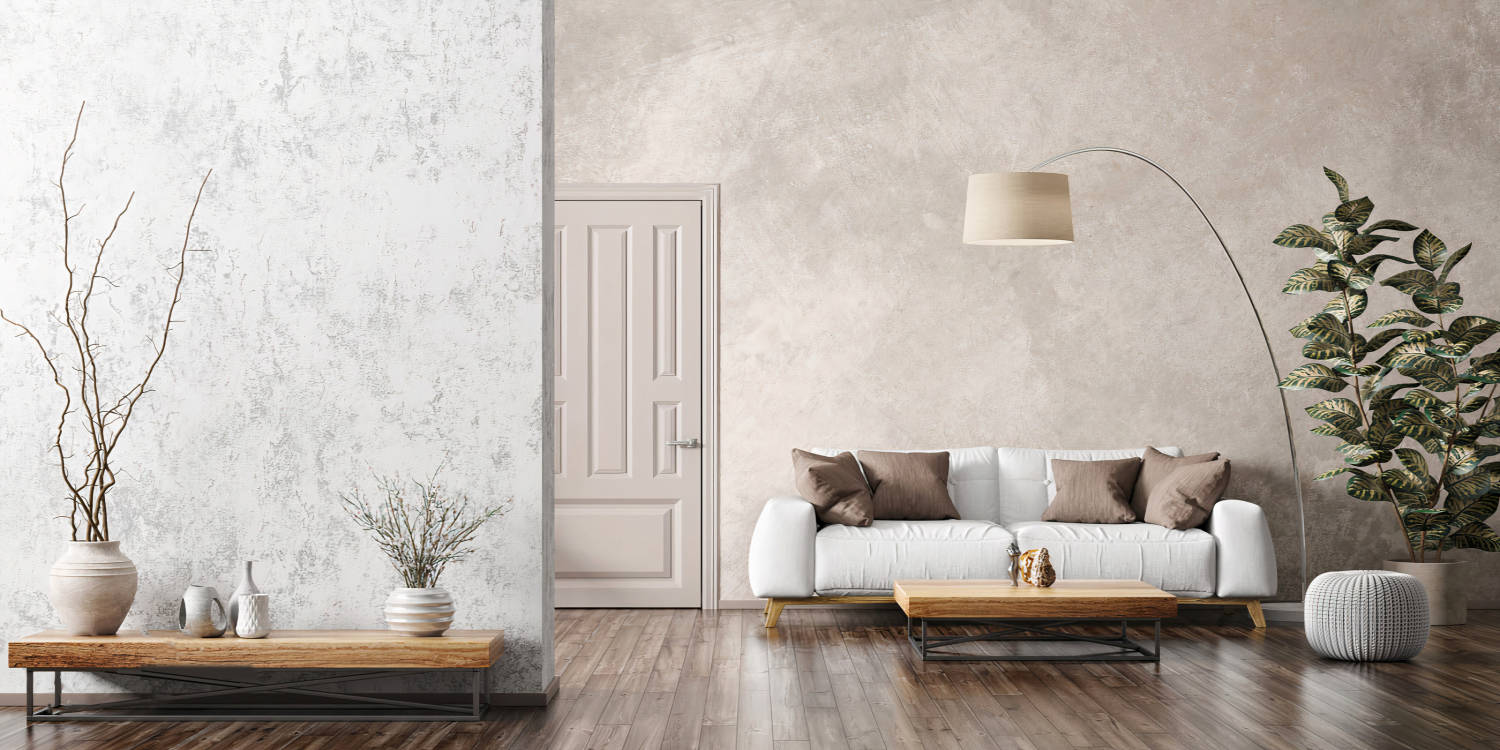
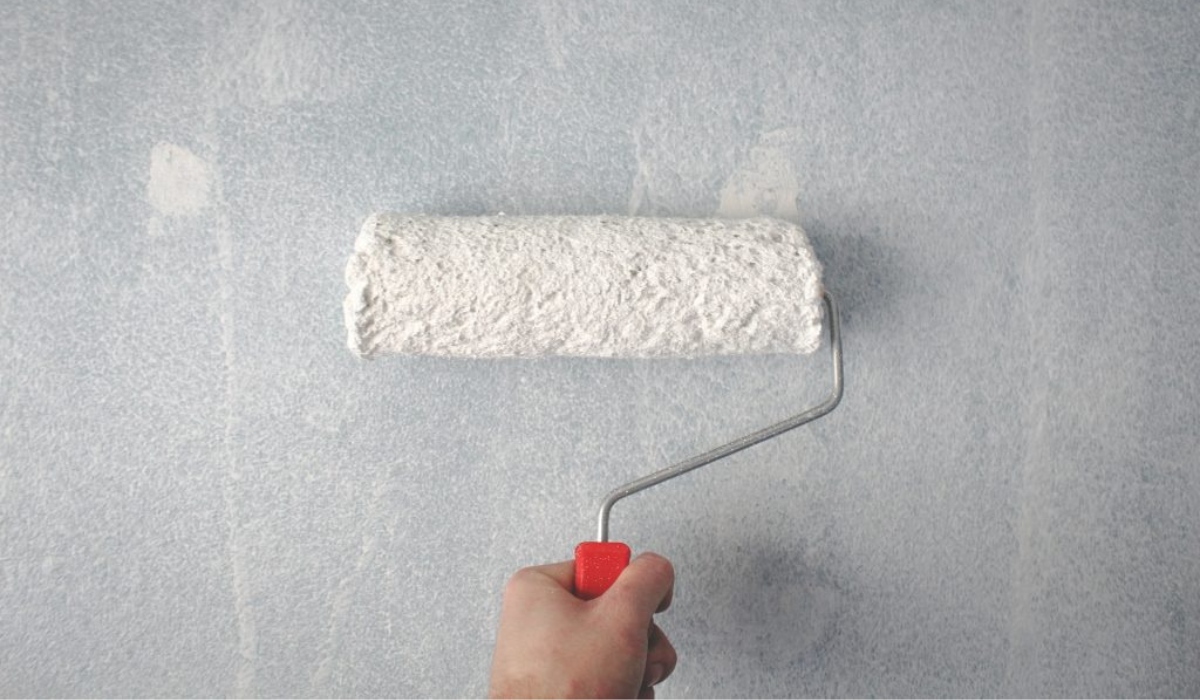
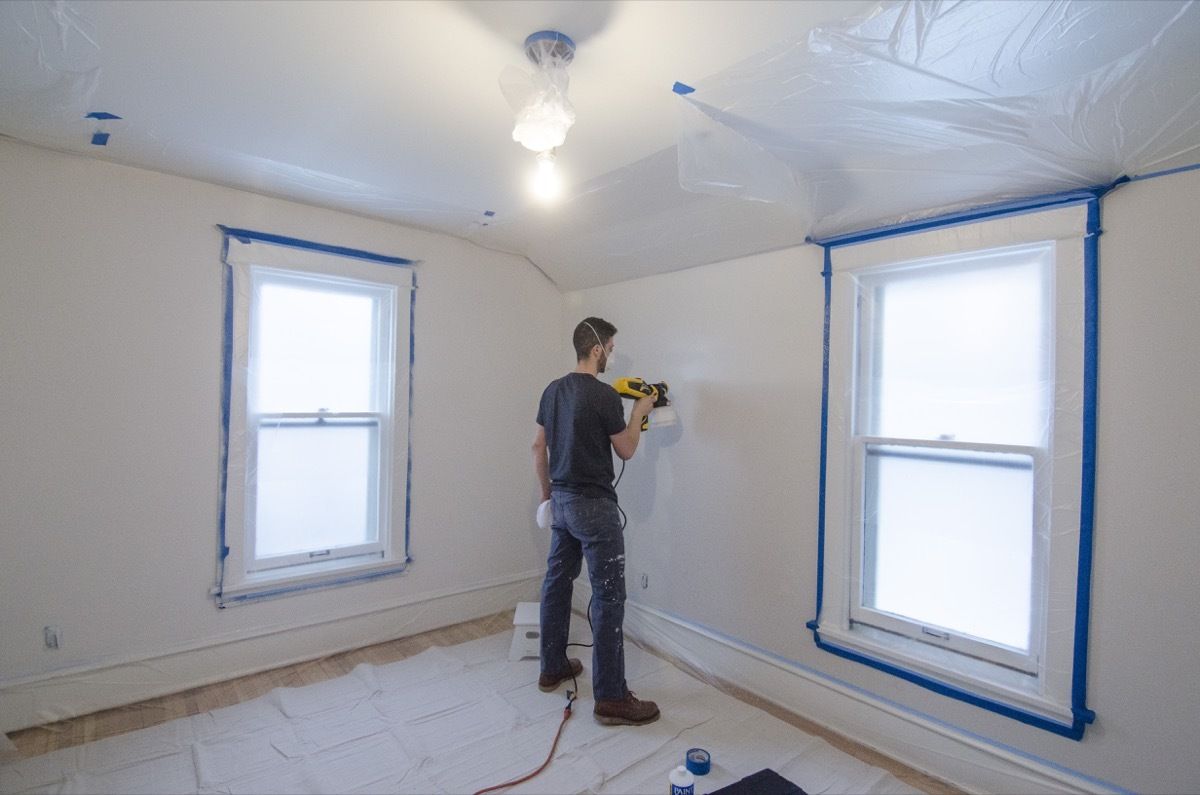
Step 9: Apply Primer and Paint (Optional)
If you desire a finished and polished look for your OSB walls, applying primer and paint is an optional step that can greatly enhance their appearance. Follow these steps to apply primer and paint to your OSB surface:
- Choose the right primer: Select a primer specifically designed for OSB or wood surfaces. This will help to seal the OSB and provide a good base for the paint.
- Prepare the OSB surface: Ensure that the sanded OSB surface is clean and free of dust. Use a cloth or a vacuum to remove any dirt or debris.
- Apply the primer: Using a paintbrush or a roller, apply a coat of primer evenly on the OSB surface. Follow the manufacturer’s instructions regarding drying time.
- Sand the primed surface: Once the primer is dry, lightly sand the surface using fine-grit sandpaper. This will create a smooth surface and help the paint adhere better.
- Apply the paint: Select a paint color of your choice and apply it evenly to the primed and sanded OSB surface. Use a paintbrush or a roller for larger areas.
- Allow the paint to dry: Follow the manufacturer’s instructions regarding drying time for the paint. Allow the first coat to dry completely before applying additional coats, if necessary.
- Apply multiple coats if desired: Depending on the desired finish and coverage, you may choose to apply multiple coats of paint. Make sure each coat is fully dry before applying the next.
Applying primer and paint is an optional step that can transform the appearance of your OSB walls. It adds a protective layer and allows you to customize the look to match your interior design. Once the paint is dry, step back and admire your beautifully finished OSB walls.
Conclusion
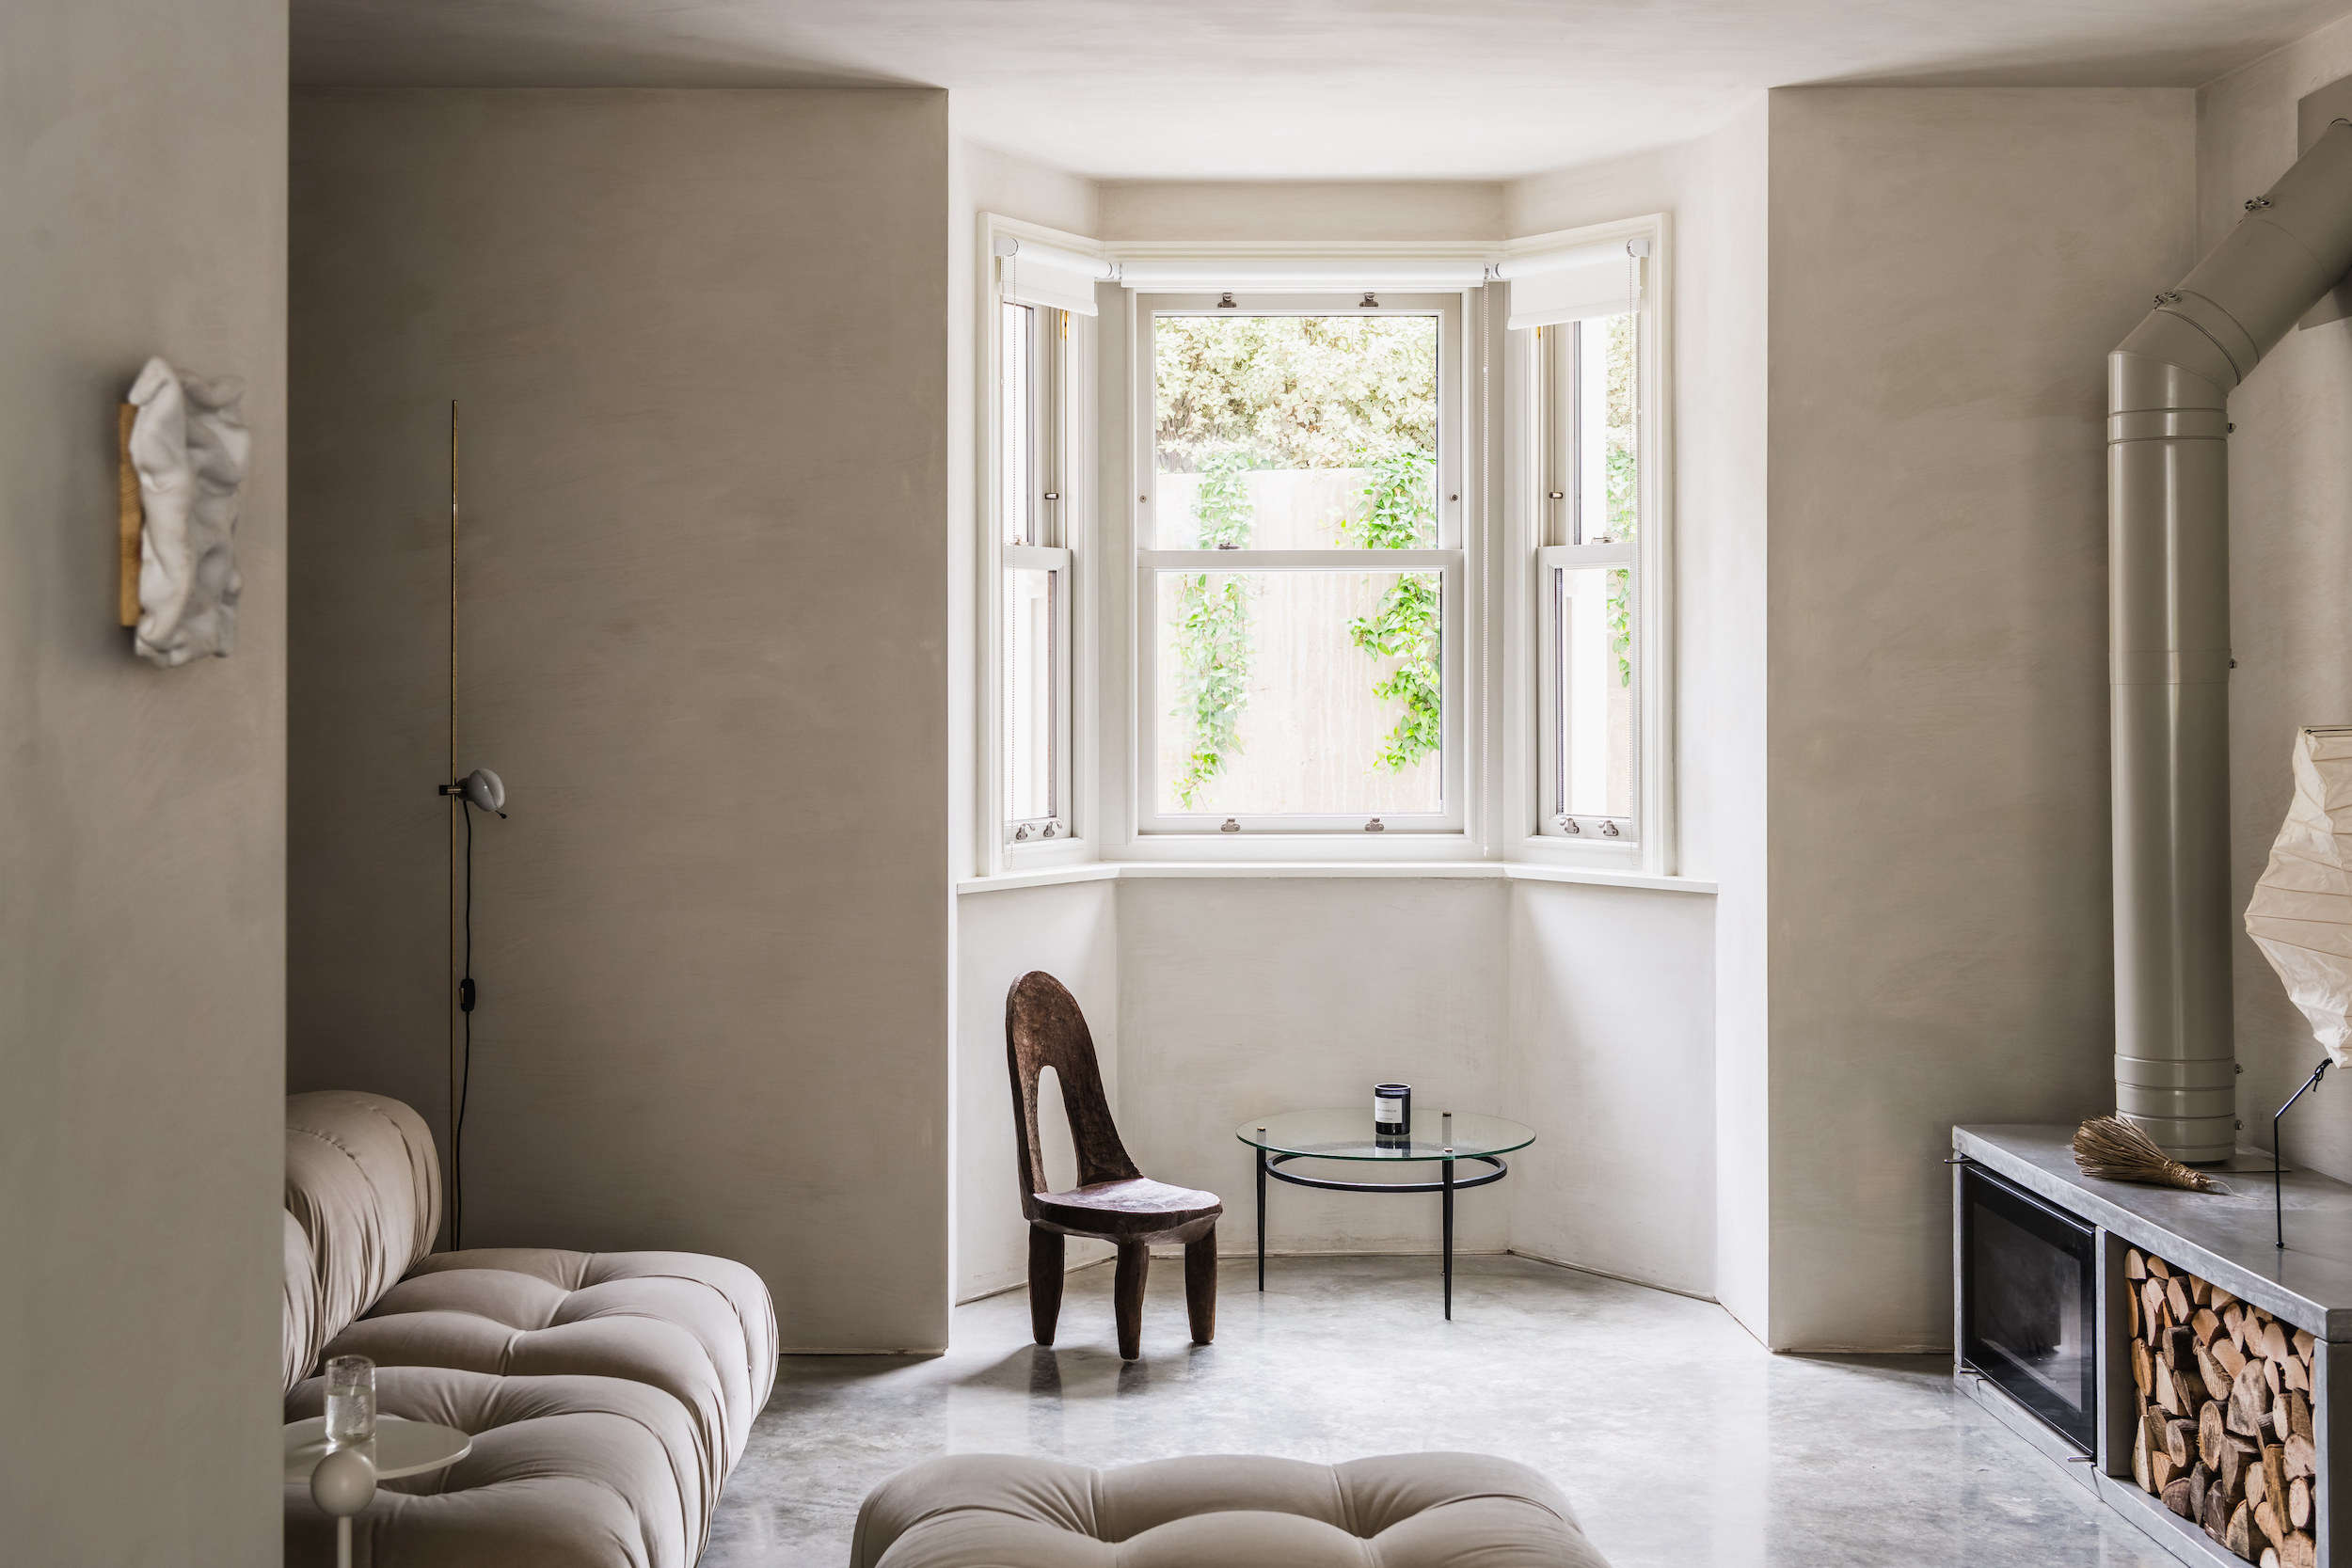
Congratulations! You have successfully learned how to install OSB on interior walls. By following the step-by-step process outlined in this guide, you can transform your walls into sturdy and visually appealing surfaces.
Starting with the gathering of materials, preparing the interior walls, measuring and cutting the OSB sheets, and then securely installing them, you have created a solid foundation for your project. By filling any gaps or holes, sanding the surface, and optionally applying primer and paint, you have achieved a polished and professional finish.
Remember to take proper safety precautions throughout the installation process, such as wearing protective gear and working in a well-ventilated area. Follow the manufacturer’s guidelines for the specific OSB product you’re using, as well as any local building codes and regulations.
Whether you’re looking to add structural stability, improve insulation, or create an accent wall, OSB is a versatile and cost-effective material that can meet your needs. It provides a durable and reliable surface that can be finished or painted to suit your interior design preferences.
We hope this guide has helped you successfully install OSB on your interior walls. Enjoy the process and the end result, and feel proud of your newly transformed space!
Frequently Asked Questions about How To Install OSB On Interior Walls
Was this page helpful?
At Storables.com, we guarantee accurate and reliable information. Our content, validated by Expert Board Contributors, is crafted following stringent Editorial Policies. We're committed to providing you with well-researched, expert-backed insights for all your informational needs.


0 thoughts on “How To Install OSB On Interior Walls”