Home>Articles>How To Install An Interior Board And Batten Wall
Articles
How To Install An Interior Board And Batten Wall
Modified: January 8, 2024
Learn how to easily install an interior board-and-batten wall with our step-by-step articles. Transform your space in no time!
(Many of the links in this article redirect to a specific reviewed product. Your purchase of these products through affiliate links helps to generate commission for Storables.com, at no extra cost. Learn more)
Introduction
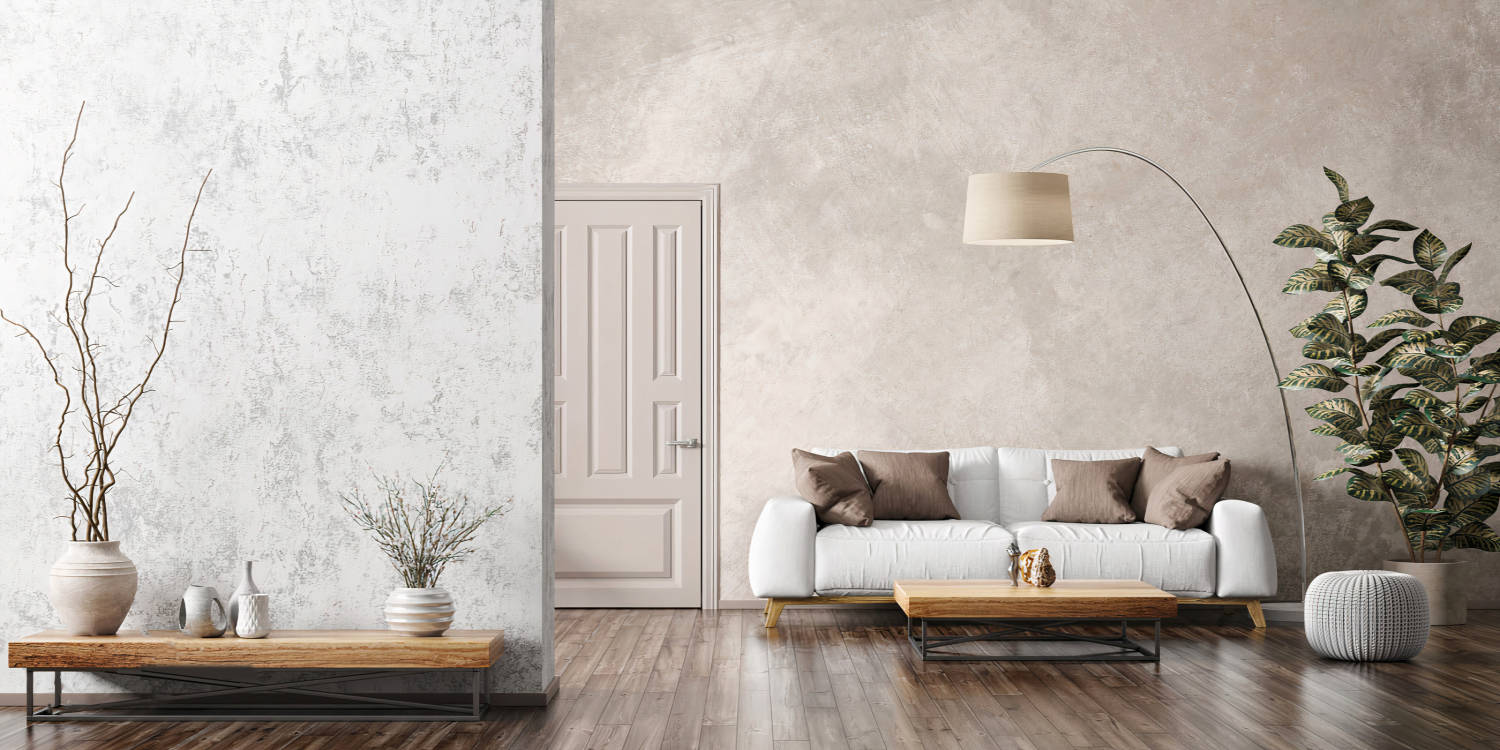
Welcome to the world of interior design and decoration! If you’re looking to add a touch of character and charm to your home, installing an interior board-and-batten wall is a fantastic option. This classic and timeless design technique can transform any room into a stylish and sophisticated space.
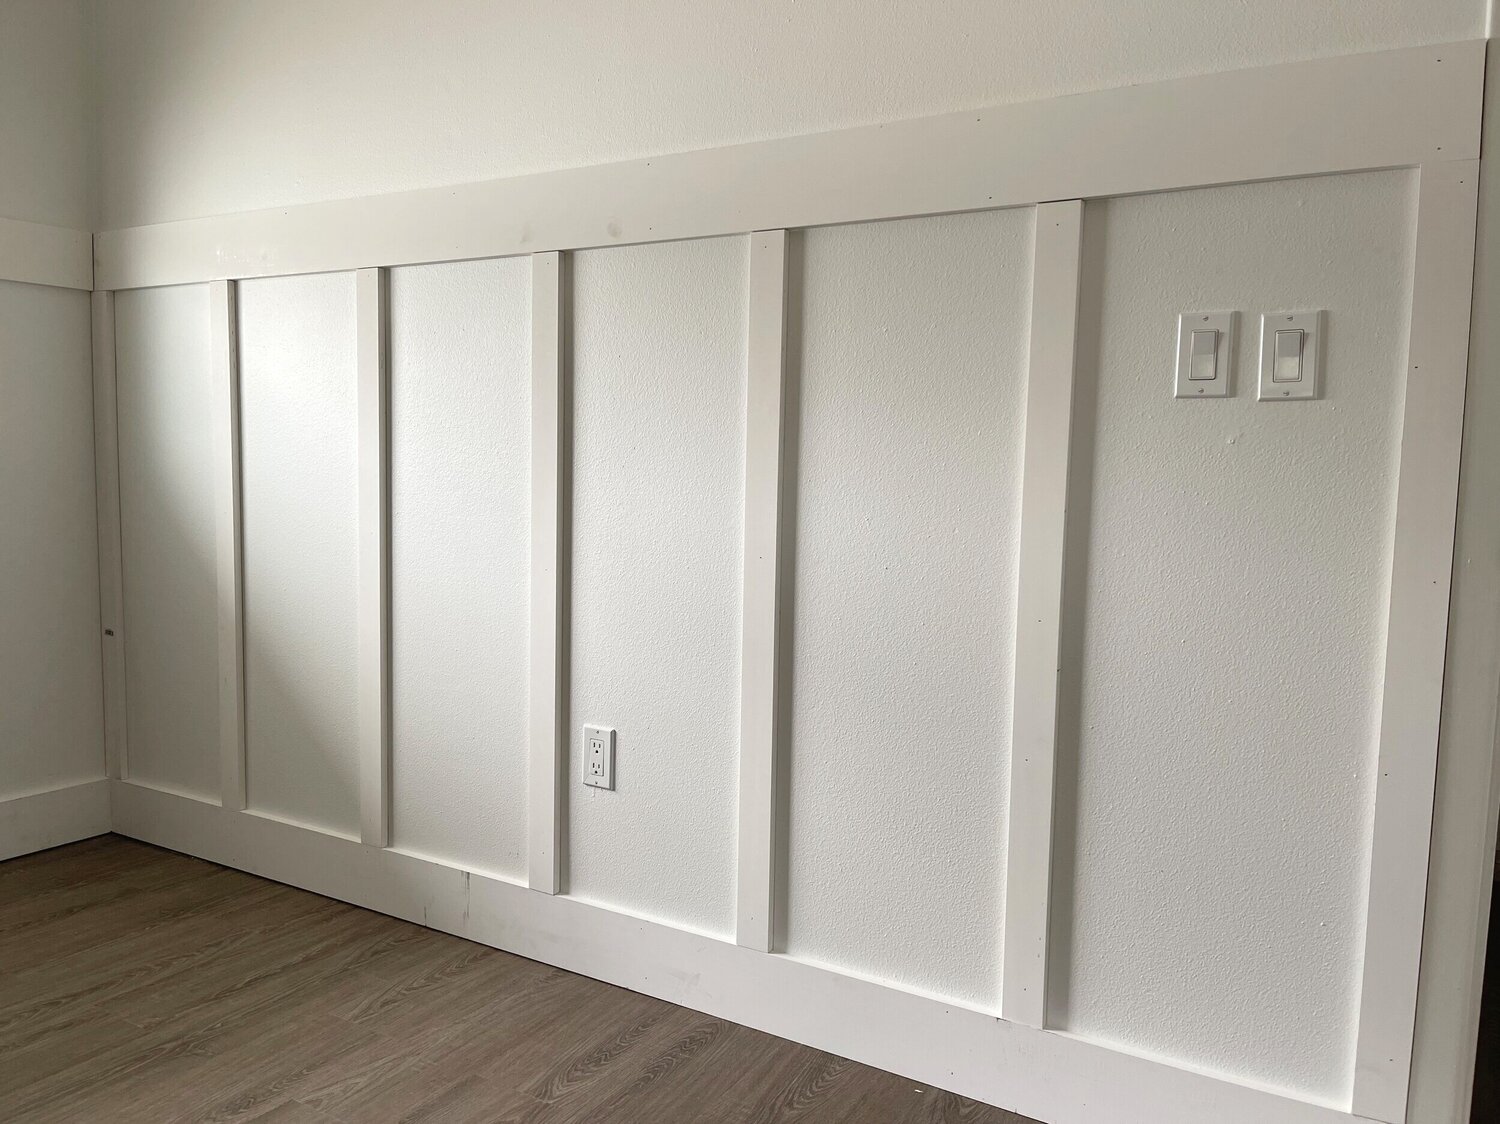
Board-and-batten walls consist of vertical boards, known as battens, attached to a baseboard and topped with a horizontal board, typically referred to as the chair rail. This combination creates a beautiful visual effect that adds depth and texture to your walls.
Not only does a board-and-batten wall provide an interesting focal point, but it also offers practical benefits. It can serve as a protective barrier against scuffs and scratches, particularly in high-traffic areas like hallways or children’s rooms. Additionally, it can hide imperfections on the wall surface, saving you from the hassle of extensive repairs.
In this step-by-step guide, we will walk you through the process of installing an interior board-and-batten wall. Whether you’re a seasoned DIYer or a beginner, by following these instructions, you’ll be able to achieve professional-looking results and create a stunning feature wall in your home.
Before we get started, remember that safety should always be a priority. Ensure you have the necessary tools, follow proper safety procedures, and work at your own pace. Now let’s gather our materials and start transforming your space!
Key Takeaways:
- Transform your space with a timeless interior board-and-batten wall, adding depth, texture, and character to any room while providing practical benefits like protection and elegance.
- Follow the step-by-step guide to achieve professional results, from gathering materials to priming and painting, and take pride in your stunning DIY accomplishment.
Step 1: Gather the Materials
Before you can begin installing your interior board-and-batten wall, it’s essential to gather all the necessary materials. This will ensure a smooth and efficient installation process. Here is a list of the primary materials you will need:
- Wood boards: Choose boards of your desired thickness and width to serve as the battens. Common options include pine, cedar, or MDF (medium-density fiberboard).
- Baseboard: This will serve as the foundation for your board-and-batten wall. Select a baseboard that complements your overall design aesthetic.
- Chair rail: The horizontal board that sits on top of the battens is known as the chair rail. Choose a chair rail that matches or complements the baseboard.
- Nails or screws: Depending on your preference, gather either nails or screws to secure the boards to the wall.
- Wood glue: This can be used to provide additional support and stability when attaching the boards.
- Spackle or wood filler: These materials will come in handy for filling in any nail holes or imperfections in the wall.
- Sandpaper: Use sandpaper to smooth out the surface and create a seamless finish.
- Primer and paint: To complete your board-and-batten wall, you’ll need primer and paint in your chosen colors.
- Measuring tape and level: These tools are essential for accurate measurements and ensuring the boards are straight.
- Saw: A saw will be necessary for cutting the boards to the desired lengths.
- Hammer or drill: Depending on your choice of fasteners, have either a hammer or a drill on hand.
Once you have gathered all the materials, take the time to prepare your workspace. Clear the area around the wall you’ll be working on and ensure you have enough room to move comfortably. It’s also a good idea to protect the floor with a drop cloth to catch any debris or paint drips.
With your materials assembled and your workspace ready, you’re now prepared to move on to the next step: preparing the wall.
Step 2: Prepare the Wall
Before you can start installing the interior board-and-batten wall, it’s important to properly prepare the wall surface. This step ensures that the boards adhere well and gives you a smooth, professional-looking finished product. Follow these steps to prepare the wall:
- Clean the Wall: Start by cleaning the wall surface to remove any dust, dirt, or grease. Use a mild detergent and warm water to gently wash the wall. Allow it to dry completely before proceeding.
- Remove Outlet Covers: Take off any outlet covers or switch plates using a screwdriver. This will allow you to install the boards without any obstructions.
- Fill Holes and Imperfections: Inspect the wall for any nail holes, dents, or other imperfections. Use spackle or wood filler to fill in these areas, smoothing them out with a putty knife. Let it dry completely and sand it down until it’s flush with the wall.
- Sand the Wall: Use sandpaper or a sanding block to lightly sand the entire wall. This step helps create a clean surface and ensures proper adhesion of the boards. Wipe away any dust with a tack cloth or a damp cloth.
- Apply Primer: To provide a solid base for the paint and ensure even color coverage, apply a coat of primer to the wall. Use a brush or roller to apply the primer, following the manufacturer’s instructions. Allow it to dry completely.
By taking the time to properly prepare the wall, you’ll create a smooth and flawless canvas for your board-and-batten installation. This extra effort pays off in the final result, providing a professional finish and ensuring the longevity of your wall.
Now that the wall is clean and primed, it’s time to move on to the exciting part – measuring and cutting the boards.
Step 3: Measure and Cut the Boards
With the wall prepared, it’s time to measure and cut the boards for your interior board-and-batten wall. This step is crucial for achieving accurate and precise results. Follow these steps to ensure proper measurements and cuts:
- Measure the Wall: Using a measuring tape, measure the height and width of the wall where you’ll be installing the board-and-batten. Take into account any existing baseboards or trim that may affect the measurements.
- Determine the Batten Spacing: Decide on the spacing between the vertical battens. This will depend on personal preference and the overall look you’re trying to achieve. Common spacing options range from 12 to 24 inches. Mark the desired intervals along the wall.
- Calculate the Batten Length: Measure the height of the wall and subtract the desired distance between the bottom of the baseboard and the bottom of the lowest batten. This will give you the length for your vertical battens.
- Calculate the Chair Rail Length: Measure the width of the wall and subtract the desired distance between the top of the highest batten and the bottom of the chair rail. This will give you the length for your horizontal chair rail.
- Cut the Boards: Using a saw, carefully cut the boards to the appropriate lengths. Double-check your measurements before making any cuts to ensure accuracy.
When cutting the boards, it’s a good idea to label each one and indicate its placement on the wall. This will help you stay organized during the installation process.
Remember to always wear protective eyewear and take proper safety precautions when using power tools. If you’re unsure about cutting the boards yourself, consider having them cut to size at a home improvement store.
Once all the boards are cut, you’re ready to move on to the next step – attaching the horizontal boards. Stay tuned!
Step 4: Attach the Horizontal Boards
Now that you have all the boards measured and cut, it’s time to start attaching the horizontal boards to the wall. These boards, commonly known as the chair rail, will sit on top of the vertical battens and provide a polished and finished look to your interior board-and-batten wall. Follow these steps to properly attach the horizontal boards:
- Start at the Bottom: Begin by placing the first horizontal board, the chair rail, at the bottom of the wall. Make sure it is level by using a level or a laser level. Adjust if necessary.
- Secure the Board: Once the chair rail is level, secure it to the wall using either nails or screws. Drive the fasteners through the board and into the wall, making sure they are countersunk to ensure a smooth surface.
- Check for Level: Periodically check the level of the chair rail as you move along the wall. This will help maintain a straight and even installation.
- Continue Adding Horizontal Boards: Place the next chair rail board above the previous one, leaving a predetermined gap in between, as desired. Make sure each board is level and securely fastened to the wall.
When placing the chair rail boards, you have the option to either butt them together for a seamless look or leave a small gap between each board for added visual interest. The choice is entirely up to your personal style preferences.
As you work your way up the wall, continue adding the remaining horizontal boards, ensuring they are level and evenly spaced. Remember to use a measuring tape and a level throughout the process to maintain consistency and accuracy.
Once all the horizontal boards are securely attached, it’s time to move on to the next step – installing the vertical battens. Stay tuned!
Measure and mark the wall to determine the spacing for the boards before installing them. This will ensure a uniform and professional-looking finish.
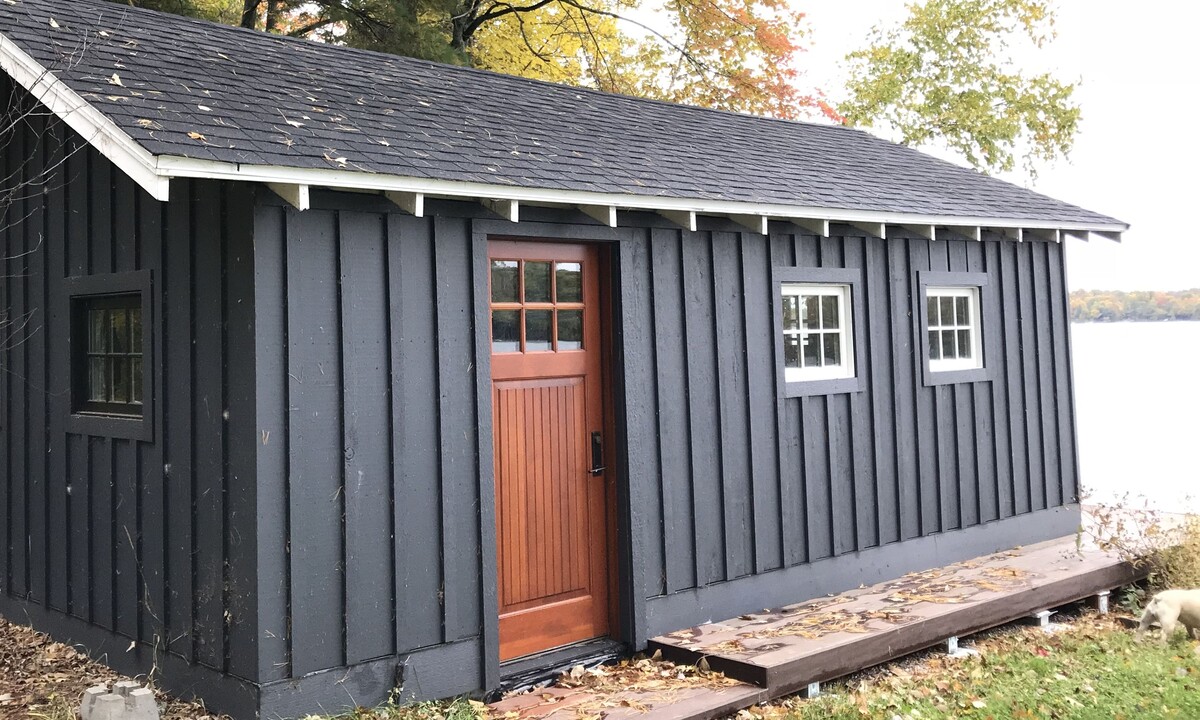
Read more: What Is Batten Board Siding
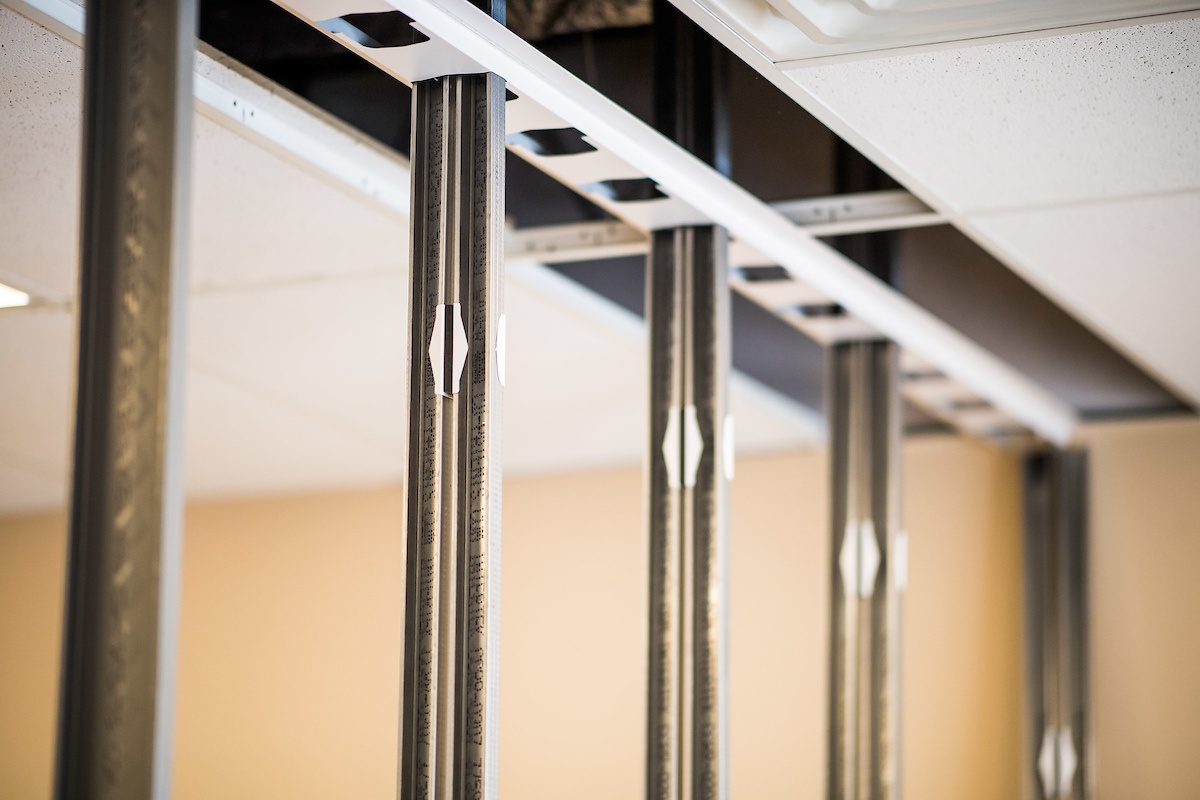
Step 5: Install the Vertical Battens
Now that the horizontal boards are in place, it’s time to install the vertical battens on your interior board-and-batten wall. These battens provide the structure and visual interest, creating the iconic board-and-batten look. Follow these steps to properly install the vertical battens:
- Start at the First Gap: Begin by placing the first vertical batten at the first gap left between two chair rail boards. This gap serves as a design element and should be consistent throughout the installation.
- Position the Batten: Hold the batten in place vertically, aligning it with the bottom edge of the chair rail and the top edge of the baseboard. Make sure it is straight and level before proceeding.
- Secure the Batten: Use either nails or screws to attach the batten to the wall. Drive the fasteners through the batten and into the wall, making sure they are countersunk for a seamless finish.
- Check for Level: Periodically check the level of the vertical battens as you move along the wall. This is crucial to maintaining a straight and visually pleasing installation.
- Continue Installing Battens: Place the next vertical batten in the next gap and repeat the steps above. Align it with the surrounding boards, ensuring it remains level and straight.
- Adjust as Needed: As you work your way up the wall, you may encounter obstacles such as outlets or switches. If necessary, use a jigsaw or other appropriate tools to notch or cut the battens to fit around these obstructions.
Continue installing the vertical battens, ensuring they are evenly spaced and aligned with the horizontal chair rails. Use a measuring tape and a level to verify consistency throughout the installation process.
Once all the vertical battens are securely in place, it’s time to move on to the next step – filling and sanding the nail holes. Stay tuned!
Step 6: Fill and Sand the Nail Holes
After installing the vertical battens for your interior board-and-batten wall, it’s time to fill in the nail holes and create a smooth, seamless finish. This step will ensure that your wall looks polished and professional. Follow these steps to fill and sand the nail holes:
- Gather Spackle or Wood Filler: Get a small amount of spackle or wood filler, depending on the material used for your wall and battens. Make sure it’s a color that matches or closely matches the surrounding finish.
- Apply the Spackle or Wood Filler: Using a putty knife or a filling knife, apply the spackle or wood filler to each nail hole. Press the material firmly into the hole, ensuring it fills completely and is level with the surface of the batten.
- Smooth the Surface: After applying the spackle or wood filler, smooth the surface with the putty knife. Use gentle, sweeping motions to create a flush and seamless finish. Remove any excess material.
- Allow the Spackle or Wood Filler to Dry: Follow the manufacturer’s instructions for drying time. Typically, it takes a few hours for the spackle or wood filler to dry completely.
- Sand the Surface: Once the spackle or wood filler is dry, use sandpaper or a sanding block to gently sand the areas around the nail holes. Sand in a circular motion until the surface feels smooth and the spackle or wood filler blends in with the batten.
- Wipe Away Dust: After sanding, use a clean, damp cloth or a tack cloth to wipe away any dust or debris. This ensures a clean surface for the next step.
By filling and sanding the nail holes, you’re creating a seamless finish that blends in with the battens. This step is essential for achieving a professionally finished interior board-and-batten wall.
Once you’re satisfied with the smoothness of the wall, it’s time to move on to the final step – priming and painting. Stay tuned!
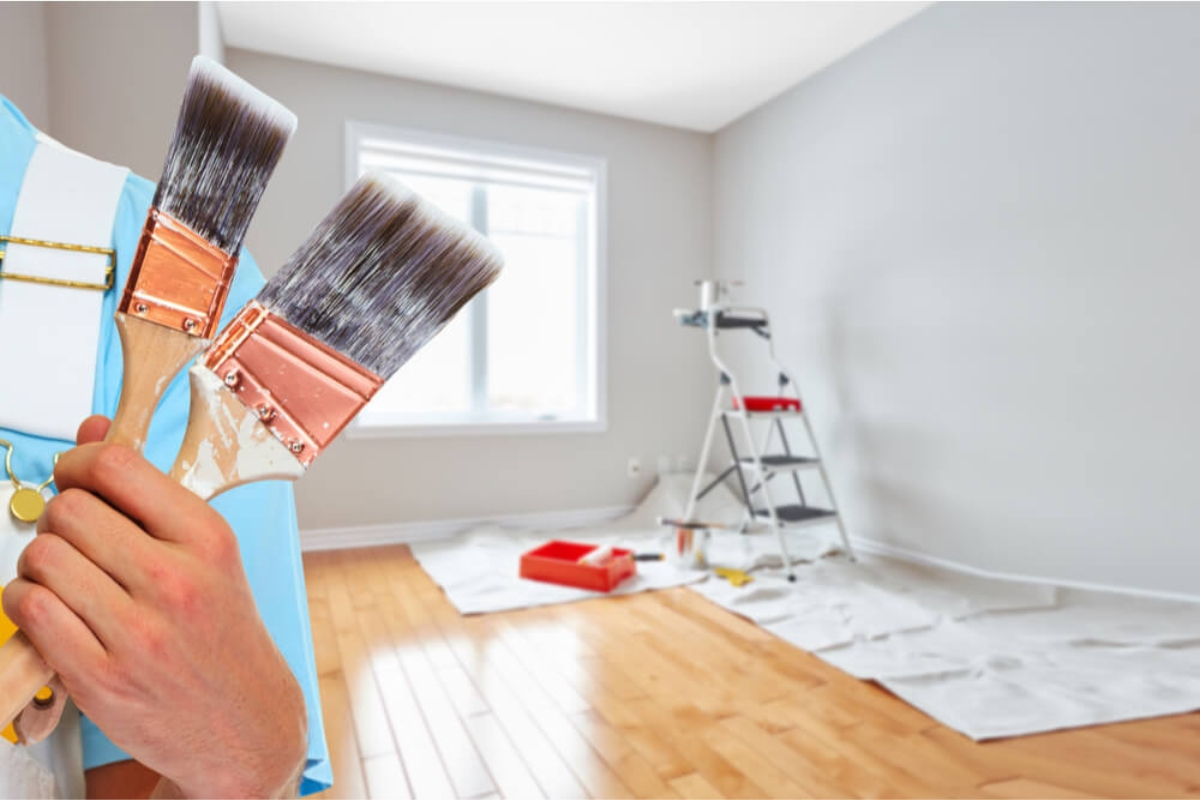
Step 7: Prime and Paint the Wall
Congratulations! You’re in the final step of installing an interior board-and-batten wall. Now it’s time to bring your wall to life by priming and painting it. Follow these steps to ensure a beautiful and long-lasting finish:
- Choose the Right Primer: Select a high-quality primer that is suitable for the material of your wall and battens. Consider using a tinted primer if you plan to paint your wall a dark or vibrant color.
- Prepare the Paint: If necessary, stir your paint thoroughly to ensure an even consistency. Pour it into a paint tray for ease of use.
- Protect Surrounding Surfaces: Use painter’s tape to protect the adjacent walls, baseboards, and trim from accidental paint splatters. Lay down drop cloths or plastic sheets to cover the floor and furniture.
- Apply the Primer: Use a brush or roller to apply a coat of primer to the entire board-and-batten wall. Work in even strokes and ensure complete coverage. Follow the drying time specified by the manufacturer.
- Inspect the Primer Coat: Once the primer is dry, inspect the wall for any missed spots, uneven areas, or imperfections. Touch up as needed with additional primer.
- Apply the Paint: After the primer has fully dried, it’s time to apply your chosen paint color. Start by cutting in along the edges of the wall with a brush, and then use a roller to paint the larger surfaces. Apply at least two coats, allowing each coat to dry completely.
- Remove Tape and Clean Up: Once the final coat of paint is dry, carefully remove the painter’s tape at a 45-degree angle. Dispose of all drop cloths, clean your brushes and rollers, and admire your beautifully painted interior board-and-batten wall.
Remember to follow the instructions provided by the paint and primer manufacturers, as drying times and application techniques can vary.
With the wall now primed and painted, stand back and admire the transformation you have achieved. Your interior board-and-batten wall is complete and ready to enhance the aesthetic appeal of your space.
Thank you for following this step-by-step guide. Enjoy your beautiful new wall!
Conclusion
Congratulations on successfully installing your interior board-and-batten wall! By following the steps outlined in this guide, you have transformed your space into a stylish and visually appealing environment. This classic design technique adds depth, texture, and character to any room, enhancing its overall aesthetic.
Throughout the process, you learned how to gather the necessary materials, prepare the wall, measure and cut the boards, attach the horizontal boards, install the vertical battens, fill and sand the nail holes, and finally, prime and paint the wall. Each step was essential in achieving a professional finish and ensuring the longevity of your board-and-batten wall.
Remember, installing an interior board-and-batten wall is not only a design statement; it also provides practical benefits. It can protect your walls from wear and tear, hide imperfections, and add a touch of elegance to your space.
As you admire your newly installed board-and-batten wall, take a moment to appreciate the effort and care you put into this project. Be proud of your DIY accomplishment and the stunning result you have achieved.
Now that you have mastered the installation process, you can consider expanding your design skills by experimenting with different colors, textures, or even adding additional architectural elements to your space. The possibilities are endless!
Thank you for following this comprehensive guide. We hope it has been informative and inspiring. Enjoy your beautiful interior board-and-batten wall!
Frequently Asked Questions about How To Install An Interior Board And Batten Wall
Was this page helpful?
At Storables.com, we guarantee accurate and reliable information. Our content, validated by Expert Board Contributors, is crafted following stringent Editorial Policies. We're committed to providing you with well-researched, expert-backed insights for all your informational needs.


0 thoughts on “How To Install An Interior Board And Batten Wall”