Articles
How To Cover Stucco Interior Walls
Modified: September 1, 2024
Discover the step-by-step guide to cover stucco interior walls with our informative articles. Transform your space with these easy techniques.
(Many of the links in this article redirect to a specific reviewed product. Your purchase of these products through affiliate links helps to generate commission for Storables.com, at no extra cost. Learn more)
Introduction
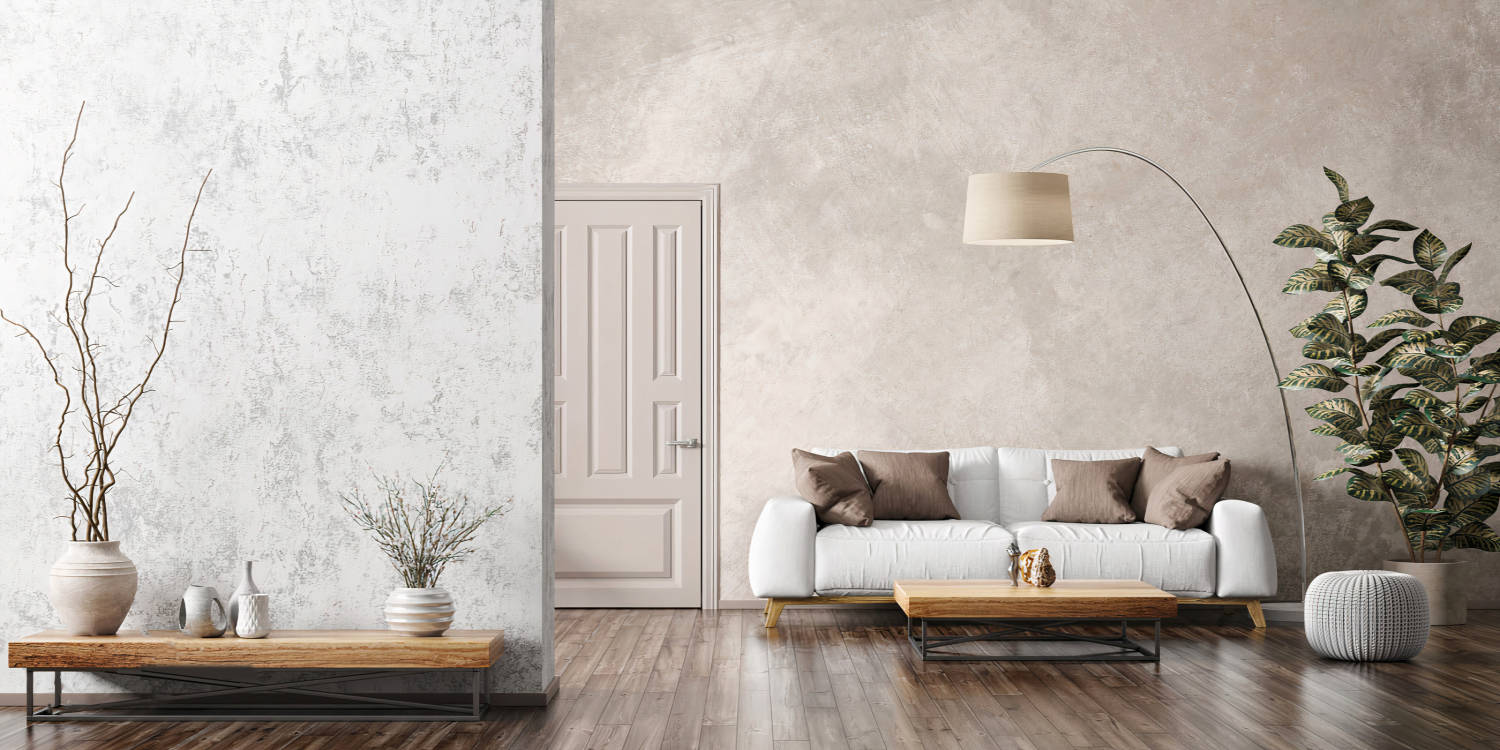
Covering stucco interior walls can be a great way to refresh the look of your home. Stucco, a durable and textured plaster, is a popular choice for exterior walls, but it can also be found on interior surfaces. While the rough and uneven texture of stucco can add character to a space, it may not always align with your desired aesthetic. Whether you’re looking to update the style of your interior or simply want a smoother surface, covering stucco walls can transform the appearance of your home.
In this article, we will guide you through the process of covering stucco interior walls. We will explore the materials you will need, explain how to prepare the walls, provide steps for applying a base coat, and share tips for adding texture. Additionally, we will discuss alternatives to traditional drywall, and offer some finishing touches to complete the project.
Before you begin, it’s important to note that covering stucco walls requires some preparation and the use of appropriate materials. It’s also crucial to ensure that the stucco surface is stable and free from any structural issues or damage. If you have any concerns or doubts, it may be wise to consult a professional contractor or painter for their expertise.
Now, let’s dive into the materials you will need for this project.
Key Takeaways:
- Transform your home by covering stucco interior walls with the right materials, proper preparation, and attention to detail. Explore texture options and alternative coverings for a personalized and stylish result.
- Elevate your space by adding texture, exploring alternative coverings, and paying attention to finishing touches. Embrace creativity and enjoy the process of transforming your stucco interior walls.
Read more: How To Cover Cinder Block Interior Walls
Materials Needed
Before you start covering your stucco interior walls, make sure you have the following materials on hand:
- Primer: Choose a high-quality primer that is specifically formulated for stucco surfaces. This will help create a smooth and stable base for the covering materials.
- Covering material: There are several options when it comes to covering stucco walls. The most common choices include drywall, plaster, or a decorative wall covering like wallpaper or paneling. Select the covering material that best suits your desired outcome.
- Tape measure and level: These tools will help you accurately measure the dimensions of your walls and ensure that the covering material is installed straight and level.
- Sanding block or electric sander: Depending on the texture of your stucco walls, you may need to smooth out any rough patches or high spots before applying the covering material. A sanding block or electric sander will make this task easier and more efficient.
- Putty knife or taping knife: These tools will be used to apply the primer, spread the covering material, and smooth out any imperfections in the surface.
- Spatula or texture brush: If you choose to add texture to your walls, a spatula or texture brush will be necessary. These tools will help create the desired texture pattern.
- Paint rollers and brushes: Depending on the covering material you choose, you may need paint rollers and brushes for the application process. Make sure to select the appropriate tools based on the type of covering material you will be using.
- Drop cloths or plastic sheets: Protect your floors and furniture by covering them with drop cloths or plastic sheets. This will prevent any paint or debris from damaging your belongings.
- Safety equipment: Don’t forget to prioritize your safety. Wear goggles, a mask, and gloves to protect yourself from dust, fumes, and any potential hazards.
Having these materials readily available before you start the project will ensure a smooth and efficient process. Now that you have everything you need, let’s move on to preparing the stucco walls for covering.
Preparing the Walls
Before applying any covering material to your stucco interior walls, it’s important to properly prepare the surface. Follow these steps to ensure the best results:
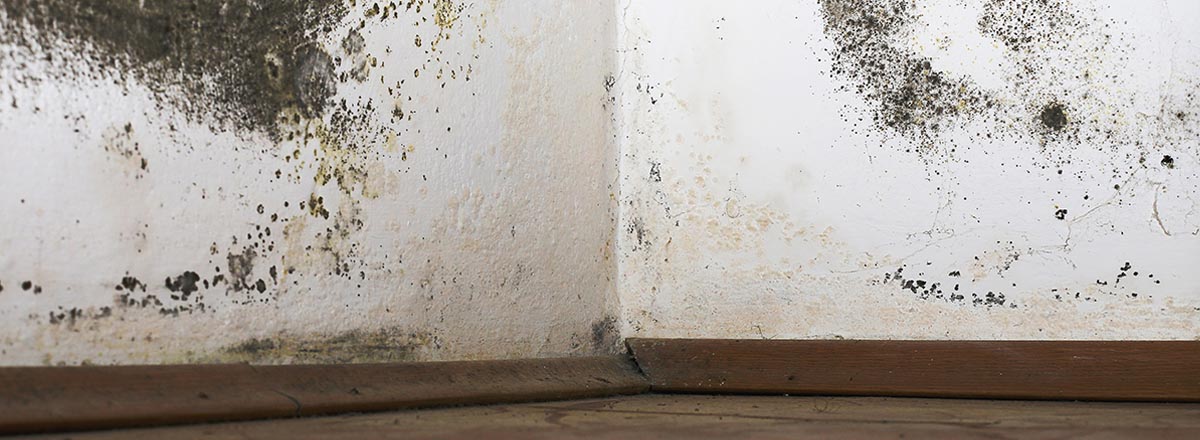
- Inspect the walls: Take a close look at the stucco walls and check for any cracks, loose areas, or significant damage. If you notice any structural issues, it’s essential to address them before proceeding with the covering process. Consult a professional if needed.
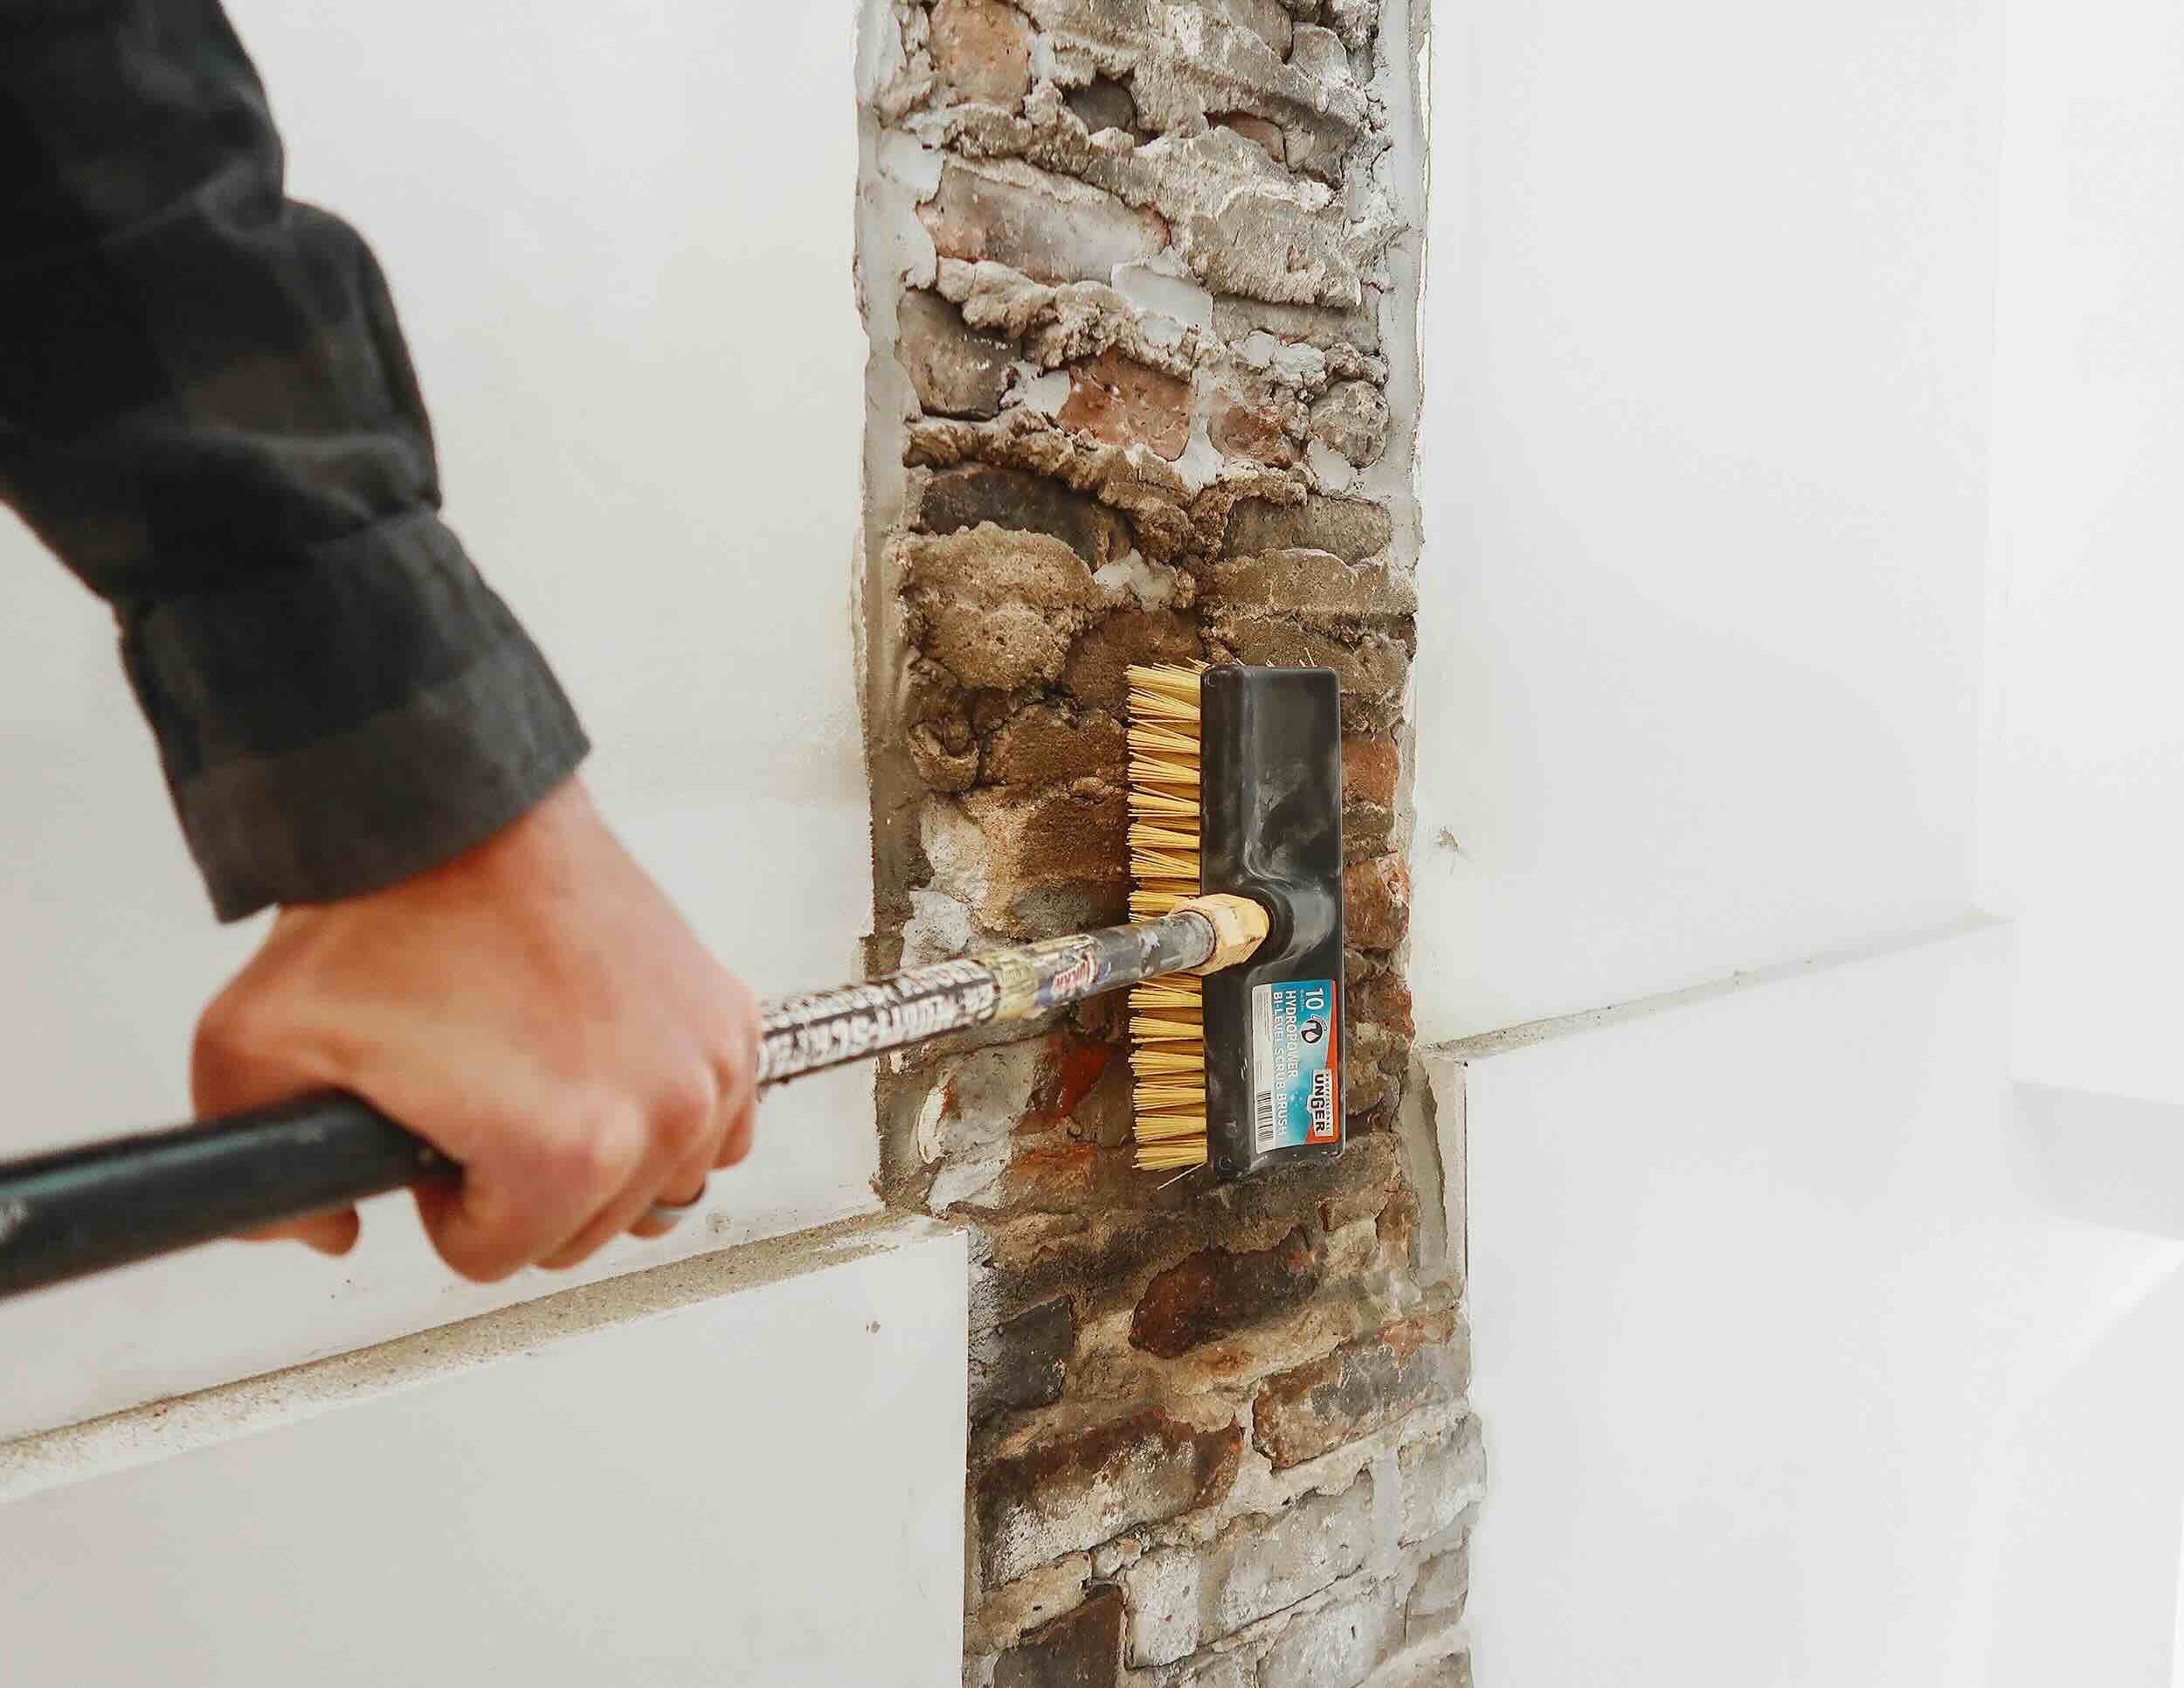
- Clean the walls: Use a damp cloth or sponge to remove any dirt, dust, or grease from the stucco surface. This will ensure proper adhesion of the primer and covering material. Allow the walls to dry completely before moving on to the next step.
- Repair any imperfections: If you come across minor cracks or small holes in the stucco, fill them in with a suitable patching compound. Follow the manufacturer’s instructions for application and drying time. Once the compound has dried, use sandpaper to smooth out the repaired areas.
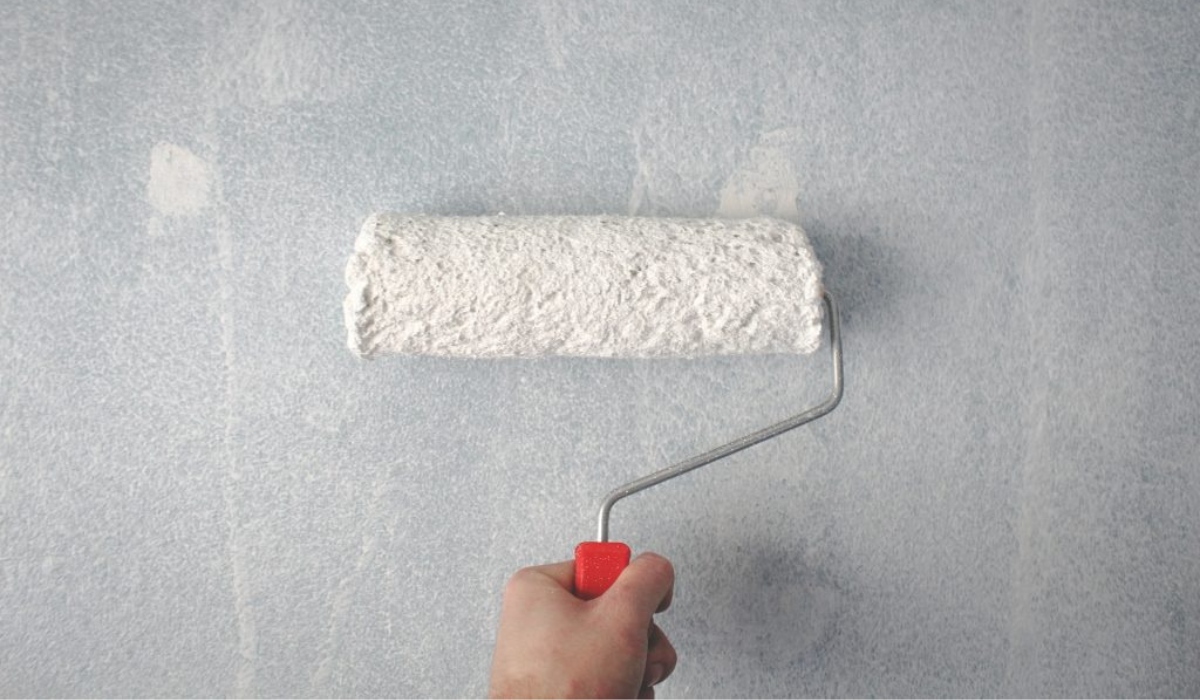
- Apply primer: Apply a coat of primer to the stucco walls. This will help create a smooth and even surface, improve adhesion, and prevent the covering material from absorbing moisture from the stucco. Use a paint roller or brush to apply the primer evenly, following the manufacturer’s instructions. Allow the primer to dry completely before moving on to the next step.
- Test for adhesion: Use a piece of painter’s tape to perform an adhesion test. Stick the tape to different areas of the primed stucco wall and firmly press it down. Then, quickly and sharply pull the tape off. If the primer and stucco come off with the tape, the adhesion is not sufficient. In such cases, consider reapplying the primer or consult a professional for further guidance.
By following these steps, you will ensure that your stucco walls are properly prepared for the covering material. This will result in a more durable and aesthetically pleasing finish. Once the walls have been prepared, you can move on to the next step: applying the base coat.
Applying the Base Coat
After preparing the stucco walls, it’s time to apply the base coat. The base coat is an essential layer that helps create a smooth surface for the final covering material. Follow these steps to apply the base coat:
- Mix the base coat material: Depending on the type of covering material you’ve chosen, mix the base coat material according to the manufacturer’s instructions. This may involve combining dry mix with water or using a pre-mixed base coat product.
- Start at the top: Begin applying the base coat at the top of the wall using a putty knife or taping knife. Spread the base coat material evenly, starting from one corner and working your way across.
- Work in sections: Divide the wall into manageable sections and focus on one section at a time. This will ensure that the base coat is applied consistently and allows for better control of the overall process.
- Apply multiple layers: Depending on the desired thickness and smoothness of the base coat, you may need to apply multiple layers. Allow each layer to dry according to the manufacturer’s instructions before applying the next. Use the putty knife or taping knife to smooth out any imperfections between layers.
- Feather the edges: To achieve a seamless transition between the base coat and the surrounding stucco, feather the edges by lightly blending the base coat material into the existing stucco. This will create a more natural and cohesive appearance.
- Allow for drying time: Once all the sections have been covered with the base coat, allow it to dry completely. Follow the manufacturer’s instructions for the recommended drying time, as it may vary depending on the product.
- Sand and smooth: After the base coat has dried, lightly sand the surface using a sanding block or electric sander. This will help create an even and smooth texture, ready for the final covering material.
Remember to take your time and pay attention to detail when applying the base coat. A well-applied base coat will provide a solid foundation for the final covering material and contribute to a professional-looking result. Once the base coat has been applied and smoothed out, you can proceed to the next step: adding texture.
When covering stucco interior walls, use a high-quality primer to ensure proper adhesion of the new material. This will help create a smooth and even surface for the new wall treatment.
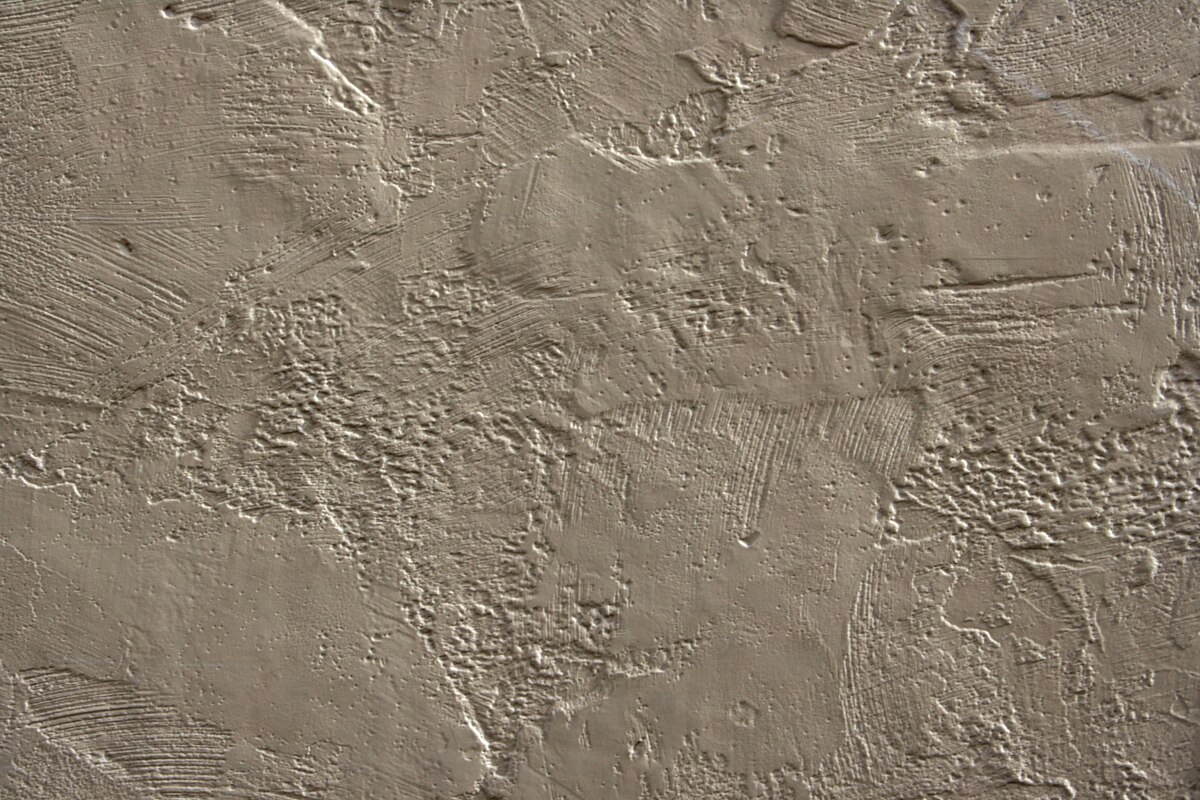
Adding Texture
If you prefer to maintain a textured look on your stucco interior walls, you have the option to add texture to the base coat. This step will enhance the visual appeal and create a unique and more dynamic finish. Here’s how you can add texture to your walls:
- Choose your texture method: There are various techniques you can use to add texture to your stucco walls, such as skip trowel, knockdown, or swirl. Research different methods and select the one that aligns with your desired aesthetic.
- Prepare the texture material: Depending on the technique you’ve chosen, prepare the texture material accordingly. This may involve mixing a specialized texture compound or thinning out joint compound or plaster to achieve the desired consistency.
- Practice on a sample board: Before applying the texture material directly to the walls, it’s a good idea to practice on a sample board. This will allow you to experiment with different techniques and ensure you are comfortable with the process before moving forward.
- Work in sections: Just like with the base coat, divide the wall into sections and focus on one section at a time. This will give you better control and allow for uniform texture application.
- Apply the texture material: Use a spatula, texture brush, or a trowel to apply the texture material to the wall. Follow the technique you’ve chosen, applying the material in a consistent and intentional manner. Experiment with different strokes and angles to achieve the desired textured effect.
- Blend and feather the texture: To create a more natural and blended look, blend and feather the texture edges by lightly dragging a trowel or brush over the applied texture. This will help create a smoother transition between textured and non-textured areas.
- Allow for drying time: Once the texture has been applied, allow it to dry completely. Follow the manufacturer’s instructions for the recommended drying time. Keep in mind that thicker or more textured applications may require longer drying times.
- Inspect and touch up: After the texture has dried, carefully inspect the walls for any areas that may need touch-ups or adjustments. Smooth out any rough spots or uneven textures with sandpaper or additional texture material, if necessary.
Adding texture to your stucco interior walls can bring a new level of dimension and visual interest to the space. It’s an opportunity to showcase your creativity and personalize the look of your home. Once you are satisfied with the texture, you can consider alternative options to traditional drywall as a final covering material.
Read more: What Is A Stucco Wall
Drywall Alternatives
While drywall is a popular choice for covering interior walls, there are several alternatives you can consider to achieve a unique and distinctive look. These alternatives can add texture, pattern, or a touch of luxury to your stucco walls. Here are a few options to explore:
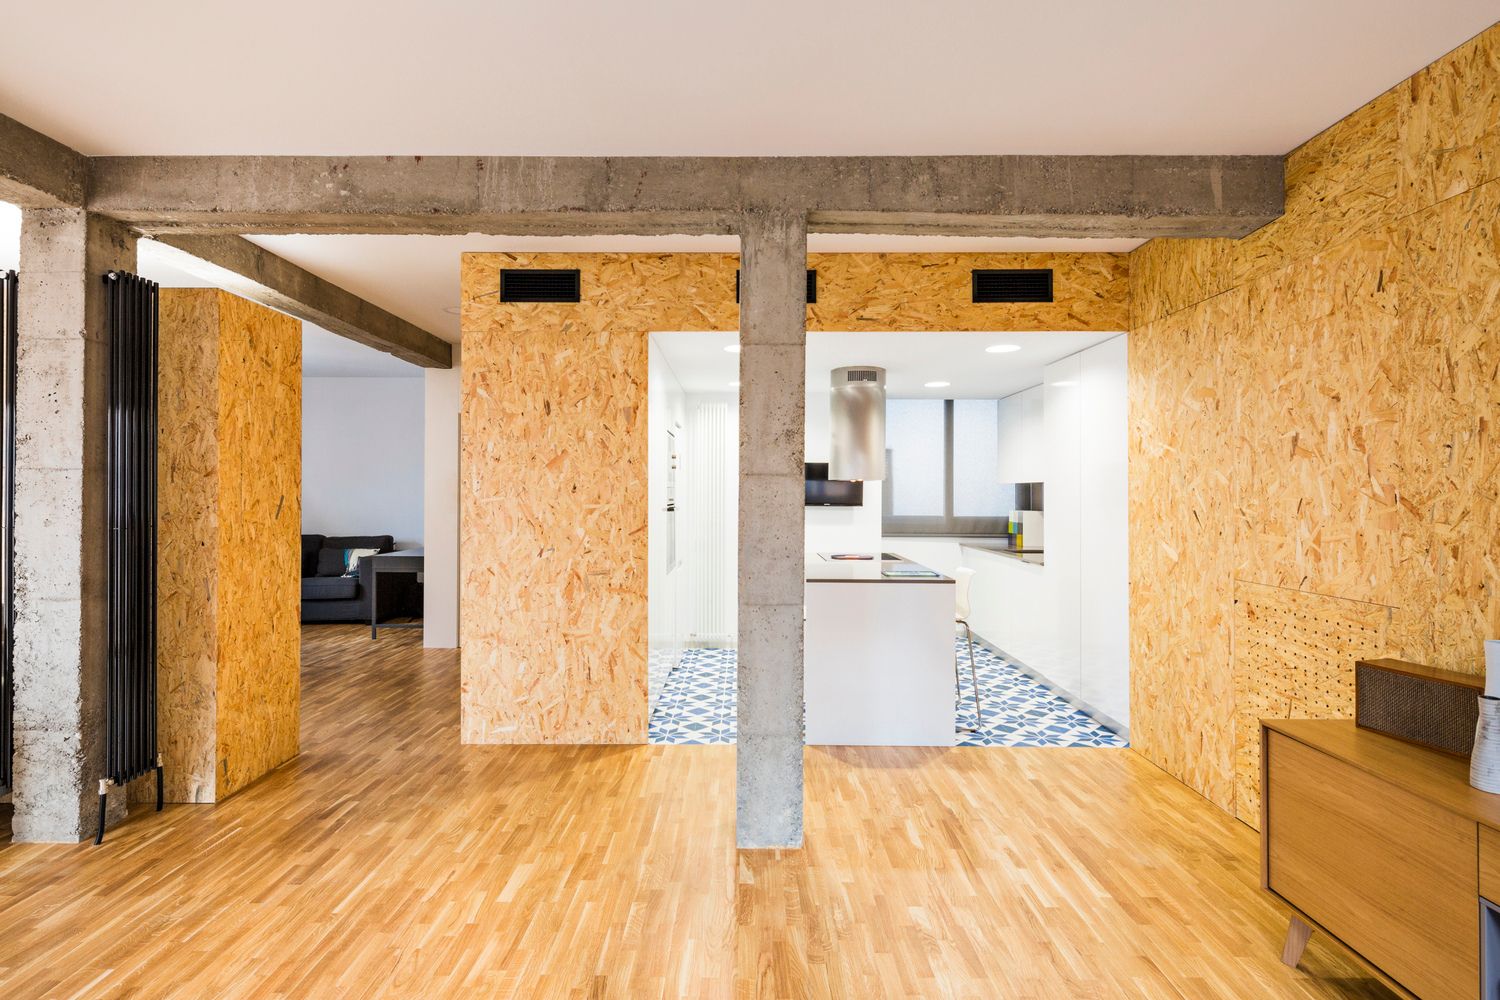
- Wood Paneling: Wood paneling can bring warmth and natural beauty to your space. Choose from a variety of wood types and finishes to complement your interior style. Paneling can be installed directly over the stucco or applied to a thin layer of drywall for added stability.
- Decorative Wallpaper: Wallpaper offers endless design possibilities. From bold patterns to subtle textures, you can find a wallpaper that suits your taste. Choose a type of wallpaper that is suitable for covering textured surfaces and use adhesive designed specifically for stucco walls.
- Textured Wall Coverings: There are various textured wall coverings available, such as embossed wall panels or 3D wall tiles. These options can add depth and dimension to your stucco walls, creating a visually captivating focal point in your space.
- Venetian Plaster: Venetian plaster is a luxurious and elegant alternative to traditional drywall. It involves applying multiple layers of plaster and burnishing them for a smooth, glossy finish. Venetian plaster creates a rich and sophisticated look that can elevate the overall ambiance of your room.
- Faux Finishes: Faux finishes, such as faux brick, faux stone, or faux concrete, can add an industrial or rustic touch to your stucco walls. These finishes are typically achieved using specialized paint techniques or textured wallpapers that mimic the appearance of the desired material.
When considering these alternatives, it’s important to do thorough research, consult with professionals if needed, and take into account the compatibility with your stucco walls. Some options may require additional preparation or the use of specific adhesives or installation methods.
Each alternative offers a unique style and can significantly transform the look and feel of your interior. Take your time to explore different possibilities and consider how each option aligns with your overall design vision. Once you’ve selected your covering material, it’s time to add the finishing touches to complete the project.
Finishing Touches
As you near the final stages of covering your stucco interior walls, it’s important to pay attention to the finishing touches that will truly complete the project. These details will enhance the overall aesthetic and ensure a polished and professional result. Here are some finishing touches to consider:
- Trim and Molding: Install trim and molding to create defined edges and add architectural interest to the room. Choose from a variety of styles and finishes that complement your covering material and overall design theme.
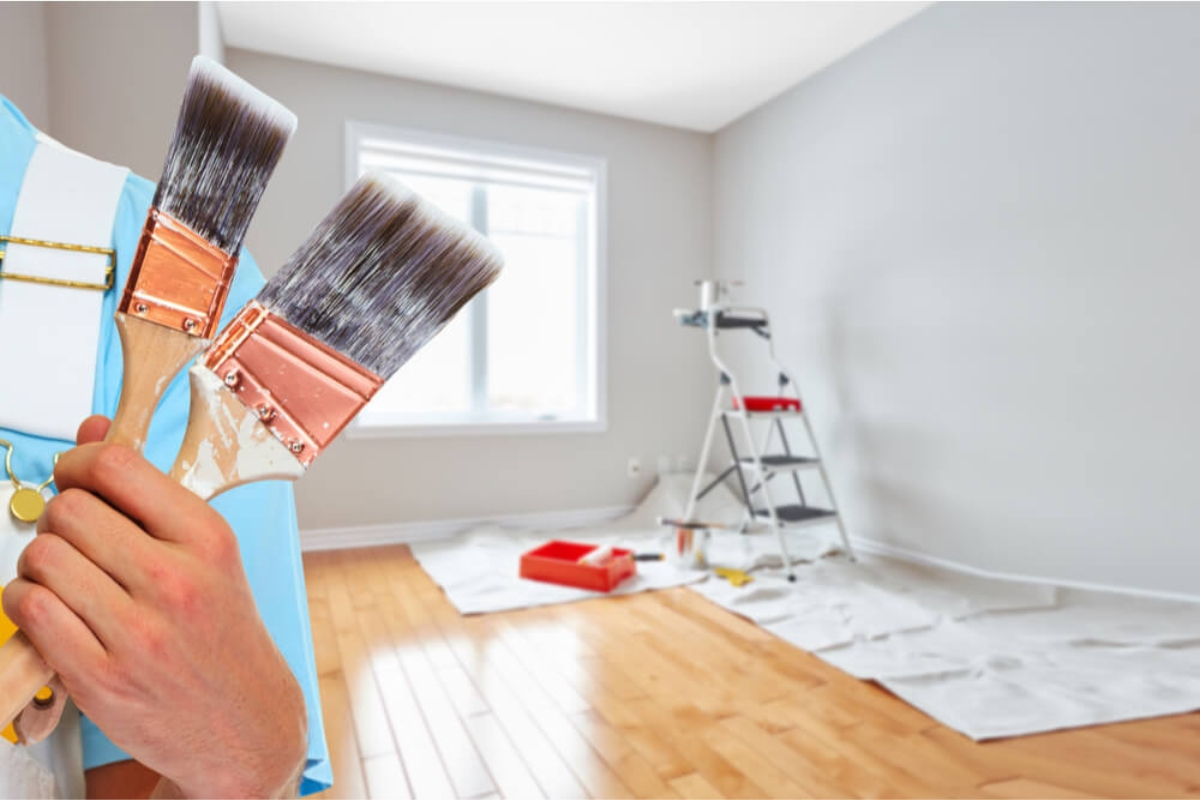
- Paint or Seal: Depending on the chosen covering material, you may need to paint or seal it to achieve the desired look, enhance durability, or protect against moisture. Follow the manufacturer’s instructions for the specific product you are using.
- Baseboards: Install baseboards along the bottom of the walls to create a clean and finished appearance. Choose baseboards that complement your interior style and are appropriate for the covering material.
- Lighting: Consider how lighting will impact the overall look of your newly covered walls. Install appropriate lighting fixtures and choose lightbulbs that enhance the color and texture of the walls, creating a welcoming and visually appealing ambiance.
- Artwork and Decor: Once your walls are covered, it’s time to showcase artwork and decor that complements the new look. Choose pieces that enhance the style and bring a personal touch to the space.
- Curtains or Window Treatments: Install curtains or window treatments that coordinate with the newly covered walls. This will create a harmonious and cohesive design throughout the room.
- Furniture Placement: Rearrange or reposition furniture in the space to maximize the visual impact of the newly covered walls. Consider how the new look will interact with the existing furniture and create a pleasing layout.
- Clean and Maintain: Regularly clean and maintain the covered walls to ensure their longevity and keep them looking their best. Follow the cleaning instructions provided by the manufacturer of the covering material.
By paying attention to these finishing touches, you can truly bring your vision to life and create a stunning and cohesive interior space. Take the time to carefully consider each element and how it contributes to the overall aesthetic. Once you’ve completed these final steps, step back and admire the transformation you’ve achieved by covering your stucco interior walls.
Conclusion
Covering stucco interior walls is a rewarding project that can completely transform the look and feel of your home. Whether you are seeking a smoother surface, a new texture, or a different material altogether, the process of covering stucco walls offers endless possibilities for customization and personalization.
We began by discussing the materials needed for the project, emphasizing the importance of selecting the right primer, covering material, and tools. Preparing the walls was highlighted as a crucial step, including inspecting, cleaning, repairing, and applying a primer for optimum adhesion.
Once the walls were ready, we explored the process of applying the base coat. It involved mixing the material, applying it section by section, and allowing for drying time between layers. Feathering the edges and achieving a smooth surface through sanding were also discussed.
For those who prefer to maintain a textured look, we delved into adding texture to the walls. Different techniques, such as skip trowel or knockdown, were presented, along with the importance of practicing on a sample board. Remember, adding texture can elevate the visual appeal of your stucco walls.
Furthermore, we explored alternatives to traditional drywall, suggesting wood paneling, decorative wallpaper, textured wall coverings, Venetian plaster, and faux finishes as exciting options to consider. Each alternative provides its own unique aesthetic and can deliver a distinct look to your space.
To polish off the project, we discussed the importance of thoughtful finishing touches, such as trim and molding, painting or sealing, baseboards, lighting, artwork and decor, curtains or window treatments, furniture placement, and regular cleaning and maintenance.
In conclusion, covering stucco interior walls can be a transformative and creative endeavor. By following the steps outlined in this guide, you can achieve a refreshed and personalized space that reflects your unique style and enhances the overall ambiance of your home. Embrace your creativity, enjoy the process, and revel in the stunning results of your covered stucco interior walls.
Ready to take your home's style up a notch? While you've learned to tackle stucco walls, why stop there? Dive into our guide on selecting the best hardwood floors for any room makeover. With practical advice and style tips, you'll find the perfect foundation to complement your newly refreshed walls. Hardwood floors not only add warmth and charm but also increase your home's value. Whether renovating a single room or revamping your entire space, our detailed insights will help you make informed decisions.
Frequently Asked Questions about How To Cover Stucco Interior Walls
Was this page helpful?
At Storables.com, we guarantee accurate and reliable information. Our content, validated by Expert Board Contributors, is crafted following stringent Editorial Policies. We're committed to providing you with well-researched, expert-backed insights for all your informational needs.


0 thoughts on “How To Cover Stucco Interior Walls”