Home>Construction & Tools>Building Materials>How To Install Stone Veneer Panels On Interior Wall
Building Materials
How To Install Stone Veneer Panels On Interior Wall
Modified: August 17, 2024
Learn how to enhance your interior walls with stone veneer panels. Find step-by-step instructions for installing building materials to transform your space.
(Many of the links in this article redirect to a specific reviewed product. Your purchase of these products through affiliate links helps to generate commission for Storables.com, at no extra cost. Learn more)
**
Introduction
**
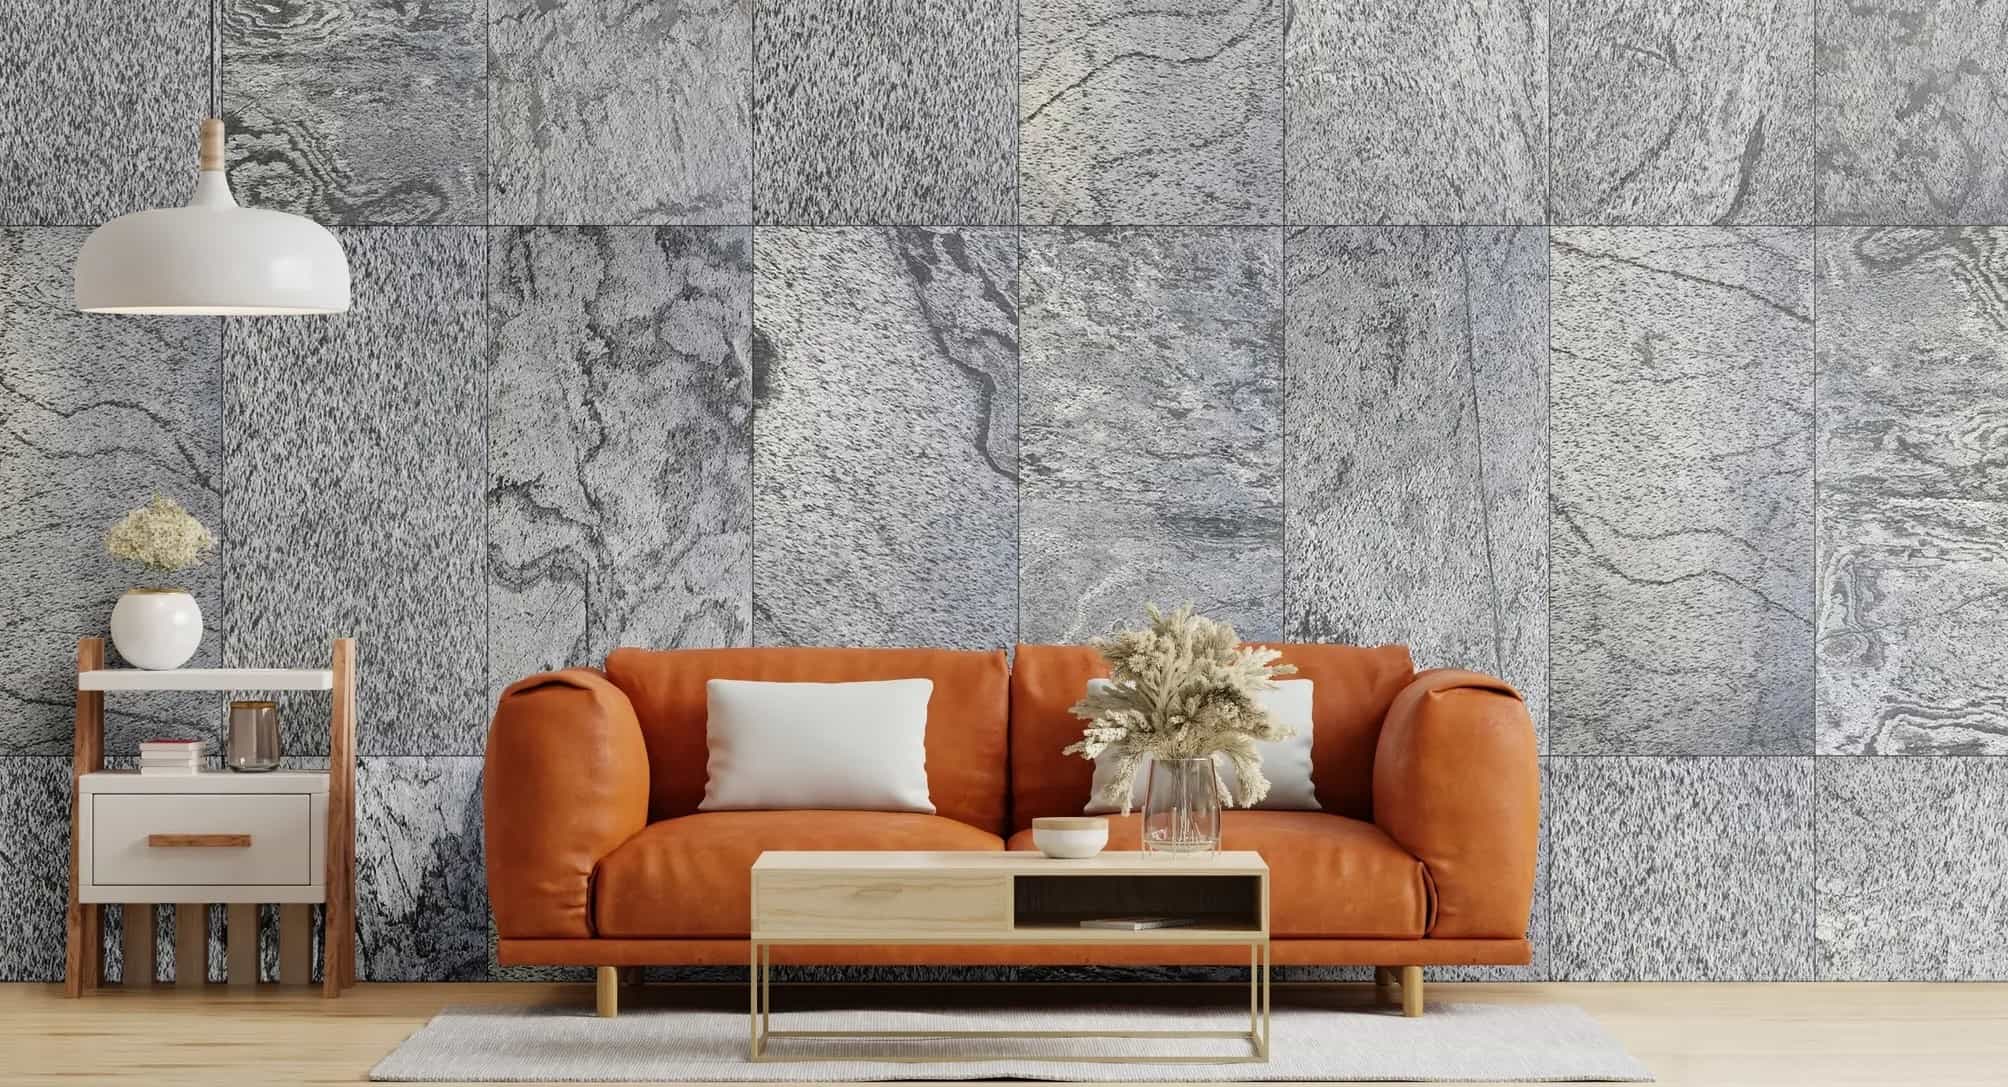
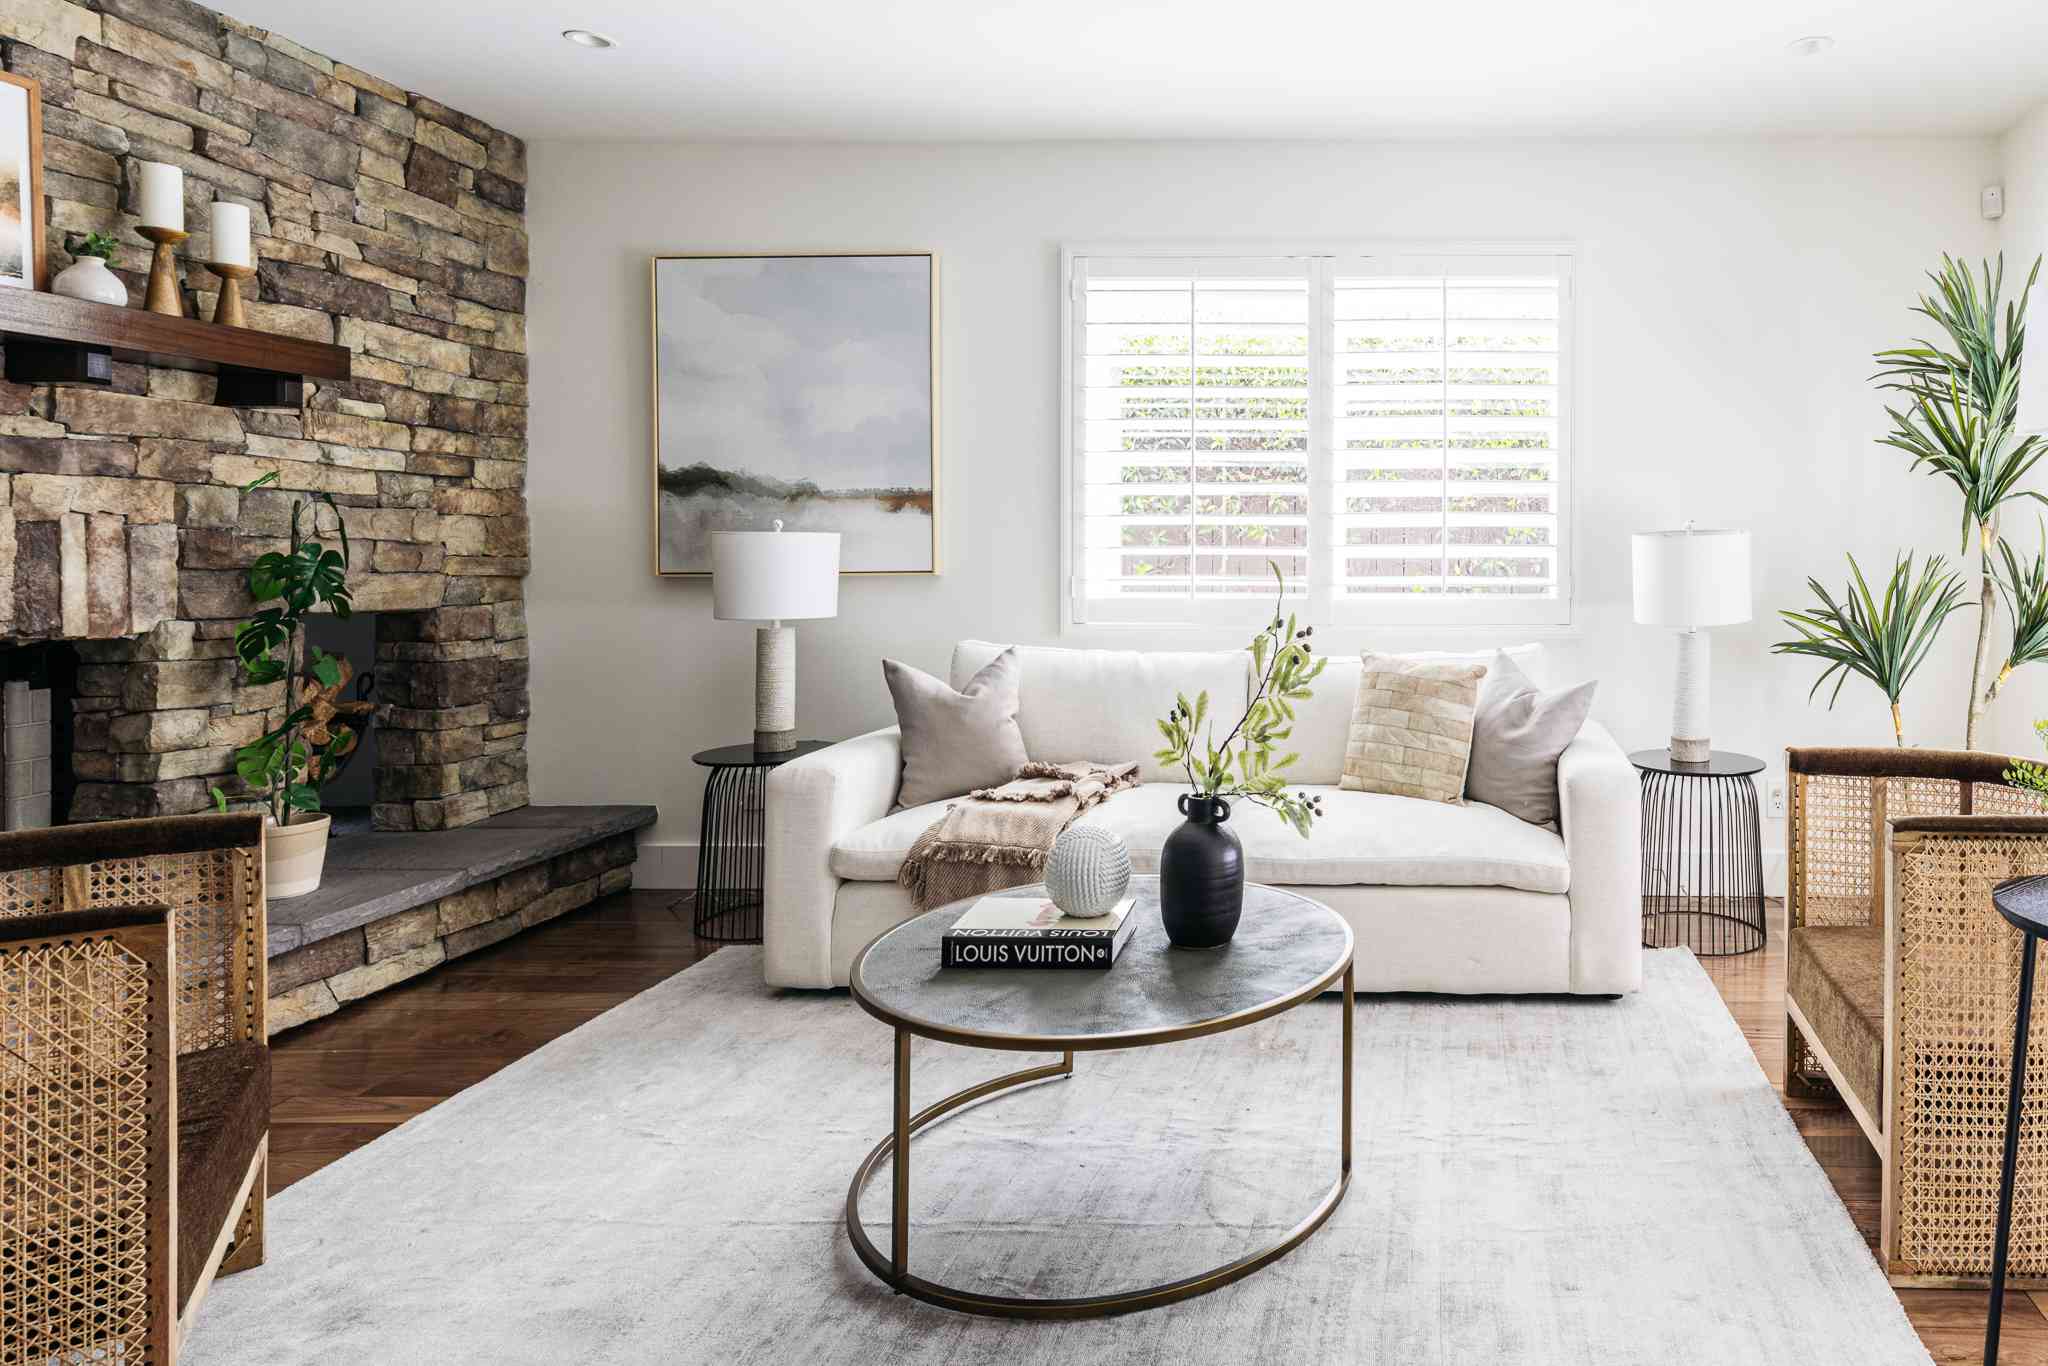
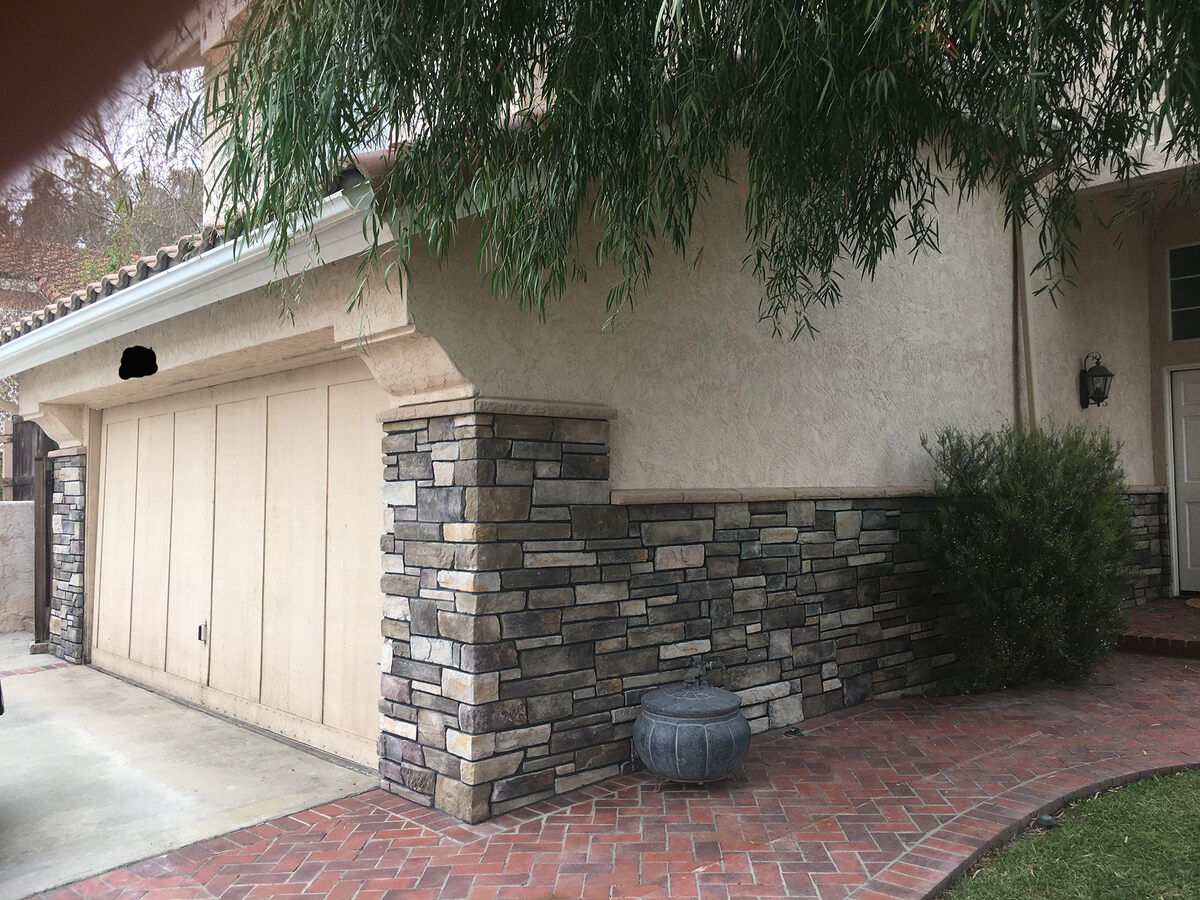
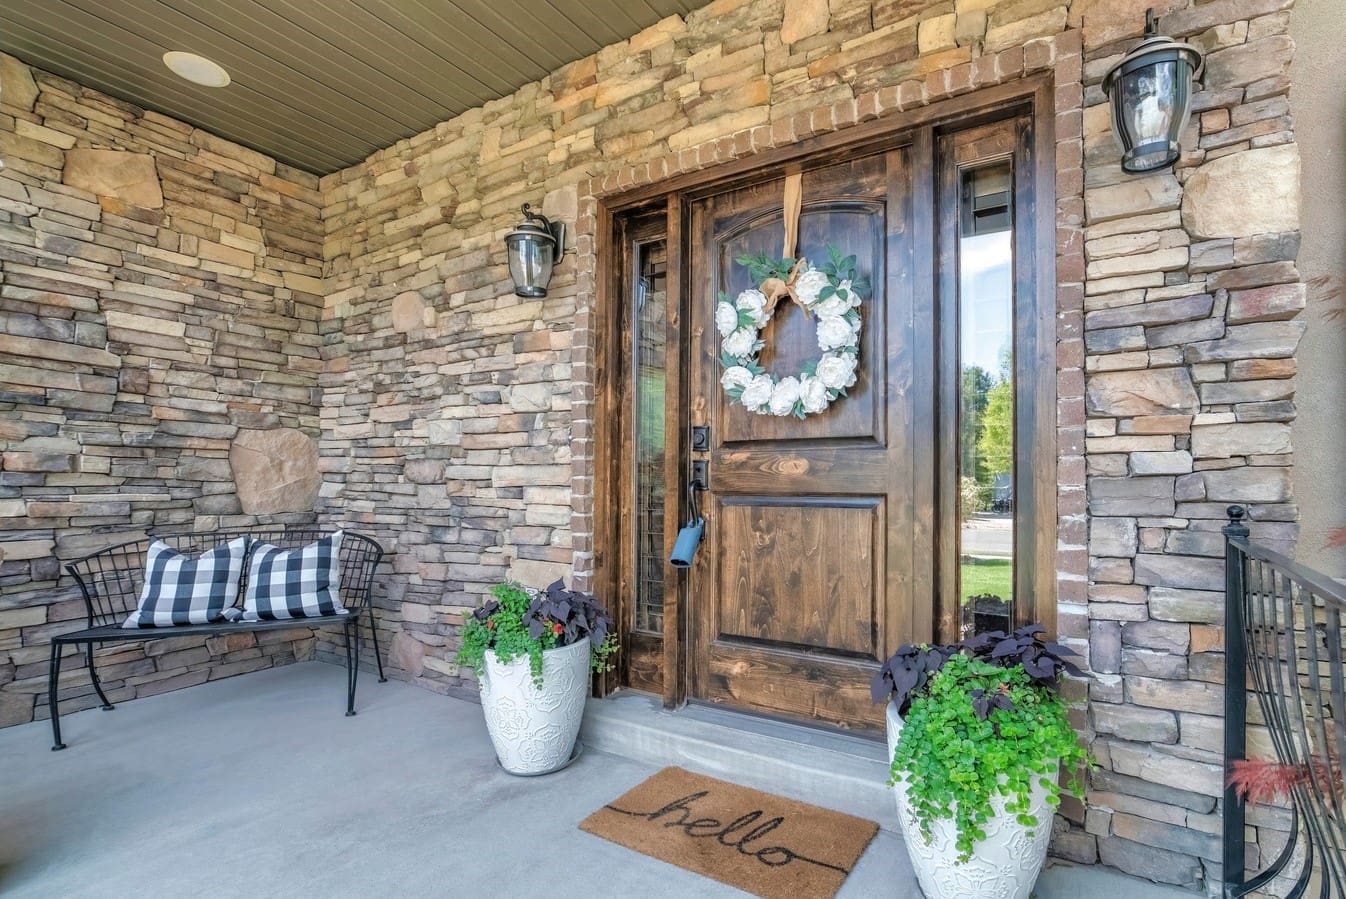
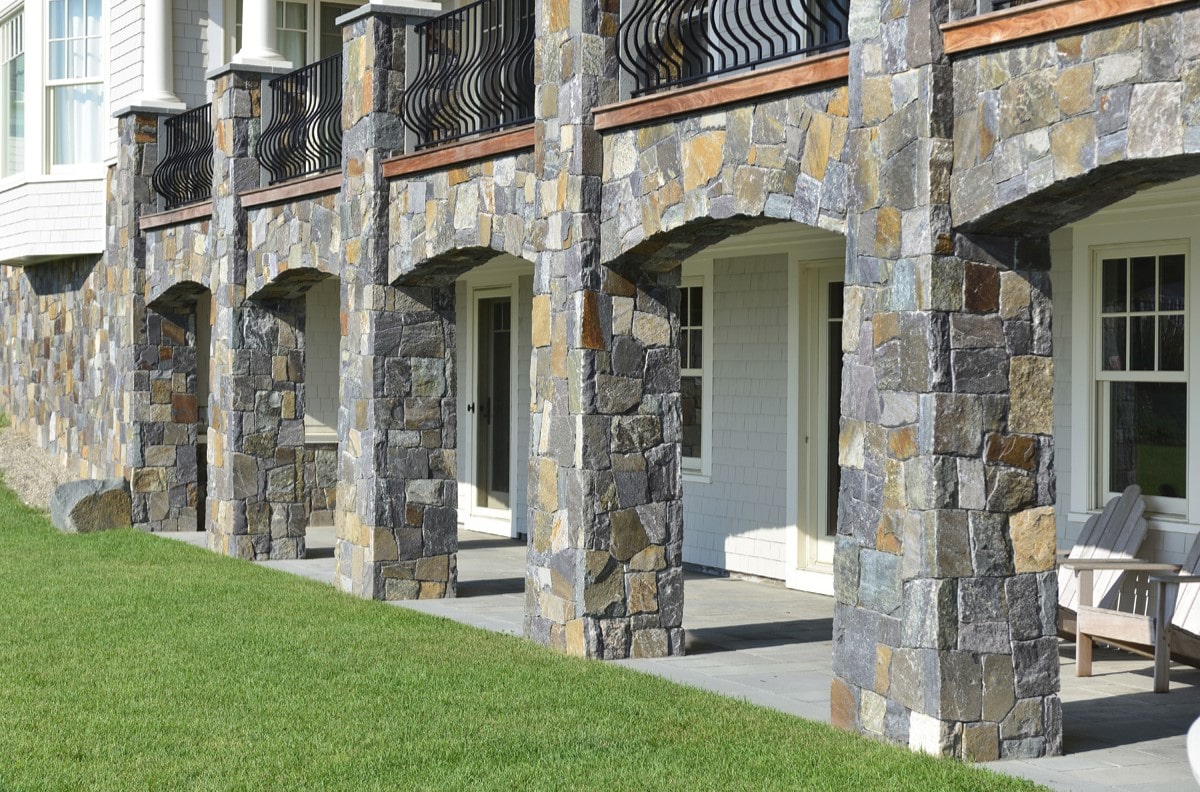
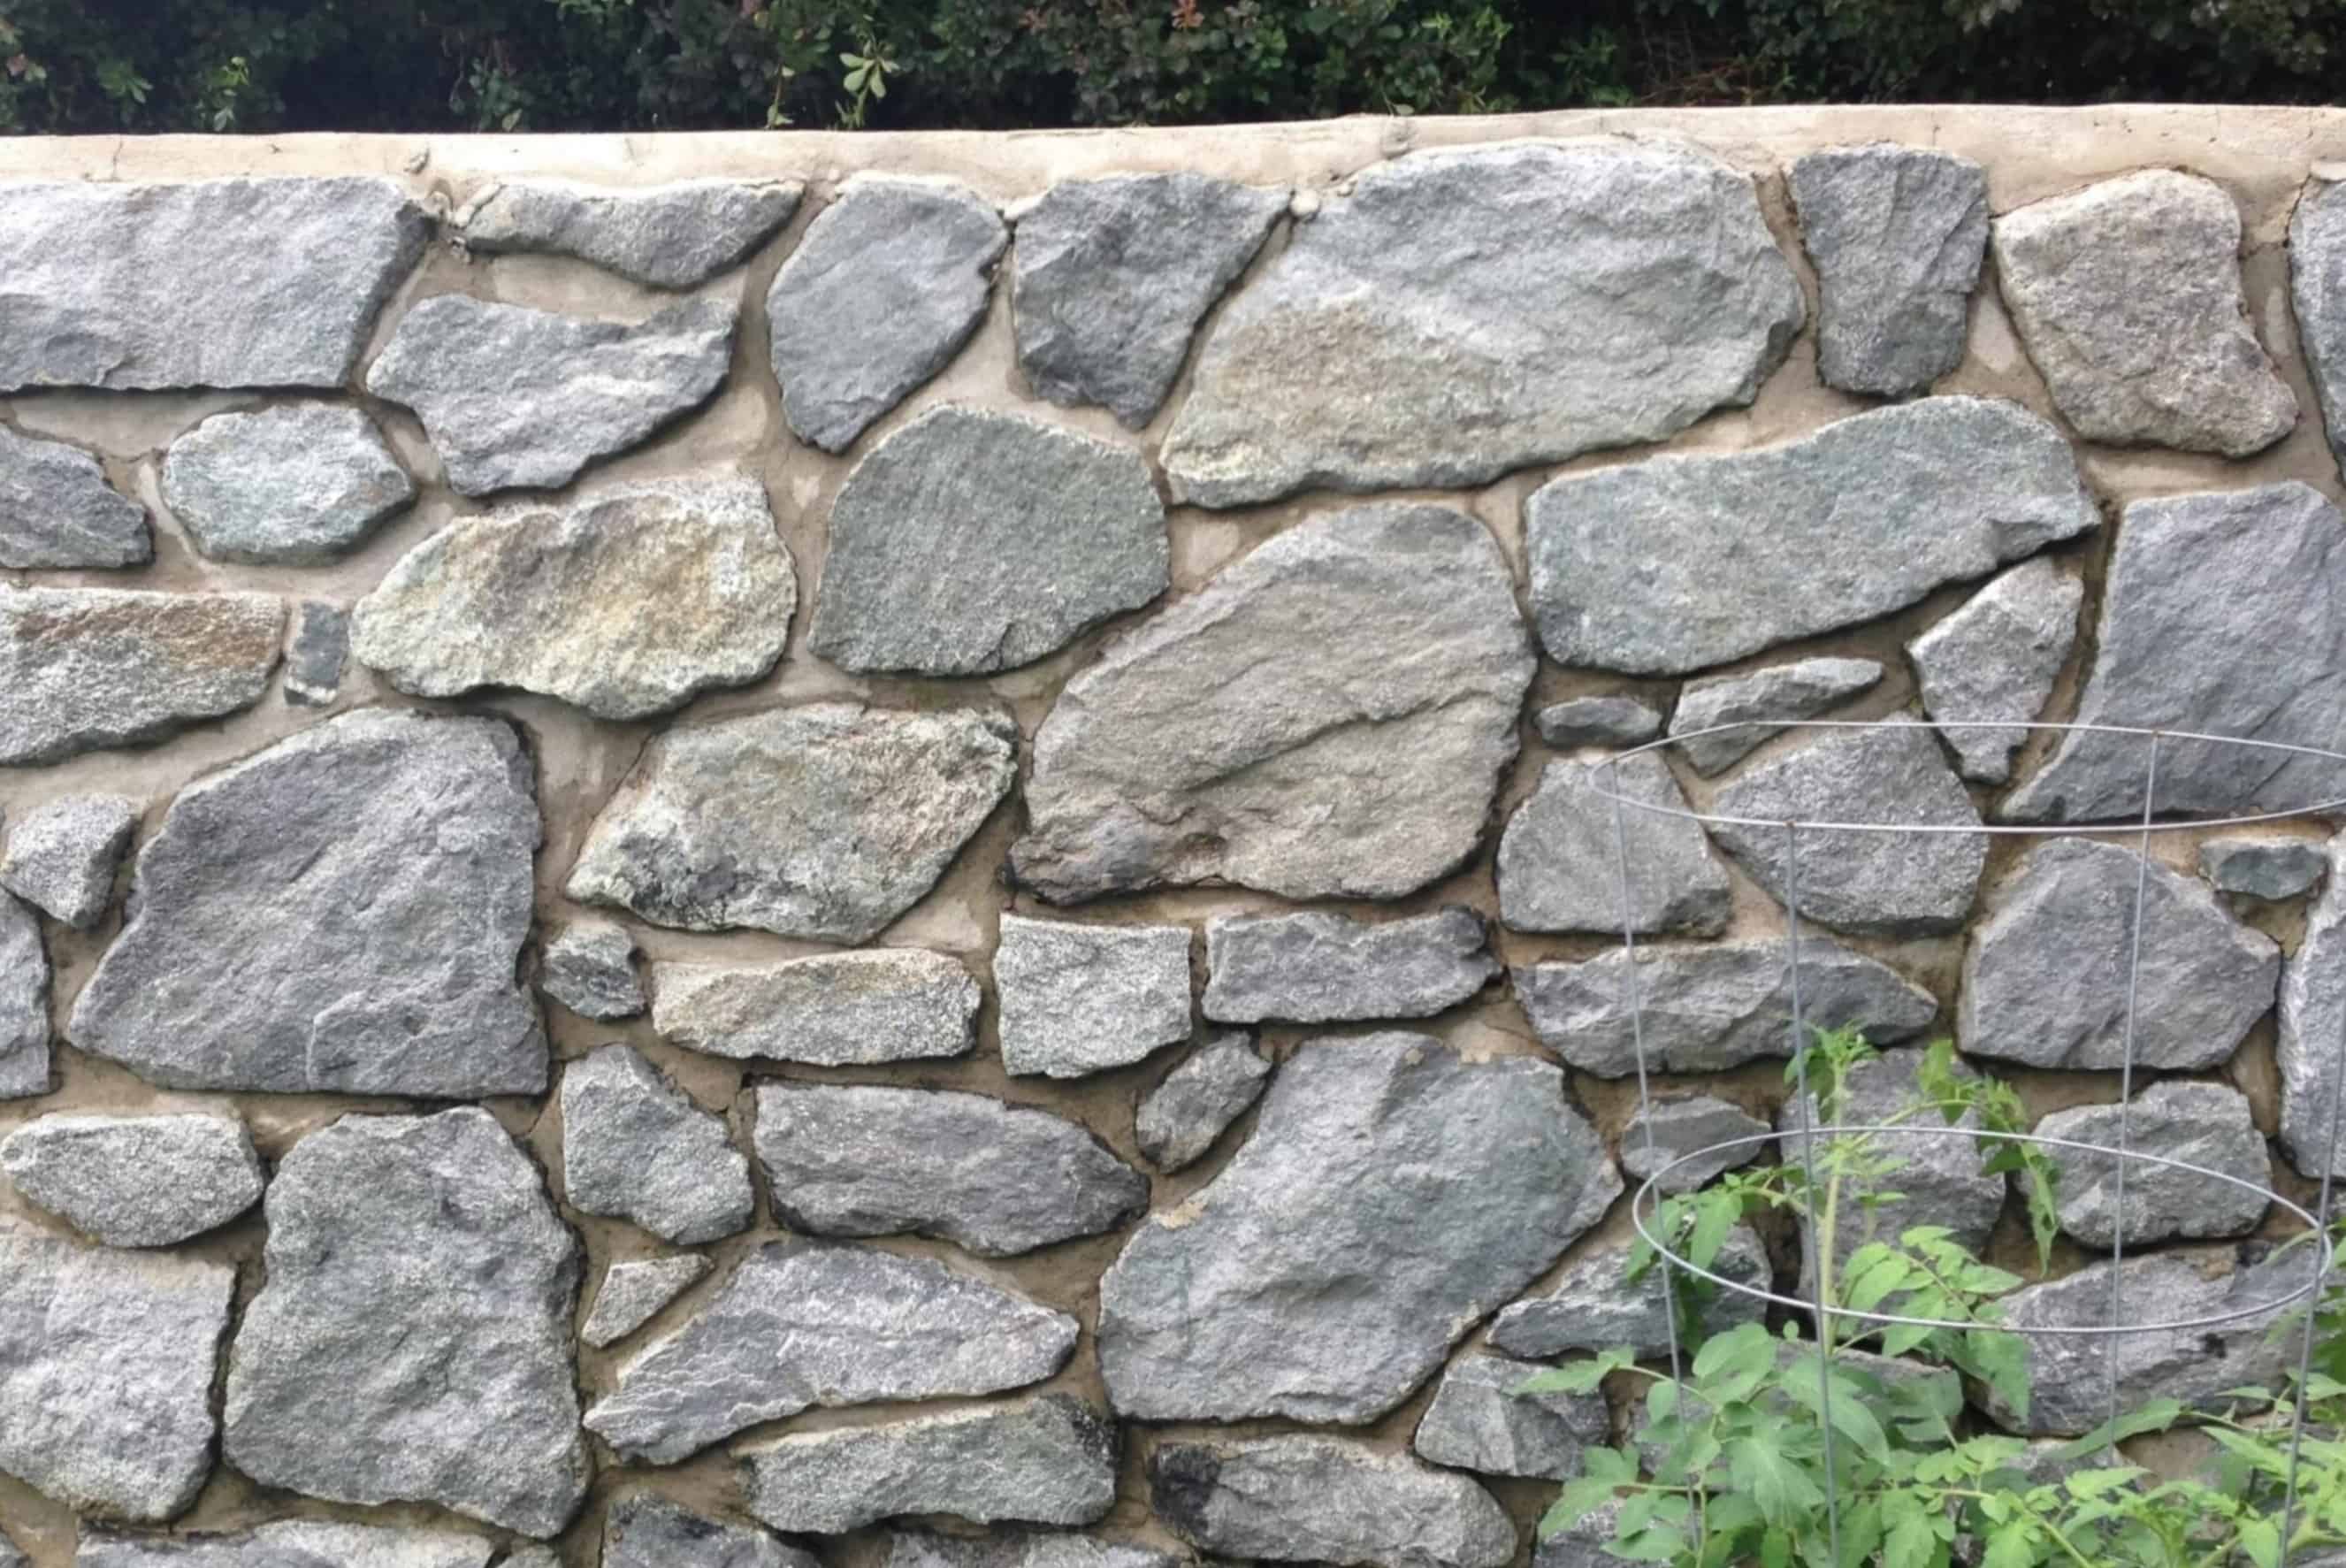
Welcome to the world of interior design and renovation, where the timeless allure of stone meets the innovative convenience of veneer panels. Stone veneer panels offer a stunning way to add texture, character, and a touch of rustic elegance to interior walls. Whether you're looking to enhance the aesthetic appeal of your living room, kitchen, or any other indoor space, installing stone veneer panels can transform a plain wall into a captivating focal point.
The beauty of stone veneer panels lies in their versatility. They come in a wide array of colors, textures, and patterns, allowing you to achieve the perfect look for your space. From sleek and modern to rugged and natural, there's a stone veneer panel style to suit every taste and interior design scheme.
In this comprehensive guide, we'll walk you through the step-by-step process of installing stone veneer panels on an interior wall. From preparing the wall surface to applying the adhesive, installing the panels, grouting the joints, and adding the finishing touches, we'll cover everything you need to know to complete this rewarding home improvement project.
By the end of this guide, you'll have the knowledge and confidence to embark on your own stone veneer panel installation, turning your interior walls into captivating works of art. So, roll up your sleeves, gather your tools, and let's dive into the fascinating world of stone veneer panel installation.
**
Key Takeaways:
- Transform your interior walls with stone veneer panels for a captivating focal point. Follow step-by-step installation and maintenance tips to achieve a stunning and enduring home improvement project.
- Elevate your living space with the timeless allure of stone veneer panels. From preparation to finishing touches, create a captivating and durable interior wall transformation with precision and care.
Read more: How To Cut Stone Veneer Panels
Materials and Tools Needed
**
Before embarking on your stone veneer panel installation project, it's essential to gather all the necessary materials and tools. Having everything on hand will streamline the installation process and ensure a smooth and successful outcome. Here's a comprehensive list of the materials and tools you'll need:
Materials:
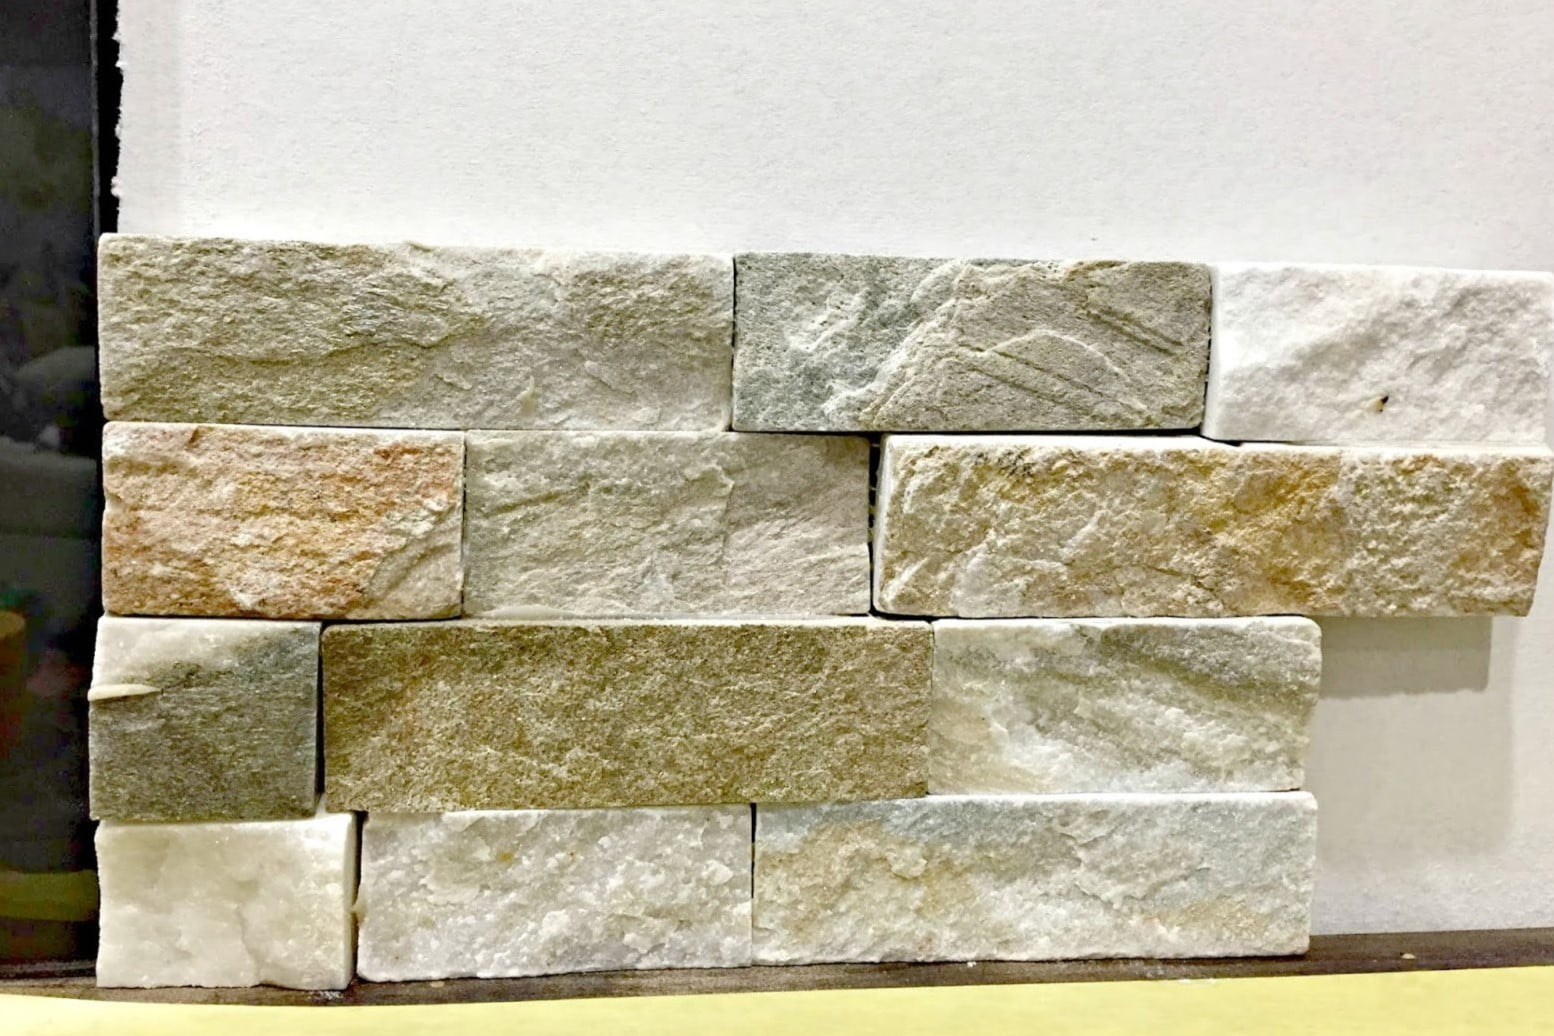
- Stone veneer panels: Choose the style, color, and quantity that best suits your design vision.
- Adhesive: Select a high-quality adhesive specifically formulated for stone veneer installation.
- Grout: Opt for a grout color that complements your chosen stone veneer panels.
- Primer: Use a primer designed for the specific surface material of your interior wall.
- Painter's tape: This will help protect adjacent surfaces and create clean edges.
- Sealer: A sealant will protect the stone veneer and grout from moisture and stains.
- Caulk: Choose a caulk color that matches or complements your grout color for a seamless finish.
- Backer board or cement board: This provides a stable surface for adhering the stone veneer panels.
- Screws: Use corrosion-resistant screws to secure the backer board to the wall.
- Fiberglass mesh tape: This reinforces the seams between backer board panels.
- Shims: These are handy for leveling the backer board and adjusting panel placement.
- Waterproof membrane: If installing in wet areas, a waterproof membrane is essential for moisture protection.
Tools:
- Measuring tape: Essential for accurately determining panel placement and dimensions.
- Level: Ensures that the panels are installed straight and plumb.
- Pencil: Use for marking guidelines and measurements on the wall and panels.
- Notched trowel: For applying adhesive to the backer board.
- Grout float: Used to apply and pack grout into the joints between panels.
- Tile spacers: These maintain consistent spacing between panels for a professional look.
- Utility knife: For cutting and trimming panels and backer board to fit.
- Bucket and sponge: Essential for cleaning excess grout and adhesive during installation.
- Paintbrush: Use for applying primer and sealant.
- Drill/driver: Needed for securing backer board to the wall with screws.
- Protective gear: Safety glasses, gloves, and a dust mask are essential for personal protection.
By ensuring that you have all the necessary materials and tools at the outset, you'll be well-prepared to tackle the installation process with confidence and efficiency.
**
Preparing the Wall Surface
**
Before diving into the installation of stone veneer panels, it's crucial to prepare the wall surface to ensure optimal adhesion and a professional, long-lasting result. Here's a step-by-step guide to prepping the wall for your stunning new stone veneer:
1. Assess the Wall: Start by carefully inspecting the wall where you plan to install the stone veneer panels. Ensure that the surface is structurally sound, free of moisture issues, and clean of any debris or loose material. Address any underlying issues before proceeding with the installation.
2. Apply Primer: Depending on the wall surface material, such as drywall or bare masonry, apply a suitable primer to promote strong adhesion. The primer will also help prevent moisture from compromising the installation.
3. Install Backer Board: For optimal support and stability, install a backer board or cement board over the prepared wall surface. Use corrosion-resistant screws to secure the backer board, ensuring it is level and securely attached.
4. Seal Joints and Corners: Use fiberglass mesh tape and a suitable joint compound to reinforce and seal the joints and corners of the backer board. This step is crucial for preventing movement and ensuring a solid foundation for the stone veneer panels.
5. Waterproofing (If Applicable): If installing the stone veneer panels in a wet area, such as a bathroom or kitchen backsplash, apply a waterproof membrane over the backer board. This extra layer of protection will safeguard against moisture infiltration and prolong the life of the installation.
By meticulously preparing the wall surface, you lay the groundwork for a successful and visually stunning stone veneer panel installation. Attention to detail and thoroughness during this phase will contribute to the longevity and durability of your interior wall transformation.
**
Applying the Adhesive
**
With the wall surface diligently prepared, the next critical step in the installation of stone veneer panels is the proper application of adhesive. The adhesive serves as the bond that secures the panels to the wall, so precision and care are essential. Here’s how to expertly apply the adhesive for a seamless and secure installation:
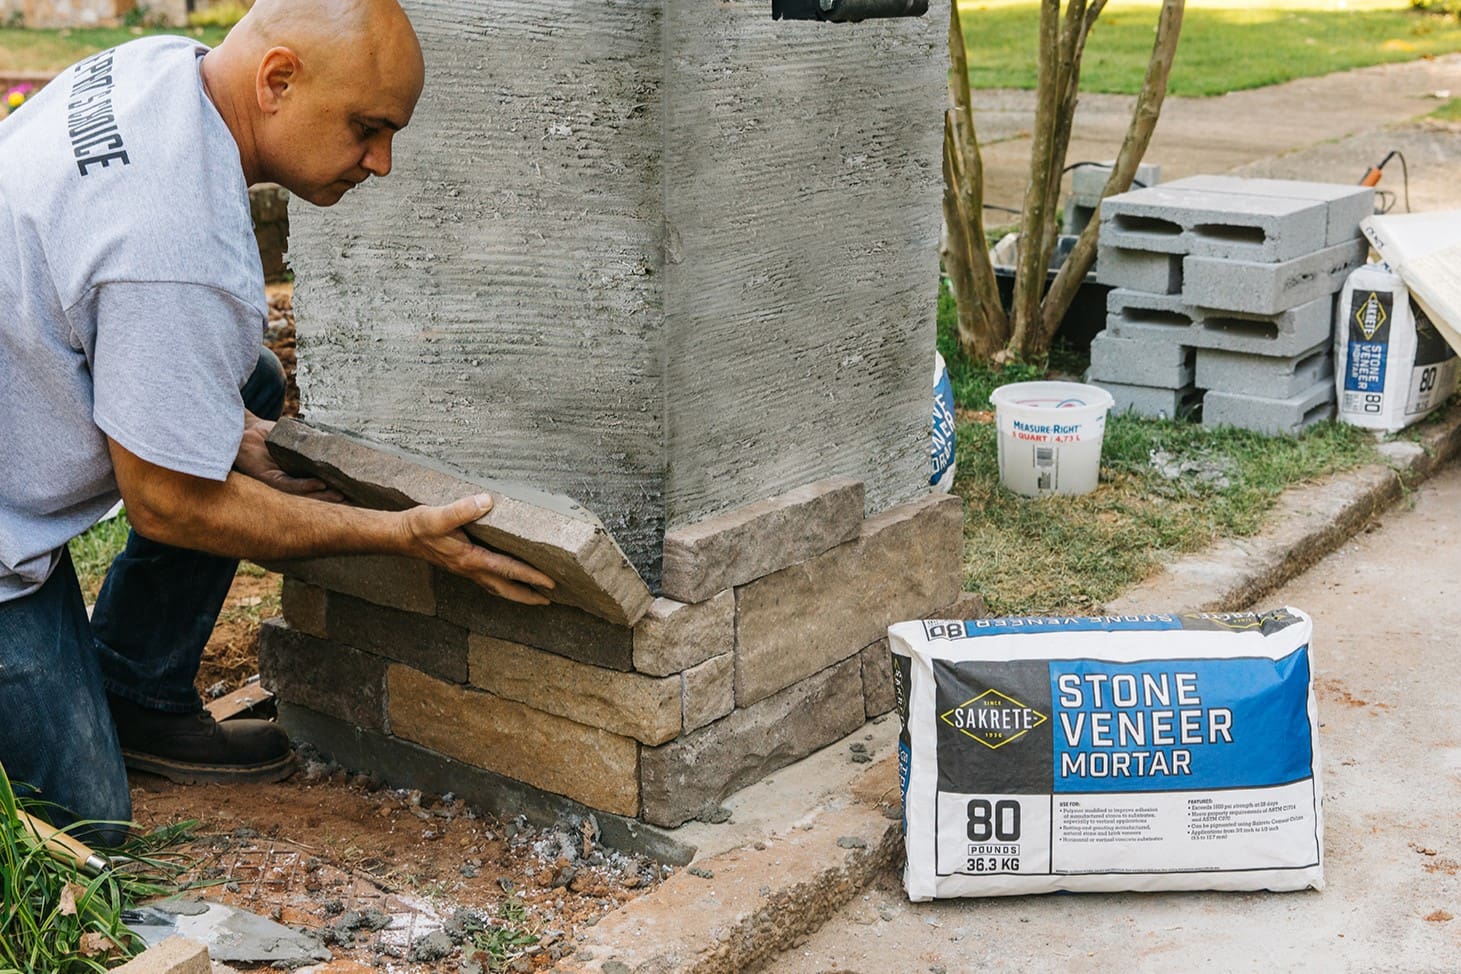
1. Select the Right Adhesive: Choose a high-quality adhesive specifically formulated for stone veneer installation. Ensure that the adhesive is suitable for both the type of stone veneer panels you’re using and the material of the backer board.
2. Mix the Adhesive: If using a mortar-based adhesive, follow the manufacturer’s instructions to mix it to the proper consistency. Consistency is key to achieving optimal adhesion and ensuring that the panels remain securely in place.
3. Apply the Adhesive: Use a notched trowel to evenly spread the adhesive over the backer board, creating a uniform layer with ridges. The ridges will help establish a strong bond between the panels and the wall surface.
4. Work in Sections: To prevent the adhesive from drying out before the panels are installed, work in manageable sections. Apply the adhesive to one section at a time, ensuring that the coverage is consistent and thorough.
5. Follow Panel Placement Guidelines: As you apply the adhesive, keep in mind the layout and placement of the stone veneer panels. Be mindful of any design patterns or specific panel arrangements, and ensure that the adhesive is applied to accommodate these elements.
6. Allow for Curing Time: Once the adhesive is applied, allow it to set for the recommended time specified by the manufacturer. This curing period is crucial for ensuring that the adhesive achieves its full strength and bond before panel installation begins.
By methodically applying the adhesive according to these guidelines, you set the stage for a successful and secure attachment of the stone veneer panels. Attention to detail during this phase will contribute to the overall quality and longevity of the installation.
**
Before installing stone veneer panels on an interior wall, make sure the surface is clean, dry, and free of any debris. This will ensure a strong bond and a professional finish.
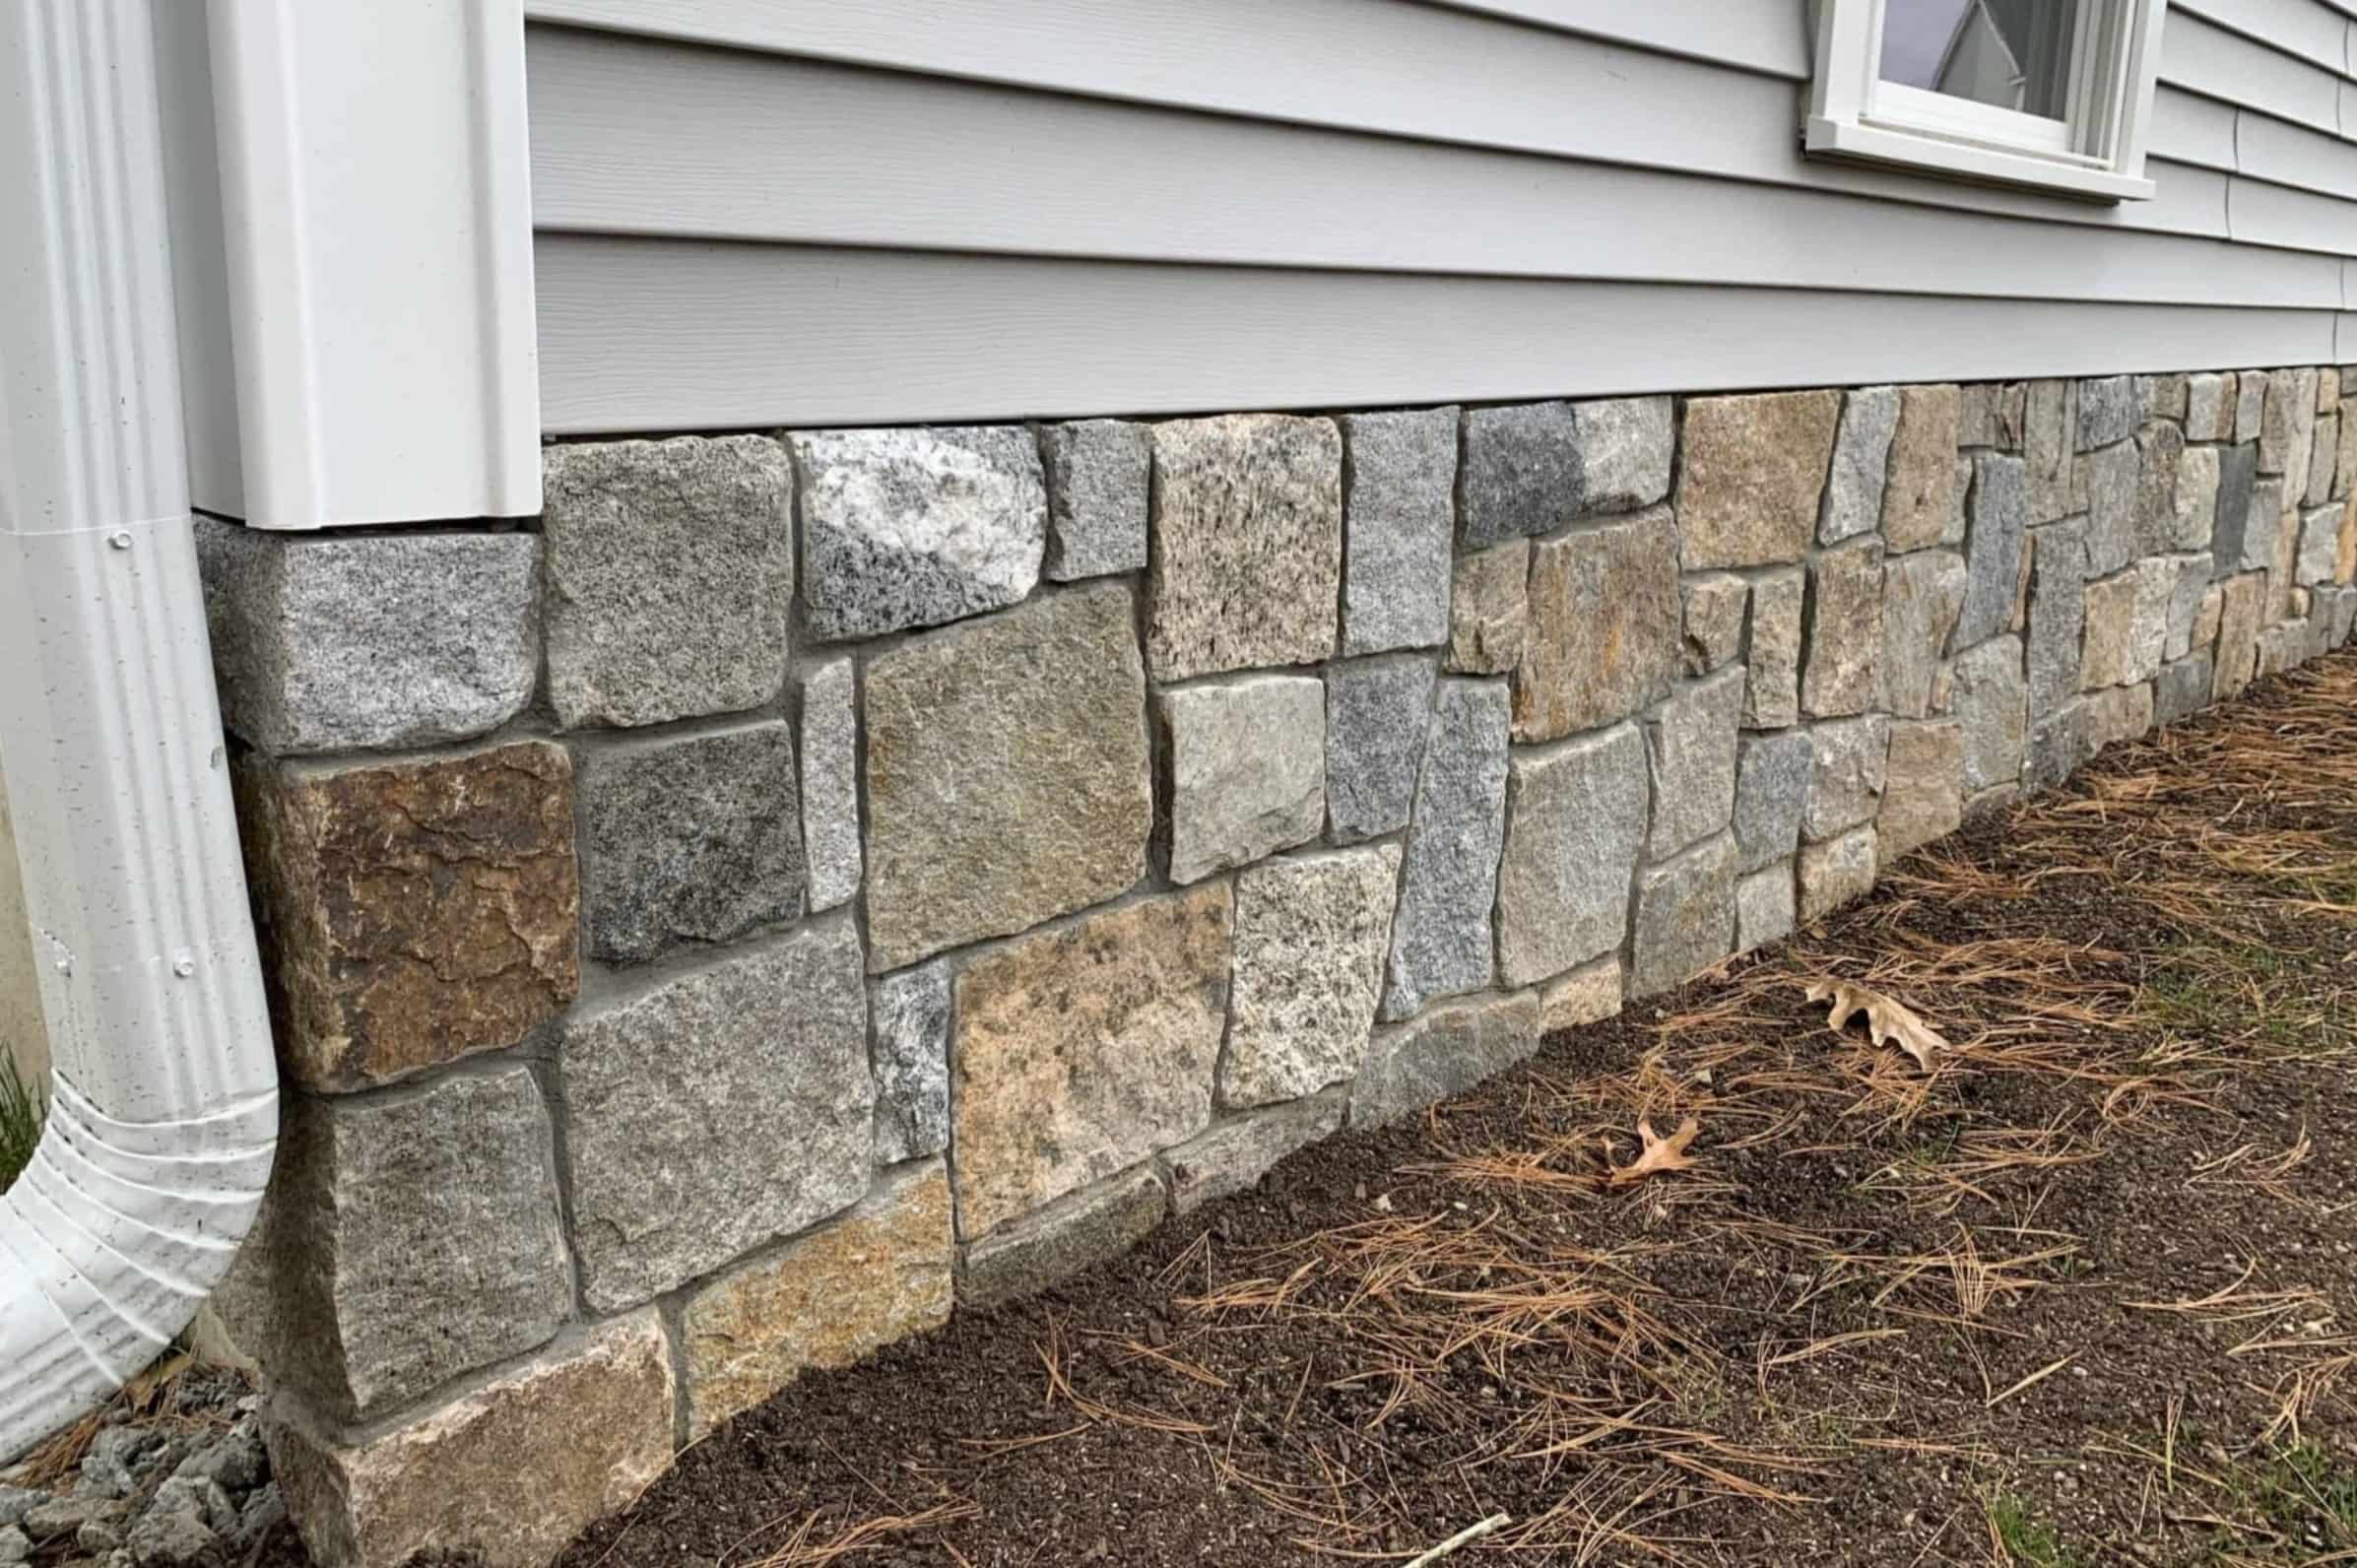
Installing the Stone Veneer Panels
**
With the wall surface prepared and the adhesive expertly applied, it’s time to embark on the exciting phase of installing the stone veneer panels. This transformative step will bring your vision to life as the captivating textures and colors of the panels take their place on the interior wall. Here’s a comprehensive guide to executing this pivotal phase with precision and finesse:
1. Plan the Layout: Before affixing the panels, carefully plan the layout to ensure a harmonious and balanced arrangement. Consider the overall design, any specific patterns or variations in the panels, and the desired visual impact.
2. Start at the Bottom: Begin the installation at the bottom of the wall, working your way upward. This approach allows for better weight distribution and minimizes the risk of panels slipping or shifting during installation.
3. Press and Set the Panels: Press each stone veneer panel firmly into the adhesive, ensuring a secure bond with the wall surface. Use a slight twisting motion as you set the panels to help the adhesive achieve maximum contact and grip.
4. Maintain Consistent Spacing: Use tile spacers to maintain consistent spacing between the panels. This attention to detail will ensure a professional and polished look, with uniform joints and a visually pleasing arrangement.
5. Trim and Cut as Needed: As you progress with the installation, you may need to trim or cut panels to fit specific areas or accommodate corners and edges. Use a utility knife or a suitable cutting tool to achieve precise and clean cuts.
6. Check for Level and Plumb: Periodically use a level to ensure that the panels are installed straight and plumb. This step is crucial for maintaining a visually appealing and structurally sound installation.
7. Address Design Details: Pay attention to any design details, such as corner pieces or accent elements, and integrate them seamlessly into the installation. These details contribute to the overall cohesiveness and aesthetic impact of the finished project.
By following these guidelines and approaching the installation with meticulous attention to detail, you’ll bring the beauty and character of the stone veneer panels to life on your interior wall. Each panel placed with care and precision adds to the visual impact and enduring charm of the installation.
**
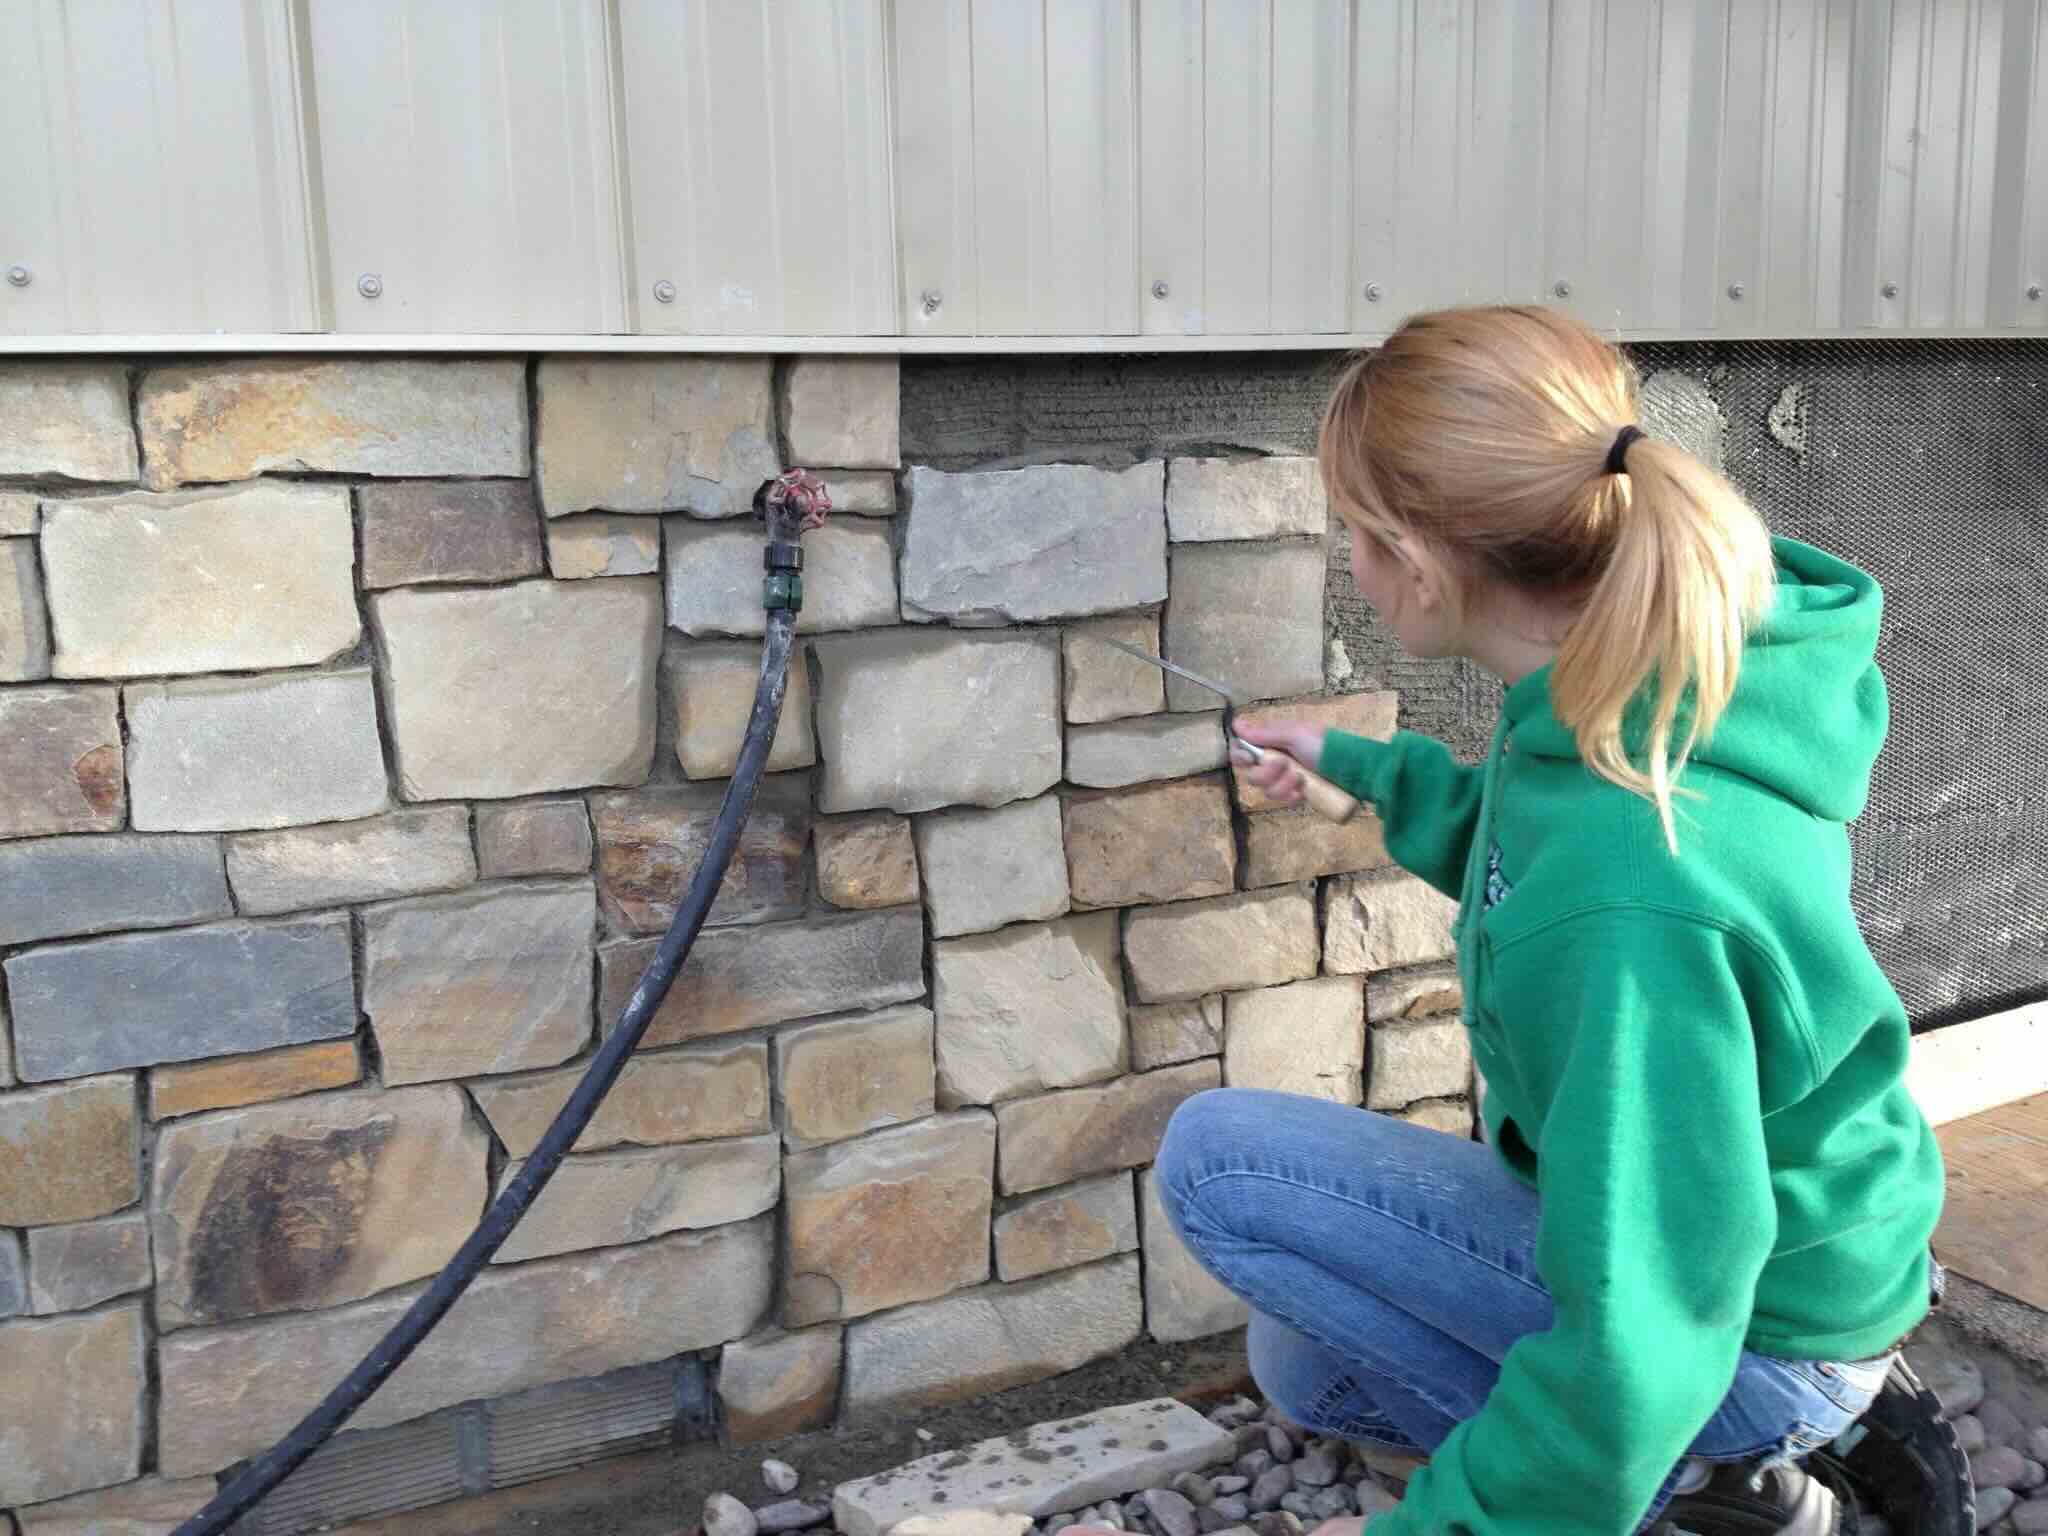
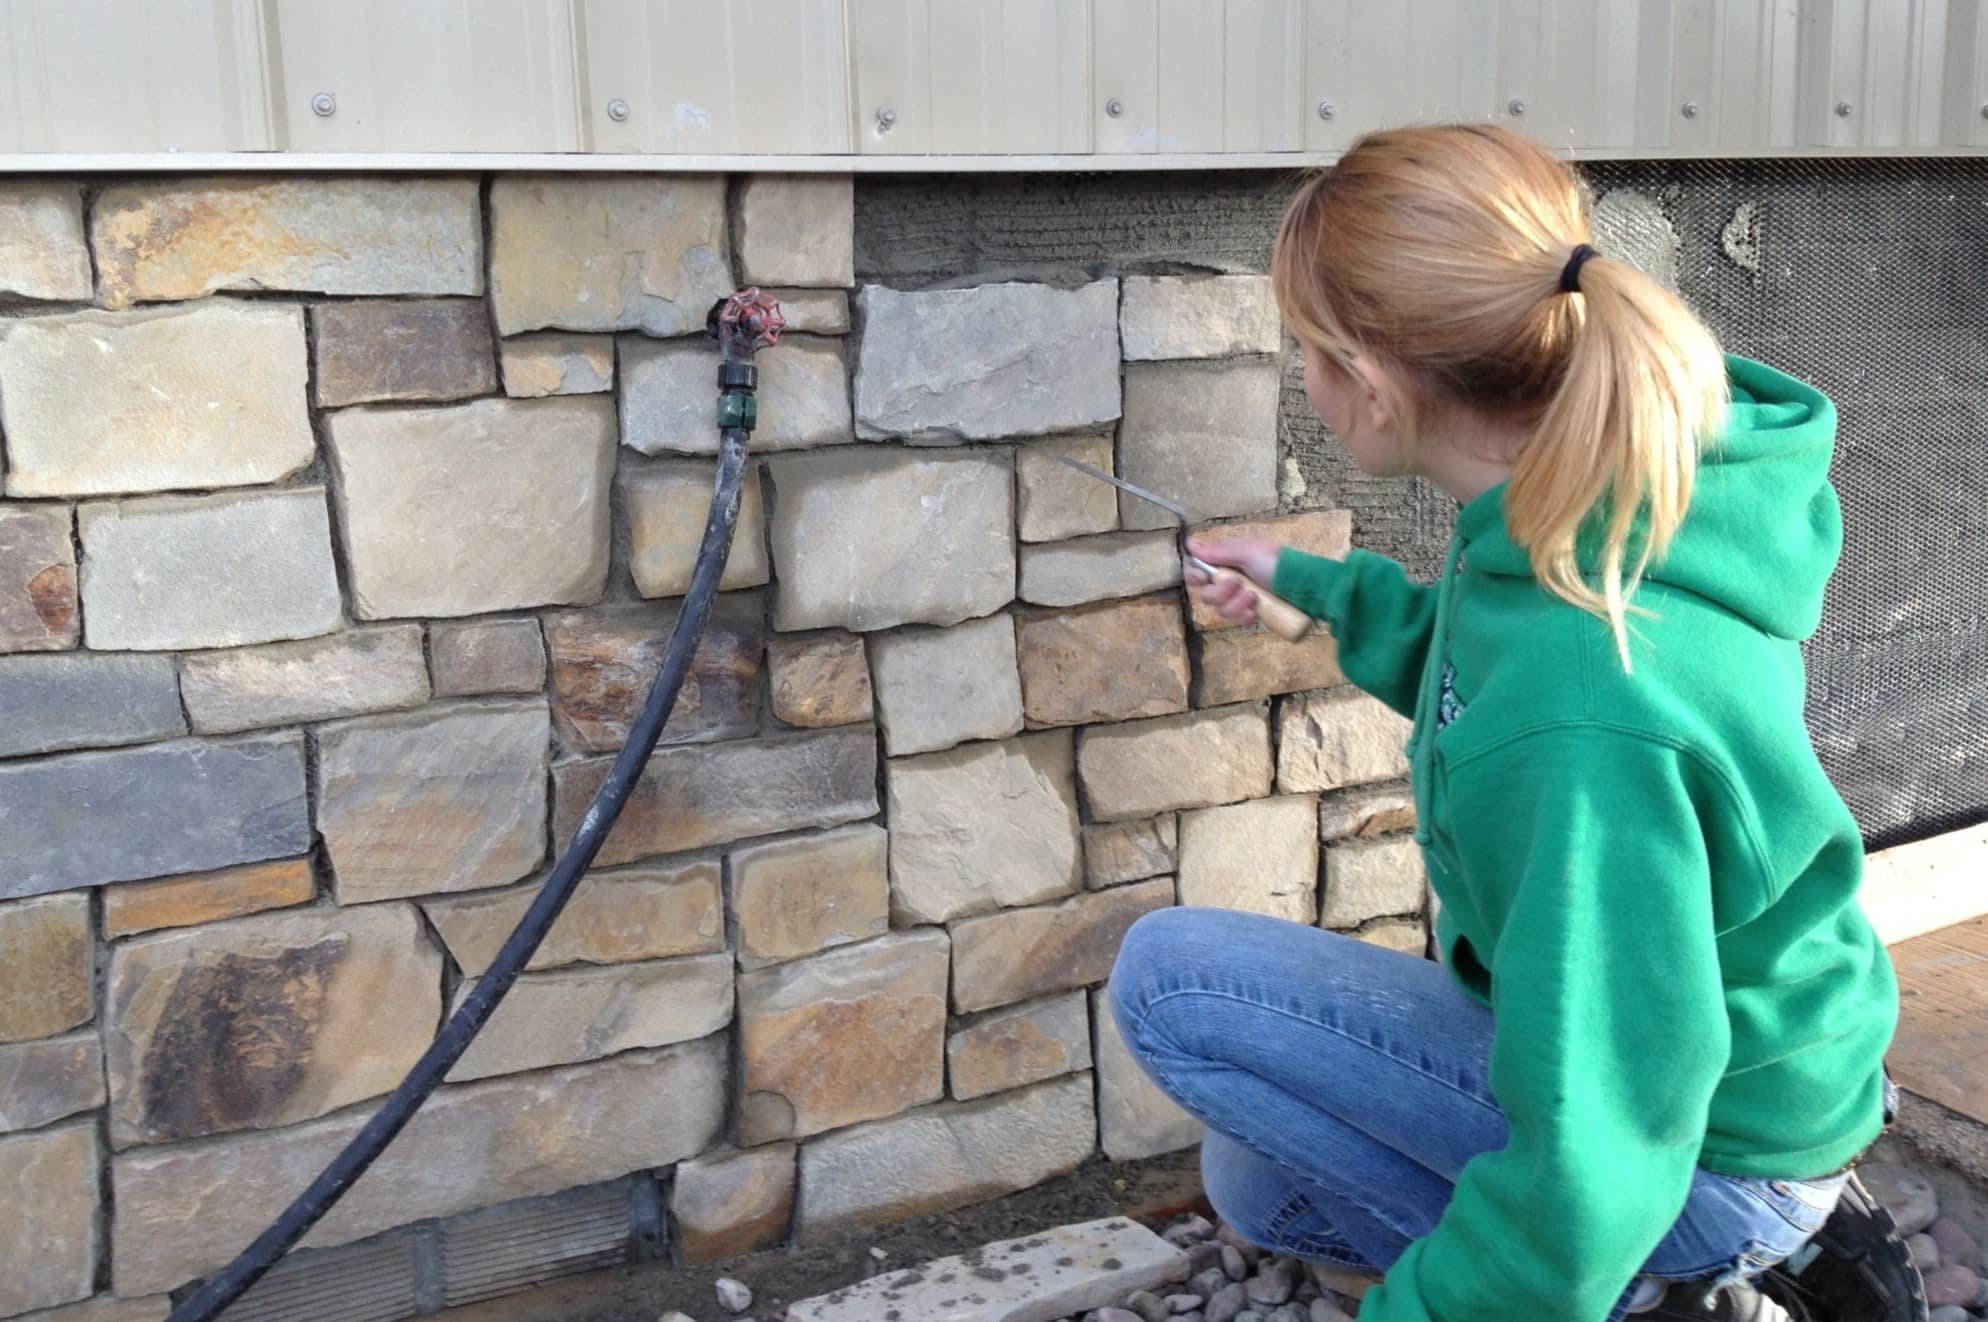
Grouting the Joints
**
As the stone veneer panels take their place on the wall, the next crucial step in the installation process is grouting the joints. Grout serves as the finishing touch that not only enhances the visual appeal of the installation but also contributes to its structural integrity. Here’s a comprehensive guide to grouting the joints with finesse and precision:
1. Select the Right Grout: Choose a grout color that complements the stone veneer panels and enhances the overall aesthetic. Consider whether a sanded or unsanded grout is best suited for the size and spacing of the joints.
2. Mix the Grout: Follow the manufacturer’s instructions to mix the grout to the desired consistency. Consistency is key to achieving smooth application and a professional finish.
3. Apply the Grout: Use a grout float to pack the grout into the joints between the stone veneer panels. Work the grout into the joints at a 45-degree angle to ensure thorough coverage and eliminate air pockets.
4. Clean Excess Grout: After filling the joints, use a damp sponge to gently wipe away excess grout from the surface of the panels. Rinse the sponge frequently to achieve clean and uniform grout lines without smearing excess grout onto the panels.
5. Shape and Finish the Joints: Once the initial cleaning is complete, use the grout float or a shaping tool to refine the shape and depth of the grout lines. This step contributes to the overall polished appearance of the installation.
6. Allow for Curing Time: After grouting, allow the grout to cure for the recommended time specified by the manufacturer. This curing period is essential for the grout to achieve its full strength and stability.
7. Apply Sealant (Optional): Depending on the type of grout used and the desired level of protection, consider applying a suitable sealant to the grout lines. This additional step can enhance the durability and stain resistance of the grout.
By approaching the grouting process with care and attention to detail, you’ll elevate the visual impact and structural integrity of the stone veneer panel installation. Each meticulously grouted joint contributes to the overall cohesiveness and enduring appeal of the finished project.
**
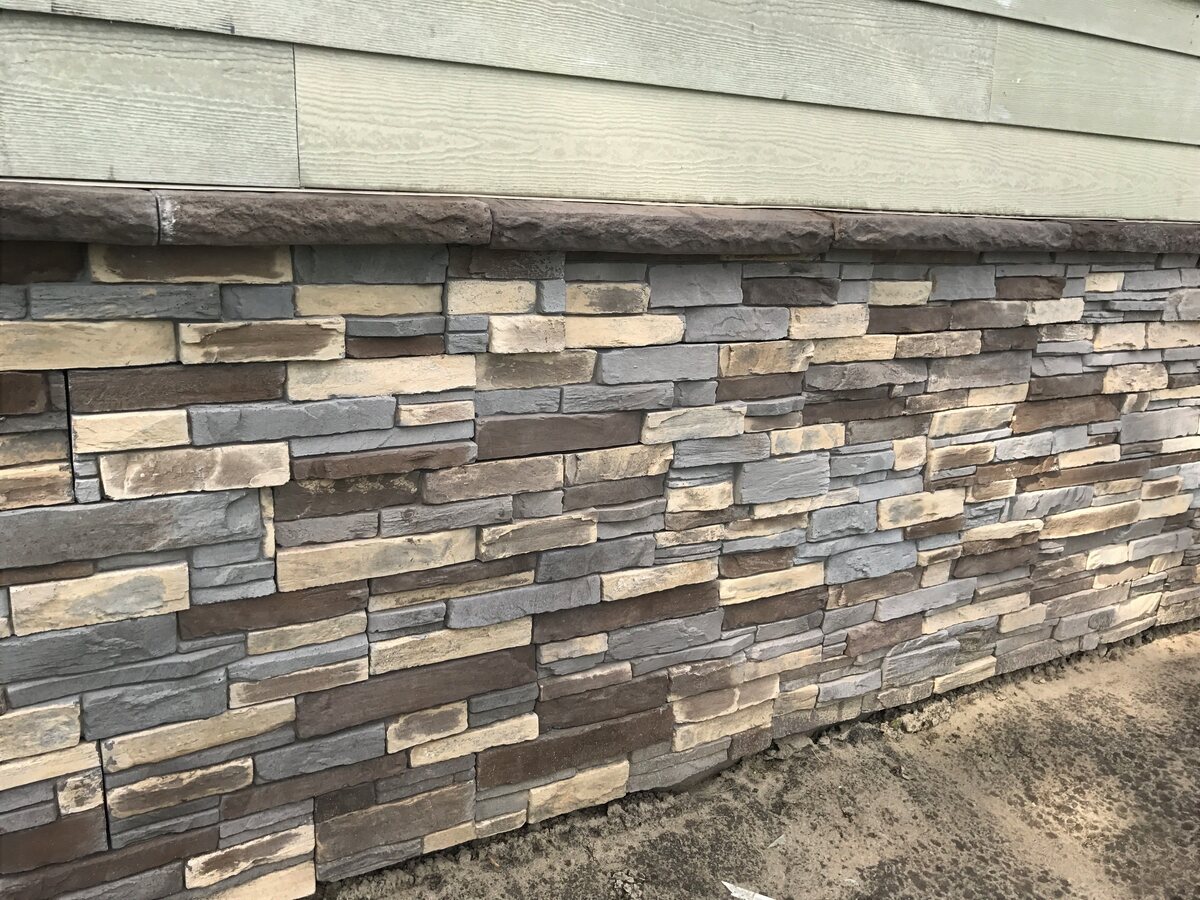
Finishing Touches and Maintenance
**
As the stone veneer panels grace your interior wall, the completion of the installation marks the beginning of a new chapter in the life of your living space. To ensure the lasting beauty and integrity of the installation, attention to finishing touches and ongoing maintenance is essential. Here’s a guide to adding the final flourishes and maintaining the allure of your stone veneer panels:
1. Apply Caulk: Seal the edges and corners of the installation with a suitable caulk that matches or complements the grout color. This step creates a seamless and polished finish, while also providing additional protection against moisture infiltration.
2. Clean and Seal: Once the grout and caulk have cured, thoroughly clean the surface of the stone veneer panels and grout lines. Use a gentle cleaner suitable for the specific type of stone veneer, and follow up with the application of a suitable sealant to protect the panels and grout from stains and moisture.
3. Inspect and Maintain: Regularly inspect the stone veneer installation for any signs of damage, loose panels, or grout deterioration. Address any issues promptly to prevent further damage and maintain the structural integrity of the installation.
4. Protect Against Impact: Be mindful of the vulnerability of the stone veneer panels to impact and abrasion. Take precautions to prevent heavy or sharp objects from coming into contact with the panels, and use protective measures when moving furniture or other items near the installation.
5. Preserve the Aesthetic: To preserve the visual appeal of the stone veneer panels, avoid using harsh chemicals or abrasive cleaners that can damage the surface. Opt for gentle cleaning solutions and methods to maintain the natural beauty of the panels.
6. Embrace the Timeless Charm: As the stone veneer panels age, they develop a timeless patina and character that adds to their allure. Embrace the evolving beauty of the installation, and appreciate the enduring charm of natural stone in your living space.
By attending to these finishing touches and embracing a proactive approach to maintenance, you’ll ensure that your stone veneer panel installation remains a captivating focal point in your home for years to come. The care and attention invested in the finishing touches and ongoing maintenance will preserve the beauty and integrity of your interior wall transformation.
Frequently Asked Questions about How To Install Stone Veneer Panels On Interior Wall
Was this page helpful?
At Storables.com, we guarantee accurate and reliable information. Our content, validated by Expert Board Contributors, is crafted following stringent Editorial Policies. We're committed to providing you with well-researched, expert-backed insights for all your informational needs.

0 thoughts on “How To Install Stone Veneer Panels On Interior Wall”