Home>Storage Ideas>How To Install Hardwood Floors Without Hiring Anyone?
Storage Ideas
How To Install Hardwood Floors Without Hiring Anyone?
Modified: January 19, 2024
Simple tips to install hardwood floors without going broke! Attractive hardwood boards & the right tools are all that you need, its SUPER EASY!
(Many of the links in this article redirect to a specific reviewed product. Your purchase of these products through affiliate links helps to generate commission for Storables.com, at no extra cost. Learn more)
Are your wooden floors looking old and tarnished? Do they make squeaking noises every time you walk over them? Perhaps it’s time to renovate your floors to make your room look bright and new again.
You don’t need a professional to install your hardwood floors for you. It is quite easy to do the installation yourself. All you need is the hardwood material of your choice and the correct tools.
So if you want to save both time and money, take a look at how you can install hardwood floors in DIY way.
Why Are Hardwood Floors Important?
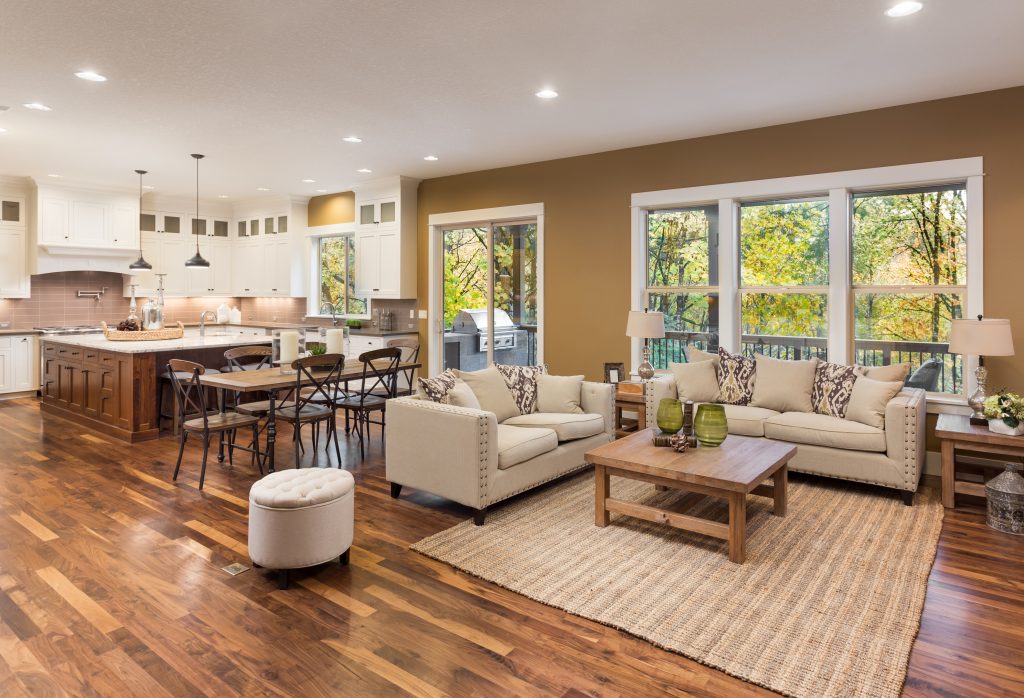
Hardwood flooring is timeless so you’re able to use the application in any contemporary home. Having natural hardwood flooring gives your home an ambient feel that’s both warm and elegant.
The beauty of hardwood floors is that they’re robust and will only need to be refurbished every 15 to 20 years. If you refinish your hardwood floors, you can give them a completely new look by selecting a different color finish.
Hardwood floors are quite versatile because you can combine them with any type of material to bring out the aesthetics of a room. Glass dome roofs look stunning with hardwood flooring as well as cast-iron fixtures.
Read more: How To Install Hardwood Floors
Step By Step DIY Procedure On How To Install Hardwood Floors
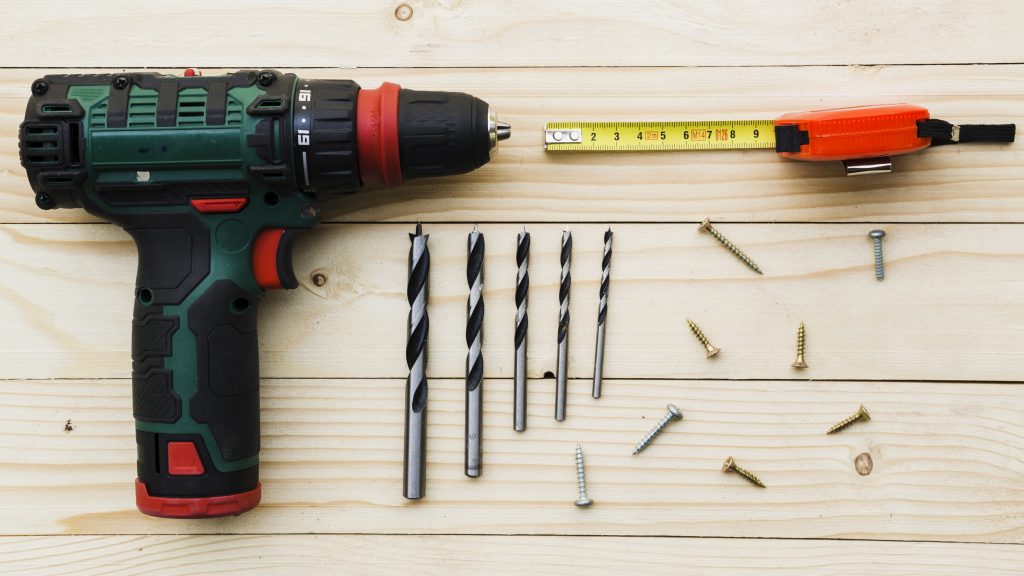
Photo by Freepik
Tools You’ll Need:
–Nail set
–Safety goggles
–Staple gun
–Drill bits
–Tape measure
–Speed drill
–Chop Saw
Materials You’ll Need:
–Pneumatic flooring package
–Engineered hardwood
–Wood putty
–Vapor barrier paper
–Modular porch system kit
Read more: How To Clean A Hardwood Floor
Select the Hardwood You Want
Before you can start the installation, find the engineered hardwood that has the correct dimensions, colors, and finishes you want. Then you can get to work on your installation. Ensure you order extra boards in case you cut some hardwood pieces incorrectly or you need extra pieces to fill in gaps.
The Process
Step 1
Measure the dimensions of your room and multiply your findings to get the square footage of your space.
Step 2
You need to have a foundation of subflooring. The minimum requirement is 3/4″ of plywood for the base.
Read more: How To Refinish A Hardwood Floor
Step 3
Use strips of vapor paper and allow 4″ of overlap & staple them to the plywood. Use a pencil to make markings along the plywood where the floor joists are located.
Step 4
Start installing your boards along the longest wall of the room. Remove any shoe molding and take out the 3/8″ line from the baseboard. This allows enough space for the hardwood to expand in hot climates and contract when it’s cold.
Step 5
Select a longboard to start your row and drill pilot holes down the plank and into the plywood base & joists. Face-nail each board by the joists and secure the nails with a set.
Step 6
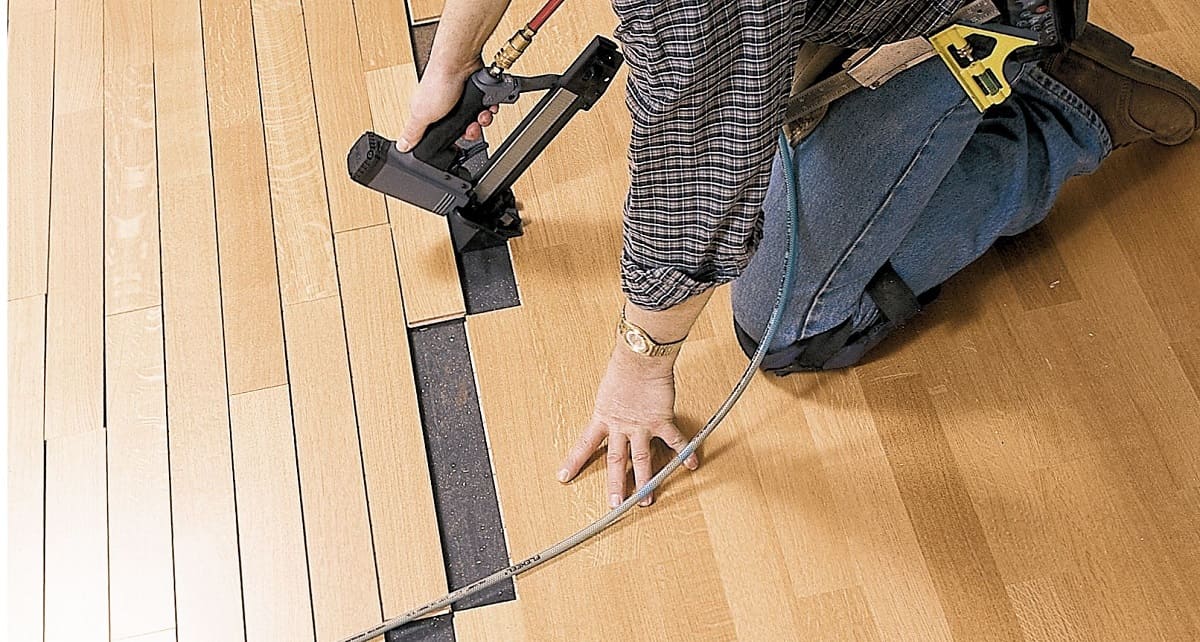
After you’ve installed a few rows drill pilot holes down the tongue of each board. Hand-nail the rolls so there’s enough space to use the nail gun.
Read more: How To Install Hardwood Floors
Step 7
Place the tip of the nail gun over the edge of the open board and hit firmly with your mallet. This will ensure the nail gun is firmly over the board and it will drive the nail securely into the application.
Step 8
When placing your rows of wood together remember that one end has a tongue and the other has a groove. This is called an end match. Don’t cut off these ends as they need to fit together when you’re placing your rows.
Step 9
As you near the opposite wall it’s going to be difficult to use your nail gun to secure the boards into place. Simply drill pilot holes and hand-nail the boards until there’s no more clearance to use the drill & hammer.
Step 10
When you come to the end and you’ve placed your last board ensure there is a 3/8″ space between the wall & the board. This ensures there’s enough space for when the wood expands and contracts during hot & cold weather.
Read more: How To Fill Hardwood Floor Gaps
Step 11
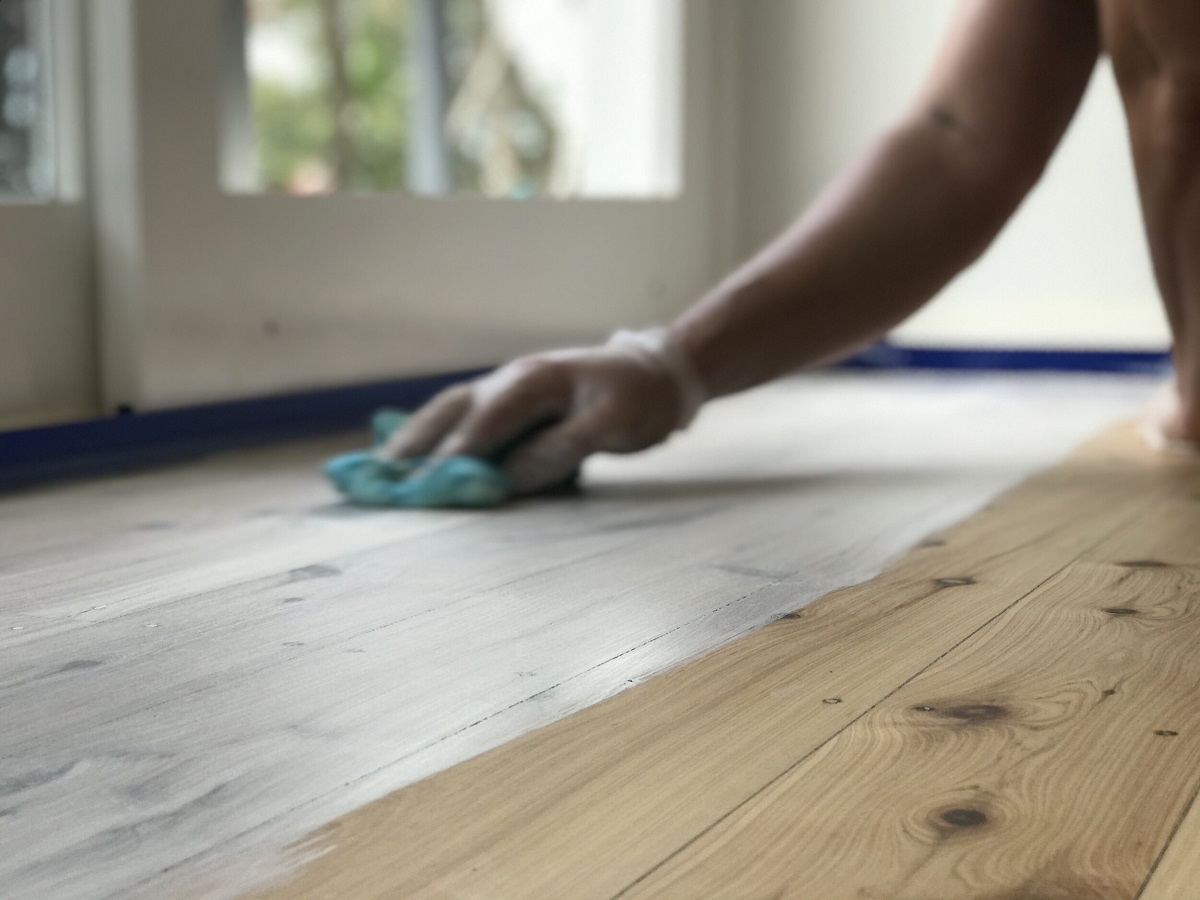
Finally, fill any holes and cover face-nails with wood putty. Use wood putty that matches the color of your hardwood floors. Wipe any access putty off the areas you filled and then polish your floors.
Benefits Of Hardwood Flooring
Easy Maintenance
Hardwood floors are quite easy to clean and they’re more hygienic than carpets as they don’t accumulate a lot of dust. To maintain your hardwood floors simply sweep them regularly, mop them using wood friendly detergents and keep them dry.
You can also use proper sealants on your wooden floors to reduce staining. Be sure to use sealants that are designed for hardwood flooring.
Strength And Durability
Premium quality hardwood floors that have been kiln dried and finished to specific standards will last for many years. Hardwood floors are able to withstand heavy foot traffic because they’re extremely robust and won’t chip, crack or tarnish over time.
Read more: How To Mop Hardwood Floors With Vinegar
Cost-Effectiveness
Hardwood floors are easy to maintain and highly durable which makes them cost-effective because they won’t require frequent refurbishing.
Variety of Designs
Hardwood floors come in a variety of colors, appearances, and finishes. If you want to apply your own finish, opt for unfinished hardwood floors so you can apply your own stains. But, if you want to save on time, you can select from a variety of pre-finished boards.
How Does Hardwood Flooring Accentuate A Room?
A Polished Look
If you have contemporary furniture and wall colors you won’t want wood that has a rustic appearance. To keep the flow of your interior designs opt for polished hardwood floors because they set the tone of any room.
The most popular hardwood to use in contemporary homes is red oak. Natural red oak hardwood comes in many different colors ranging from light honey tones to rich red hues.
The tone of your hardwood also plays an important role in how airy or cozy you want your room to be. So should you select dark or light colors to accentuate your home?
Let’s take a look at how light and dark wood flooring can change a room’s appearance.
Dark Wood
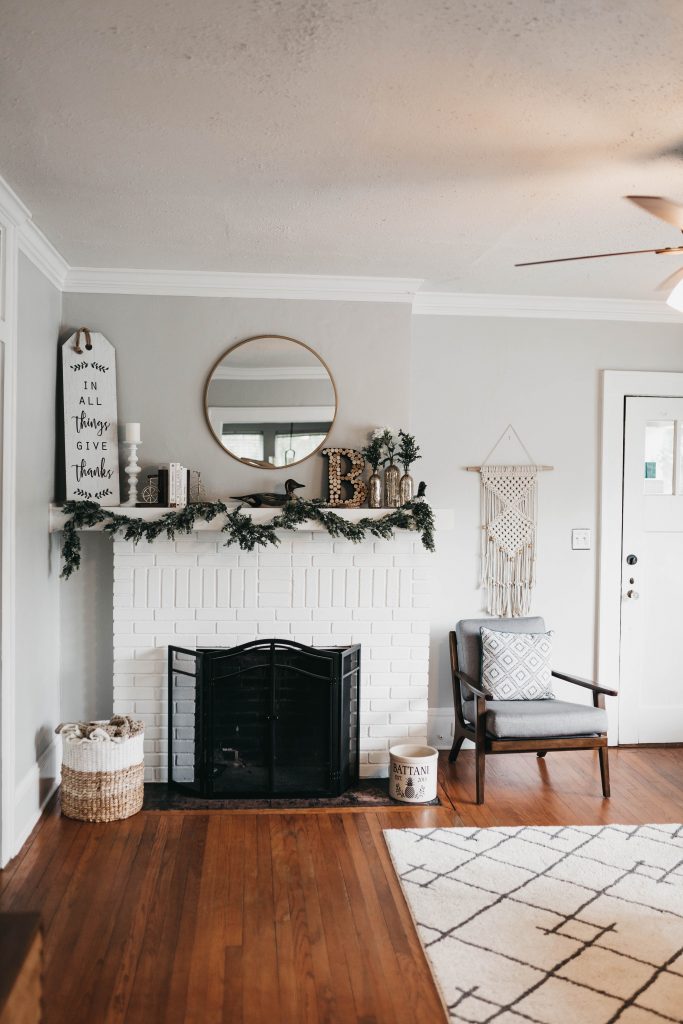
Photo by Camylla Battani on Unsplash
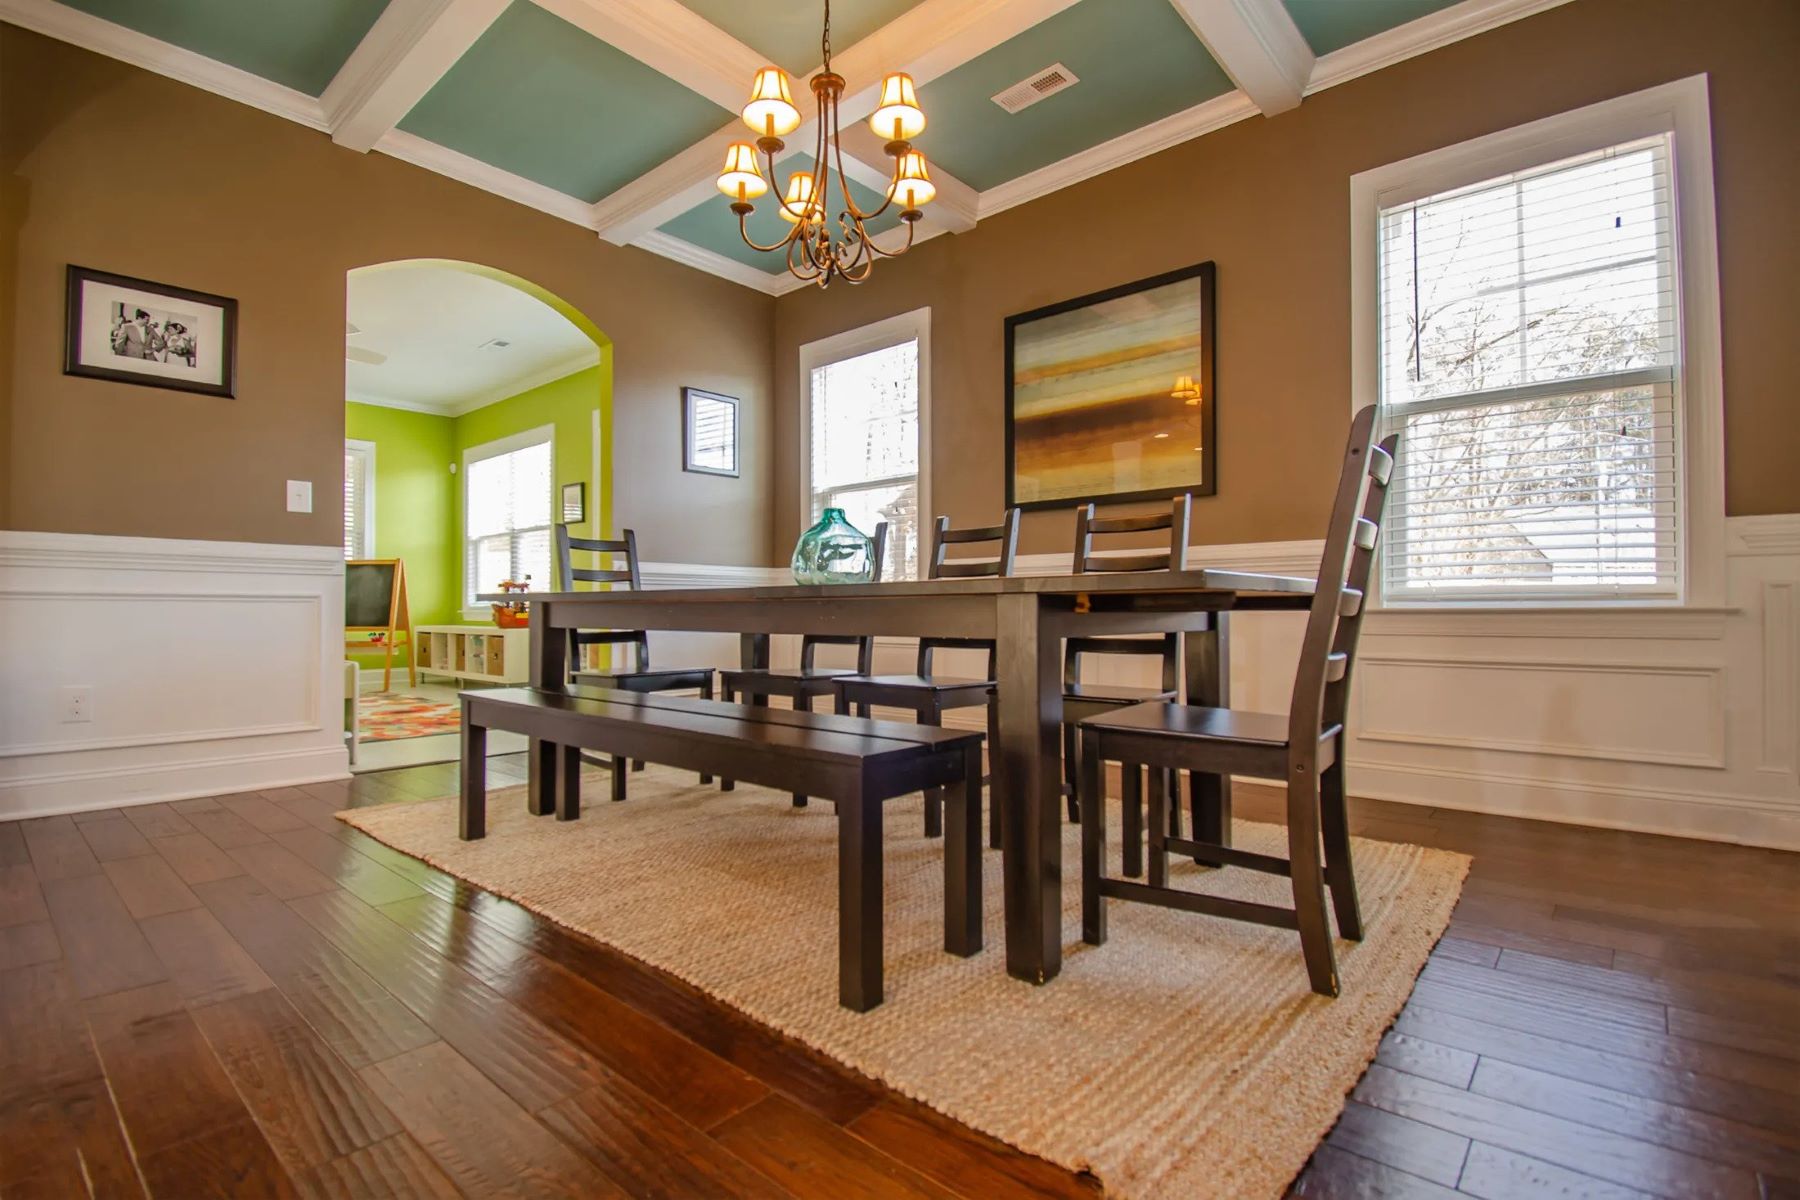
If you live in cooler climates you might want to select darker tones for your house. Dark hardwood floors paired with ambient pendant lights create a warm environment. Paint your walls a lighter color and opt for natural toned furniture to construct a beautiful contrast with the light & dark materials.
Light Wood
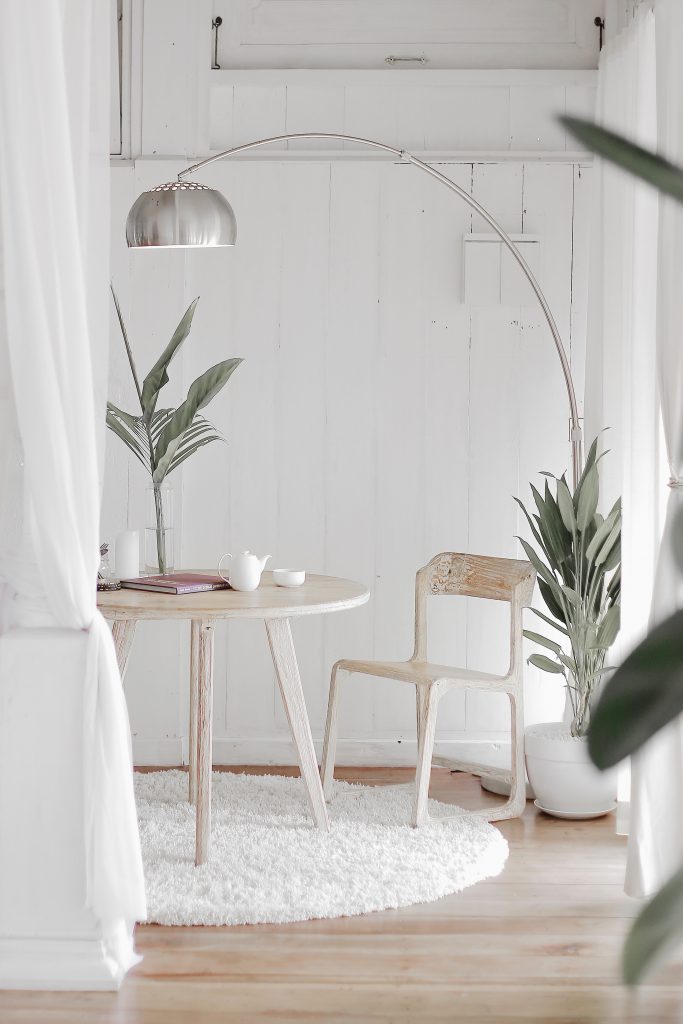
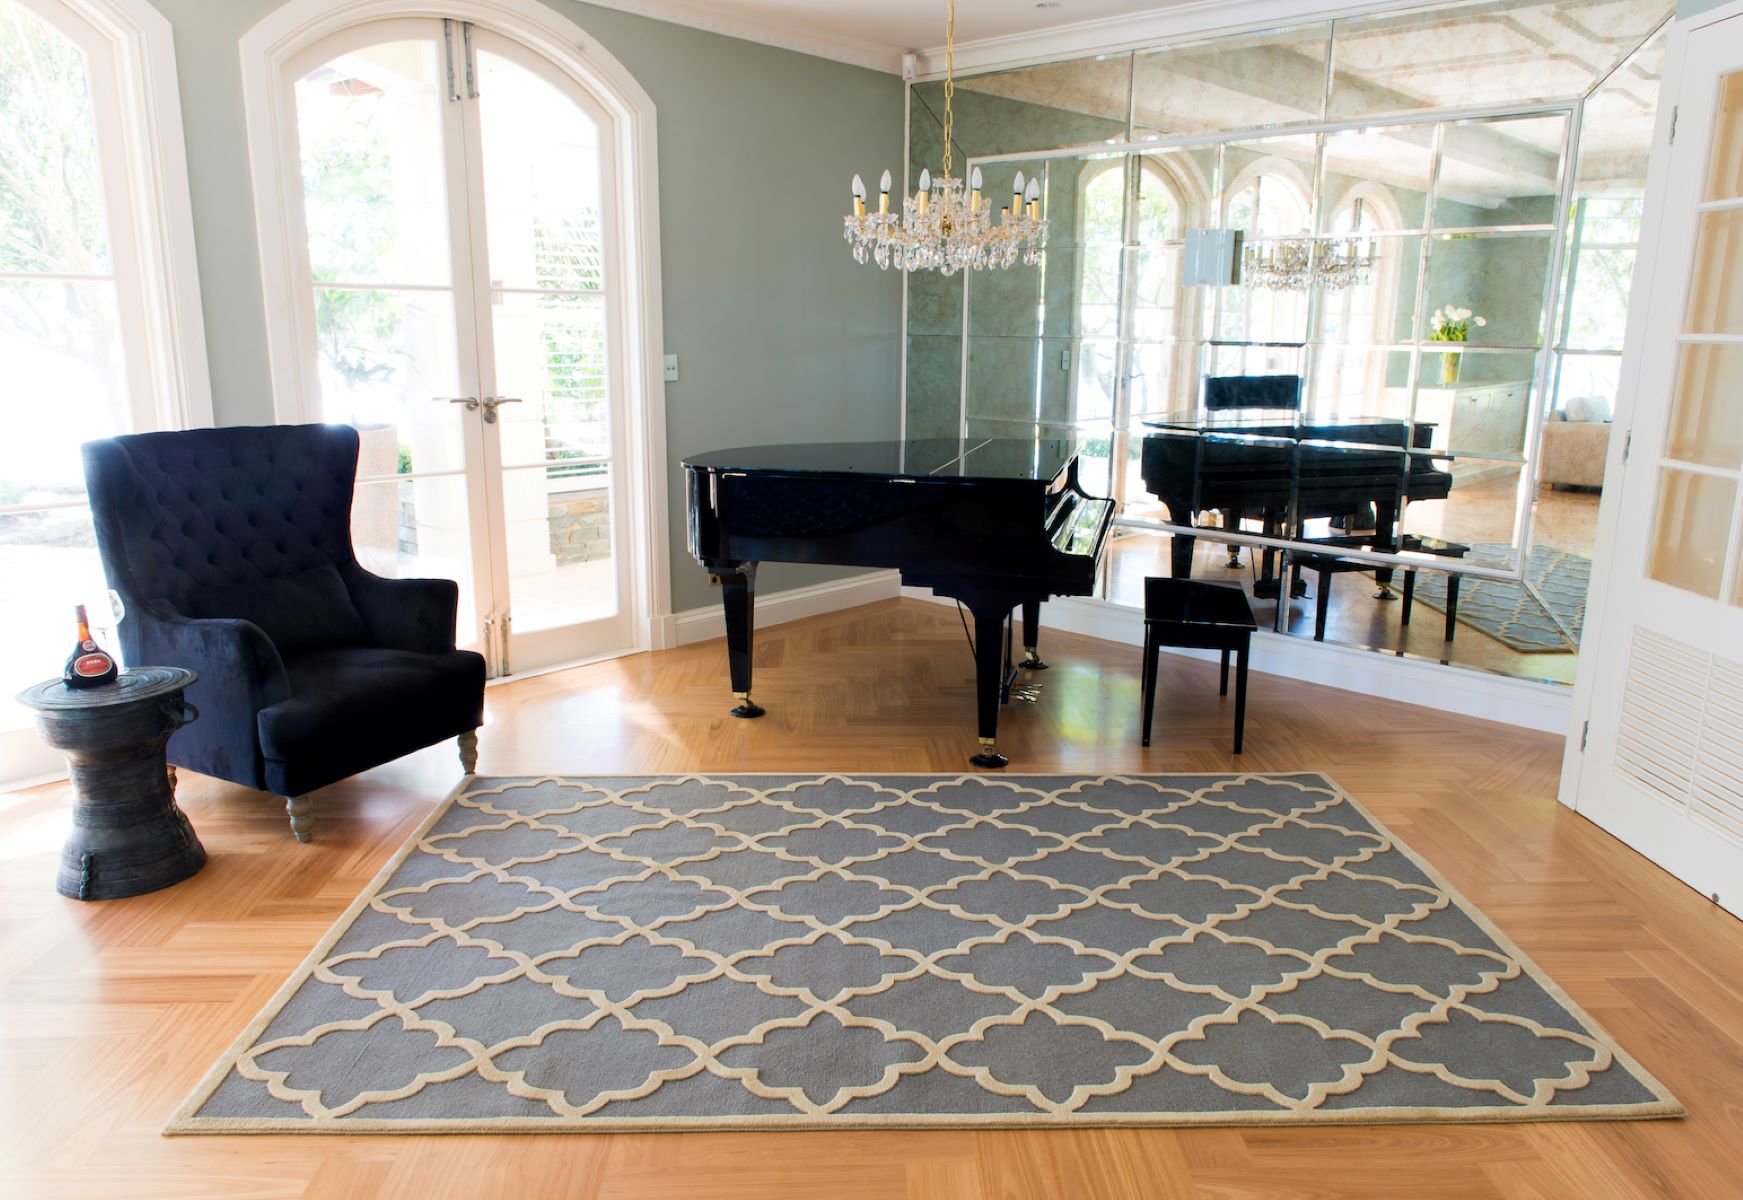
Make your rooms appear more airy and spacious by simply installing lighter-toned hardwood floors. If you want a bright room with a streamlined effect, use a minimum of three colors for the interior design of your room that will go well with your lighter-toned hardwood flooring.
So if you want to add a beautiful, warm and timeless appeal to your home opt for hardwood flooring. They’re easy to install yourself and they’re durable so your hardwood flooring will add to the value & aesthetics of your home.
Was this page helpful?
At Storables.com, we guarantee accurate and reliable information. Our content, validated by Expert Board Contributors, is crafted following stringent Editorial Policies. We're committed to providing you with well-researched, expert-backed insights for all your informational needs.

0 thoughts on “How To Install Hardwood Floors Without Hiring Anyone?”