Articles
How To Join Laminate Countertops
Modified: December 7, 2023
Learn how to join laminate countertops with our helpful articles. Find step-by-step instructions and tips for a seamless installation.
(Many of the links in this article redirect to a specific reviewed product. Your purchase of these products through affiliate links helps to generate commission for Storables.com, at no extra cost. Learn more)
Introduction
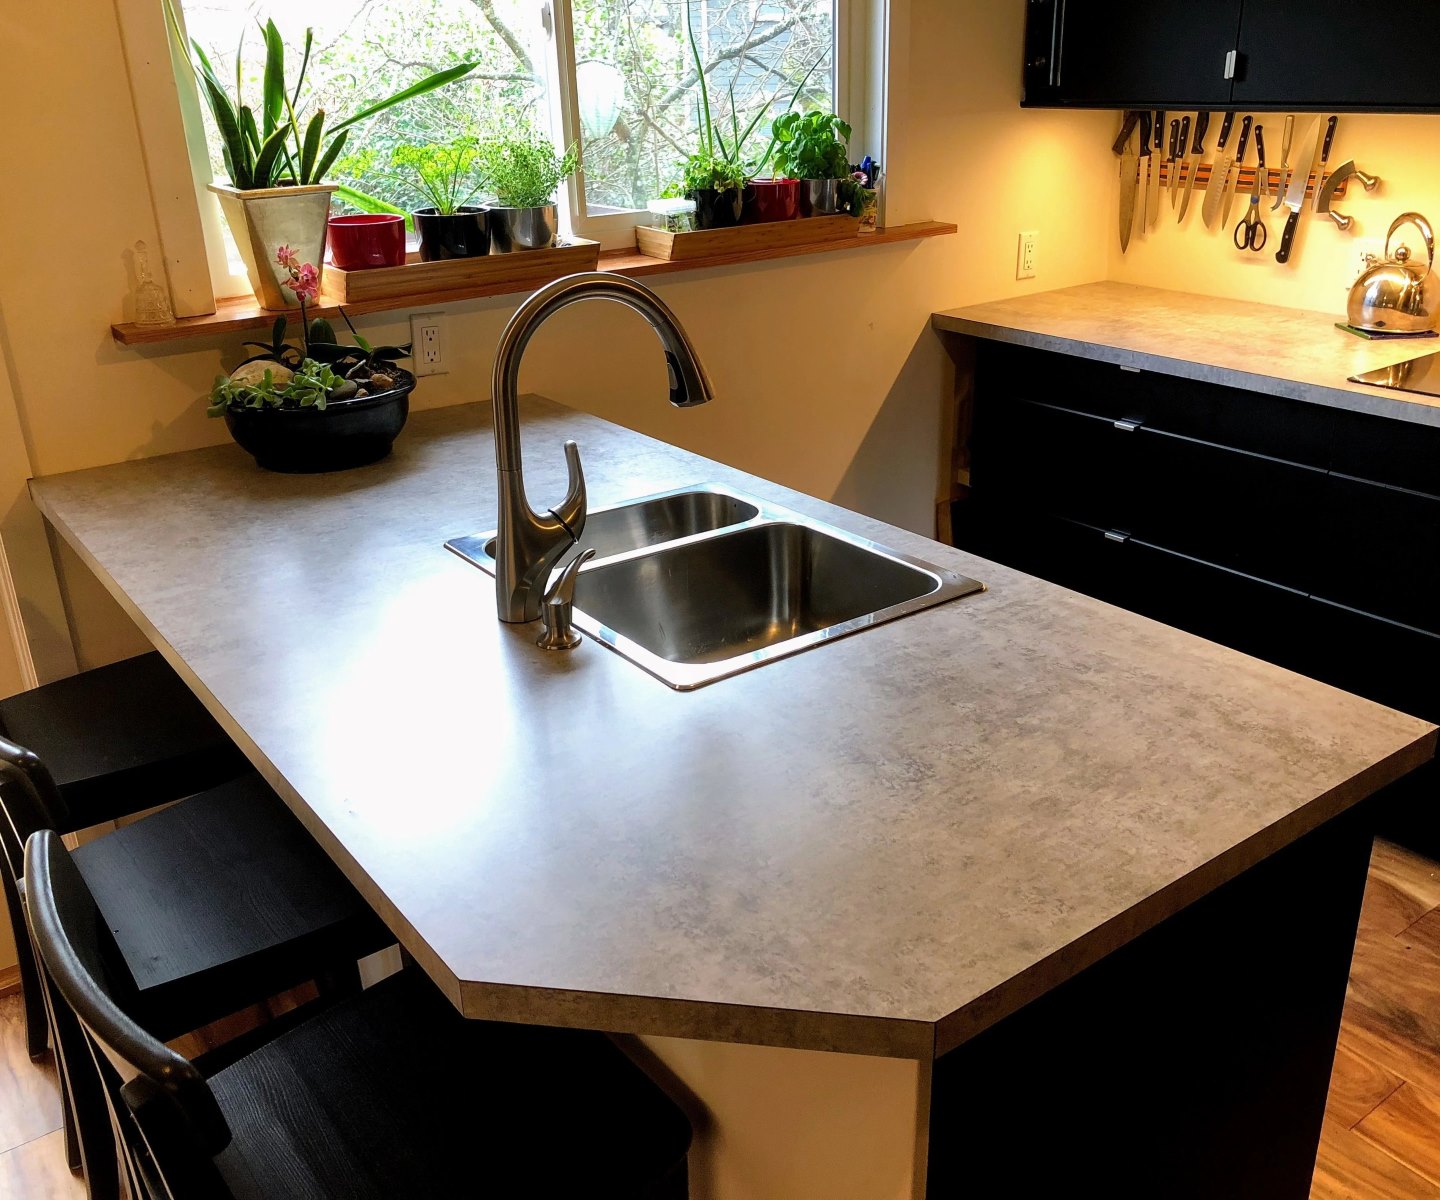
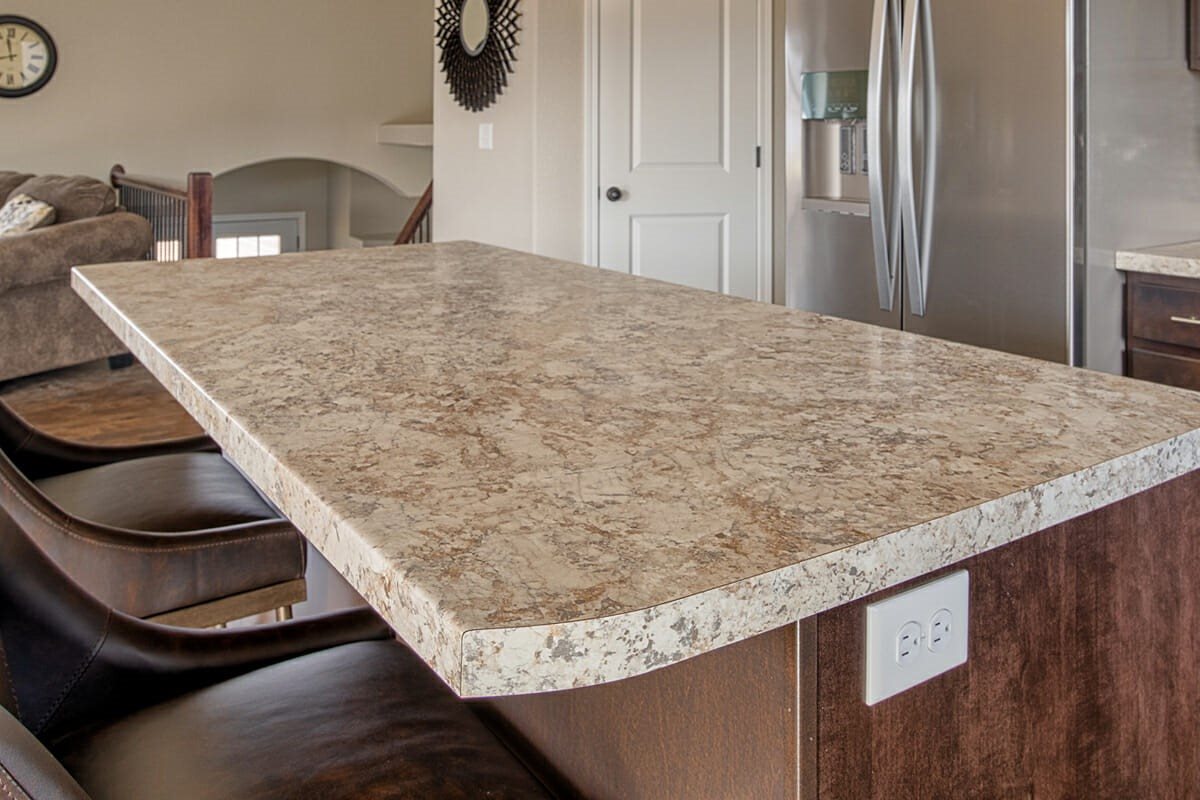
Laminate countertops are a popular choice for homeowners due to their affordability, durability, and range of design options. However, in some cases, the length or configuration of your countertop may require joining two or more laminate sheets together to create a seamless surface. While this may seem like a daunting task, with the right tools and techniques, you can join laminate countertops like a pro.
In this article, we will guide you through the step-by-step process of joining laminate countertops. From measuring and preparing the countertop to applying adhesive, placing the laminate sheets, and finishing the surface, we will cover all the necessary steps to ensure a successful result.
Before we dive into the process, let’s take a look at the tools and materials you’ll need:
- Laminate sheets
- Measuring tape
- Straight edge or level
- Utility knife
- Router
- Laminate trimming bit
- Adhesive
- Roller or laminate seam roller
- Sanding block or sandpaper
- Finishing products (optional)
Now that you have an idea of the tools and materials required, let’s move on to the first step: measuring and preparing the countertop.
Key Takeaways:
- Joining laminate countertops is a manageable DIY project with the right tools and step-by-step guidance. Attention to detail and precision are key to achieving a seamless and professional finish.
- The process of joining laminate countertops involves measuring, cutting, applying adhesive, placing and pressing the sheets, trimming excess laminate, and sanding and finishing for a polished look.
Read more: How To Put Laminate On Countertops
Tools and Materials Needed
Before you begin joining laminate countertops, make sure you have the following tools and materials on hand:
- Laminate sheets: These will be used to cover the countertop surface. Choose laminate sheets that match your desired design and size requirements. Make sure you have enough sheets to cover the entire countertop and accommodate any necessary seams.
- Measuring tape: This will be used to accurately measure the dimensions of your countertop and the laminate sheets.
- Straight edge or level: A straight edge or level will help you ensure that the cuts and joins are straight and even.
- Utility knife: You’ll need a sharp utility knife to make precise cuts in the laminate sheets.
- Router: A router will be used to create a groove or channel in the laminate sheets where the adhesive will be applied.
- Laminate trimming bit: This specific router bit is designed for trimming and smoothing the edges of the laminate sheets.
- Adhesive: Choose a high-quality adhesive that is specifically designed for laminates. Check the manufacturer’s recommendations to ensure compatibility with your chosen laminate sheets.
- Roller or laminate seam roller: A roller or a laminate seam roller will be used to apply pressure and ensure proper adhesion between the laminate sheets and the countertop surface.
- Sanding block or sandpaper: You may need a sanding block or sandpaper to smooth any rough edges or imperfections after joining the laminate sheets.
- Finishing products (optional): Depending on your desired finish, you may want to have finishing products such as edge banding or trim to complete the look of your joined laminate countertops.
Having these tools and materials readily available will help you work efficiently and achieve professional-looking results.
Now that you’re equipped with the necessary tools and materials, it’s time to move on to the step-by-step process of joining laminate countertops.
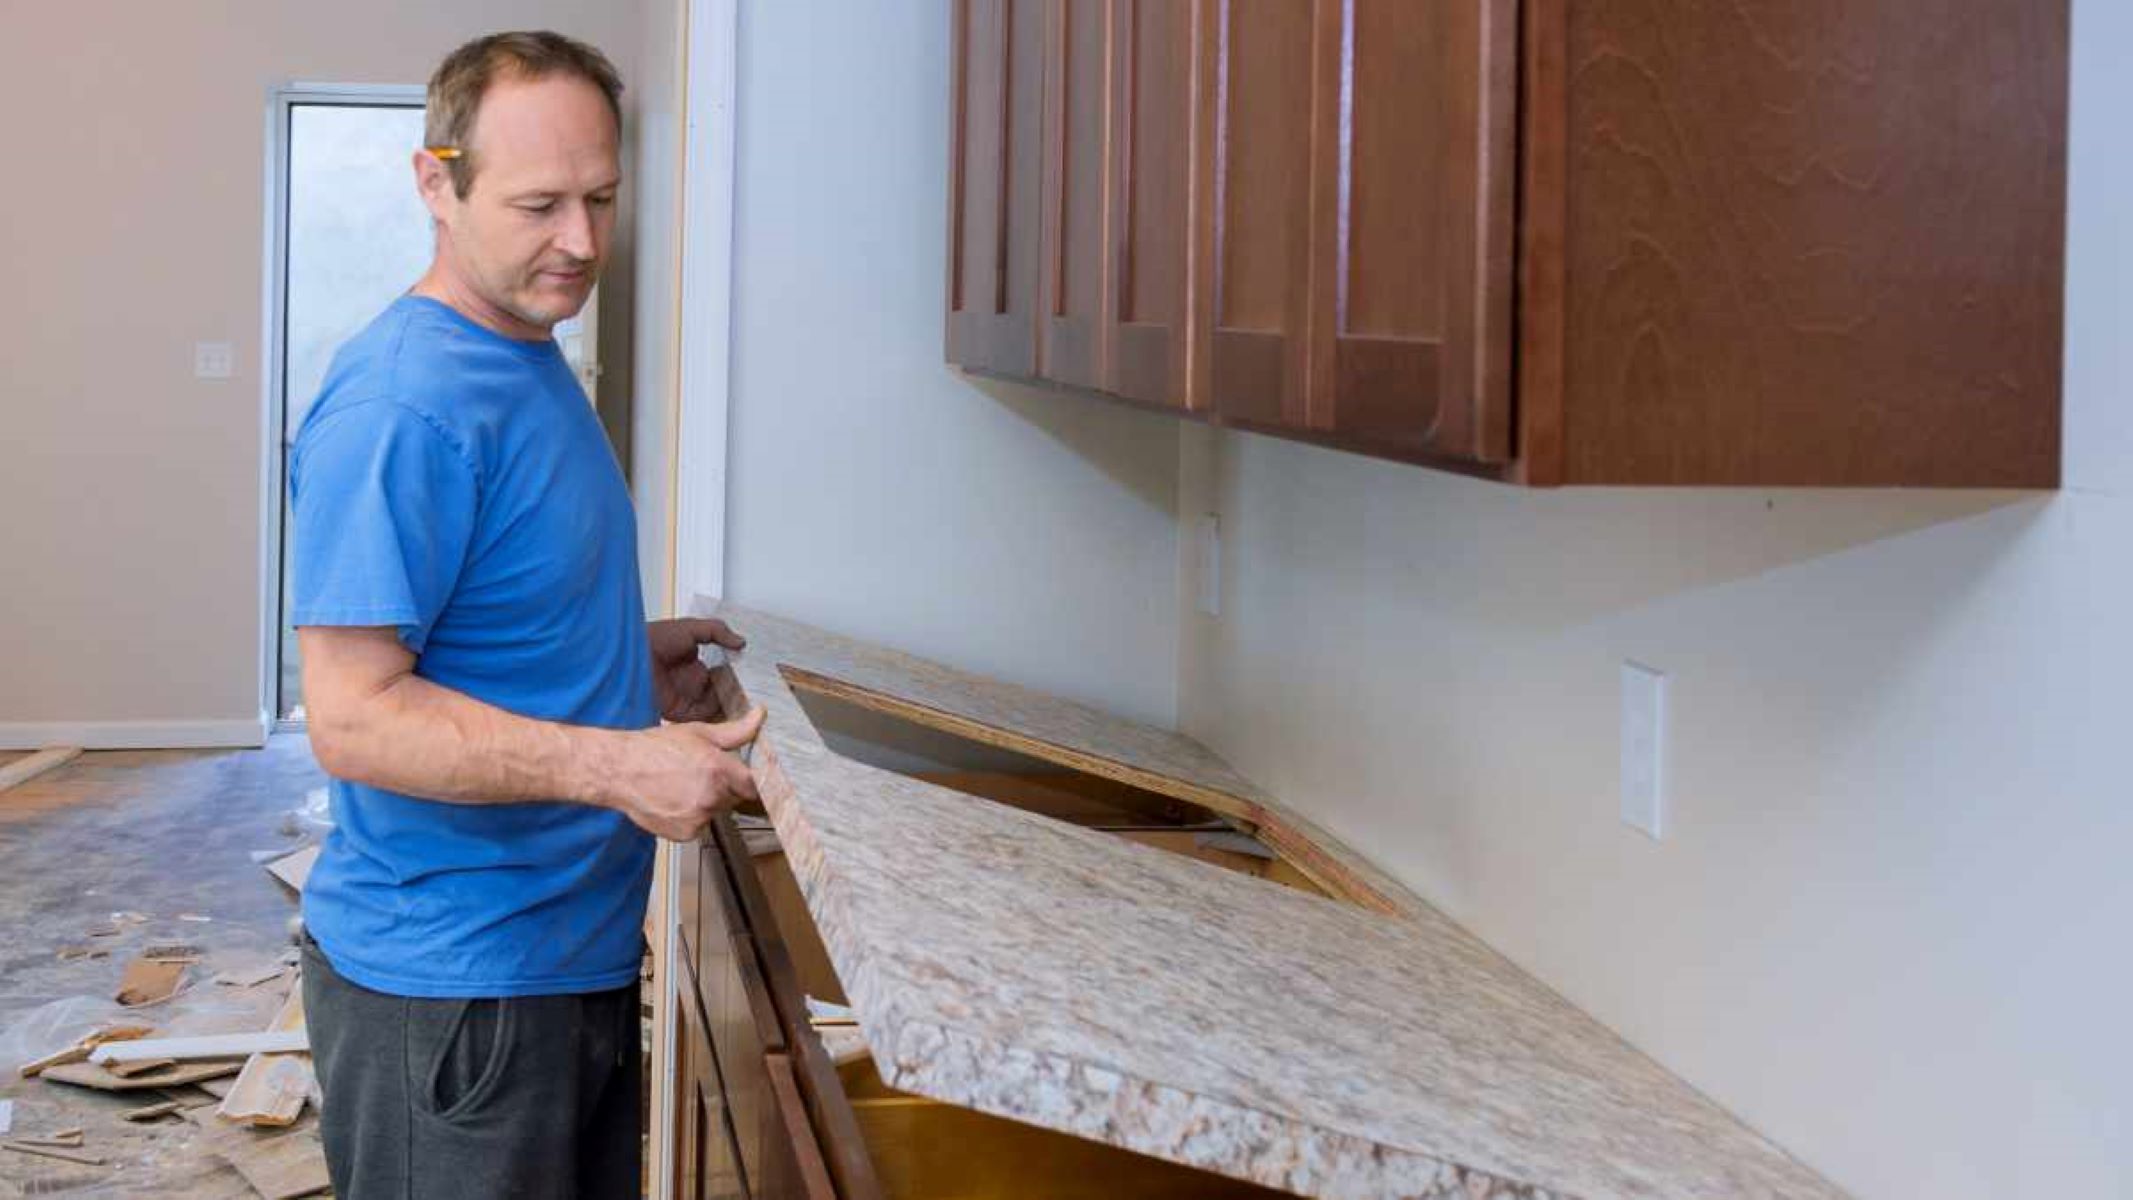
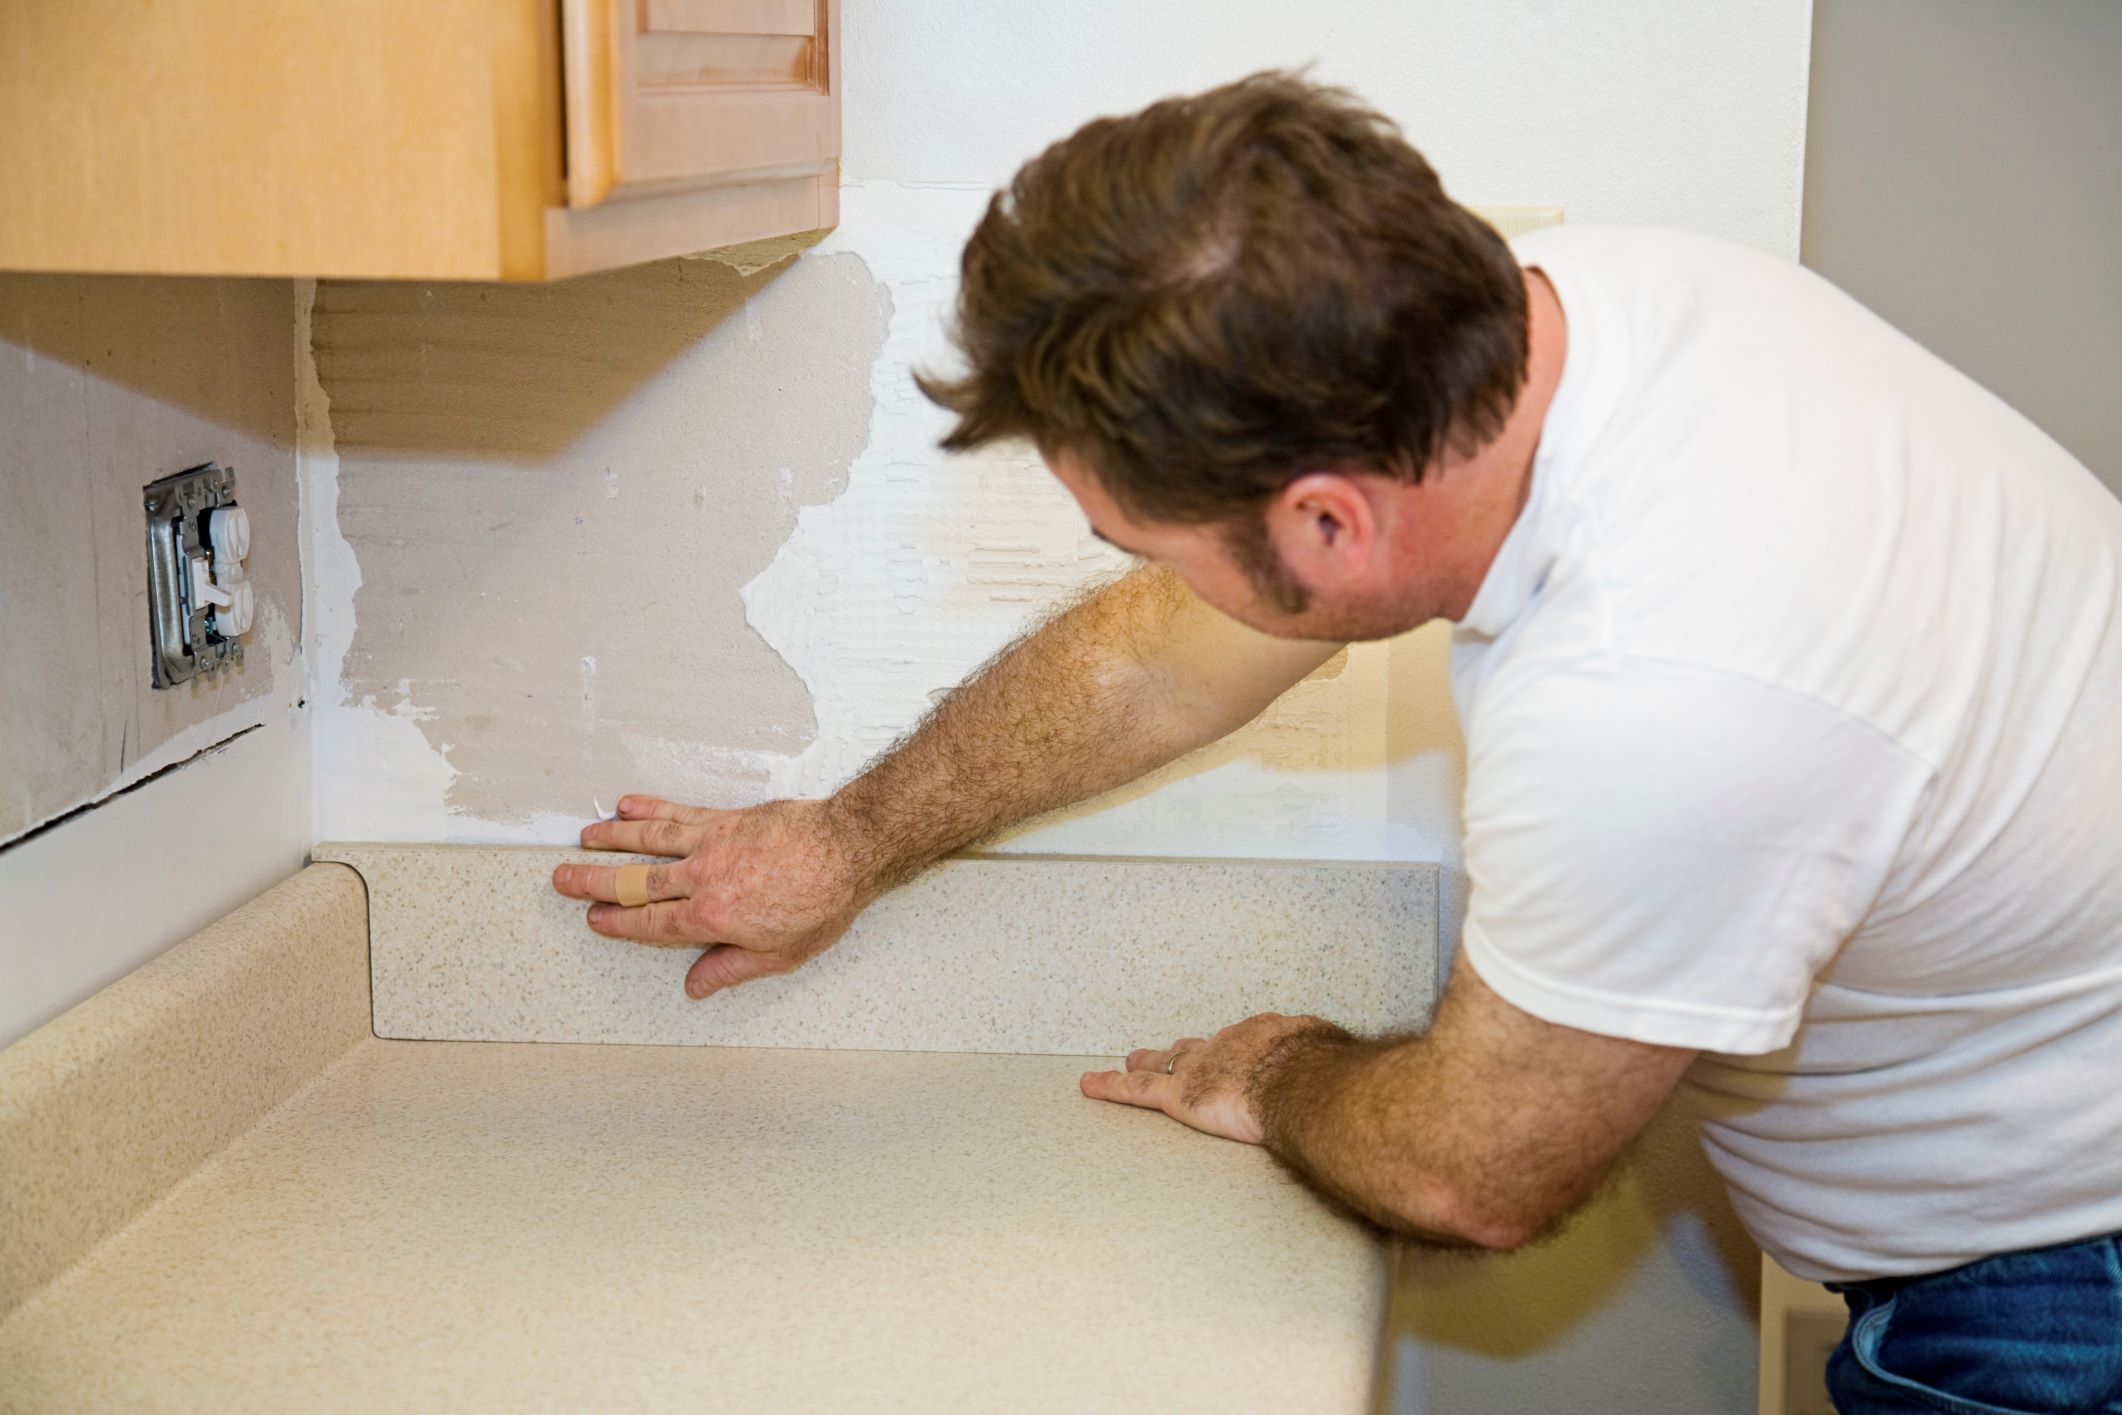
Step 1: Measuring and Preparing the Countertop
The first step in joining laminate countertops is to accurately measure and prepare the countertop surface. Follow these steps:
- Measure the countertop: Use a measuring tape to determine the dimensions of your countertop. Measure the length, width, and any other necessary dimensions. Make note of these measurements for reference.
- Clean the countertop: Ensure that the countertop surface is clean and free of any debris or dust. Use a mild cleaning solution and a non-abrasive cloth to wipe it down.
- Check for levelness: Place a straight edge or level across the surface of the countertop to check for any uneven areas. If you notice any significant unevenness, it may be necessary to address this before proceeding.
- Prepare the laminate sheets: Lay the laminate sheets on a flat surface and allow them to acclimate to the room temperature for a few hours. This will help prevent warping or expanding of the sheets once they are installed.
- Mark the cut lines: Using the measurements you recorded earlier, mark the cut lines on the laminate sheets. Use a straight edge or level to ensure straight and accurate lines.
By taking the time to measure and prepare the countertop properly, you set the foundation for a successful laminate countertop join. Ensuring levelness and cleanliness will help you achieve a seamless and professional finish.
Now that the countertop is measured and prepared, it’s time to move on to the next step: cutting the laminate sheets.
Step 2: Cutting the Laminate Sheets
Now that you have measured and prepared your countertop, it’s time to cut the laminate sheets to fit. Follow these steps:
- Place the laminate sheets: Lay the laminate sheets on top of the countertop, ensuring they are positioned correctly and aligned with the marked cut lines.
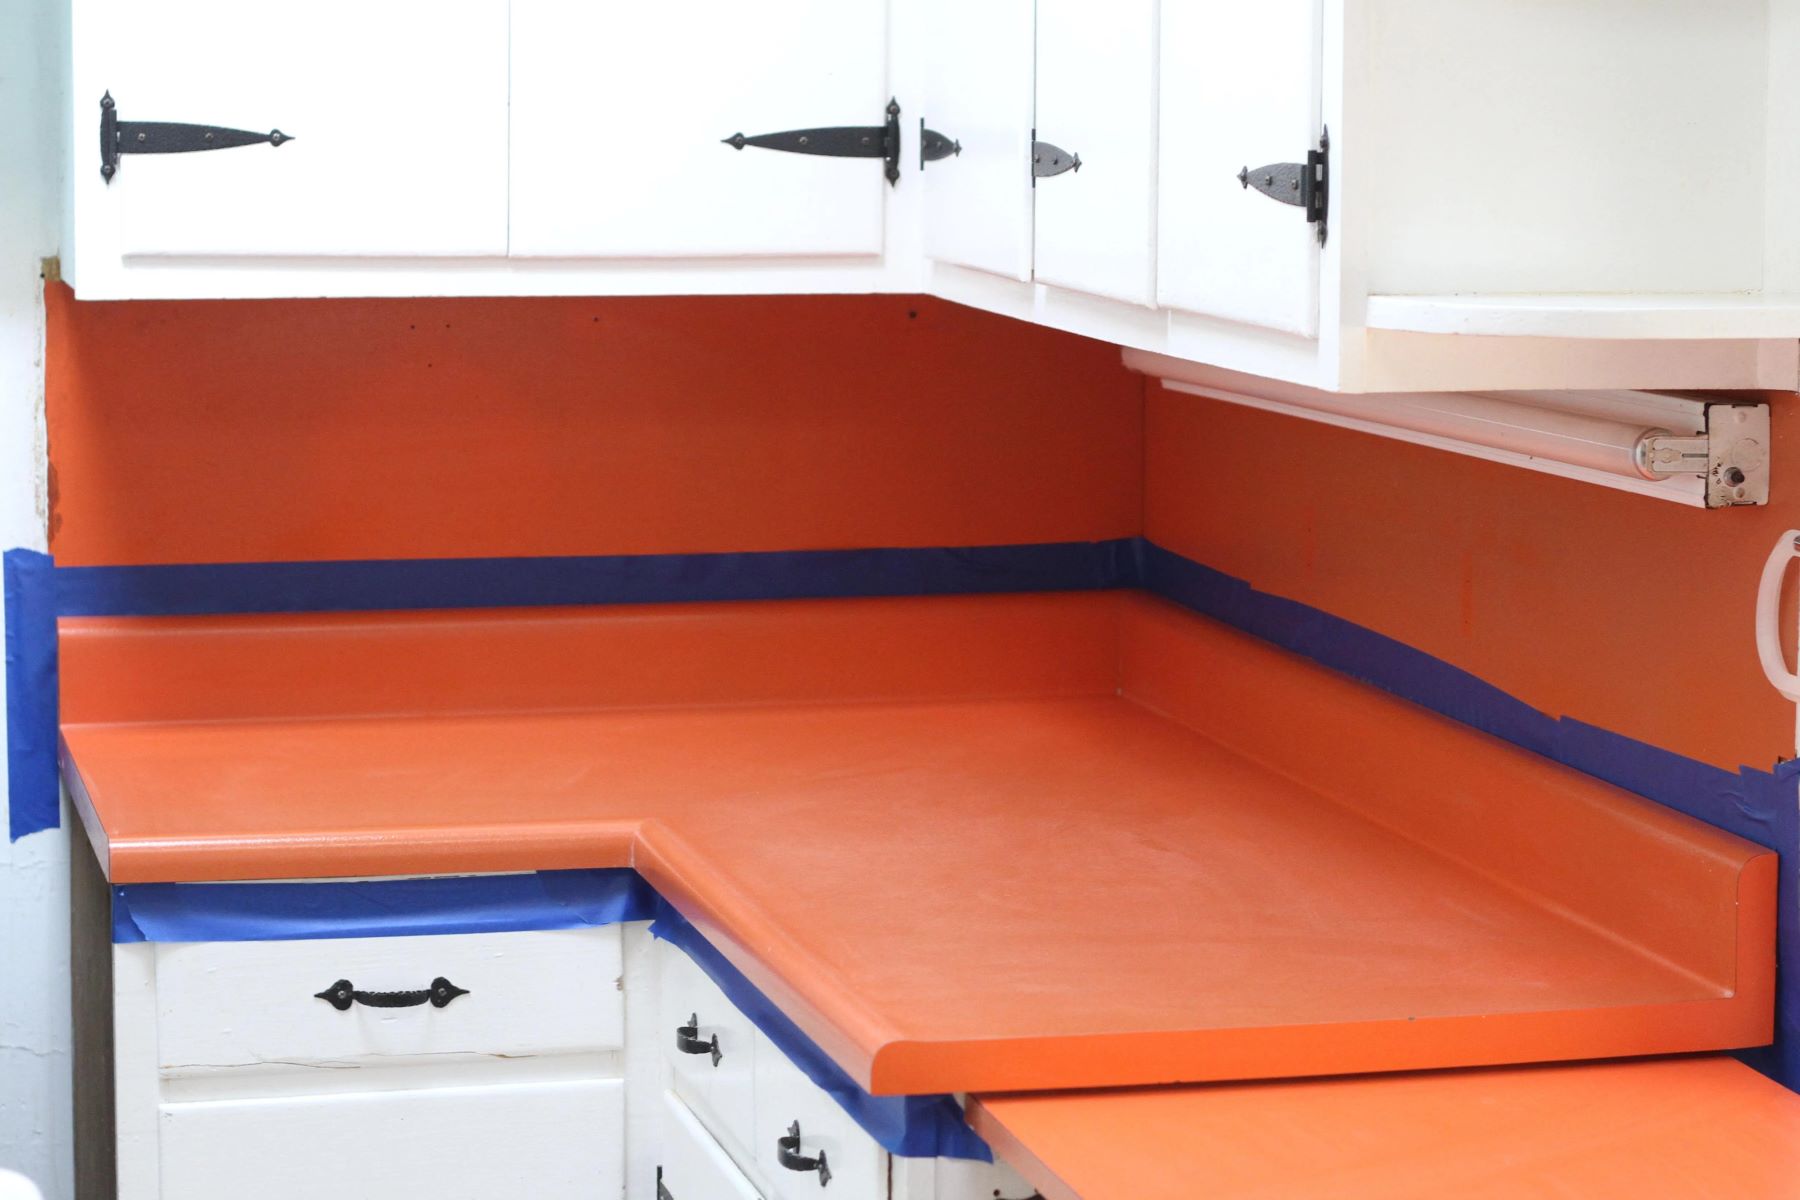
- Secure the sheets: Use painter’s tape or clamps to temporarily secure the laminate sheets in place. This will prevent them from shifting or moving while you make the cuts.
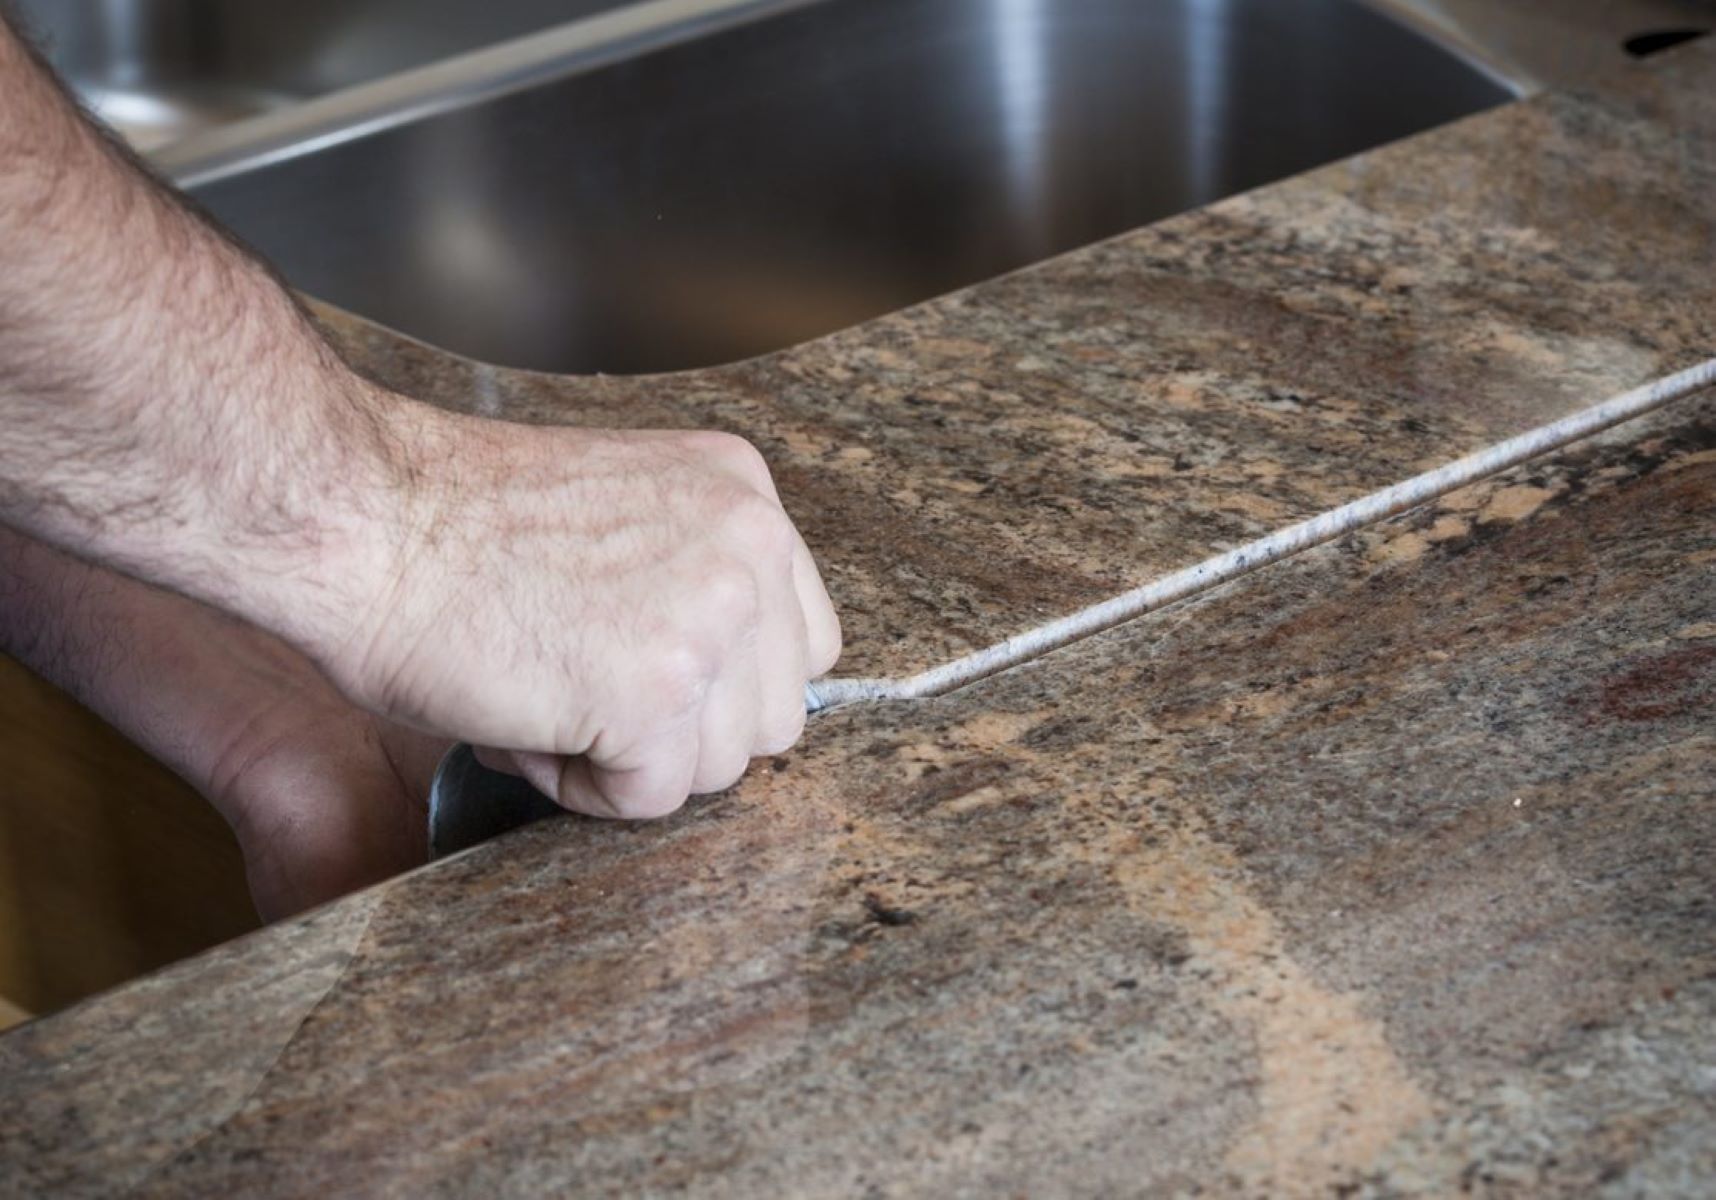
- Make the cuts: Using a sharp utility knife, carefully score along the marked cut lines. Apply firm and even pressure to ensure a clean cut. Repeat this process for each cut line.
- Finish the cuts: After scoring, use the utility knife to cut deeper into the laminate sheets, following the scored lines. Take your time and make slow, steady cuts to avoid any mistakes or damages to the sheets.
- Remove the excess: Once the cuts are made, carefully remove the excess laminate. Be cautious and patient to avoid any accidental chipping or splintering of the laminate sheets.
- Smooth the edges: Use a sanding block or sandpaper to smooth out any rough edges or imperfections resulting from the cutting process. This step will ensure a clean and professional finish.
By following these steps, you will accurately cut the laminate sheets to fit your countertop. Remember to take your time and work with precision to achieve the best results.
With the laminate sheets cut and the countertop prepared, you are now ready to move on to the next step: applying adhesive to the countertop.
Step 3: Applying Adhesive to the Countertop
Now that you have cut the laminate sheets to fit your countertop, it’s time to apply adhesive to secure them in place. Follow these steps:
- Prepare the adhesive: Read the manufacturer’s instructions for the adhesive you are using to ensure proper preparation. Some adhesives may require mixing or special handling, so it’s important to follow the guidelines provided.
- Apply the adhesive: Using a trowel or a paintbrush, apply a thin and even layer of adhesive to the countertop surface where the laminate sheets will be placed. Make sure to cover the entire surface, focusing on the areas where the sheets will be joined.
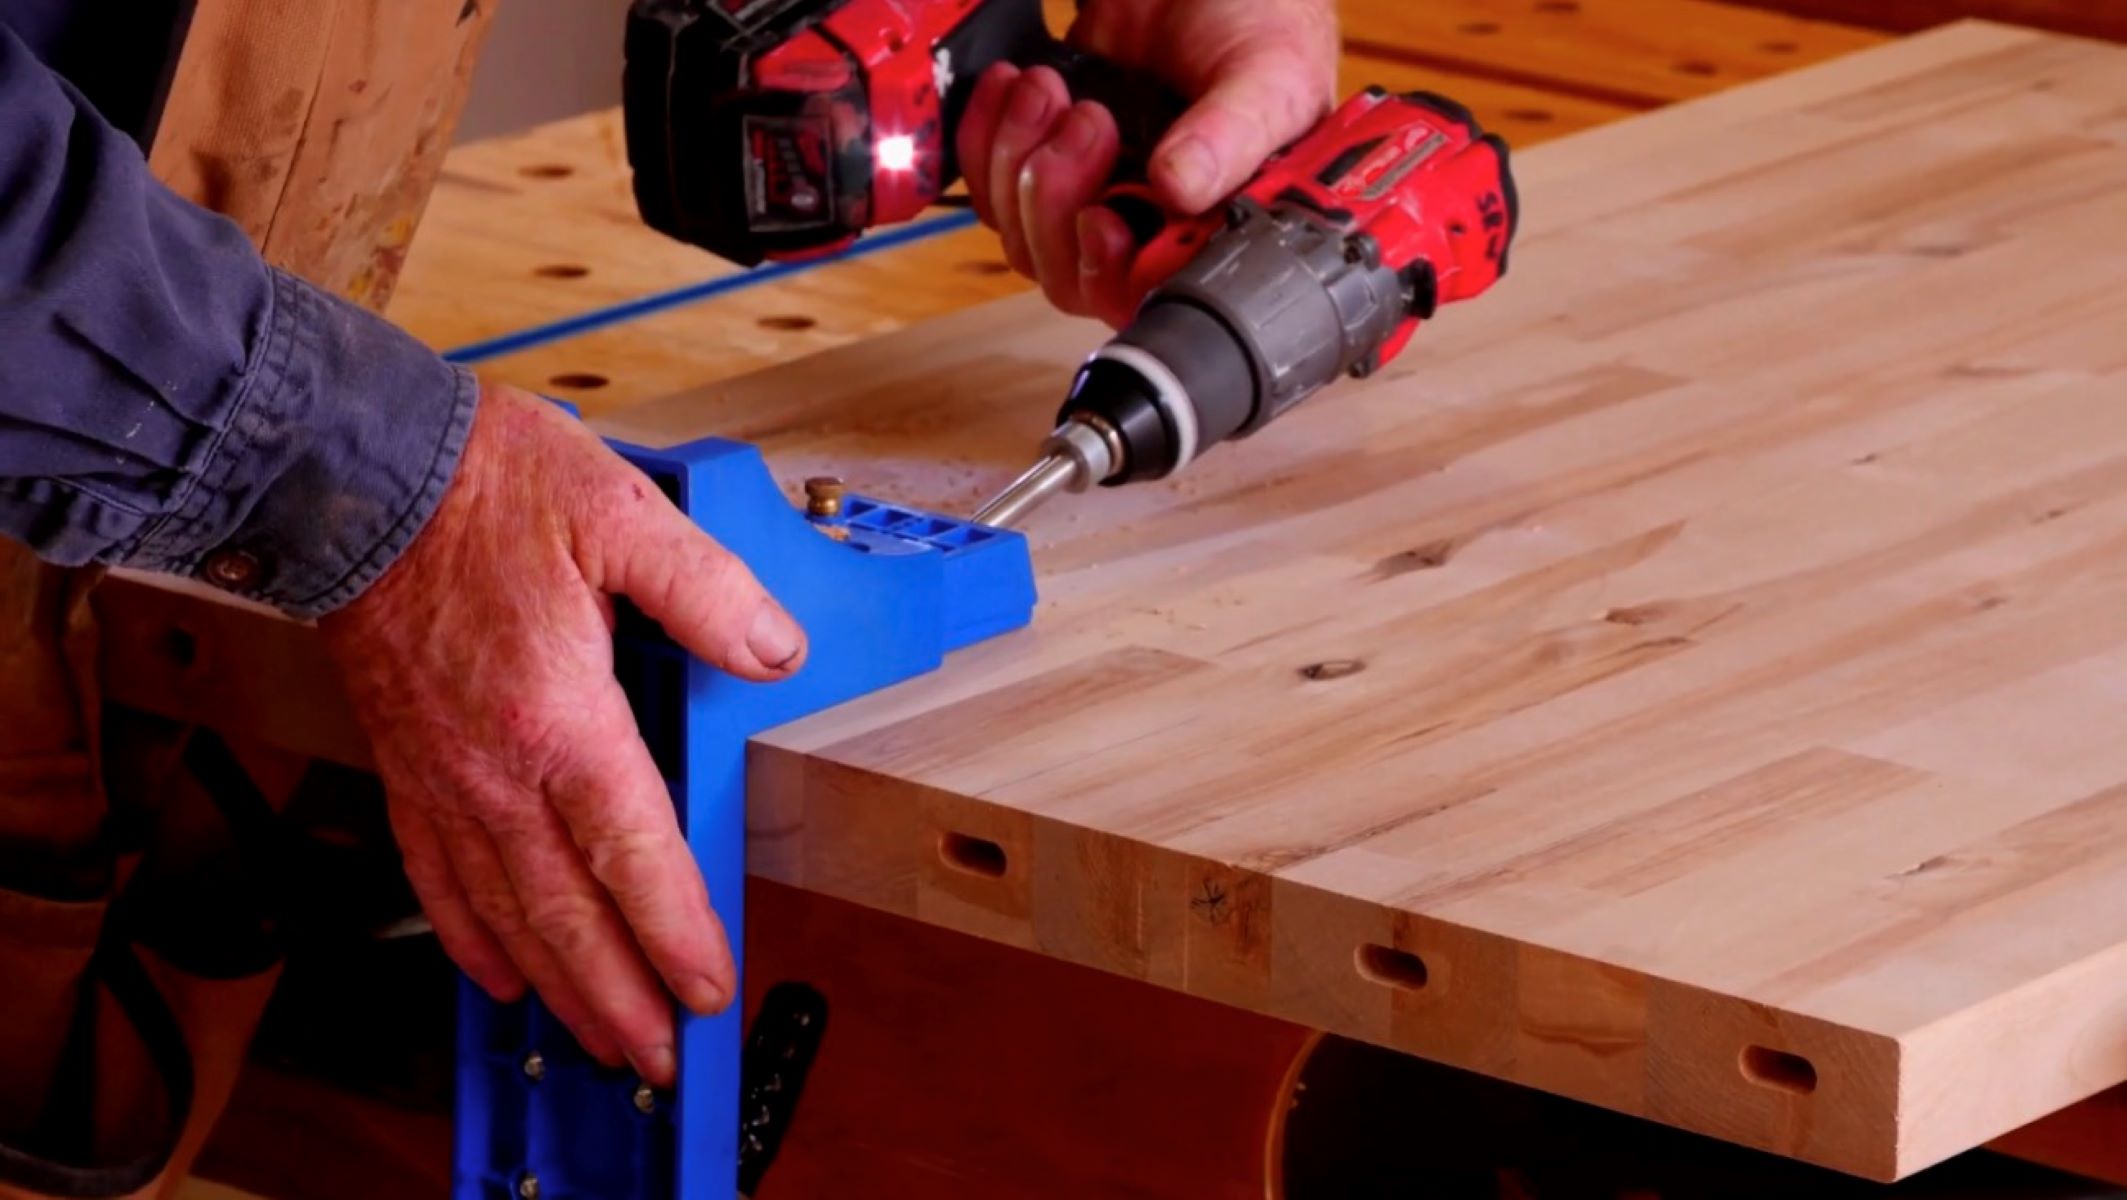
- Create a groove: Using a router and a laminate trimming bit, create a small groove or channel along the edges of the countertop where the laminate sheets will be joined. This groove will enhance the bonding of the sheets and provide a seamless appearance.
- Apply adhesive to the edges: Apply additional adhesive to the edges of the laminate sheets that will be joined together. Ensure that the adhesive is evenly distributed and covers the entire surface of the edges.
Remember to work carefully and efficiently when applying the adhesive. Follow the manufacturer’s instructions regarding drying time and any other necessary considerations.
Now that the adhesive has been applied, it’s time to move on to the next step: placing and pressing the laminate sheets onto the countertop.
When joining laminate countertops, be sure to use a high-quality adhesive specifically designed for laminate surfaces. Apply the adhesive evenly and use clamps to hold the pieces together while the adhesive sets.
Read more: How To Protect Laminate Countertops
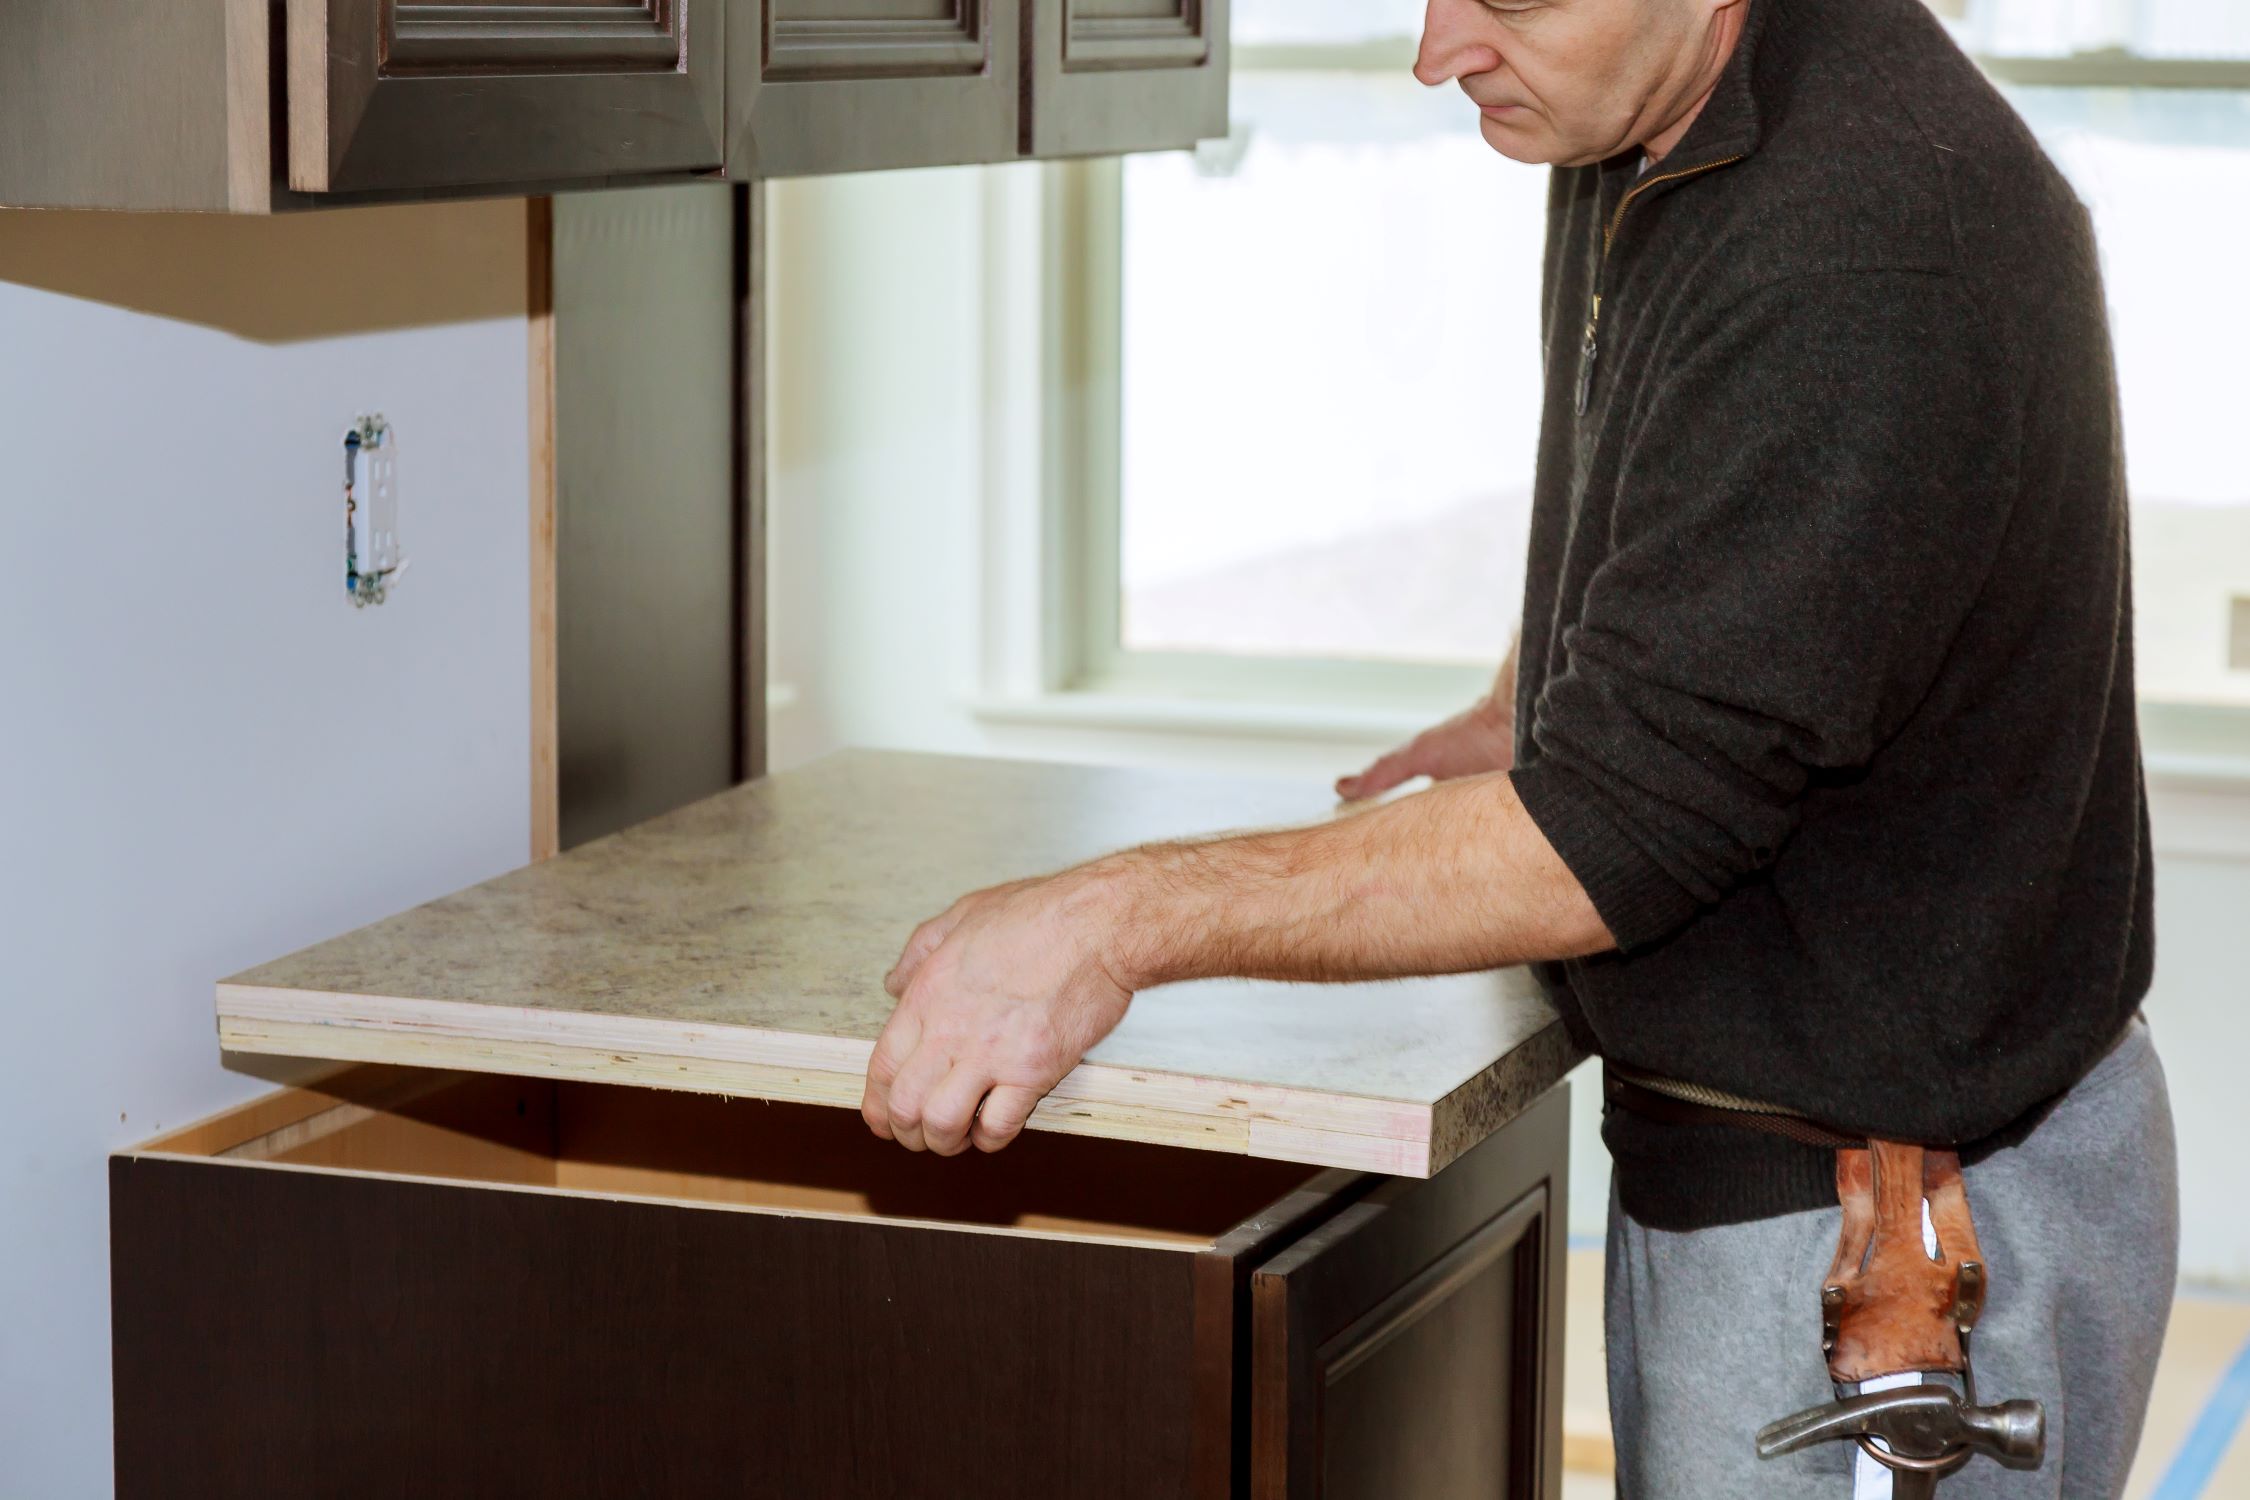
Step 4: Placing and Pressing the Laminate Sheets
With the adhesive applied to the countertop, it’s now time to place and press the laminate sheets onto the surface. Follow these steps:
- Align the sheets: Carefully position the first laminate sheet onto the countertop, making sure to align it with the edges and any marked cut lines.
- Press the sheet: Use your hands or a laminate seam roller to press down firmly on the laminate sheet, starting from the center and working your way out towards the edges. Apply pressure evenly to ensure proper adhesive contact.
- Join the sheets: If you have multiple laminate sheets to join, align the edges of the adjacent sheets and press them together firmly. Use a roller or seam roller to apply even pressure along the seam, ensuring a seamless bond.
- Remove air bubbles: Use a laminate seam roller to roll over the surface of the laminate sheets, removing any air bubbles and ensuring a tight bond with the countertop.
- Wipe off excess adhesive: As you press the laminate sheets onto the countertop, it’s common for some adhesive to squeeze out. Use a damp cloth or sponge to immediately wipe off any excess adhesive before it dries.
Working carefully and methodically during this step will help ensure that the laminate sheets are properly aligned and securely adhered to the countertop. Take your time and pay attention to detail for the best results.
With the laminate sheets placed and pressed onto the countertop, it’s time to move on to the next step: trimming the excess laminate.
Step 5: Trimming the Excess Laminate
After placing and pressing the laminate sheets onto the countertop, it’s time to trim the excess laminate for a clean and professional finish. Follow these steps:
- Allow the adhesive to dry: Before attempting to trim the excess laminate, ensure that the adhesive has dried according to the manufacturer’s instructions. This will ensure that the laminate is securely bonded to the countertop.
- Remove the clamps or tape: If you used clamps or painter’s tape to secure the laminate sheets, carefully remove them now.
- Prepare the router: Attach a laminate trimming bit to your router. Adjust the depth of the router bit to match the thickness of the laminate sheets.
- Start trimming: Begin trimming the excess laminate by running the router along the edges of the countertop. Use a steady and controlled motion to ensure clean and precise cuts.
- Work in sections: Trim the excess laminate in small sections, moving around the entire perimeter of the countertop. Take your time and be careful to avoid any slips or mistakes.
- Check the edges: Once you have trimmed the excess laminate, inspect the edges to ensure a smooth and even finish. Make any necessary adjustments or touch-ups as needed.
Trimming the excess laminate is a crucial step in achieving a polished and seamless appearance. Take your time and work with precision to achieve the best results.
With the excess laminate trimmed, it’s time to move on to the final step: sanding and finishing the countertop.
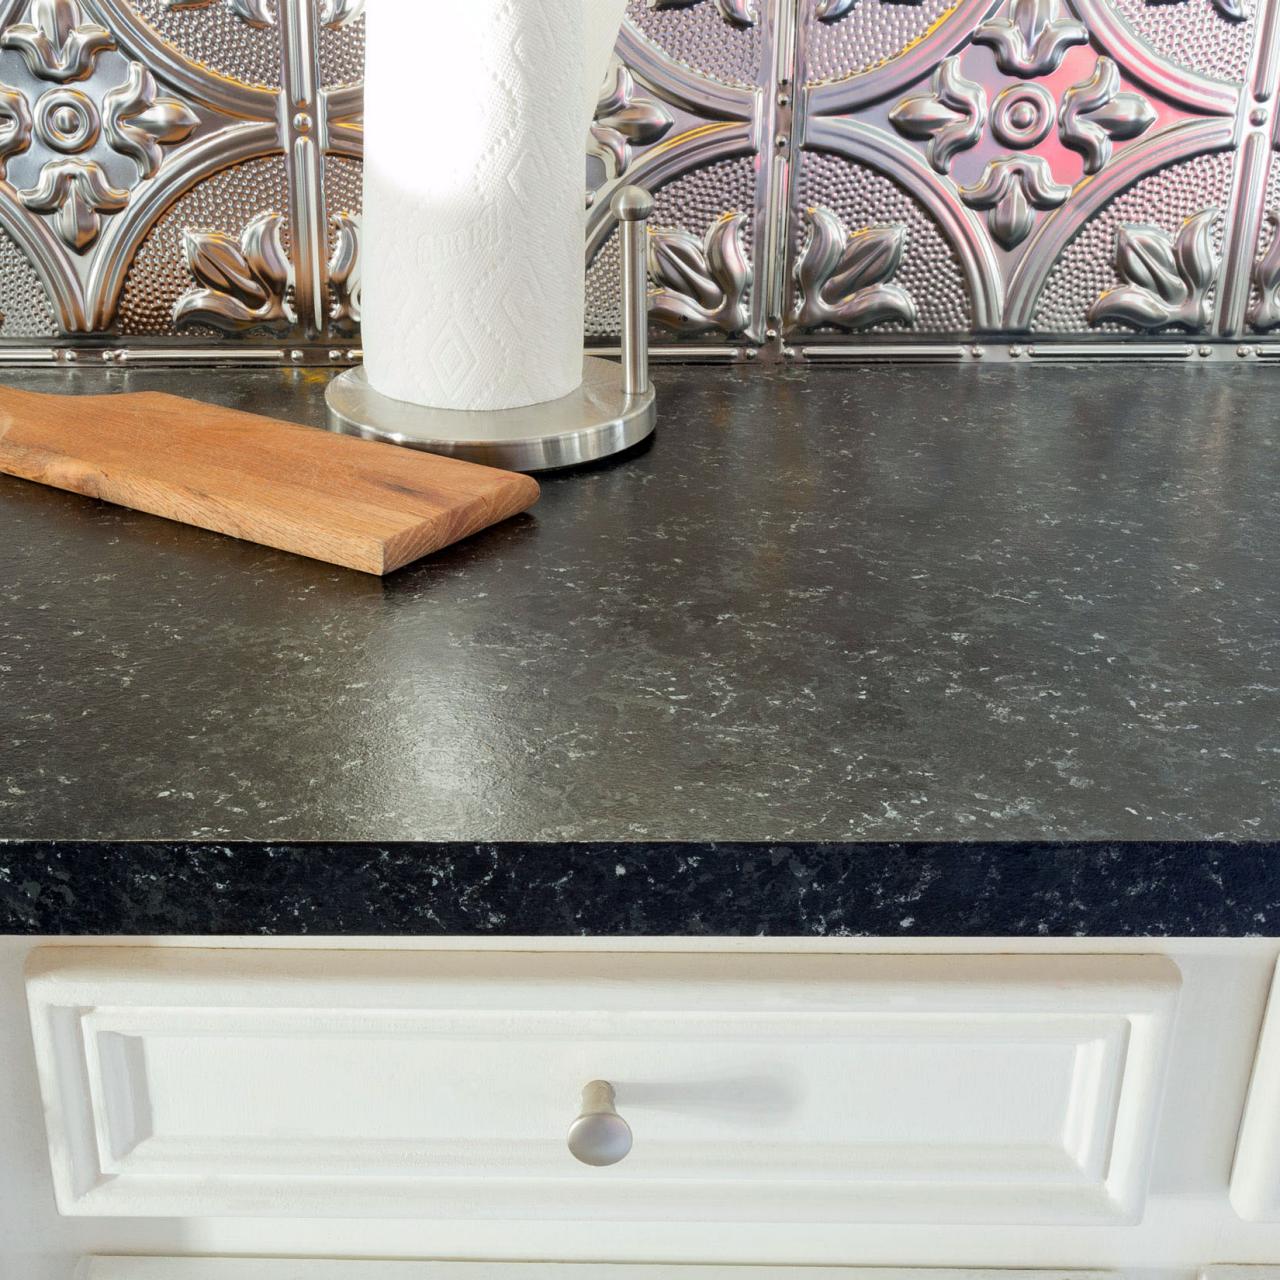
Step 6: Sanding and Finishing the Countertop
After trimming the excess laminate, the final step in joining laminate countertops is to sand and finish the surface for a smooth and professional look. Follow these steps:
- Sand the edges: Use a sanding block or sandpaper to gently smooth and blend the edges of the laminate sheets where they meet the countertop. This will create a seamless transition and remove any rough spots.
- Remove dust: After sanding, wipe down the countertop surface with a clean, damp cloth or sponge to remove any dust or debris.
- Optional: Apply edge banding or trim: If desired, you can enhance the appearance and durability of the countertop by applying edge banding or trim along the exposed edges. Follow the manufacturer’s instructions to securely attach the edge banding or trim.
- Apply a finish: Depending on your preference and the type of laminate you are using, you may choose to apply a finish to the countertop surface. This can enhance its appearance and provide added protection. Follow the instructions on the chosen finishing product for proper application.
- Allow time to dry: After applying the finish, allow sufficient time for it to dry completely before using the countertop. Follow the manufacturer’s instructions for the recommended drying time.
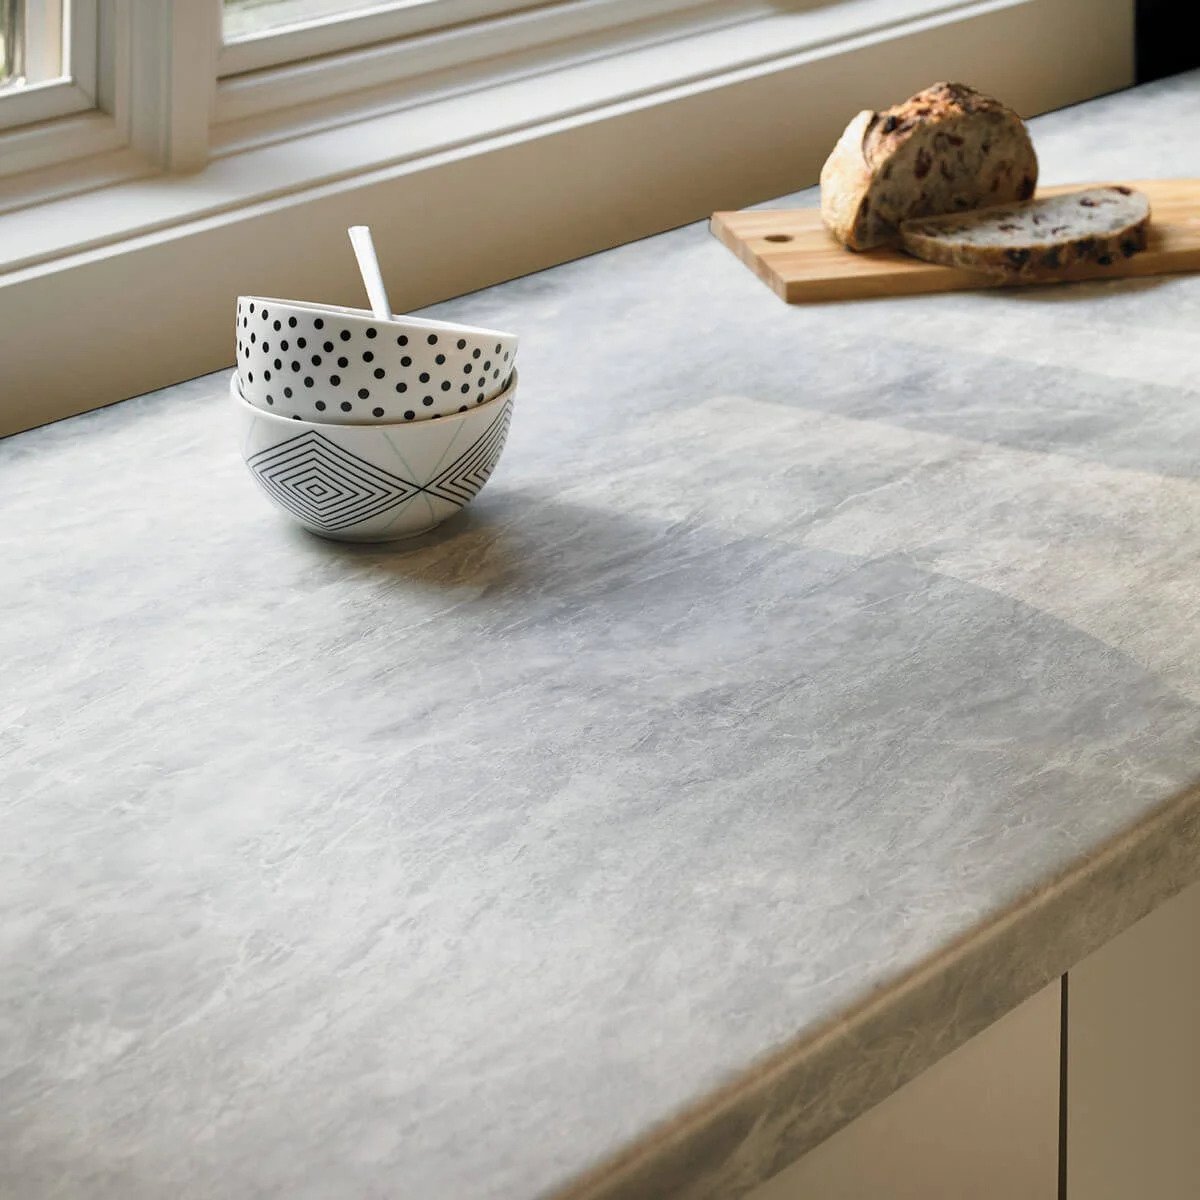
By sanding and finishing the countertop, you will achieve a polished and professional look that enhances the overall appearance of your kitchen or bathroom.
Congratulations! You have successfully joined laminate countertops and transformed your space. Ensure to follow the manufacturer’s instructions for any specific guidelines or recommendations related to your laminate sheets and adhesive chosen.
With the countertop sanded, finished, and fully dried, you can now enjoy your newly joined laminate countertops for years to come!
Remember, patience and attention to detail are key throughout the process. Take your time, follow the steps carefully, and enjoy the satisfaction of completing a project that enhances the beauty and functionality of your space.
Conclusion
Joining laminate countertops doesn’t have to be a complicated or intimidating task. With the right tools, materials, and step-by-step guidance, you can achieve a seamless and professional finish that enhances the aesthetic appeal of your space.
In this article, we walked you through the process of joining laminate countertops in six easy steps. We started by measuring and preparing the countertop, followed by cutting the laminate sheets to fit. Then, we discussed applying adhesive to secure the sheets and placing and pressing them onto the countertop. Trimming the excess laminate and sanding and finishing the surface were the next steps, leading us to a perfectly joined and polished countertop.
Throughout this process, it is crucial to pay attention to detail, work with precision, and follow any manufacturer’s instructions for the specific tools, materials, and adhesives you are using. Taking your time and working carefully will ensure the best results.
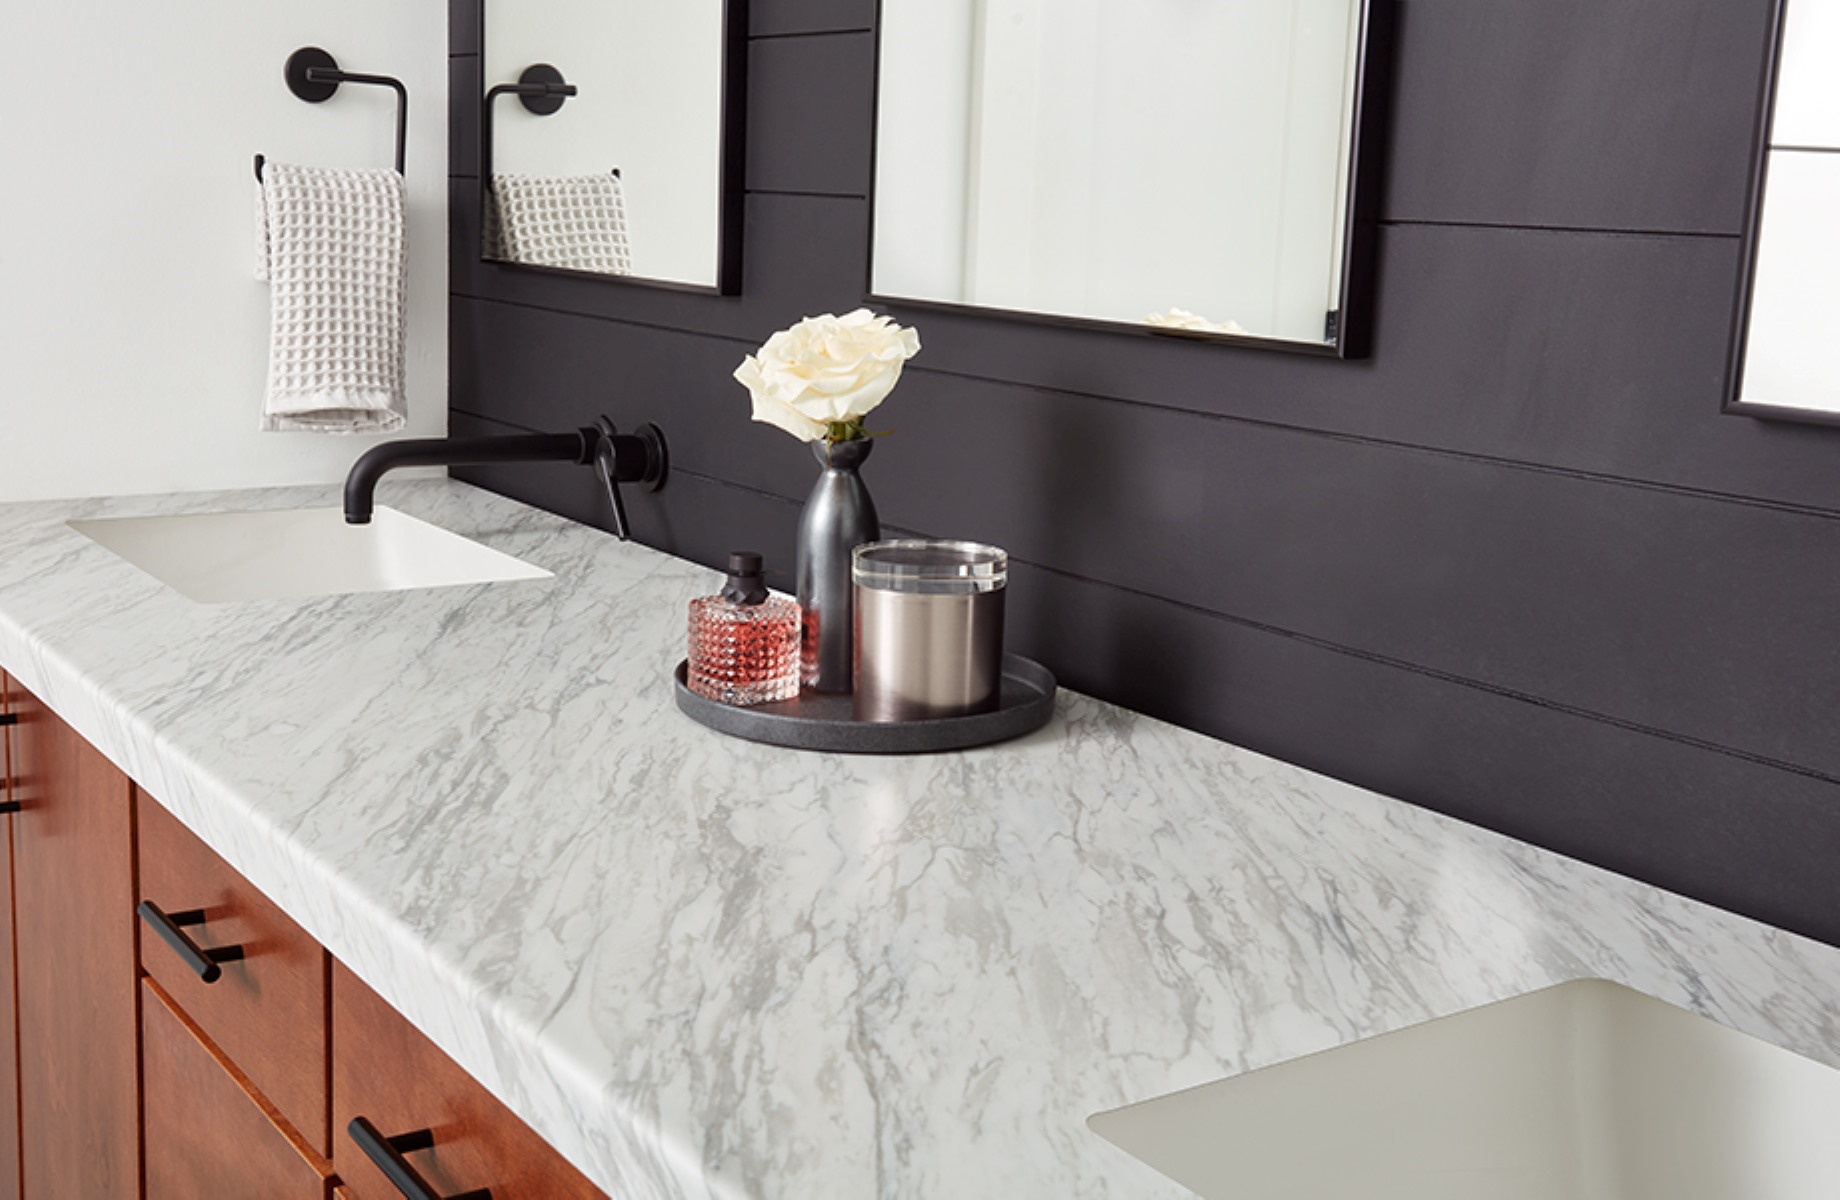
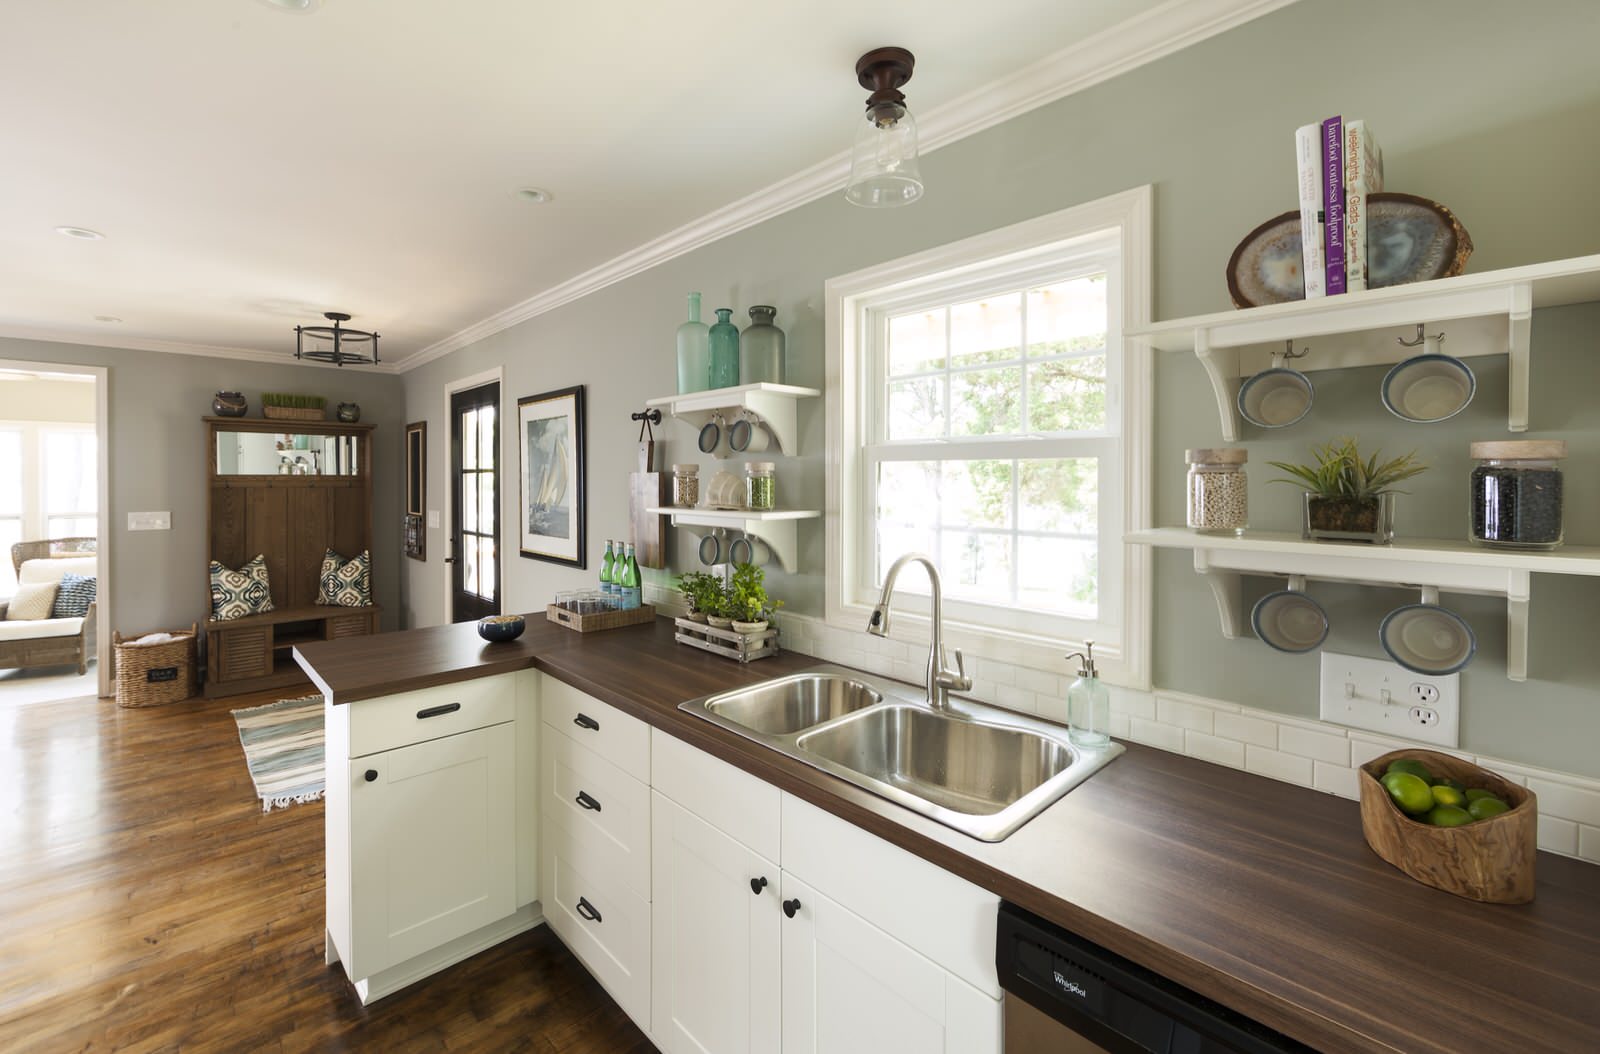
Remember, joining laminate countertops not only improves the visual appearance of your kitchen or bathroom but also adds durability and functionality to your space. The affordability and wide range of design options make laminate countertops a popular choice among homeowners.
So, whether you’re embarking on a DIY project or working with a professional, feel confident in tackling the task of joining laminate countertops. With the knowledge and insights provided in this article, you’re well-equipped to create a seamless and stylish countertop that adds value to your home.
Now, go ahead and enjoy your newly joined laminate countertops!
Frequently Asked Questions about How To Join Laminate Countertops
Was this page helpful?
At Storables.com, we guarantee accurate and reliable information. Our content, validated by Expert Board Contributors, is crafted following stringent Editorial Policies. We're committed to providing you with well-researched, expert-backed insights for all your informational needs.


0 thoughts on “How To Join Laminate Countertops”