

Articles
How To Install New Countertops
Modified: January 5, 2024
Learn how to install new countertops with our helpful articles. Transform your kitchen or bathroom with step-by-step guides, tips, and inspiration.
(Many of the links in this article redirect to a specific reviewed product. Your purchase of these products through affiliate links helps to generate commission for Storables.com, at no extra cost. Learn more)
Introduction
Installing new countertops is an exciting and transformative project that can enhance the overall look and functionality of your kitchen or bathroom. Whether you’re looking to upgrade your countertops for aesthetic reasons or to increase the value of your home, this comprehensive guide will walk you through the steps of a successful countertop installation.
Before you begin, it’s essential to do some research and planning to ensure that you choose the right countertops for your space. Consider factors such as your budget, the desired style and color scheme, and the durability and maintenance requirements of different materials.
In this article, we will outline the step-by-step process of installing new countertops, from measuring and planning to the final finishing touches. With careful preparation and the right tools, you can achieve professional-looking results and enjoy a beautiful and functional space for years to come.
So, let’s dive into the details of how to install new countertops and revamp your kitchen or bathroom with this exciting DIY project!
Key Takeaways:
- Proper planning, precise measurements, and thoughtful layout considerations are essential for a successful countertop installation. Taking the time to prepare and select the right material will ensure a professional-looking result that meets your expectations.
- From removing existing countertops to securing the new ones in place, each step in the installation process plays a crucial role. Following manufacturer’s instructions, properly sealing, and finishing the countertops will ensure their longevity and beauty.
Read more: How To Install A New Showerhead
Step 1: Measure and Plan
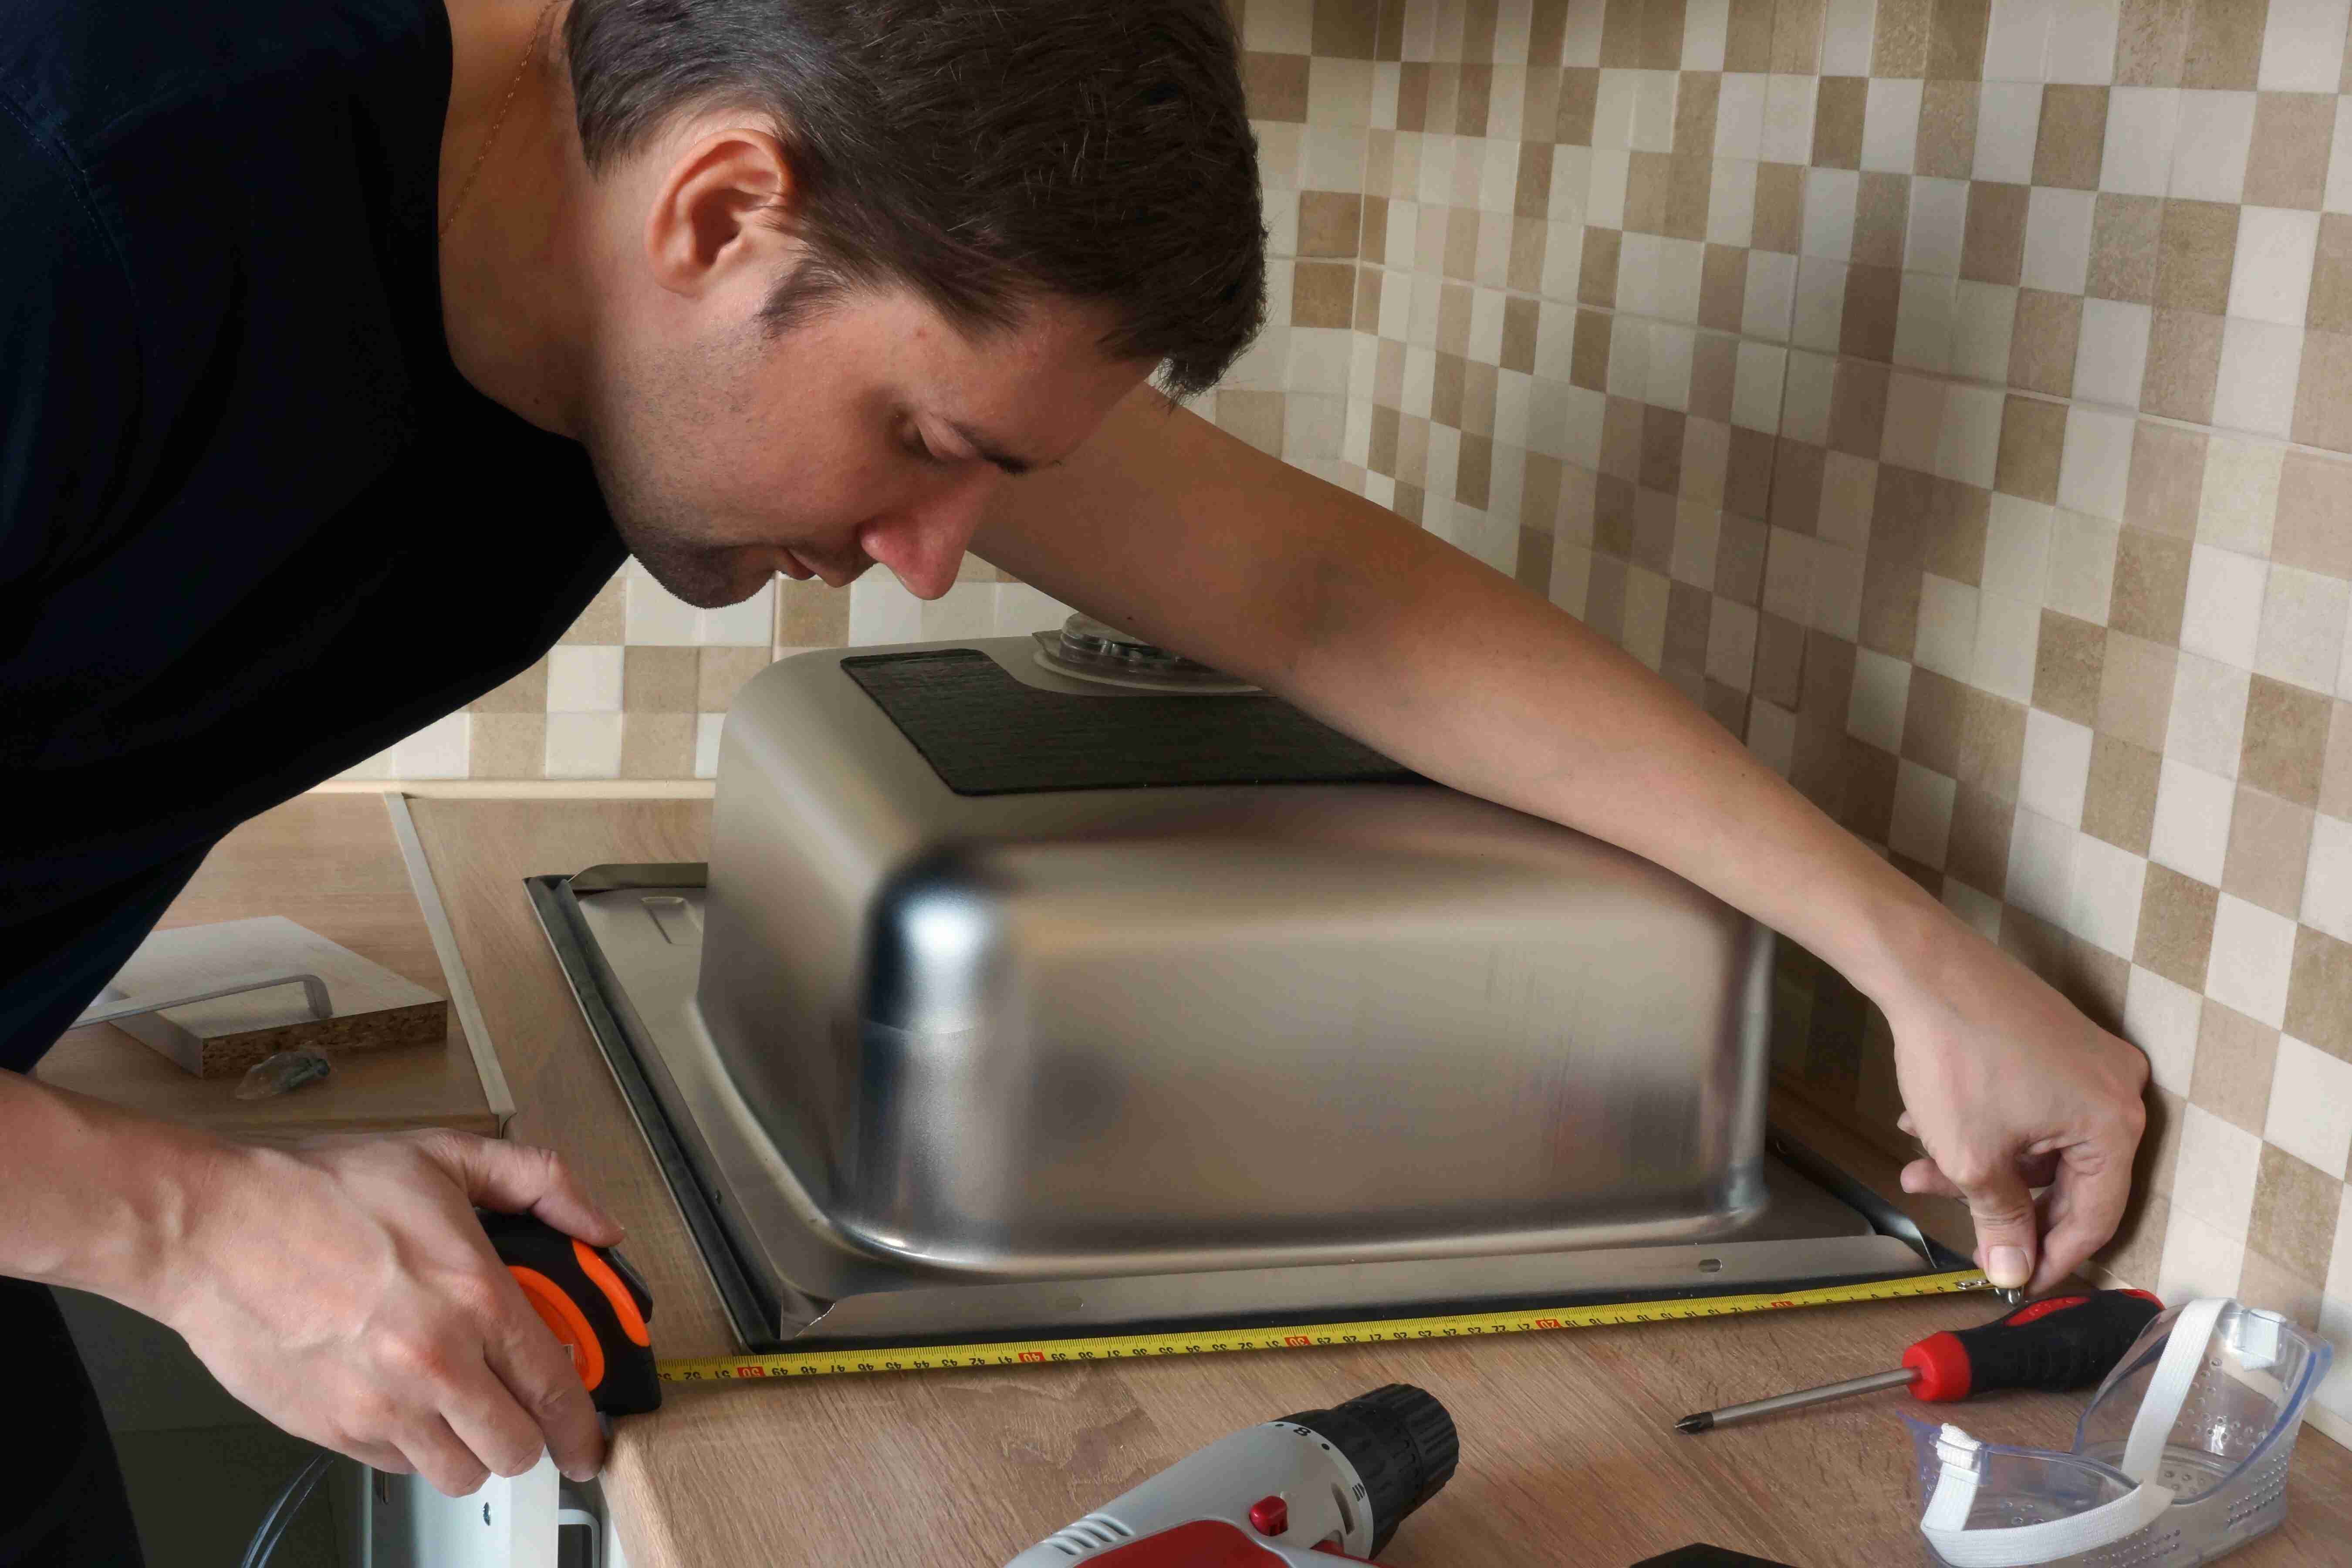
The first step in installing new countertops is to accurately measure the dimensions of your existing countertop or the space where the new countertops will be installed. This step is crucial to ensure that you purchase the correct amount of material and that the installation will be seamless.
Start by taking measurements of the length and width of your current countertops, using a tape measure. Make sure to account for any irregularities or protruding features, such as sinks or appliances, that may affect the dimensions of the new countertops.
Next, consider the thickness of the countertops you want to install. This will depend on the material you choose and the look you desire. Standard thicknesses range from 1 ¼ inches to 2 ¼ inches, but there may be variations depending on the specific material.
After taking accurate measurements, it’s time to plan the layout of your countertops. Consider factors such as the location of sinks, cooktops, and any other appliances or fixtures that will be installed. This will help you determine the number of slabs or pieces you’ll need to purchase to cover the entire area.
Additionally, think about the placement of seams. Seams are necessary when installing larger countertops or working with materials that are not available in large enough slabs. Ideally, seams should be strategically placed in less noticeable areas and carefully aligned to create a seamless appearance.
Once you have completed the measurements and layout planning, it’s time to select the material for your new countertops. There is a wide range of options available, including granite, quartz, marble, laminate, and more. Consider factors such as durability, maintenance requirements, and aesthetic appeal when making your selection.
Take your time during this stage and consult with countertop experts if needed. Accurate measurements and thoughtful planning will ensure a smoother installation process and a stunning end result.
Step 2: Remove Existing Countertops
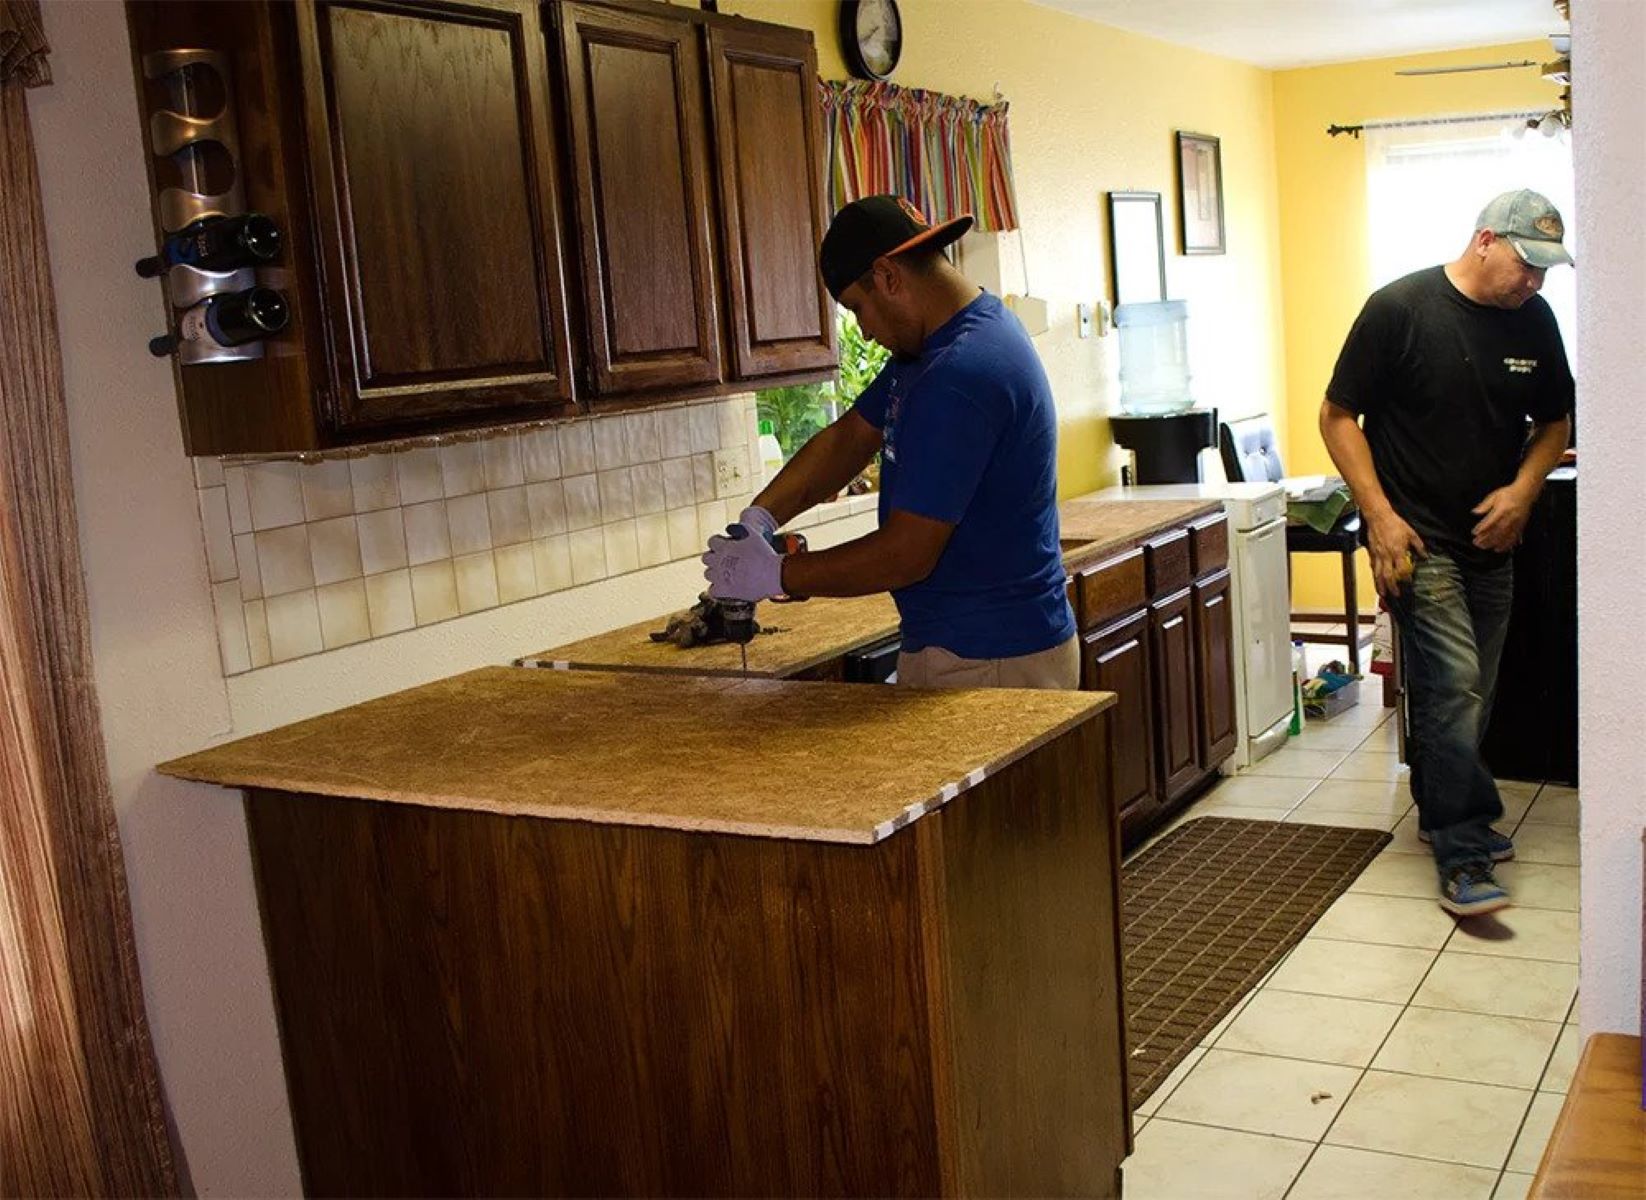
Before you can install your new countertops, you’ll need to remove the existing ones. This step requires careful preparation and attention to ensure that the process goes smoothly and doesn’t cause any damage to your cabinets or surrounding areas.
Here’s a step-by-step guide on how to remove your existing countertops:
- Clear the area: Remove all items from the countertops and clear the surrounding area to create a workspace.
- Turn off utilities: If your countertops have a sink or appliances connected to them, turn off the water supply and disconnect any electrical or plumbing connections.
- Protect cabinets: Use masking tape or adhesive protectors to cover the edges of your cabinets, preventing any accidental scratches or damages during the removal process.
- Remove caulk and adhesive: Using a utility knife or putty knife, carefully cut and remove any caulk or adhesive that is securing the countertops to the cabinets or walls.
- Unscrew brackets: If your countertops are secured to the cabinets with brackets, unscrew them using a screwdriver or drill.
- Lift the countertops: With the help of a friend or family member, lift the countertops straight up and away from the cabinets. It’s important to lift them evenly to avoid any unnecessary tension.
- Dispose of the old countertops: Depending on the material, size, and weight of the countertops, you may need to hire a professional service or rent a dumpster to dispose of them properly.
During the removal process, it’s important to take extra precautions if you are dealing with heavy or fragile countertops. Use protective gloves and work slowly and steadily to minimize the risk of injury or damage to yourself or your surroundings. If you are unsure about your ability to safely remove the countertops, consider hiring a professional to assist you.
Once the old countertops have been removed, take the time to inspect the cabinets and surrounding area for any damage. Repair or reinforce any weakened or damaged areas before proceeding with the installation of the new countertops.
Removing existing countertops can be a labor-intensive task, but with proper planning and precaution, you can complete this step successfully and move on to the exciting part of installing your new countertops.
Step 3: Prepare the Installation Area
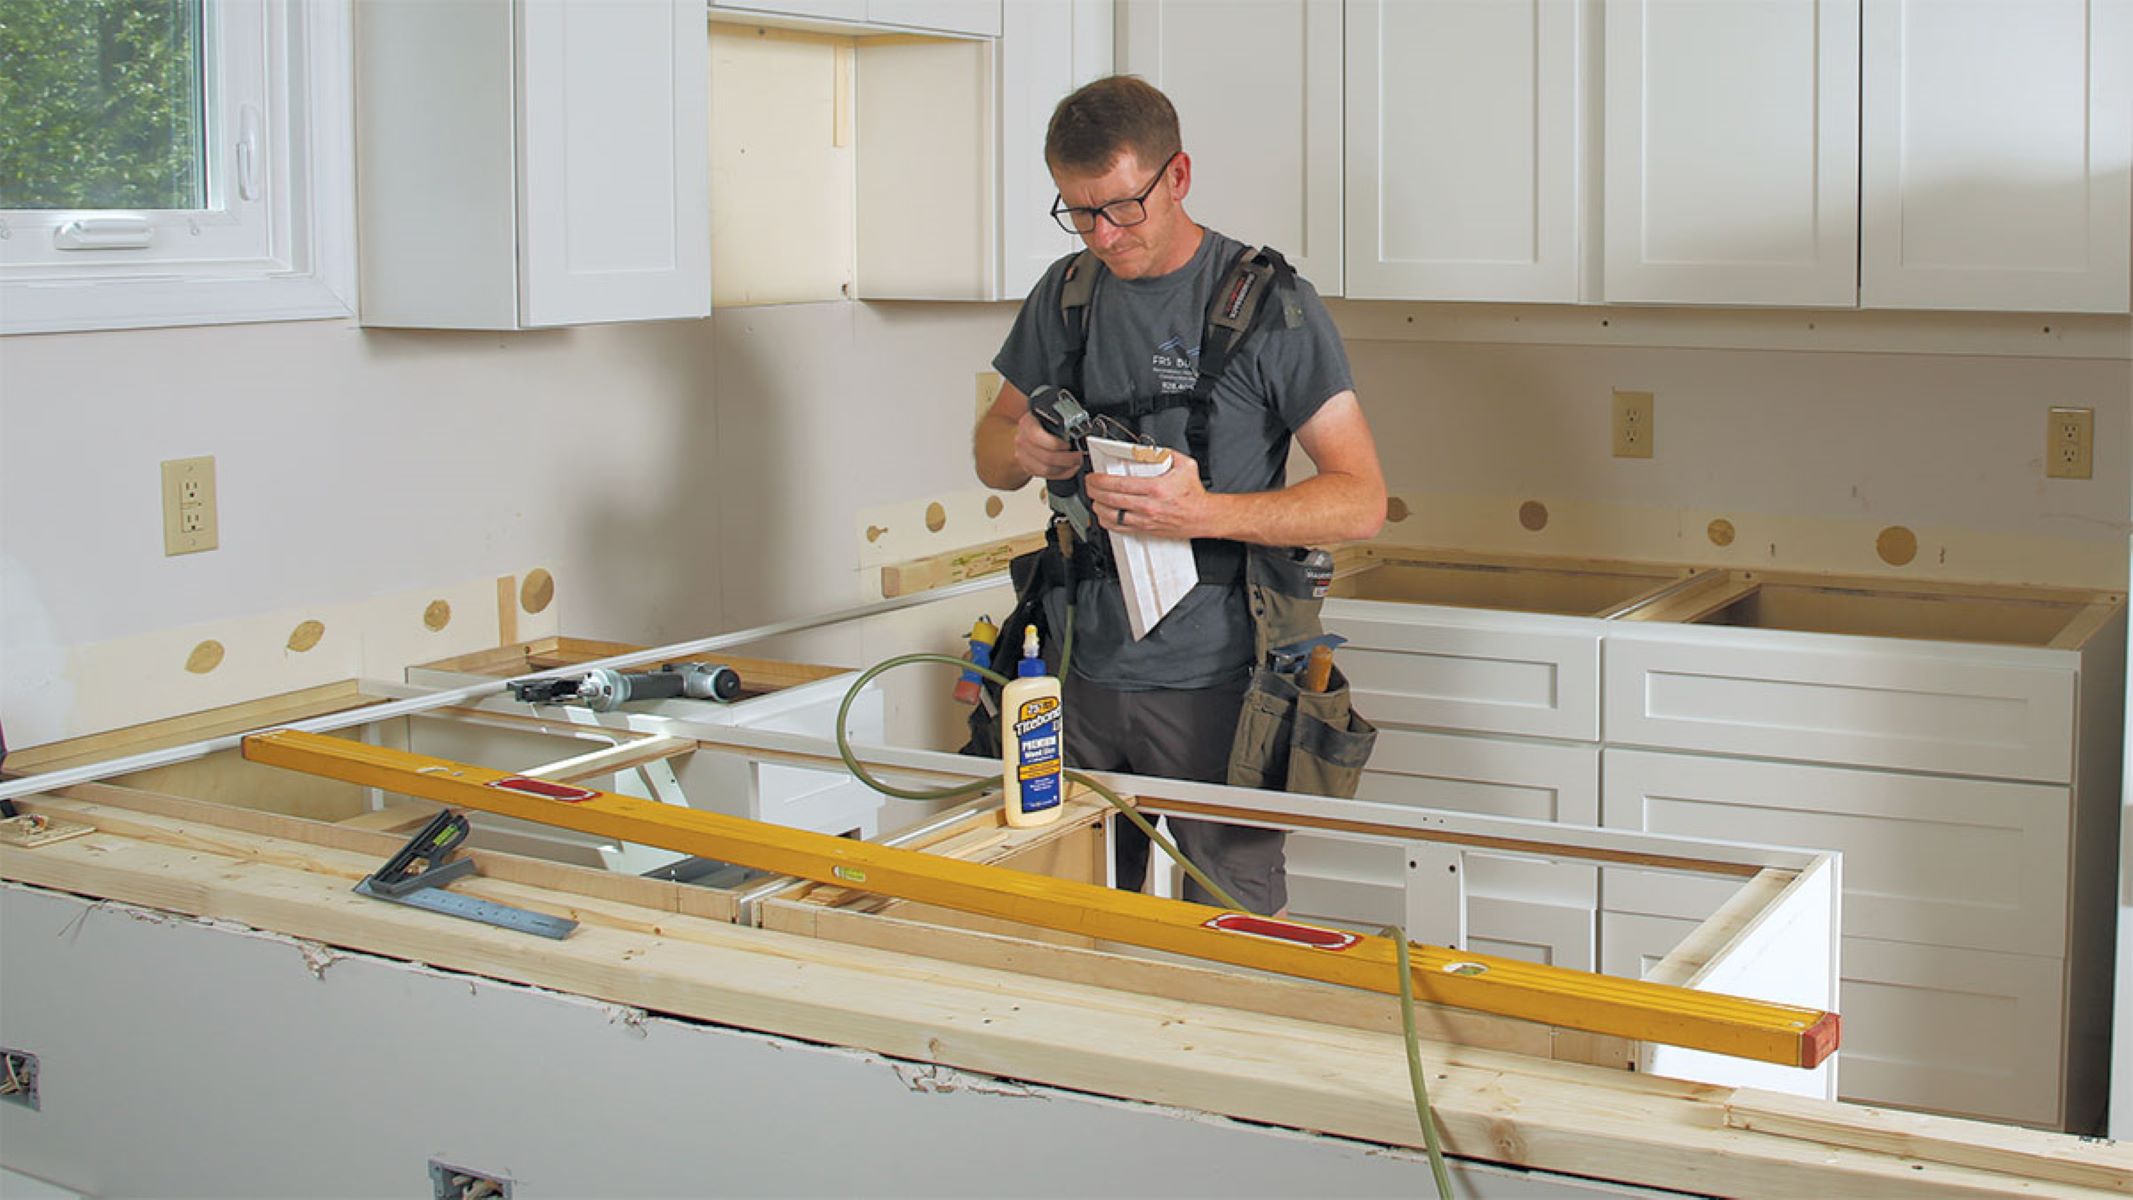
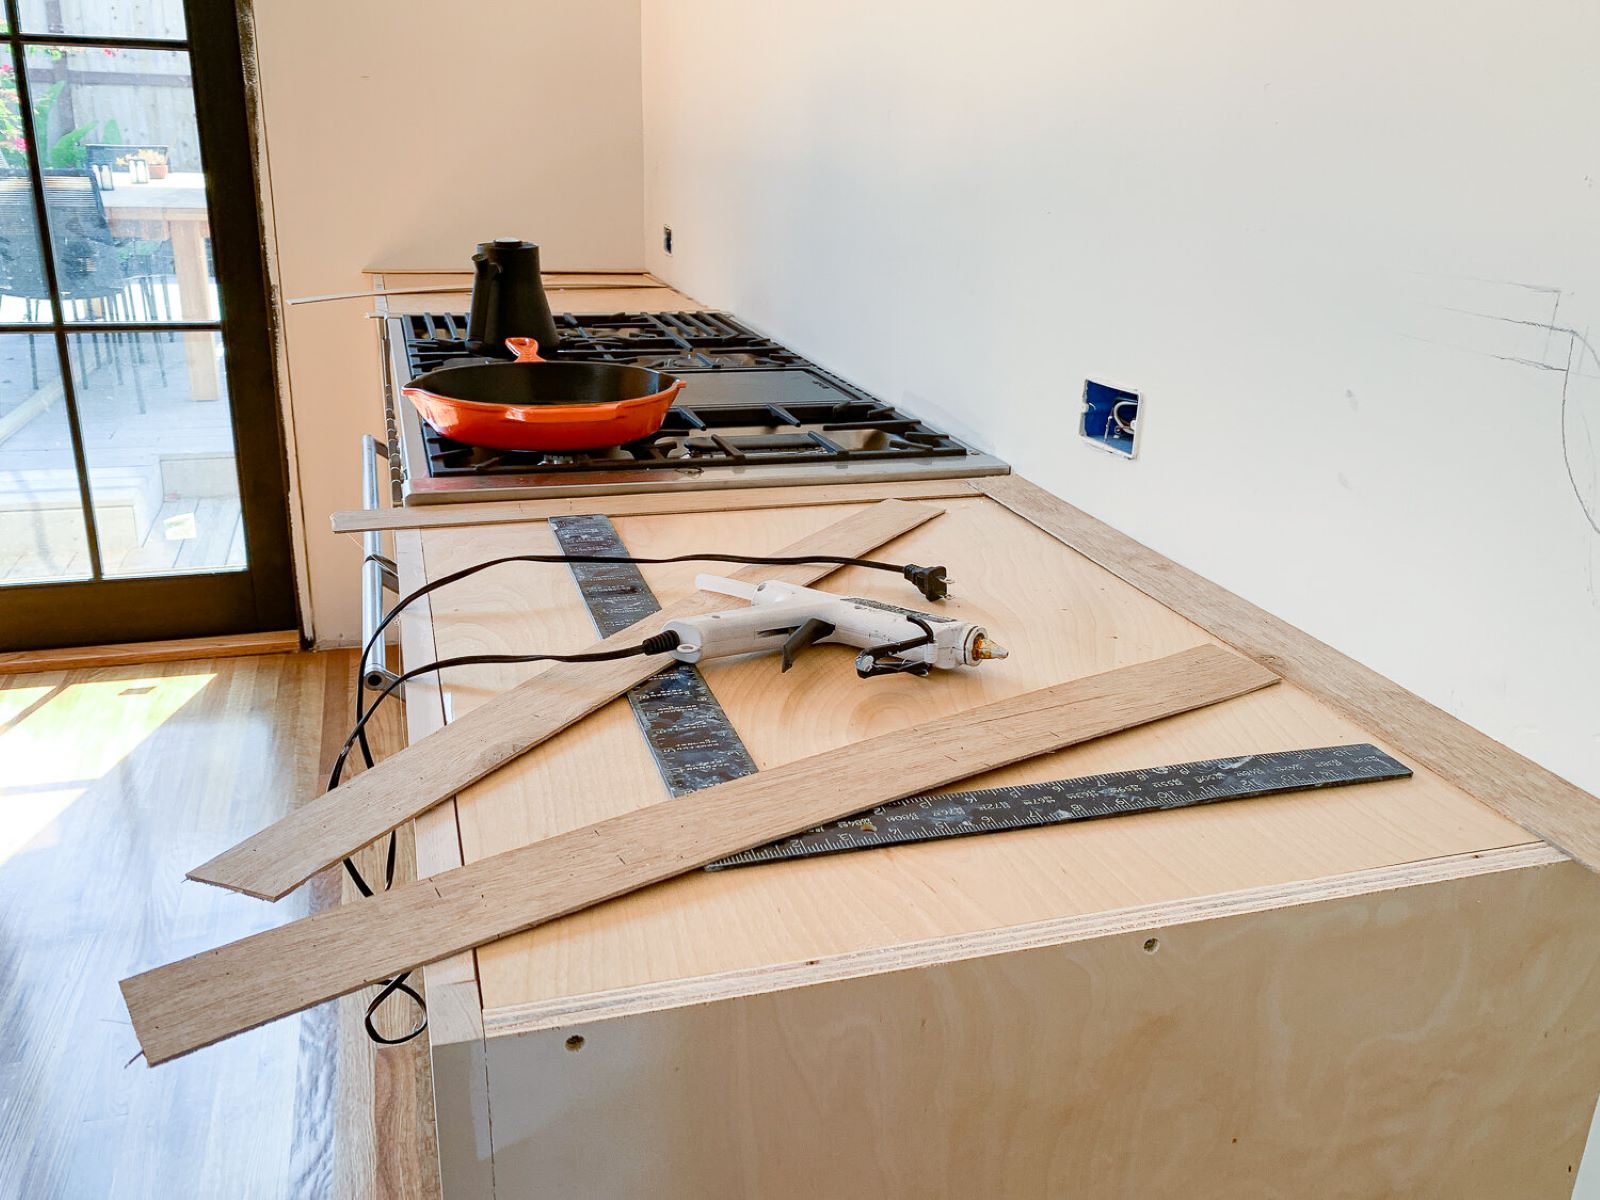
Before you can begin installing your new countertops, it’s important to properly prepare the installation area to ensure a smooth and successful installation. This step involves making necessary adjustments and modifications to your cabinets and ensuring a stable and level surface for the countertops.
Here are the key tasks involved in preparing the installation area:
- Inspect cabinets: Thoroughly inspect the cabinets to ensure that they are in good condition and capable of supporting the weight of the new countertops. Repair or reinforce any weak or damaged areas as needed.
- Level the cabinets: Use a level tool to ensure that the cabinets are level and even across the entire installation area. If any adjustments are needed, use shims or wooden shingles to achieve a level surface.
- Install support brackets: If your countertops require additional support to prevent sagging or shifting, install support brackets underneath. These brackets can be attached to the cabinets using screws or bolts, providing added stability and strength.
- Create cutouts: If your countertops will house appliances or fixtures such as sinks or cooktops, use a jigsaw or appropriate tools to create the necessary cutouts in the countertop material.
- Check for clearance: Ensure that there is enough clearance for appliances, faucets, and other fixtures to function properly. Check for any potential obstructions or issues that may affect the efficiency and functionality of the installed countertops.
- Secure adjacent surfaces: If your countertops are adjacent to walls or backsplashes, use screws or adhesive to secure them firmly in place. This will prevent any movement or shifting once the countertops are installed.
- Clean and prepare the surface: Thoroughly clean the cabinets and surrounding area, removing any dirt, debris, or adhesive residue. This will provide a clean and smooth surface for the countertops to be installed on.
By taking the time to properly prepare the installation area, you can ensure a stable and level foundation for your new countertops. This will contribute to a professional-looking installation and maximize the longevity and functionality of your countertops.
With the installation area properly prepared, you are now ready to move on to the next step: installing the new countertops!
When installing new countertops, make sure to measure the space accurately before purchasing the materials. It’s important to have precise measurements to ensure a proper fit.
Step 4: Install the New Countertops
Now that you’ve measured, planned, removed the existing countertops, and prepared the installation area, it’s time to install your new countertops. This step requires precision and careful attention to detail to ensure a secure and aesthetically pleasing installation.
Here’s a step-by-step guide on how to install your new countertops:
- Position the countertops: Carefully place the new countertops onto the prepared installation area. Take care to align them properly, ensuring a seamless fit.
- Check for levelness: Use a level tool to ensure that the countertops are level both front to back and side to side. If needed, adjust the placement of the countertops or make slight modifications to achieve a level surface.
- Apply adhesive: Once the countertops are in the desired position, apply a high-quality adhesive to the top edge of the cabinets. This will help secure the countertops in place.
- Lower the countertops: With the help of a friend or family member, carefully lower the countertops onto the adhesive. Apply even pressure to ensure proper adhesion.
- Check for gaps: Inspect for any gaps between the countertops and the walls or adjacent surfaces. If necessary, use shims or adjustable clamps to close any gaps and ensure a tight fit.
- Secure the countertops: To ensure that the countertops are securely fastened, use screws or brackets to attach them to the cabinets. Follow the manufacturer’s instructions and guidelines for proper installation.
- Clean off excess adhesive: Wipe off any excess adhesive that may have oozed out during the installation process. Use a damp cloth or sponge to clean the surface and create a neat appearance.
Remember, different countertop materials may require specific installation techniques or adhesives. Always refer to the manufacturer’s instructions and guidelines to ensure proper installation and to maintain the warranty of your countertops.
Installing your new countertops can be a rewarding and satisfying experience. Take your time, double-check your measurements and placements, and seek assistance if needed to achieve a professional and seamless installation.
With the new countertops securely in place, you’re one step closer to enjoying a beautifully revamped kitchen or bathroom.
Read more: How Long To Install Countertops
Step 5: Secure the Countertops in Place
Once you have installed the new countertops, the next important step is to secure them in place to ensure their stability and longevity. Properly securing the countertops will prevent any shifting, movement, or potential damage over time.
Follow these steps to securely fasten your countertops:
- Locate the support brackets: Determine where the countertop support brackets should be placed. These brackets are typically installed underneath the countertops to provide additional support and prevent sagging.
- Mark the placement: Use a pencil or marker to mark the spots where the brackets will be installed. Ensure that they are evenly spaced and strategically positioned to provide maximum support.
- Drill pilot holes: Using a drill, create pilot holes at the marked spots. The size of the pilot holes should match the screws or bolts that will be used to attach the brackets.
- Attach the brackets: Place the brackets over the pilot holes and secure them in place using screws or bolts. Make sure they are tightly fastened to provide a secure and stable foundation for the countertops.
- Check for levelness: Once the brackets are securely attached, use a level tool to check the levelness of the countertops. Adjust the brackets if necessary to ensure an even and level surface.
- Tighten the brackets: Double-check the tightness of the screws or bolts that secure the brackets. Ensure that they are fully tightened to prevent any movement or instability.
- Inspect the seams: If your countertops have seams, check them carefully to ensure that they are aligned properly and securely joined. If needed, use an adhesive or filler recommended for the specific countertop material to ensure a seamless appearance.
It’s important to note that the specific process of securing the countertops may vary depending on the material and design. Always refer to the manufacturer’s instructions and guidelines for the best practices related to your particular countertops.
By properly securing your countertops, you can avoid any potential issues in the future and enjoy a sturdy and functional workspace in your kitchen or bathroom.
With the countertops securely in place, you’re almost done with the installation process. The final step is to apply the finishing touches and give your new countertops the perfect look!
Step 6: Seal and Finish the Countertops
Sealing and finishing your countertops is the final step in the installation process, as it adds a layer of protection and enhances the appearance of the surfaces. Proper sealing and finishing will help to prevent stains, water damage, and scratches, ensuring the longevity and beauty of your countertops.
Follow these steps to seal and finish your countertops:
- Clean the countertops: Thoroughly clean the countertops to remove any dust, debris, or residue from the installation process. Use a mild cleaner or soap and warm water to ensure a clean surface.
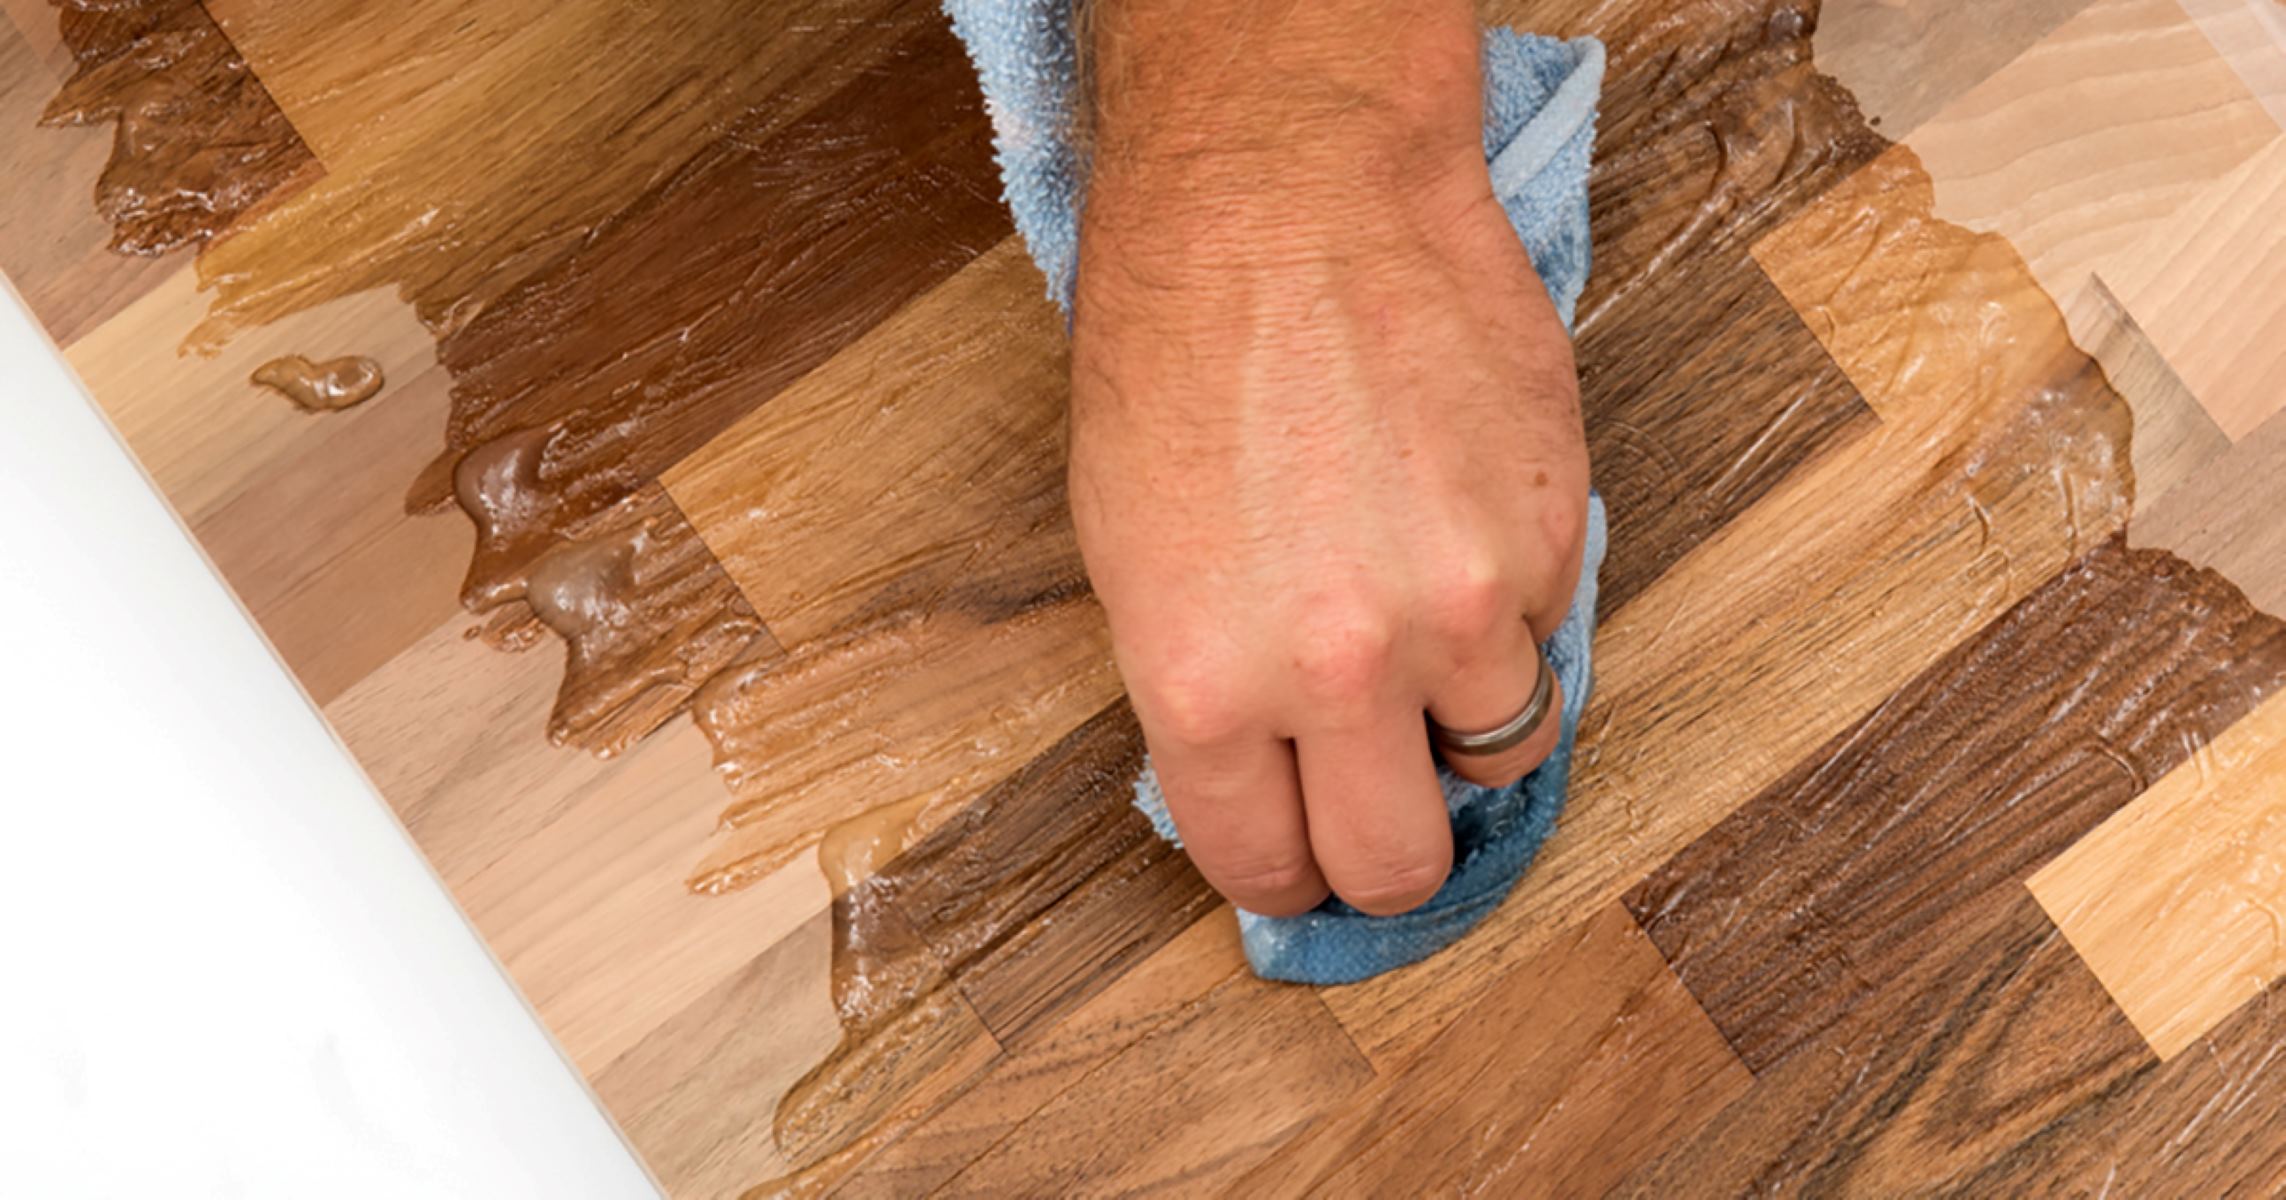
- Select the appropriate sealer: Choose a sealer that is specifically designed for your countertop material. Common sealers include penetrating sealers, topical sealers, and enhancer sealers. Read the manufacturer’s instructions for the sealer to determine the application process.
- Apply the sealer: Use a clean cloth or brush to apply the sealer evenly to the entire surface of the countertops. Follow the instructions on the sealer product carefully, including any recommended drying times or multiple coat applications.
- Allow for curing time: After applying the sealer, allow sufficient time for it to dry and cure. This can range from a few hours to a few days, depending on the specific sealer and the manufacturer’s recommendations.
- Apply a final finish (optional): Depending on your countertop material, you may choose to apply a final finish to enhance the appearance and add an extra layer of protection. Finishes such as wax or polish can provide a glossy or matte finish, depending on your preference.
- Regular maintenance: Once the sealer and finish have fully cured, be sure to follow the recommended maintenance instructions for your specific countertop material. This may include using non-abrasive cleaners, avoiding harsh chemicals, and using cutting boards or trivets to protect the surface.
Properly sealing and finishing your countertops will help to keep them looking beautiful and well-maintained for years to come. Additionally, regular maintenance and cleaning will ensure that your countertops retain their functionality and durability over time.
With the countertops sealed and finished, you have successfully completed the installation process! Step back and admire your newly transformed kitchen or bathroom, and enjoy the functional and aesthetically pleasing space you have created.
Remember to keep any leftover sealer or finish for future touch-ups, and consult with the manufacturer or a professional for any specific maintenance or care guidelines related to your countertop material.
Congratulations on completing your countertop installation project, and enjoy your new beautiful and functional countertops!
Conclusion
Installing new countertops can completely transform the look and feel of your kitchen or bathroom. It is a rewarding DIY project that allows you to add both functionality and beauty to your space. By following the step-by-step guide outlined in this article, you can successfully install new countertops and create a stunning and functional workspace.
From measuring and planning to removing the existing countertops, preparing the installation area, and securing the new countertops in place, each step plays a crucial role in the overall success of the installation process. Taking the time to properly measure, plan, and prepare will ensure that you achieve a professional-looking result that meets your expectations. Properly securing the countertops and applying sealing and finishing touches provide the final touch of durability and aesthetic appeal.
Remember to consider the specific characteristics and requirements of the countertop material you choose, and always refer to the manufacturer’s instructions for the best practices. Each material may have its own unique installation process, care instructions, and required tools to ensure the best outcome.
Whether you’re upgrading your kitchen or refreshing your bathroom, installing new countertops is a significant investment that can greatly enhance the value and enjoyment of your home. Take your time, enlist the help of others if needed, and enjoy the process of creating a beautiful and functional space that reflects your personal style.
With proper planning, careful execution, and attention to detail, you can successfully install new countertops and take pride in the results for years to come.
Frequently Asked Questions about How To Install New Countertops
Was this page helpful?
At Storables.com, we guarantee accurate and reliable information. Our content, validated by Expert Board Contributors, is crafted following stringent Editorial Policies. We're committed to providing you with well-researched, expert-backed insights for all your informational needs.




0 thoughts on “How To Install New Countertops”