Articles
How To Install Motorized Blinds
Modified: September 1, 2024
Looking for step-by-step articles on how to install motorized blinds? We've got you covered! Check out our comprehensive guides to get your blinds up and running easily and efficiently.
(Many of the links in this article redirect to a specific reviewed product. Your purchase of these products through affiliate links helps to generate commission for Storables.com, at no extra cost. Learn more)
Introduction
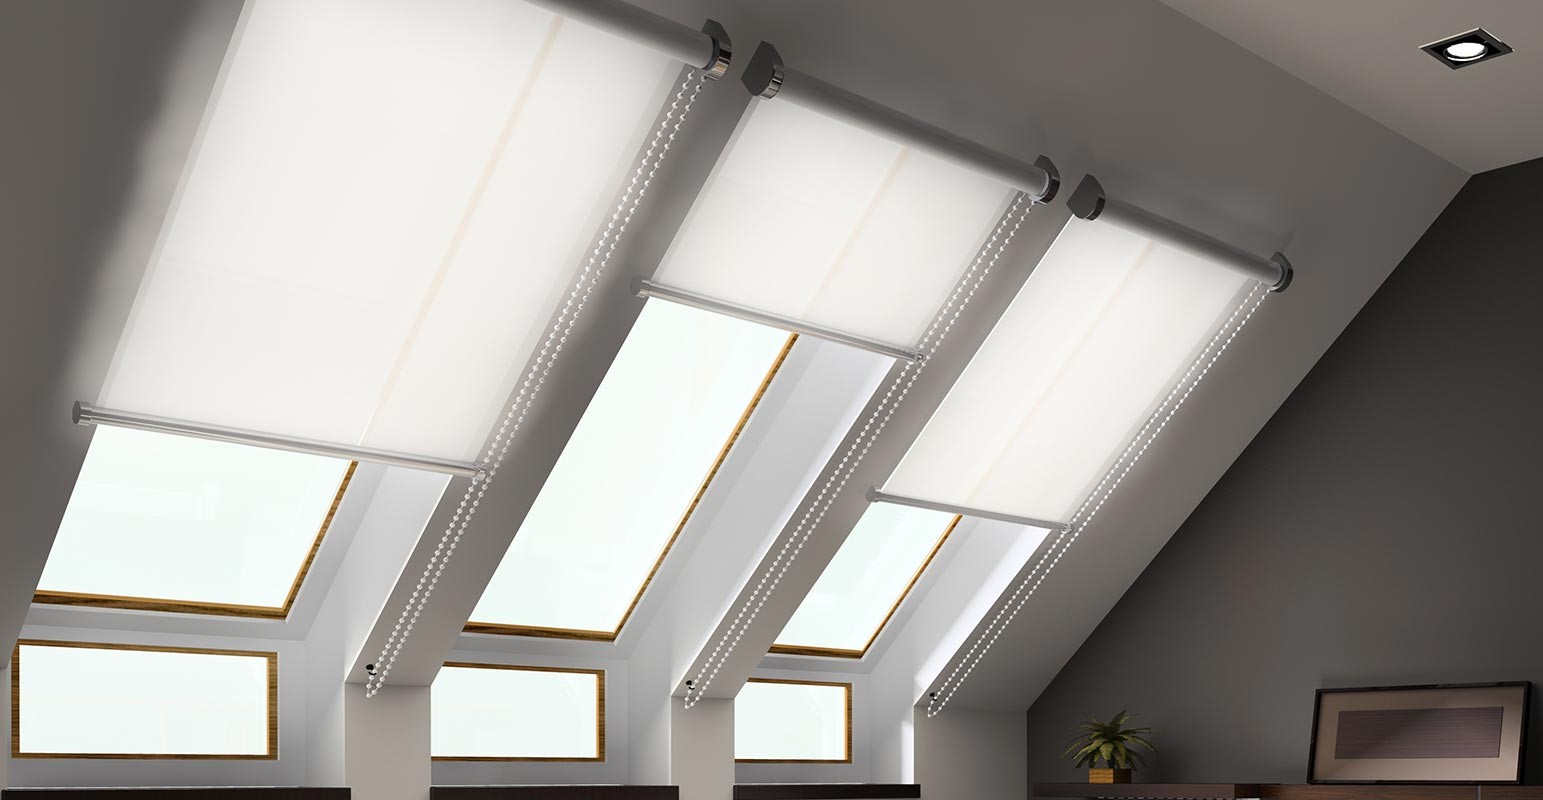
Motorized blinds offer a convenient and modern solution for controlling the amount of light and privacy in your home or office. With just a push of a button, you can effortlessly raise or lower your blinds, eliminating the need for manual operation. Whether you want to enjoy a sunny morning or create a dimly lit ambiance in the evening, motorized blinds provide the flexibility to customize your space according to your preferences.
In this article, we will guide you through the process of installing motorized blinds. We will cover everything from gathering the necessary tools and materials to programming and fine-tuning the operation of your blinds. So, let’s get started with this exciting DIY project that will enhance both the functionality and aesthetics of your space.
Key Takeaways:
- Enjoy the convenience of motorized blinds by following a seamless DIY installation process. Customize your space effortlessly with just the touch of a button, adding sophistication and practicality to your home or office.
- Ensure a smooth and hassle-free installation of motorized blinds by gathering the necessary tools, measuring accurately, and fine-tuning their operation. Embrace modernity and convenience with this rewarding DIY project.
Read more: How To Motorize Blinds
Step 1: Gather the Necessary Tools and Materials
Before you begin the installation process, it is essential to gather all the tools and materials you will need. Having everything prepared will save you time and ensure a smooth installation. Here are the tools and materials you will need for installing motorized blinds:
- Motorized blinds kit: This will include the motor, remote control, and necessary mounting brackets.
- Tape measure: Use a tape measure to accurately measure the dimensions of your windows.
- Pencil or marker: You will need a pencil or marker to mark the mounting locations on the wall or window frame.
- Screwdriver or drill: Depending on the type of screws included in your kit, you may need a screwdriver or drill to install the mounting brackets.
- Screws: Ensure that you have the appropriate screws for mounting the brackets onto your wall or window frame.
- Level: A level will help you ensure that the blinds are installed straight and level.
- Power drill: If you need to drill pilot holes for the screws, a power drill will come in handy.
- Wire cutter/stripper: This tool will be useful if you need to cut or strip wires during the installation process.
- Wire nuts: To securely connect the wires, you will need wire nuts.
- Electrical tape: Use electrical tape to insulate and secure any exposed wires.
Make sure you have all these tools and materials ready before you begin the installation process. This will ensure that you have a seamless experience and will prevent any unnecessary interruptions during the installation.
Step 2: Measure and Mark the Mounting Locations
Accurate measurements are crucial when installing motorized blinds to ensure a proper fit and smooth operation. Before you start marking the mounting locations, gather your tape measure, pencil or marker, and level.
Here’s how to measure and mark the mounting locations for your motorized blinds:
- Measure the width of your window: Use the tape measure to measure the width of your window frame or the area where you want to install the blinds. Write down the measurement for reference.
- Decide on the mounting position: Determine whether you want to mount the blinds inside the window frame (inside mount) or on the wall above the window frame (outside mount). This decision will affect the placement of the mounting brackets.
- Mark the mounting locations: For an inside mount, measure and mark the positions where the top of the blinds will be placed. Make sure the marks are level and evenly spaced. If you’re opting for an outside mount, measure and mark the positions for the top of the blinds, ensuring that they will cover the desired area when fully extended.
- Mark the centerline: To ensure symmetrical placement, mark the centerline of the window or the desired area where the blinds will be installed. This will help you align the mounting brackets accurately.
- Double-check the measurements: Before proceeding to the next step, double-check all the measurements and marks to ensure accuracy.
Remember, precise measurements and markings are crucial to ensure that your motorized blinds fit perfectly and operate smoothly. Take your time during this step to ensure an optimal installation.
Step 3: Install the Mounting Brackets
Once you have marked the mounting locations for your motorized blinds, it’s time to install the mounting brackets. The brackets will securely hold the blinds in place and provide stability during operation. Follow these steps to install the mounting brackets:
- Prepare the necessary tools: Ensure that you have your screwdriver or drill, screws, and level ready.
- Position the first bracket: Start with one of the marked mounting locations. Hold the bracket against the wall or window frame, aligning it with the marks you made. Use the level to ensure that the bracket is straight and level.
- Secure the first bracket: Once the bracket is aligned, use your screwdriver or drill to secure it in place. Make sure to use the appropriate screws for your wall or window frame material.
- Repeat for remaining brackets: Move on to the next marked mounting location and repeat the process. Check each bracket with the level to ensure they are all straight and level.
- Double-check the installation: Once all brackets are installed, double-check their alignment and stability. Ensure that they are securely attached and level.
Properly installed mounting brackets are crucial for the stability and functionality of your motorized blinds. Taking the time to align and secure the brackets will ensure a smooth and hassle-free operation.
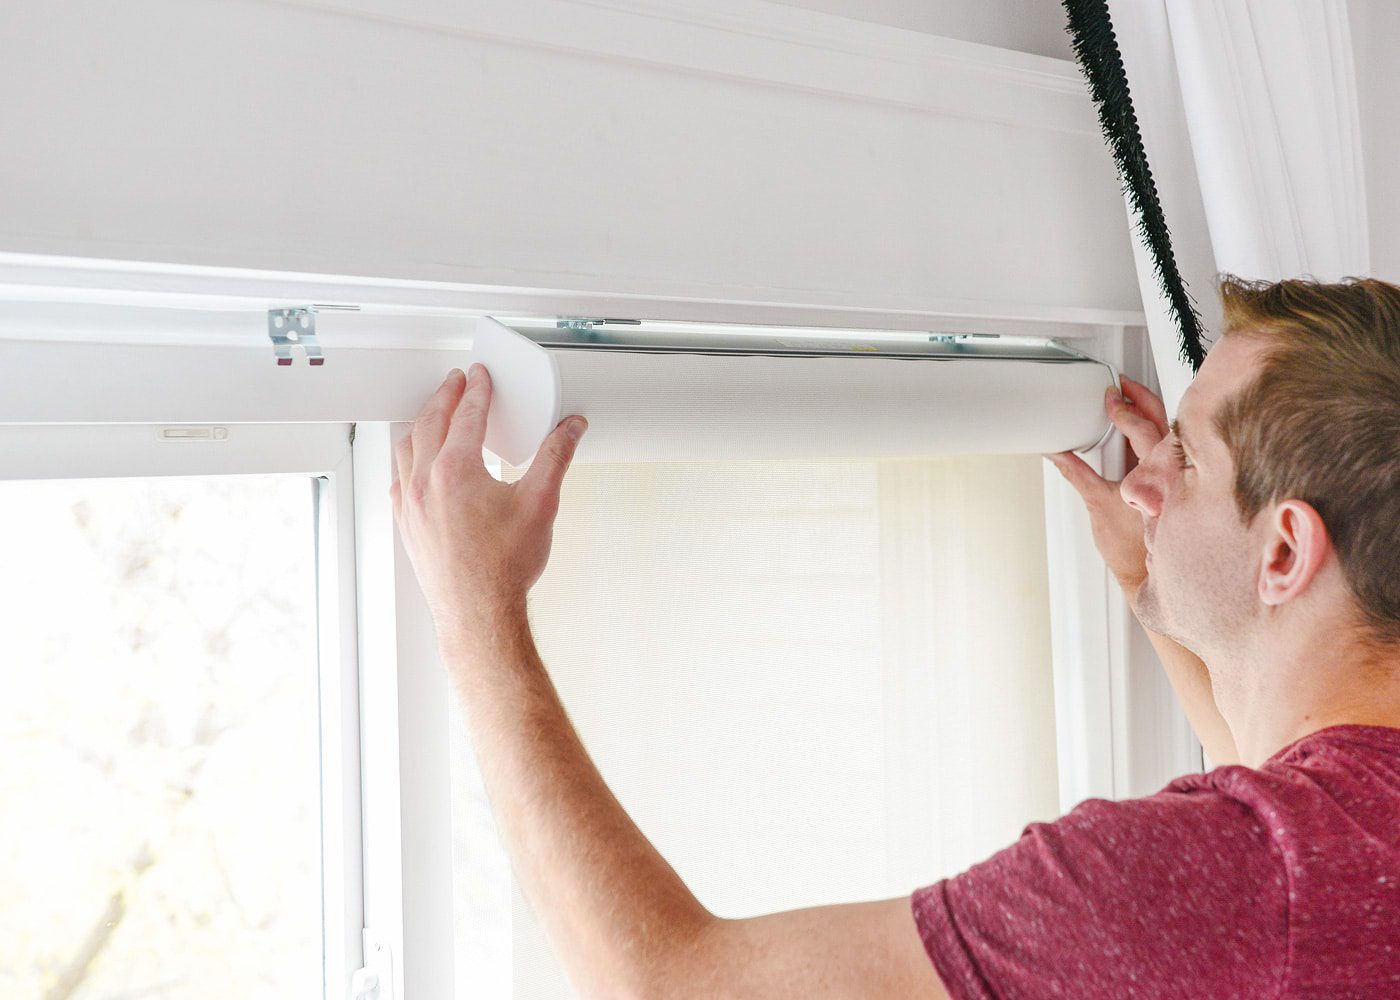
Step 4: Attach Motorized Blind to the Mounting Brackets
With the mounting brackets securely in place, it’s time to attach the motorized blind to the brackets. This step will allow you to see your motorized blinds taking shape and getting ready for operation. Follow these steps to attach the blind to the mounting brackets:
- Prepare the blind and remote control: Remove the motorized blind from its packaging and make sure the remote control is within reach.
- Lift the blind into position: Lift the blind and align the top rail with the mounting brackets. Ensure that the blind is centered in the window or the desired area.
- Slide the blind into the brackets: Carefully slide the blind into the mounting brackets, allowing the brackets to securely hold it in place. Make sure the blind is level and aligned with the mounting brackets.
- Lock the blind into place: Depending on the design of your motorized blinds, there may be a locking mechanism or clips that need to be engaged to secure the blind firmly to the brackets. Follow the manufacturer’s instructions to lock the blind into place.
- Test the operation: Once the blind is attached to the brackets, test the motorized operation using the remote control. Lower the blind to its full length and raise it back up to ensure smooth movement and proper functioning.
Attaching the motorized blind to the mounting brackets is an exciting moment in the installation process. Take your time to ensure that the blind is properly aligned and securely locked into place for optimal performance.
When installing motorized blinds, make sure to carefully measure the window dimensions and select the appropriate mounting brackets for a secure and stable installation.
Read more: How To Charge Motorized Blinds
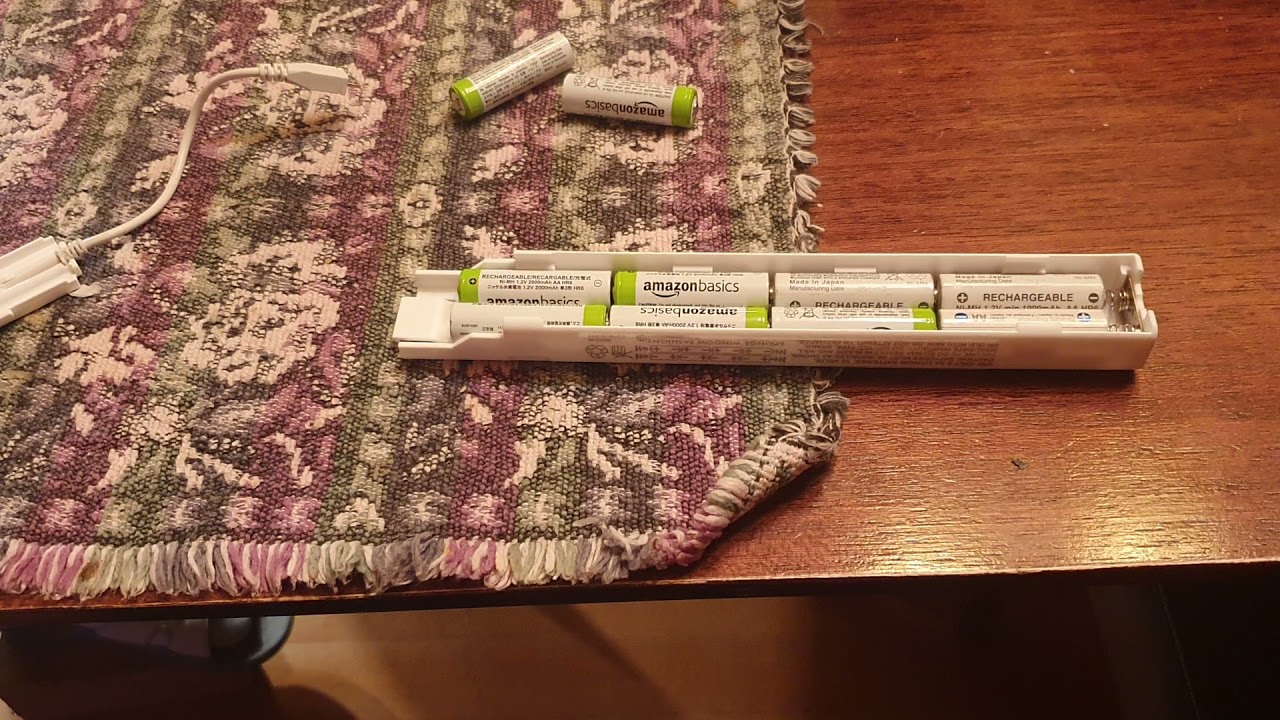
Step 5: Connect the Power Source
Connecting the power source is a crucial step in installing motorized blinds as it enables them to function properly. Before you start, make sure to turn off the power supply in the room where you are installing the blinds. Follow these steps to connect the power source:
- Locate the power source: Depending on the design of your motorized blinds, the power source may be located near the mounting brackets or in a separate control unit. Refer to the manufacturer’s instructions to identify the power source.
- Prepare the wires: If necessary, strip the ends of the wires connecting the power source with the motorized blind. Use wire cutters/strippers to carefully remove the insulation, exposing the bare wire ends.
- Connect the wires: Connect the corresponding wires from the power source to the motorized blind. Depending on your specific setup, this may involve connecting colored wires or matching specific terminals. Use wire nuts to securely connect and insulate the wires.
- Secure the connection: Once the wires are connected, use electrical tape to wrap around the wire nuts, ensuring that the connection is secure and protected. This will prevent any accidental disconnections or exposed wires.
- Turn on the power supply: After verifying that all connections are secure, turn on the power supply to the room. Check that the motorized blind receives power and is ready for operation.
Connecting the power source properly is essential for the functionality of your motorized blinds. Take care to follow the manufacturer’s instructions and ensure that all connections are secure and insulated to avoid any electrical issues.
Step 6: Program and Test the Motorized Blinds
Once the motorized blinds are installed and connected to the power source, it’s time to program and test their operation. This step will allow you to customize the settings and ensure that the blinds work smoothly. Follow these steps to program and test your motorized blinds:
- Refer to the manufacturer’s instructions: Different motorized blind systems may have different programming methods. Refer to the manufacturer’s instructions for specific guidance on programming your blinds.
- Set the desired limits: Most motorized blinds allow you to program the upper and lower limits, which determine the maximum and minimum positions of the blinds. Follow the instructions to set these limits according to your preferences.
- Adjust the speed and sensitivity: Some systems offer the ability to adjust the speed and sensitivity of the motorized blinds. Experiment with these settings to find the optimal speed and sensitivity for your needs.
- Test the remote control: Use the remote control to operate the blinds and ensure that they respond accurately to your commands. Test both raising and lowering the blinds, as well as stopping them at desired positions.
- Program additional features (if applicable): Depending on the system, you may have additional features available, such as timer settings or integration with smart home automation. Follow the manufacturer’s instructions to program these features if desired.
- Repeat the programming process (if necessary): If you have multiple motorized blinds, repeat the programming process for each one individually, ensuring that they are all set up correctly.
Programming and testing your motorized blinds is an important step to ensure their proper functionality and customization. Take the time to familiarize yourself with the programming process and adjust the settings to suit your preferences.
Step 7: Adjust and Fine-Tune the Blinds’ Operation
After programming and testing, it’s time to fine-tune the operation of your motorized blinds to meet your specific needs and preferences. This step involves making small adjustments and tweaks to ensure that the blinds operate smoothly and provide the desired amount of light and privacy. Follow these steps to adjust and fine-tune the blinds’ operation:
- Check for smooth movement: Observe the movement of the blinds as they raise and lower. Ensure that they move smoothly without getting stuck or making any unusual noises. If you notice any issues, such as resistance or jerky movements, check the alignment of the blinds and the mounting brackets.
- Test different positions: Lower the blinds to various positions and observe how they align with the window or desired area. Make any necessary adjustments to the upper and lower limits to achieve the desired position and coverage.
- Consider adjusting the tilt or slats (if applicable): If your motorized blinds have adjustable slats, experiment with different tilting angles to control privacy and light levels. Adjust the slats to achieve the desired amount of light filtering or shading.
- Make alignment adjustments: If you notice that the blinds are not aligning evenly or have a slight tilt, adjust the brackets slightly to correct the alignment. Use a level to ensure that the blinds are perfectly straight when fully extended.
- Test the operation with different lighting conditions: Observe how the motorized blinds perform in different lighting conditions throughout the day. Check for any glare or excess light leakage and make adjustments as necessary to improve light control.
- Address any programming or operational issues: If you encounter any programming or operational issues during the fine-tuning process, consult the manufacturer’s instructions or customer support to troubleshoot and resolve the problem.
By adjusting and fine-tuning the operation of your motorized blinds, you can ensure that they function optimally and provide the desired level of light control and privacy for your space. Take your time during this step to achieve the perfect balance and customize the blinds to your liking.
Conclusion
Installing motorized blinds can be a rewarding and beneficial project that adds convenience and functionality to your living or working space. By following the steps outlined in this guide, you can successfully install your motorized blinds and enjoy the numerous advantages they offer.
Throughout the installation process, we covered the essential steps starting from gathering the necessary tools and materials to programming and fine-tuning the blinds’ operation. By taking the time to measure accurately, mark mounting locations, install brackets securely, and connect the power source correctly, you ensure the proper functioning of your motorized blinds.
Once the blinds are installed, programming and testing them allows for customization and personalization based on your preferences. Adjusting the blinds’ movement, setting limits, and fine-tuning their operation ensure smooth and seamless functionality.
Remember, safety is paramount during the installation process. Always turn off the power supply before connecting any electrical components and consult professional assistance if needed.
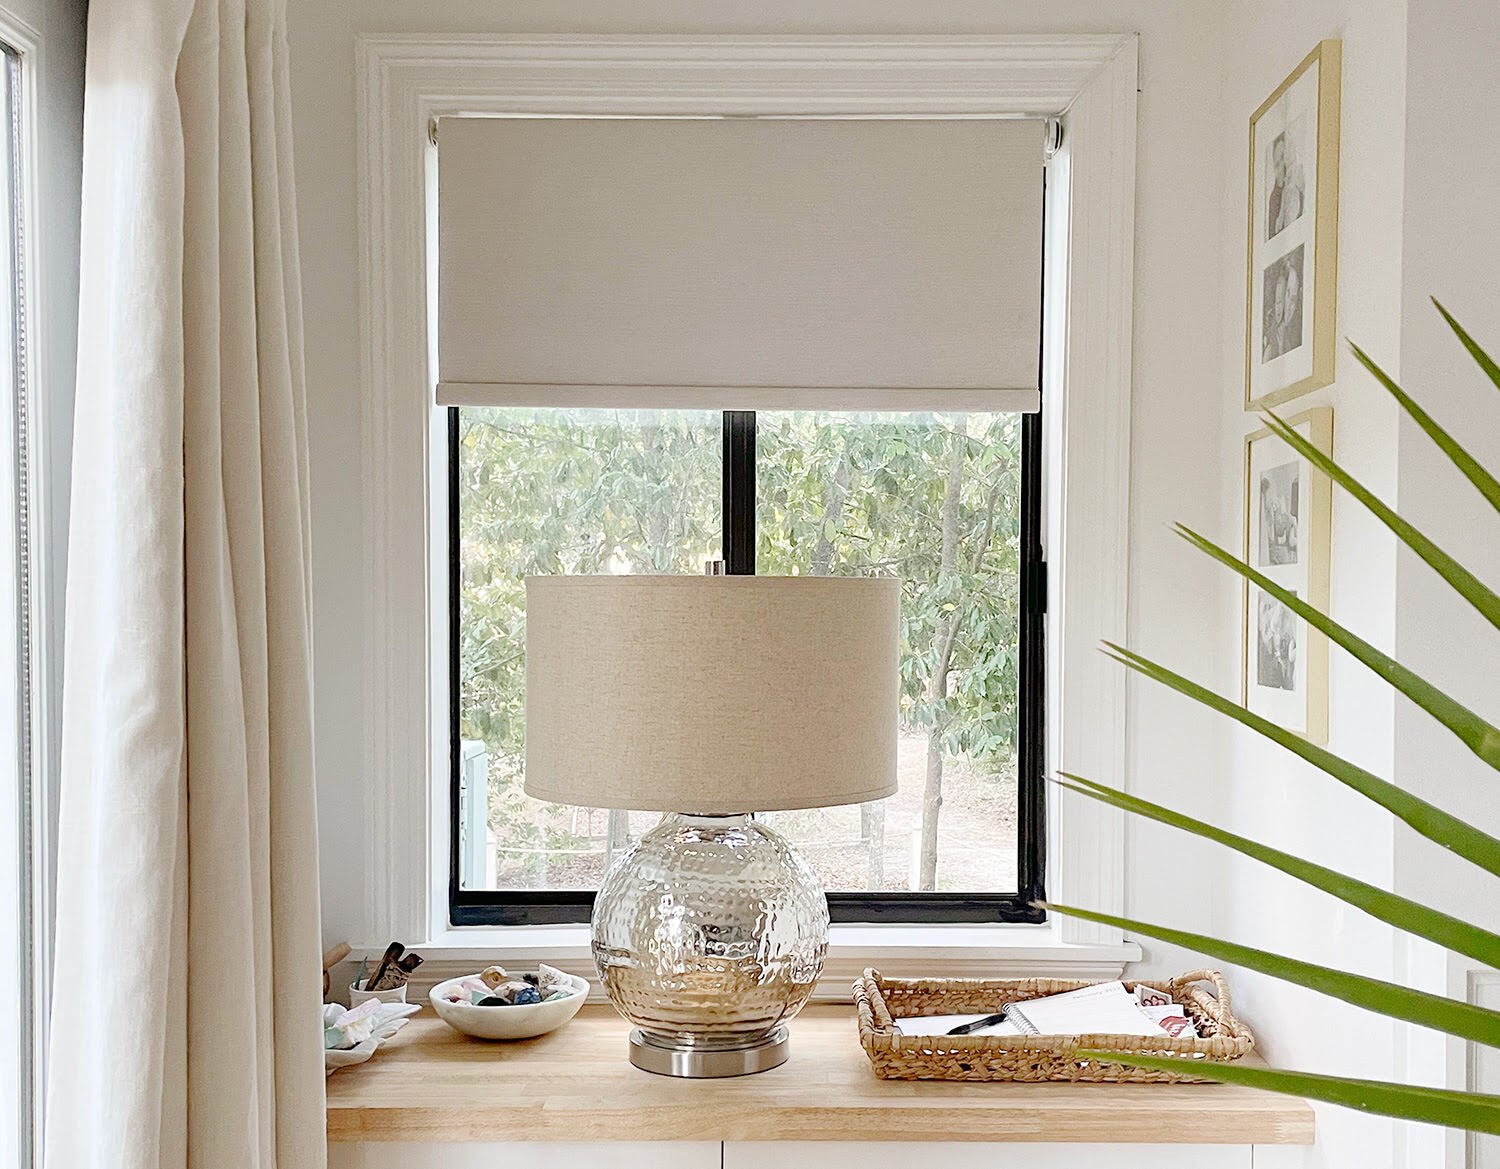
With motorized blinds, you can effortlessly control the amount of light and privacy in your space with just the touch of a button. Enjoy the convenience and modernity that motorized blinds bring, and transform your living or work environment to suit your needs and style.
Now that you have completed the installation process, sit back, relax, and enjoy the benefits of your motorized blinds. You have successfully added a touch of sophistication and practicality to your home or office!
Frequently Asked Questions about How To Install Motorized Blinds
Was this page helpful?
At Storables.com, we guarantee accurate and reliable information. Our content, validated by Expert Board Contributors, is crafted following stringent Editorial Policies. We're committed to providing you with well-researched, expert-backed insights for all your informational needs.