Home>Articles>How To Install Blinds Outside The Window Frame
Articles
How To Install Blinds Outside The Window Frame
Modified: October 19, 2024
Looking for step-by-step articles on how to install blinds outside the window frame? Discover expert tips and guidance to make your installation process a breeze.
(Many of the links in this article redirect to a specific reviewed product. Your purchase of these products through affiliate links helps to generate commission for Storables.com, at no extra cost. Learn more)
Introduction
Installing blinds outside the window frame is a practical and stylish way to enhance the aesthetics and functionality of your windows. Whether you are looking to improve privacy, control sunlight, or add a touch of elegance to your space, installing blinds can be a simple and rewarding DIY project. In this article, we will guide you through the step-by-step process of installing blinds outside the window frame.
Before we begin, it’s important to note that every window is unique, and the specific steps may vary depending on the design of your window and the type of blinds you choose. However, this guide will provide you with a general overview of the installation process to help you get started.
By following these instructions, you can successfully install blinds outside the window frame and transform the look and feel of your space. So, let’s dive in and learn how to bring a touch of style and functionality to your windows!
Key Takeaways:
- Properly measuring your window and choosing the right blinds are crucial for a successful installation. Take your time, consider all factors, and ensure a seamless fit for a stylish and functional window treatment.
- Careful preparation, precise installation of mounting brackets, and thorough testing are essential for ensuring your blinds are secure, level, and operate smoothly. Attention to detail and patience will result in a professional and rewarding DIY project.
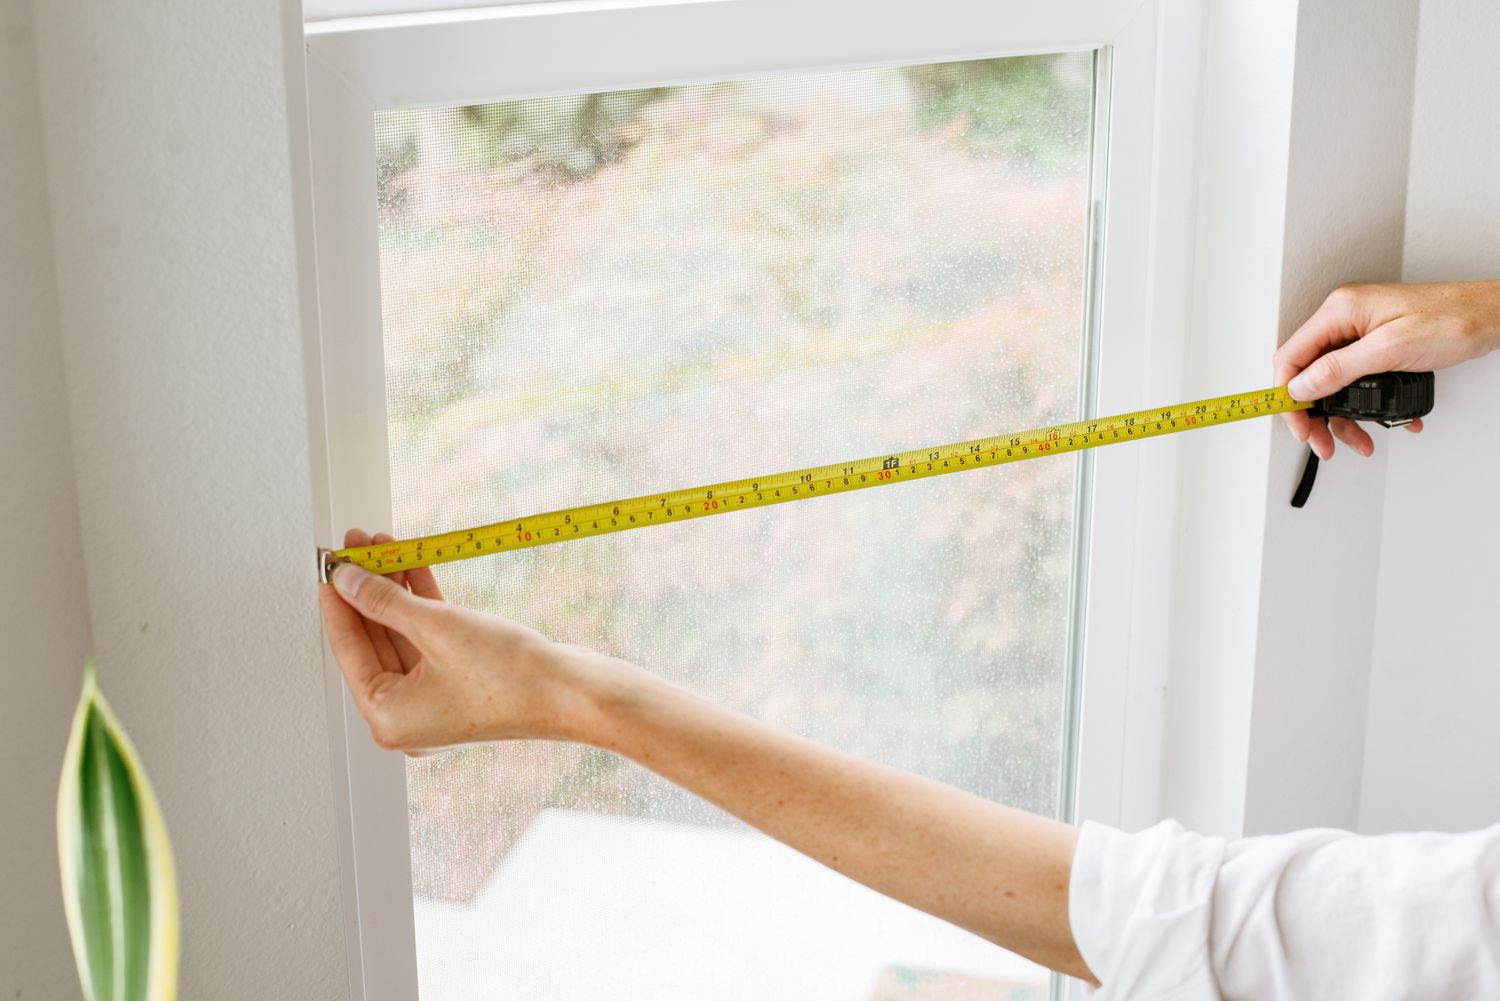
Step 1: Measure the Window
Before you begin the installation process, it is crucial to accurately measure your window to ensure a proper fit for your blinds. Here’s how you can do it:
1. Start by using a measuring tape to measure the width of your window. Measure from edge to edge, taking into account any obstructions such as window handles or trim. It is recommended to measure at multiple points across the width of the window to account for any variations.
2. Next, measure the height of the window. Again, measure from the top edge to the bottom edge in multiple places to account for any variations.
3. Once you have obtained the width and height measurements, it’s important to consider if you prefer an inside or outside mount for your blinds. An inside mount means the blinds will be installed within the window frame, while an outside mount means they will be installed on the wall or above the window frame. Make a decision based on your personal preference and the available space around your window.
4. If you opt for an inside mount, subtract around 1/4 inch from your width and height measurements to allow for proper clearance and smooth operation of the blinds. This will ensure they fit snugly within the window frame.
5. On the other hand, if you choose an outside mount, add a few extra inches to both the width and height to achieve the desired coverage and aesthetics. This additional allowance will ensure that the blinds fully cover the window opening.
6. Lastly, double-check your measurements to ensure accuracy. It’s always better to measure twice to prevent any potential mistakes.
By carefully measuring your window, you will have the correct dimensions to select the right blinds and proceed with the installation process confidently. Taking accurate measurements is crucial for a seamless and professional-looking installation. So, grab your measuring tape and get ready for the next step!
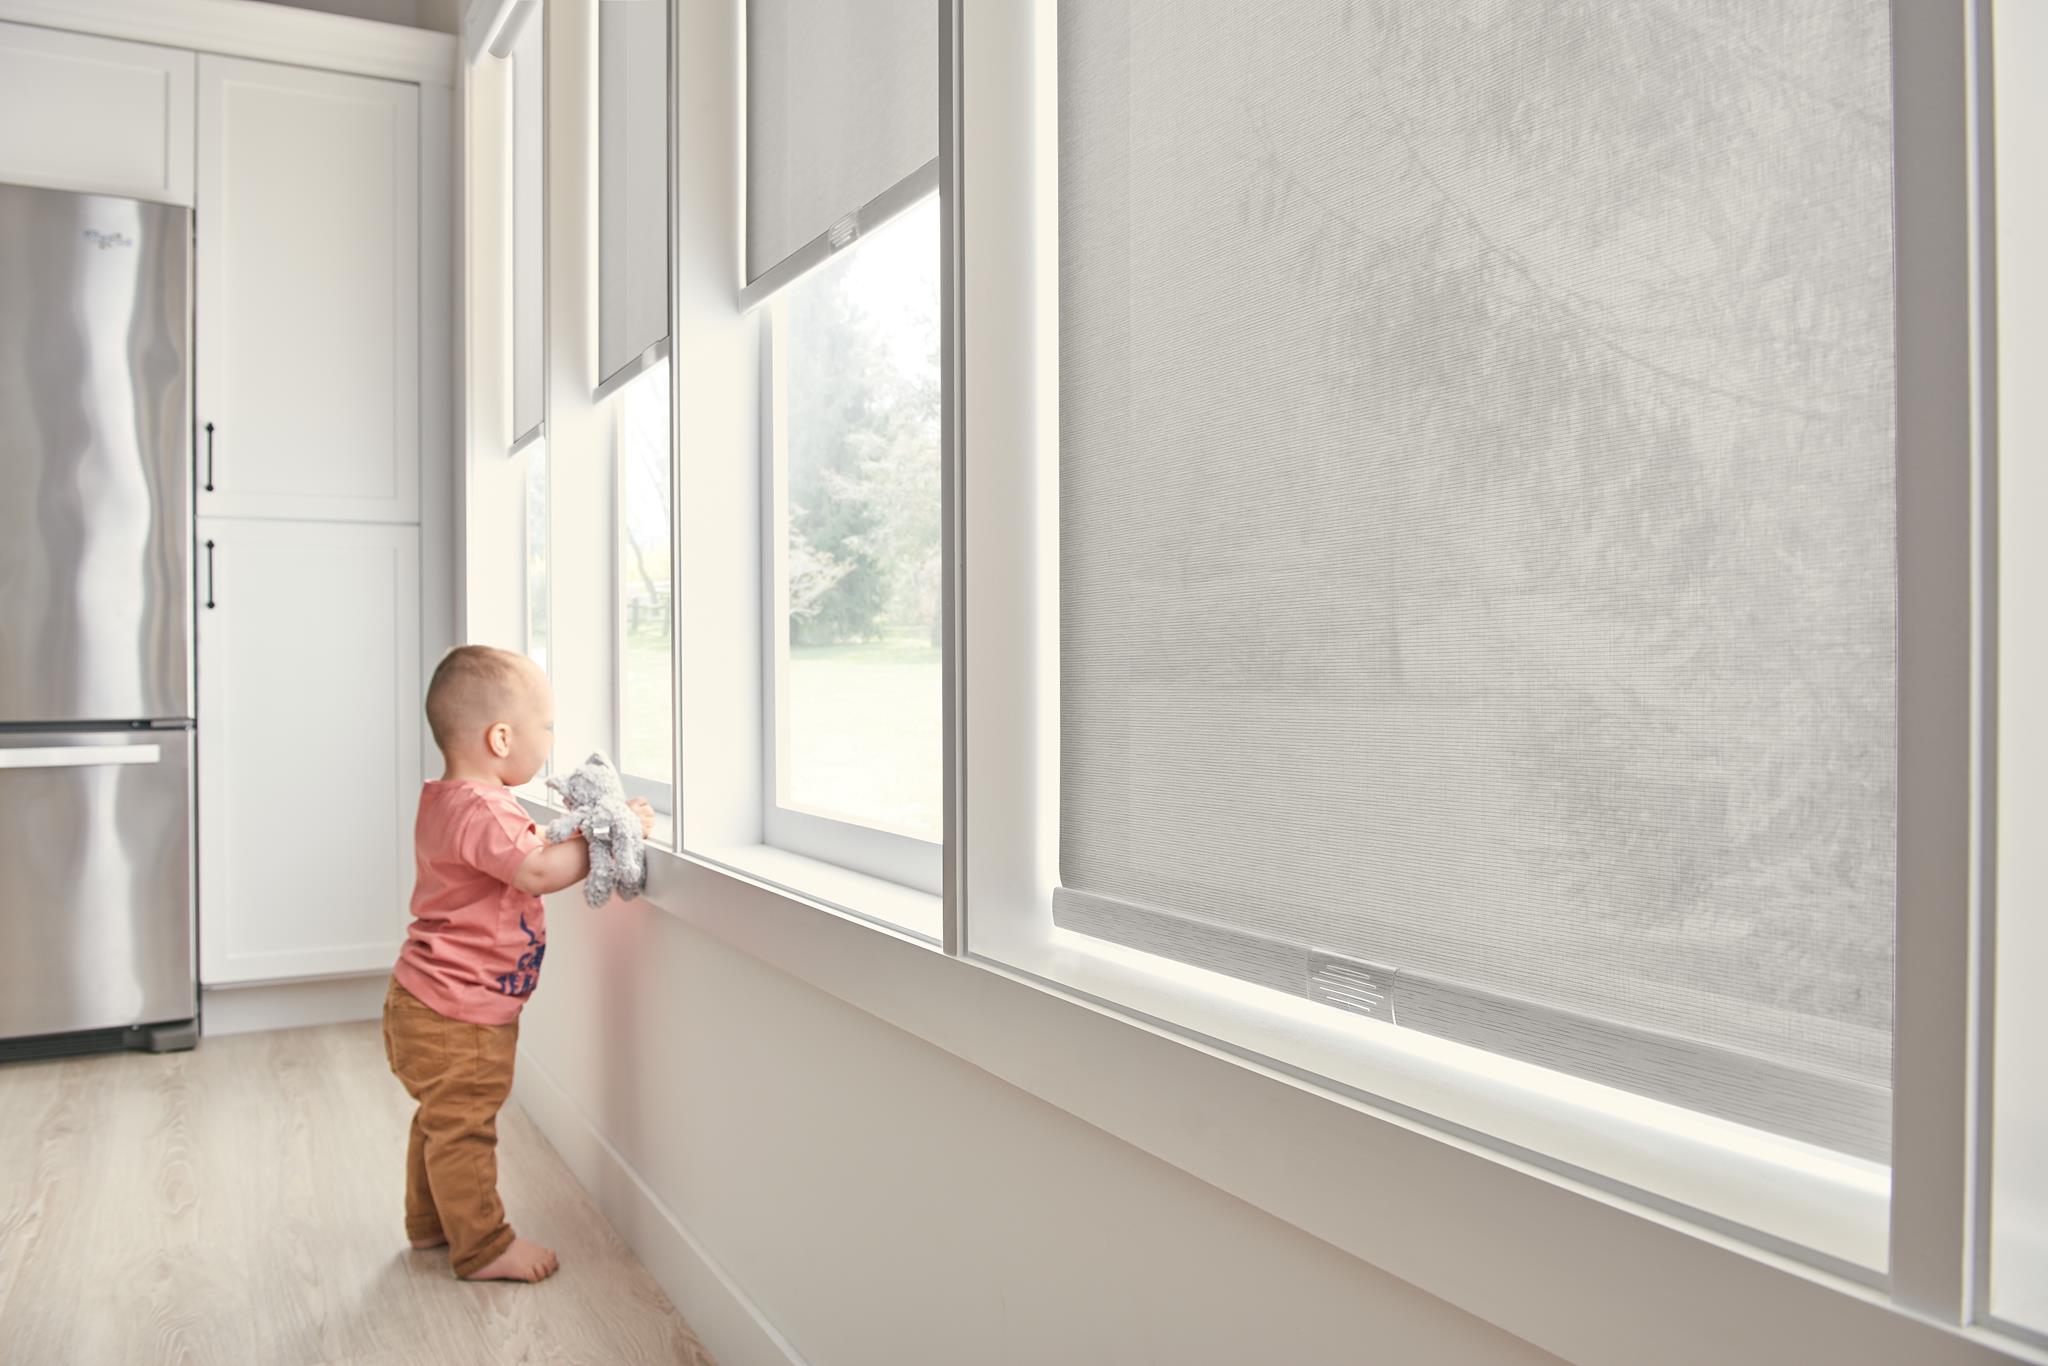
Step 2: Choose the Right Blinds
Once you have measured your window, the next step is to choose the right blinds that suit your style and functional needs. Blinds come in a variety of materials, types, and styles, so it’s important to consider the following factors:
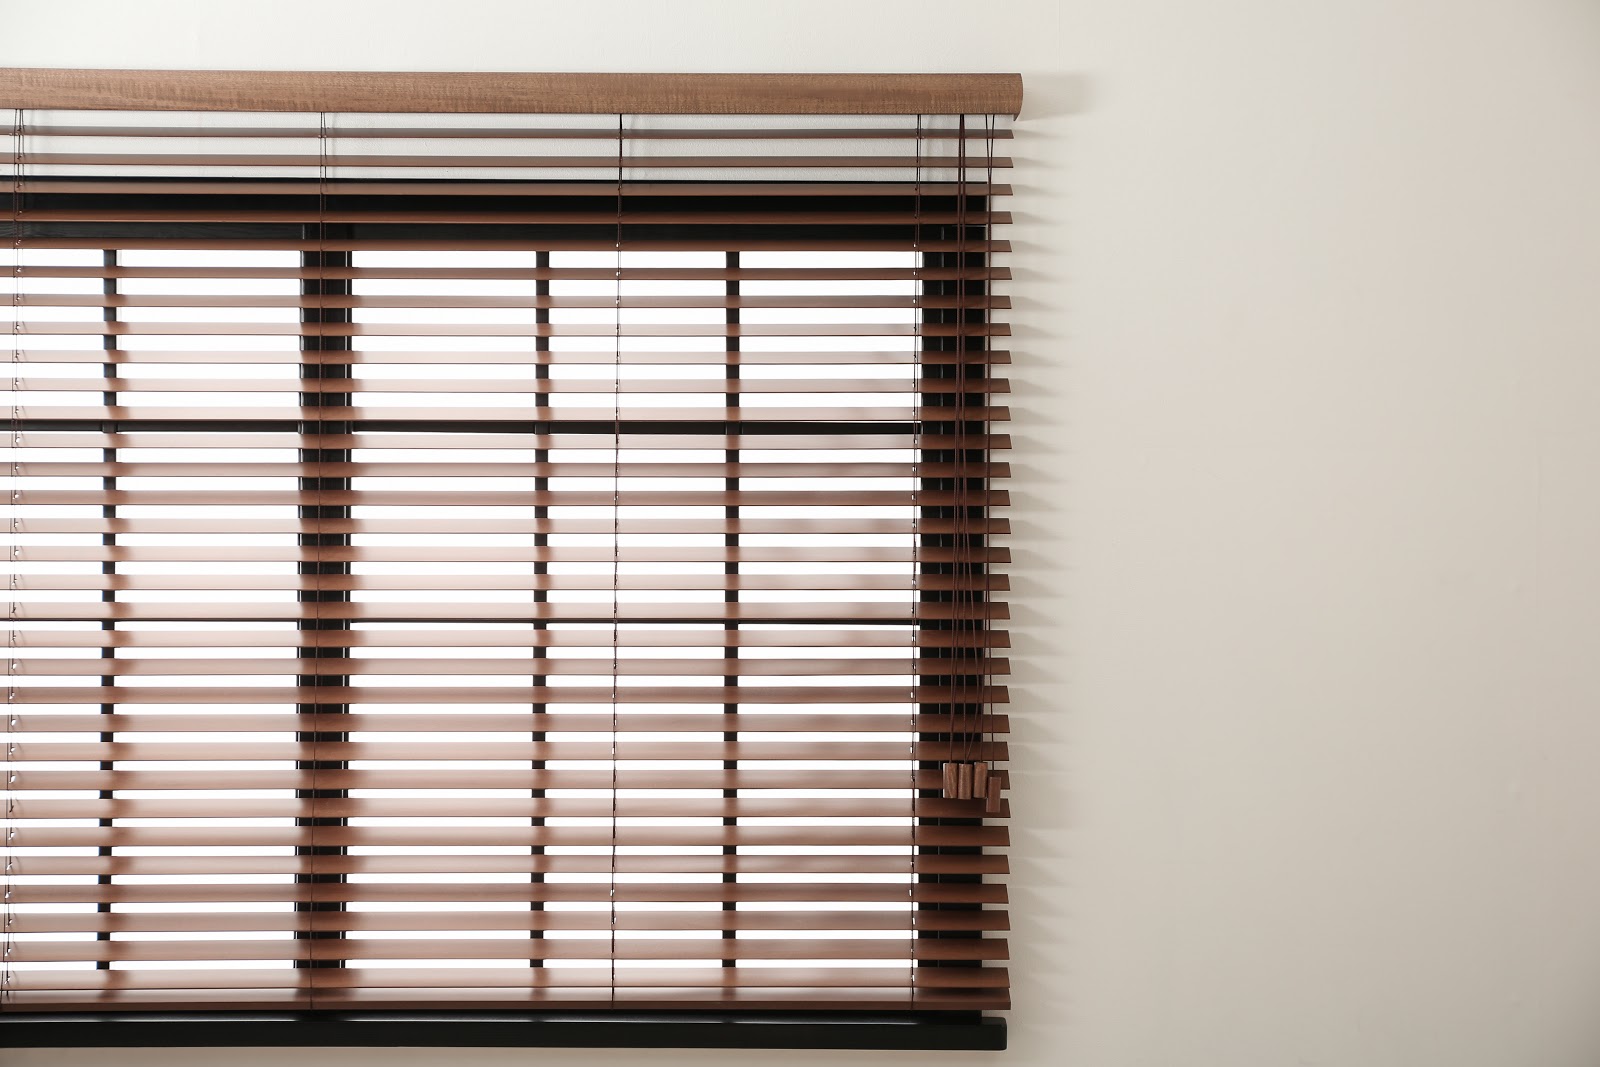
1. Material: Blinds can be made of different materials, such as wood, vinyl, aluminum, or fabric. Consider the durability, maintenance requirements, and desired aesthetic appeal when selecting the material that best fits your preferences.
2. Type of Blinds: There are several types of blinds to choose from, including venetian blinds, roller blinds, vertical blinds, and cellular shades. Each type offers different advantages and features, such as light control, privacy, and insulation. Think about your specific needs and the functionality you desire from your blinds.
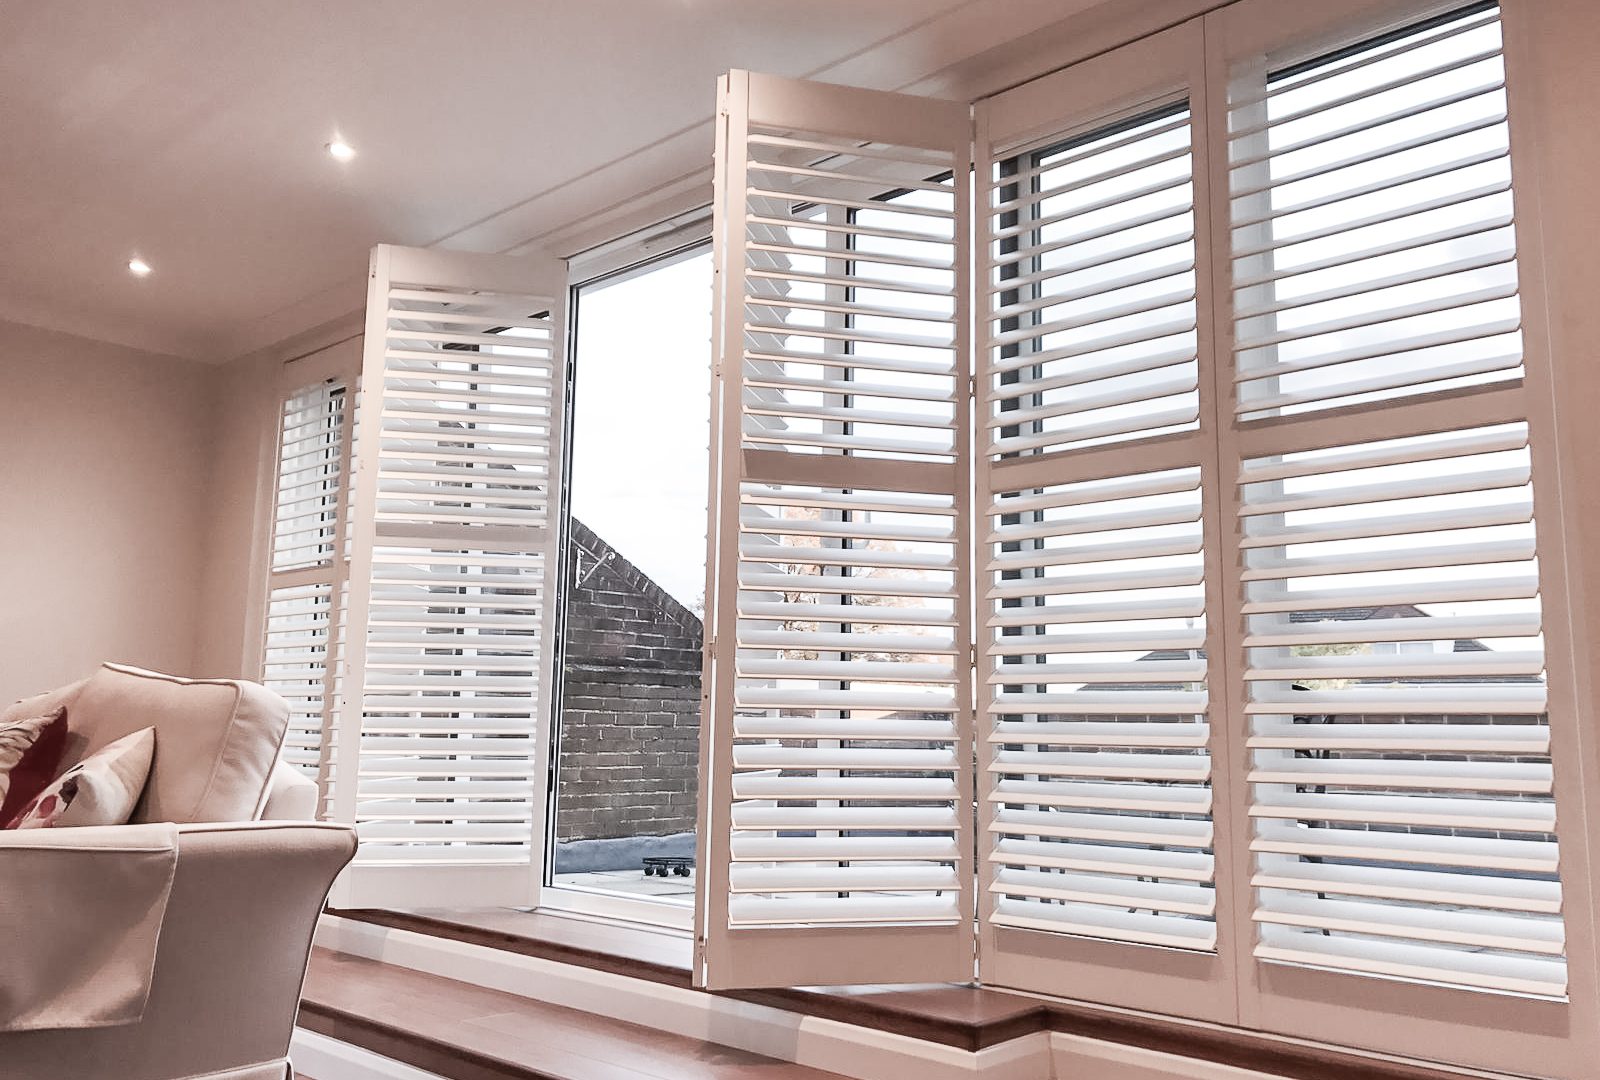
3. Style and Color: Blinds come in various styles and colors to complement your interior decor and personal taste. Consider the overall aesthetic of your room and choose blinds that harmonize with the existing design elements. Whether you prefer a sleek and modern look or a more traditional and elegant style, there are blinds available to match your vision.
4. Light Control: Depending on the room and your preferences, you may want to consider the level of light control provided by the blinds. Some blinds offer adjustable slats or light-filtering fabrics that allow you to control the amount of natural light that enters the room.
5. Budget: Set a budget for your blinds installation project and look for options that fall within your price range. Remember to consider the long-term value and durability of the blinds when determining the budget.
Once you have considered these factors, visit a home improvement store or browse online to explore the wide range of blinds available. Take note of the measurements you obtained in the previous step and select blinds that fit your window dimensions. If necessary, consult with the store staff or seek advice from professionals to ensure you choose the best blinds for your specific requirements.
By taking the time to carefully choose the right blinds, you can enhance the overall appearance and functionality of your windows. So, now that you have a clear idea of the type and style of blinds you want, let’s move on to the next step of the installation process!
Step 3: Gather the Necessary Tools
Before you start installing your blinds, it’s essential to gather all the necessary tools and equipment. Having the right tools on hand will ensure a smooth and efficient installation process. Here are the tools you will likely need:
1. Tape Measure: A reliable tape measure is crucial for accurate measurements of your window and blinds.
2. Pencil: Use a pencil to mark measurements and locations on the wall or window frame.
3. Screwdriver: Depending on the type of blinds you are installing, you may need a Phillips or flathead screwdriver to attach mounting brackets or secure screws.
4. Level: A level is necessary to ensure that your blinds are straight and properly aligned during the installation process.
5. Drill (optional): If you need to secure mounting brackets with screws, a drill can make the process faster and more efficient.
6. Step stool or ladder: Depending on the height of your window, you may need a step stool or ladder to safely reach the installation area.
7. Wall anchors (if necessary): If you are installing blinds on drywall or other materials that require additional support, wall anchors may be needed to provide stability.
8. Safety goggles and gloves: While not directly related to the installation process, it’s always a good idea to prioritize safety by wearing goggles and gloves to protect your eyes and hands when handling tools.
Before you begin the installation, double-check that you have all the necessary tools readily available. This will save you time and prevent any interruptions during the installation process. If you are unsure about the specific tools required for your blinds, refer to the manufacturer’s instructions or consult with a professional for guidance.
Now that you have gathered all the necessary tools, you are ready to move on to the next steps of the blinds installation process. Stay organized, take your time, and ensure you have a safe and comfortable work environment. Let’s continue with the next step!
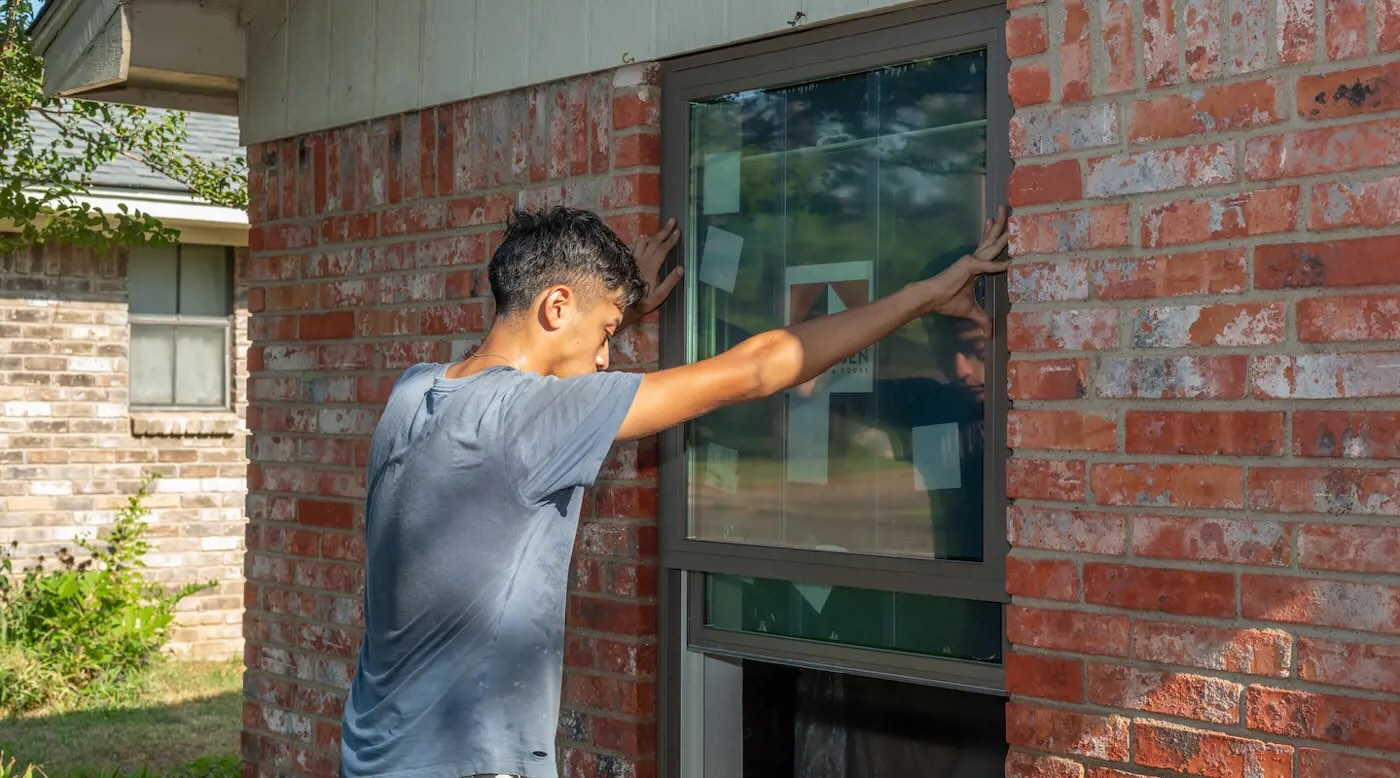
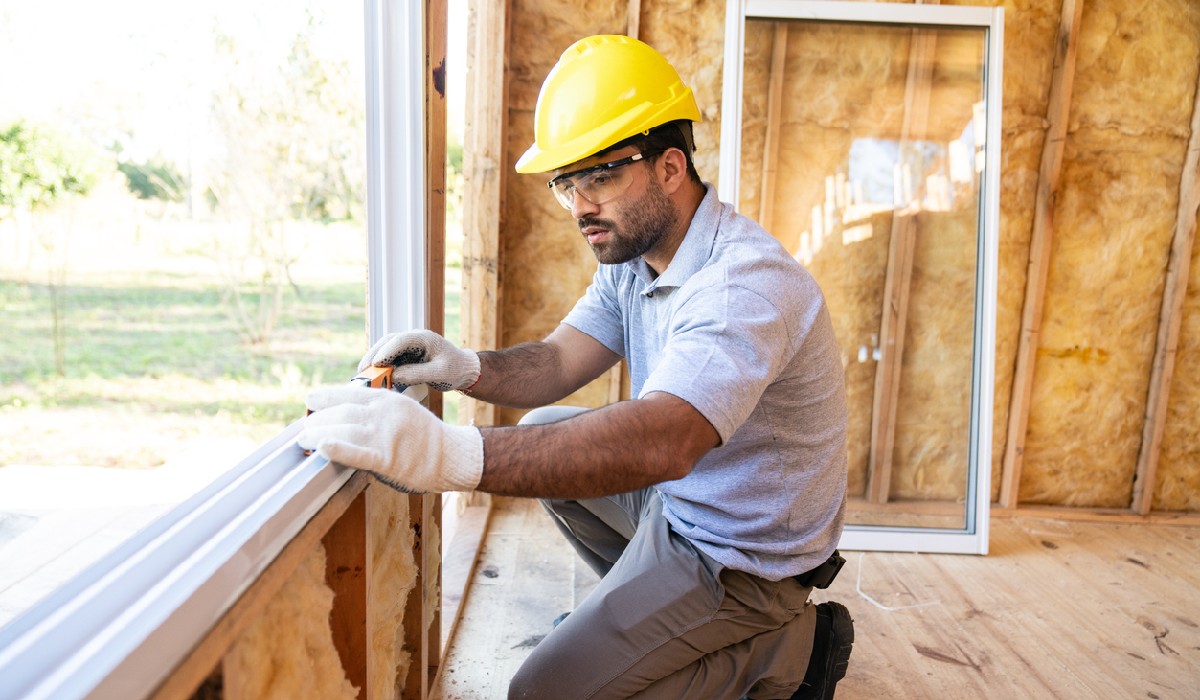
Step 4: Prepare the Window Frame
Before you can install your blinds, it’s important to prepare the window frame to ensure a secure and proper fit. Proper preparation will contribute to the longevity and functionality of your blinds. Follow these steps to prepare the window frame:
1. Clean the Window: Start by cleaning the window frame and surrounding area. Remove any dirt, dust, or debris using a damp cloth or mild cleaning solution. This will help the blinds adhere properly and prevent any interference with the installation process.
2. Remove Existing Window Treatments: If you have any existing window treatments, such as curtains or old blinds, remove them from the window. This will give you a clean slate to work with and ensure that the new blinds fit properly.
3. Inspect the Window Frame: Take a close look at the window frame for any damage or repairs that may be needed. Check for cracks, loose screws, or any structural issues that could affect the installation or the performance of the blinds. If you notice any problems, address them before proceeding with the installation.
4. Mark the Bracket Positions: Using a pencil, mark the desired placement of the mounting brackets on the wall or window frame. Refer to the manufacturer’s instructions for the recommended distance between the brackets and any specific measurements.
5. Check for Obstructions: Before attaching the brackets, ensure there are no obstructions such as window locks, handles, or other hardware that may interfere with the installation or operation of the blinds. If necessary, relocate or adjust any obstructions to allow the blinds to function smoothly.
By properly preparing the window frame, you are setting the foundation for a successful blinds installation. Taking the time to clean, inspect, and mark the bracket positions will save you time and ensure a secure and stable installation. Once you have completed these steps, you are ready to move on to the next step: installing the mounting brackets!
When installing blinds outside the window frame, make sure to measure the width and height of the window accurately to ensure a proper fit. Use a level to ensure the blinds are straight and secure the brackets tightly to the wall or trim.
Step 5: Install Mounting Brackets
Installing the mounting brackets is a crucial step in the blinds installation process. These brackets provide support and stability for your blinds. Follow these instructions to properly install the mounting brackets:
1. Align the Brackets: Hold the first mounting bracket against the wall or window frame at the marked position. Ensure that it is level and aligned with the pencil marks.
2. Mark the Screw Holes: Using a pencil or marker, make small marks through the screw holes on the bracket to indicate where you will need to drill or insert screws.
3. Pre-Drill (if necessary): Depending on the type of wall or material, you may need to pre-drill pilot holes to make it easier to insert screws. This is particularly important for hard surfaces such as concrete or tile. Use an appropriate drill bit size for the pilot holes.
4. Attach the Bracket: Place the bracket back onto the marks and align it properly. Use a screwdriver or drill to insert the screws through the bracket holes and into the wall or frame. Tighten the screws securely but be careful not to overtighten and damage the bracket or wall.
5. Repeat for the Remaining Brackets: If your blinds require multiple mounting brackets, repeat the above steps for each bracket. Ensure that all brackets are aligned and securely attached to maintain stability and balance.
6. Check for Levelness: Once all the brackets are installed, use a level to double-check their alignment. Adjust as necessary to ensure that the blinds will hang straight and level.
By properly installing the mounting brackets, you are setting the foundation for a secure and stable blinds installation. Take your time to ensure that the brackets are aligned and attached securely. Once you have completed this step, you are ready to move on to the next phase of the installation process: attaching the headrail.
Step 6: Attach the Headrail
Attaching the headrail is a critical step in the installation process, as it holds the blinds together and allows for smooth operation. Follow these instructions to properly attach the headrail:
1. Position the Headrail: Hold the headrail up to the installed brackets, ensuring that the open side of the headrail faces towards the room.
2. Insert the Headrail into the Brackets: Carefully slide the headrail into the brackets, making sure it fits securely and evenly. Depending on the type of blinds, you might need to lift or tilt the headrail to align it correctly.
3. Ensure Proper Alignment: Check that the headrail is level and properly aligned with the brackets. Adjust if needed by gently lifting or lowering the headrail until it sits evenly between the brackets.
4. Secure the Headrail: Once the headrail is aligned, use the provided screws or locking mechanisms to secure it to the mounting brackets. Follow the manufacturer’s instructions for the specific blinds you are installing.
5. Test the Movement: Gently test the movement of the blinds by pulling on the control strings or operating the tilt wand (if applicable). The blinds should move smoothly and without any resistance. If you encounter any issues, double-check the alignment of the headrail and brackets.
6. Adjust Brackets if Necessary: If the headrail is not level or the blinds are not operating smoothly, you may need to adjust the brackets. Loosen the screws slightly and make small adjustments until the headrail and blinds function properly.
By attaching the headrail securely and ensuring proper alignment, you are setting the stage for hassle-free operation of your blinds. Take your time, follow the manufacturer’s instructions, and make any necessary adjustments to achieve optimal performance. With the headrail in place, you are ready for the next step: hanging the blinds onto the brackets.
Step 7: Hang the Blinds onto the Brackets
After successfully attaching the headrail, the next step is to hang the blinds onto the brackets. This step will complete the installation process and allow you to enjoy the functionality and beauty of your blinds. Here’s how you can hang the blinds onto the brackets:
1. Unlock the Brackets: Some blinds may have brackets with locking mechanisms to secure the headrail. If this is the case, make sure to unlock the brackets before attempting to hang the blinds.
2. Position the Blinds: Hold the blinds with the headrail facing up and carefully position them above the brackets. Align the holes or hooks on the headrail with the corresponding brackets.
3. Insert the Blinds: Insert the blinds into the brackets by gently pushing or hooking them into place. Ensure that the blinds fit securely and evenly within the brackets.
4. Check for Proper Alignment: Verify that the blinds are level and aligned with the brackets. Make any necessary adjustments by tilting or lifting the blinds until they sit evenly.
5. Lock the Brackets (if applicable): If your blinds have brackets with locking mechanisms, lock the brackets to securely hold the blinds in place. Follow the manufacturer’s instructions for locking the brackets.
6. Test the Operation: Test the operation of the blinds by pulling on the control strings or using the tilt wand (if applicable). Ensure that the blinds move smoothly and adjust as needed.
7. Inspect and Make Final Adjustments: Inspect the blinds and brackets to ensure that they are securely installed and functioning correctly. Make any final adjustments or tighten any loose screws if necessary.
By carefully hanging the blinds onto the brackets, you are completing the installation process and bringing your windows to life. Take your time, check for proper alignment, and ensure the blinds are fully secured. Once you have successfully hung the blinds, you can move on to the final step: adjusting and testing the blinds for optimal performance.
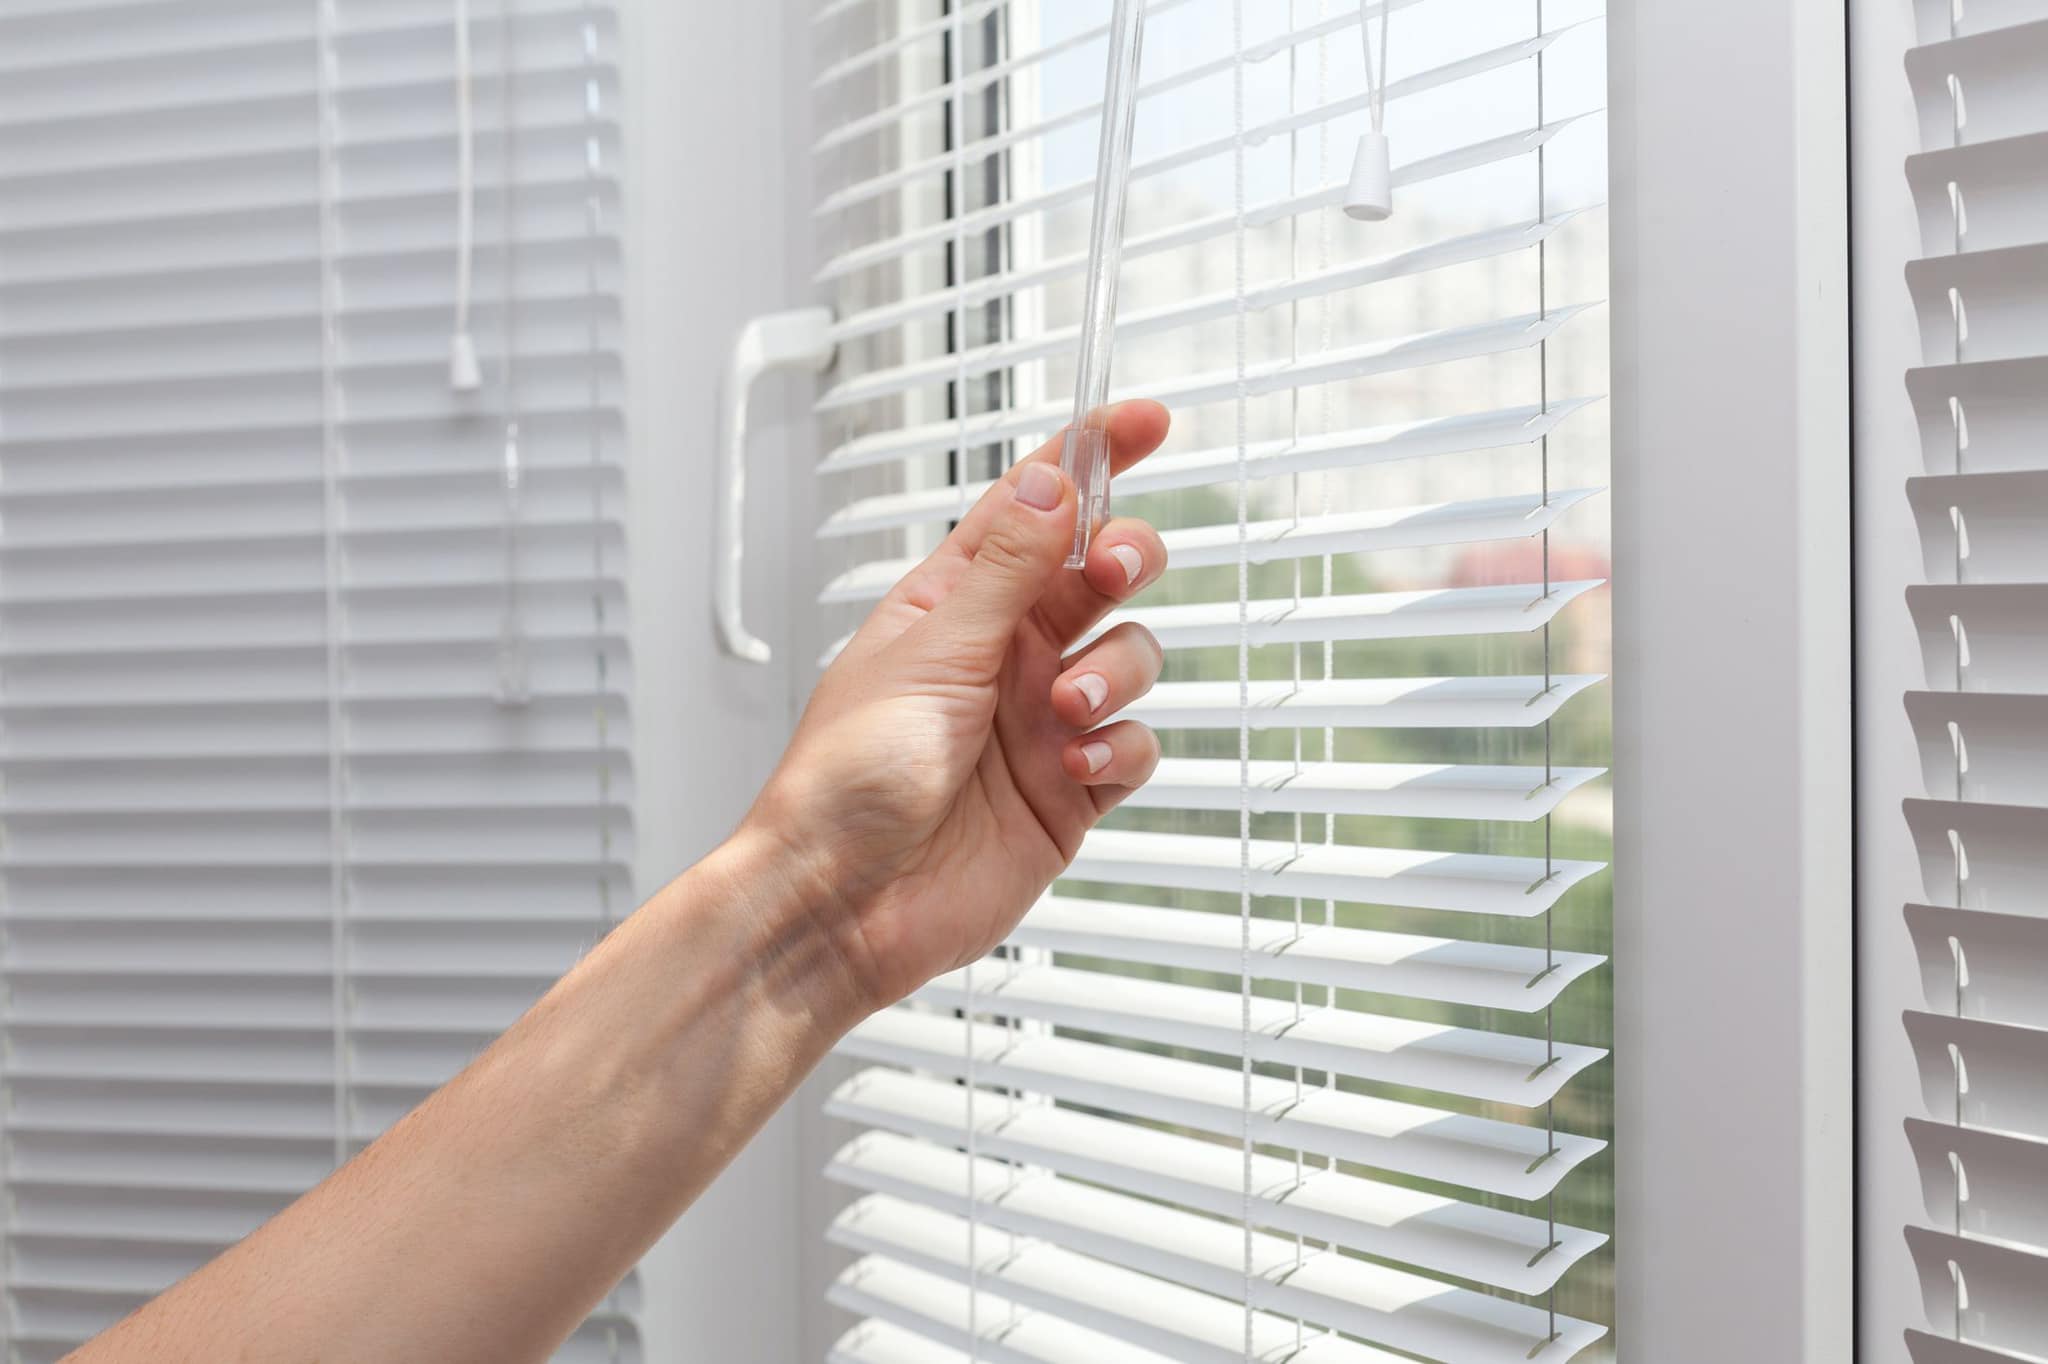
Step 8: Adjust and Test the Blinds
After hanging the blinds onto the brackets, the final step of the installation process is to adjust and test the blinds. This step ensures that the blinds are properly aligned, functioning smoothly, and meeting your desired requirements. Follow these instructions to adjust and test your blinds:
1. Level the Blinds: Check if the blinds are level by using a level tool. If they are not aligned, adjust the brackets or headrail as necessary until the blinds are level.
2. Adjust the Slats: If you have horizontal blinds, use the control strings or the tilt wand to adjust the angle of the slats. Angle them to your desired position for privacy and light control.
3. Test the Cord/Lift System: Pull on the control strings to raise and lower the blinds. Ensure that the blinds move up and down smoothly without any obstructions or resistance. If you encounter any issues, double-check that the strings are properly attached and not tangled.
4. Test the Tilt Function: If you have blinds with adjustable slats, test the tilt function by using the tilt wand or control strings. Ensure that the slats tilt smoothly and evenly, allowing you to control the amount of light entering the room.
5. Check for Smooth Operation: Open and close the blinds multiple times to ensure that they operate smoothly and without any sticking or dragging. If you notice any issues, check that the brackets are securely attached and that the blinds are properly aligned within the headrail.
6. Make Final Adjustments: If you experience any difficulties or notice any unevenness in the blinds’ operation, make necessary adjustments. This may involve tightening screws, realigning slats, or repositioning the brackets.
By adjusting and testing your blinds, you ensure that they are functioning properly and meeting your expectations. Take the time to fine-tune any adjustments and ensure smooth operation. Once you are satisfied with the performance of your blinds, you can sit back, relax, and enjoy the benefits of your newly installed window coverings!
Conclusion
Installing blinds outside the window frame is a rewarding DIY project that can enhance the functionality and aesthetics of your windows. By following the step-by-step process outlined in this guide, you can successfully install blinds and transform the look and feel of your space.
In this article, we started by emphasizing the importance of accurate measurement and selecting the right blinds for your needs. We then discussed the necessary tools and equipment you will need to gather before starting the installation process. Additionally, we covered the steps of preparing the window frame, installing the mounting brackets, attaching the headrail, hanging the blinds onto the brackets, adjusting the blinds, and finally testing their functionality.
Throughout the installation process, it’s essential to take your time, follow instructions carefully, and make necessary adjustments to ensure a proper and secure fit. Properly installed blinds not only provide privacy and light control but also enhance the overall ambiance of your living space.
Remember that every window is unique, and certain steps or details may vary depending on the specific blinds and window design. Always refer to the manufacturer’s instructions for guidance tailored to your blinds and window type.
Now that you have successfully installed your blinds, take a step back and enjoy the transformation they bring to your windows. Whether you are seeking increased privacy, better control of sunlight, or an added touch of style, your new blinds will undoubtedly make a significant difference in your home or office.
Don’t hesitate to consult with professionals or refer to additional resources if needed. With proper care and maintenance, your blinds will provide you with both practical function and visual appeal for years to come.
Frequently Asked Questions about How To Install Blinds Outside The Window Frame
Was this page helpful?
At Storables.com, we guarantee accurate and reliable information. Our content, validated by Expert Board Contributors, is crafted following stringent Editorial Policies. We're committed to providing you with well-researched, expert-backed insights for all your informational needs.