Articles
How To Install Spring Window Fashion Blinds
Modified: August 26, 2024
Discover step-by-step articles on how to effortlessly install Spring Window Fashion blinds for a stylish and functional home upgrade.
(Many of the links in this article redirect to a specific reviewed product. Your purchase of these products through affiliate links helps to generate commission for Storables.com, at no extra cost. Learn more)
Introduction
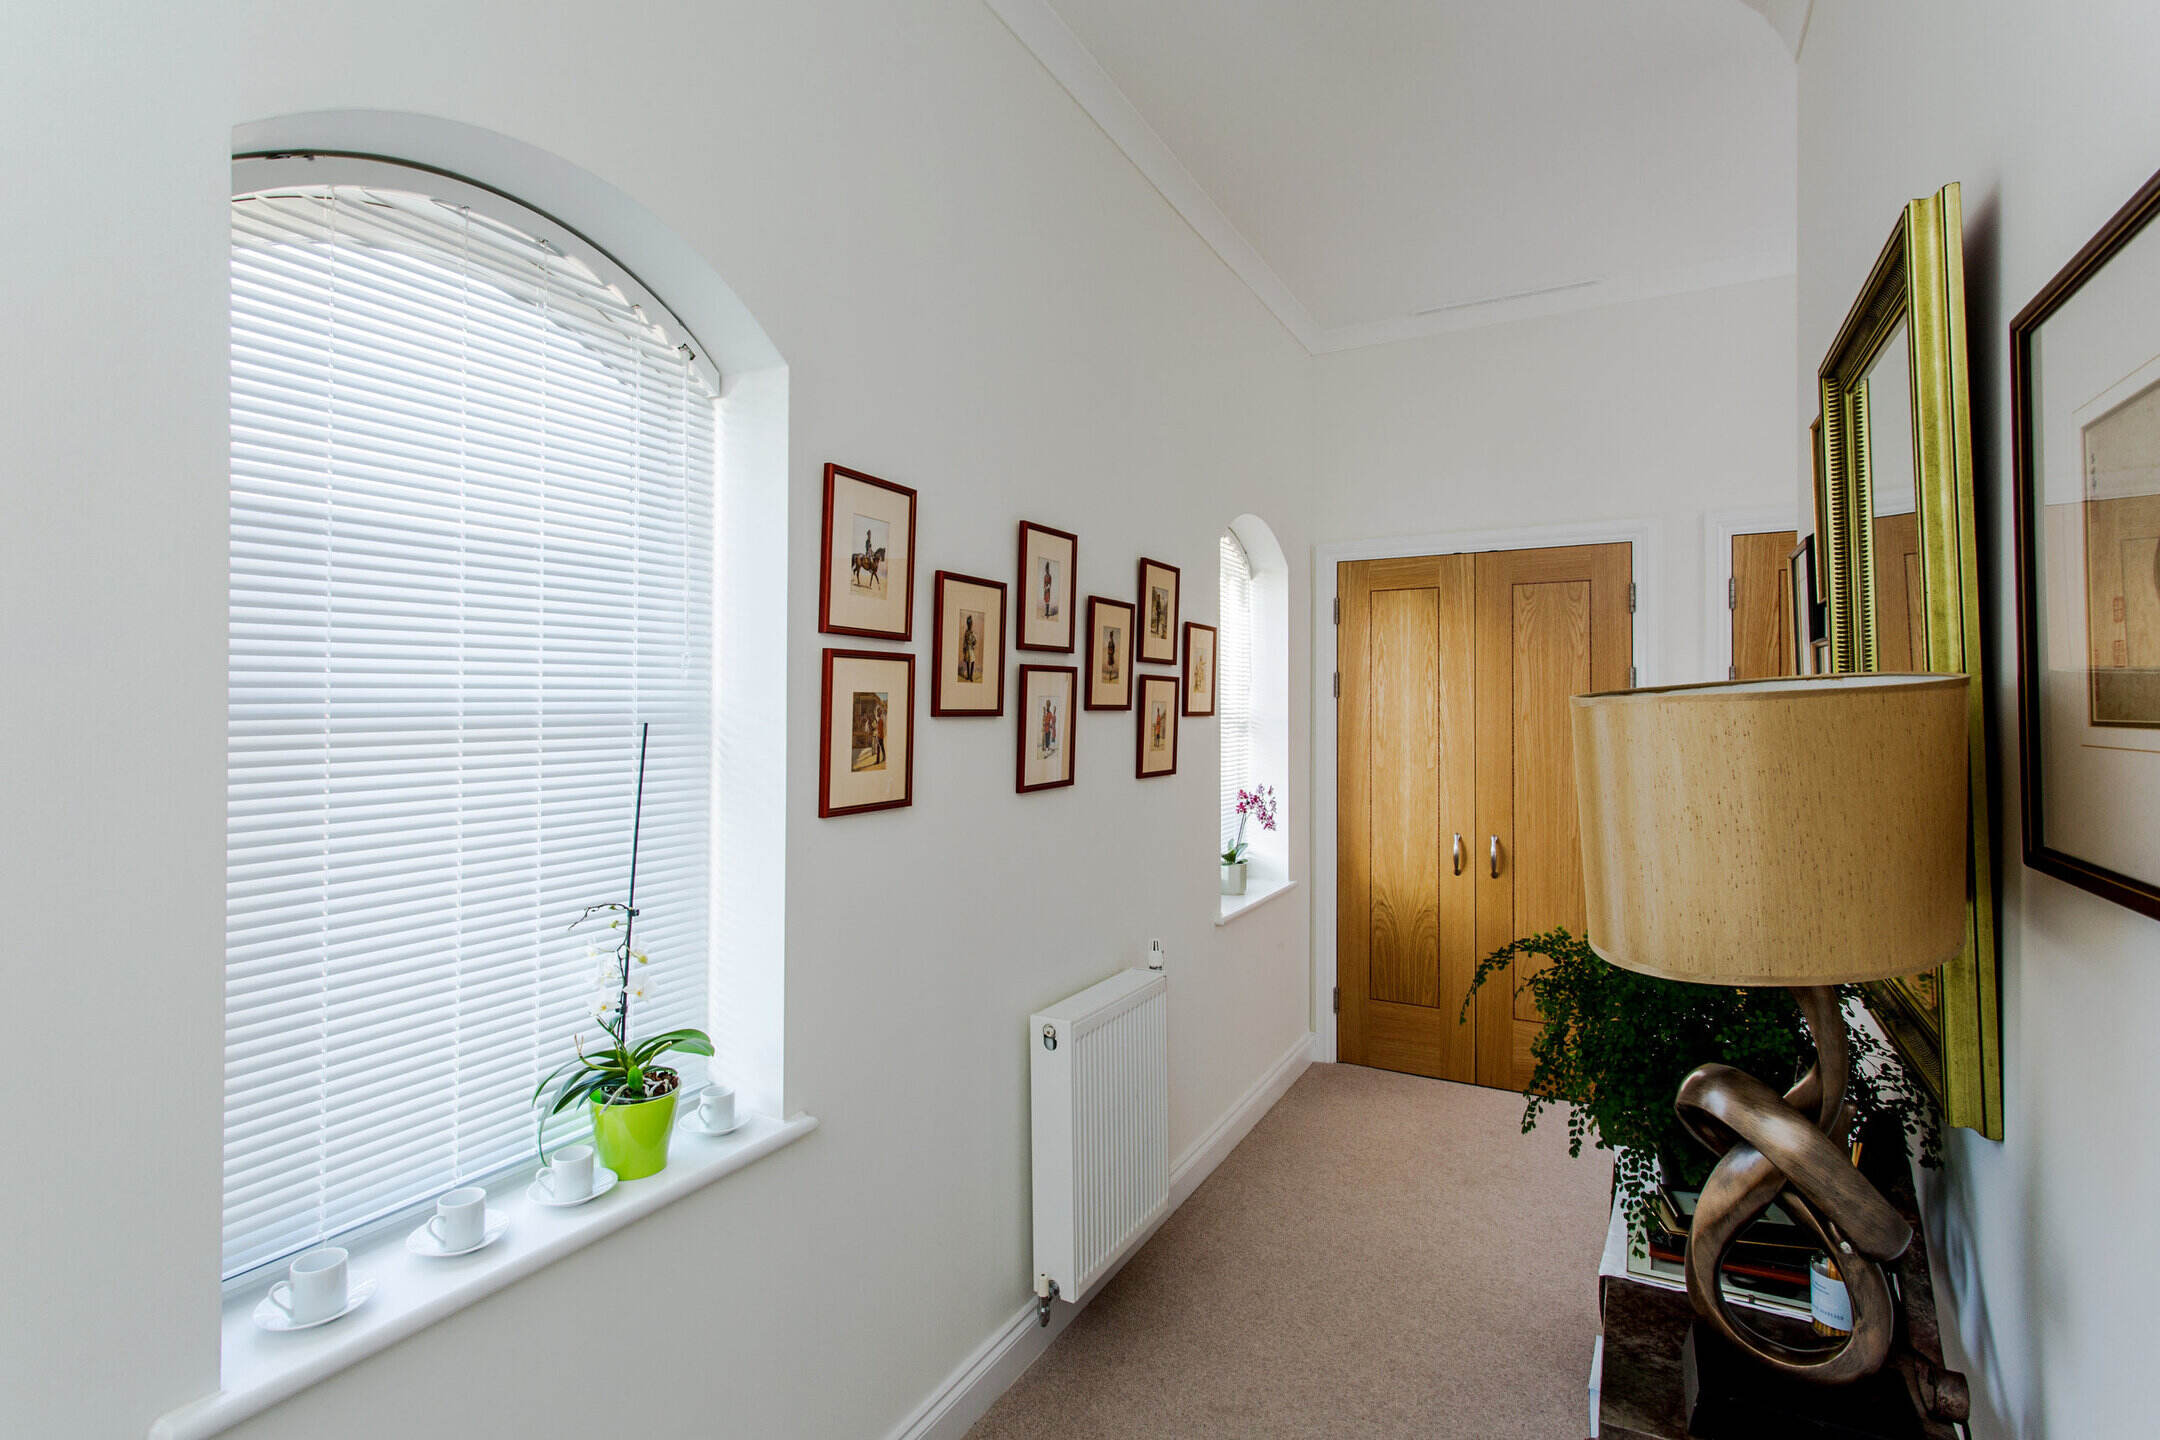
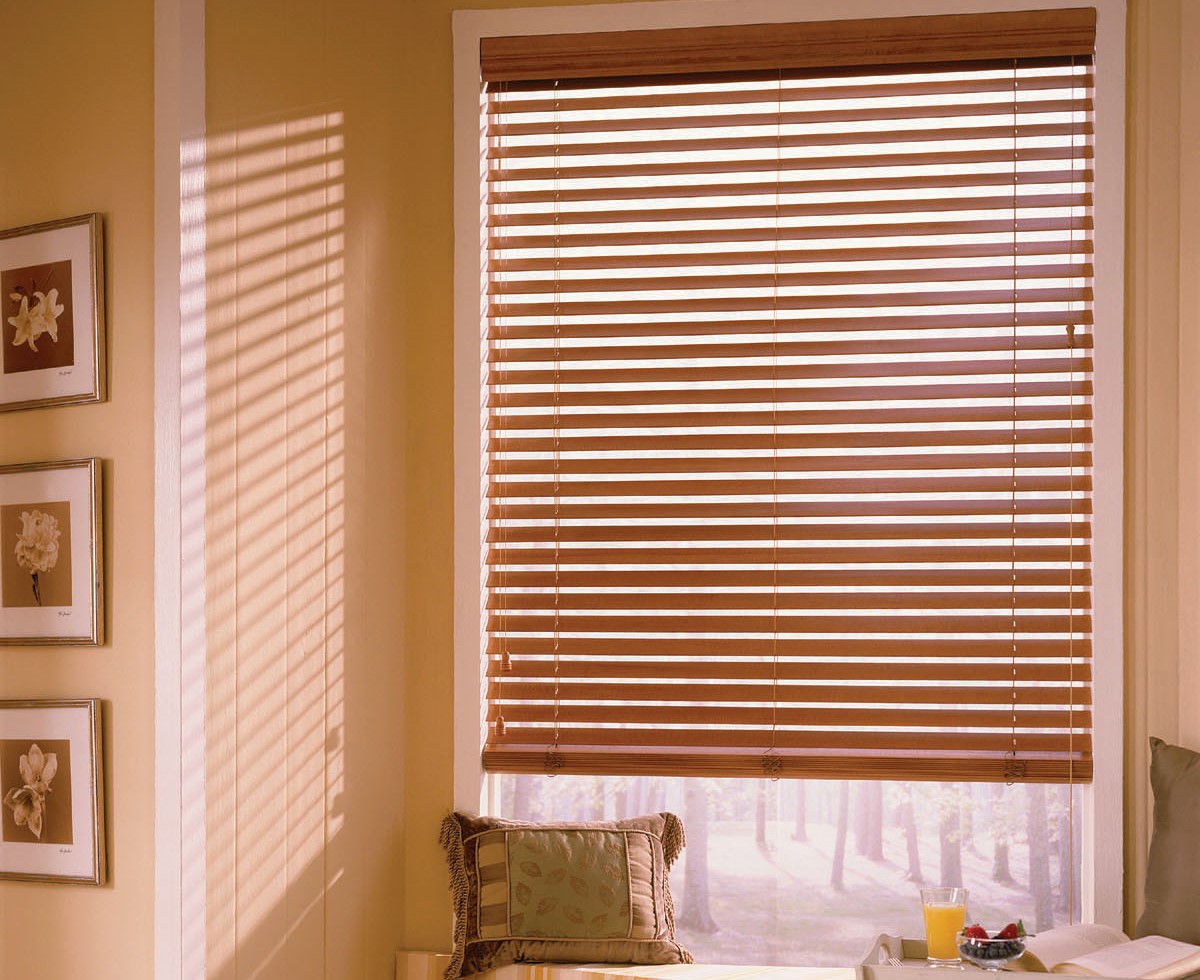
Installing spring window fashion blinds is a simple and effective way to enhance the aesthetics of your windows while also providing privacy and light control. Spring blinds are a popular choice due to their sleek design, ease of use, and affordability. Whether you are a seasoned DIY enthusiast or a beginner, this comprehensive guide will walk you through the steps of installing spring window fashion blinds.
Before diving into the installation process, let’s first gather the tools and materials you will need:
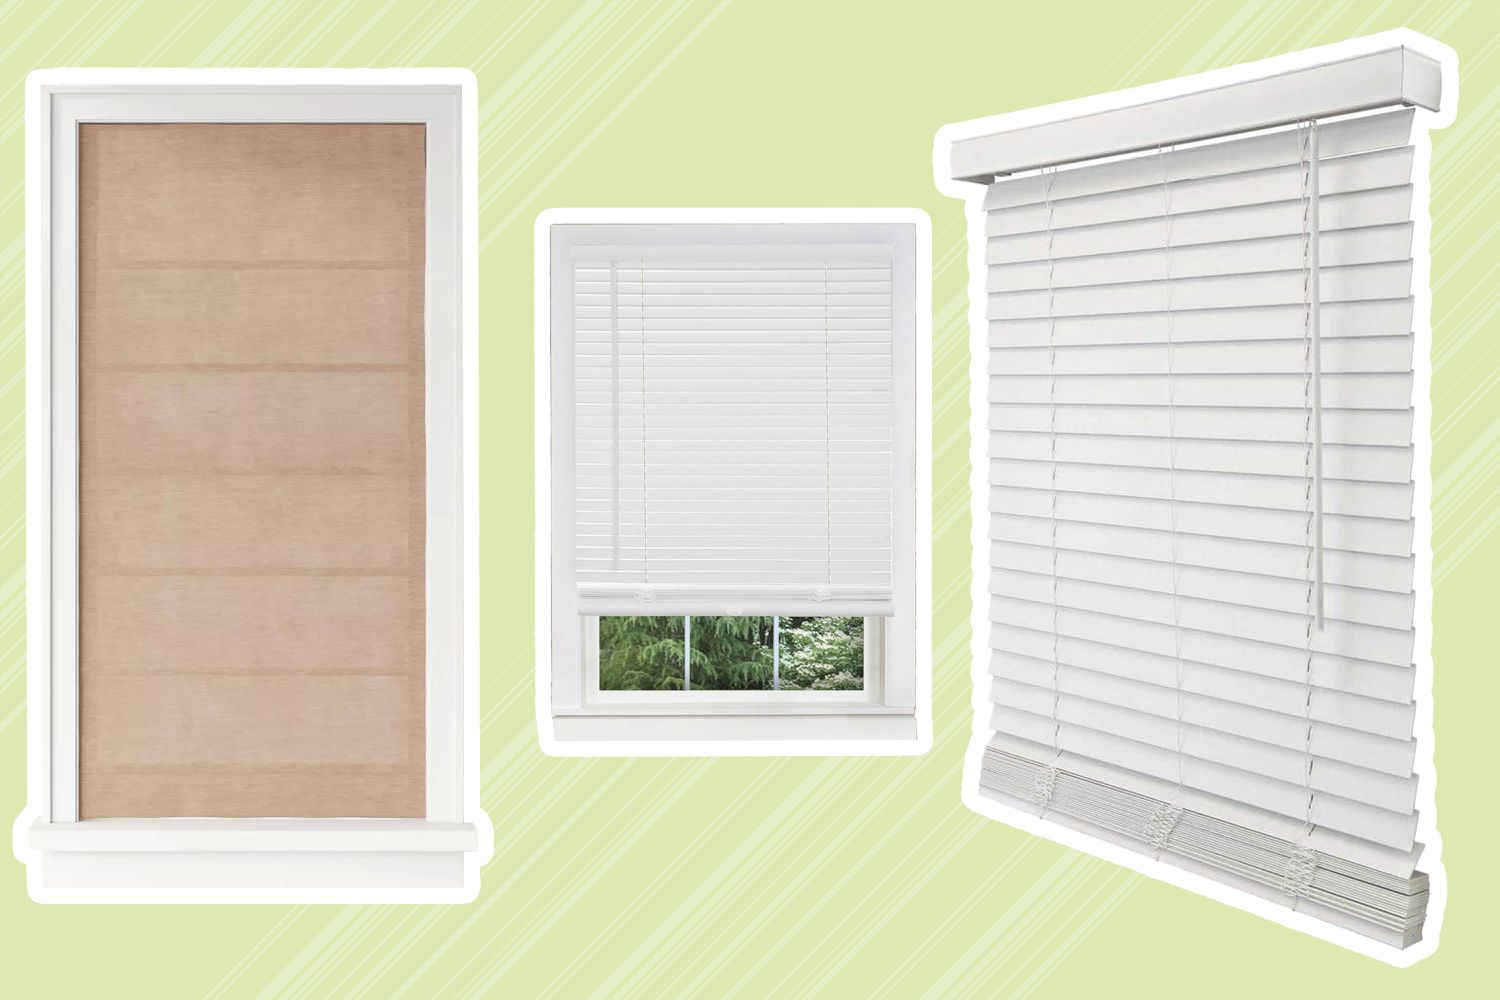
- Spring window fashion blinds
- Mounting brackets
- Headrail
- Bottom rail
- Screws
- Drill
- Tape measure
- Pencil
- Level
- Screwdriver
Now that you have everything you need, let’s get started with step 1: measuring the window.
Key Takeaways:
- Installing spring window fashion blinds is a DIY project that enhances aesthetics, light control, and privacy. Accurate measurements, proper mounting style selection, and secure installation are crucial for success.
- Safety and functionality are key considerations when installing blinds. Properly securing cords, adjusting tension, and following manufacturer’s instructions ensure a rewarding and stylish window treatment.
Tools and Materials Needed
Before you begin installing spring window fashion blinds, it’s important to gather all the necessary tools and materials. Having everything prepared will make the installation process smoother and more efficient. Here’s a list of what you’ll need:
- Spring window fashion blinds: Choose blinds that are the right size for your window. Ensure that they come with all the necessary components, such as the headrail and bottom rail.
- Mounting brackets: These brackets are used to secure the blinds to the window frame or wall. Make sure to choose brackets that are compatible with the type of blinds you have.
- Headrail: The headrail is the top portion of the blinds where the slats or panels are attached. It provides support and allows for smooth operation of the blinds.
- Bottom rail: The bottom rail is the horizontal bar at the bottom of the blinds that helps to keep them in place and provides stability.
- Screws: Depending on the type of mounting brackets you have, you may need screws to secure them to the window frame or wall.
- Drill: A drill will be needed to create pilot holes for the screws and to attach the mounting brackets securely.
- Tape measure: Accurate measurements are crucial for a proper fit. Use a tape measure to measure the width and height of your window.
- Pencil: Use a pencil to mark the placement of the mounting brackets on the window frame or wall.
- Level: A level will help you ensure that the blinds are installed straight and level.
- Screwdriver: A screwdriver will be needed to secure the screws into place and complete the installation.
Having these tools and materials ready will make the entire process much easier. Now that you’re well-equipped, it’s time to move on to the installation process. Let’s start with step 1: measuring the window.
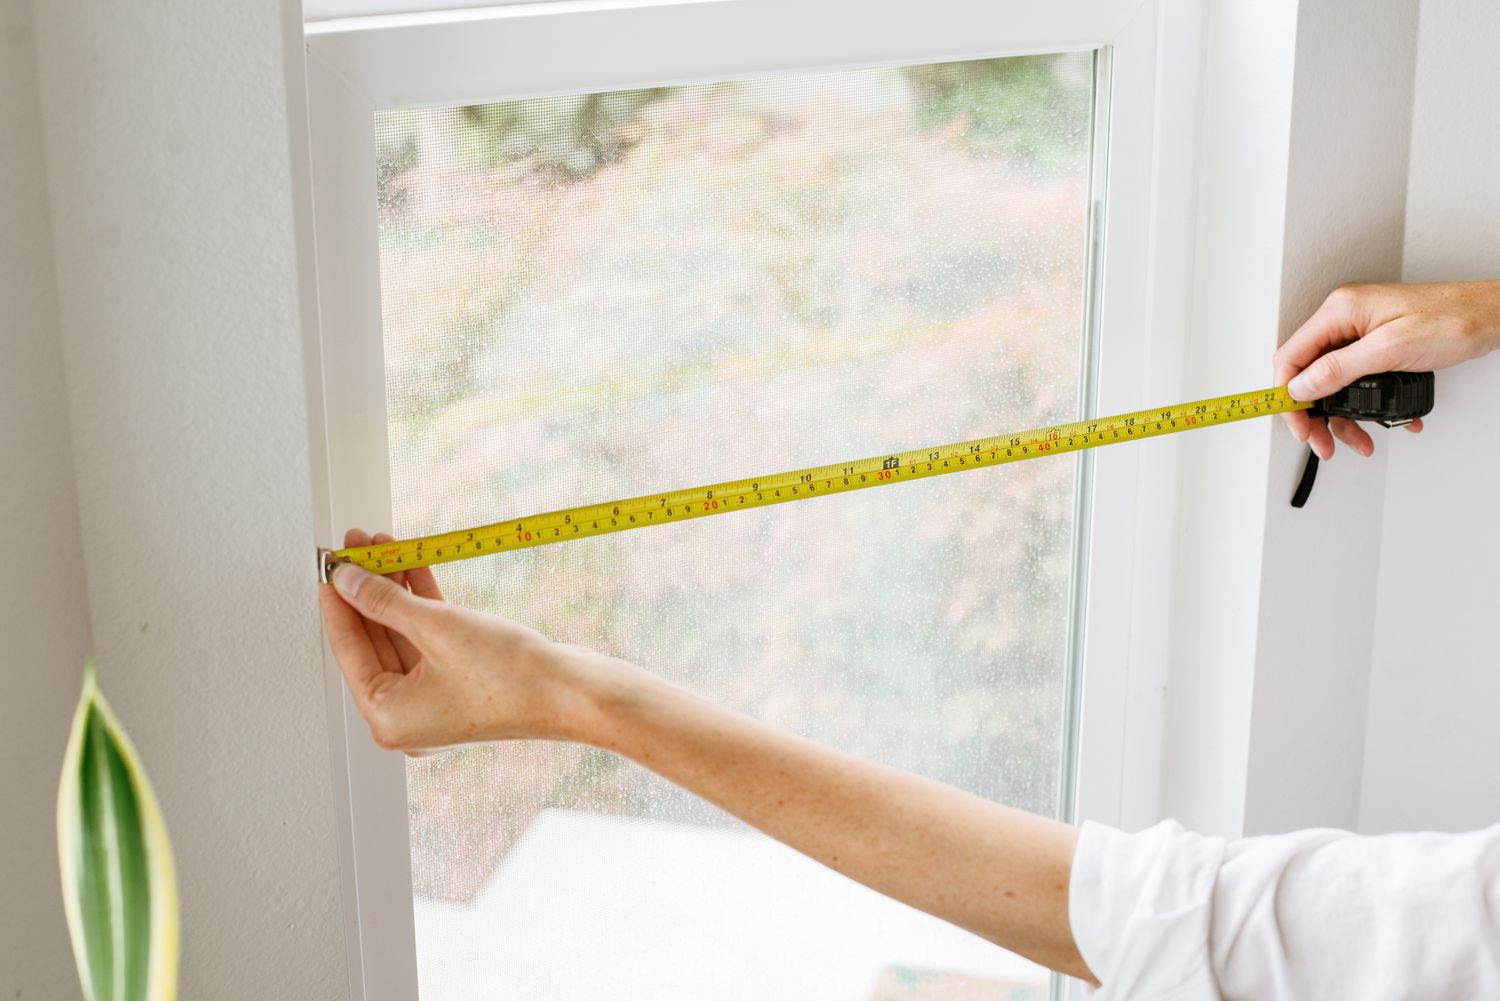
Step 1: Measure the Window
The first step in installing spring window fashion blinds is to accurately measure your window. This step is crucial to ensure that the blinds will fit properly and function correctly. Here’s how to do it:
- Start by measuring the width of the window. Use a tape measure and measure the distance from one side of the window frame to the other. Take this measurement at the top, middle, and bottom of the window. Record the smallest width measurement.
- Next, measure the height of the window. Again, use a tape measure and measure the distance from the top of the window frame to the sill. Take this measurement on both sides of the window and record the smallest height measurement.
- It’s important to note that when measuring for inside mount blinds, you should provide the exact window opening measurements. For outside mount blinds, add extra width and height to cover the window frame.
- Double-check your measurements to ensure accuracy. Measure one more time before moving on to the next step.
Once you have measured your window and recorded the dimensions, you can proceed to choose the mounting style that best suits your needs. This will be discussed in step 2.
Remember, accuracy is key when measuring your window. Taking precise measurements will ensure that your spring window fashion blinds fit perfectly and provide optimal functionality. Now that you have measured your window, let’s move on to step 2: choosing the mounting style.
Step 2: Choose the Mounting Style
When installing spring window fashion blinds, you have the option to choose between inside mount and outside mount. The mounting style you choose will depend on personal preference and the specific characteristics of your window. Here’s a breakdown of each mounting style:
- Inside Mount: With this mounting style, the blinds are installed inside the window frame. This creates a clean and streamlined look as the blinds fit snugly within the frame. Inside mount blinds are ideal if you want to showcase decorative window trim or if you have limited space on the sides of the window. To ensure a proper fit, make sure there is enough depth within the window frame to accommodate the blinds.
- Outside Mount: This mounting style involves installing the blinds on the outside of the window frame or wall, covering the entire window area. Outside mount blinds are perfect if you want to create the illusion of larger windows or if you want to block out more light. Additionally, this style allows for more flexibility in terms of width and length, as it is not limited by the size of the window frame. It’s important to note that outside mount blinds may require additional hardware, such as extension brackets, to ensure proper installation and support.
Consider the look you want to achieve, the functionality you desire, and the specific dimensions of your window when selecting the mounting style. Take into account any obstructions, such as handles or trim, that may affect the installation process or interfere with the operation of the blinds.
Once you have determined the mounting style, you can proceed to step 3: installing the mounting brackets.
Remember, choosing the right mounting style is essential for a successful installation. Carefully consider your options and select the style that best suits your needs. Now let’s move on to step 3: installing the mounting brackets.
Step 3: Install the Mounting Brackets
Installing the mounting brackets is a crucial step in the process of installing spring window fashion blinds. The brackets provide the necessary support and stability for the blinds. Here’s a step-by-step guide on how to install the mounting brackets:
- Determine the placement of the mounting brackets. For inside mount blinds, position the brackets just inside the window frame, ensuring they are evenly spaced. For outside mount blinds, position the brackets on the wall or window frame, making sure they are level and aligned with the top and sides of the window.
- Hold the bracket in place and mark the screw holes with a pencil.
- Using a drill, create pilot holes at the marked positions. The size of the drill bit should match the size of the screws provided with the mounting brackets.
- Align the bracket with the pilot holes and secure them in place using the provided screws. Repeat this process for all the mounting brackets.
- Once all the brackets are installed, ensure they are level and secure.
It’s important to follow the manufacturer’s instructions when installing the mounting brackets, as the specific steps may vary depending on the type and design of the blinds.
Now that you have the mounting brackets securely installed, you can move on to step 4: attaching the headrail.
Remember, proper installation of the mounting brackets is essential for the stability and functionality of the blinds. Take your time to ensure they are installed correctly. Now let’s proceed to step 4: attaching the headrail.
When installing Spring Window Fashion blinds, make sure to measure the window accurately before purchasing the blinds to ensure a perfect fit.
Read more: What Is Window Blinds
Step 4: Attach the Headrail
Attaching the headrail is an important step in the installation of spring window fashion blinds. The headrail is the top portion of the blinds where the slats or panels are attached. Follow these steps to securely attach the headrail:
- Position the headrail between the installed mounting brackets, ensuring it is level.
- Slide the headrail into the brackets until it is securely in place. Depending on the type of blinds, this may involve hooks, clips, or a locking mechanism.
- Double-check to ensure that the headrail is properly aligned and level.
- If needed, tighten any screws or adjust any mechanisms provided to secure the headrail in place.
It’s important to refer to the manufacturer’s instructions for specific guidance on attaching the headrail, as the process may vary depending on the type of blinds you are installing.
Now that the headrail is securely attached, you can proceed to step 5: installing the bottom rail.
Remember, the headrail provides support and ensures the proper functioning of the blinds. Take your time to ensure it is attached correctly. Now let’s move on to step 5: installing the bottom rail.
Step 5: Install the Bottom Rail
Installing the bottom rail is a crucial step in the installation process of spring window fashion blinds. The bottom rail provides stability and helps to keep the blinds in place. Follow these steps to install the bottom rail:
- Hold the bottom rail in position at the bottom of the slats or panels.
- Depending on the type of blinds, there may be a groove or channel in the bottom rail that the slats or panels slide into. Make sure they are aligned properly.
- Gently press the bottom rail into place, ensuring it is securely attached to the slats or panels.
- Double-check to ensure that the bottom rail is evenly positioned and level.
It’s important to refer to the manufacturer’s instructions for specific guidance on installing the bottom rail, as the process may vary depending on the type of blinds you are installing.
Once the bottom rail is securely installed, you can proceed to step 6: securing the cords.
Remember, the bottom rail adds stability to the blinds and ensures their proper functioning. Take your time to ensure it is installed correctly. Now let’s move on to step 6: securing the cords.
Step 6: Secure the Cords
Securing the cords is an important step in the installation of spring window fashion blinds. It is essential for both the appearance and safety of the blinds. Follow these steps to properly secure the cords:
- Start by gathering all the cords at one side of the blinds.
- Using a cord cleat or cord tensioner (provided with the blinds), secure the cords by wrapping them around the cleat or threading them through the tensioner.
- Ensure that the cords are pulled tight and there is no slack or excess cord hanging down. This helps to prevent tangling and keeps the cords out of reach of children and pets.
- Position the cord cleat or tensioner at a height that is comfortable for you, but still out of reach of children.
- Secure the cord cleat or tensioner to the wall or window frame using screws or adhesive, following the manufacturer’s instructions.
It’s important to secure the cords properly to prevent accidents, especially when children or pets are present. Make sure the cords are taut and safely out of reach.
Now that the cords are securely fastened, you can proceed to step 7: adjusting the tension.
Remember, properly securing the cords is crucial for the safety and functionality of the blinds. Take your time to ensure they are securely fastened. Now let’s move on to step 7: adjusting the tension.
Step 7: Adjust the Tension
Adjusting the tension of spring window fashion blinds is the final step in the installation process. Proper tension ensures that the blinds operate smoothly and hold their position when adjusted. Follow these steps to adjust the tension:
- Locate the tension adjustment mechanism on the headrail. This may be a small knob or screw.
- With gentle pressure, turn the knob or screw clockwise to increase the tension or counterclockwise to decrease the tension.
- Test the blinds by opening and closing them, adjusting the slats or panels to your desired position.
- Continue adjusting the tension as needed until the blinds operate smoothly and hold their position securely.
- Double-check that the tension adjustment mechanism is properly tightened to prevent it from loosening over time.
It’s important to find the right tension for your blinds based on your personal preference and the weight of the slats or panels. Adjusting it too tightly may cause the blinds to be difficult to operate, while adjusting it too loosely may cause the blinds to sag or not hold their position.
Now that you have adjusted the tension of the blinds, you can step back and enjoy your newly installed spring window fashion blinds.
Congratulations! You have successfully installed your spring window fashion blinds. By following these steps, you have transformed the look and functionality of your windows. Enjoy the privacy, light control, and aesthetic enhancement that your blinds provide.
If you have any further questions or need additional assistance, always refer to the manufacturer’s instructions or consult with a professional.
Happy decorating!
Read more: How To Close Window Blinds
Conclusion
Installing spring window fashion blinds is a rewarding DIY project that can transform the look and feel of your windows. With the steps outlined in this guide, you are equipped with the knowledge and confidence to successfully install your blinds. By following these steps and using the right tools and materials, you can enhance your windows’ aesthetics, control the amount of light entering your space, and enjoy the privacy that blinds provide.
Remember to measure your window accurately to ensure a proper fit, choose the appropriate mounting style based on your preferences and window characteristics, and install the mounting brackets securely. Attaching the headrail and bottom rail with care will ensure stability and functionality, while securing the cords properly is essential for safety. Finally, adjusting the tension will allow for comfortable operation and optimal positioning of the blinds.
Throughout the installation process, refer to the manufacturer’s instructions for specific guidance, as different blinds may have slight variations in their installation procedures. Additionally, always prioritize safety by keeping cords out of reach of children and pets, and ensure that the blinds are properly adjusted, mounted, and secured to prevent accidents.
By installing spring window fashion blinds, you are creating a stylish and functional window treatment that enhances the overall appearance of your space. Enjoy the beauty, privacy, and light control that your blinds provide.
If you have any further questions or need assistance, consult the manufacturer’s instructions or seek guidance from a professional. Happy installing!
Frequently Asked Questions about How To Install Spring Window Fashion Blinds
Was this page helpful?
At Storables.com, we guarantee accurate and reliable information. Our content, validated by Expert Board Contributors, is crafted following stringent Editorial Policies. We're committed to providing you with well-researched, expert-backed insights for all your informational needs.