Articles
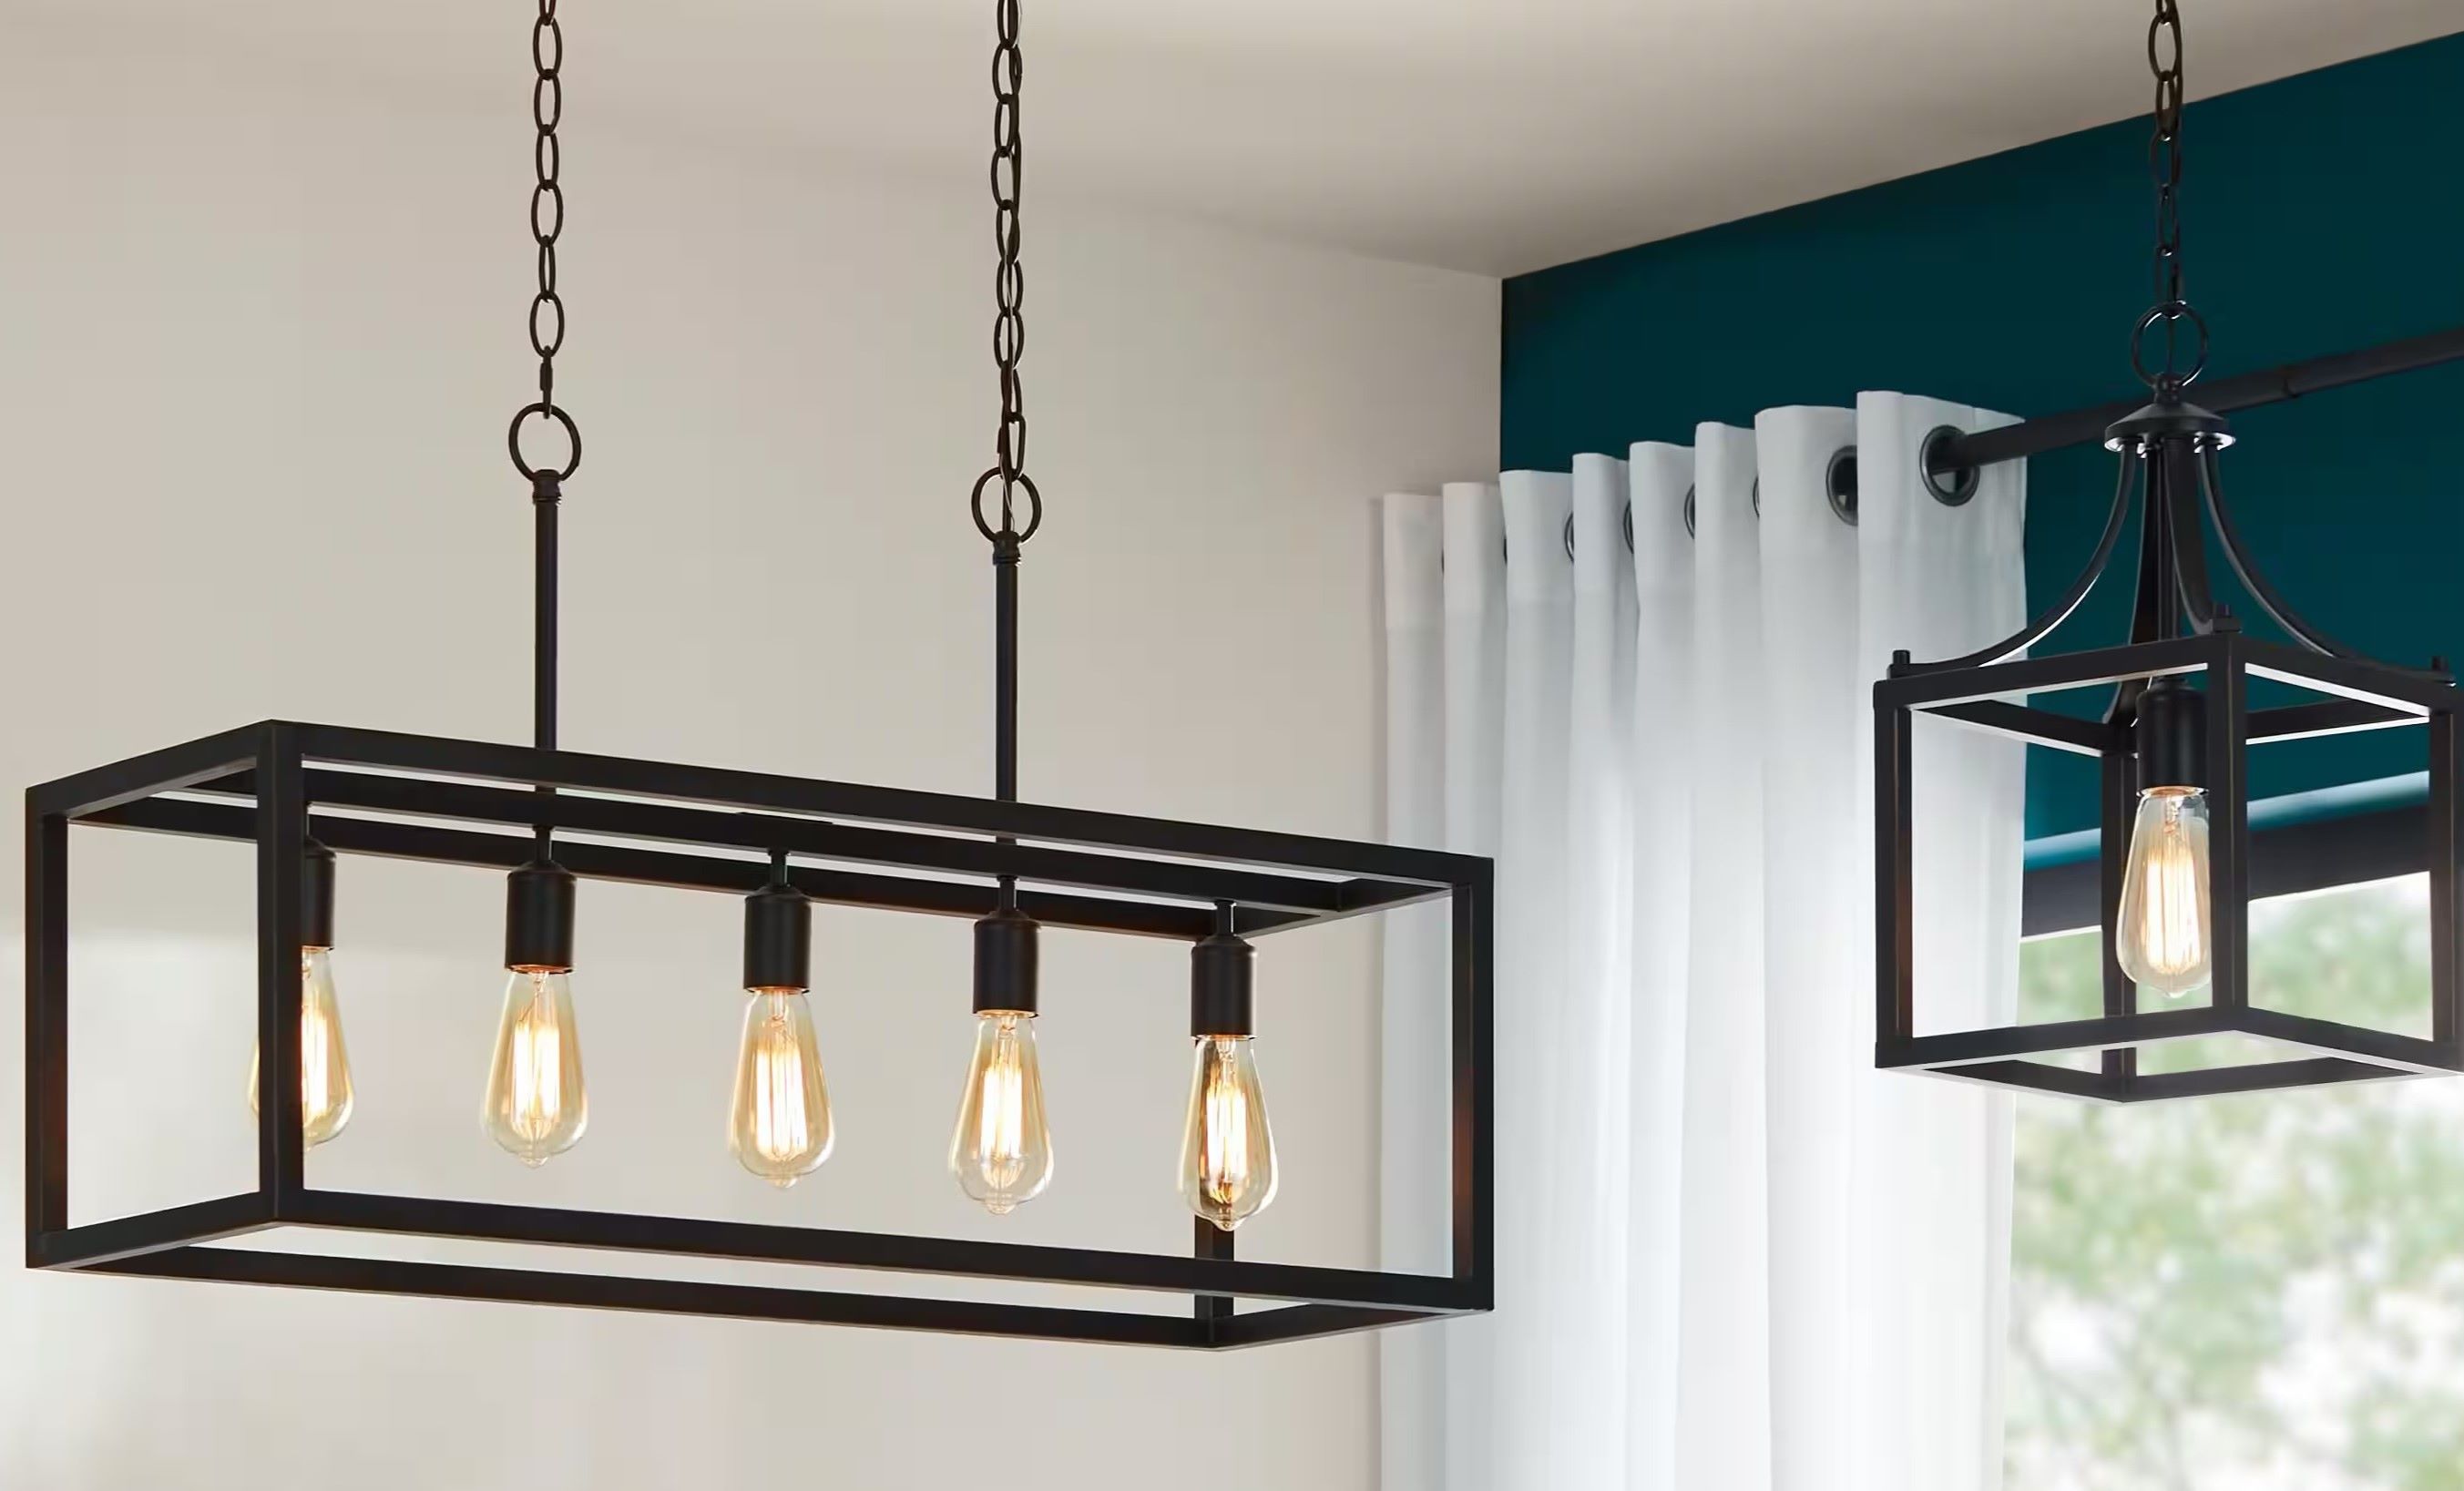
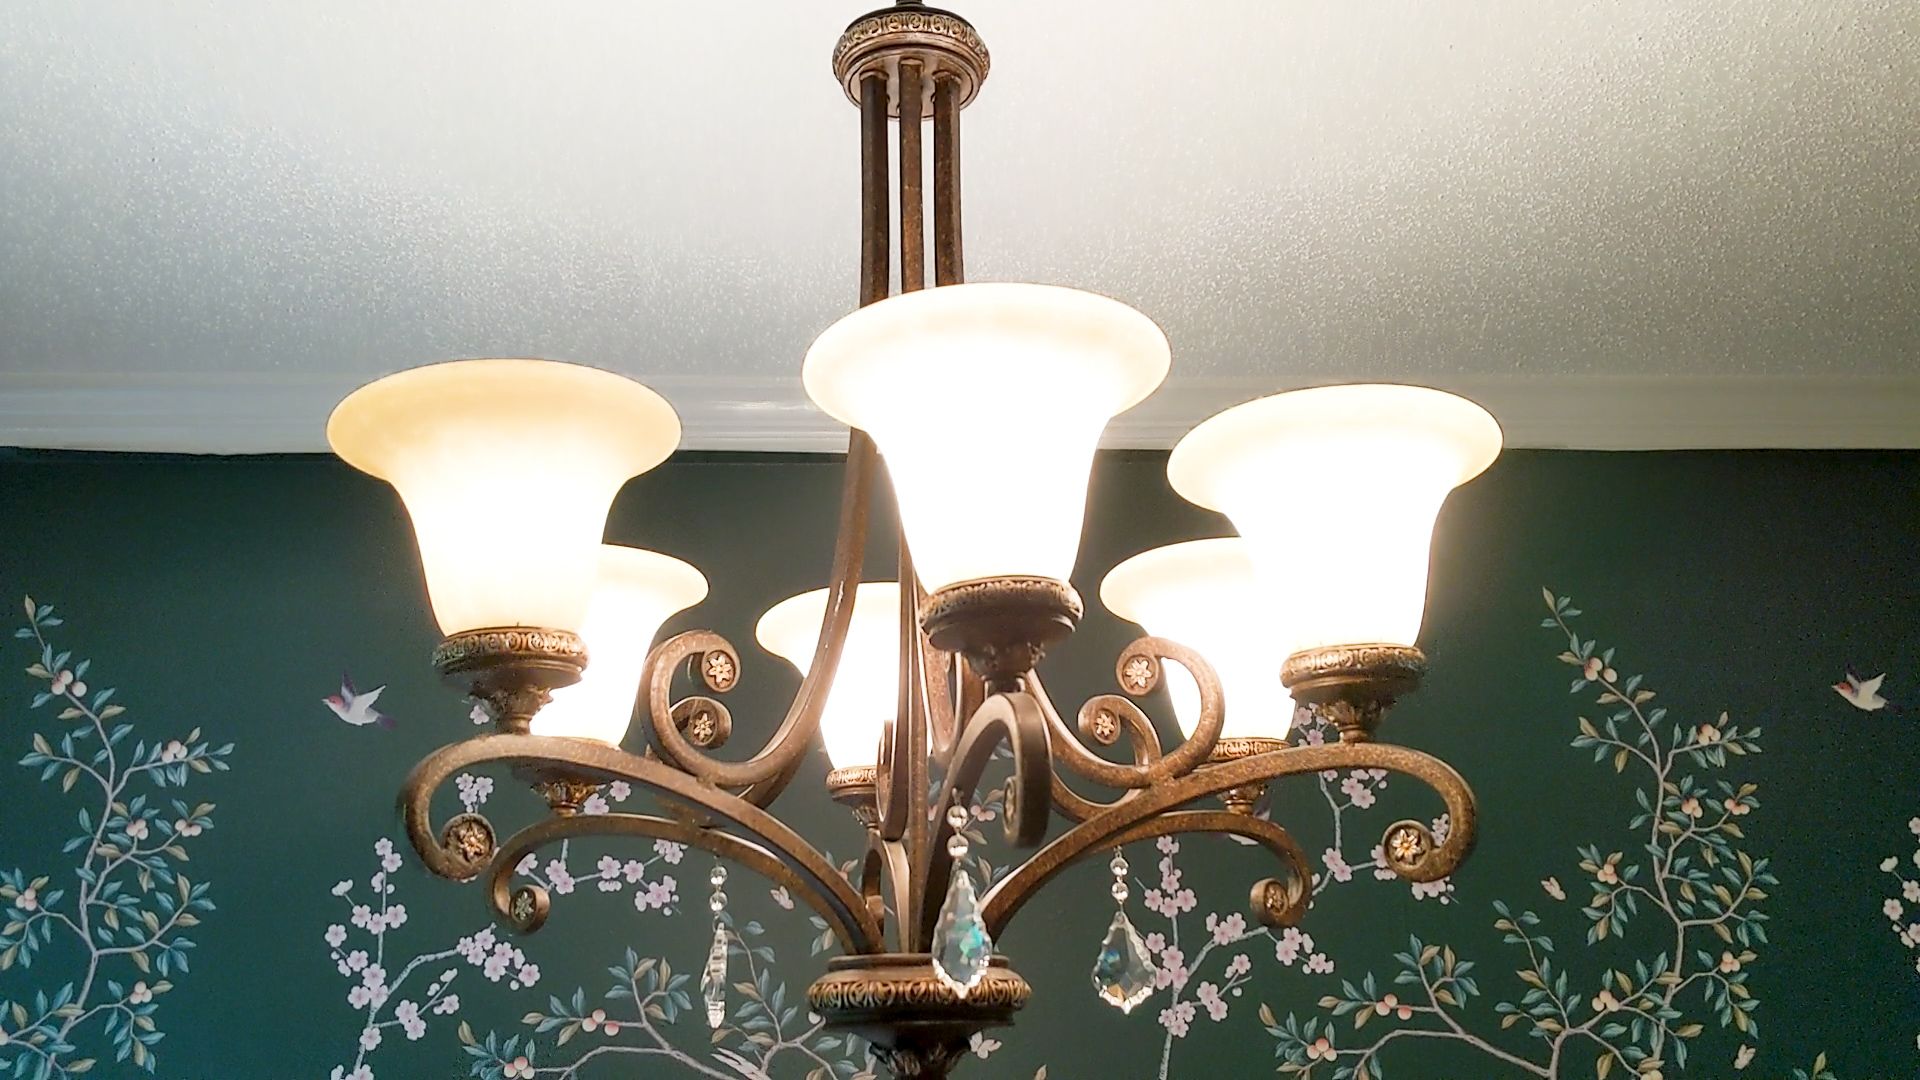
How To Replace Ceiling Light Fixture
Modified: October 20, 2024
Learn how to replace your ceiling light fixture with our step-by-step articles, covering everything from wiring to installation, for a seamless upgrade to your home lighting.
(Many of the links in this article redirect to a specific reviewed product. Your purchase of these products through affiliate links helps to generate commission for Storables.com, at no extra cost. Learn more)
Introduction
Replacing a ceiling light fixture can be a daunting task for many homeowners, but with the right tools and a little bit of know-how, it can be a straightforward and rewarding DIY project. Whether you’re looking to update the aesthetic of a room or simply need to replace a faulty light fixture, this guide will walk you through the step-by-step process.
Before we dive into the details, it’s important to note that working with electrical wiring can be dangerous. If you’re not comfortable or confident in your abilities, it’s best to hire a licensed electrician to handle the installation. However, if you’re eager to tackle the project on your own, make sure to follow all safety precautions and turn off the power supply before starting.
In this guide, we will cover the necessary tools and materials you’ll need, as well as each step of the replacement process. By the end, you’ll have a brand new ceiling light fixture that brightens up your space and adds a touch of style.
So, let’s get started on transforming the way your room looks with a new ceiling light fixture!
Key Takeaways:
- Safety First
When replacing a ceiling light fixture, prioritize safety by turning off the power supply, using proper tools, and following step-by-step instructions. If unsure, consult a licensed electrician for assistance. - Transform Your Space
By following the outlined steps and ensuring secure electrical connections, you can successfully install a new ceiling light fixture, enhancing the aesthetics and functionality of your room. Enjoy the improved lighting and ambiance!
Read more: How To Change A Ceiling Light Fixture
Step 1: Gathering the Necessary Tools and Materials
Before you begin the replacement process, it’s essential to gather all the tools and materials you’ll need. Having everything on hand will ensure a smooth and efficient installation. Here’s a list of what you’ll need:
- Power screwdriver or drill
- Pliers
- Wire strippers
- Wire connectors
- Electrical tape
- Voltage tester
- Ladder or step stool
- New ceiling light fixture
- Screws and mounting hardware
Make sure to select a new ceiling light fixture that matches the style and size of the room. Consider the amount of light output required and any additional features you may want, such as dimmable lights or adjustable directionality.
It’s also crucial to ensure that the new fixture is compatible with your existing electrical wiring. Check the voltage and amperage ratings of the fixture and compare them to the electrical supply to avoid any compatibility issues.
Once you have gathered all the necessary tools and materials, it’s time to move on to the next step: preparing for the replacement process. Let’s continue!
Step 2: Preparing for the Replacement Process
Before you start replacing the ceiling light fixture, it’s important to prepare the area to ensure a smooth and safe installation. Follow these steps to get ready:
- Clear the area: Remove any furniture or objects that may obstruct your workspace. This will provide a clear area for you to work and reduce the likelihood of accidents or damage to the fixtures.
- Protect the floor: Place a drop cloth or plastic sheeting beneath the area where you’ll be working. This will protect the floor from any debris or potential spills during the installation process.
- Turn off the light switch: Remember to turn off the light switch connected to the existing ceiling light fixture. This will prevent any accidents or electrical shocks during the replacement.
- Switch off the power supply: Locate the circuit breaker box or fuse box in your home. Turn off the power supply to the room where you’ll be working. This will ensure your safety while handling the electrical wiring.
- Test the wires: Use a voltage tester to check if the power supply to the existing fixture has been successfully turned off. This step is vital in ensuring that you don’t accidentally handle live wires during the replacement process.
By taking the time to prepare the area properly, you’ll create a safe and efficient workspace for replacing the ceiling light fixture. Once you’ve completed these preparations, you’re ready to move on to the next step: turning off the power supply.
Step 3: Turning off the Power Supply
Before you begin working on the electrical connections of your ceiling light fixture, it’s crucial to turn off the power supply to ensure your safety. Follow these steps to turn off the power:
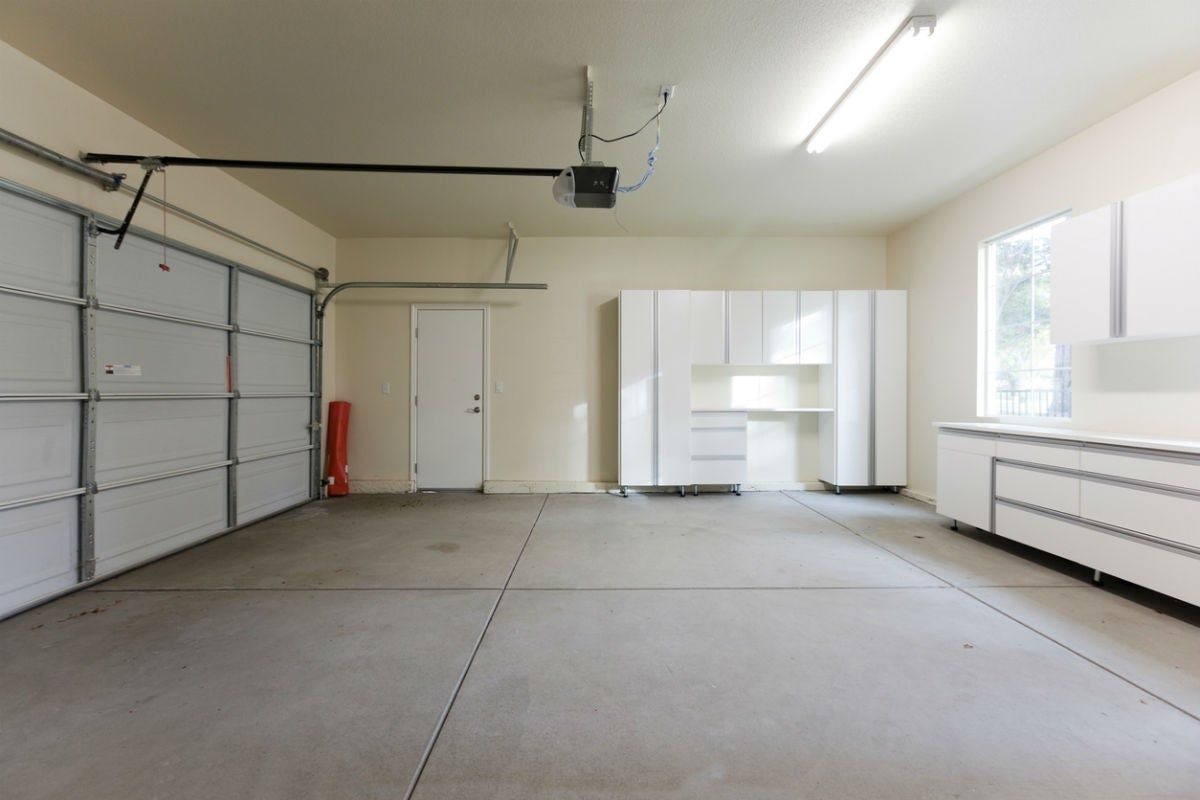
- Locate the circuit breaker box: The circuit breaker box is usually found in the basement, garage, or utility room of your home. It contains a series of switches or fuses that control the power supply to different areas of your house.
- Identify the correct circuit breaker: Look for the circuit breaker that corresponds to the room where you’ll be replacing the ceiling light fixture. If you’re unsure, you can turn off the main circuit breaker to cut off power to the entire house temporarily.
- Switch off the circuit breaker: Using your hand or a screwdriver, flip the switch or push down the lever of the circuit breaker to the “Off” position. You should hear a click indicating that the power to that specific circuit has been cut off.
- Verify power outage: To make sure the power is off, test the light switch connected to the existing ceiling light fixture. If it doesn’t turn on, you have successfully turned off the power supply.
- Double-check with a voltage tester: For added safety, use a voltage tester to ensure there is no electrical current flowing to the area where you’ll be working. Simply touch the tester to the wires connected to the fixture. If it doesn’t detect any voltage, you’re good to go.
Remember, safety should be your top priority when working with electrical connections. By properly turning off the power supply, you can minimize the risk of electric shock or injury. Now that you’ve shut off the power, you’re ready for the next step: removing the existing ceiling light fixture.
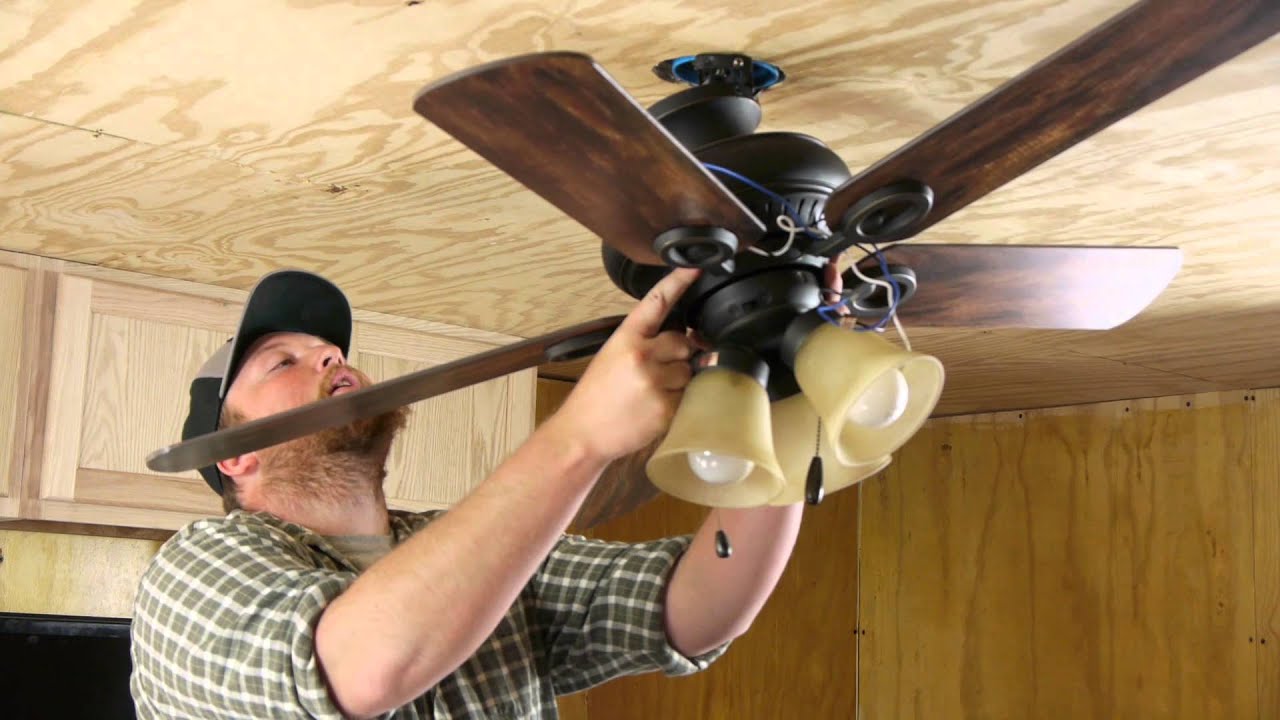
Step 4: Removing the Existing Ceiling Light Fixture
Now that you’ve turned off the power supply, it’s time to remove the existing ceiling light fixture. Follow these steps to successfully take down the old fixture:
- Remove the lightbulbs: Unscrew and remove any lightbulbs that are currently installed in the fixture. Set them aside in a safe place for later use or disposal.
- Detach the fixture cover: Most ceiling light fixtures have a cover or a decorative plate that conceals the wiring and mounting hardware. Carefully remove the cover by unscrewing it or releasing the clips that hold it in place.
- Loosen the mounting screws: Locate the mounting screws that attach the fixture to the ceiling. Use a power screwdriver or drill to loosen these screws, but be careful not to completely remove them just yet.
- Disconnect the wires: Gently pull down the fixture from the ceiling, exposing the electrical wires. Carefully detach the wire connectors that connect the fixture’s wires to the house wiring. Take note of the wire color coding or make a diagram to ensure you reconnect the new fixture correctly.
- Remove the old fixture: Once the wires are disconnected, you can now fully remove the old ceiling light fixture. Unscrew the mounting screws completely and carefully lower the fixture down, making sure not to damage the wires or ceiling surface.
With the existing ceiling light fixture removed, you’re one step closer to installing your new fixture. Before you proceed, take a moment to inspect the wiring for any signs of damage or wear. If you notice any issues, it’s best to consult a licensed electrician for further guidance.
Now, you’re ready for the next step: disconnecting the electrical connections. Let’s continue!
Read more: How To Install A Ceiling Light Fixture Box
Step 5: Disconnecting the Electrical Connections
With the old ceiling light fixture removed, it’s time to disconnect the electrical connections. Follow these steps to ensure a safe disconnection:
- Examine the wires: Take a close look at the wires coming out of the ceiling. You’ll likely see black (hot), white (neutral), and sometimes green or bare copper (ground) wires.
- Untwist the wire connectors: If the wires are connected with wire connectors, firmly grip the connector and twist it counterclockwise to detach it from the house wiring.
- Separate the wires: Once the connectors are removed, carefully separate the wires of the old fixture from the wires in the ceiling. Be mindful not to tug too hard, as you don’t want to damage the electrical connections.
- Cap the exposed wires: To ensure safety and prevent any accidental contact, cap the exposed ends of the wires with wire caps. Twist the caps securely onto each pair of wires, covering the bare ends completely.
- Tuck the capped wires: Once the wires are capped, gently tuck them back into the electrical box in the ceiling. Ensure that they are neatly arranged and don’t interfere with the installation of the new fixture.
Remember, proper disconnection of electrical connections is crucial for your safety. Take your time to carefully follow these steps, ensuring that the wires are secure and separated correctly. Once you’ve completed this step, you’re ready to move on to the next one: installing the new ceiling light fixture.
Before starting the replacement, make sure to turn off the power to the existing light fixture at the circuit breaker to avoid any electrical accidents.
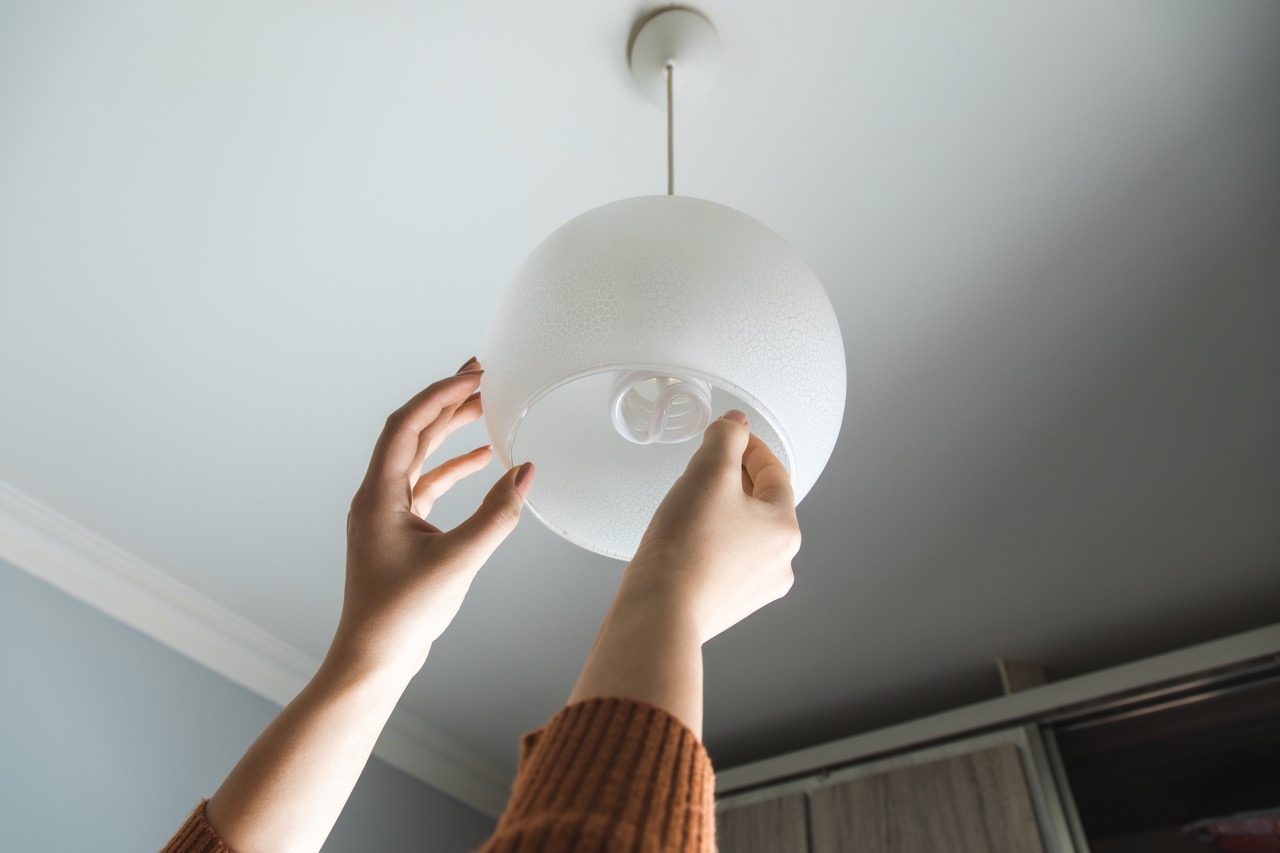
Step 6: Installing the New Ceiling Light Fixture
Now that you’ve disconnected the electrical connections, it’s time to install the new ceiling light fixture. Follow these steps to ensure a successful installation:
- Attach the mounting bracket: Start by attaching the mounting bracket provided with your new fixture to the electrical box in the ceiling. Use the screws and mounting hardware included with the fixture, ensuring that it is securely fastened.
- Prepare the fixture: Before installing the fixture, check the manufacturer’s instructions for any specific preparations needed. This may include removing any packaging materials, labels, or protective covers.
- Align the fixture: Hold the new ceiling light fixture above the installed mounting bracket. Align the screw holes in the fixture with the mounting holes in the bracket.
- Secure the fixture: Once aligned, use the screws or mounting hardware provided to secure the fixture to the mounting bracket. Tighten the screws firmly, but be cautious not to overtighten and damage the fixture.
- Make the electrical connections: Take the wires from the new fixture and align them with the corresponding wires in the ceiling. Match the color-coded wires – black to black, white to white, and green/bare copper to the grounding wire (if applicable).
- Connect the wires: Twist the corresponding wires together in a clockwise direction, ensuring a secure connection. Once twisted, secure the connection with a wire connector, making sure the wires are completely enclosed within the connector.
- Secure the wire connections: Carefully tuck the connected wires back into the electrical box in the ceiling. Ensure that they are neatly arranged and don’t interfere with the installation of the fixture.
With the new ceiling light fixture properly installed and the electrical connections secure, you’re one step closer to illuminating your space in style. However, before moving on, it’s crucial to double-check your connections and ensure they are firmly fastened. This will help prevent any issues or malfunctions down the line.
Now that the fixture is securely in place, you’re ready to proceed to the next step: connecting the electrical wires.
Step 7: Connecting the Electrical Wires
With the new ceiling light fixture installed, it’s time to connect the electrical wires. Properly connecting the wires is crucial for the safe and effective operation of your light fixture. Follow these steps to ensure a successful connection:
- Strip the wire ends: Use wire strippers to carefully strip the insulation from the ends of the wires. Strip off about half an inch of insulation to expose the bare wire.
- Match the wire colors: Match the color-coded wires from the fixture with the corresponding wires in the ceiling. Connect the black wire from the fixture to the black wire in the ceiling, the white wire to the white wire, and the green/bare copper wire to the grounding wire (if applicable).
- Twist the wires together: Twist the corresponding wires together in a clockwise direction to create a secure connection. Ensure that the twisted wires are tightly joined and there are no loose strands.
- Secure the connection: Place a wire connector over the twisted wires and twist it clockwise until it is securely fastened. Give the wires a gentle tug to ensure they are tightly connected.
- Wrap with electrical tape: To provide extra protection and prevent any accidental contact, wrap the wire connectors with electrical tape. Wrap it several times around the base of the connector, ensuring all exposed wires are covered.
It’s vital to ensure that the electrical connections are secure and properly insulated. This will protect against any potential electrical hazards and ensure the longevity of your new ceiling light fixture. Take the time to double-check your connections before proceeding to the next step.
Now that the electrical wires are connected, you’re ready to move on to the next step: securing the new light fixture in place.
Step 8: Securing the New Light Fixture
Now that the electrical connections are in place, it’s time to secure the new light fixture to the ceiling. Follow these steps to ensure a sturdy and stable installation:
- Tighten the mounting screws: Ensure that the mounting screws on the new light fixture are fully tightened. Use a screwdriver or power drill to secure the screws, making sure the fixture is snug against the ceiling.
- Check for alignment: Take a moment to check if the fixture is level and aligned properly. Adjust the position of the fixture if necessary to achieve the desired aesthetic appeal.
- Double-check secureness: Give the fixture a gentle shake to ensure it is securely fastened. If you notice any wobbling or instability, re-tighten the mounting screws until the fixture is stable and immobile.
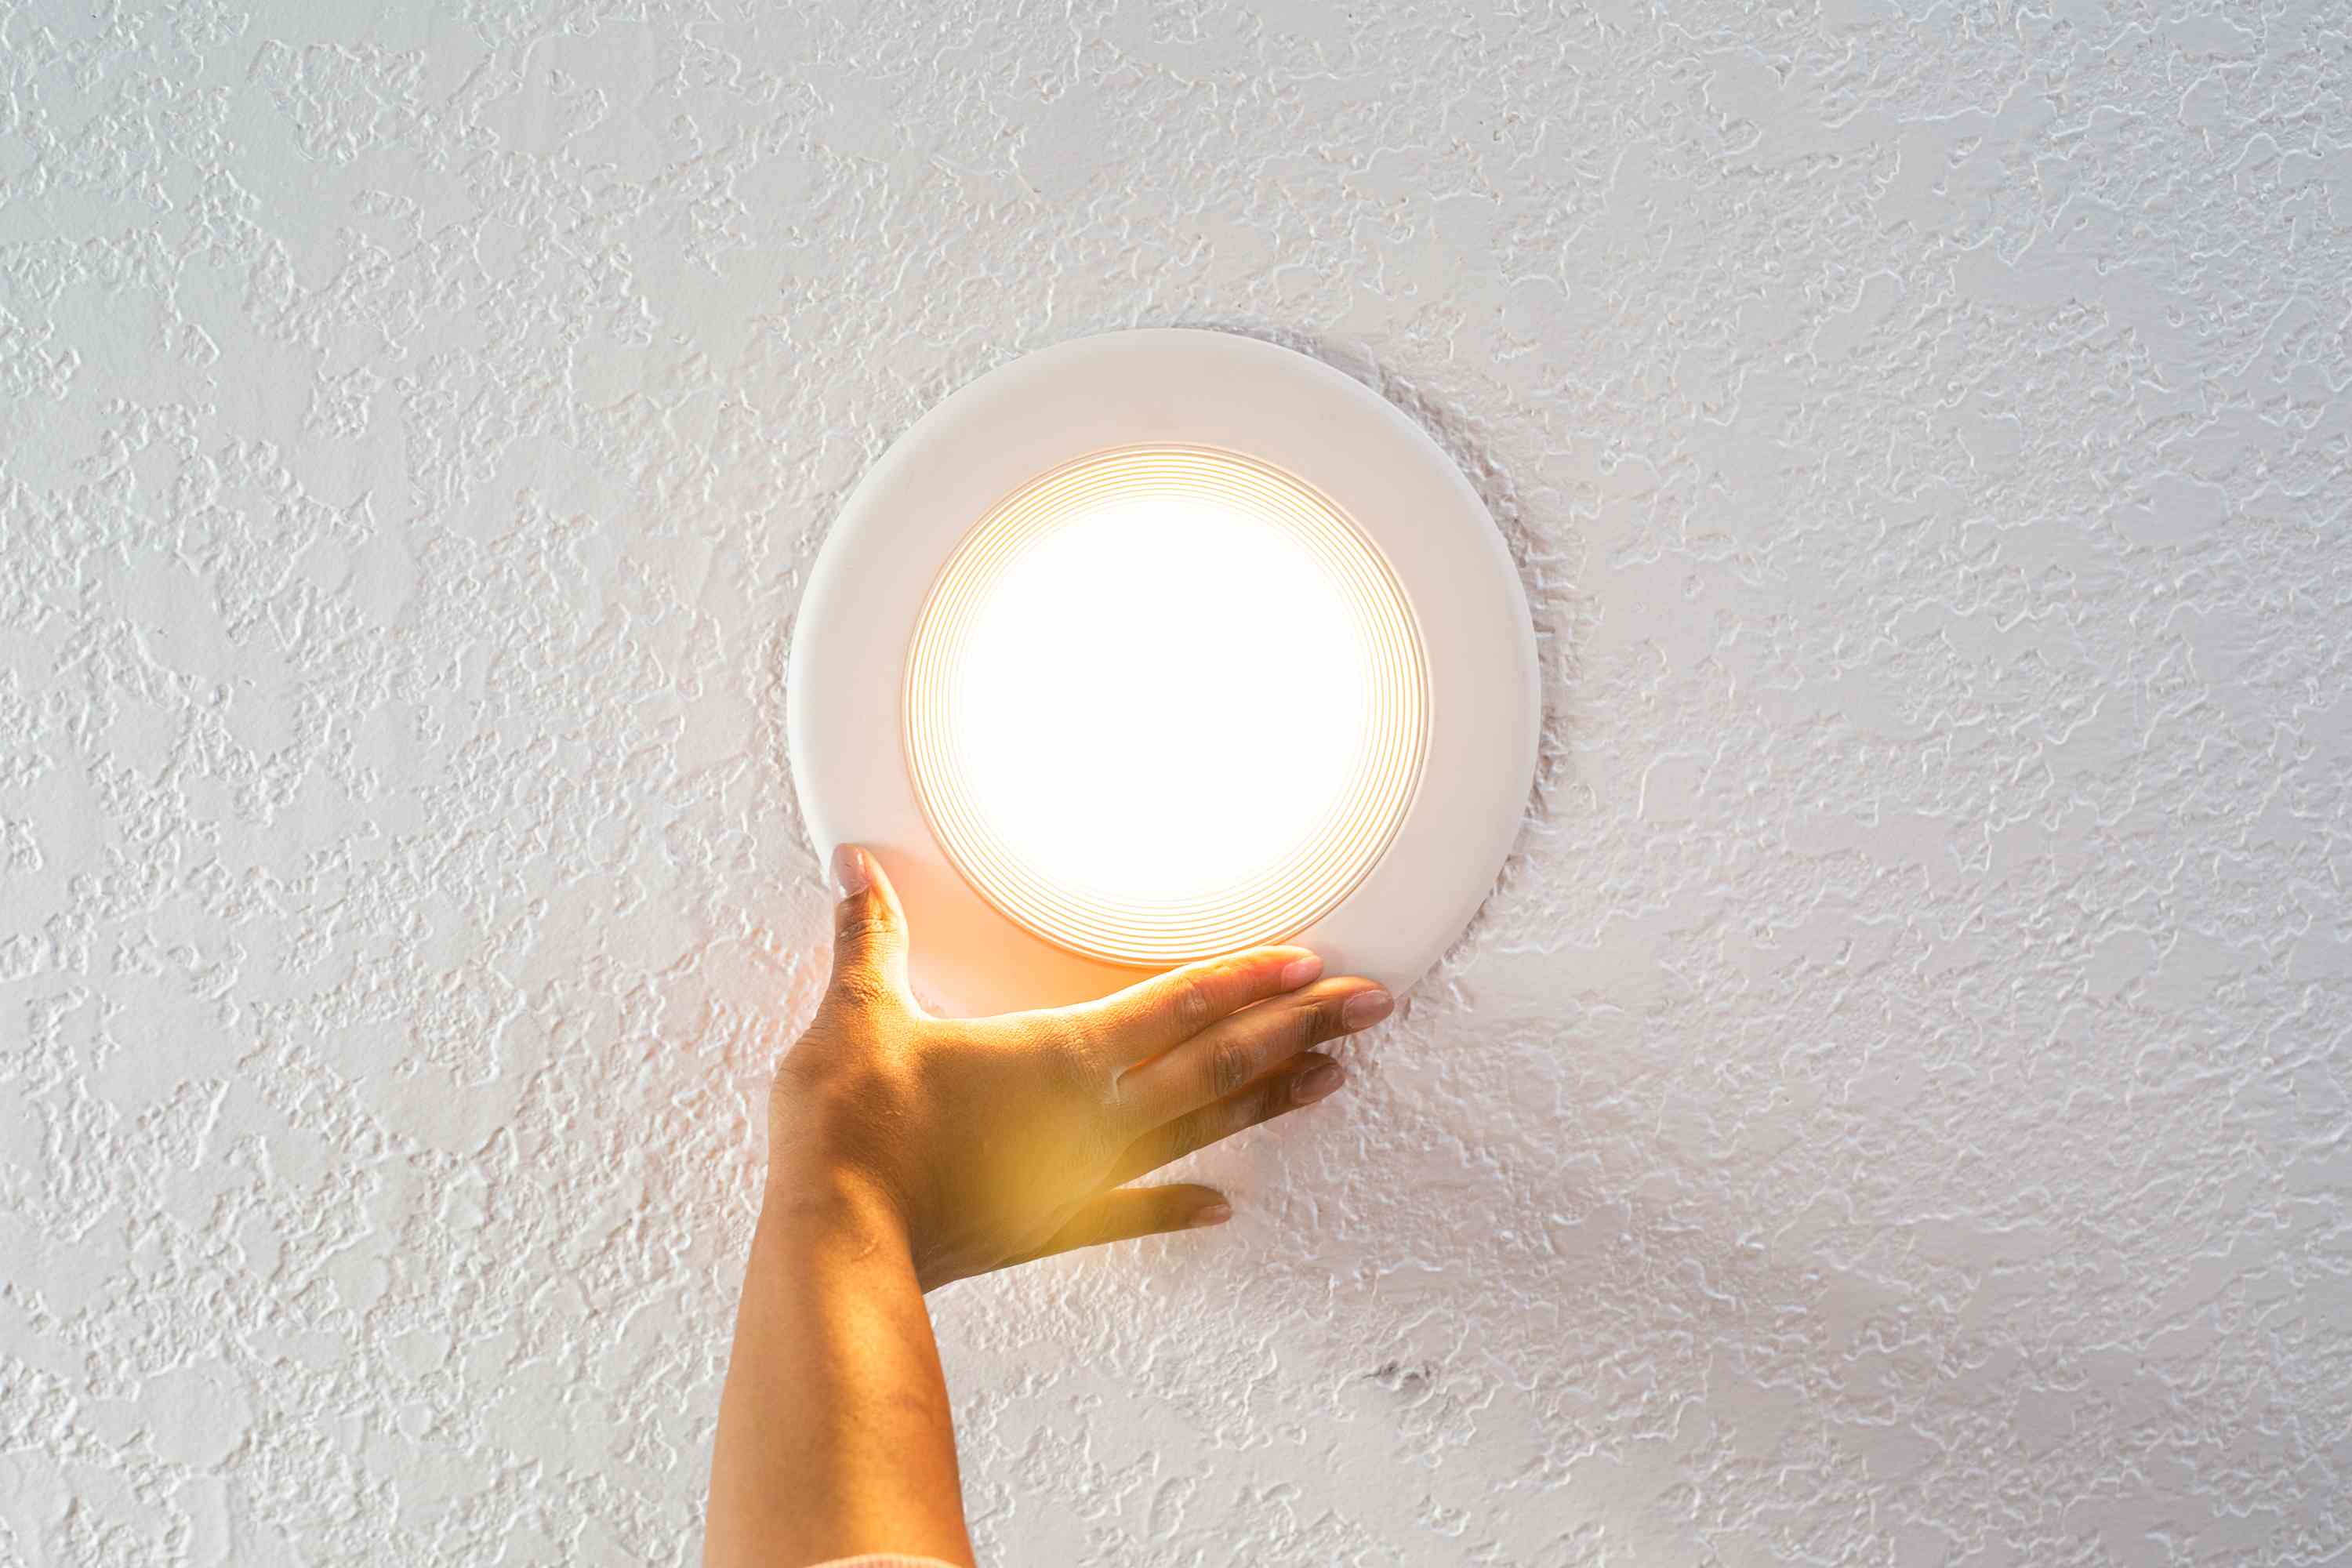
- Attach the fixture cover: If your new light fixture comes with a cover or decorative plate, attach it securely. Most covers have screws or clips that hold them in place. Follow the manufacturer’s instructions to properly attach the cover.
It’s essential to ensure that the new light fixture is securely fastened to prevent any accidents or damage. Taking the time to double-check the tightness of the mounting screws and the stability of the fixture will guarantee a safe and long-lasting installation.
Now that the new light fixture is securely in place, you’re almost done with the installation process. However, before moving on, take a moment to admire your hard work and ensure that everything is in order.
Now, you’re ready for the final step: restoring the power supply.
Step 9: Restoring the Power Supply
With the new light fixture installed and secured, it’s time to restore the power supply. Follow these steps to safely restore the electricity:
- Double-check the connections: Before restoring the power, quickly inspect the electrical connections to ensure they are secure and properly insulated. Ensure that all wire connectors are in place and any exposed wires are covered with electrical tape.
- Replace the lightbulbs: If you removed any lightbulbs during the installation process, now is the time to replace them. Screw the lightbulbs into their respective sockets, matching the wattage and type specified by the fixture.
- Restore the power at the circuit breaker: Return to the circuit breaker box and locate the circuit breaker corresponding to the room where the new light fixture is installed. Flip the circuit breaker switch to the “On” position to restore the power supply.
- Test the new light fixture: Once the power supply is restored, head back to the room with the new light fixture. Turn the light switch on to test the functionality of the fixture. The room should now be illuminated with the new light.
- Check for proper operation: After turning on the light, observe the new fixture for any flickering, dimming, or other irregularities. Ensure that the light functions as intended and illuminates the room effectively.
By carefully restoring the power supply, you can ensure that the new light fixture is operating safely and efficiently. Take note of any issues or abnormalities and address them if necessary.
Congratulations! You have successfully replaced the old ceiling light fixture with a new one. Take a moment to appreciate your accomplishment and enjoy the improved lighting in your space.
If you encountered any difficulties during the installation process or have any lingering concerns, it’s always best to consult a licensed electrician.
Now that you’ve completed the entire replacement process, you can confidently enjoy the benefits of a new and stylish ceiling light fixture in your home.
Conclusion
Replacing a ceiling light fixture may seem like a daunting task, but with the right tools, proper preparation, and step-by-step guidance, it can be a rewarding DIY project. By following the steps outlined in this guide, you can successfully replace your old ceiling light fixture with a new one, transforming the look and functionality of your space.
Throughout the process, it’s crucial to prioritize safety. Remember to always turn off the power supply, perform thorough checks of the electrical connections, and follow proper installation procedures. If you’re unsure or uncomfortable working with electrical wiring, it’s advisable to seek the help of a licensed electrician.
Gathering the necessary tools and materials, preparing the area, turning off the power supply, removing the old fixture, disconnecting the electrical connections, installing the new fixture, connecting the electrical wires, securing the fixture, and restoring the power supply are the essential steps in the replacement process.
By meticulously following each step and paying attention to details, you can ensure a smooth and successful installation. Take the time to double-check your work, ensuring the connections are secure and the fixture is properly mounted.
Once you have completed the replacement process and restored the power supply, enjoy the enhanced lighting and ambiance that your new ceiling light fixture provides. Whether you’ve chosen a contemporary, traditional, or unique design, your new fixture will undoubtedly elevate the aesthetics of your space.
Remember, safety should always be the top priority. If you encounter any difficulties or have concerns, it’s best to consult a professional electrician who can provide guidance and assistance.
So, go ahead and give your room a fresh and vibrant look by replacing that old ceiling light fixture. You’ll be amazed at how this simple update can make a significant difference in the overall ambiance of your space.
Frequently Asked Questions about How To Replace Ceiling Light Fixture
Was this page helpful?
At Storables.com, we guarantee accurate and reliable information. Our content, validated by Expert Board Contributors, is crafted following stringent Editorial Policies. We're committed to providing you with well-researched, expert-backed insights for all your informational needs.


0 thoughts on “How To Replace Ceiling Light Fixture”