Home>Articles>How To Install Top Mount Sink On Granite Countertops

Articles
How To Install Top Mount Sink On Granite Countertops
Modified: August 28, 2024
Learn how to easily install a top mount sink on granite countertops with our step-by-step articles, ensuring a secure and seamless integration into your kitchen design.
(Many of the links in this article redirect to a specific reviewed product. Your purchase of these products through affiliate links helps to generate commission for Storables.com, at no extra cost. Learn more)
Introduction
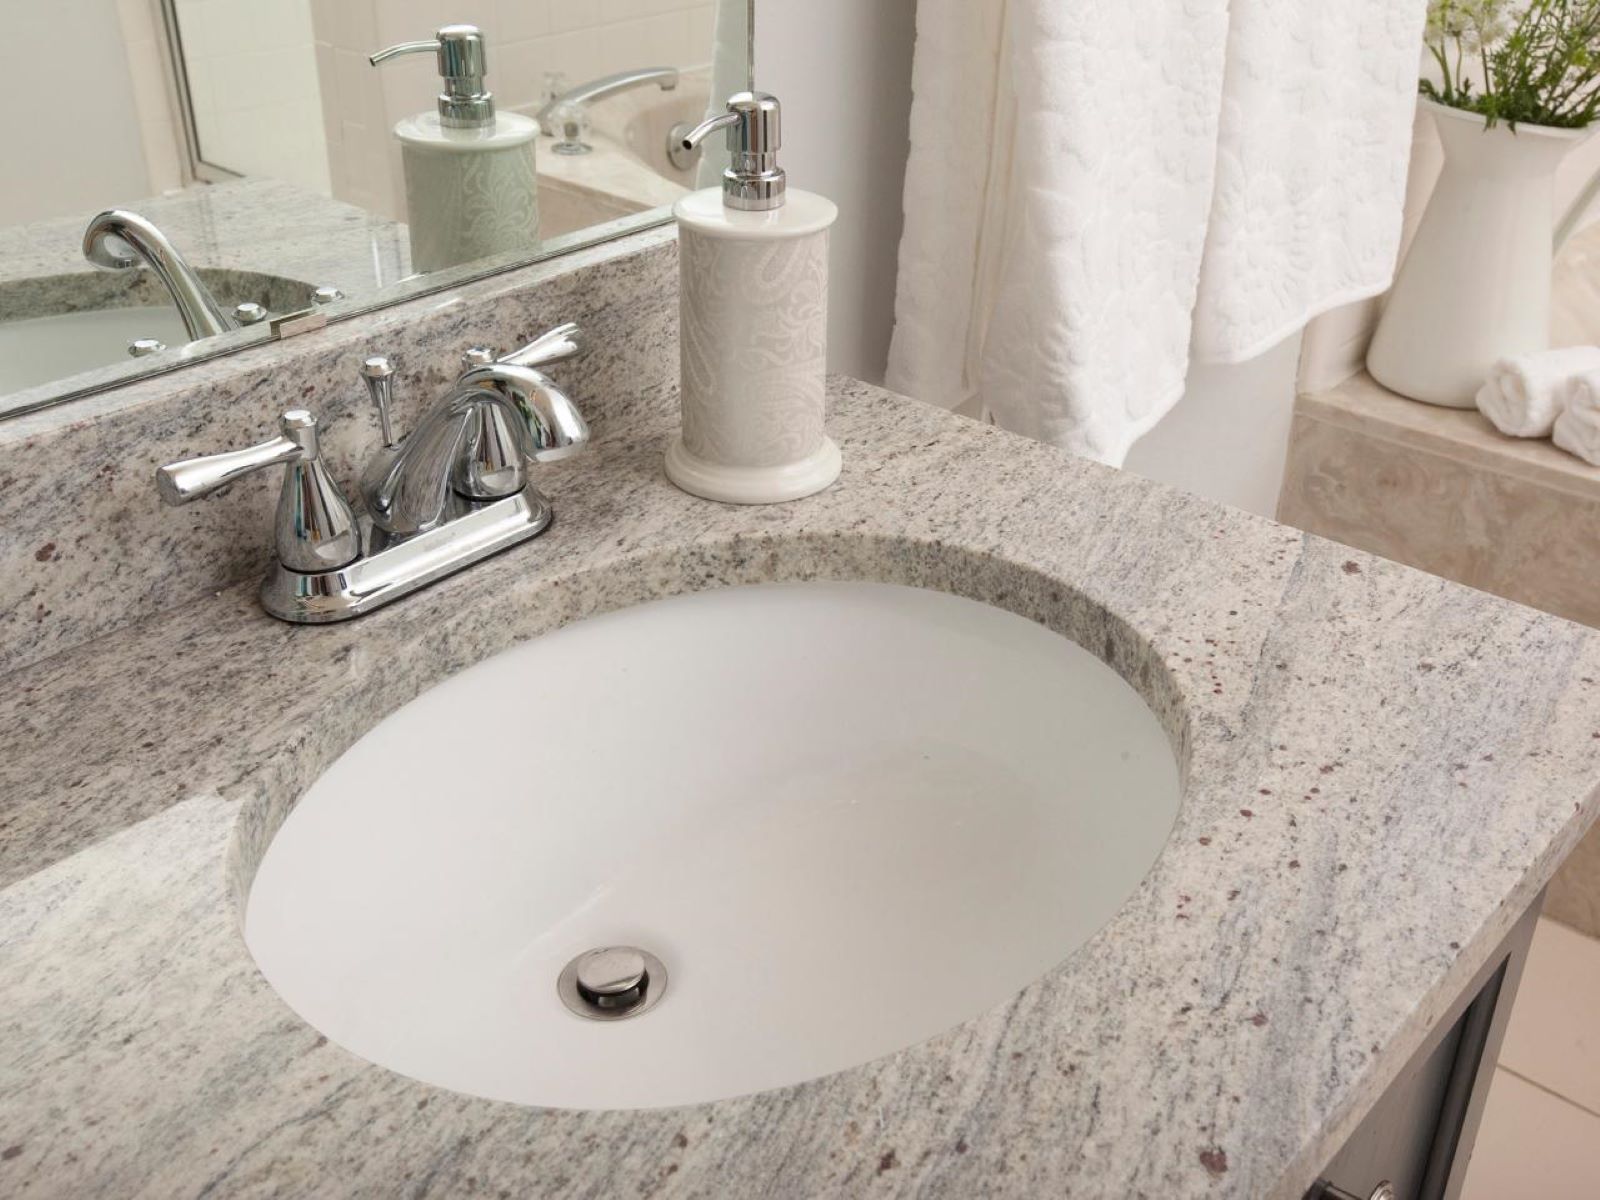
Installing a top mount sink on granite countertops is a great way to add functionality and style to your kitchen or bathroom. Whether you’re renovating or starting from scratch, this type of sink installation is a popular choice due to its ease and versatility. In this article, we will guide you through the step-by-step process of installing a top mount sink on your granite countertops.
Before we begin, it’s important to gather all the necessary materials and tools. This will ensure a smooth and efficient installation process. Let’s take a look at what you’ll need:
- Top mount sink
- Granite countertops
- Sink mounting clips
- Silicone sealant
- Plumbing connectors and pipes
- Adjustable wrench
- Plumber’s tape
- Utility knife
- Measuring tape
- Drill with a diamond drill bit
- Screwdriver
- Safety goggles
Now that you have all the necessary materials and tools, let’s dive into the installation process. But first, make sure to wear safety goggles and take all necessary safety precautions to protect yourself during the installation.
Keep in mind that the specific steps may vary depending on the brand and model of your sink, so always refer to the manufacturer’s instructions when available. With that said, let’s get started!
Key Takeaways:
- Installing a top mount sink on granite countertops requires thorough preparation, including cleaning the countertop, attaching sink mounting clips, applying silicone sealant, and connecting the plumbing for a secure and functional installation.
- Testing the sink after installation is crucial to identify and address any potential issues, ensuring a successful and long-lasting top mount sink installation on granite countertops.
Read more: How To Install Cooktop On Granite Countertop
Materials Needed
Before you begin installing a top mount sink on your granite countertops, it’s essential to gather all the necessary materials and tools. Having everything prepared beforehand will make the installation process smoother and more efficient. Here are the materials you’ll need:
- Top mount sink: Make sure to choose a sink that fits the dimensions of your countertop and suits your style preferences.
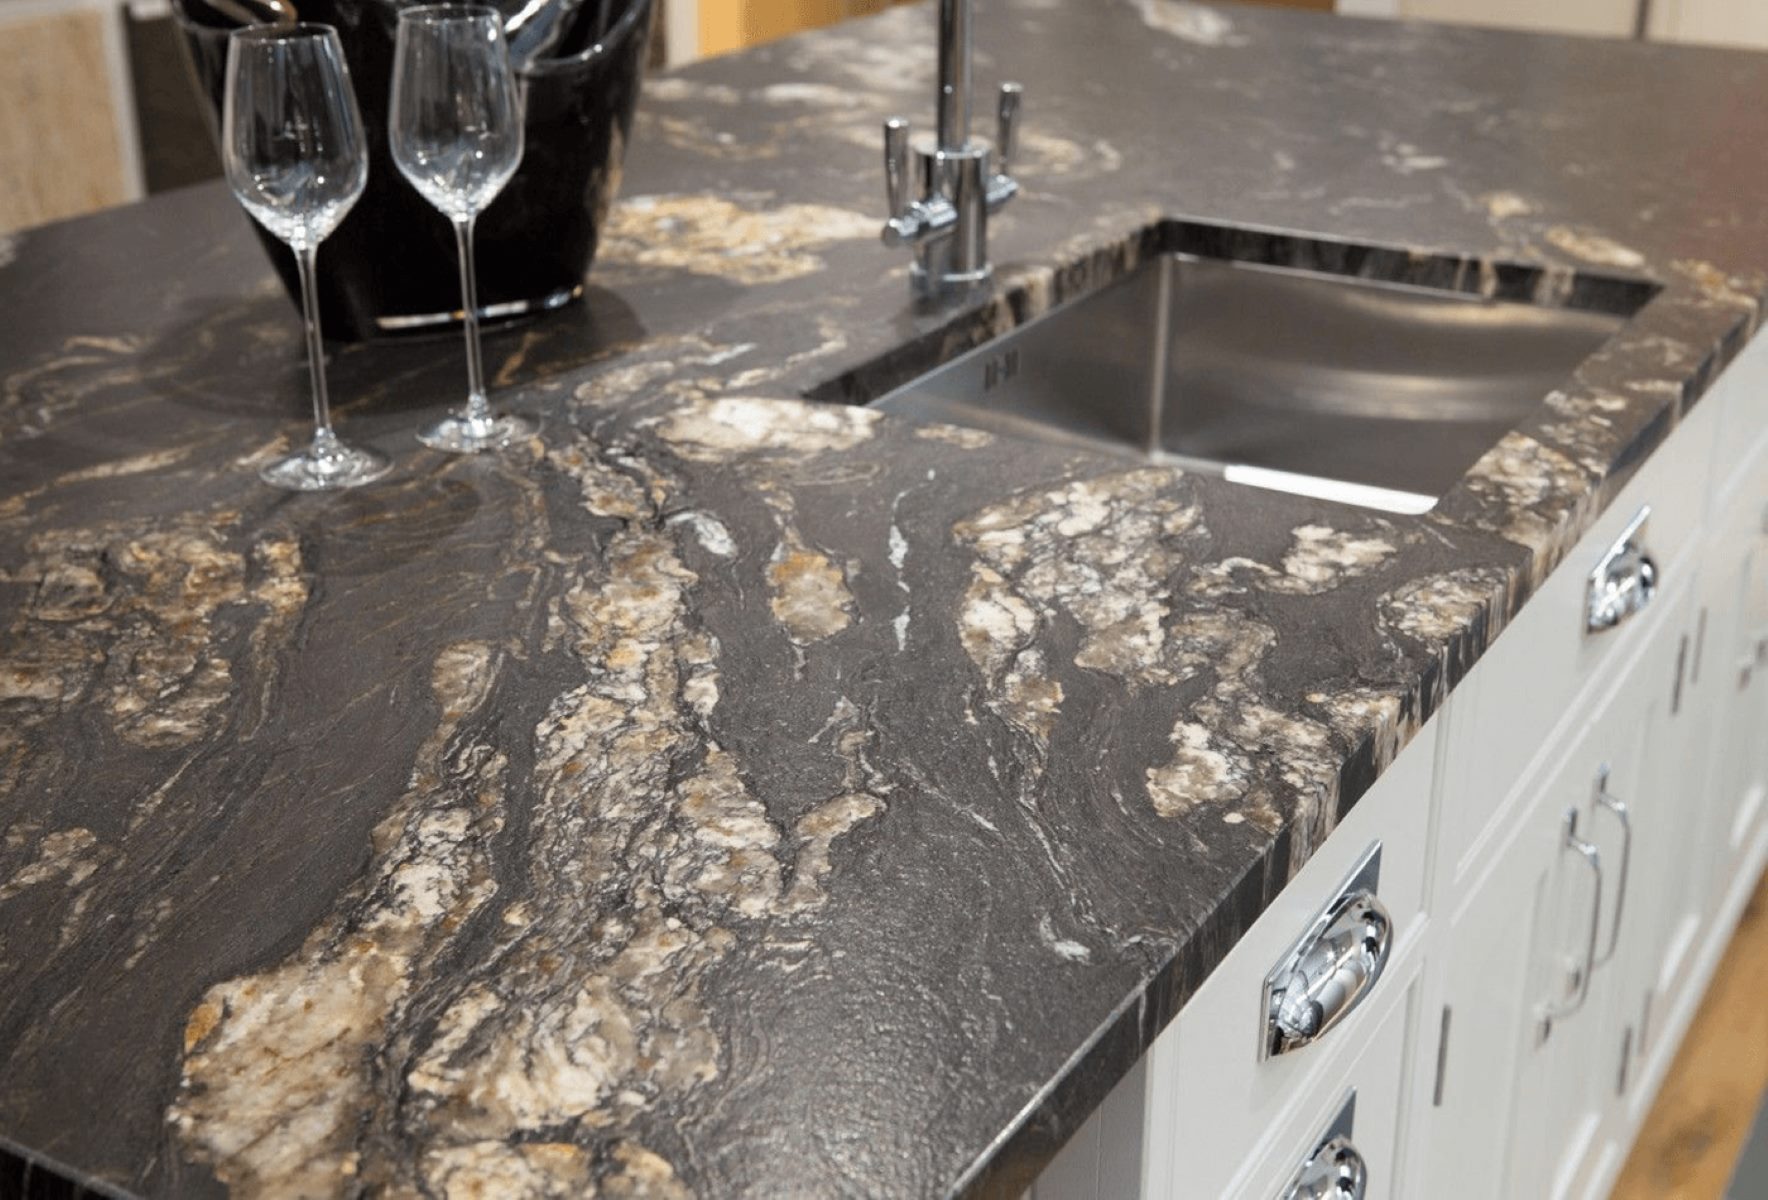
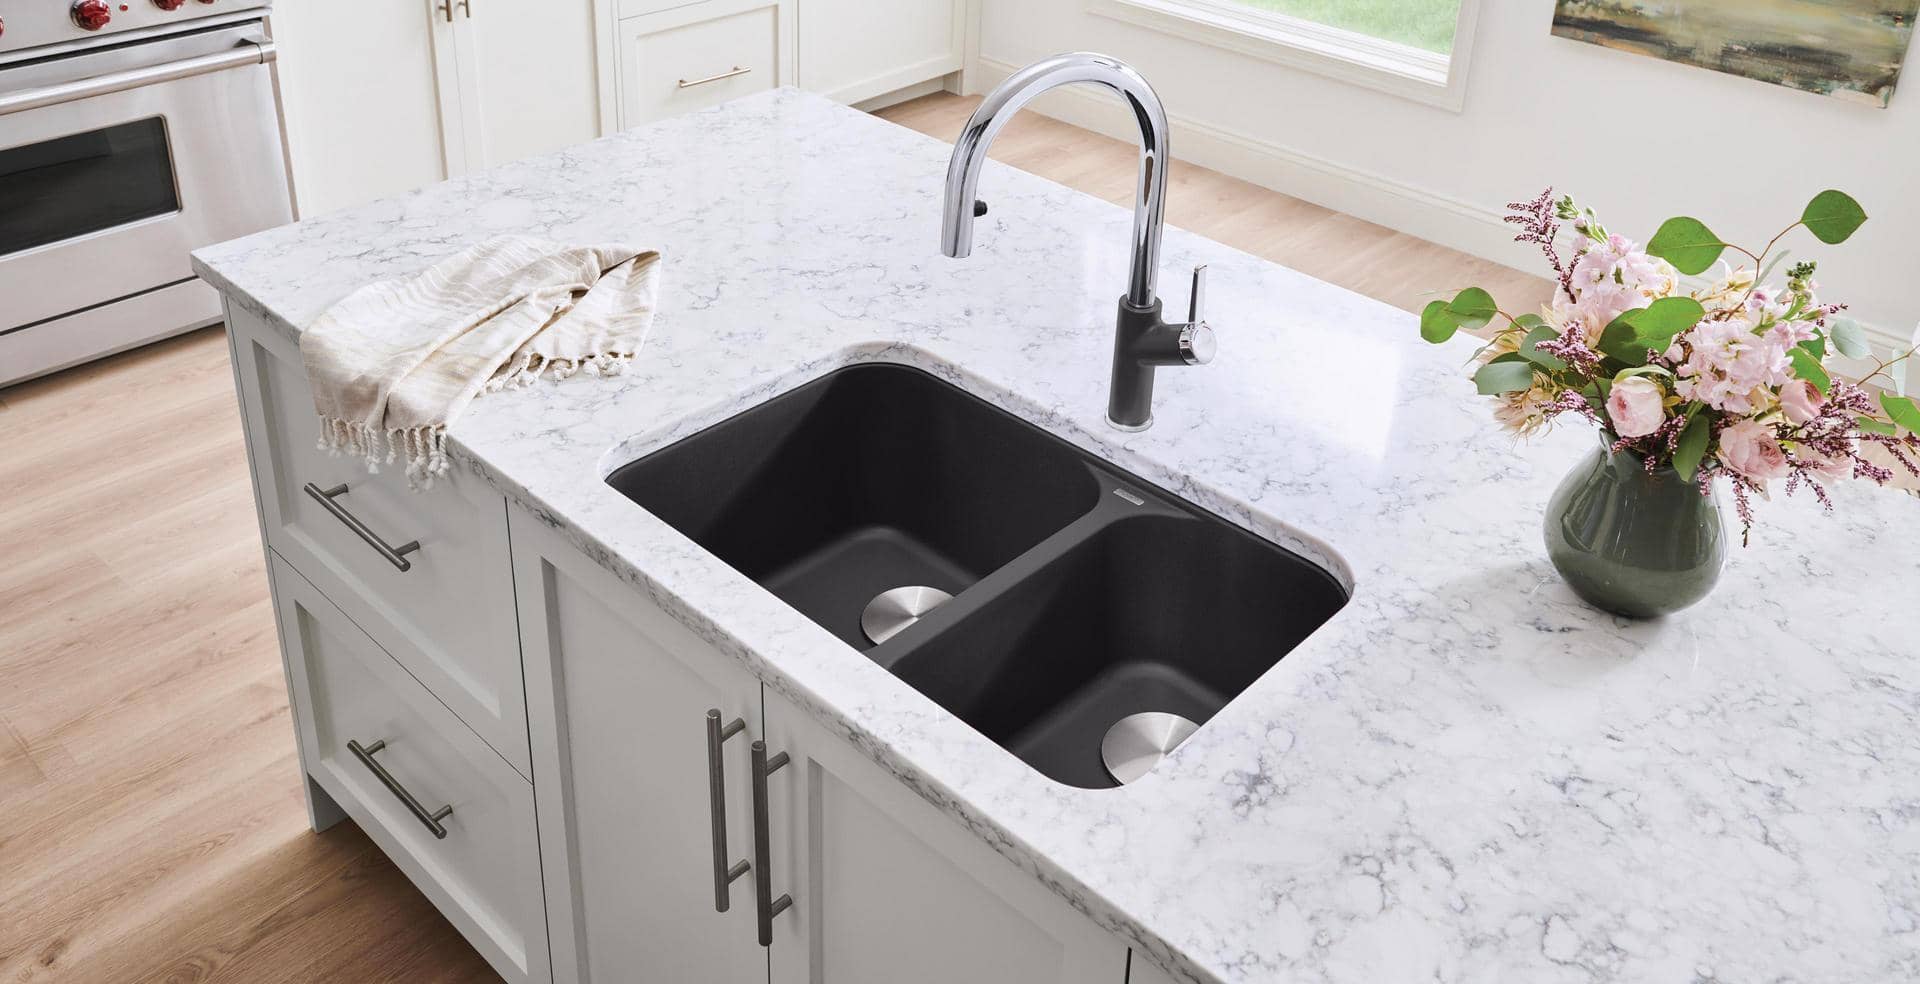
- Granite countertops: Ensure that your countertops are clean, dry, and in good condition before installing the sink.
- Sink mounting clips: These clips are used to secure the sink to the countertop. The number of clips required will depend on the size of your sink.
- Silicone sealant: Silicone sealant is used to create a watertight seal between the sink and the countertop. Make sure to choose a high-quality, waterproof sealant suitable for use with granite.
- Plumbing connectors and pipes: You’ll need these to connect the sink to the plumbing system. Ensure that you have the correct sizes and types of connectors and pipes for your specific setup.
- Adjustable wrench: This tool will come in handy for tightening and securing various connections during the installation process.
- Plumber’s tape: Also known as Teflon tape, plumber’s tape is used to create a secure, leak-proof seal on threaded connections.
- Utility knife: You’ll need a utility knife to cut any excess silicone sealant or remove old caulk before installing the new sink.
- Measuring tape: Use a measuring tape to accurately measure the dimensions of your sink and ensure a proper fit on the countertop.
- Drill with a diamond drill bit: If you need to create faucet holes or additional openings on the countertop, a drill with a diamond drill bit is necessary for drilling through granite.
- Screwdriver: A screwdriver is commonly required for attaching sink clips or tightening screws during the installation process.
- Safety goggles: Protect your eyes from potential debris or flying particles by wearing safety goggles.
With all the necessary materials and tools at your disposal, you’re ready to move on to preparing the granite countertop for the installation of the top mount sink.
Preparing the Granite Countertop
Before you can install the top mount sink on your granite countertop, you need to ensure that the countertop is properly prepared. Follow these steps to prepare the granite countertop for the sink installation:
- Clean the countertop: Begin by cleaning the countertop surface thoroughly using a mild soap and warm water. Remove any dirt, debris, or residue that may be present. Dry the surface completely with a clean cloth.
- Measure and mark the sink placement: Take accurate measurements of the sink dimensions and mark the desired placement on the countertop using a pencil or masking tape. Consider any clearance requirements and ensure that the sink will fit properly within the designated area.
- Create faucet holes (if needed): If your sink requires faucet holes, measure and mark their positions on the countertop. Use a measuring tape and a pencil to ensure accuracy. For drilling the holes, use a drill with a diamond drill bit suitable for granite. Take caution to follow the manufacturer’s guidelines for drilling into granite, and wear safety goggles for protection.
- Remove any existing caulk or adhesive: If there is any old caulk or adhesive from a previous sink installation, use a utility knife to carefully remove it from the countertop. Ensure that the surface is smooth and free of any remnants before proceeding.
Once you have completed these steps, your granite countertop will be ready for the next phase of the installation process. Taking the time to properly clean and prepare the surface will ensure a secure and long-lasting installation of the top mount sink. Now, let’s move on to attaching the sink mounting clips.
Attaching the Sink Mounting Clips
Once you have prepared the granite countertop, the next step in installing a top mount sink is attaching the sink mounting clips. These clips will secure the sink in place and provide stability. Follow these steps to attach the sink mounting clips:
- Place the sink upside down: Carefully flip the sink upside down and position it on a soft surface to protect the surface finish.
- Find the mounting holes: Locate the pre-drilled mounting holes on the underside of the sink. Most top mount sinks come with these holes already in place.
- Insert the mounting clips: Take the sink mounting clips and insert them into the pre-drilled holes. Make sure to align them properly with the holes to ensure a secure fit.
- Tighten the mounting clips: Use a screwdriver or an appropriate tool to tighten the mounting clips securely. Ensure that the clips are tightly secured to the sink, but be cautious not to overtighten and risk damaging the sink or the clips.
- Repeat for all mounting holes: Repeat the process for all the remaining mounting holes, ensuring that each clip is properly inserted and tightened.
Attaching the sink mounting clips is an important step in providing stability and support to the top mount sink. It’s essential to make sure that the clips are securely fastened to prevent any movement or instability once the sink is placed on the countertop.
With the sink mounting clips in place, you’re ready to move on to the next step of the installation process: applying silicone sealant.
Applying Silicone Sealant
After attaching the sink mounting clips, the next step in installing a top mount sink on your granite countertops is applying silicone sealant. This sealant creates a watertight barrier between the sink and the countertop, preventing water leakage and ensuring a secure installation. Follow these steps to apply silicone sealant:
- Prepare the silicone sealant: Choose a high-quality silicone sealant suitable for use with granite countertops. Cut the tip of the sealant tube at a 45-degree angle using a utility knife.
- Apply silicone sealant to the sink rim: Starting at one corner of the sink rim, apply a bead of silicone sealant along the entire edge. Ensure that the sealant is evenly distributed and covers the entire rim.
- Smooth the sealant: Use a caulk smoothing tool or your finger to smooth and spread the silicone sealant along the sink rim. This will help create a clean and even seal. Be sure to remove any excess sealant.
- Apply silicone sealant to the countertop: Apply another bead of silicone sealant along the inside edge of the sink cutout on the granite countertop. This will create a seal between the sink and the countertop surface.
- Seat the sink on the countertop: Carefully position the sink onto the countertop, aligning it with the sink cutout and the mounting clips. Press down gently to ensure that the sink is seated firmly on the countertop.
- Wipe away excess sealant: Use a clean cloth or paper towel to wipe away any excess sealant that may have squeezed out from the edges. Be thorough in this step to ensure a neat and clean finish.
Applying silicone sealant is crucial in creating a watertight and secure seal between the sink and the granite countertop. It not only prevents water from seeping into the gaps but also enhances the overall stability and durability of the installation. With the silicone sealant applied, you’re ready to move on to the next step: placing and securing the top mount sink.
When installing a top mount sink on granite countertops, be sure to use a high-quality silicone caulk to create a watertight seal between the sink and the countertop. This will prevent any water from seeping underneath the sink and causing damage to the granite.
Read more: How To Install Sink In Countertop
Placing and Securing the Top Mount Sink
With the silicone sealant applied, it’s time to place and secure the top mount sink onto the granite countertop. This step ensures that the sink is properly positioned and securely fastened in place. Follow these steps to place and secure the sink:
- Align the sink with the cutout: Carefully position the sink on top of the silicone sealant, aligning it with the sink cutout in the granite countertop. Ensure that the sink sits flush and evenly on the countertop surface.
- Press down firmly: Apply firm pressure on all sides of the sink to ensure proper adhesion with the silicone sealant and countertop. This helps to create a secure bond.
- Check for levelness: Use a level to ensure that the sink is level on all sides. Adjust as necessary by applying gentle pressure or shimming underneath the sink if needed.
- Tighten the mounting clips: Using a screwdriver, tighten each mounting clip underneath the sink. This will secure the sink to the countertop and provide additional support.
- Wipe away any excess sealant: Use a clean cloth or paper towel to carefully wipe away any excess silicone sealant that may have squeezed out during the placing and securing process. This creates a tidy finish.
Placing and securing the top mount sink is a critical step in the installation process. It ensures that the sink is properly positioned, level, and securely attached to the granite countertop. Take your time to align the sink correctly and tighten the mounting clips securely for a stable and long-lasting installation.
Now that the sink is securely in place, we can move on to the next step: connecting the plumbing.
Connecting the Plumbing
Once you have placed and secured the top mount sink on the granite countertop, the next step in the installation process is connecting the plumbing. This involves connecting the sink to the water supply lines and drain pipes to ensure proper functionality and water flow. Follow these steps to connect the plumbing:
- Install the faucet: If you haven’t already done so, install the faucet onto the sink according to the manufacturer’s instructions. Make sure to connect the hot and cold water lines securely.
- Connect the water supply lines: Attach the water supply lines to the corresponding hot and cold water connections on the faucet. Use adjustable wrenches to tighten the connections, ensuring they are secure but not over-tightened.
- Connect the drain pipe: Install the drain assembly onto the sink drain. Apply plumber’s tape to the threaded connections to create a tight seal. Connect the drain pipe to the sink drain and tighten the connections with adjustable wrenches.
- Secure the P-trap: Install the P-trap under the sink to connect the drain pipe to the main plumbing system. Ensure that the P-trap is properly aligned and tightened. Use plumber’s tape or slip nuts to secure the connections.
- Check for leaks: Turn on the water supply and check for any leaks in the connections. If you notice any leaks, tighten the connections or replace any faulty parts if necessary. Be thorough in your inspection to ensure a leak-free installation.
Connecting the plumbing is a crucial step in the top mount sink installation process. It allows for the proper flow of water and ensures that your sink is fully functional. Take your time to carefully connect each component, ensuring that all connections are secure and leak-free.
With the plumbing connections in place, it’s time to move on to the final step: testing the sink.
Testing the Sink
After completing the installation of the top mount sink on your granite countertops and connecting the plumbing, it’s important to test the sink to ensure it is functioning properly. Testing the sink will allow you to identify any potential issues or leaks and make any necessary adjustments. Follow these steps to test the sink:
- Turn on the water: Gradually turn on the water supply and let it run into the sink. Check for any leaks or drips around the faucet, water supply lines, and drain connections. Adjust any connections if needed to stop any leaks.
- Check the drain: Fill the sink with water and then release the stopper to drain it. Observe the draining process and ensure there are no leaks or slow drainage. If you notice any issues, check the drain connections and make adjustments as necessary.
- Test the faucet: Run both hot and cold water through the faucet and check for proper flow and temperature. Make sure the handles are functioning correctly and there are no leaks around the base of the faucet.
- Test the garbage disposal (if applicable): If your sink is equipped with a garbage disposal, run it to ensure it is working properly. Check for any leaks or unusual sounds. If you encounter any issues, refer to the manufacturer’s instructions or seek professional assistance.
- Inspect the surrounding area: After testing the sink, inspect the area around the sink and countertop for any water damage or moisture. Ensure that the countertop and surrounding surfaces are dry and free from any leaks.
Testing the sink is a crucial final step to ensure that your top mount sink installation is successful. By conducting a thorough test, you can identify and address any potential issues before they become larger problems.
If you notice any persistent leaks or have concerns about the functionality of the sink, it’s best to seek professional assistance from a plumber or installation expert.
Congratulations! You have successfully installed and tested your top mount sink on your granite countertops. With proper care and maintenance, your sink will provide you with many years of convenience and functionality in your kitchen or bathroom.
Conclusion
Installing a top mount sink on granite countertops is a rewarding project that can enhance the functionality and aesthetics of your kitchen or bathroom. By following the step-by-step process outlined in this guide and using the necessary materials and tools, you can successfully complete the installation with ease.
We started by preparing the granite countertop, ensuring it was clean and free from any debris. Then, we attached the sink mounting clips to securely hold the sink in place. The next step was applying silicone sealant to create a watertight seal between the sink and the countertop.
Once the sealant was applied, we placed the top mount sink on the countertop and secured it using the mounting clips. Connecting the plumbing was the next crucial step, ensuring that the sink was properly connected to the water supply lines and drain pipes.
Finally, we tested the sink to check for any leaks or issues. This included running water through the faucet, checking the drainage, and inspecting the surrounding area for any signs of water damage.
Remember, it’s important to follow the manufacturer’s instructions specific to your sink model and seek professional assistance if needed.
By completing the installation of a top mount sink on granite countertops, you’ve transformed your space and achieved a functional and beautiful addition to your kitchen or bathroom. Enjoy the convenience and style that your new sink brings, and don’t forget to properly maintain and care for it to ensure its longevity.
Thank you for choosing our guide to assist you in installing your top mount sink on granite countertops. We hope this article has provided you with valuable insights and instructions for a successful installation.
Frequently Asked Questions about How To Install Top Mount Sink On Granite Countertops
Was this page helpful?
At Storables.com, we guarantee accurate and reliable information. Our content, validated by Expert Board Contributors, is crafted following stringent Editorial Policies. We're committed to providing you with well-researched, expert-backed insights for all your informational needs.


0 thoughts on “How To Install Top Mount Sink On Granite Countertops”