Articles
How To Install A Wall Mount Sink
Modified: October 28, 2024
Learn how to install a wall mount sink with our detailed articles. Gain the knowledge and confidence to complete the project efficiently and effectively.
(Many of the links in this article redirect to a specific reviewed product. Your purchase of these products through affiliate links helps to generate commission for Storables.com, at no extra cost. Learn more)
Introduction
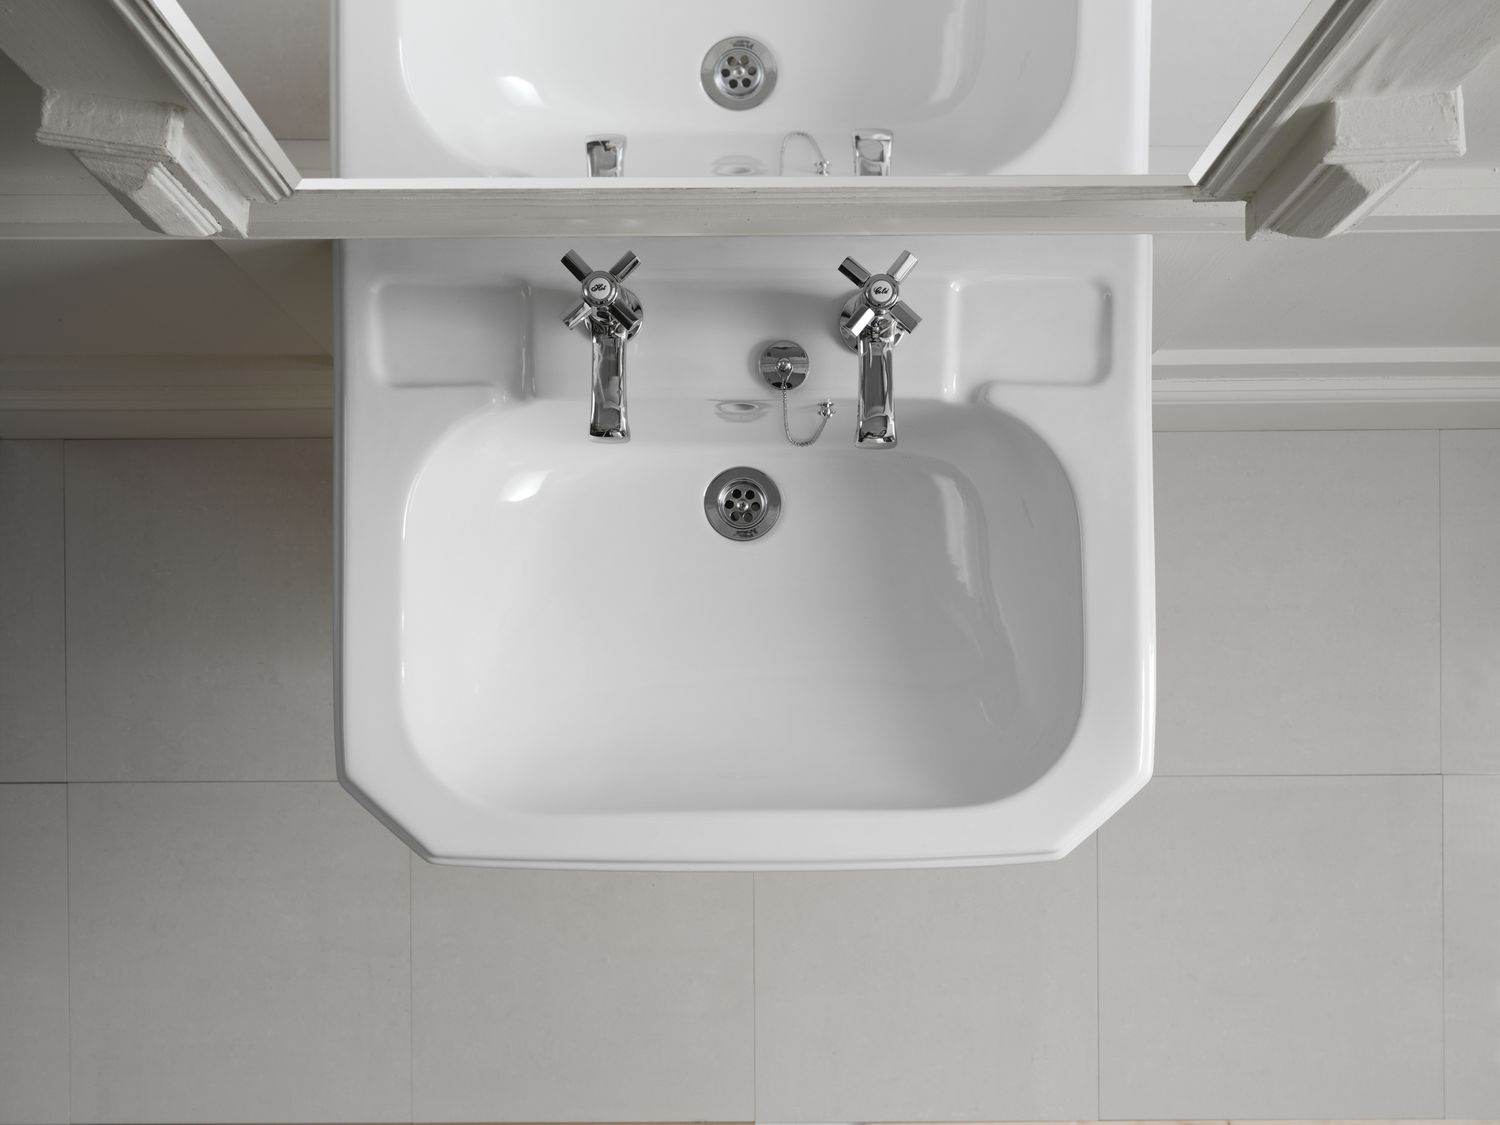
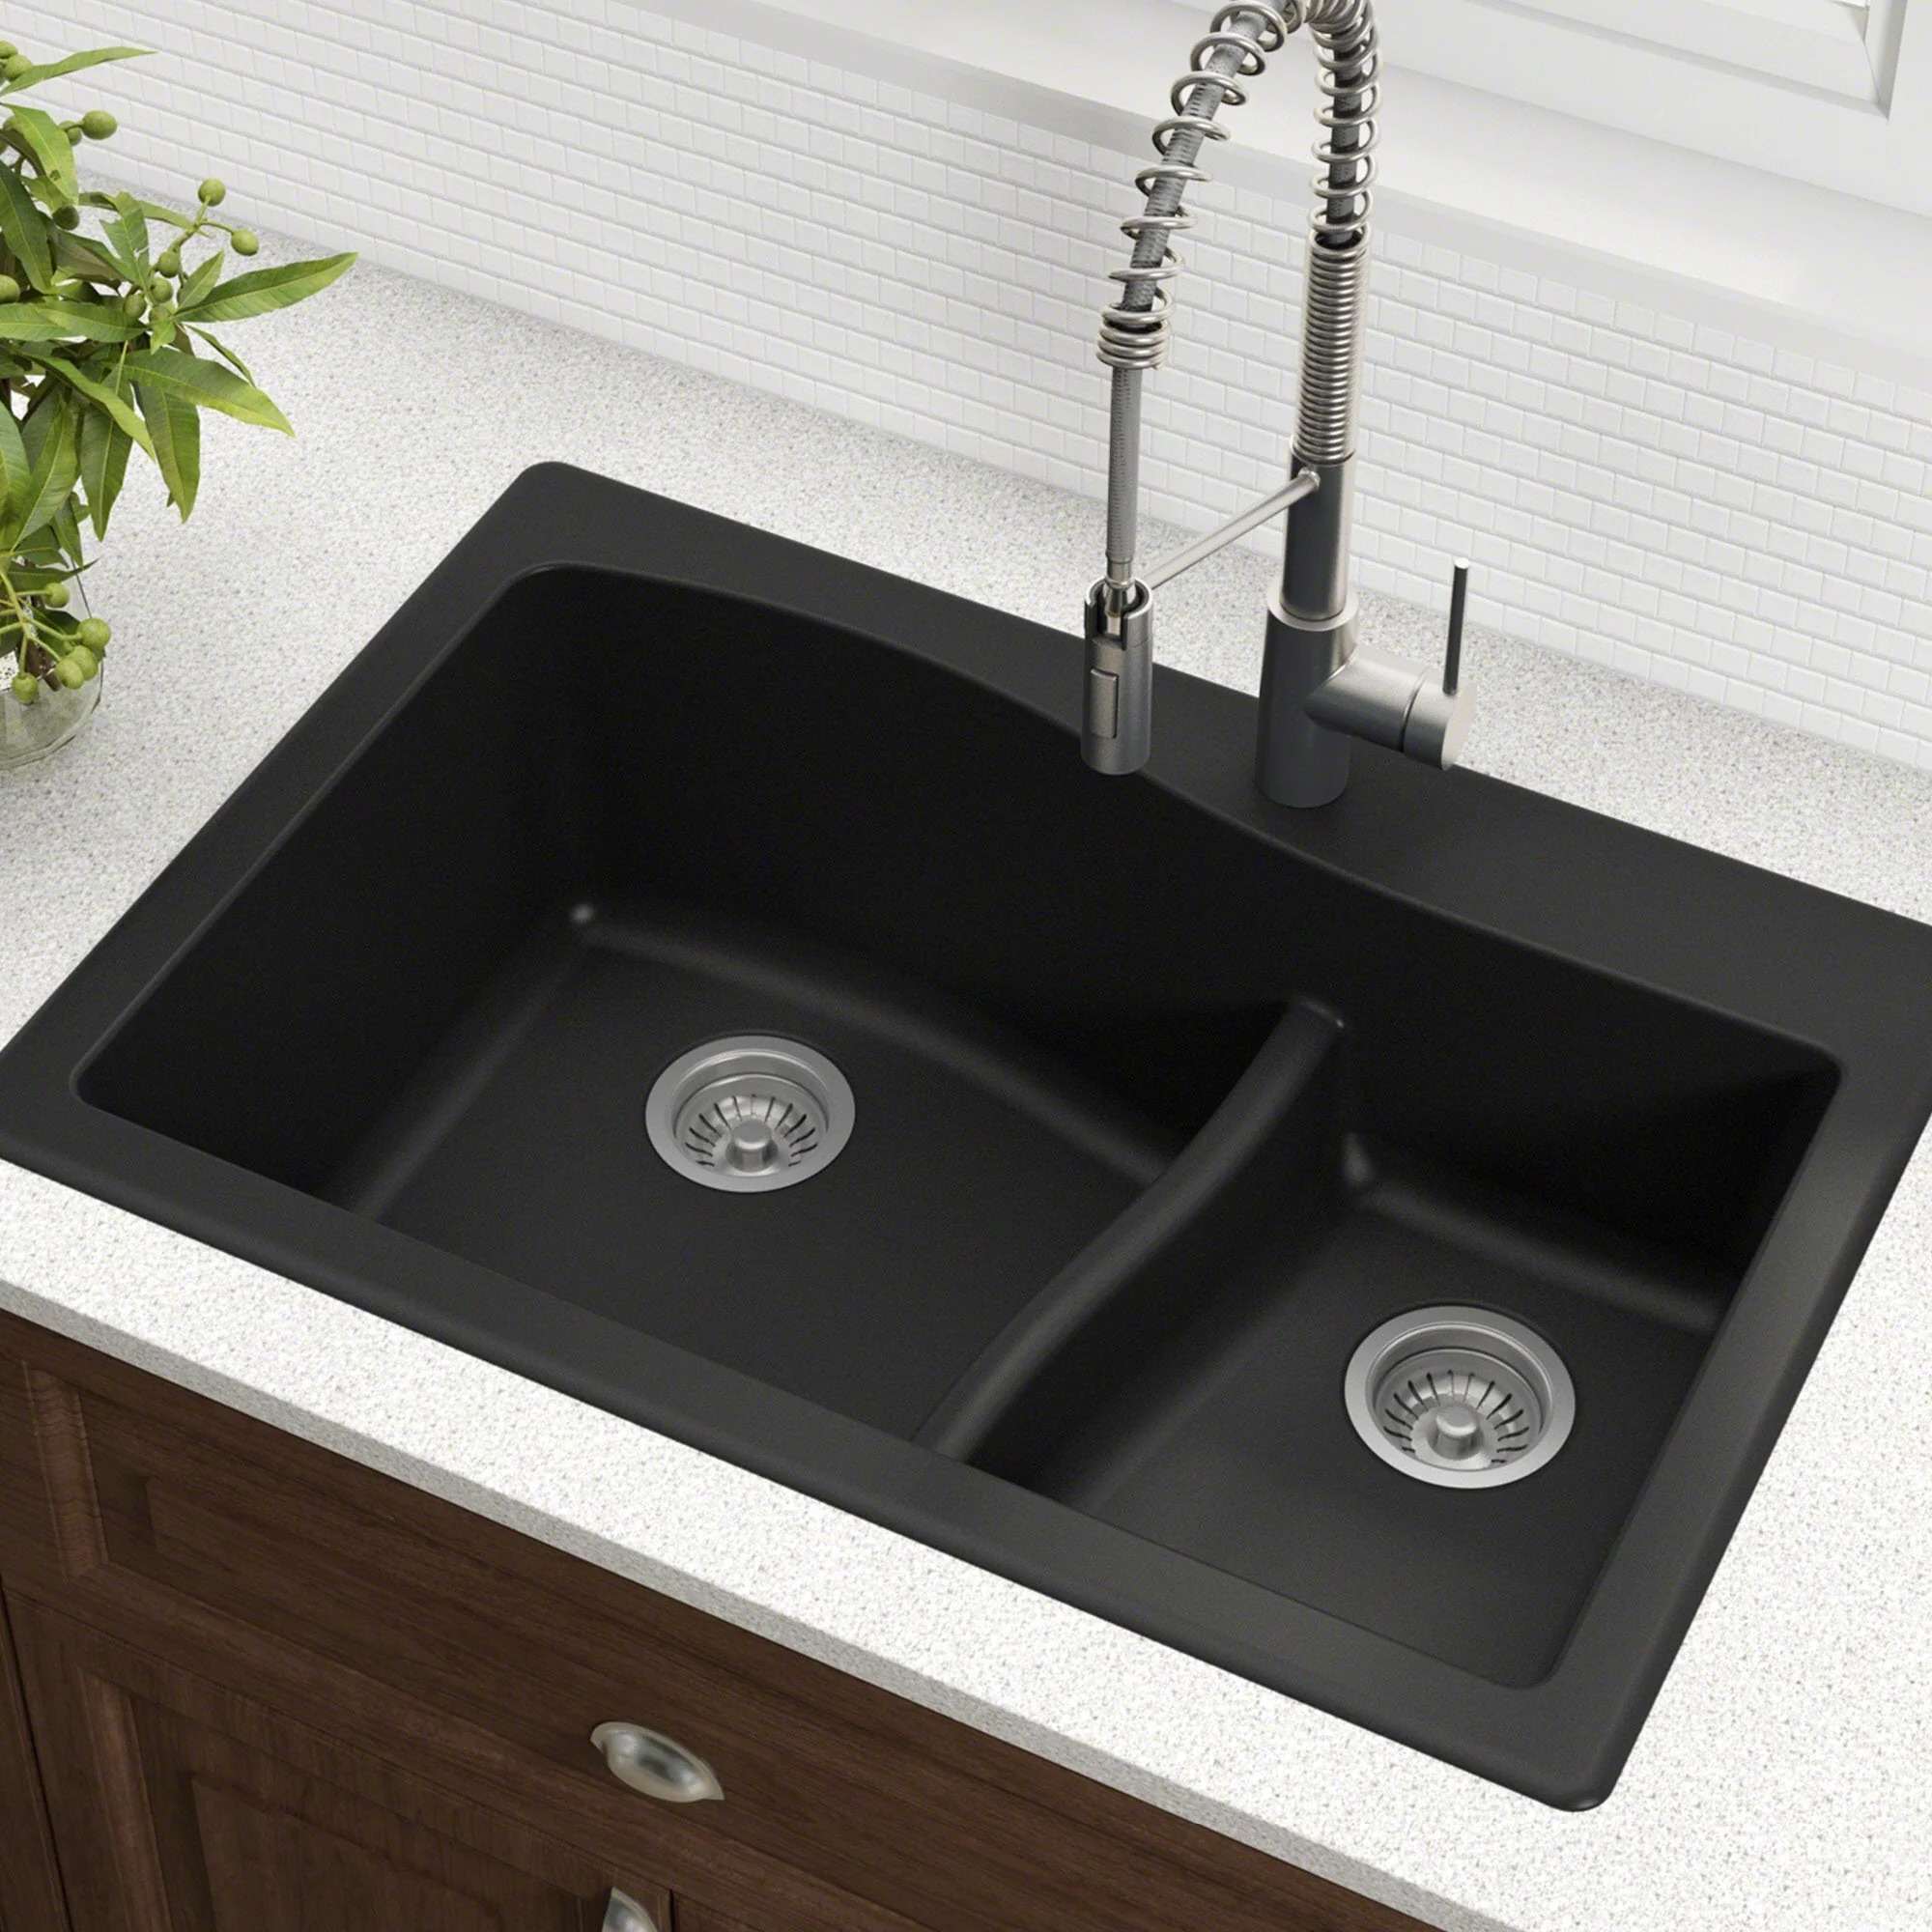
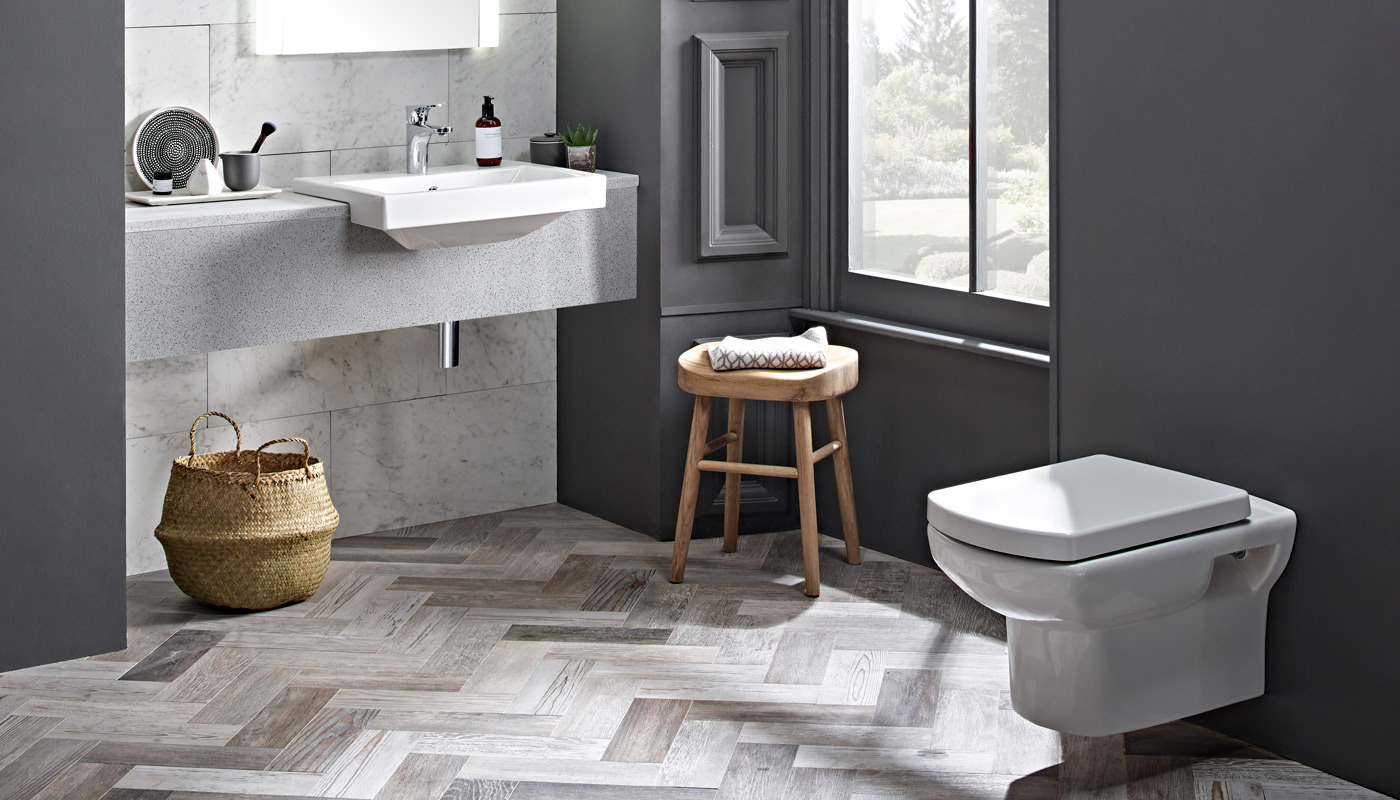
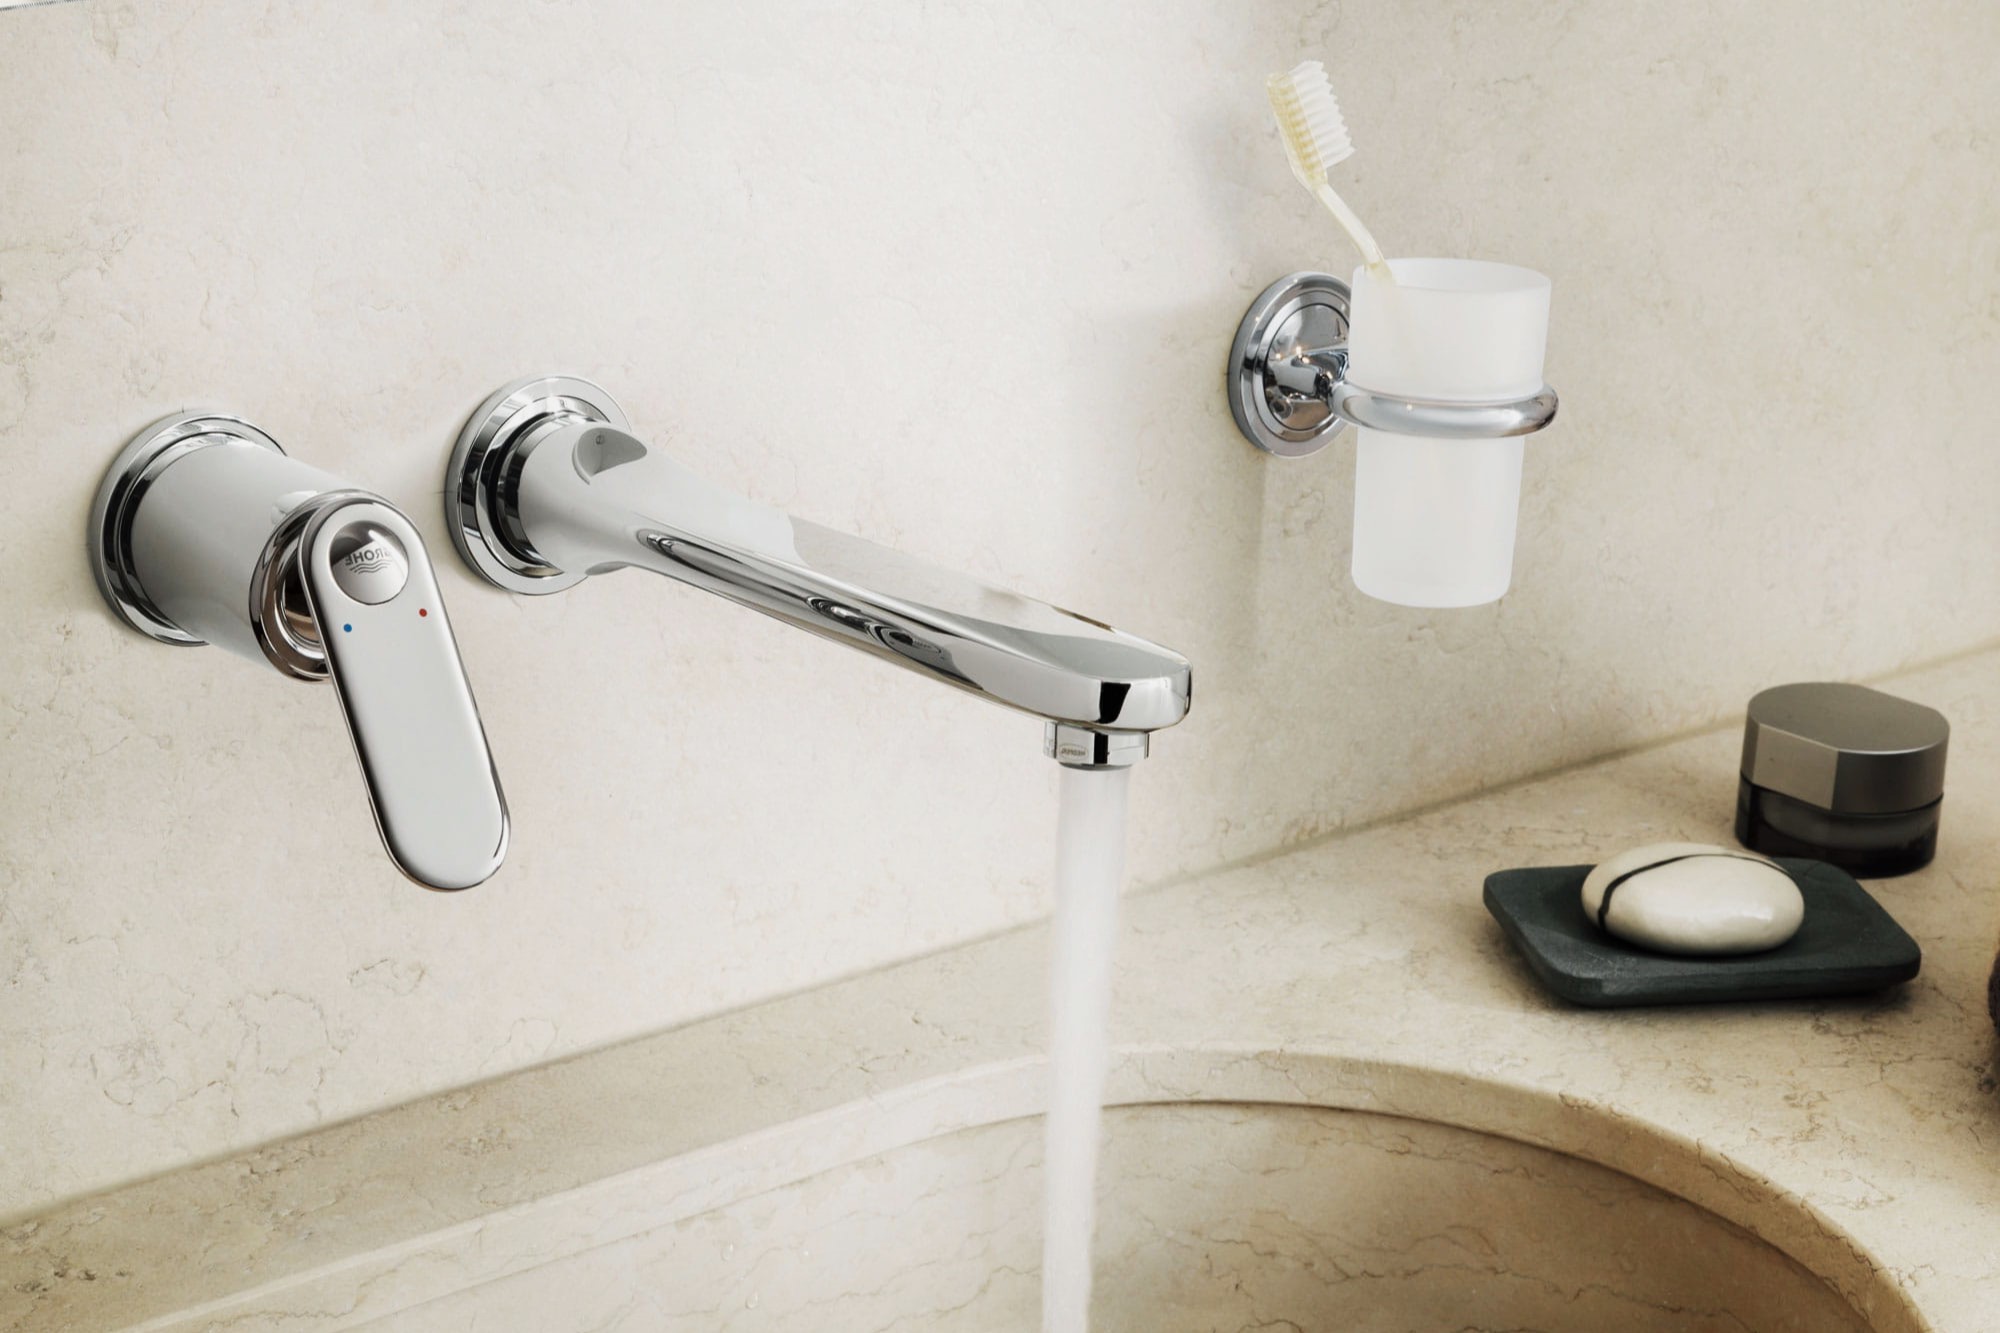
Installing a wall mount sink can be a great way to save space in your bathroom or kitchen while adding a sleek and modern touch to your design. This type of sink is mounted directly to the wall, without the need for a vanity or countertop. Whether you are a seasoned DIY enthusiast or a novice, with the right tools and information, you can easily install a wall mount sink on your own.
In this article, we will guide you through the step-by-step process of installing a wall mount sink. From measuring and marking the wall to connecting the pipes and drain, we will cover all the essential details to help you complete the installation successfully. So, grab your tools and let’s get started!
Key Takeaways:
- Save space and add modern flair to your bathroom or kitchen by installing a wall mount sink. Follow the step-by-step guide and use the right tools for a successful DIY project.
- Ensure stability and functionality by measuring, locating studs, connecting plumbing, and testing for leaks during the installation process. Enjoy the benefits of a sleek and space-saving wall mount sink.
Read more: How To Install Wall Mount Faucet
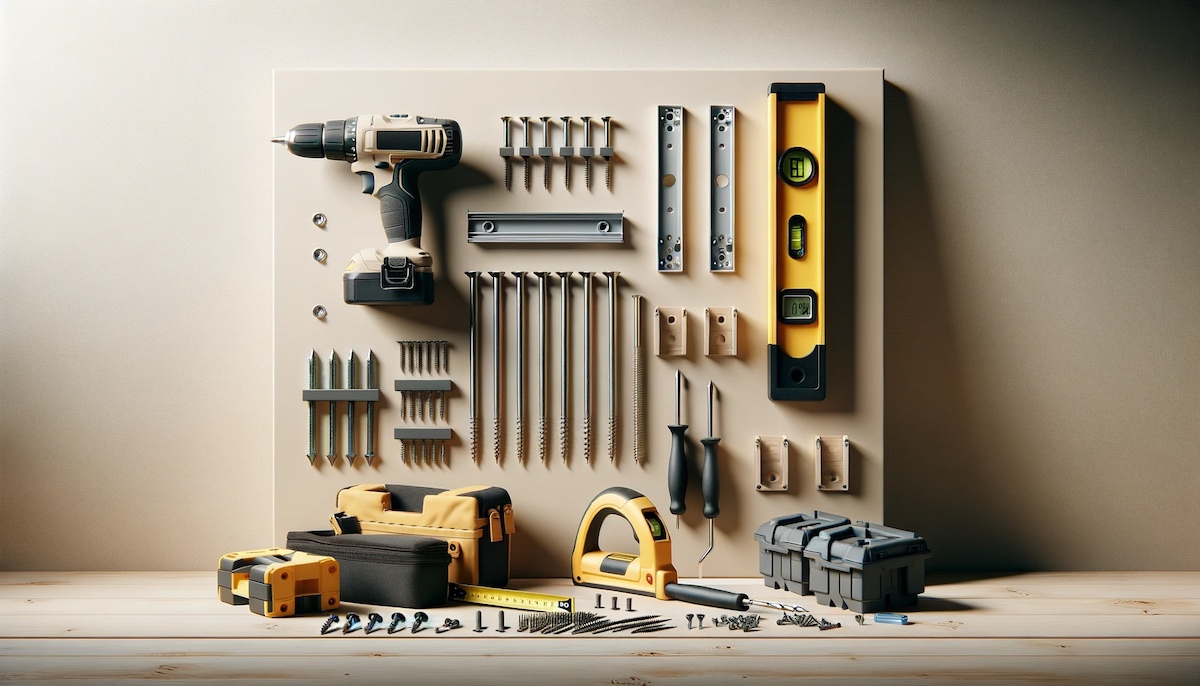
Tools Needed
Before you begin the installation process, gather the following tools:
- Measuring tape
- Pencil
- Stud finder
- Level
- Adjustable wrench
- Drill
- Screwdriver
- Plumbing wrench
- Teflon tape
- Hacksaw
- Bucket and towels (for water cleanup)
Having these tools on hand will ensure that you have everything you need to complete the installation efficiently and accurately.
Step 1: Measure and Mark the Wall
The first step in installing a wall mount sink is to measure and mark the wall where the sink will be mounted. This will help ensure that the sink is positioned at the correct height and centered on the wall. Follow these steps to measure and mark the wall:
- Use a measuring tape to measure the height at which you want the sink to be installed. Consider factors such as the height of the users and any plumbing fixtures that may be below the sink.
- Mark the desired height on the wall using a pencil. Use a level to ensure that the mark is straight and level.
- Next, locate the centerline of where the sink will be positioned. Measure the width of the sink and divide it by 2. Measure from the centerline mark toward the left and mark the half-width measurement. Repeat this step on the right side of the centerline.
- Use a level to connect the marks on the left and right side of the centerline, creating a straight guide for the sink installation.
By carefully measuring and marking the wall, you will ensure that the sink is positioned correctly and visually appealing once installed.
Step 2: Locate the Wall Studs
Locating the wall studs is crucial for securely mounting the sink to the wall. The studs provide the necessary support to hold the weight of the sink and prevent it from coming loose over time. Here’s how you can locate the wall studs:
- Use a stud finder to locate the nearest wall studs near your marked centerline. The stud finder will detect the vertical wood framing behind the drywall.
- Slide the stud finder slowly along the wall, following the manufacturer’s instructions, until it indicates the presence of a stud.Mark the locations of the studs with a pencil. Repeat this process to find and mark at least two studs that fall within the width of the sink.
It’s essential to ensure that the sink’s mounting brackets are securely anchored to the wall studs for stability. By locating and marking the position of the studs, you can proceed with confidence in the next step of the installation process.
Step 3: Install Support Bracket
Once you have located the wall studs, it’s time to install the support bracket for the wall mount sink. The support bracket will provide a sturdy foundation and ensure the sink stays securely in place. Follow these steps to install the support bracket:
- Position the support bracket on the wall, aligning it with the marked centerline and the locations of the wall studs.
- Using a drill and screws appropriate for your wall surface, secure the support bracket to the wall studs. Make sure the bracket is level by using a level tool. Adjust as necessary.
- Ensure that the support bracket is securely fastened to the wall, as it will bear the weight of the sink. Give it a gentle tug to verify its stability.
By properly installing the support bracket, you’re establishing a strong and reliable base for your wall mount sink. This step is vital to ensure the long-term durability and stability of the sink installation.
When installing a wall mount sink, make sure to locate and mark the position of the wall studs before drilling any holes. This will ensure a secure and stable installation.
Read more: How To Install A Wall Mount Toilet
Step 4: Attach Sink to Bracket
Now that the support bracket is securely installed, it’s time to attach the sink to the bracket. This step will involve carefully positioning the sink and securing it in place. Follow these steps to attach the sink to the bracket:
- Carefully lift the sink and align the mounting holes on the back of the sink with the corresponding holes on the support bracket. Ensure that the sink is centered on the brackets.
- Insert the provided screws through the mounting holes of the sink and into the corresponding holes on the bracket.
- Using a screwdriver or a drill, tighten the screws to securely fasten the sink to the bracket. Avoid over-tightening, as it may damage the sink or the bracket.
- Double-check that the sink is level and centered. Adjust if necessary.
By properly attaching the sink to the support bracket, you’re ensuring that it is securely fastened and stable. Take your time during this step to ensure proper alignment and a secure attachment.
Step 5: Connect Pipes and Drain
With the sink securely attached to the wall, it’s time to connect the pipes and drain. Properly connecting the plumbing is crucial for ensuring the sink’s functionality and preventing any leaks. Here’s how you can connect the pipes and drain:
- Measure and cut the necessary lengths of pipe using a hacksaw. Ensure that the pipes reach from the water supply lines to the corresponding connections on the bottom of the sink.
- Secure the pipes to the water supply lines using plumbing wrenches. Apply Teflon tape to the threads of the pipes before connecting them to create a watertight seal.
- Attach the drain assembly to the sink’s drain outlet. Apply plumber’s putty around the drain flange to create a watertight seal. Insert the drain assembly into the drain hole on the sink and tighten it securely.
- Connect the P-trap to the drain assembly, ensuring that it aligns with the existing plumbing below.
- Tighten all the connections using plumbing wrenches, being careful not to overtighten and damage the fittings or pipes.
Once all the pipes and the drain are securely connected, turn on the water supply to test for any leaks. If you notice any leaks, adjust the connections accordingly until they are watertight.
Properly connecting the pipes and drain will ensure the smooth functioning of your wall mount sink and prevent any water damage or leakage.
Step 6: Secure Sink to Wall
With the plumbing connected, the next step is to secure the sink to the wall. This step is crucial for ensuring the stability and safety of the installation. Follow these steps to securely fasten the sink to the wall:
- Check that the sink is level and adjust if needed.
- Use a drill to create pilot holes through the holes provided on the sink’s back and into the wall studs. Make sure the holes align with the studs and are slightly smaller than the screws.
- Insert screws through the pilot holes and into the wall studs. Use a screwdriver or drill to tighten the screws, securing the sink to the wall.
- Verify that the sink is securely attached to the wall by gently pushing and pulling on it. The sink should not move or feel loose.
By properly securing the sink to the wall, you’re ensuring its stability and preventing any movement or accidents. Take your time to double-check for secure attachment before moving on to the next step.
Step 7: Test for Leaks
With the sink securely installed, it’s important to thoroughly test for any leaks before considering the installation complete. Checking for leaks will help identify any issues with the plumbing connections and prevent potential water damage. Follow these steps to test for leaks:
- Turn on the water supply and let the water run for a few minutes.
- Inspect the connections at the water supply lines, the drain assembly, and the P-trap for any signs of leakage. Look for dripping water, water pooling, or dampness.
- If you notice any leaks, tighten the connections using plumbing wrenches to create a watertight seal. If the leak persists, you may need to disconnect and reassemble the affected connections.
- After tightening or fixing any leaks, allow the water to continue running for a few more minutes to ensure that the issue is resolved.
It’s crucial to address any leaks immediately to prevent water damage and ensure the proper functioning of your wall mount sink. Take the time to carefully inspect all connections and make any necessary adjustments.
By following these steps and thoroughly testing for leaks, you can be confident that your wall mount sink is installed correctly and ready to be enjoyed.
Conclusion
Installing a wall mount sink can be a rewarding project that adds both functionality and style to your space. By following the step-by-step process outlined in this article and using the right tools, you can successfully install a wall mount sink on your own.
From measuring and marking the wall to connecting the pipes and drain, each step plays a crucial role in ensuring a secure and functional installation. Taking the time to locate the wall studs, properly attach the sink to the support bracket, and connect the plumbing will result in a sturdy and leak-free sink.
Remember to test for any leaks and address them promptly to prevent water damage and ensure the long-term durability of your installation.
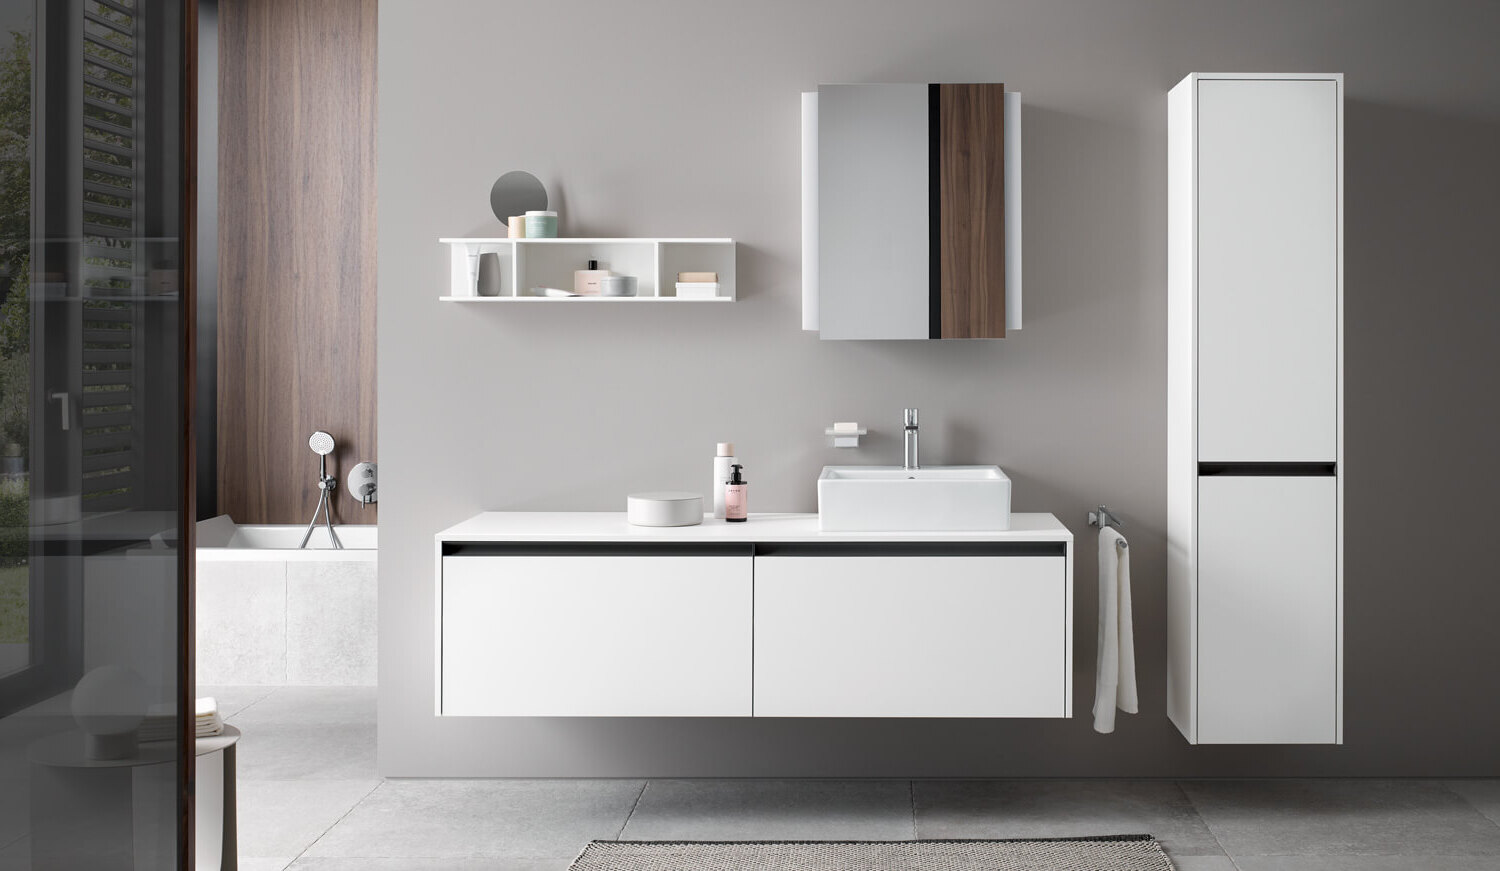
With your new wall mount sink in place, you can enjoy the benefits of a space-saving design and a sleek, modern aesthetic. So, roll up your sleeves, gather your tools, and embark on the journey of transforming your bathroom or kitchen with a beautiful wall mount sink.
Frequently Asked Questions about How To Install A Wall Mount Sink
Was this page helpful?
At Storables.com, we guarantee accurate and reliable information. Our content, validated by Expert Board Contributors, is crafted following stringent Editorial Policies. We're committed to providing you with well-researched, expert-backed insights for all your informational needs.


0 thoughts on “How To Install A Wall Mount Sink”