
Articles
How To Install Vanity Mirror
Modified: October 20, 2024
Learn how to install a vanity mirror with these step-by-step articles. Transform your bathroom with this DIY project.
(Many of the links in this article redirect to a specific reviewed product. Your purchase of these products through affiliate links helps to generate commission for Storables.com, at no extra cost. Learn more)
Introduction
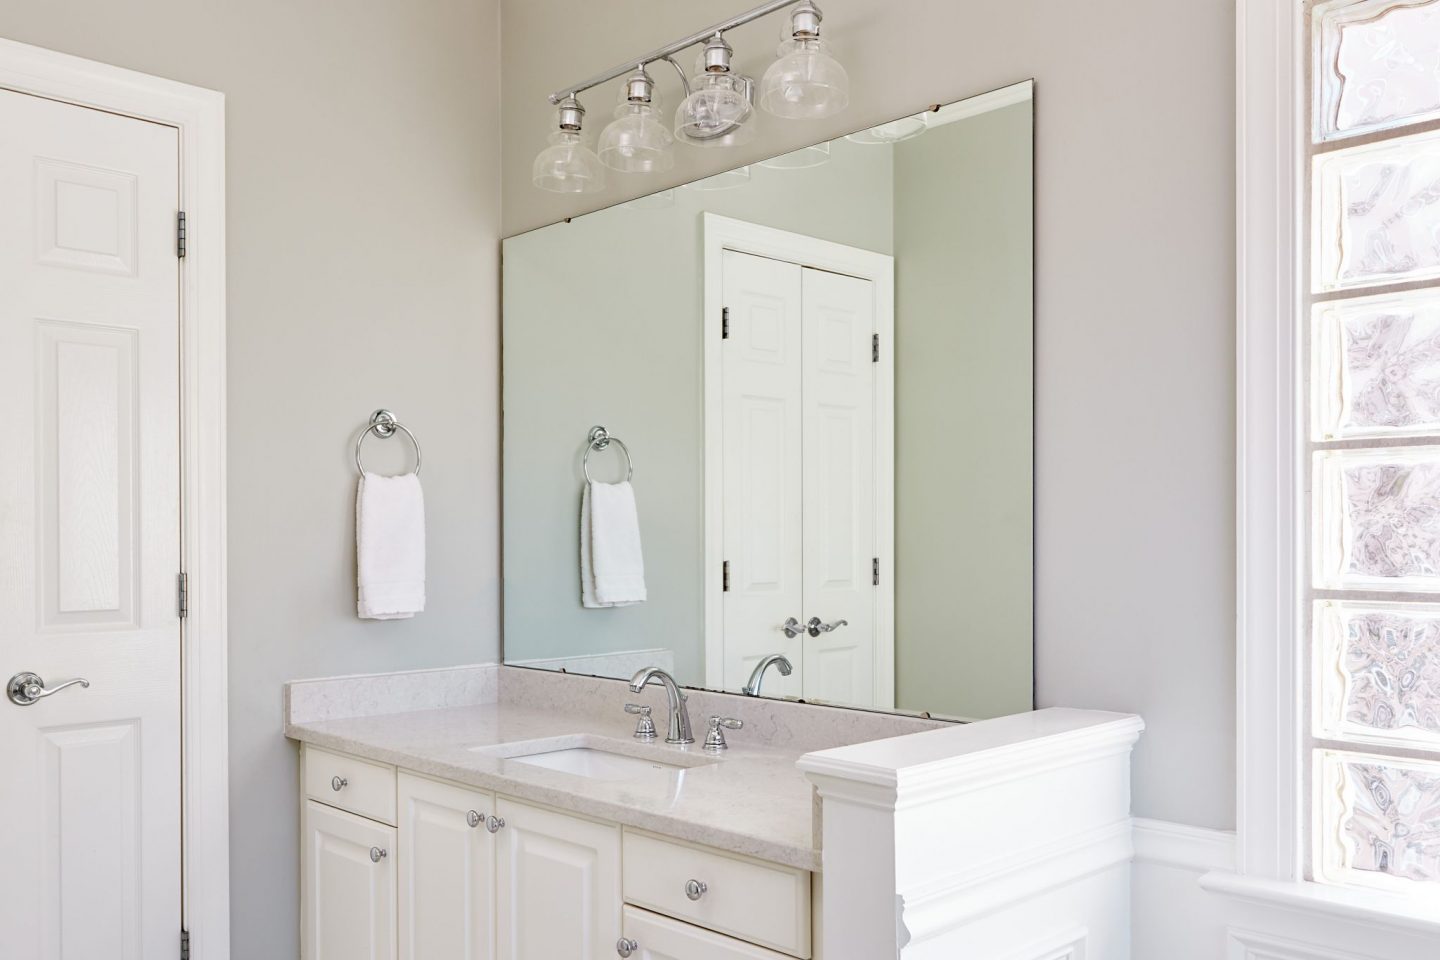
Installing a vanity mirror is a great way to enhance the functionality and aesthetics of your bathroom. Not only does it provide a practical space for grooming and getting ready, but it can also add a stylish element to the room’s design. Whether you are replacing an existing mirror or installing a new one, this article will guide you through the step-by-step process of installing a vanity mirror.
Before you begin, it’s essential to gather the necessary tools and materials to ensure a smooth installation. Additionally, taking accurate measurements and determining the mounting method will help you achieve a secure and well-placed mirror. So, let’s dive into the details and get started on creating your perfect bathroom vanity mirror.
Key Takeaways:
- Proper measurements and accurate placement markings are crucial for a successful vanity mirror installation. Prioritize safety, gather necessary tools, and choose the right mounting method for a secure and aesthetically pleasing outcome.
- From securing the mirror to cleaning and maintenance, each step is essential for enjoying the benefits of a well-installed vanity mirror. Embrace the process and revel in the improved aesthetics and functionality it brings to your bathroom.
Read more: What Is A Vanity Mirror
Step 1: Gather Necessary Tools and Materials
Before you begin the installation process, it’s important to have all the necessary tools and materials on hand. This will ensure that you have everything you need to complete the project without any delays. Here’s a list of the tools and materials you’ll need:
- Measuring tape
- Pencil or marker
- Screwdriver
- Level
- Wall anchors
- Mounting brackets or mirror clips
- Fasteners
- Drill (if necessary)
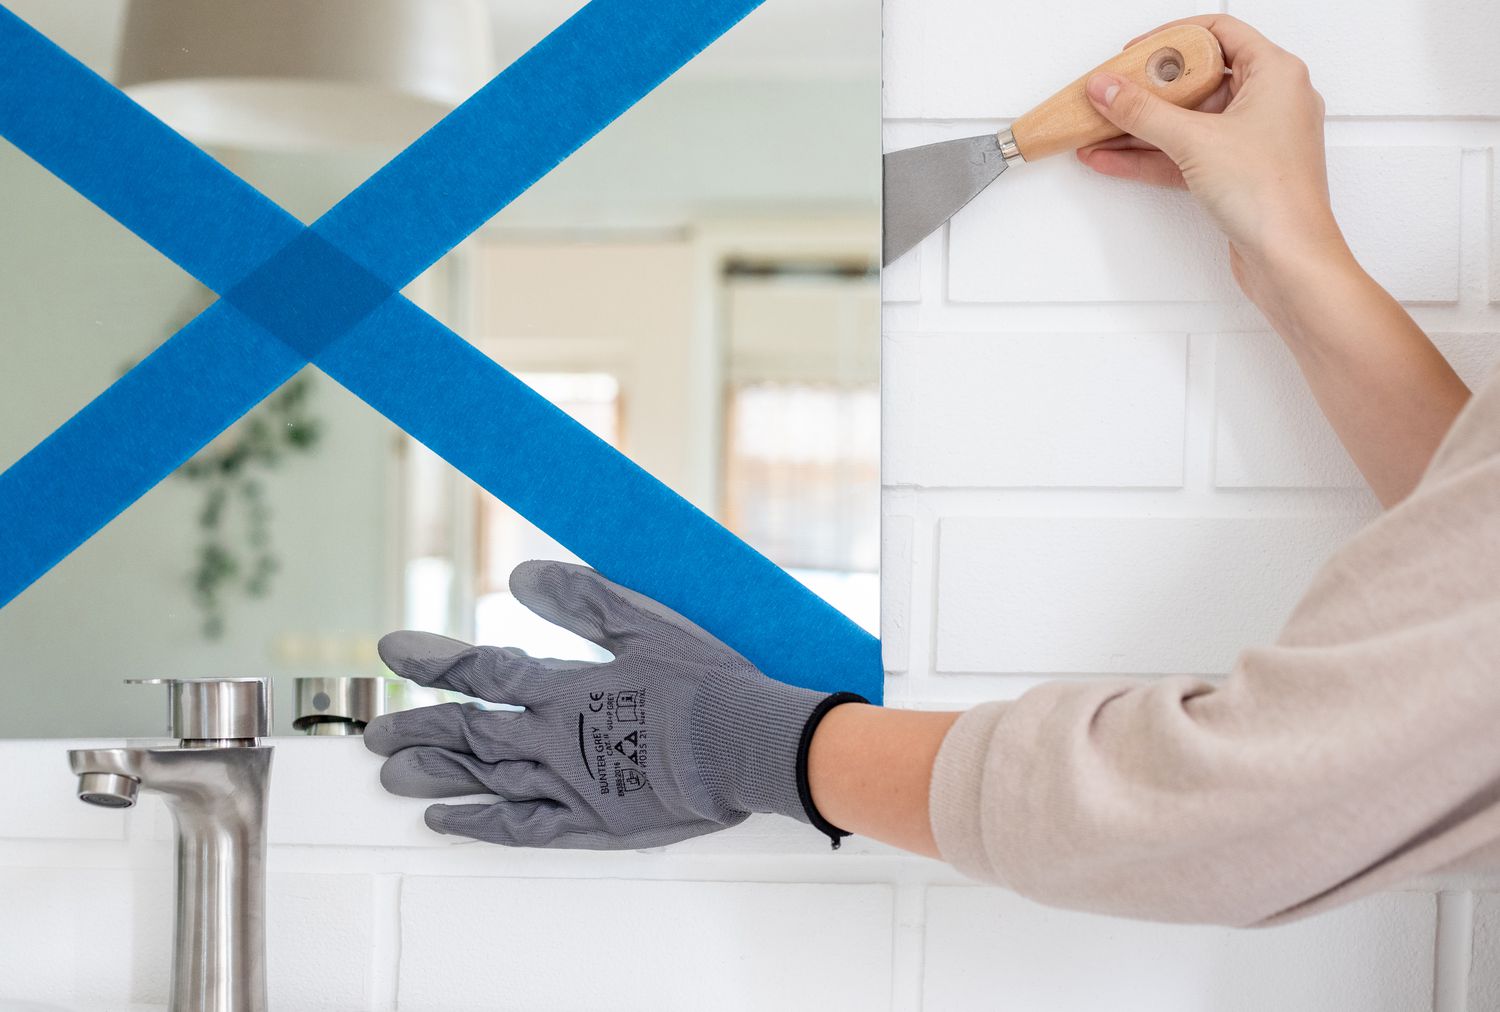
- Safety glasses
- Gloves
Once you have gathered all the necessary tools and materials, you can proceed to the next step of the installation process.
Step 2: Measure and Mark Placement
Accurate measurements are crucial for a successful vanity mirror installation. Before you begin drilling any holes or mounting brackets, take the time to measure and mark the placement of the mirror. Here’s how to do it:
- Measure the width and height of the space where you want to install the vanity mirror. Use a measuring tape to get precise measurements.
- Once you have the measurements, use a pencil or marker to mark the center point of the space on the wall. This will serve as your reference point for mounting the mirror.
- If you are installing the mirror above a vanity or countertop, make sure to leave enough clearance between the bottom edge of the mirror and the countertop. Typically, a distance of 4-6 inches is recommended.
- Next, use a level to ensure that the marked center point is straight. Adjust as needed to ensure a level installation.
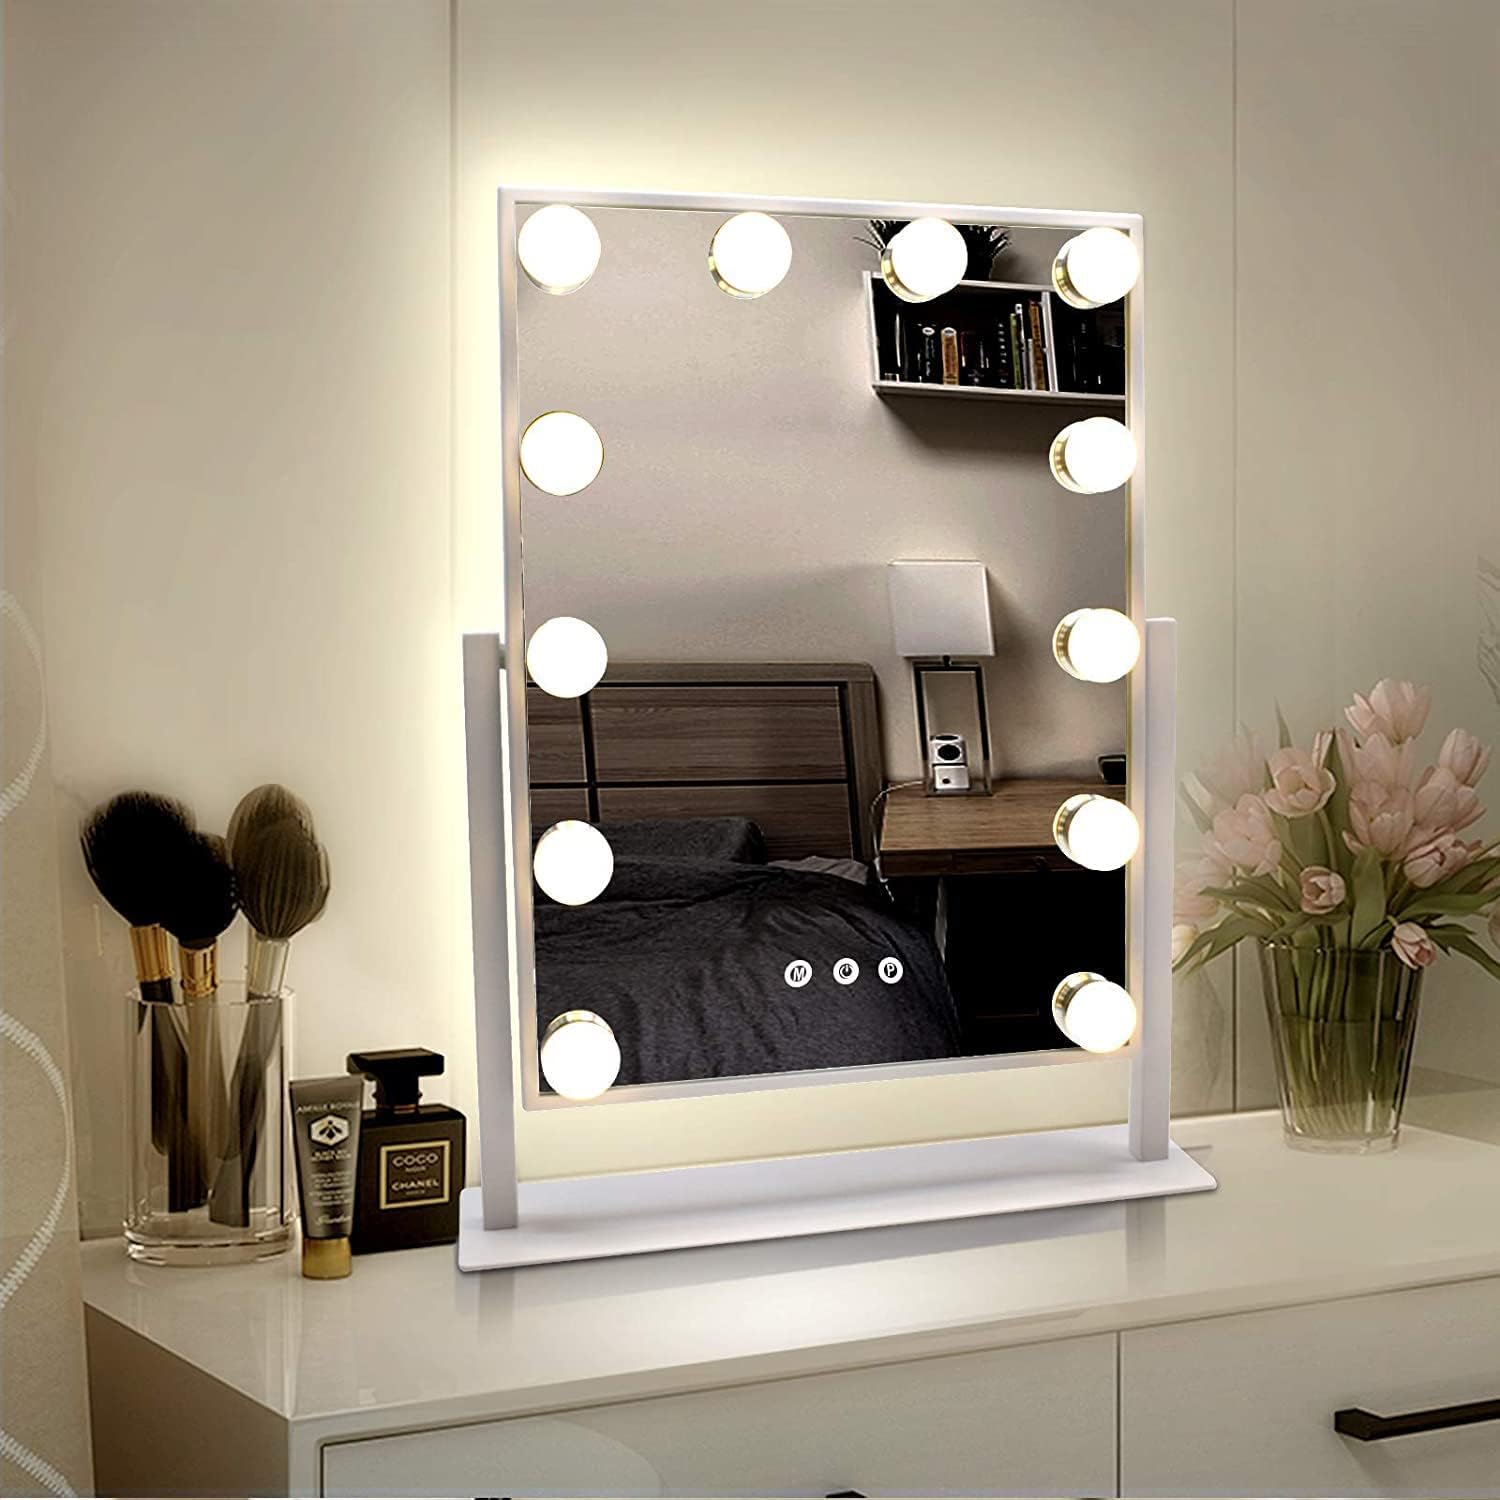
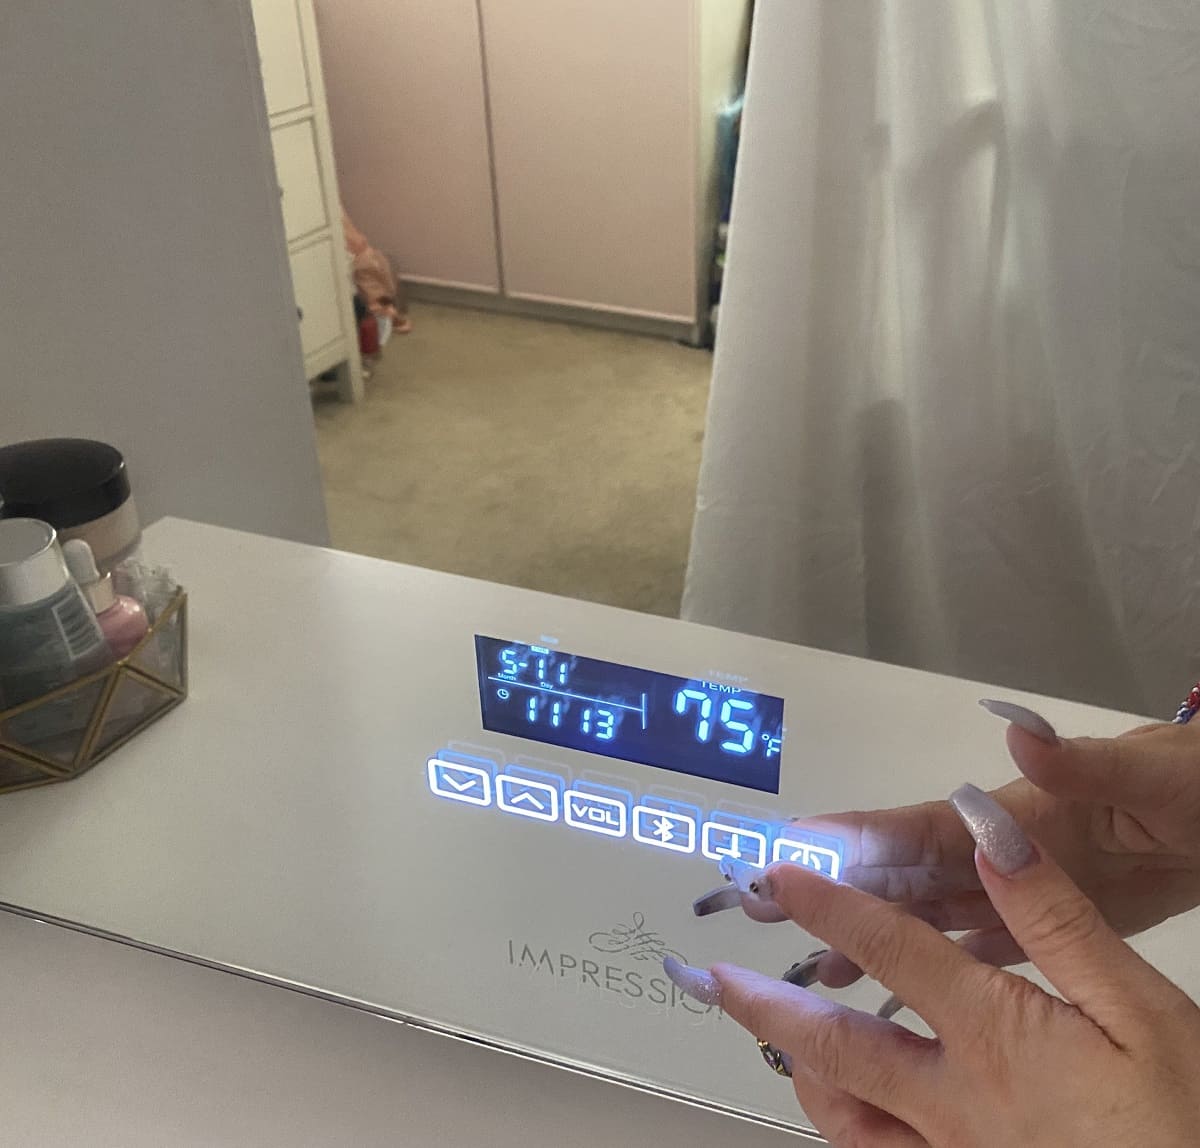
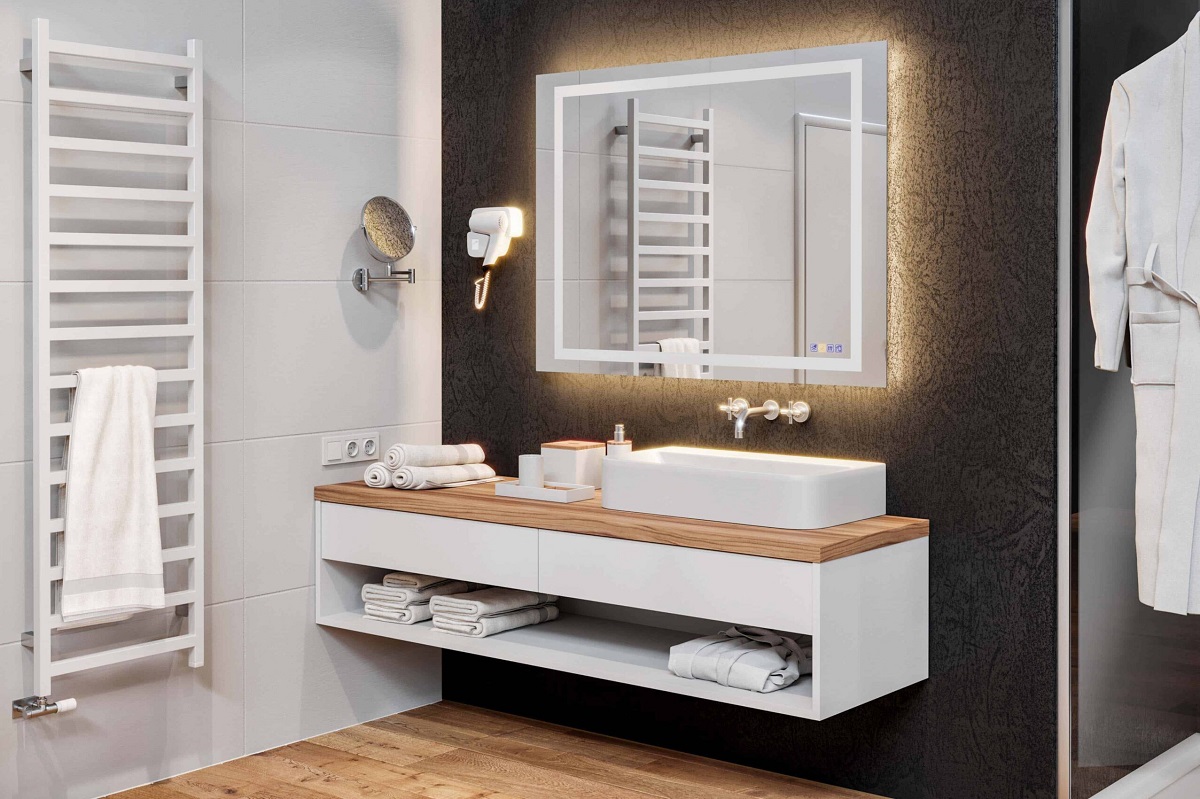
- If your vanity mirror has any additional features, such as built-in lights or storage, measure and mark the placement of these components as well.
By taking accurate measurements and marking the placement of the mirror before installation, you’ll ensure a precise and visually pleasing result. With the measurements and placement marked, you can now move on to the next step of determining the mounting method.
Step 3: Determine Mounting Method
Before mounting your vanity mirror, it’s important to determine the most appropriate mounting method based on the mirror’s design and the type of wall you have. Here are a few common mounting methods:
- Adhesive Mounting: Some vanity mirrors come with adhesive backing that allows for easy installation on smooth surfaces. Make sure the mirror is clean and free of any dust or debris before applying the adhesive. Press the mirror firmly against the wall, following the manufacturer’s instructions.
- Mounting Brackets: Mounting brackets are a popular choice for securing vanity mirrors to the wall. These brackets are usually included with the mirror or available for purchase separately. Align the brackets with the marked placement on the wall and use a screwdriver to attach them securely.
- Mirror Clips: Another option for mounting a vanity mirror is to use mirror clips. These clips are designed to hold the mirror in place and provide a sleek and minimalistic look. Place the clips at the corners and along the sides of the mirror, ensuring they are evenly spaced and aligned.
- Wall Anchors: If you have a heavier vanity mirror or if your wall is not sturdy enough, you may need to use wall anchors for added support. Drill holes into the wall at the marked placement and insert the wall anchors. Then, attach the mounting brackets or mirror clips to the wall anchors.
Consider the weight and size of your mirror when choosing the mounting method. If you’re uncertain about which method to use, consult the manufacturer’s instructions or seek advice from a professional.
Once you have determined the appropriate mounting method, you’re ready to move on to the next step of mounting the vanity mirror.
When installing a vanity mirror, make sure to measure and mark the desired placement on the wall. Use a level to ensure it is straight before securing it in place.
Step 4: Mounting the Vanity Mirror
With the mounting method determined, it’s time to mount the vanity mirror on the wall. Follow these steps for a successful installation:
- Start by holding the mirror against the wall at the marked placement, ensuring it is aligned with the center point and level.
- If you’re using mounting brackets, insert the screws through the holes in the brackets and into the wall or wall anchors. Use a screwdriver to tighten the screws, ensuring the brackets are securely attached.
- If you’re using mirror clips, place the mirror onto the clips, making sure they hold the mirror firmly in place. If necessary, tighten the screws on the clips to secure the mirror.
- Double-check the alignment and level of the mirror before proceeding to the next step.
During the mounting process, it’s important to take the necessary safety precautions. Wear safety glasses and gloves to protect yourself from any potential hazards.
Once the vanity mirror is securely mounted to the wall, you’re ready to move on to the final step of securing the mirror and finishing the installation.
Read more: How To Size A Vanity Mirror
Step 5: Secure Mirror and Finish Installation
After mounting the vanity mirror, the final step is to secure it and complete the installation. Follow these steps to ensure a safe and finished result:
- Check that all screws and brackets are tightened securely. Use a screwdriver to tighten any loose screws.
- If your mirror has adjustable hinges or brackets, make any necessary adjustments to ensure the mirror is level and aligned properly.
- If you used adhesive mounting, wait for the recommended curing time before applying any pressure or weight to the mirror. This will ensure that the adhesive bonds securely to the wall.
- Clean the surface of the mirror with a non-abrasive glass cleaner to remove any fingerprints or smudges.
- Inspect the surrounding area for any loose or protruding wires, sharp edges, or other potential safety hazards. If needed, address these issues before considering the installation complete.
Once you have secured the mirror and completed the installation, take a step back and admire your work. Your newly installed vanity mirror will not only serve its practical purpose but also add a touch of elegance and functionality to your space.
Remember to take care of your vanity mirror by cleaning it regularly, following any maintenance guidelines provided by the manufacturer.
With these steps, you can confidently install a vanity mirror and enjoy the benefits it brings to your bathroom. Happy mirror installation!
Conclusion
Installing a vanity mirror can transform your bathroom, adding both functionality and style to the space. By following the step-by-step process outlined in this article, you can successfully install a vanity mirror and enjoy its benefits for years to come.
From gathering the necessary tools and materials to determining the mounting method, measuring and marking the placement, and finally mounting and securing the mirror, each step is important in ensuring a proper installation. Taking accurate measurements, selecting the appropriate mounting method, and securing the mirror are crucial for a safe and aesthetically pleasing outcome.
Throughout the installation process, it is essential to prioritize safety. Wear safety glasses and gloves when handling tools and follow the manufacturer’s instructions for any adhesive or bracket installation.
Once your vanity mirror is installed, take the time to clean it regularly and maintain its condition based on the manufacturer’s recommendations. A well-maintained vanity mirror will continue to enhance your bathroom’s appearance and functionality.
Now that you have the knowledge and confidence to install a vanity mirror, it’s time to bring your vision to life. Enjoy the new addition to your bathroom and revel in the improved aesthetics and usability it offers.
Happy mirror installation!
Frequently Asked Questions about How To Install Vanity Mirror
Was this page helpful?
At Storables.com, we guarantee accurate and reliable information. Our content, validated by Expert Board Contributors, is crafted following stringent Editorial Policies. We're committed to providing you with well-researched, expert-backed insights for all your informational needs.








0 thoughts on “How To Install Vanity Mirror”