
Articles
How To Install A Mirror On The Ceiling
Modified: December 7, 2023
Learn how to install a mirror on the ceiling with our step-by-step guide. Get expert advice and tips in our informative articles on home improvement.
(Many of the links in this article redirect to a specific reviewed product. Your purchase of these products through affiliate links helps to generate commission for Storables.com, at no extra cost. Learn more)
Introduction
Installing a mirror on the ceiling can be a unique and visually appealing addition to any room. Whether you want to create a dreamy ambiance in your bedroom or add a touch of glamour to your living space, a ceiling mirror can make a stunning statement. This article will guide you through the step-by-step process of installing a mirror on the ceiling, ensuring a secure and professional-looking result.
Before you start the installation process, it’s essential to gather all the necessary materials and tools. You’ll need a few specific items to complete the installation successfully:
- Mirror with appropriate size and shape
- Mounting hardware (such as mirror clips or brackets)
- Measuring tape
- Pencil or marker
- Drill
- Screwdriver
- Level
- Stud finder
Once you have all the materials ready, it’s time to move on to the next step: measuring and marking the ceiling.
Key Takeaways:
- Create a captivating and visually stunning space by installing a mirror on the ceiling. Follow the step-by-step process for a secure and professional-looking result, adding depth, style, and elegance to any room.
- Prioritize safety and stability while installing a ceiling mirror. Gather necessary materials, measure accurately, and secure the mirror in place to prevent accidents or damage. Enjoy the unique and mesmerizing effect it brings to your home.
Read more: How To Hang Mirror On The Ceiling
Step 1: Gather the Required Materials
Before starting the installation process, make sure you have all the necessary materials and tools at hand. You’ll need the following items:
- Mirror: Choose a mirror with the appropriate size and shape for your ceiling. Consider the dimensions of the room and the desired placement of the mirror.
- Mounting hardware: You’ll need the appropriate mounting hardware to secure the mirror to the ceiling. This could include mirror clips, brackets, or other types of mounting systems.
- Measuring tape: A measuring tape will be essential for accurately measuring distances and dimensions on the ceiling.
- Pencil or marker: Use a pencil or marker to mark the desired location of the mirror on the ceiling.
- Drill: A drill will be necessary to create holes for the mounting hardware.
- Screwdriver: Depending on the type of mounting system you choose, a screwdriver may be needed to secure the mirror to the ceiling.
- Level: Using a level will help ensure that the mirror is installed straight and level on the ceiling.
- Stud finder: If you’re planning to attach the mirror to a support beam on the ceiling, a stud finder will be helpful in locating the beam.
Having all these materials ready before you begin the installation will save you time and make the process smoother. Once you have everything prepared, you can move on to the next step: measuring and marking the ceiling.
Step 2: Measure and Mark the Ceiling
Now that you have gathered all the necessary materials, it’s time to measure and mark the ceiling for the installation of the mirror. Follow these steps:
- Start by determining the desired location of the mirror on the ceiling. Consider factors such as the room’s layout and lighting to find the most suitable spot.
- Use a measuring tape to determine the dimensions of the mirror. Measure both the length and width to ensure accurate placement.
- Mark the corners of the mirror’s dimensions on the ceiling using a pencil or marker. This will serve as a guide for the installation process.
- Using the level, check that the marked lines are straight and level. Adjust if necessary to ensure a precise installation.
- If you plan to attach the mirror to a support beam on the ceiling, use a stud finder to locate the position of the beam. Mark the location with a pencil or marker.
- Double-check all the measurements and markings before proceeding to the next step. Accuracy is crucial for a successful installation.
By taking the time to measure and mark the ceiling properly, you’ll ensure that the mirror is installed in the desired location and at the correct dimensions. This step sets the foundation for the rest of the installation process.
Step 3: Locate and Secure the Support Beam
In this step, we will locate the support beam on the ceiling and secure the mirror to it if necessary. Follow these steps:
- Using a stud finder, scan the marked area on the ceiling where the mirror will be installed. The stud finder will help you locate the support beam.
- Once you locate the support beam, mark its position on the ceiling using a pencil or marker. This will ensure that you know where to attach the mirror securely.
- If the mirror is small or lightweight, and the support beam is not located in the desired installation location, you may need to use alternative methods to secure the mirror. This can include using toggle bolts or anchors to provide additional support.
- If the support beam is in the desired location, use a drill and screws to secure the mounting hardware to the beam. Make sure to follow the instructions provided with the mounting hardware to ensure a secure attachment.
- If you are using toggle bolts or anchors, follow the manufacturer’s instructions on how to install them securely into the ceiling.
- Double-check that the mounting hardware is securely attached to the support beam before proceeding to the next step.
Locating and securing the support beam is crucial to guarantee the stability and safety of the mirror. If the support beam is not in the desired location, consider consulting a professional for further guidance on alternative methods for secure installation.
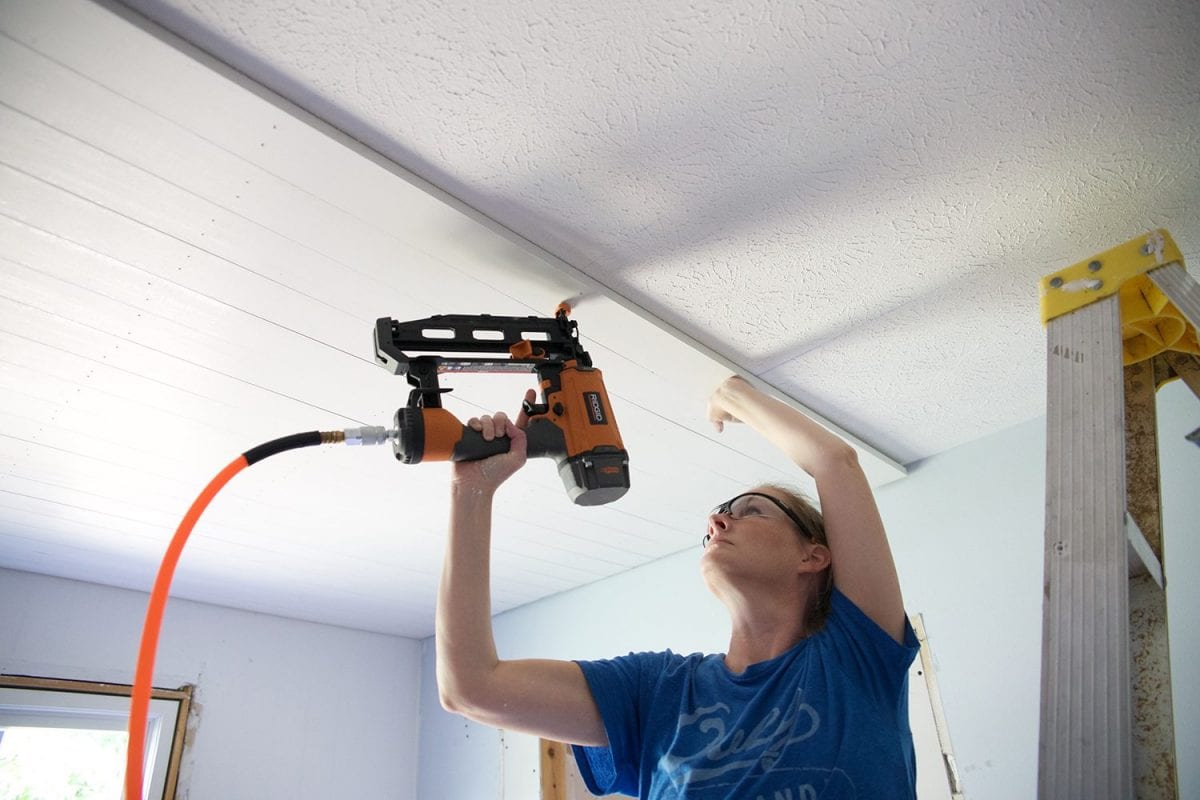
Step 4: Drill Holes for Mounting
In order to securely attach the mirror to the ceiling, you’ll need to drill holes for the mounting hardware. Follow these steps:
- If you haven’t done so already, double-check that the marked location on the ceiling is aligned with the support beam or the appropriate area for installation.
- Using a drill and an appropriately sized drill bit, carefully drill holes at the marked corners or designated spots for mounting the mirror.
- Make sure to drill precisely and perpendicular to the ceiling to ensure that the holes are aligned correctly for the mounting hardware.
- It is important to take caution and follow safety guidelines when using a drill. Wear safety goggles and gloves to protect yourself from any potential injuries.
- Remove any dust or debris from the drilled holes to ensure a clean and secure fit for the mounting hardware.
Drilling the holes for the mounting hardware is a crucial step in the installation process. Take your time, follow the measurements and markings, and ensure that the holes are accurately drilled for a proper installation.
Make sure to use a strong adhesive specifically designed for mirrors when installing a mirror on the ceiling. This will ensure that the mirror stays securely in place and does not pose a safety hazard.
Read more: Why Put Mirrors On Ceiling
Step 5: Attach the Mounting Hardware
With the holes drilled, it’s now time to attach the mounting hardware to the ceiling. The specific type of mounting hardware you have chosen will determine the steps involved. Here is a general guide:
- Take the mounting hardware pieces, such as mirror clips or brackets, and align them with the drilled holes on the ceiling.
- Use screws or other fasteners that are appropriate for your chosen mounting hardware to secure them in place. Follow the provided instructions to ensure a proper installation.
- Tighten the screws or fasteners securely to ensure that the mounting hardware is firmly attached to the ceiling.
- Check that the mounting hardware is level and aligned correctly. Adjust if necessary before moving on to the next step.
It’s important to note that different mirror types and sizes may require different types of mounting hardware. Always refer to the manufacturer’s instructions for guidance on attaching the specific mounting hardware to your mirror.
Once the mounting hardware is securely attached, you’re ready to proceed to the next step: installing the mirror onto the ceiling.
Step 6: Install the Mirror onto the Ceiling
With the mounting hardware in place, it’s time to install the mirror onto the ceiling. Follow these steps:
- Carefully lift the mirror and align it with the mounting hardware on the ceiling.
- Gently slide the mirror into position, making sure that it securely fits onto the mounting hardware.
- Double-check that the mirror is level and aligned with the markings on the ceiling. Make any necessary adjustments before proceeding.
- If the mirror has built-in hooks or loops for hanging, ensure that they align with the mounting hardware.
- Slowly release the mirror, allowing it to rest on the mounting hardware or hooks.
- Apply light pressure to the mirror to test its stability. If it feels secure, you can proceed to the next step.
It’s important to exercise caution while installing the mirror to avoid damaging it or the surrounding area. If the mirror is heavy or difficult to handle, consider seeking assistance from another person to ensure a safe installation.
Once the mirror is in position, you’re ready to secure it in place.
Step 7: Secure the Mirror in Place
Now that the mirror is installed on the ceiling, it’s time to secure it in place to ensure it stays firmly fixed. Follow these steps:
- If your mirror has clips or brackets, use a screwdriver to tighten the screws on the mounting hardware. This will secure the mirror tightly against the ceiling.
- Check each screw to ensure it is tightened evenly, creating an even distribution of pressure on the mirror.
- For mirrors with built-in hooks or loops, use additional hardware such as wire or chains to create an extra layer of support.
- Attach the wire or chains securely to the mirror’s hooks or loops, and then fix the other ends to the mounting hardware.
- Ensure that the wire or chains are properly tensioned, providing the necessary support without putting excessive strain on the mirror.
- If needed, use adhesive or mirror tape to further secure the mirror to the ceiling or mounting hardware. Follow the manufacturer’s instructions for proper application.
- Gently give the mirror a slight shake or tap to ensure it is securely in place. If it feels stable and does not move, then the mirror is properly secured.
Having a securely fastened mirror is crucial for the safety of both the mirror and anyone in the room. Take the time to double-check that all screws, hooks, and additional support mechanisms are properly tightened and aligned.
By following these steps, your mirror should now be securely installed on the ceiling, ready to add a unique touch to your space.
Conclusion
Installing a mirror on the ceiling can be a captivating and visually stunning addition to any room. It can add depth, style, and a touch of elegance, transforming an ordinary space into a mesmerizing one. By following the step-by-step process outlined in this article, you can successfully install a mirror on your ceiling and create an eye-catching focal point in your home.
Throughout the installation process, it’s important to gather all the necessary materials, measure and mark the ceiling accurately, locate and secure the support beam if needed, drill the appropriate holes for mounting, attach the mounting hardware securely, and carefully install and secure the mirror in place.
Remember to take safety precautions while handling tools and equipment, and seek assistance if needed, especially for larger or heavier mirrors. Prioritize the stability and security of the mirror to prevent any accidents or damage.
Once your mirror is installed, take a step back and admire the transformation it brings to your space. The ceiling mirror will reflect light, create an illusion of space, and enhance the overall ambiance of the room.
Whether you choose to install a mirror in your bedroom, bathroom, or any other area, it will undoubtedly become a captivating element of your home decor. Enjoy the unique and mesmerizing effect of your ceiling mirror and let it create a sense of luxury and sophistication in your living space.
Remember to maintain and clean your mirror regularly to preserve its beauty and clarity. With proper care, your ceiling mirror will continue to captivate and enhance your space for years to come.
Frequently Asked Questions about How To Install A Mirror On The Ceiling
Was this page helpful?
At Storables.com, we guarantee accurate and reliable information. Our content, validated by Expert Board Contributors, is crafted following stringent Editorial Policies. We're committed to providing you with well-researched, expert-backed insights for all your informational needs.


0 thoughts on “How To Install A Mirror On The Ceiling”