
Articles
How To Seal Vanity Top
Modified: March 2, 2024
Learn how to seal your vanity top with these informative articles. Get expert tips and advice on sealing bathroom countertops for long-lasting durability.
(Many of the links in this article redirect to a specific reviewed product. Your purchase of these products through affiliate links helps to generate commission for Storables.com, at no extra cost. Learn more)
Introduction
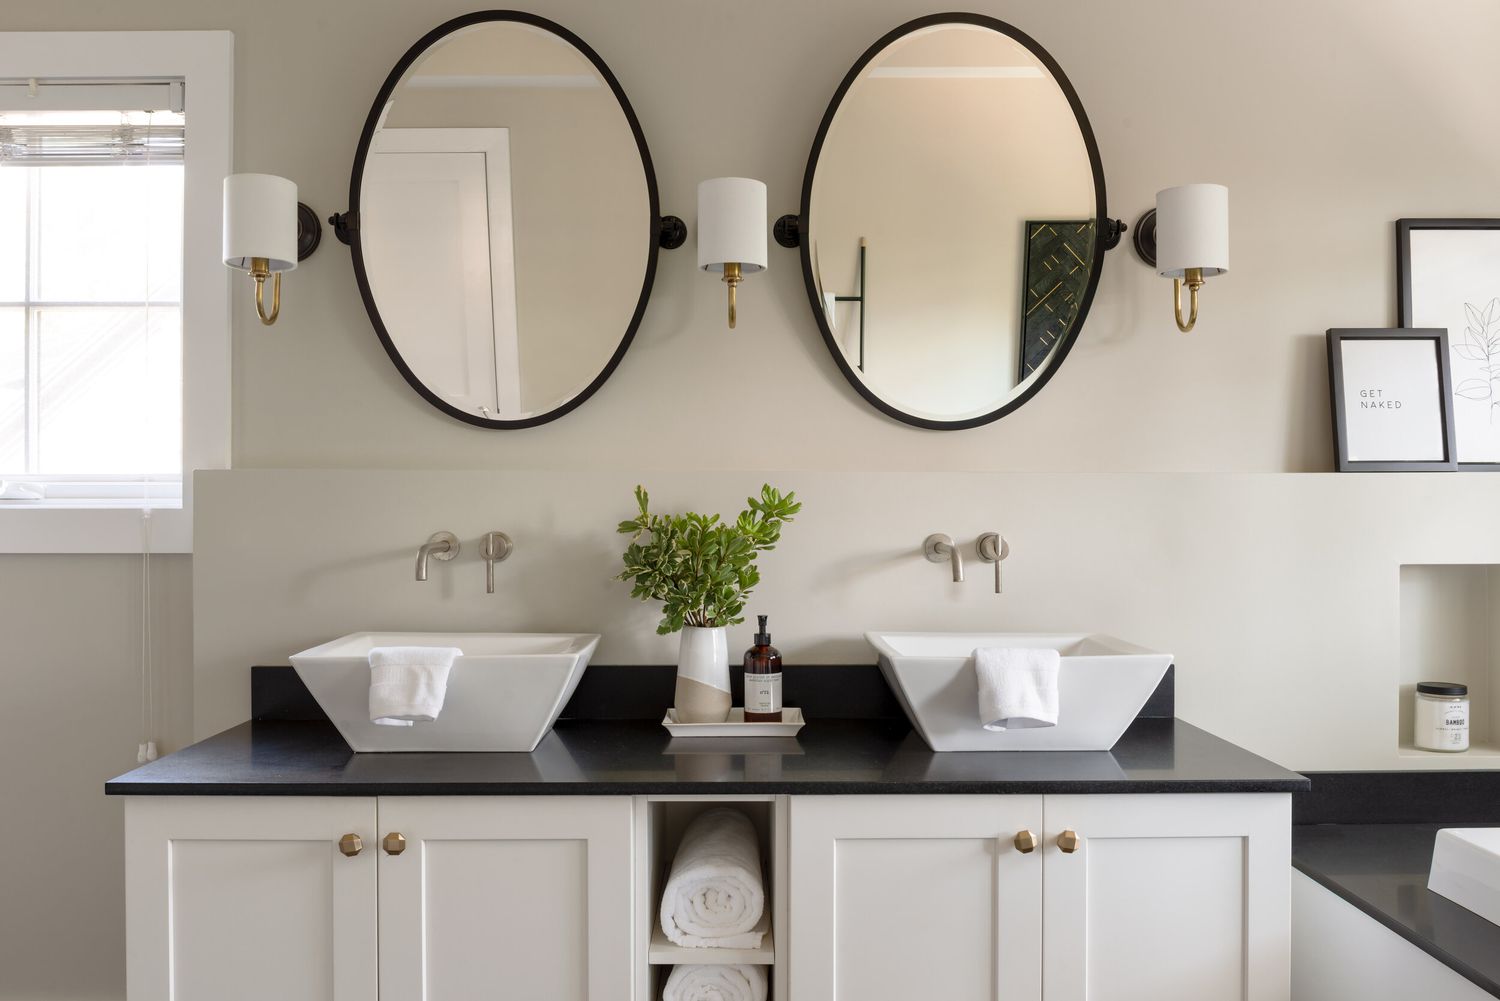
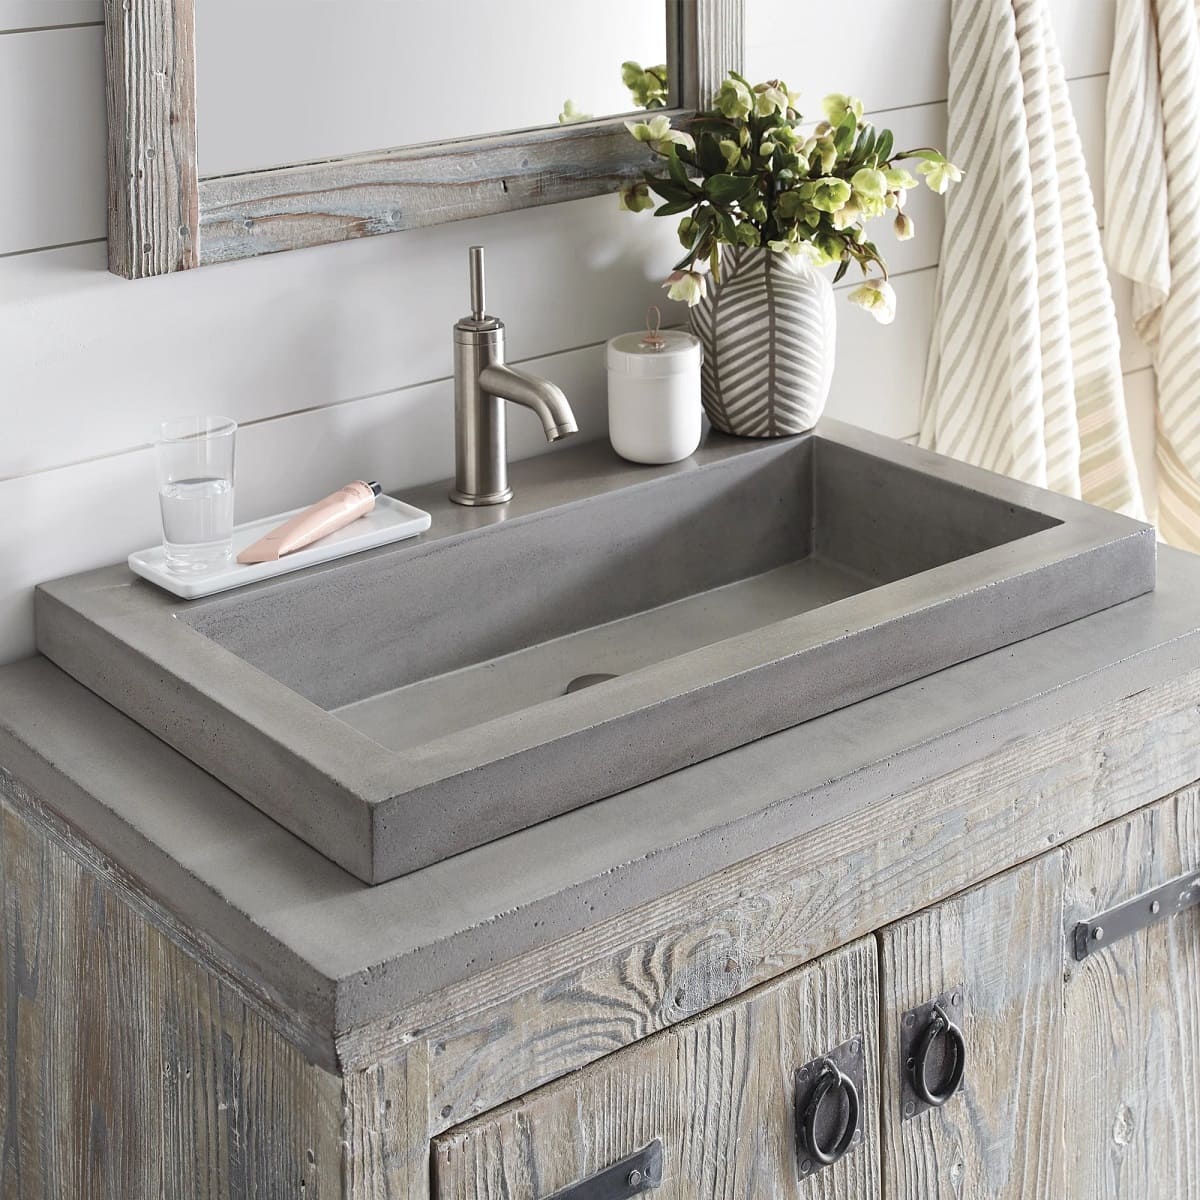
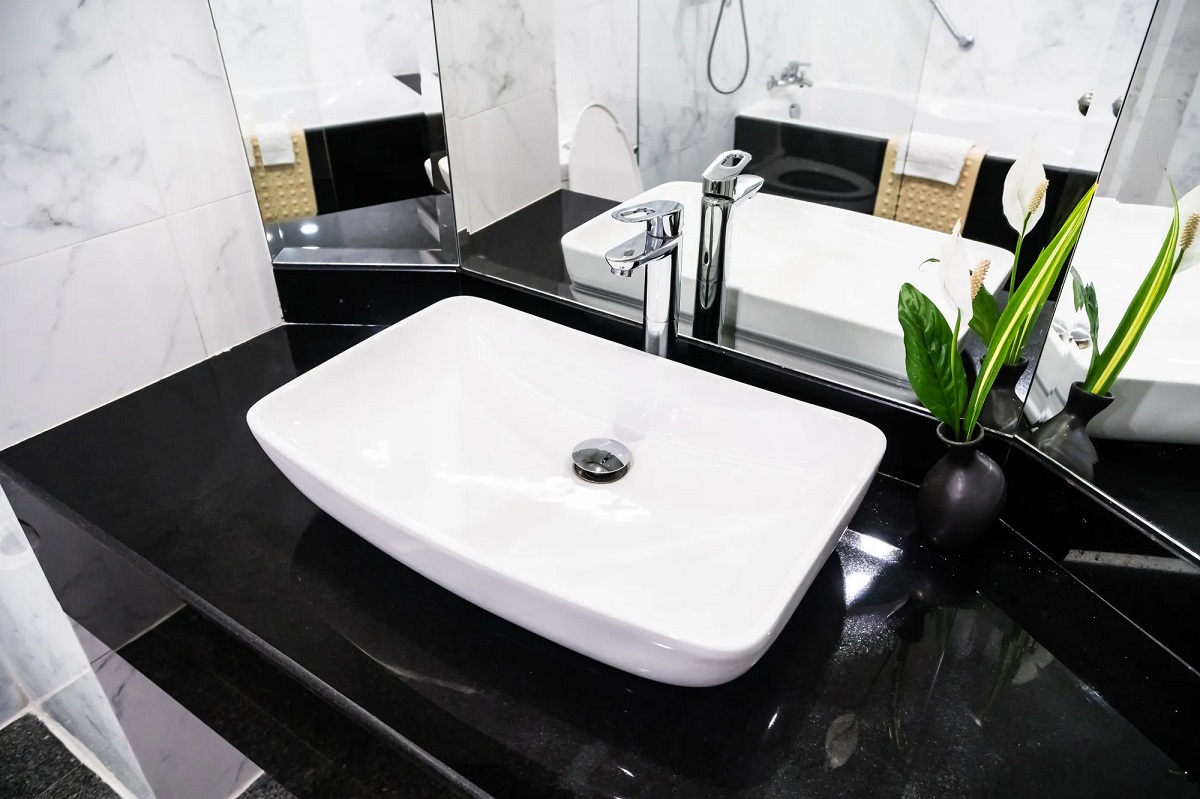
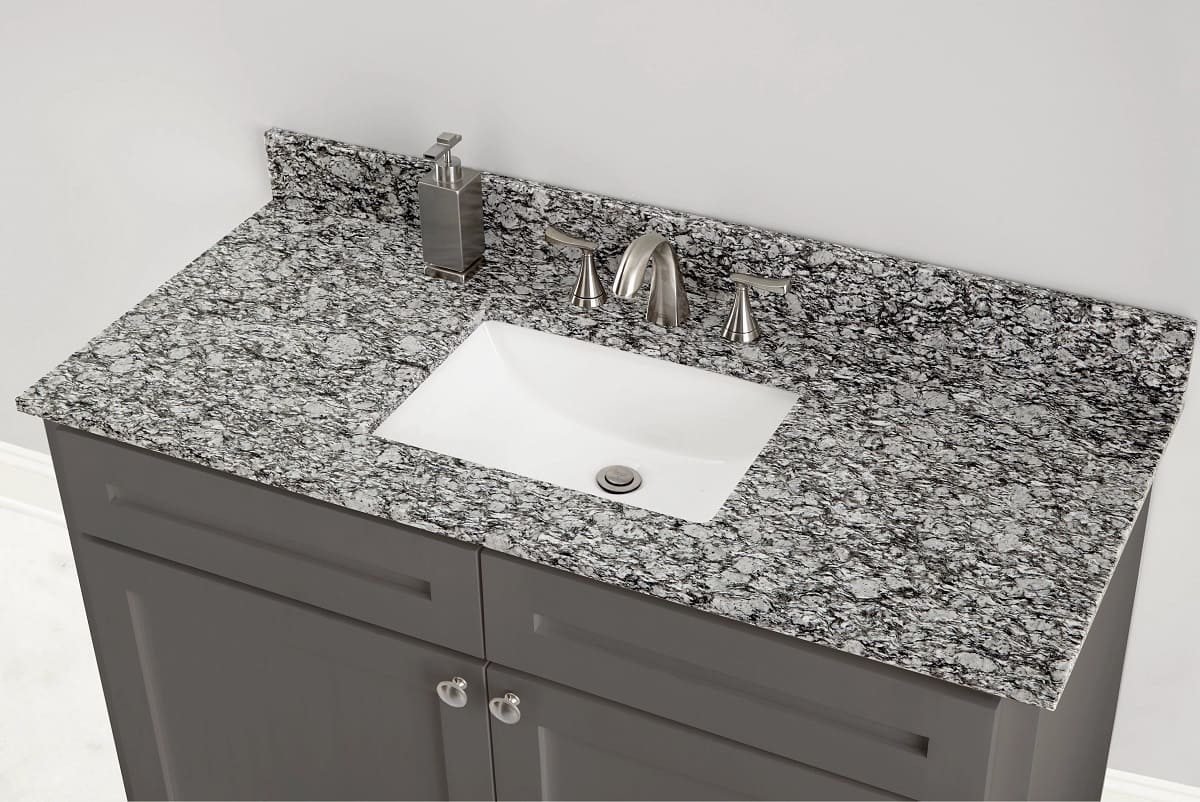
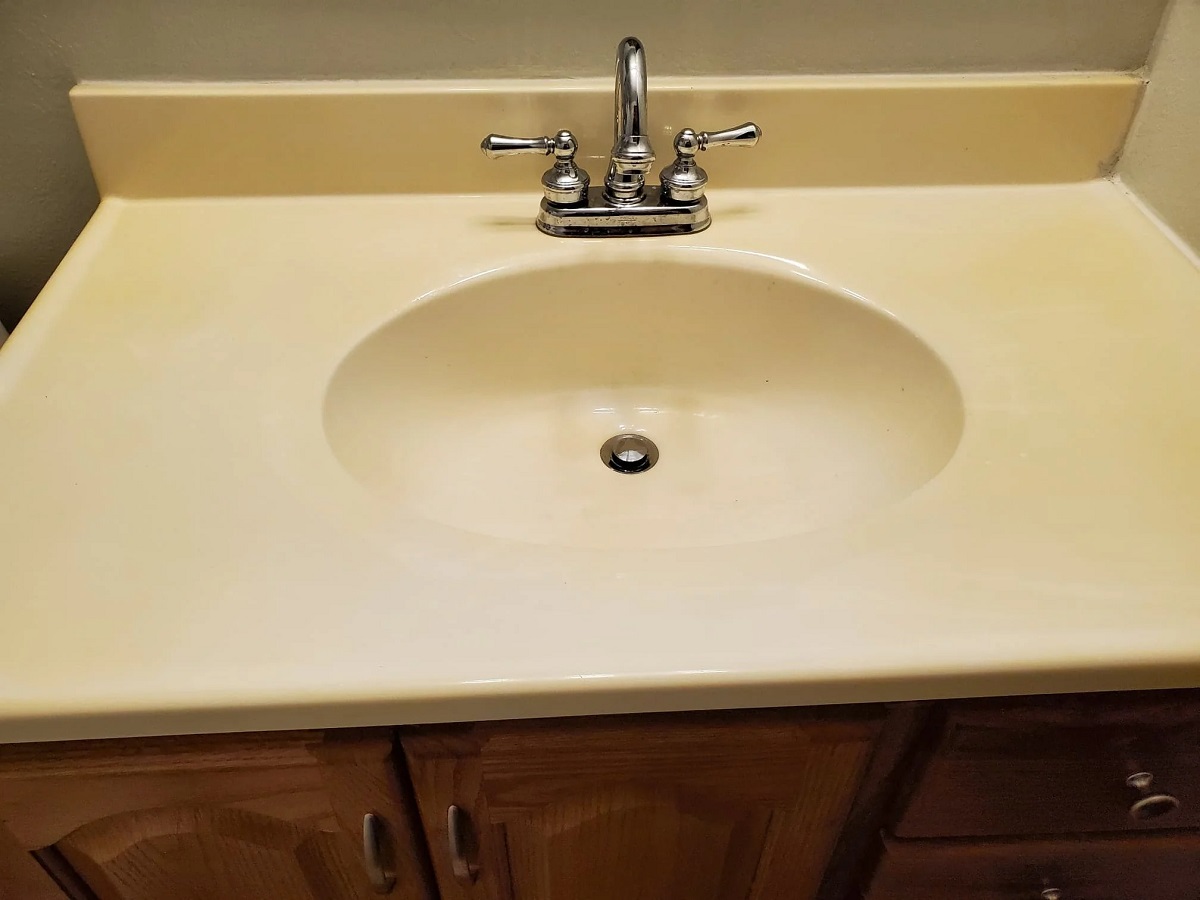
A vanity top is a key component of any bathroom design, providing both functionality and style. Made from materials such as granite, marble, or quartz, vanity tops are susceptible to stains, moisture damage, and general wear and tear over time. To protect your investment and ensure the longevity of your vanity top, it is essential to apply a sealant. In this guide, we will walk you through the steps of sealing your vanity top to keep it looking pristine for years to come.
Sealing your vanity top creates a protective barrier that helps to prevent water absorption, staining, and damage from harmful chemicals. Additionally, it enhances the natural beauty of the stone, making it easier to clean and maintain. Although the process may seem intimidating at first, it is actually a straightforward task that can be completed with minimal effort and a few essential materials.
Before we dive into the step-by-step instructions, let’s discuss the materials you will need for the job:
Key Takeaways:
- Protect your vanity top from stains and moisture damage by applying a high-quality sealant. Follow the step-by-step instructions to ensure even coverage and proper curing for long-lasting protection.
- Choose the right sealant for your vanity top material and conduct a water test to ensure effective sealing. Regular maintenance and proper cleaning will preserve the beauty and functionality of your vanity top for years to come.
Read more: How To Attach A Vanity Top
Materials Needed
Before you begin sealing your vanity top, gather the following materials:
- Sealant: Choose a high-quality sealant specifically designed for your vanity top material. Granite, marble, and quartz each have different sealing requirements, so be sure to select the appropriate product.
- Microfiber Cloth: This lint-free cloth will be used to clean and wipe down the surface of the vanity top before applying the sealant.
- Masking Tape: Use masking tape to protect any surrounding areas, such as the sink or backsplash, from accidentally getting sealant on them.
- Paintbrush or Foam Brush: A brush will be needed to apply the sealant evenly onto the vanity top surface.
- Protective Gloves: It is recommended to wear gloves while working with the sealant to protect your skin from any potential irritation.
- Drop Cloth or Newspaper: Lay down a drop cloth or spread out some newspaper to protect the surrounding area from any accidental spills or drips.
Having these materials on hand will ensure a smooth and efficient sealing process. Now that we have everything we need, let’s move on to the step-by-step instructions.
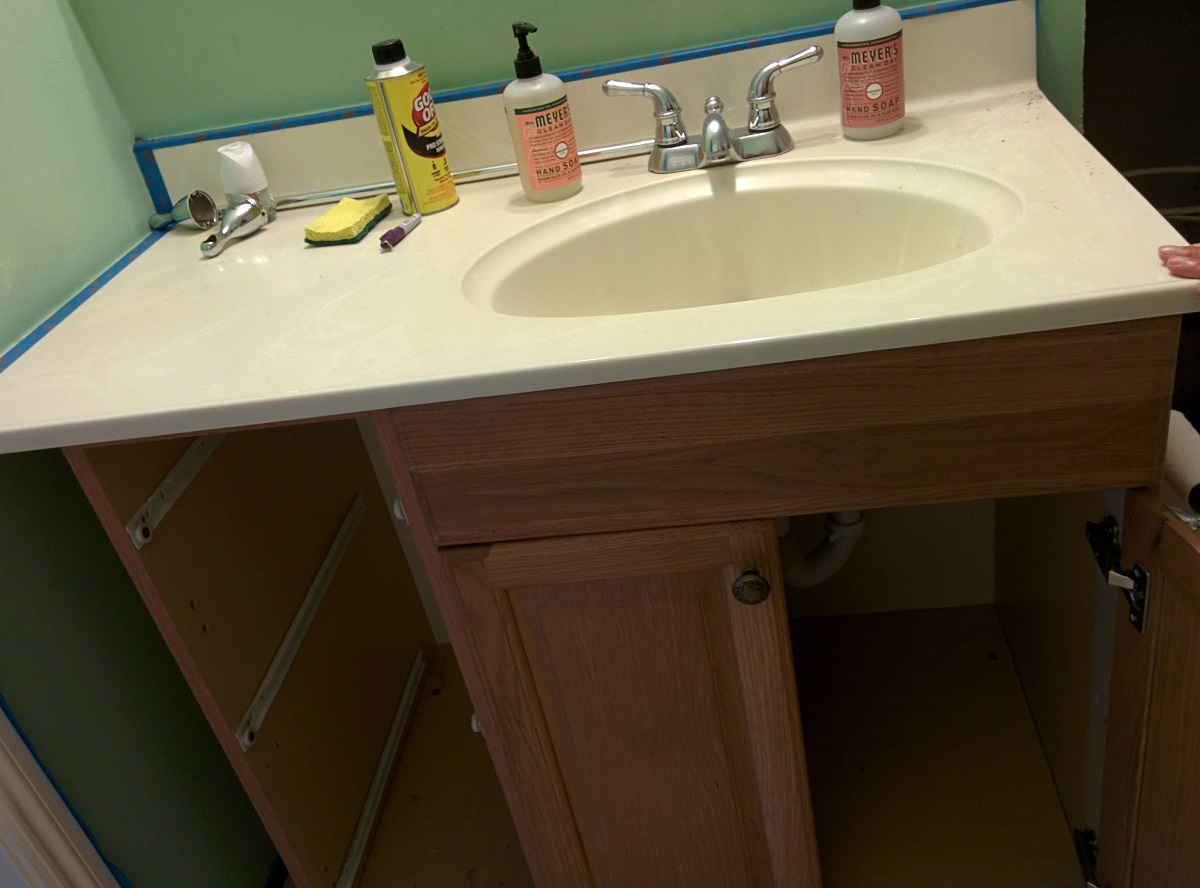
Step 1: Clean the Vanity Top
Before applying the sealant, it is crucial to start with a clean surface. Follow these steps to properly clean your vanity top:
- Remove any items from the vanity top, such as soap dispensers, toothbrush holders, or makeup products.
- Use a mild, non-abrasive cleaner or stone-specific cleaner to wipe down the surface. Avoid harsh chemicals or abrasive scrubbers, as they can damage the vanity top.
- Gently scrub the surface in circular motions with a soft sponge or cloth, paying extra attention to any visible stains or spills.
- Rinse the vanity top thoroughly with clean water to remove any residue from the cleaner.
- Dry the surface completely with a clean, dry microfiber cloth. Ensure that there is no moisture left on the vanity top before proceeding to the next step.
Cleaning the vanity top removes any dirt, grime, or buildup that may interfere with the adhesion of the sealant. By starting with a clean surface, you are setting the foundation for a successful sealing process.
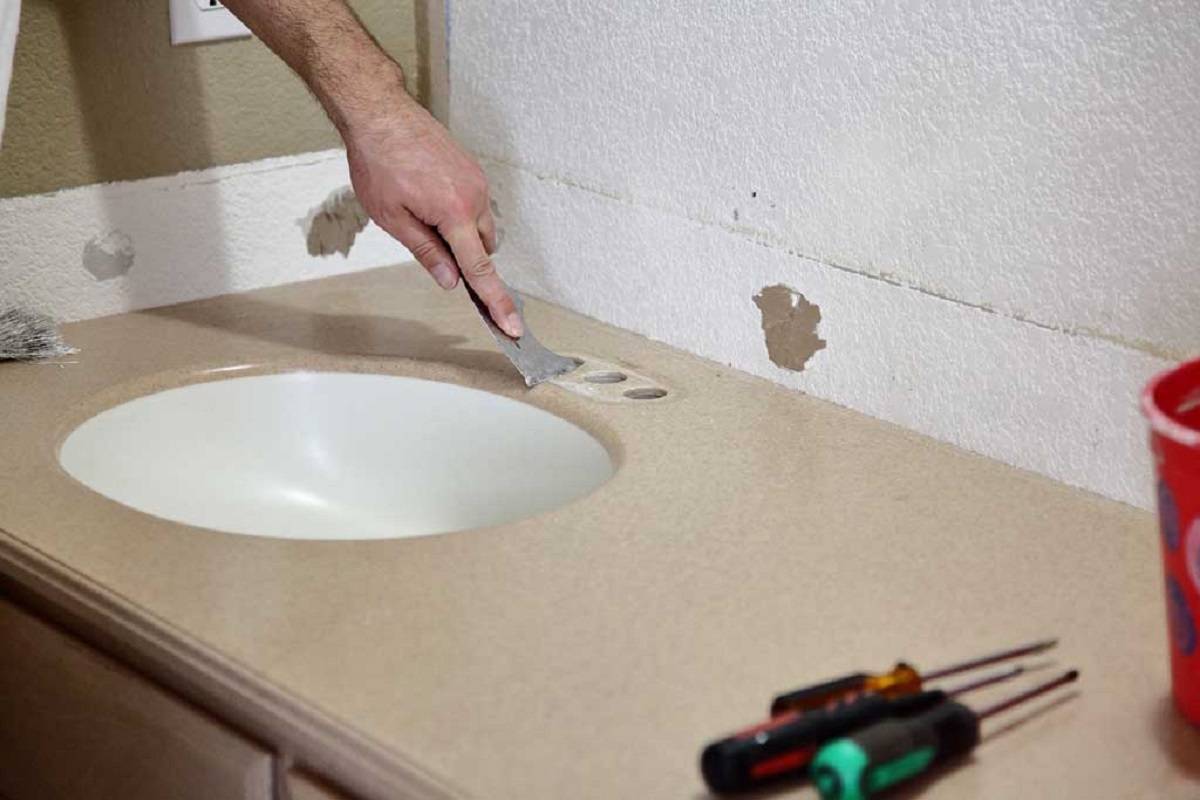
Step 2: Apply the Sealant
Now that your vanity top is clean and dry, it’s time to apply the sealant. Follow these steps:
- Start by shaking or stirring the sealant according to the manufacturer’s instructions. This helps to ensure that the product is well-mixed and ready for application.
- Using a paintbrush or foam brush, apply a thin and even layer of sealant onto the surface of the vanity top. Begin at one end and work your way across, overlapping each stroke slightly to avoid leaving any gaps.
- Pay extra attention to areas that are frequently exposed to water, such as around the sink and faucet. These areas may require an additional coat of sealant to ensure proper protection.
- Continue applying the sealant until the entire surface of the vanity top is covered. Take care not to let the sealant pool or drip, as this can create uneven coverage and affect the final result.
It’s important to note that different sealants have varying drying times, so refer to the manufacturer’s instructions for specific guidance on how long to let the sealant sit before moving on to the next step.
By applying a layer of sealant, you are creating a protective barrier that will help to prevent stains and moisture damage from occurring on your vanity top.
When sealing a vanity top, use a high-quality silicone-based sealer to protect against water damage and stains. Apply the sealer according to the manufacturer’s instructions, and reapply as needed to maintain protection.
Step 3: Spread the Sealant Evenly
After applying the sealant to the vanity top, it’s crucial to spread it evenly to ensure proper coverage and protection. Follow these steps:
- Using a clean, dry paintbrush or foam brush, gently spread the sealant in a thin and even layer across the entire surface.
- Make long, smooth strokes in one direction for a consistent application. Be careful not to press too hard, as this can create streaks or uneven spots.
- Pay close attention to crevices, seams, and edges of the vanity top. These areas can be more susceptible to water penetration, so ensure that the sealant is applied thoroughly.
- Continue spreading the sealant until you have covered the entire vanity top, including any areas that are often overlooked, such as the underside of the countertop overhang.
By spreading the sealant evenly, you are ensuring that every inch of the vanity top is protected and sealed against moisture and stains. This step is essential for achieving optimal results and maintaining the longevity of your vanity top.
Read more: How To Clean Marble Vanity Top
Step 4: Allow the Sealant to Cure
Once you have evenly spread the sealant over the vanity top, it’s important to allow it to cure properly. Follow these steps:
- Check the manufacturer’s instructions for the recommended curing time. This can vary depending on the type of sealant used and the specific conditions in your bathroom.
- Avoid using the vanity top or placing any objects on it during the curing process. This allows the sealant to dry and harden without any interference.
- Keep the bathroom well-ventilated to promote airflow and help expedite the curing process. Open a window or use a fan to circulate fresh air.
During the curing period, it’s important to refrain from exposing the vanity top to water or cleaning products to ensure the sealant fully sets. Rushing this step can compromise the effectiveness and durability of the sealant.
Once the recommended curing time has passed, you can proceed to test the sealant to ensure that it has formed a protective barrier and is functioning as intended.
Step 5: Test the Sealant
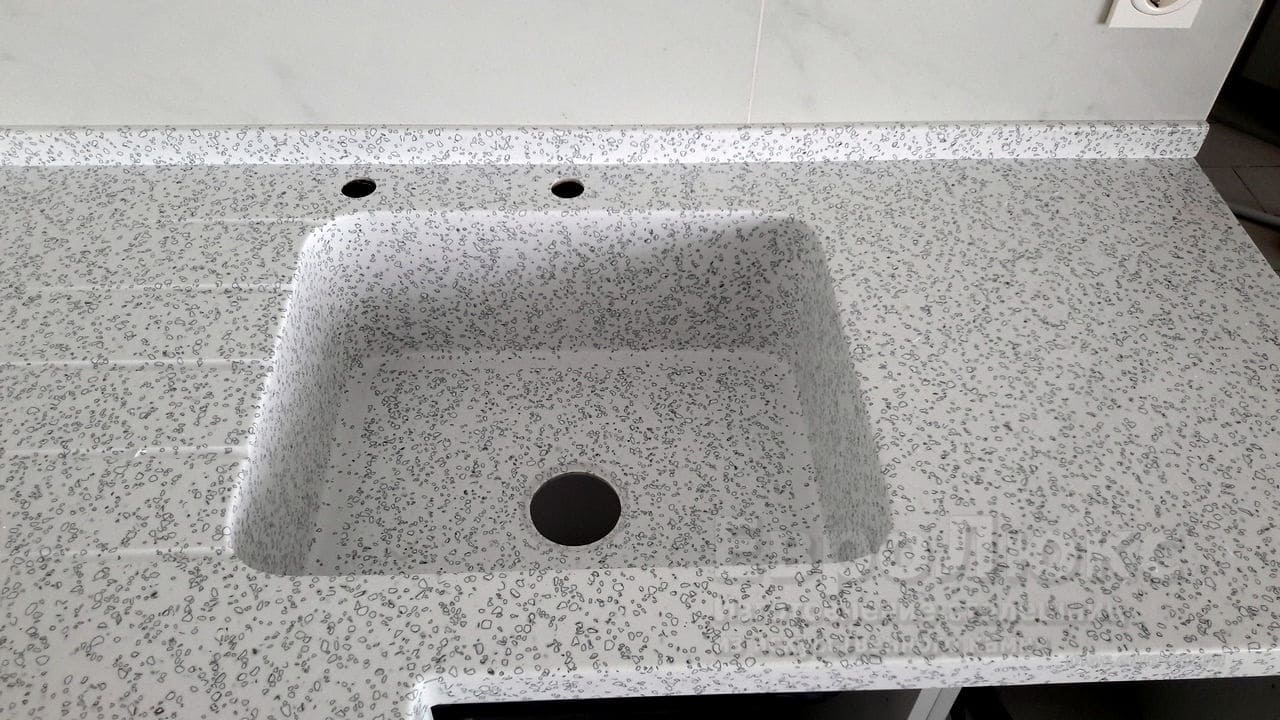
After allowing the sealant to cure, it’s important to test its effectiveness. Follow these steps:
- Take a small amount of water and pour it onto the surface of the vanity top.
- Observe how the water reacts on the surface. If the sealant is working properly, you should notice that the water beads up and does not get absorbed into the stone.
- If the water quickly absorbs or spreads out on the surface, there may be areas that require an additional layer of sealant. In this case, repeat the sealing process on those specific areas to ensure proper protection.
Testing the sealant is crucial to ensure that it has formed a barrier against moisture and stains. If you find any areas that require resealing, apply an additional coat of sealant and allow it to cure before performing the water test again.
By conducting this test, you can have confidence that your vanity top is protected and sealed effectively, providing long-lasting performance and maintaining its aesthetic appeal.
Conclusion
Sealing your vanity top is a necessary step to protect it from stains, moisture damage, and general wear and tear. By following these simple steps, you can ensure that your vanity top remains in excellent condition and retains its natural beauty for years to come.
Cleaning the vanity top before applying the sealant is crucial to ensure proper adhesion and coverage. Choosing the right sealant for your specific vanity top material is also important for achieving optimal results, so be sure to consult the manufacturer’s recommendations.
- Start by cleaning the vanity top thoroughly, removing any dirt or stains.
- Apply the sealant evenly, using a paintbrush or foam brush, covering the entire surface of the vanity top.
- Spread the sealant evenly to ensure proper coverage, paying attention to crevices and edges.
- Allow the sealant to cure according to the manufacturer’s instructions, keeping the bathroom well-ventilated.
- Finally, test the sealant by pouring a small amount of water on the surface and ensuring that it beads up and does not absorb into the stone.
Remember to regularly clean and maintain your sealed vanity top to preserve its longevity and appearance. Avoid using harsh chemicals or abrasive scrubbers that could damage the sealant, and promptly clean up any spills to prevent potential staining.
Sealing your vanity top is a simple yet vital task that ensures its protection and enhances its longevity. By following these steps, you can enjoy a beautiful and functional vanity top in your bathroom for years to come.
Frequently Asked Questions about How To Seal Vanity Top
Was this page helpful?
At Storables.com, we guarantee accurate and reliable information. Our content, validated by Expert Board Contributors, is crafted following stringent Editorial Policies. We're committed to providing you with well-researched, expert-backed insights for all your informational needs.
0 thoughts on “How To Seal Vanity Top”