Articles
How To Insulate Basement Windows
Modified: September 1, 2024
Learn how to insulate basement windows with our informative articles. Improve energy efficiency and keep your home comfortable.
(Many of the links in this article redirect to a specific reviewed product. Your purchase of these products through affiliate links helps to generate commission for Storables.com, at no extra cost. Learn more)
Introduction
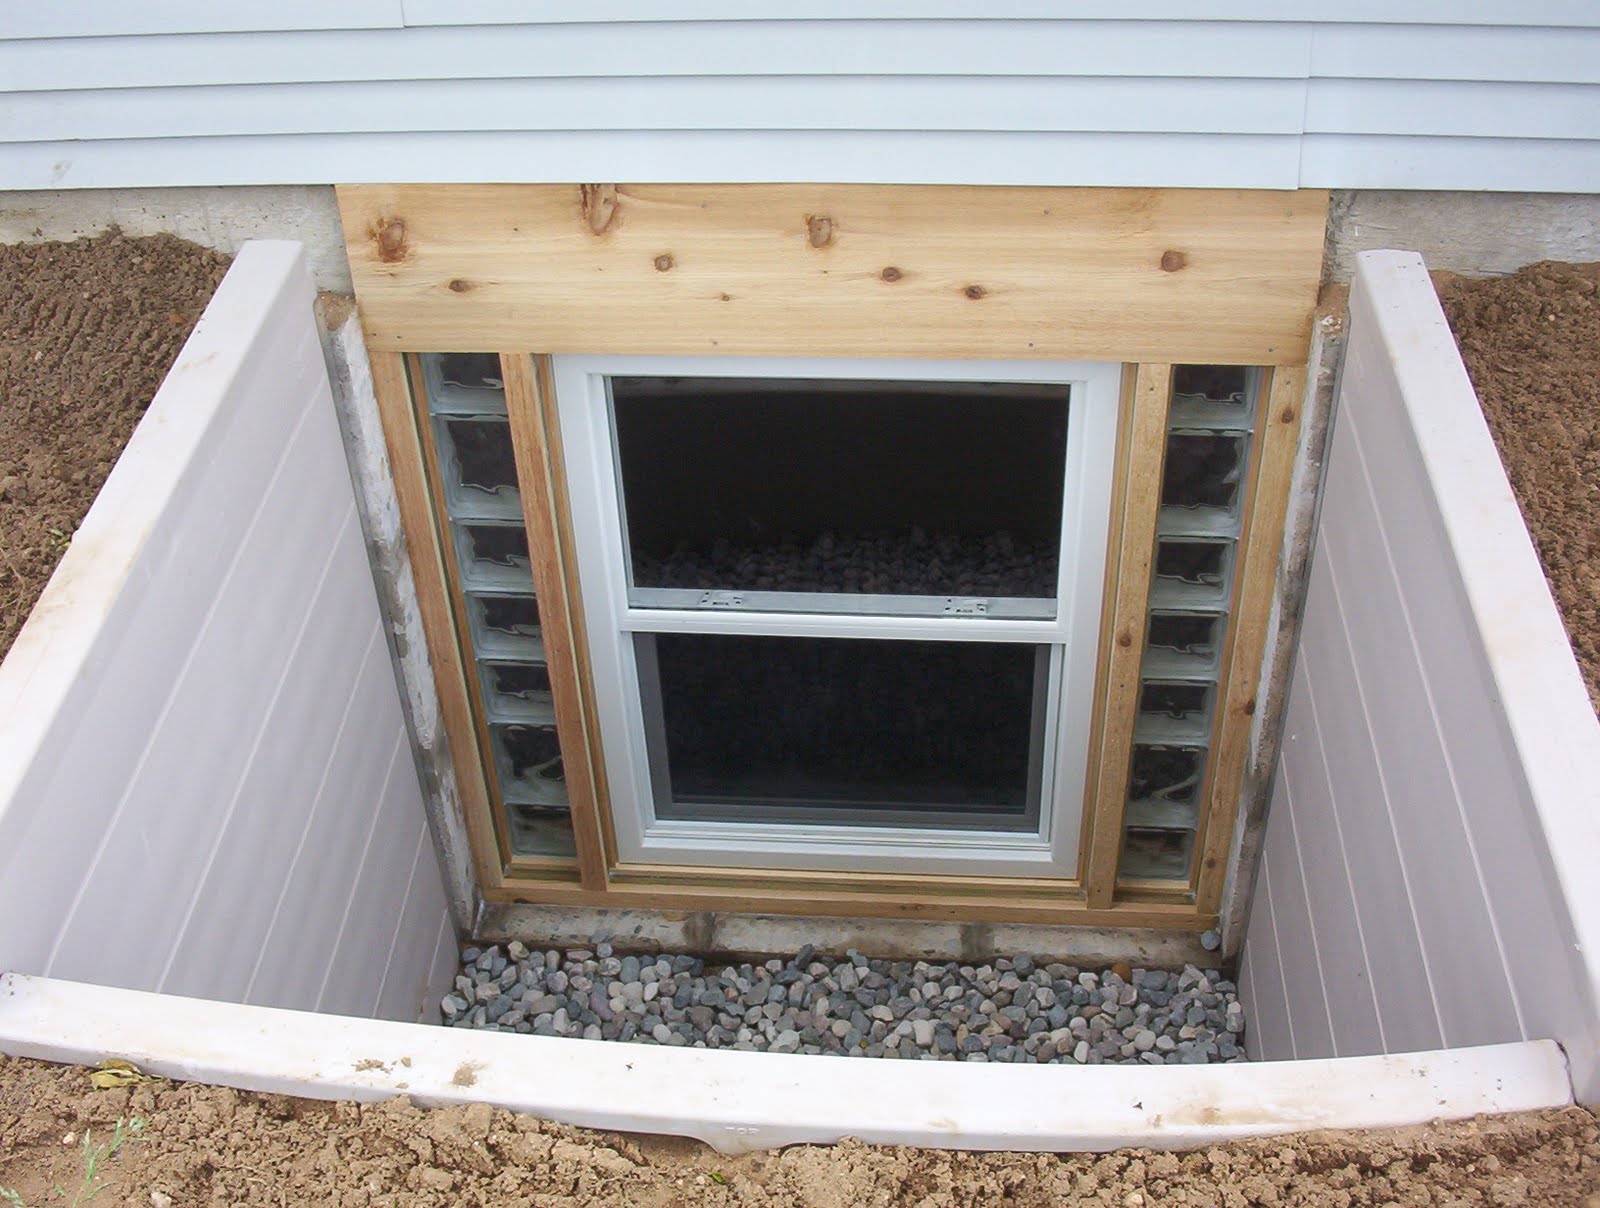
When it comes to maintaining a comfortable and energy-efficient home, insulating basement windows is often overlooked. However, these windows can be a significant source of heat loss in the winter and heat gain in the summer. By properly insulating your basement windows, you can improve the overall insulation of your home, reduce energy costs, and create a more comfortable living environment.
In this article, we will guide you through the steps to effectively insulate basement windows. From measuring the windows to selecting the right insulation materials, we have you covered. So, let’s dive in and learn how to keep the chilly drafts out and the warm air in!
Key Takeaways:
- Properly insulating basement windows is crucial for reducing heat loss, improving energy efficiency, and creating a more comfortable living environment. From measuring and preparing the windows to installing weatherstripping and considering window replacement, each step plays a vital role in maximizing insulation effectiveness.
- Addressing gaps, cracks, and window replacement options are essential for enhancing overall insulation and reducing energy costs. By following the steps outlined in this guide, homeowners can enjoy a more sustainable and energy-efficient home while contributing to a greener future.
Read more: How To Insulate A Basement
Step 1: Measure the Windows
The first step in insulating basement windows is to accurately measure the dimensions of each window. This will ensure that you select the right size materials and coverings for a proper fit.
Start by measuring the width and height of each window frame. Use a measuring tape and take precise measurements from the inside edge of the frame. Record these measurements, as you will need them when purchasing insulation materials.
It’s important to note that basement windows can come in various shapes and sizes, including rectangular, square, or even custom-shaped windows. Take measurements for each individual window, as they may vary within the same basement.
Once you have obtained the measurements, double-check them to ensure accuracy. You don’t want to end up with materials that are too large or too small, as this can hinder the effectiveness of your insulation efforts.
Keep in mind that basement windows may have irregularities due to the nature of construction and settling of the house over time. Take note of any discrepancies or uneven surfaces, as you may need to make adjustments during the installation process.
By properly measuring your basement windows, you will be starting off on the right foot to effectively insulate them and maximize energy efficiency in your home.
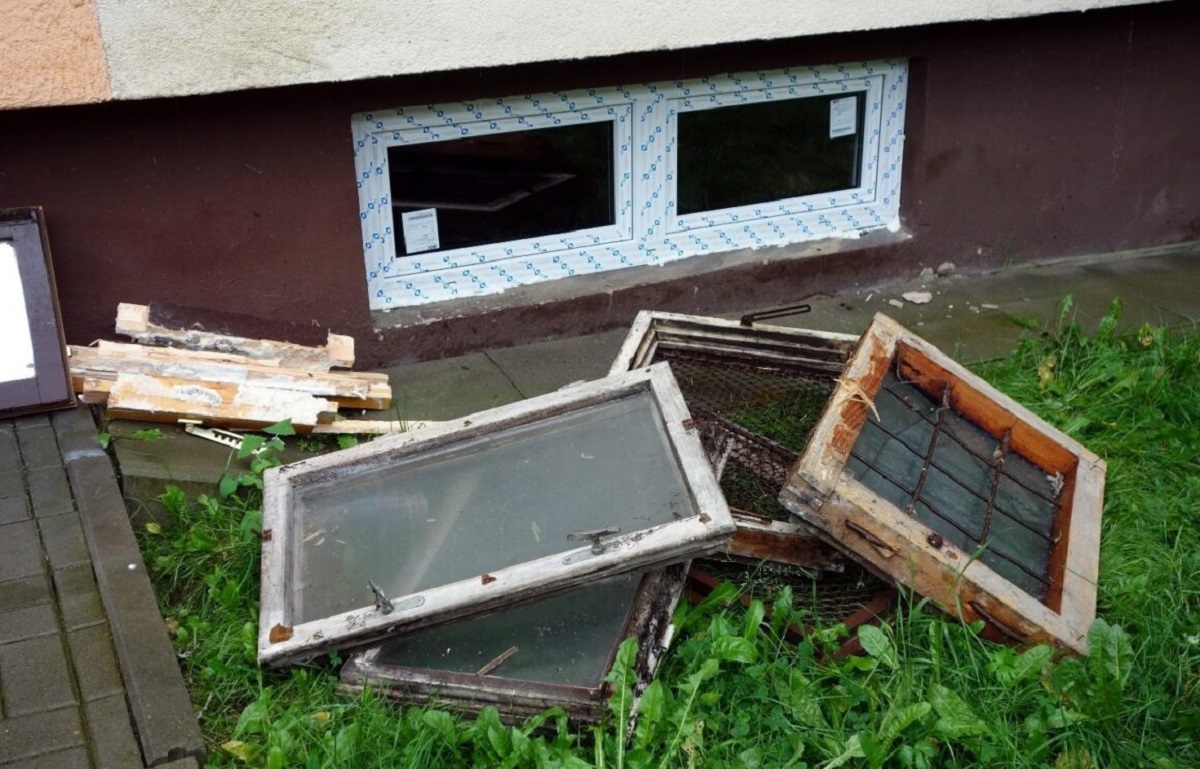
Step 2: Prepare the Windows
Before you can start insulating your basement windows, it’s crucial to properly prepare them. This step involves cleaning the windows, removing any old or damaged caulking, and ensuring a smooth and clean surface to work with.
Begin by thoroughly cleaning the windows using a mild detergent and water solution. Remove any dirt, dust, or debris that may have accumulated over time. A clean surface will allow for better adhesion of the insulation materials.
Next, inspect the window frames and sills for any cracked or peeling caulking. If you find any, remove it using a putty knife or a caulk removal tool. Be careful not to damage the window frame in the process. The goal is to create a smooth and even surface for the new insulation to adhere to.
Once you have removed the old caulking, use a damp cloth to wipe away any residue or loose particles. This will help ensure a clean and stable surface for the insulation materials.
If you notice any gaps or cracks around the window frame, now is the time to address them. Apply a new layer of caulking to seal these gaps, preventing any air leaks. This will further enhance the insulation capabilities of your basement windows.
Lastly, allow sufficient time for the windows to dry before proceeding with the insulation installation. Moisture can interfere with the adhesion and effectiveness of the insulation materials, so it’s crucial to start the next steps with completely dry windows.
By properly preparing your basement windows, you are setting the stage for a successful insulation project. Clean and well-maintained windows will ensure optimal results and long-lasting energy efficiency.
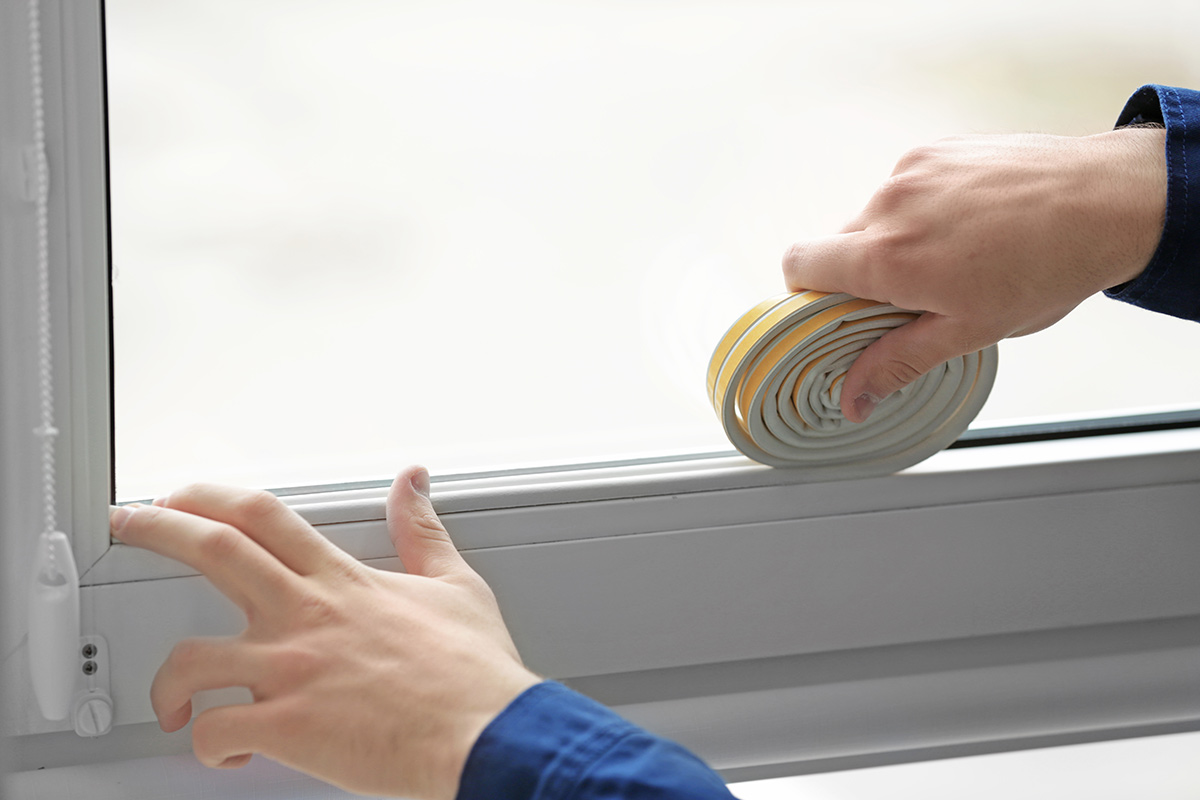
Step 3: Install Weatherstripping
Weatherstripping is an essential component of insulating basement windows. It helps to create a tight seal around the window frame, preventing drafts and air leakage. In this step, we will guide you through the process of installing weatherstripping to enhance the insulation of your basement windows.
First, carefully measure the length of each side of the window frame where the weatherstripping will be installed. Cut the weatherstripping material to the appropriate lengths, ensuring a proper fit. You can use a utility knife or sharp scissors to cut the weatherstripping.
Before applying the weatherstripping, make sure the window frame is clean and free of any debris. This will ensure proper adhesion and a long-lasting seal. Use a clean cloth to wipe the frame and remove any dust or dirt.
Once the frame is clean, begin applying the weatherstripping. Start with one side of the frame and peel off the backing from the adhesive side of the weatherstripping. Align it with the edge of the frame and slowly press it in place, making sure it adheres firmly.
Continue this process for each side of the window frame, ensuring that the weatherstripping forms a complete seal around the window. Pay close attention to the corners and any gaps in the frame, applying extra weatherstripping if necessary to create a tight seal.
After the weatherstripping is installed, thoroughly press it down along its entire length to ensure a secure bond with the window frame. This will help to prevent any air leaks and maximize the insulation properties of the weatherstripping.
Finally, test the window by opening and closing it to ensure the weatherstripping is not impeding its functionality. Your window should open and close smoothly without any interference from the weatherstripping.
By installing weatherstripping, you are taking a significant step in reducing drafts and improving the insulation of your basement windows. This will help to keep your home energy-efficient and comfortable throughout the year.
Step 4: Apply Window Insulation Film
Applying window insulation film is an effective way to further insulate your basement windows and improve energy efficiency. This thin, transparent film creates a barrier that helps to prevent heat transfer and reduce drafts. Follow these steps to properly apply window insulation film to your basement windows.
First, gather all the necessary materials. You will need window insulation film, double-sided tape, a tape measure, scissors, a hairdryer, and a clean cloth.
Begin by measuring the dimensions of each window you plan to treat with the insulation film. Follow the instructions provided with the film to determine the appropriate size to cut. Add a few extra inches to ensure proper coverage.
Clean the window surface thoroughly to remove any dirt or dust that could interfere with the adhesion of the film. Use a mild detergent or glass cleaner and a clean cloth to wipe the window clean.
Next, apply the double-sided tape to the window frame along all four edges. Be sure to keep the tape as close to the edge as possible to ensure a tight seal.
Peel off the backing from the tape to expose the adhesive side. Carefully align the pre-cut insulation film with the window frame, pressing it onto the tape to secure it in place. Smooth out any wrinkles or bubbles as you go along to ensure a smooth surface.
Once the film is attached, use a hairdryer on a low heat setting to gently blow warm air over the film. This will cause it to shrink and tighten, creating a more secure fit. Move the hairdryer back and forth across the film, being careful not to overheat any one area.
Continue using the hairdryer until the film is completely shrunk and wrinkle-free. This process should take a few minutes for each window. Use a clean cloth to press down any edges or corners that may not have adhered properly.
After the film has been applied and shrunk, trim off any excess material using scissors. Be sure to leave a small border of film around the edges to maintain a secure seal.
Repeat these steps for each window you wish to insulate with film.
The application of window insulation film is an effective way to increase the insulation capabilities of your basement windows. By reducing drafts and heat transfer, you will notice improved energy efficiency and a more comfortable living space.
Consider using weatherstripping or caulk to seal any gaps or cracks around basement windows. This will help prevent drafts and keep the space insulated.
Read more: How To Insulate A Basement Floor
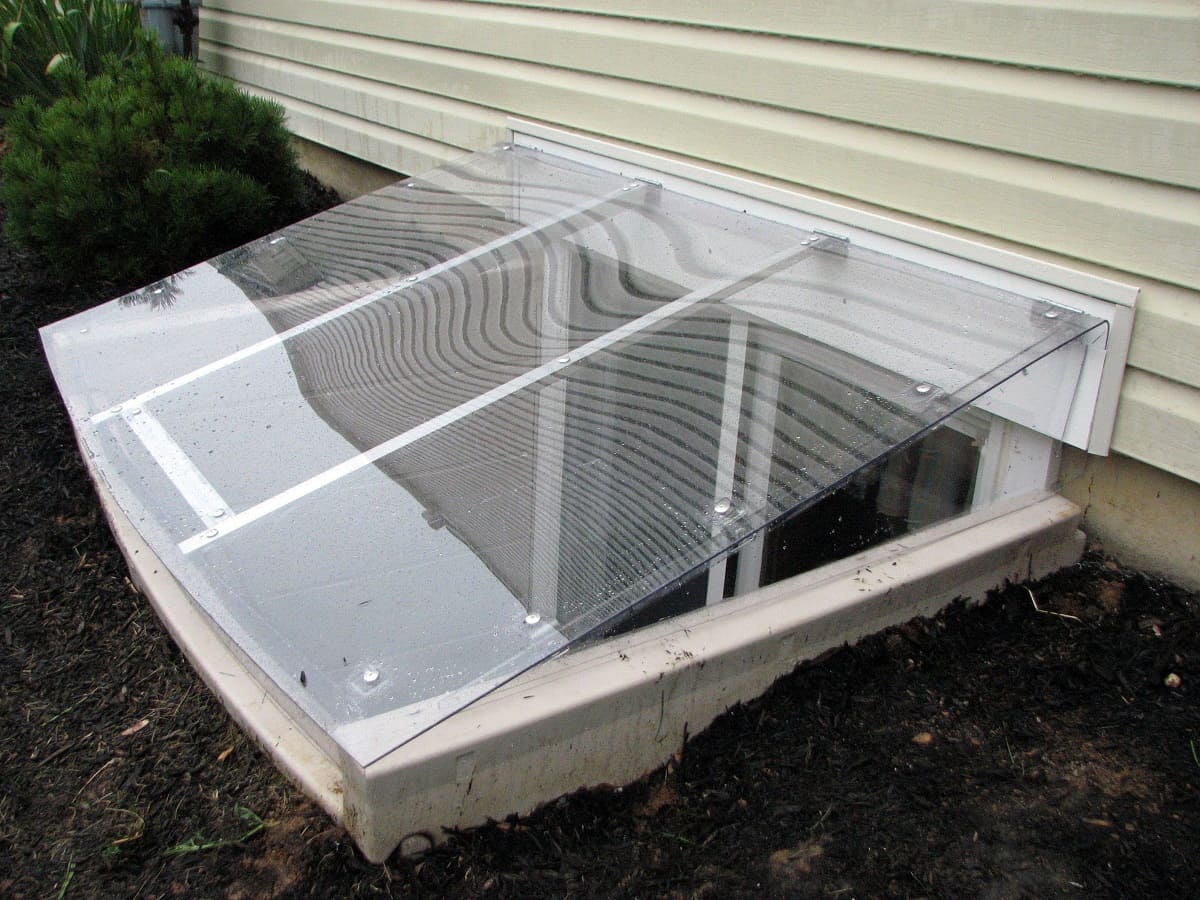
Step 5: Install Insulating Window Covers
Installing insulating window covers is another effective method to enhance the insulation of your basement windows. These covers create an additional barrier to prevent heat loss and drafts. Follow these steps to properly install insulating window covers.
First, measure the dimensions of each window that you want to cover. This will help you determine the appropriate size of the insulating covers you need to purchase. Make sure to measure both the width and height of each window accurately.
Next, select the type of insulating window covers that best suit your needs. There are various options available, such as thick curtains, cellular shades, or thermal blinds. Choose covers that offer optimal insulation and complement the style of your basement.
When installing curtains, attach curtain rods above the window frame. Use a drill or screws to secure them in place. Hang the curtains and adjust them to fit the width of the window. Make sure the curtains are long enough to cover the entire window to the sill or floor for maximum insulation.
If you opt for cellular shades or thermal blinds, follow the manufacturer’s instructions for installation. These covers are typically mounted within the window frame or on the wall surrounding the window. Adjust the size and fit according to your measurements, ensuring a snug and secure fit.
Once the insulating window covers are installed, make sure they are fully closed during periods of extreme temperatures or when you want to minimize heat transfer. This will provide an additional layer of insulation and help maintain a more comfortable indoor environment.
Remember to open the covers during daylight hours to allow natural light to enter your basement. This will help reduce the need for artificial lighting and provide a brighter and more inviting space.
By installing insulating window covers, you can significantly improve the overall insulation of your basement windows. They not only reduce heat loss and drafts but also add a decorative touch to your living space.
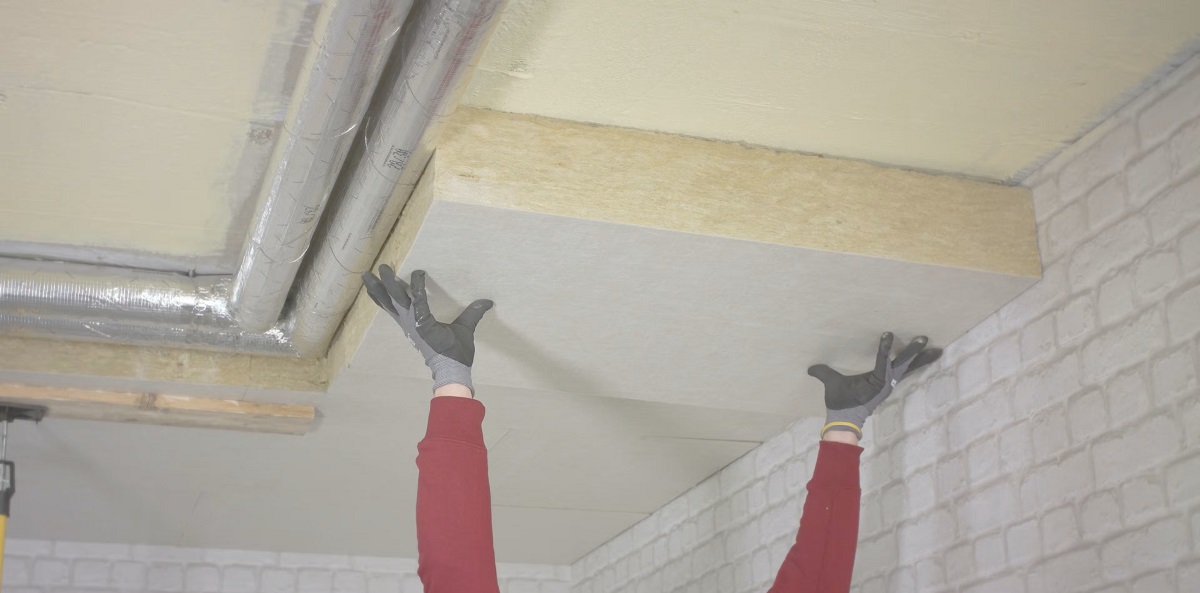
Step 6: Seal Any Gaps or Cracks
Sealing any gaps or cracks around your basement windows is an important step to improve insulation and prevent air leakage. Even with other insulation measures in place, these gaps can undermine the effectiveness of your efforts. Follow these steps to properly seal any gaps or cracks around your basement windows.
First, carefully inspect the window frames and sills for any visible gaps or cracks. Use a flashlight to check for areas where daylight is visible or where you can feel drafts. Pay close attention to the corners and edges of the windows, as these are common areas where gaps occur.
Once you’ve identified the gaps or cracks, start by cleaning the area thoroughly. Use a clean cloth or brush to remove any dirt, dust, or debris. This will ensure that the sealing materials adhere properly and provide a long-lasting seal.
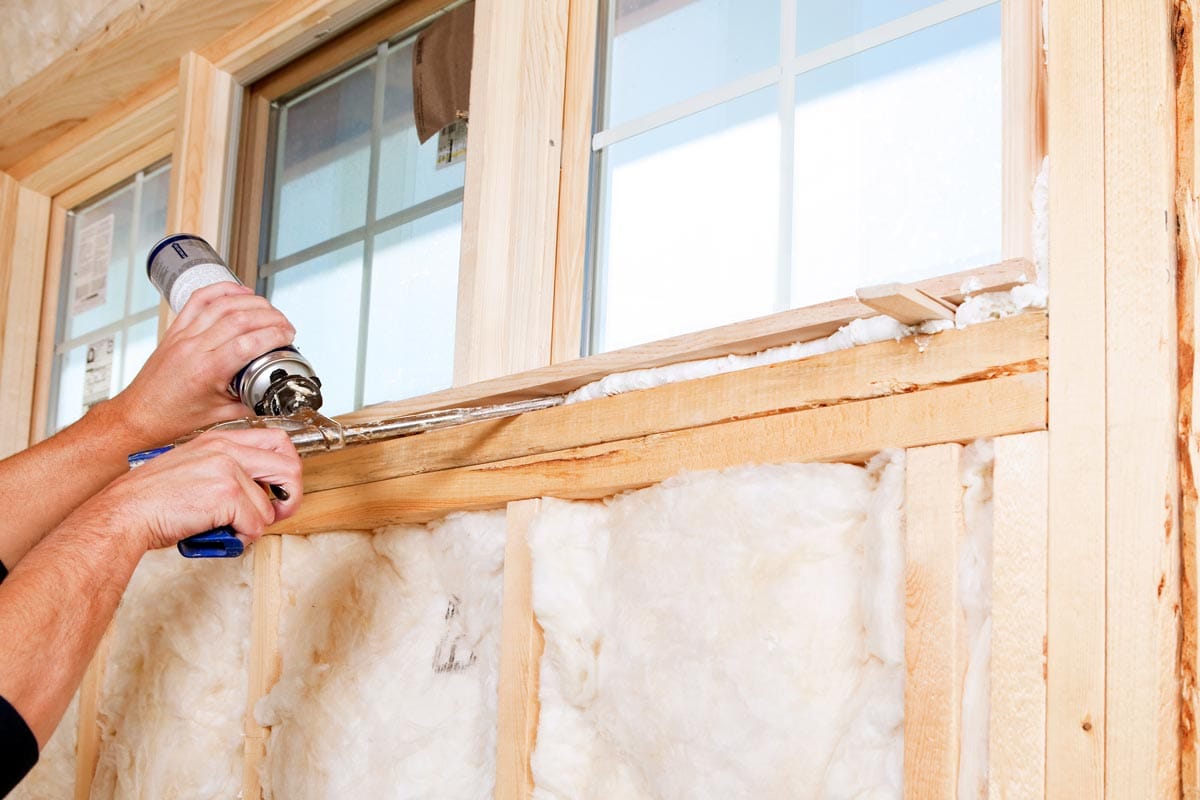
Next, select an appropriate sealing material based on the size and location of the gaps. For smaller gaps, you can use silicone caulk or weatherstripping. If the gaps are larger, consider using foam sealant or expanding foam insulation.
To seal gaps with silicone caulk, cut the nozzle at a 45-degree angle and insert the caulk tube into a caulking gun. Apply a thin, even bead of caulk along the gap, using a smooth and consistent motion. Use a caulk smoothing tool or a moistened finger to smooth the caulk and create a clean finish.
If you’re using weatherstripping, measure the length needed and cut it to size. Remove the backing from the adhesive side and press the weatherstripping into place along the gaps, ensuring a snug fit and full coverage.
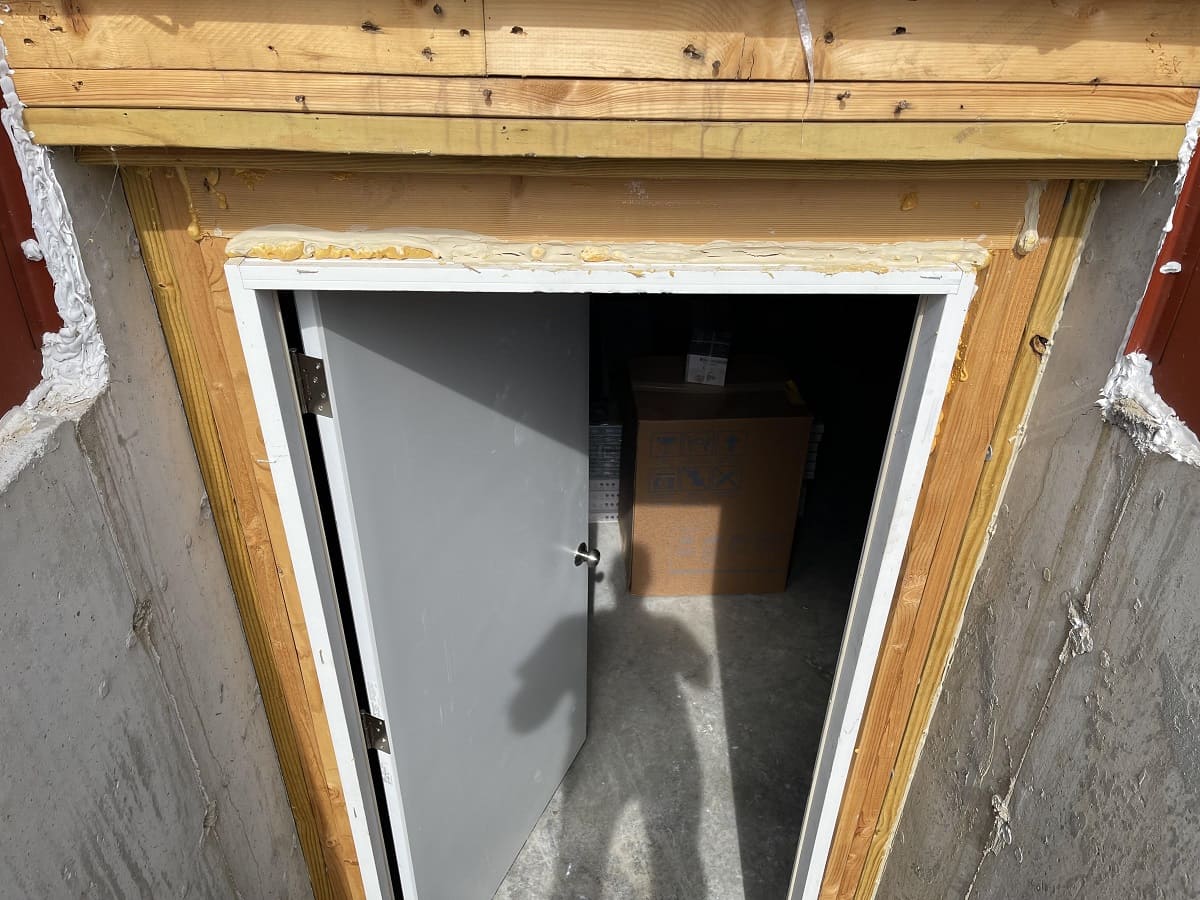
For larger gaps, foam sealant or expanding foam insulation can provide a more effective seal. Follow the manufacturer’s instructions for application and allow the foam to expand and cure completely before trimming off any excess with a utility knife.
Once the sealing materials are in place, allow them to dry or cure according to the manufacturer’s instructions. This will ensure a strong and durable seal that effectively prevents air leakage.
By sealing any gaps or cracks around your basement windows, you will enhance the insulation and energy efficiency of your home. This step is crucial in preventing drafts and heat transfer, creating a more comfortable and sustainable living space.
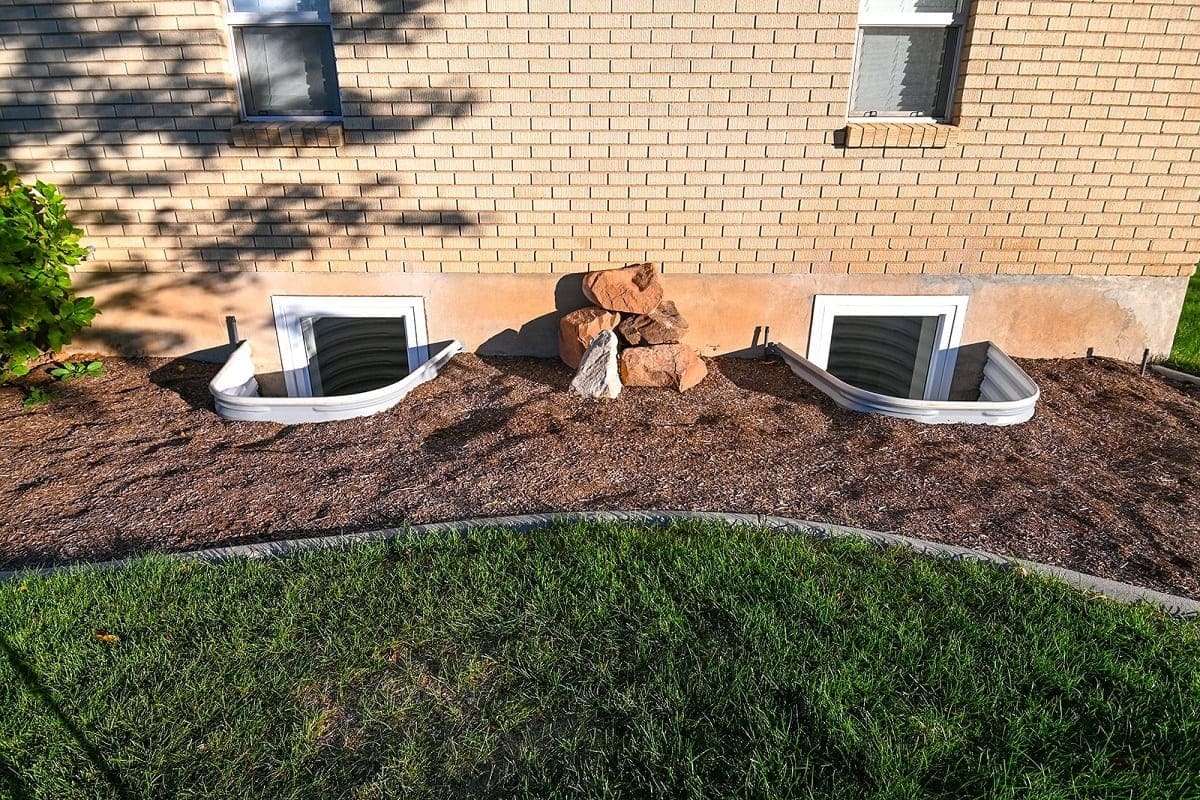
Step 7: Consider Window Replacement Options
If your basement windows are old, damaged, or not providing adequate insulation, it may be worth considering window replacement as a long-term solution. Upgrading to energy-efficient windows can significantly improve the insulation of your basement and contribute to lower energy costs. Follow these steps to explore your window replacement options.
First, assess the condition of your current basement windows. Look for signs of wear and tear, such as rotting frames, cracked glass, or difficulty in opening and closing the windows. If the windows are in poor condition or are single-pane windows, they are likely not energy-efficient.
Research energy-efficient window options that are suitable for basement installations. Look for windows with high insulation ratings, such as those with double or triple-pane glass, low-emissivity (Low-E) coatings, and insulated frames. These features will help to minimize heat transfer and improve the overall energy efficiency of your home.
Consider the style and design of the windows that will complement the overall aesthetics of your basement. Based on your preferences and the architectural style of your home, choose casement, awning, sliding, or hopper windows.
Obtain quotes and estimates from reputable window replacement companies to compare prices, warranties, and installation services. Make sure to request information on energy efficiency ratings and any available incentives or rebates for upgrading to energy-efficient windows.
Prioritize the windows that need replacement based on their condition, location, and importance in terms of insulation and energy efficiency. If you have multiple basement windows, you may choose to replace them gradually over time to manage costs.
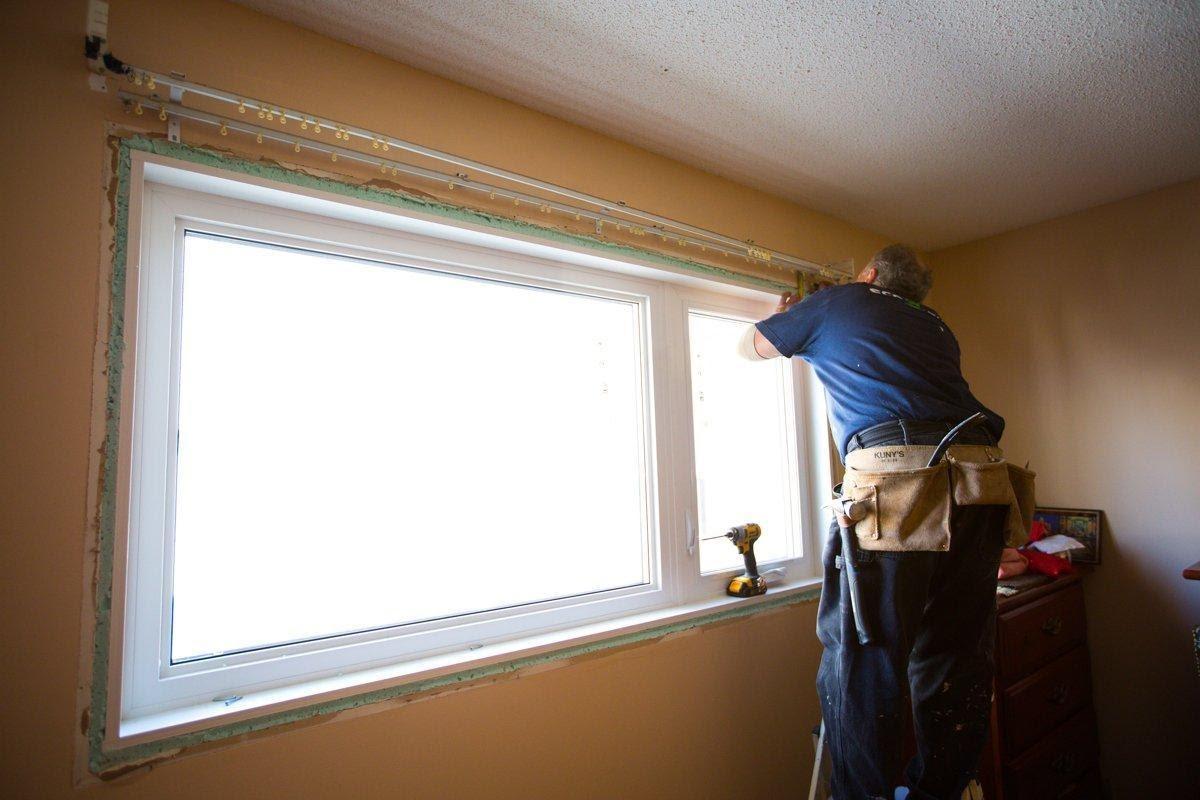
Hire professional window installers for a proper and efficient installation. Professional installation ensures that the new windows are properly sized, securely mounted, and effectively sealed to maximize their insulation properties.
After the new energy-efficient windows are installed, evaluate the improvement in insulation and energy efficiency. Monitor your energy bills over time to see the impact of the window replacement on reducing heat loss and enhancing comfort.
Window replacement may require a significant investment upfront, but it can provide long-term savings in energy costs and improve the overall comfort of your basement. New windows with superior insulation properties will help to regulate the temperature, reduce drafts, and enhance the overall efficiency of your home.
Conclusion
Insulating basement windows is a crucial step in creating a comfortable and energy-efficient living space. By following the steps outlined in this guide, you can effectively enhance the insulation of your basement windows and reduce heat loss and drafts.
From measuring the windows and preparing them for insulation to installing weatherstripping, applying window insulation film, and installing insulating window covers, each step plays a vital role in maximizing energy efficiency and comfort.
Sealing any gaps or cracks and considering window replacement options further contribute to improving insulation and reducing energy costs. By addressing these areas, you can enhance the overall effectiveness of your insulation efforts and create a more sustainable home.
Remember, proper insulation not only helps in maintaining a comfortable environment but also saves you money in the long run. It reduces the need for excessive heating or cooling, leading to lower energy bills and a reduced carbon footprint.
Whether you choose to tackle the insulation of your basement windows as a DIY project or seek professional assistance, the benefits are well worth the effort. You’ll enjoy a more comfortable living space, experience improved energy efficiency, and contribute to a greener future.
So, don’t overlook the importance of insulating your basement windows. Start applying these steps today and enjoy the benefits of a well-insulated and energy-efficient basement.
Frequently Asked Questions about How To Insulate Basement Windows
Was this page helpful?
At Storables.com, we guarantee accurate and reliable information. Our content, validated by Expert Board Contributors, is crafted following stringent Editorial Policies. We're committed to providing you with well-researched, expert-backed insights for all your informational needs.


0 thoughts on “How To Insulate Basement Windows”