
Articles
How To Finish A Basement Window
Modified: May 6, 2024
Learn how to finish a basement window with this informative articles. Find step-by-step instructions, helpful tips, and expert advice.
(Many of the links in this article redirect to a specific reviewed product. Your purchase of these products through affiliate links helps to generate commission for Storables.com, at no extra cost. Learn more)
Introduction
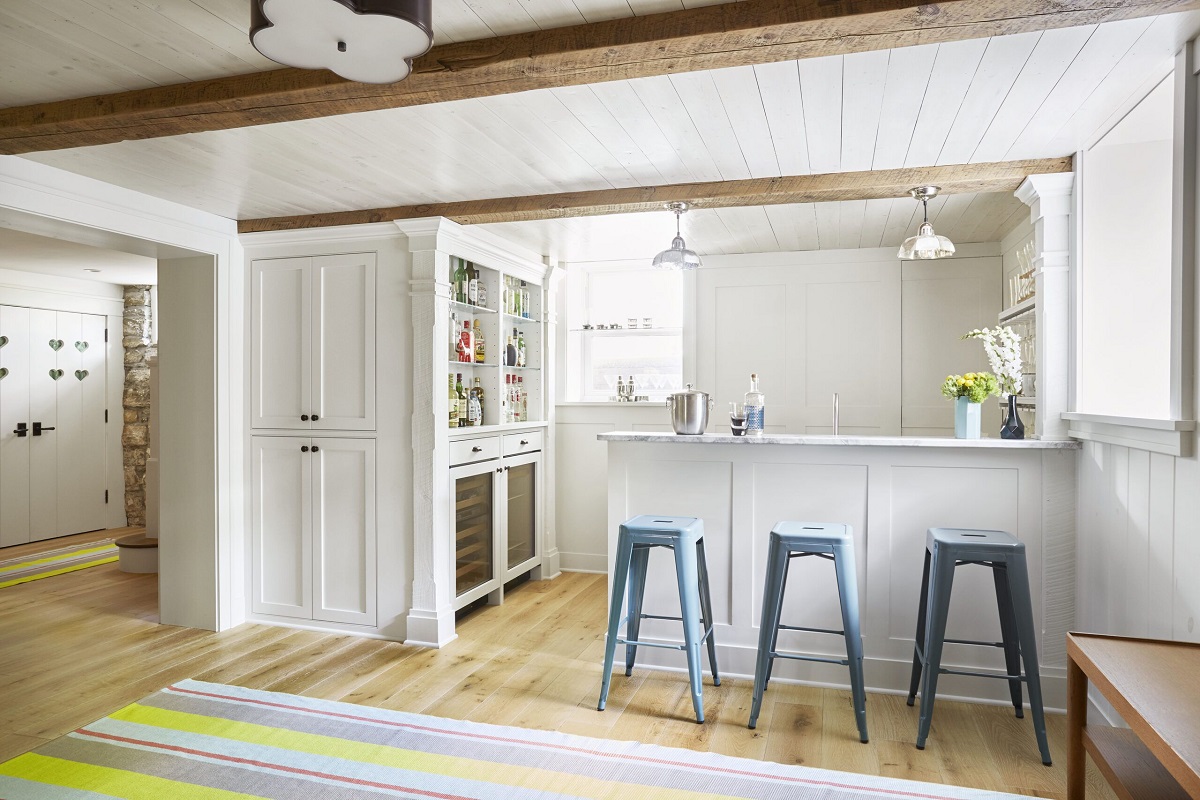
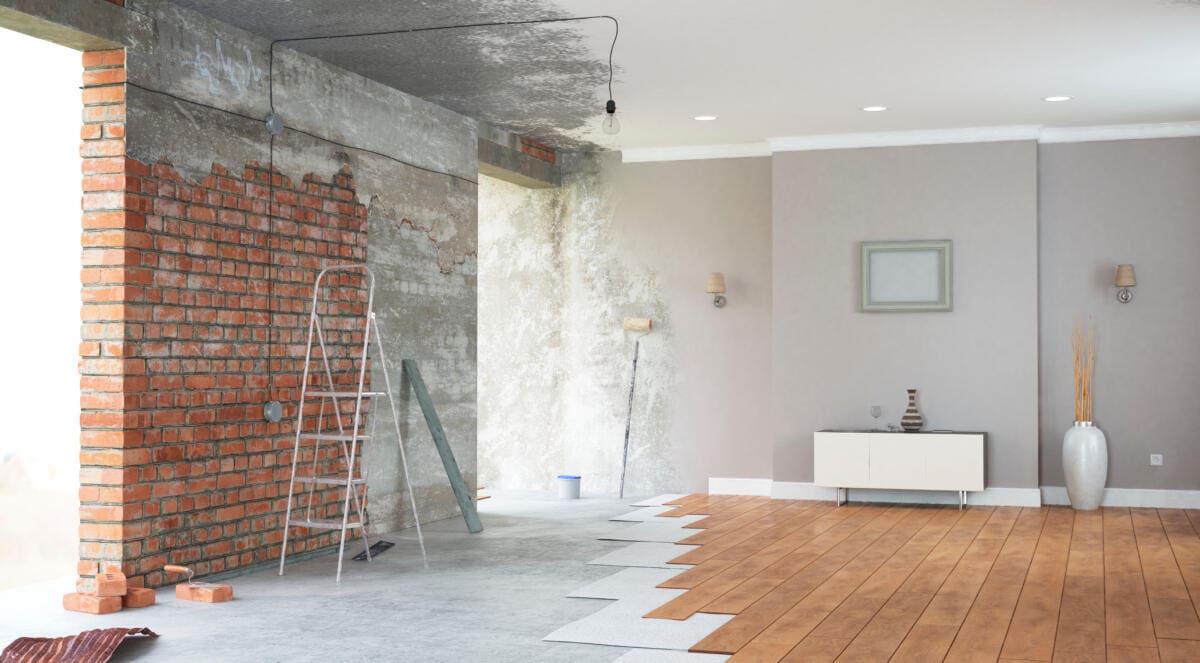
Welcome to the world of basement renovations! One key aspect of transforming a basement into a functional space is ensuring that the windows are properly finished. This not only adds a polished look to the overall design but also plays a crucial role in insulating and protecting the basement from the elements.
Finishing a basement window involves several steps, including measurement, removal, installation of a new frame, insulation, and finishing touches. In this article, we will guide you through the process, providing expert tips and tricks to help you achieve a professional-looking result.
Before diving into the steps, it’s important to understand the significance of finishing your basement windows. Properly finished windows not only improve the aesthetics of the space but also enhance energy efficiency. They prevent drafts, reduce heat loss, and keep unwanted moisture out, ensuring a comfortable living environment and potentially saving you money on utility bills.
Additionally, a well-finished basement window is a key safety feature. It allows for natural light to enter the space while also serving as an emergency exit in case of an event such as a fire.
Now that we understand the importance of finishing basement windows, let’s jump into the step-by-step guide to help you achieve a successful outcome. From measuring and inspecting the window to installing the final trim, we’ll cover all the necessary details to make sure your basement window finishing project is a success.
Key Takeaways:
- Transform your basement with a polished finish by following expert tips for measuring, removing, and installing a new window frame. Enhance energy efficiency and create a safe, aesthetically pleasing space.
- Achieve a professional, secure, and insulated basement window by mastering the art of finishing. From insulation and sealing to trim installation, create a comfortable and visually appealing living environment.
Read more: DIY: How To Finish A Basement
Step 1: Measure and Inspect the Window
Measuring and inspecting the window is the first crucial step in finishing a basement window. By properly measuring the window, you can ensure a seamless fit for the frame and trim. Inspection helps identify any issues that need to be addressed before proceeding with the installation.
Start by measuring the width and height of the window opening. Use a measuring tape to get accurate measurements. Note down the dimensions and take them with you when purchasing the new window frame.
Next, inspect the window for any damage or signs of wear and tear. Look for cracks, rot, or decay, as these issues will need to be addressed before proceeding. Check for any gaps or areas where drafts might be coming in, as these will need to be sealed properly to improve insulation.
If there are any issues with the window structure or frame, it’s important to address them promptly. This might involve repairing or replacing damaged parts of the window or frame.
Additionally, consider the type of window you have and its functionality. Is it a casement window, double-hung window, or sliding window? Understanding the type of window will help you determine the best approach for finishing it.
Once you have measured and inspected the window, you are ready to move on to the next step: removing the existing window.
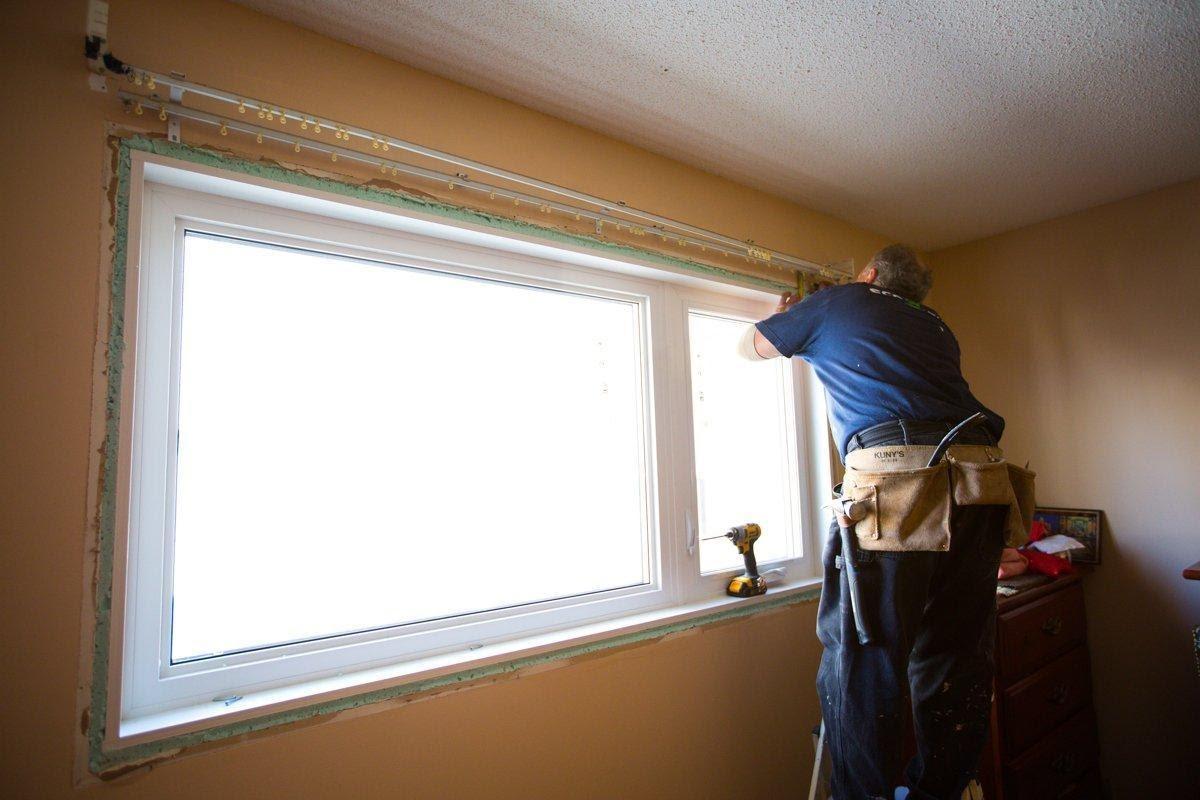
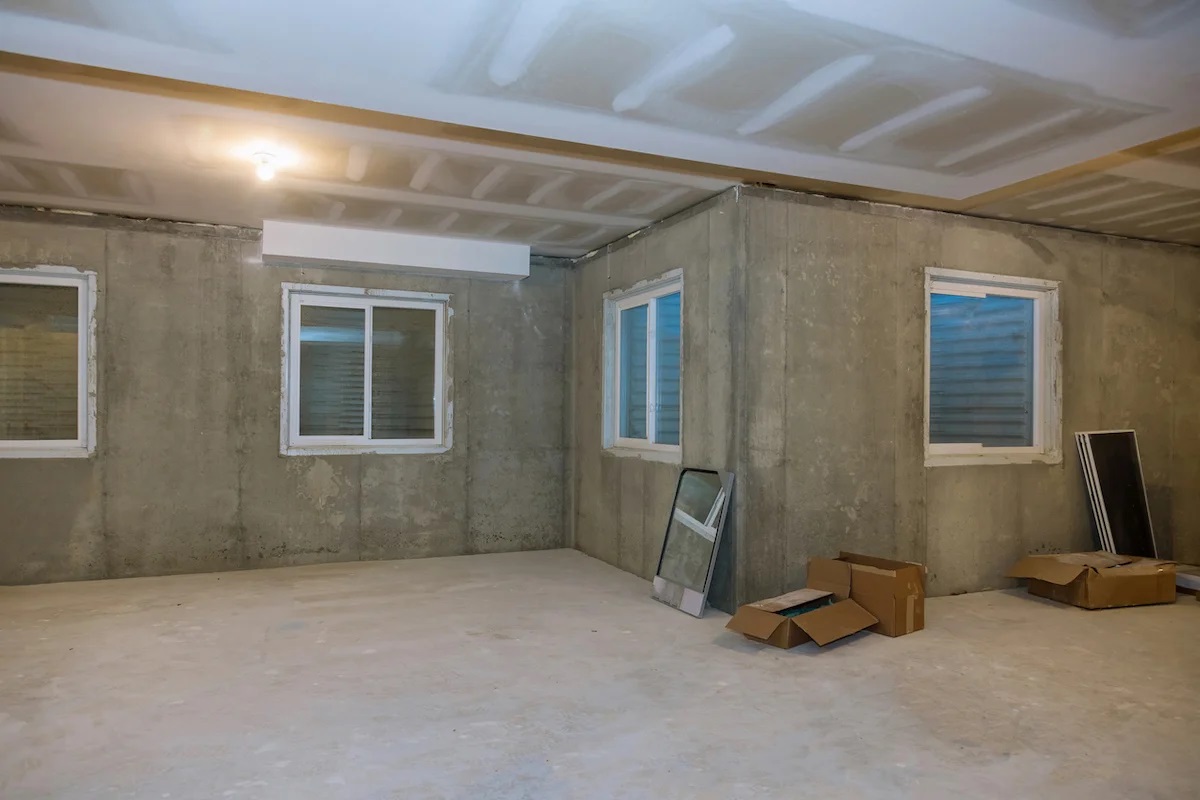
Step 2: Remove the Existing Window
Now that you have measured and inspected the window, it’s time to remove the existing window. Removing the old window is an important step to create space for the new window frame and ensure a proper fit.
Before you begin, take some safety precautions. Ensure you have the necessary tools, such as gloves and goggles, to protect yourself during the removal process.
Start by removing any window coverings, such as blinds or curtains, from the window. Next, carefully remove the window trim using a pry bar or a putty knife. Take your time and work slowly to avoid damaging the surrounding walls or window frame.
Once the trim is removed, you can access the window sash or panel. Depending on the type of window, there may be screws or brackets holding the sash in place. Remove these fasteners using a screwdriver or drill, and carefully lift out the window panel.
If you have a double-hung window, you will need to remove the lower and upper sashes separately. This typically involves releasing the sash stops and lifting the sashes out of the frame.
After removing the window panel(s), inspect the window frame for any remaining screws or hardware. Remove these as well to ensure a clean and smooth surface for the new window installation.
With the old window completely removed, take the opportunity to clean the window frame and surrounding area. Use a vacuum or brush to remove any debris or dust that may have accumulated over time.
Congratulations! You have successfully removed the existing window. Now it’s time to move on to step 3: installing the new window frame.
Step 3: Install the New Window Frame
With the old window removed, it’s time to install the new window frame. The window frame provides structural support and a guide for the window panel, ensuring a secure and proper fit. Here’s how to install the new window frame:
1. Start by preparing the window opening. Remove any obstructions or debris from the window sill and ensure it is clean and level. Use a level to check the plumb and level of the opening, adjusting if necessary.
2. Place the new window frame into the opening. It should fit snugly and align with the surrounding walls. Shim the frame as needed to ensure it is level and plumb.
3. Secure the window frame by driving screws through the sides and top into the surrounding framing. Be careful not to overtighten the screws, as it could warp the frame.
4. Check the operation of the new window frame. Open and close the window to ensure it moves smoothly and securely within the frame.
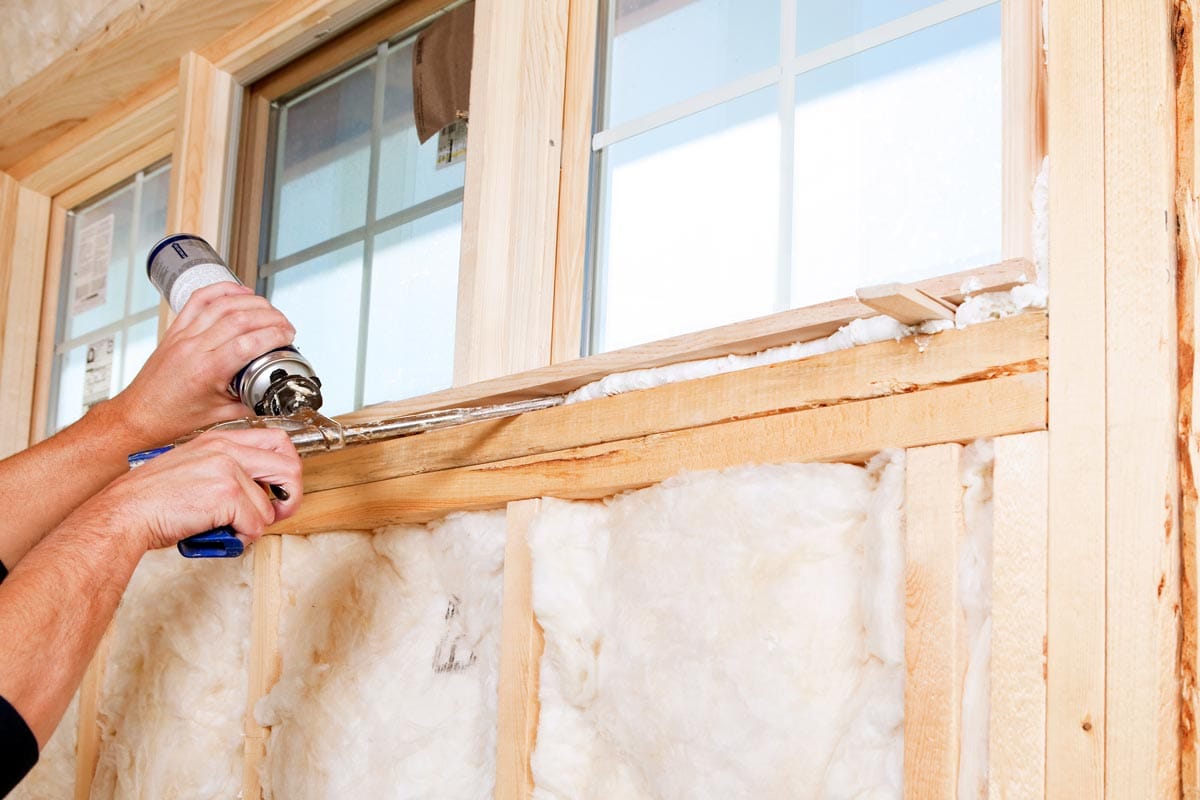
5. Insulate around the new window frame using expanding foam insulation. Apply the foam sparingly and allow it to expand and cure according to the manufacturer’s instructions. This will help to seal any gaps and improve energy efficiency.
6. Once the insulation is in place, trim any excess foam using a utility knife or saw. Be careful not to damage the window frame or surrounding surfaces.
By following these steps, you can successfully install the new window frame in your basement. This will serve as the foundation for the finished window and ensure a secure and functional setup. With the frame in place, it’s time to move on to step 4: insulating and sealing the window frame.
When finishing a basement window, make sure to properly insulate around the window frame to prevent drafts and moisture from seeping in. Use foam insulation or caulk to seal any gaps and ensure a tight seal.
Step 4: Insulate and Seal the Window Frame
Proper insulation and sealing of the window frame is crucial to ensure energy efficiency, prevent drafts, and protect against moisture intrusion. In this step, we will guide you through the process of insulating and sealing the window frame:
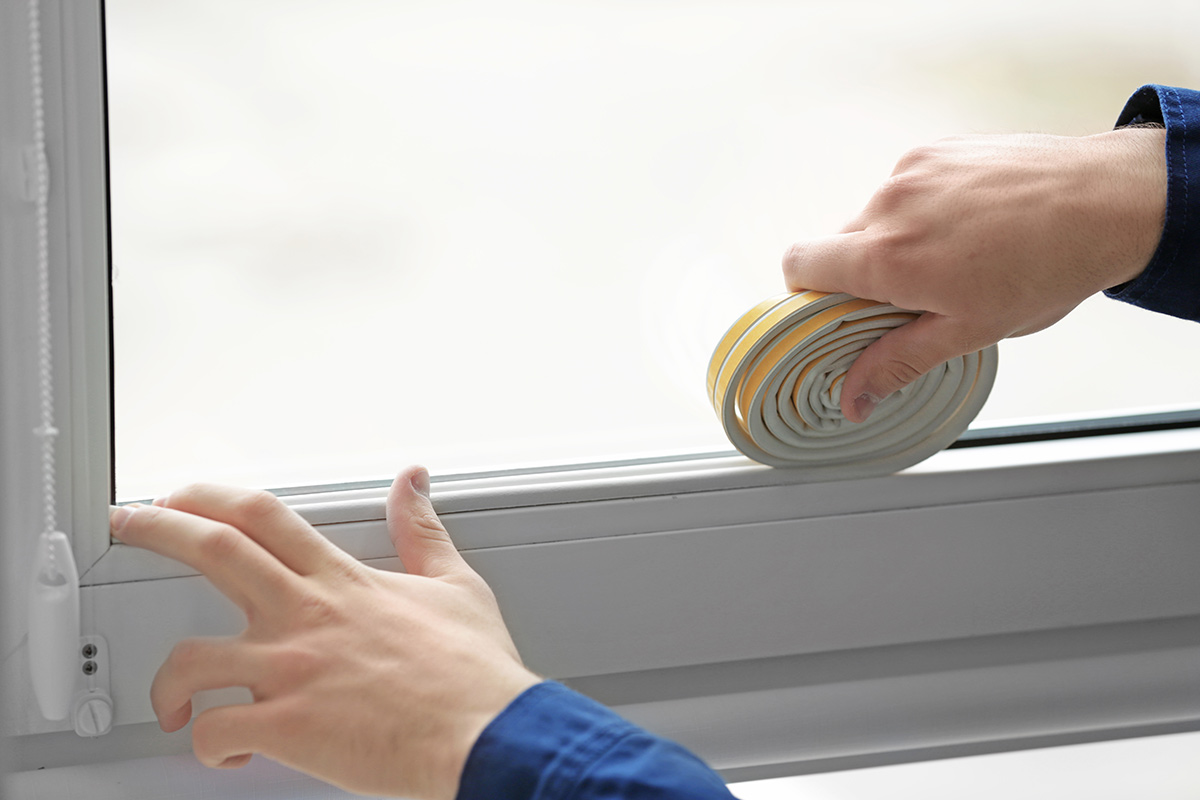
1. Begin by applying a layer of weatherstripping along the edges of the window frame. This will create a seal between the window panel and the frame, preventing drafts and heat loss. Cut the weatherstripping to size and attach it securely using adhesive or nails.
2. Next, apply a bead of caulk around the outer edges of the window frame. Use a caulking gun and a high-quality, waterproof caulk that is suitable for the material of your window frame. Apply a steady and even bead, ensuring complete coverage around the frame.
3. Insulate the space between the window frame and the surrounding wall using insulation foam. This foam creates a tight seal, improves insulation, and prevents air infiltration. Apply the foam according to the manufacturer’s instructions, being careful not to overfill the space.
4. Check for any gaps or openings in the window frame and fill them with caulk or foam as needed. Pay attention to corners, joints, and any areas where air or moisture could potentially enter the space.
5. Allow the caulk and foam to dry and cure fully before moving on to the next step. This will ensure a strong and durable seal that will withstand the test of time.
By properly insulating and sealing the window frame, you can significantly improve the energy efficiency of your basement and create a more comfortable living environment. With the frame insulated and sealed, it’s time to move on to step 5: installing the window trim and casing.
Read more: How Much To Finish A Basement
Step 5: Install the Window Trim and Casing
Installing the window trim and casing is the next step in finishing your basement window. The trim adds a decorative touch and conceals any gaps between the window frame and the surrounding wall. Here’s how you can install the window trim and casing:
1. Measure and cut the trim pieces to fit around the window frame. Use a miter saw or a hand saw to make precise cuts at the appropriate angles. Remember to account for any overlaps or reveals desired for the trim design.
2. Dry fit the trim pieces around the window frame to ensure they fit properly. Make any necessary adjustments before proceeding with the installation.
3. Apply a thin layer of construction adhesive to the back of each trim piece. This will help secure the trim to the wall and give it additional stability. Place the trim pieces carefully around the window frame, pressing them firmly against the wall.
4. Use finishing nails to secure the trim in place. Start at one end and work your way around, placing nails every 12-18 inches. Sink the nails slightly below the surface of the trim to allow for puttying and painting later.
5. Fill any nail holes or gaps between the trim and the wall with wood putty. Smooth the putty with a putty knife, ensuring a seamless transition between the trim and the wall surface.
6. Sand the putty and any rough edges of the trim to create a smooth surface. Wipe away any dust or debris before proceeding.
7. Apply a primer coat to the trim and allow it to dry. This will help the paint adhere better and provide a more finished look.
8. Finally, paint the trim and casing with the desired color, using a paintbrush or a roller. Apply multiple coats as needed, allowing proper drying time between coats.
By following these steps, you can successfully install the window trim and casing, adding the finishing touch to your basement window. With the trim in place, it’s time for step 6: the final touches and inspection.
Step 6: Finishing Touches and Final Inspection
As you near the completion of your basement window finishing project, step 6 involves adding the finishing touches and conducting a final inspection to ensure everything is in order. This step will help you achieve a polished and professional look. Here’s what you need to do:
1. Clean the window and surrounding area. Wipe down the window panel, trim, and casing to remove any dust or debris that may have accumulated during the installation process. This will give your window a clean and fresh appearance.
2. Check all the moving parts of the window to ensure they are functioning properly. Open and close the window to test its operation. Ensure that the window locks securely and that there are no issues with its movement.
3. Inspect the window trim and casing for any imperfections. Look for any gaps, unevenness, or areas that require touch-ups. Sand any rough spots and fill any nail holes or cracks with putty, then touch up the paint as necessary.
4. Take a step back and evaluate the overall appearance of the finished window. Ensure that the trim is aligned and level, and that it complements the surrounding decor. Make any final adjustments or refinements to achieve the desired aesthetic.
5. Conduct a thorough inspection of the window and its surrounding area for any signs of moisture or water intrusion. Check for any leaks, cracks, or gaps that may allow air or water to enter the space. Address any issues promptly to prevent further damage.
6. Once you are satisfied with the appearance and functionality of the finished window, give it a final cleaning to remove any smudges or fingerprints. This will ensure that your new window shines and is ready to be enjoyed.
Congratulations! You have successfully completed the steps to finish your basement window. By following this guide, you have created a secure, insulated, and aesthetically pleasing window that will enhance your basement space.
Remember to keep up with regular maintenance and inspections to ensure the longevity and performance of your finished window. Enjoy the benefits of a well-finished basement window and a more comfortable living environment.
That concludes our step-by-step guide to finishing a basement window. We hope you found this information helpful and wish you success in your future home improvement endeavors!
Conclusion
Finishing a basement window is a rewarding project that can transform your basement into a more comfortable and visually appealing space. By following the steps outlined in this guide, you can achieve a professional and polished finish that enhances both the functionality and aesthetics of your basement window.
From measuring and inspecting the window to removing the old window, installing the new frame, and finishing with trim and casing, each step plays a crucial role in ensuring a successful outcome. By taking the time to properly measure, inspect, and prepare the window, you lay the foundation for a secure and well-fitted frame.
Insulating and sealing the window frame is vital for energy efficiency, preventing drafts, and keeping moisture at bay. By applying weatherstripping, caulk, and insulation foam, you create a tight seal that enhances the insulation properties of your window.
Installing the window trim and casing adds the finishing touches to your project, providing a decorative and seamless transition between the window frame and the surrounding wall. With attention to detail, proper application of adhesive and nails, filling gaps, and finishing with paint, the trim completes the look of your basement window.
Before considering your project complete, conducting a final inspection is crucial. Clean the window, ensuring it operates smoothly, and inspect the trim for any imperfections. Take the opportunity to evaluate the overall appearance and functionality of the finished window, making any necessary adjustments for a flawless result.
With a well-finished basement window, you’ll enjoy improved energy efficiency, enhanced aesthetics, and a more comfortable living environment. Take pride in your accomplishment and maintain regular maintenance to ensure the long-term performance of your finished window.
We hope this step-by-step guide has provided valuable insights and guidance for your basement window finishing project. Embrace the transformation and enjoy the benefits of a beautifully finished basement window.
Happy renovating!
Finished sprucing up that basement window? Great job! Now, why not tackle the entire basement? Our guide on how long transforming your basement takes offers a timeline and practical tips for transforming your lower level. If you're feeling inspired to add more charm outside, check out our easy steps on installing a beautiful window box for installing a beautiful window box. Both guides are packed with useful advice to help you enhance your living space efficiently and stylishly.
Frequently Asked Questions about How To Finish A Basement Window
Was this page helpful?
At Storables.com, we guarantee accurate and reliable information. Our content, validated by Expert Board Contributors, is crafted following stringent Editorial Policies. We're committed to providing you with well-researched, expert-backed insights for all your informational needs.


0 thoughts on “How To Finish A Basement Window”