Articles
How To Install Basement Window Well
Modified: October 18, 2024
Learn how to properly install a basement window well with our informative articles. Improve the safety and functionality of your basement with step-by-step instructions and expert tips.
(Many of the links in this article redirect to a specific reviewed product. Your purchase of these products through affiliate links helps to generate commission for Storables.com, at no extra cost. Learn more)
Introduction
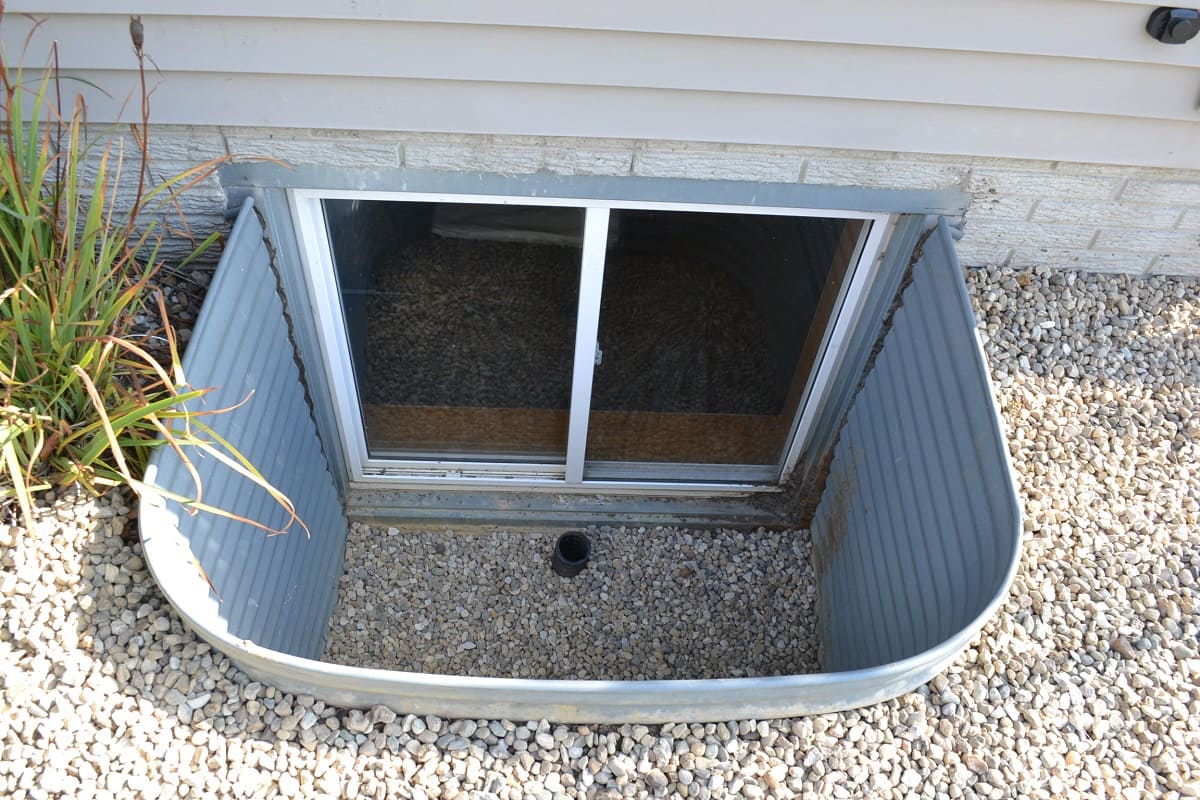
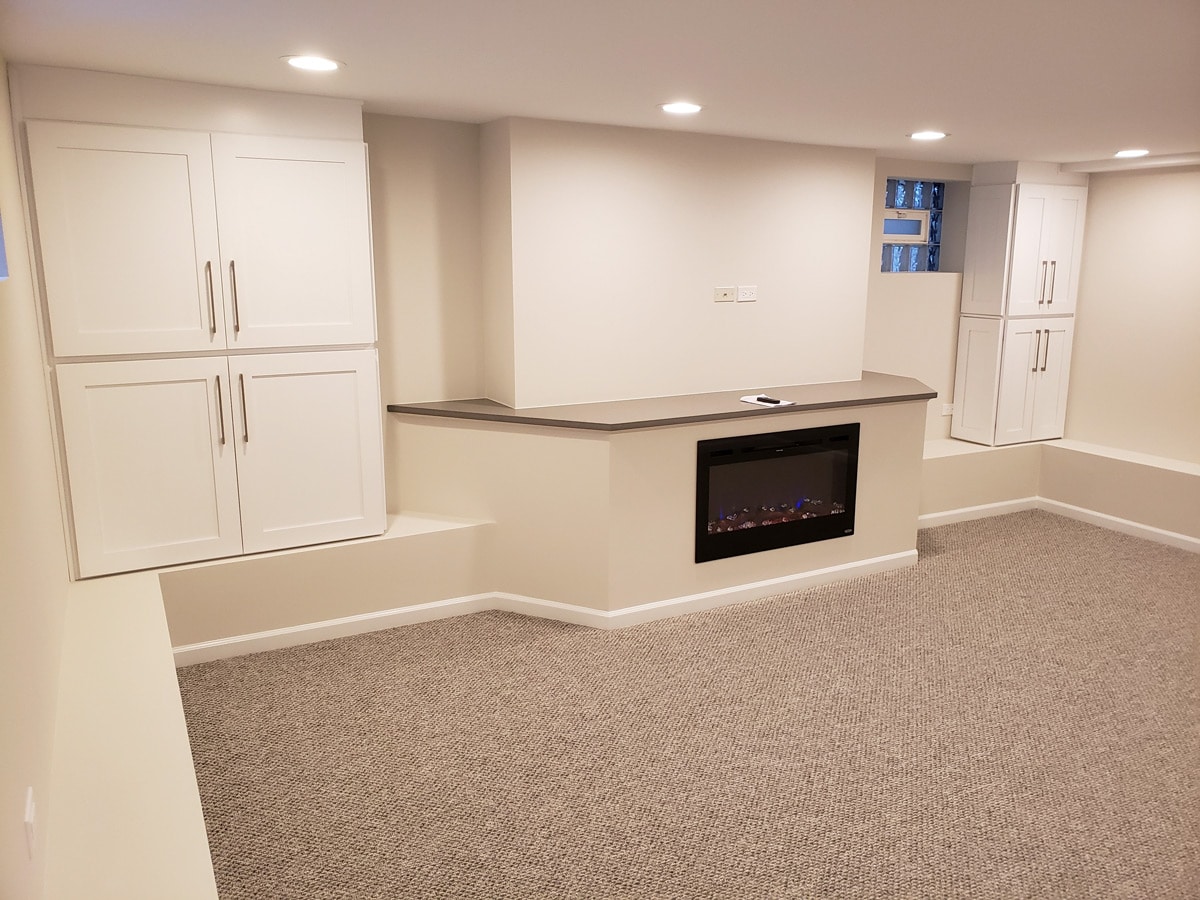
Installing a basement window well is a practical and effective way to enhance the functionality and safety of your basement. A window well allows natural light to enter your basement space, provides an emergency exit in case of an emergency, and prevents water damage by diverting water away from the foundation.
In this article, we will guide you through the step-by-step process of installing a basement window well. We will cover everything from gathering the necessary tools and materials to finishing the installation. By following these instructions, you will be able to transform your dark and damp basement into a bright and inviting space.
Before we dive into the installation process, it is essential to note that the specific steps and requirements may vary depending on your location and local building codes. Be sure to check with your local authorities and obtain any necessary permits before proceeding with the installation.
Now, let’s get started on creating a safer and more comfortable basement environment by installing a window well.
Key Takeaways:
- Transform your dark and damp basement into a bright and inviting space by installing a window well. Enjoy natural light, emergency exit, and protection from water damage.
- Ensure a proper and secure installation by following local building codes, accurate measurements, and thorough preparation. Enjoy the benefits of a well-illuminated and protected basement space.
Read more: How To Install Basement Egress Window
Step 1: Gather the necessary tools and materials
Before you begin the window well installation, it is important to ensure that you have all the required tools and materials on hand. Here is a list of the essential items you will need:
- Measuring tape
- Shovel
- Wheelbarrow
- Level
- Drill
- Hammer
- Masonry saw or angle grinder
- Safety goggles
- Gloves
- Window well kit (including the well, liner, and cover)
- Gravel
- Landscape fabric
- Caulk or adhesive
Once you have gathered all the necessary tools and materials, you can proceed to the next step of measuring the window well dimensions.
Step 2: Measure the window well dimensions
Accurate measurements are crucial to ensure a proper fit for your window well. Follow these steps to measure the window well dimensions:
- Start by determining the placement of the window well. Choose a location that allows for easy access and provides sufficient natural light.
- Measure the width of the window opening, both inside and outside. Take the larger of the two measurements to ensure there is enough space for the window well.
- Measure the height of the window from the bottom of the window opening to the ground. Add a few inches to this measurement to determine the height of the window well.
- Measure the depth from the foundation wall to the outer edge of the window well. This will determine how far the window well needs to extend into the ground.
Once you have obtained the necessary measurements, you can proceed to the next step of digging the window well area.
Step 3: Dig the window well area
Now that you have your window well dimensions, it is time to dig the area where the window well will be installed. Follow these steps to dig the window well area:
- Clear any debris or vegetation from the area where the window well will be located. This includes removing any rocks, roots, or plants in the way.
- Using a shovel and a wheelbarrow, start digging a hole that matches the dimensions of the window well. Begin by digging a trench along the foundation wall, following the width and depth measurements you obtained in the previous step.
- As you dig, make sure the trench is level. Use a level to ensure that the bottom of the trench is even and flat.
- Continue digging until you reach the desired depth for the window well. This is typically determined by the height measurement you obtained earlier.
- Once you have finished digging, remove any excess dirt from the hole and dispose of it appropriately.
It is important to note that the depth of the hole should be deeper than the window well itself to allow for proper drainage and stability. Consider adding a layer of gravel at the bottom of the hole to facilitate drainage.
With the window well area properly dug, you are now ready to proceed to the next step of preparing the window well for installation.
Step 4: Prepare the window well for installation
Before installing the window well, it is essential to prepare the area to ensure a secure and stable installation. Follow these steps to prepare the window well for installation:
- Clean the foundation wall where the window well will be attached. Remove any dirt, debris, or loose material from the surface.
- Inspect the foundation for any cracks or damage. If you notice any cracks, it is important to repair them before proceeding with the installation.
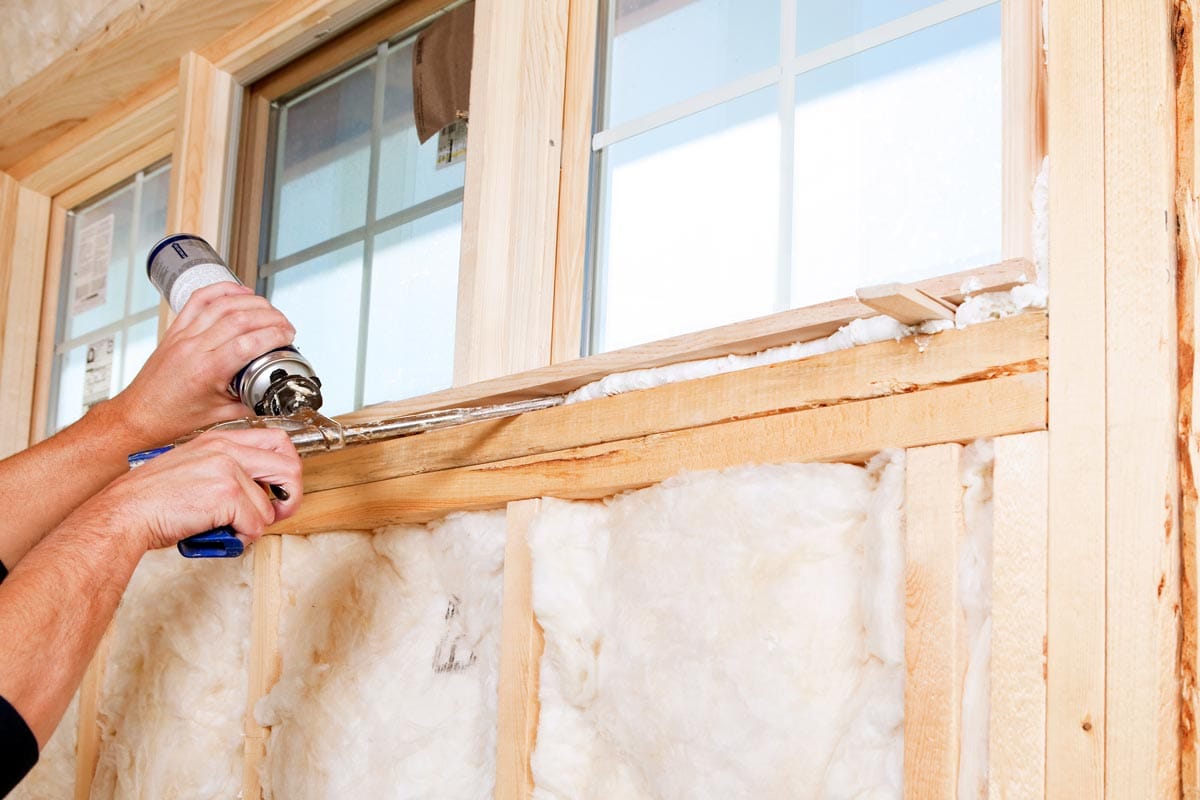
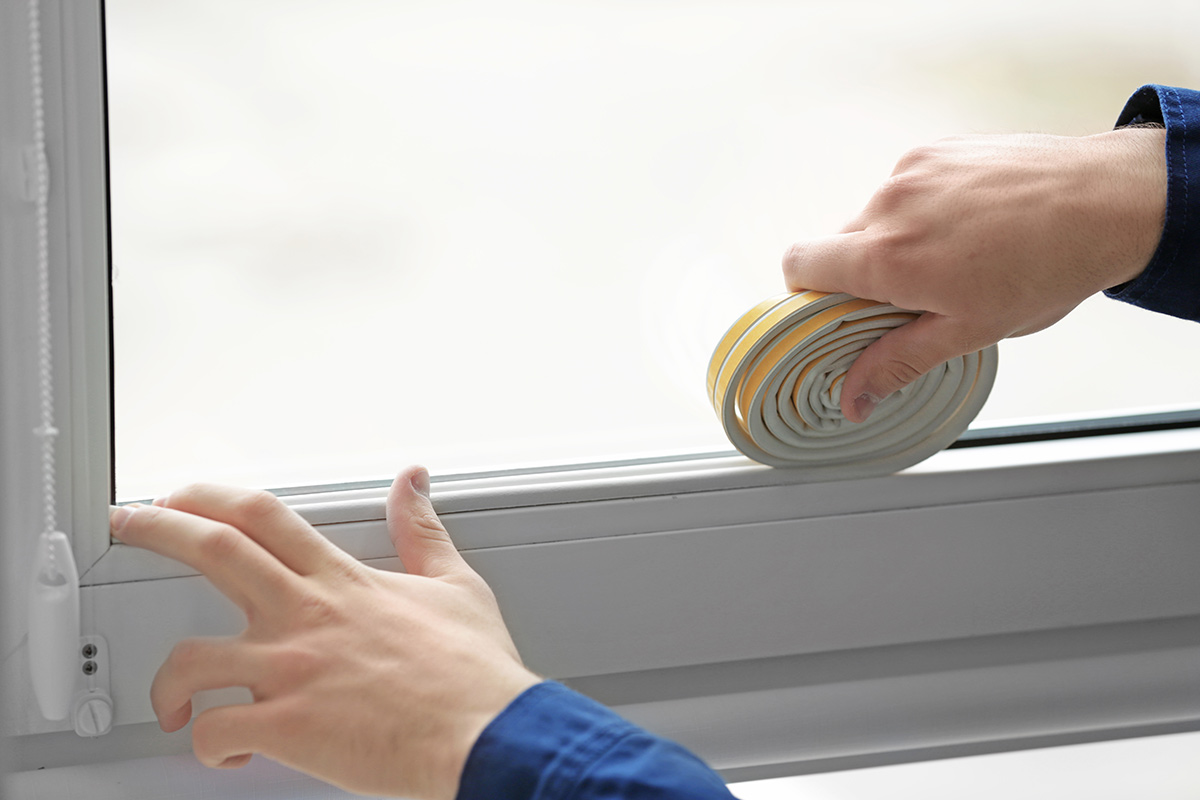
- Apply a layer of caulk or adhesive along the top edge of the foundation wall. This will create a seal between the foundation and the window well.
- Place a layer of landscape fabric inside the dug hole. This will help prevent soil or debris from entering the window well and clogging the drainage system.
- Position the window well into the hole, ensuring that it is level and aligned with the window opening. Adjust the position if necessary.
- If your window well has a built-in liner, make sure it is securely attached. Follow the manufacturer’s instructions for proper installation.
- Add a layer of gravel around the outside of the window well to provide stability and facilitate drainage.
Once the window well is properly prepared, you are now ready to move on to the next step of installing the window well.
When installing a basement window well, make sure to choose a well that is the right size for your window and meets local building codes for egress. Proper drainage and a secure cover are also important for safety and protection.
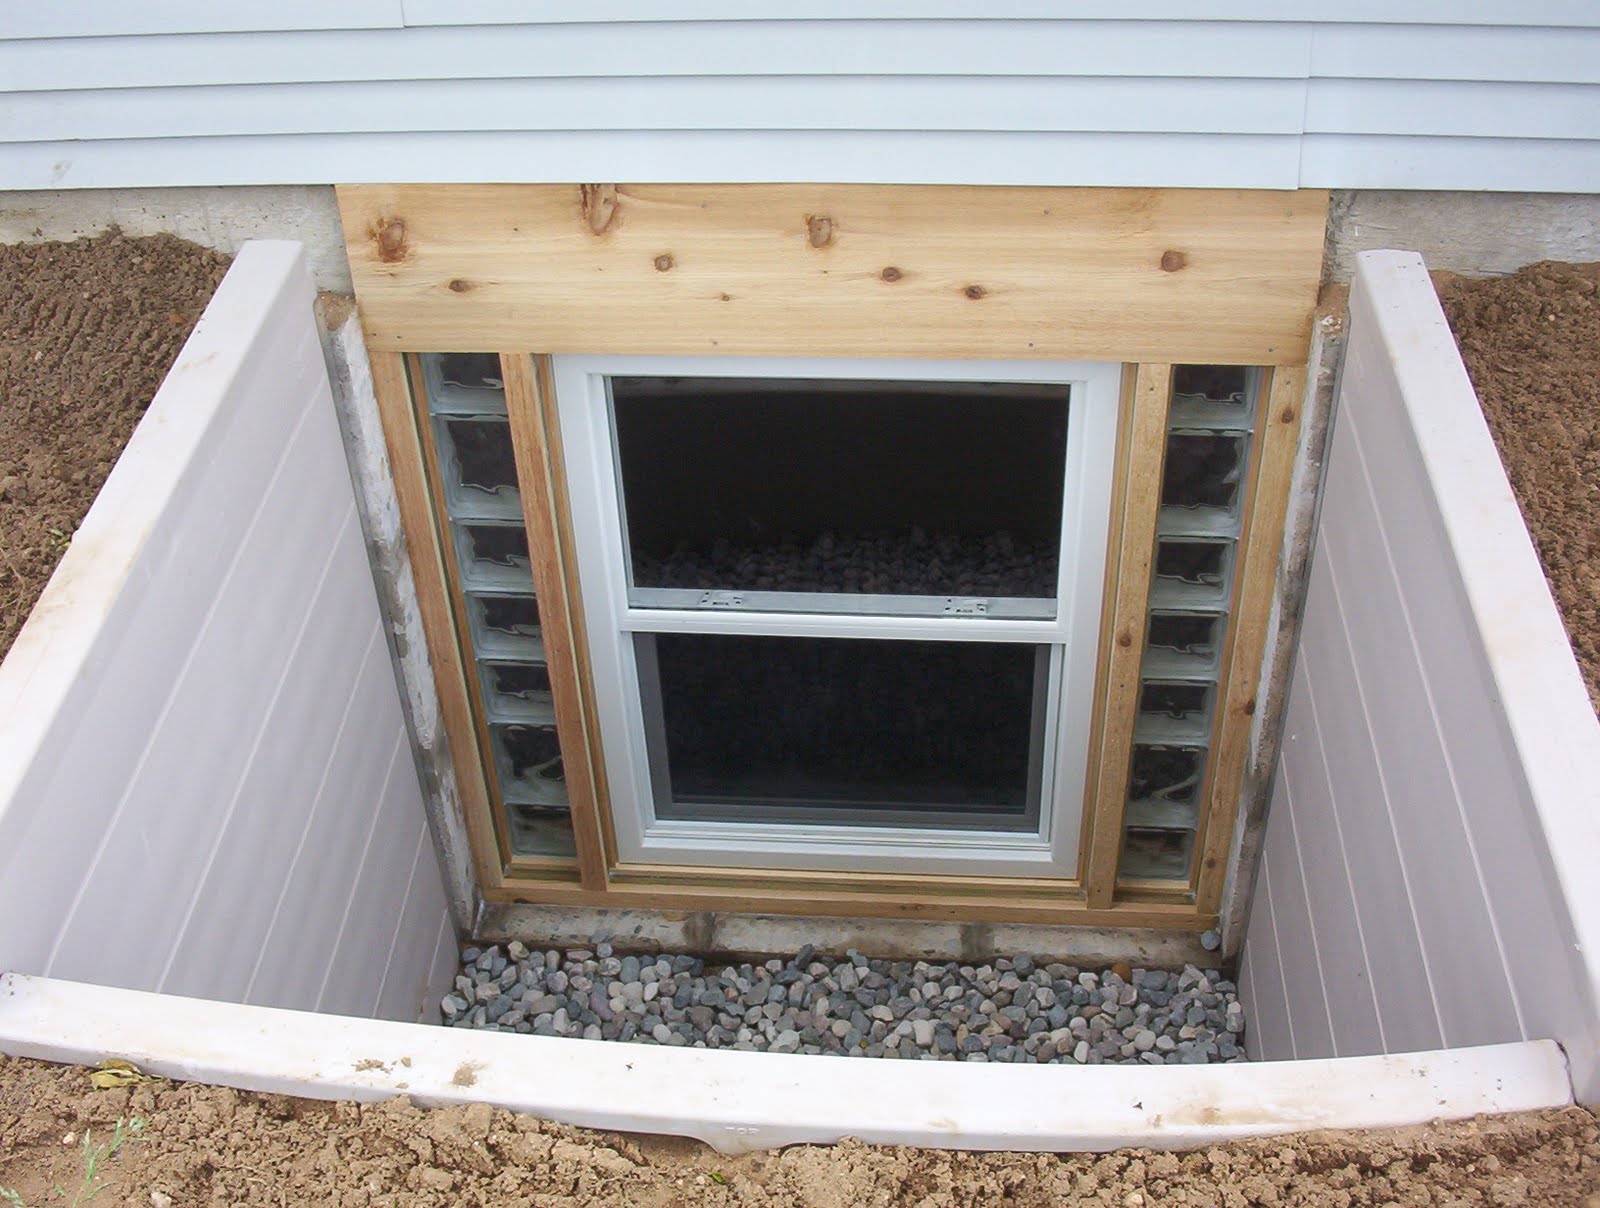
Step 5: Install the window well
With the window well area prepared, it’s time to proceed with the installation. Follow these steps to properly install the window well:
- Position the window well into the prepared hole. Make sure it is centered and aligned with the window opening.
- Attach the window well to the foundation wall using the appropriate mounting brackets or screws. Follow the manufacturer’s instructions for the specific installation method.
- Ensure that the window well is level both horizontally and vertically. Use a level to check the alignment and make any necessary adjustments.
- If your window well has a built-in drainage system, connect it to the existing drainage or install a drainpipe leading away from the foundation.
- Secure the window well to the foundation by applying a bead of caulk or adhesive along the top edge where it meets the foundation wall. This will create a watertight seal.
Take your time to ensure that the window well is securely installed and properly aligned. A well-installed window well will not only enhance the appearance of your basement but also provide the necessary protection against water infiltration.
Once the window well is firmly installed, you are ready to move on to the next step of securing the window well to the foundation.
Step 6: Secure the window well to the foundation
Securing the window well to the foundation is an important step to ensure its stability and durability. Follow these steps to securely attach the window well to the foundation:
- Measure and mark the spots on the foundation wall where the window well brackets will be attached. The number of brackets needed will depend on the size and weight of the window well.
- Using a masonry drill bit, create holes in the marked spots on the foundation wall. Make sure the size of the holes matches the specifications provided by the manufacturer of the window well brackets.
- Insert the anchors into the drilled holes. Gently tap them into place with a hammer until they are flush with the surface of the foundation wall.
- Position the window well brackets over the anchors and align them with the pre-drilled holes in the window well.
- Secure the window well brackets to the foundation wall by inserting screws or bolts through the brackets and into the anchors. Tighten them until the brackets are firmly attached to the foundation.
- Check the window well for stability by applying slight pressure to different areas. It should feel secure and not move or shift.
Properly securing the window well to the foundation will ensure that it remains in place and can withstand external forces over time. This step is crucial to ensure the long-term functionality and safety of the window well.
Once the window well is securely attached to the foundation, you can move on to the next step of installing the window well cover.
Step 7: Install the window well cover
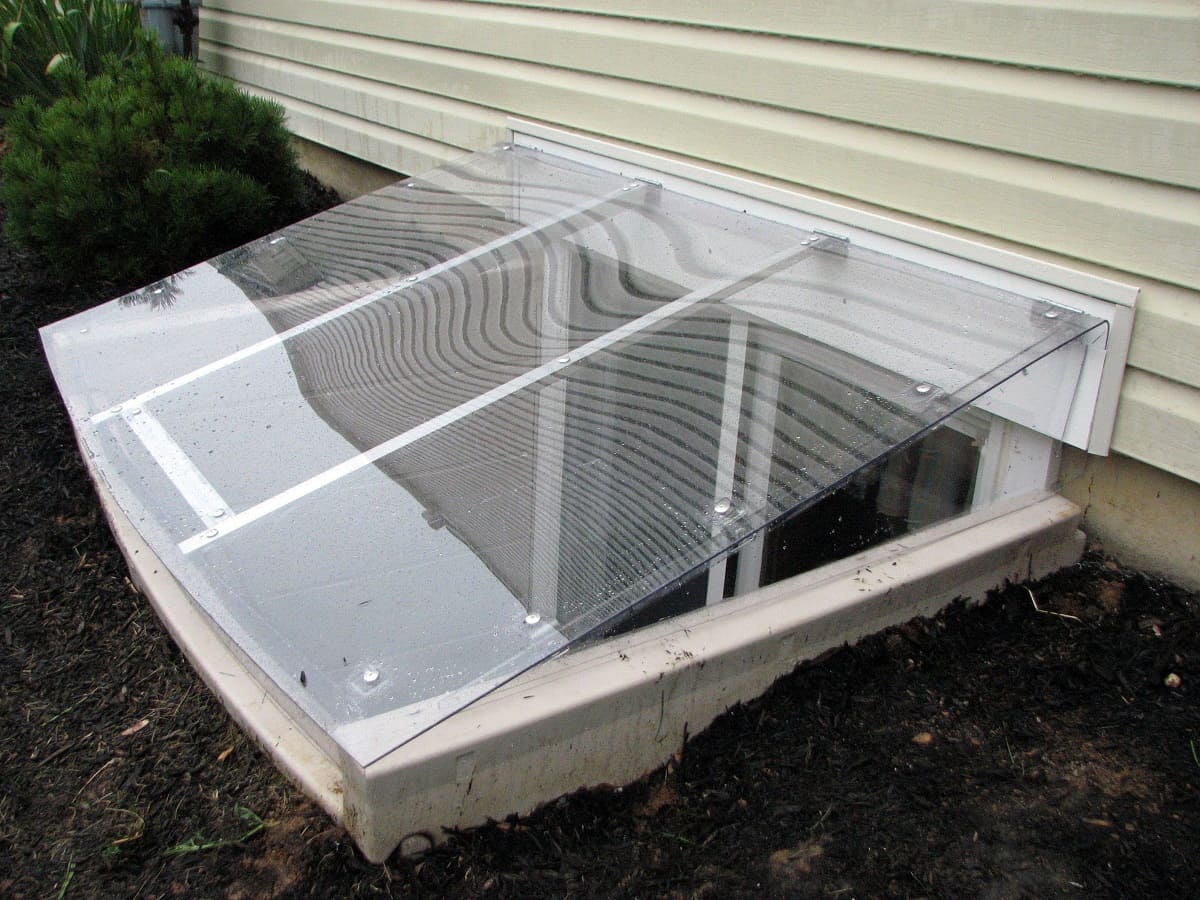
Installing a window well cover is an essential step to protect your basement and keep debris out of the window well. Follow these steps to properly install the window well cover:
- Measure the dimensions of the window well opening to ensure that you choose the correct size for the window well cover.
- Purchase a window well cover that is sturdy, durable, and designed to fit your specific window well dimensions. There are various types of covers available, including mesh, polycarbonate, and metal grates.
- Place the window well cover over the window well opening and make sure it fits securely. Adjust the position if necessary.
- If your window well cover has clips or brackets, attach them to the window well or the window frame according to the manufacturer’s instructions.
- Ensure that the window well cover is securely fastened and cannot be easily removed. This will prevent unwanted entry and ensure the safety of your basement.
A window well cover serves as a barrier against debris, leaves, animals, and even human intruders. It also helps prevent water accumulation, reducing the risk of basement flooding.
Once the window well cover is installed, it is time to move on to the final step of finishing the window well installation.
Step 8: Finish the window well installation
With the window well and cover in place, you are almost done with the installation process. Follow these final steps to complete the window well installation:
- Inspect the window well and surrounding area for any loose dirt or debris. Remove any debris and ensure that the window well is clean and free of obstructions.
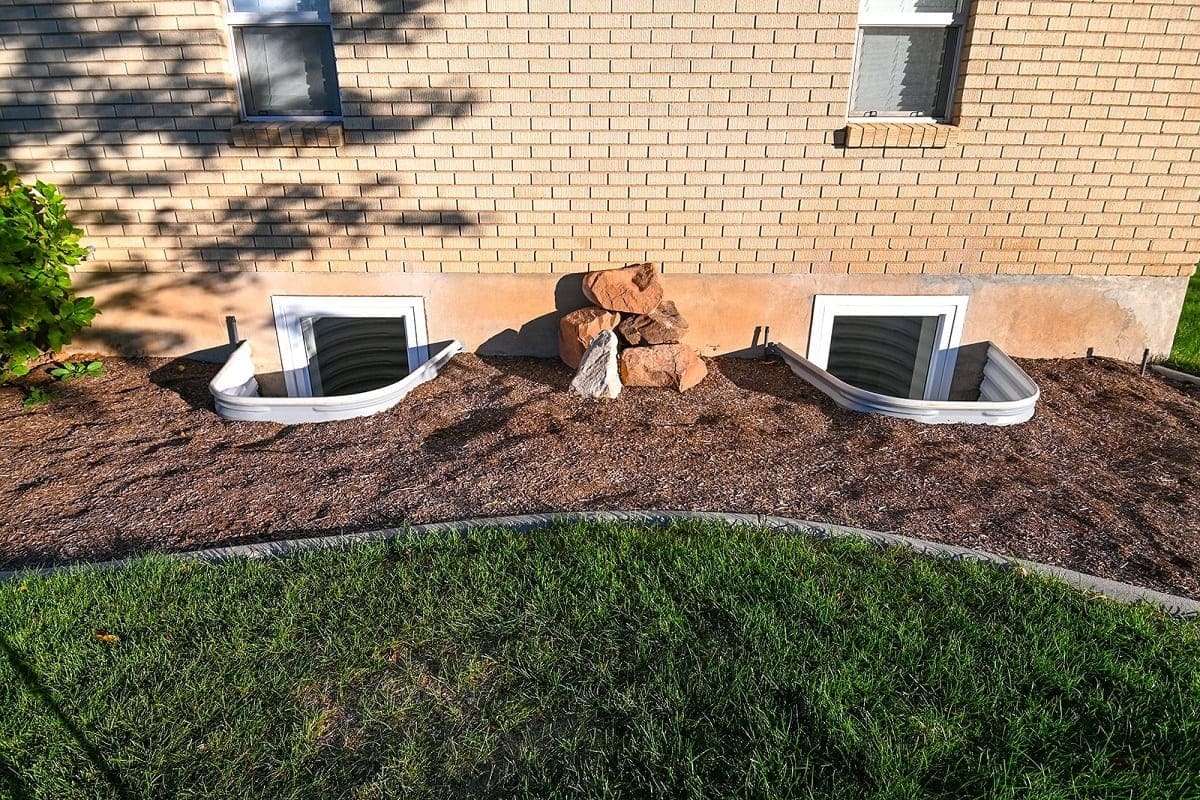
- If desired, you can add decorative elements around the window well to enhance its appearance. Consider adding rocks, plants, or landscaping materials to blend it with the surroundings.
- Ensure that the area around the window well is properly graded to prevent water from pooling around the foundation. The ground should slope away from the window well to promote proper drainage.
- Check the window well for any signs of leaks or moisture. If you notice any issues, address them promptly to prevent water damage and potential mold growth.
- Regularly inspect and maintain the window well to ensure its functionality. Clean out any debris that may accumulate and check for any signs of damage or deterioration.
By following these steps, you have successfully completed the installation of your basement window well. Not only will it provide natural light and an emergency exit, but it will also protect your basement from water damage and improve its overall safety and aesthetics.
Remember to consult local building codes and regulations, as well as manufacturer instructions, throughout the installation process to ensure compliance and optimal results.
Congratulations on a job well done, and enjoy the benefits of your newly installed basement window well!
Read more: How To Measure Basement Windows
Conclusion
Installing a basement window well is a practical and beneficial project that can greatly enhance the functionality, safety, and aesthetics of your basement. By allowing natural light to enter, providing a means of emergency exit, and preventing water damage, a window well transforms a dark and damp basement into a bright and inviting space.
In this article, we have guided you through the step-by-step process of installing a basement window well. From gathering the necessary tools and materials to finishing the installation, we have covered everything you need to know to complete the project successfully.
Remember, it is crucial to check your local building codes and obtain any necessary permits before starting the installation. Additionally, following manufacturer instructions and recommendations throughout the process ensures a proper and secure installation.
By measuring the window well dimensions accurately, digging the well area, preparing the window well, and securing it to the foundation, you have created a sturdy and functional structure. Installing a window well cover adds an extra layer of protection against debris and unwanted entry.
Finally, finishing the installation by cleaning the area and performing regular maintenance ensures the long-term functionality and durability of your window well.
With the installation complete, you can now enjoy the benefits of a well-illuminated basement space and the peace of mind that comes with enhanced safety and protection. Whether you use your basement for living space, storage, or any other purpose, the addition of a window well adds value to your home and improves the overall quality of your basement environment.
So, don’t hesitate to embark on this project and transform your basement into a more functional and inviting space by installing a window well. Enjoy the benefits it brings and make the most of your basement area.
Frequently Asked Questions about How To Install Basement Window Well
Was this page helpful?
At Storables.com, we guarantee accurate and reliable information. Our content, validated by Expert Board Contributors, is crafted following stringent Editorial Policies. We're committed to providing you with well-researched, expert-backed insights for all your informational needs.


0 thoughts on “How To Install Basement Window Well”