Articles
How To Seal A Basement Window
Modified: January 23, 2024
Learn the step-by-step process of sealing a basement window with our informative articles. Create a watertight barrier and protect your basement from moisture damage.
(Many of the links in this article redirect to a specific reviewed product. Your purchase of these products through affiliate links helps to generate commission for Storables.com, at no extra cost. Learn more)
Introduction
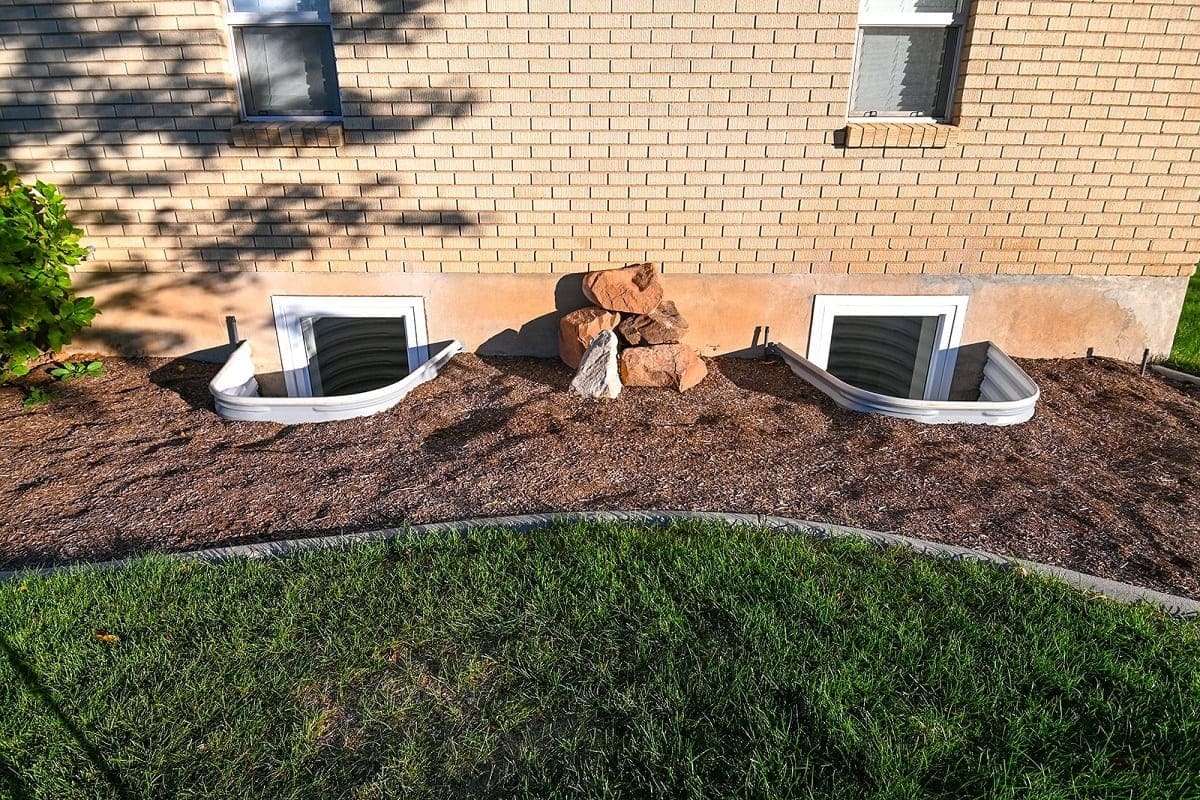
Sealing basement windows is essential for maintaining a dry and energy-efficient home. Basement windows are often prone to leaks and drafts, which can lead to water damage, mold growth, and decreased energy efficiency. By sealing your basement windows properly, you can prevent these issues and create a more comfortable living space.
In this article, we will guide you through the step-by-step process of sealing a basement window. From assessing the window to applying caulk or weatherstripping, we will cover everything you need to know to effectively seal your basement windows.
Properly sealing a basement window involves assessing the condition of the window, gathering the necessary materials, removing old caulk or weatherstripping, cleaning the window frame, applying caulk or silicone sealant, installing weatherstripping, insulating with foam sealant, and adding a window film or plastic covering to enhance insulation. Additionally, we will provide tips on how to maintain the seal over time.
Whether you’re dealing with a leaky basement window or looking to improve insulation, this guide will equip you with the knowledge and techniques to successfully seal your basement windows. By following these steps, you can protect your home from water damage and improve energy efficiency, ultimately creating a more comfortable living environment for you and your family.
So, let’s dive in and learn how to seal a basement window effectively!
Key Takeaways:
- Properly sealing your basement window involves assessing, gathering materials, removing old caulking, cleaning the window frame, applying caulk, installing weatherstripping, insulating with foam sealant, and adding a window film. Regular maintenance is crucial for long-lasting effectiveness.
- Sealing your basement window is a worthwhile investment that pays off in improved energy efficiency, comfort, and protection. By following the step-by-step guide and maintaining the seal, you create a barrier against drafts, water infiltration, and energy loss, ultimately creating a more sustainable home.
Read more: How To Seal Concrete Basement Floor
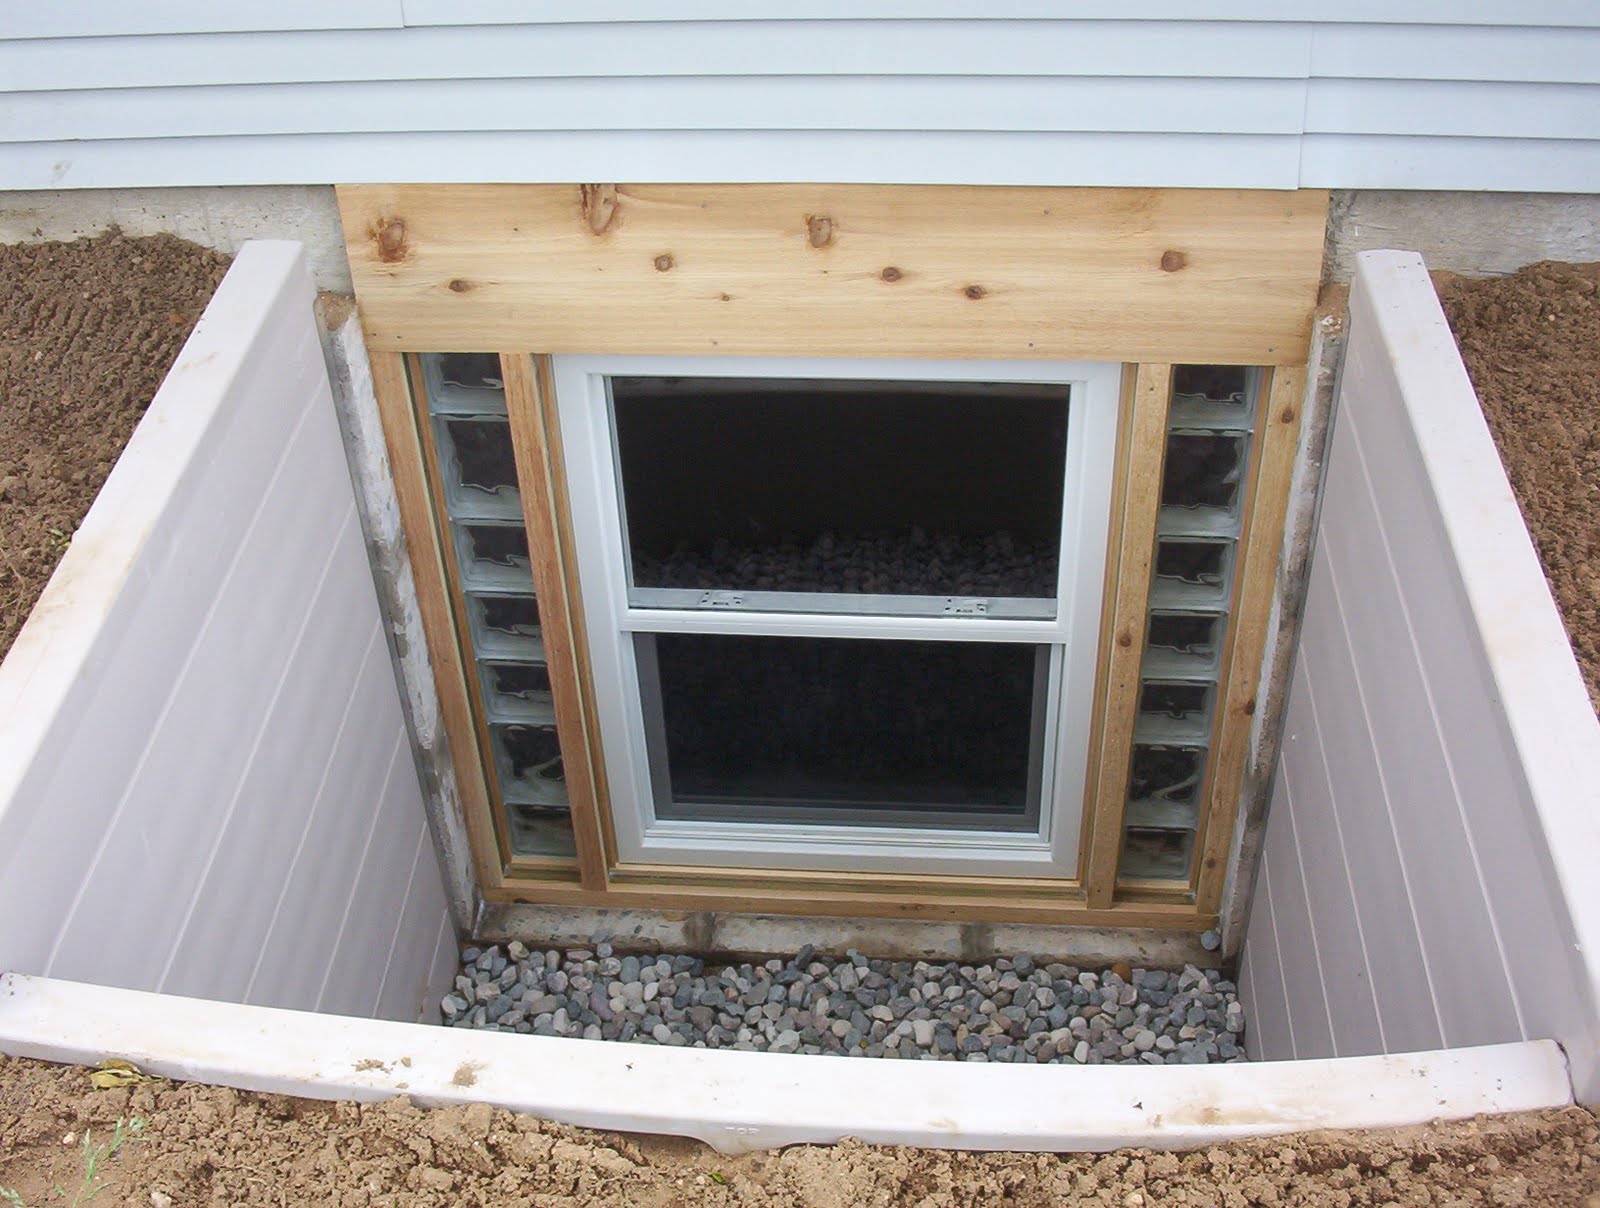
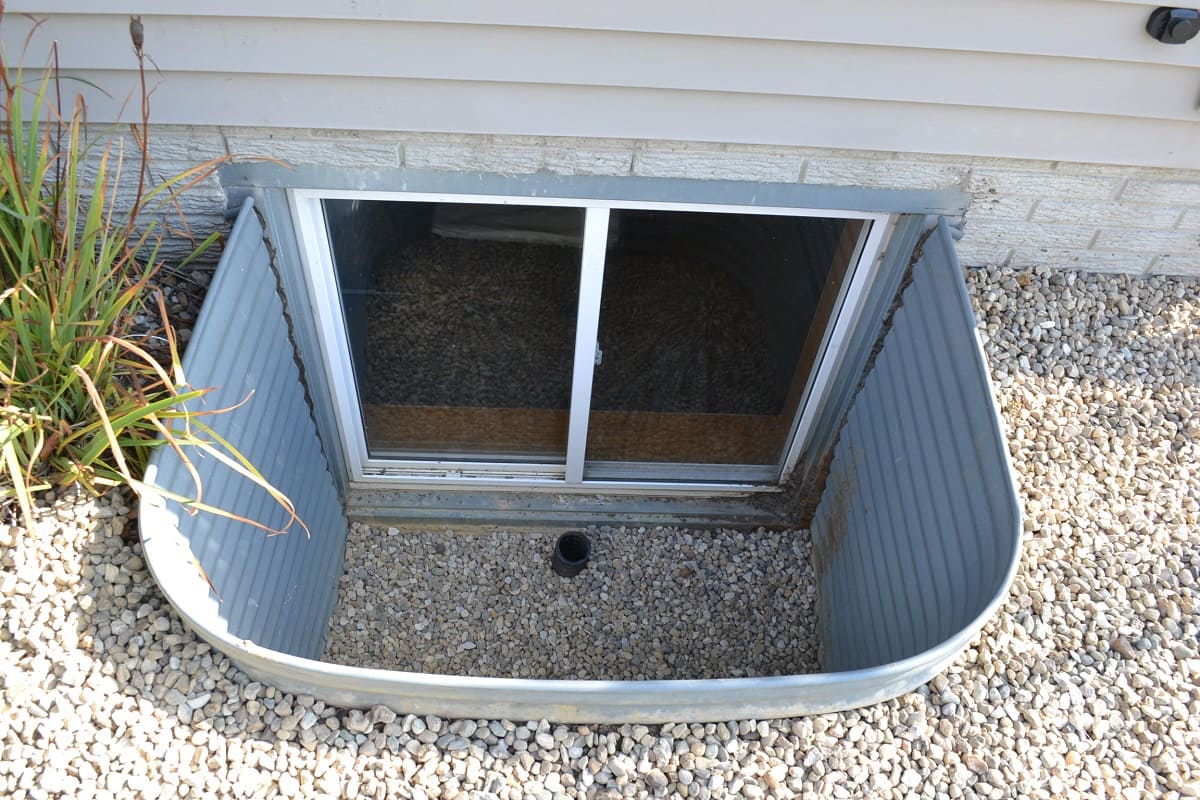
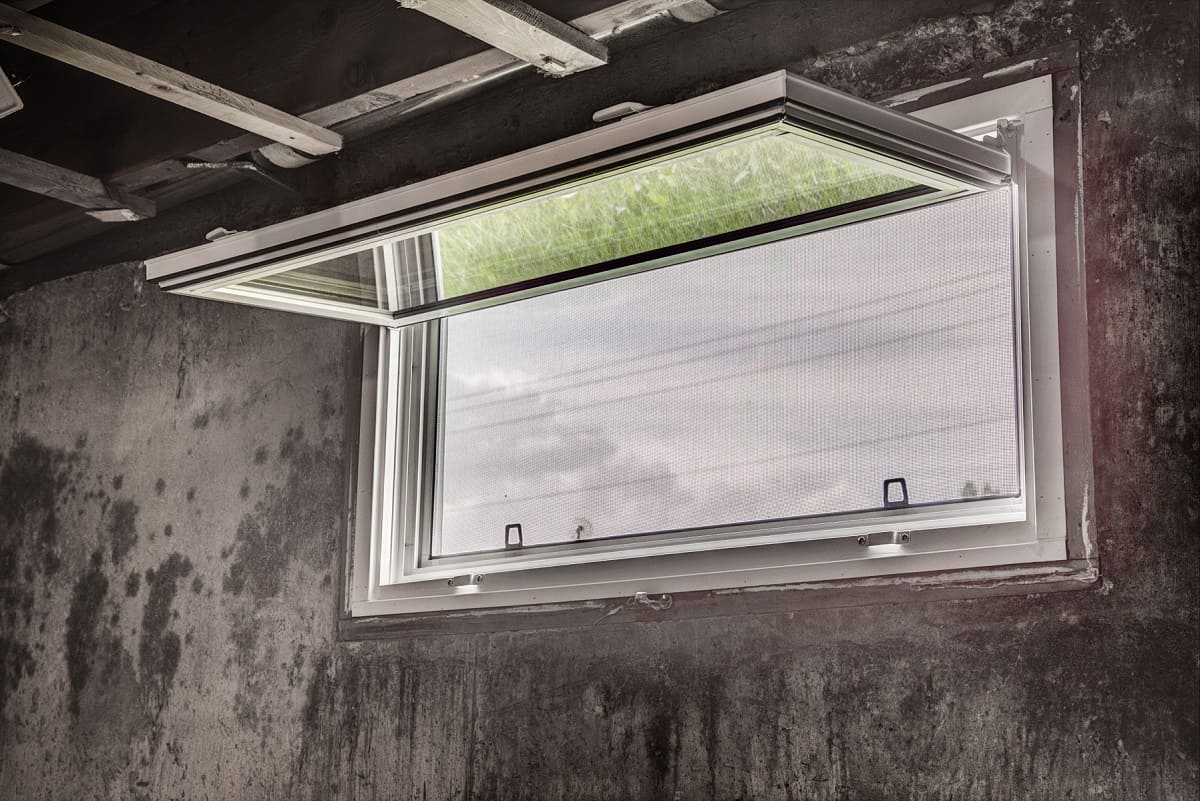
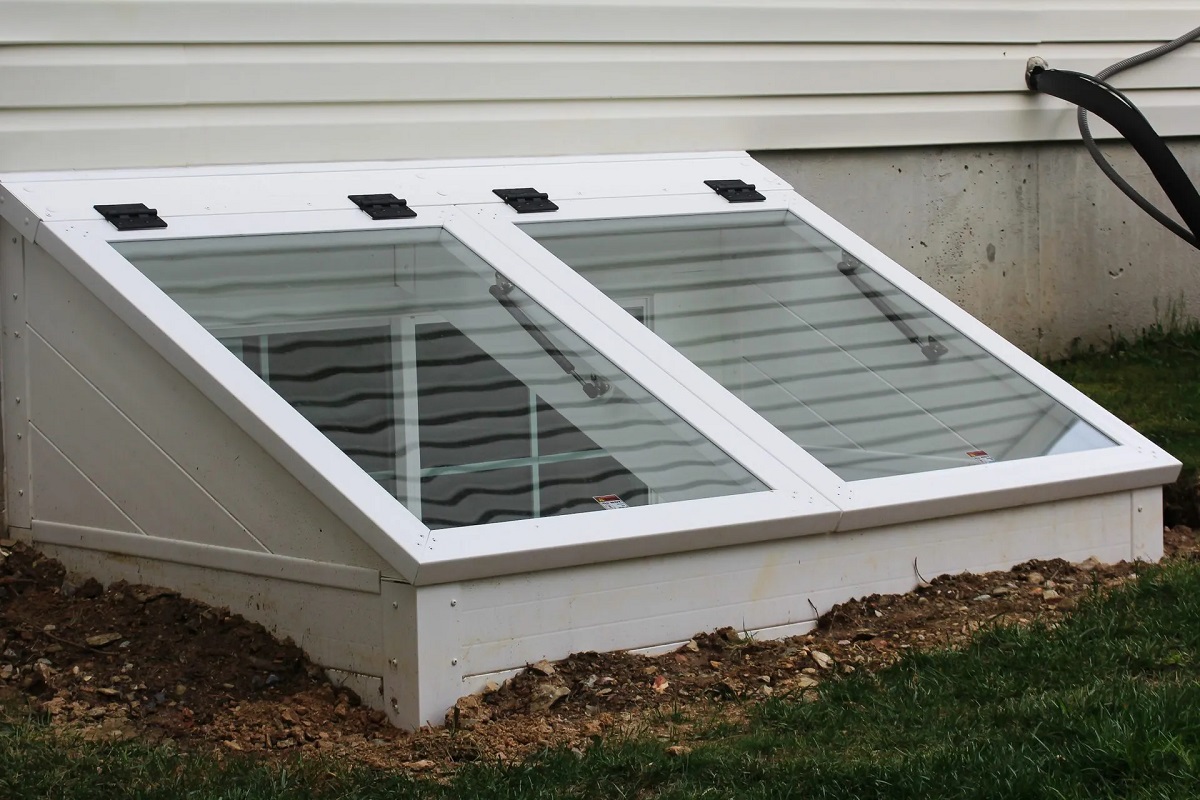
Step 1: Assessing the Window
Before you begin sealing your basement window, it’s crucial to assess its condition. This step will help you determine the necessary repairs and materials needed to seal the window effectively.
Start by examining the window frame for any cracks, gaps, or deteriorated areas. Look for signs of water damage, such as discoloration or peeling paint, as these may indicate existing leaks. Inspect the caulking or weatherstripping around the window to see if it is worn out or damaged.
Next, check the window itself, including the glass and the frame, for any signs of damage or wear. Look for cracks, broken seals, or condensation between the panes of glass. These issues can contribute to drafts and water infiltration.
If you notice any significant damage or structural issues, consider consulting a professional contractor or window specialist to assess the window’s condition and recommend the best course of action. They can help you determine if repairs are necessary or if you should consider replacing the window altogether.
Additionally, take note of the window’s size and shape, as this will inform your material choices. Measure the dimensions of the window frame accurately, including the height, width, and depth. This information will ensure that the materials you purchase fit correctly and provide a proper seal.
By thoroughly assessing your basement window, you can identify any existing problems and ensure that the subsequent sealing steps address these issues effectively. This proactive approach sets the foundation for a successful and long-lasting seal.
Step 2: Gathering Materials
Once you have assessed your basement window and identified the necessary repairs, it’s time to gather the materials needed for the sealing process. Having the right materials on hand will ensure a smooth and efficient sealing process.
Here’s a list of commonly used materials for sealing basement windows:
- Caulk or Silicone Sealant: Choose a high-quality caulk or silicone sealant that is specifically designed for windows and is suitable for both interior and exterior use. Consider factors such as flexibility, durability, and water resistance when selecting the right product.
- Weatherstripping: Weatherstripping helps to create an airtight seal around the window frame. There are various types of weatherstripping available, including adhesive-backed foam tape, V-strip, or door sweeps. Select the type that is best suited for your window and its specific needs.
- Foam Sealant: Foam sealant, also known as expanding foam, is useful for filling larger gaps or cracks around the window frame. Look for a foam sealant that is moisture-resistant and easy to apply. It will help improve insulation and prevent air leakage.
- Utility Knife: A utility knife will come in handy for removing old caulk or weatherstripping and cutting materials to the desired length.
- Caulking Gun: Use a caulking gun to apply caulk or silicone sealant evenly and smoothly. It provides more control and ensures a neater application compared to using your hands or a putty knife.
- Window Film or Plastic Covering: Window film or plastic covering can further enhance insulation by creating a barrier against drafts. Look for window film specifically designed to improve energy efficiency, or opt for a heavy-duty plastic covering if you prefer an alternative method.
- Cleaning Supplies: Make sure you have cleaning supplies such as a brush, sponge, and mild detergent or window cleaner to clean the window frame thoroughly before applying any sealants or weatherstripping.
Check your local hardware store or home improvement center to gather these materials. Ensure that you have enough of each item to complete the sealing process for your basement window.
By gathering all the necessary materials beforehand, you can avoid delays during the sealing process and ensure a more efficient and effective outcome. Preparation is key to a successful sealing project.
Step 3: Removing Old Caulking or Weatherstripping
Before you can properly seal your basement window, it’s crucial to remove any old caulking or weatherstripping that may be present. This step ensures a clean and smooth surface for the new sealant or weatherstripping to adhere to.
Follow these steps to remove old caulking or weatherstripping:
- Prepare the Window: Start by opening the window and removing any window screens or coverings. This will provide better access to the window frame.
- Inspect the Caulking or Weatherstripping: Carefully examine the caulking or weatherstripping around the window frame. Look for any signs of damage, such as cracks, peeling, or separation from the frame.
- Use a Utility Knife: With a utility knife, carefully cut along the edges of the caulking or weatherstripping. Take care not to damage the window frame or glass. If the caulking or weatherstripping is particularly stubborn, you may need to apply gentle heat using a hairdryer to soften it for easier removal.
- Remove the Old Caulking or Weatherstripping: Once you have cut along the edges, use pliers or your fingers to carefully pull out the old caulking or weatherstripping. Work slowly and methodically to remove it completely, ensuring that no residue or fragments are left behind.
- Clean the Window Frame: After removing the old caulking or weatherstripping, use a brush, sponge, and mild detergent or window cleaner to thoroughly clean the window frame. Remove any dirt, debris, or old adhesive to create a clean surface for the new sealant or weatherstripping.
Once you have removed the old caulking or weatherstripping and cleaned the window frame, you are now ready to move on to the next step of the sealing process. Properly removing the old materials ensures that the new sealant or weatherstripping adheres securely and effectively seals your basement window against drafts and leaks.
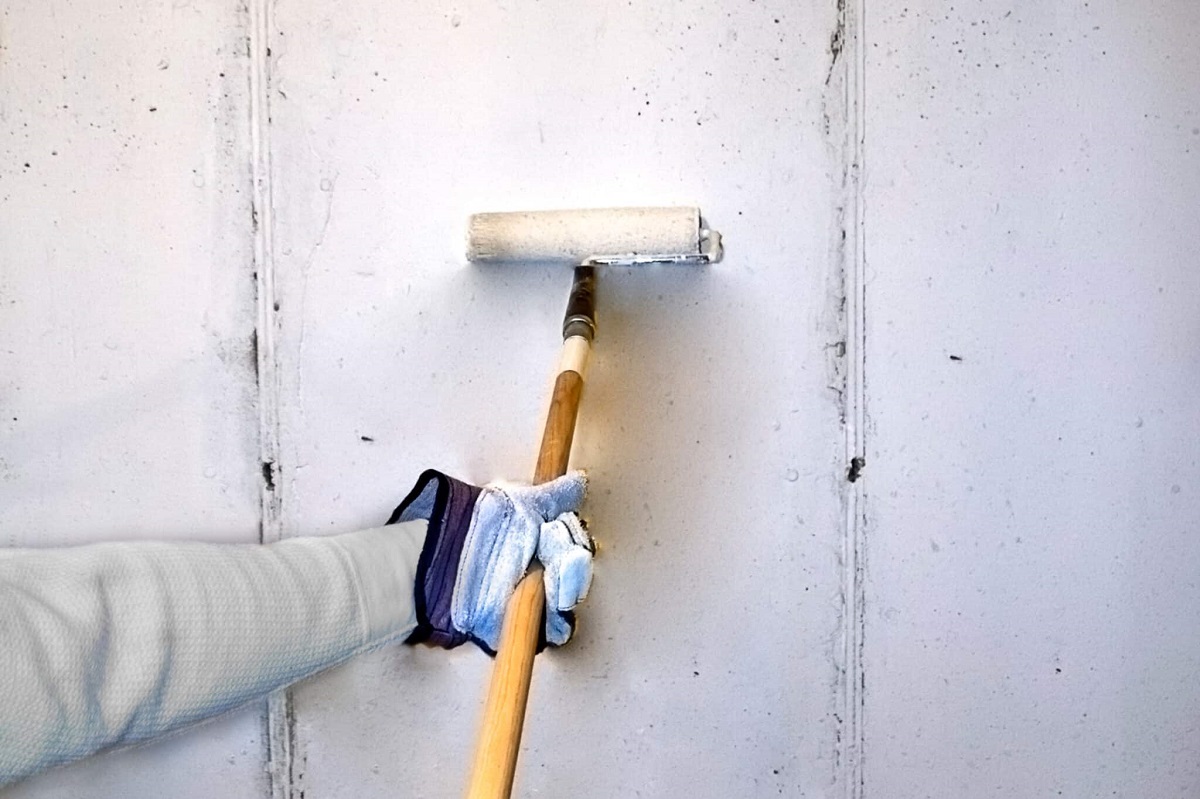
Step 4: Cleaning the Window Frame
After removing the old caulking or weatherstripping from your basement window, it is essential to thoroughly clean the window frame. Cleaning the window frame ensures that the new sealant or weatherstripping adheres properly and creates a tight seal.
Follow these steps to clean the window frame effectively:
- Gather Cleaning Supplies: Prepare the necessary cleaning supplies, such as a brush, sponge, mild detergent, or window cleaner. Ensure that the cleaning solution you use is suitable for the material of your window frame.
- Dust and Remove Debris: Use a brush or a vacuum cleaner with a brush attachment to remove any loose dust, dirt, or debris from the window frame. Pay attention to the corners and crevices where dirt tends to accumulate.
- Prepare the Cleaning Solution: If using a mild detergent, dilute it in warm water according to the manufacturer’s instructions. If using a window cleaner, follow the product’s instructions for application.
- Clean the Window Frame: Dip a sponge or cloth into the cleaning solution and gently scrub the window frame. Pay special attention to any stubborn stains or areas with grime buildup. Ensure that you clean both the interior and exterior sections of the frame.
- Rinse and Dry: After scrubbing the window frame, rinse it thoroughly with clean water to remove any soap residue. Use a dry cloth or towel to wipe down the frame and remove excess moisture. This step is crucial as it allows the new sealant or weatherstripping to adhere properly.
By cleaning the window frame thoroughly, you ensure that the sealant or weatherstripping makes direct contact with the frame and creates a strong bond. This step helps to prevent any gaps or weak spots that could compromise the effectiveness of the seal.
Once the window frame is clean and dry, you can proceed to the next step of applying caulk or silicone sealant to seal your basement window effectively.
Read more: How To Measure Basement Windows
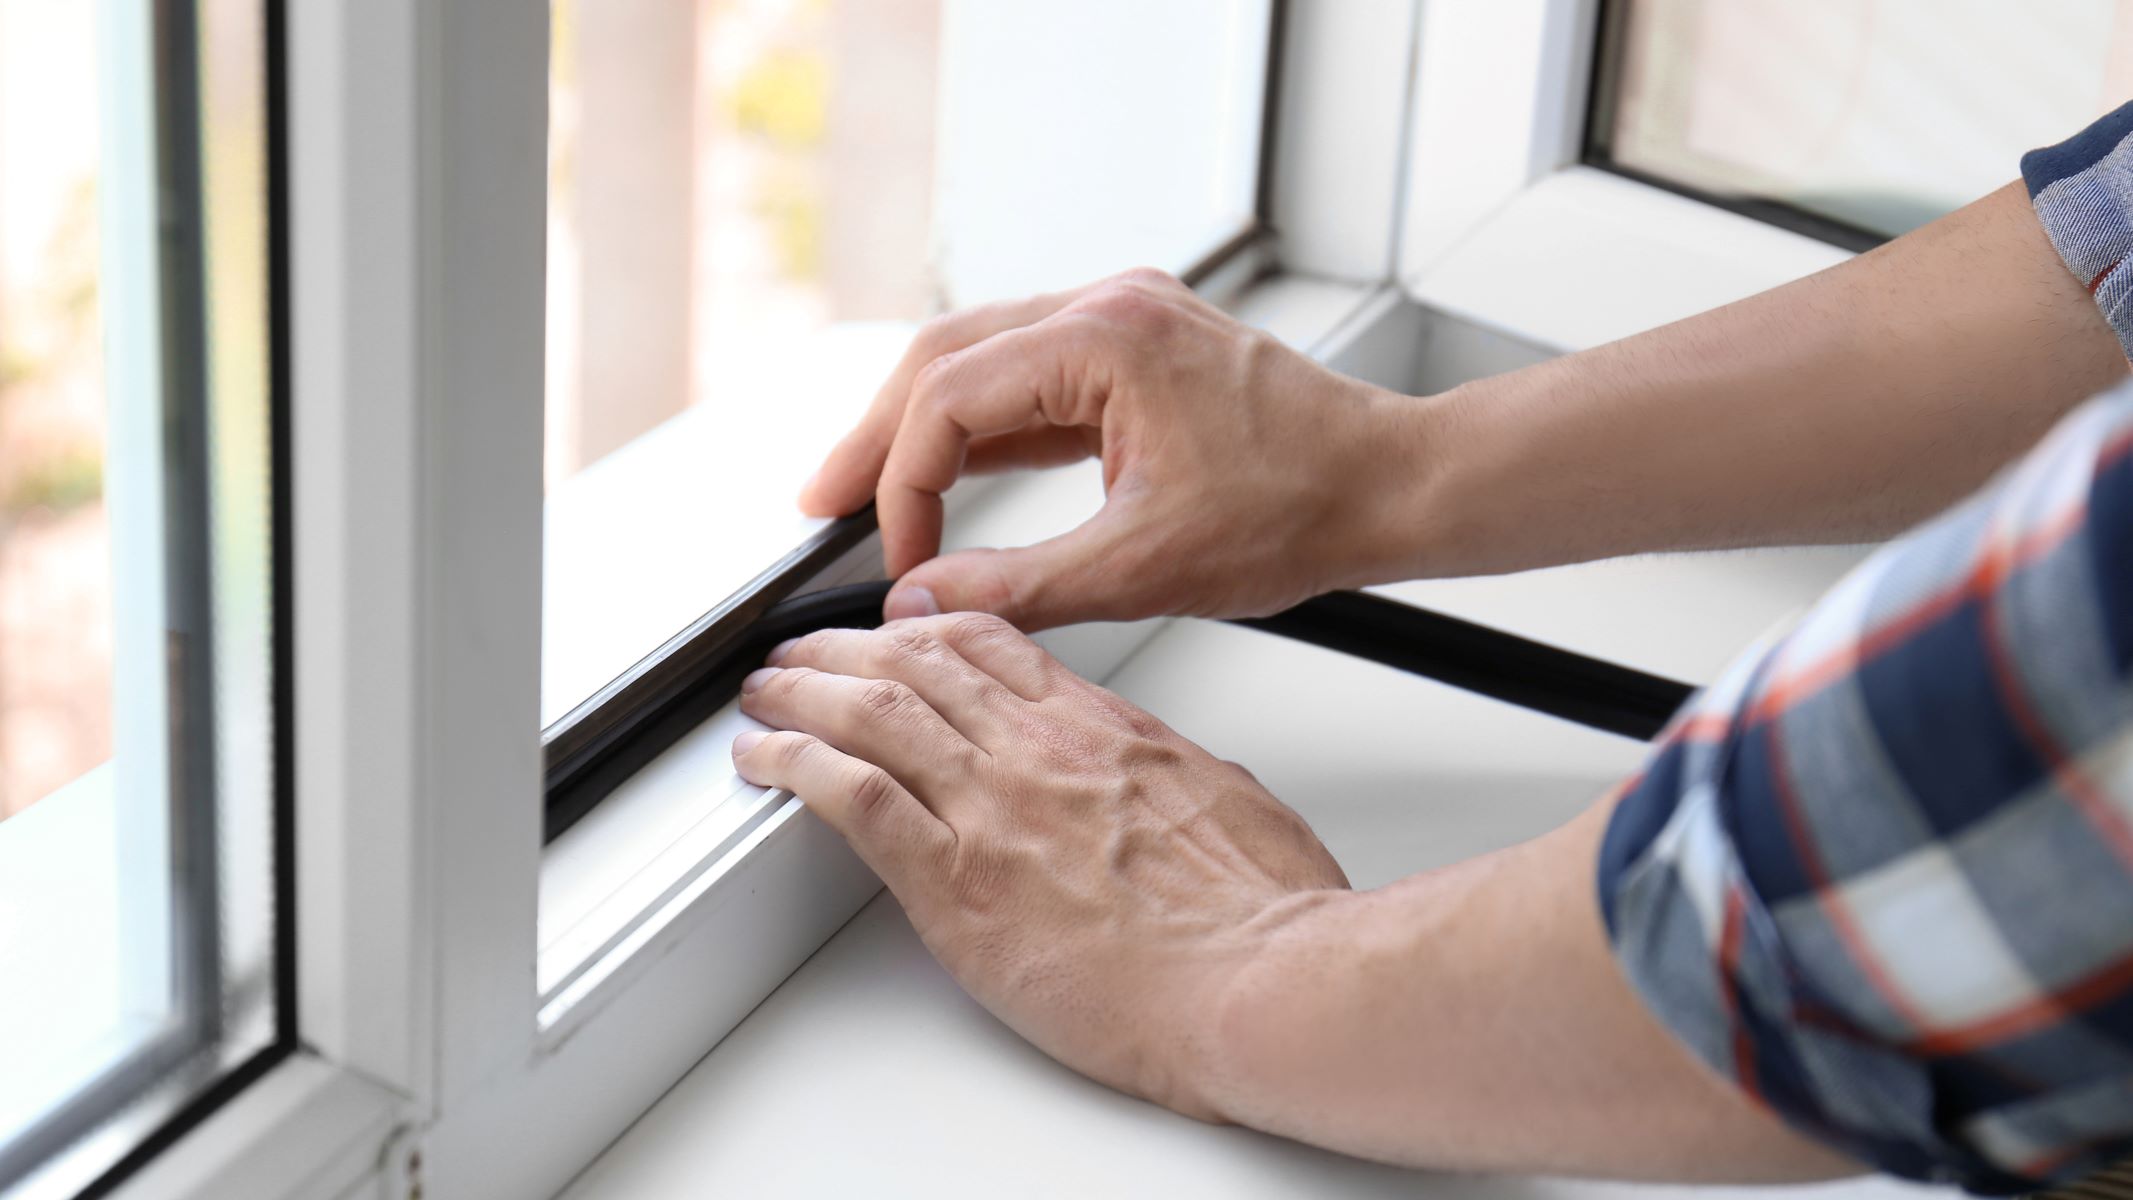
Step 5: Applying Caulk or Silicone Sealant
After assessing, gathering materials, removing old caulking or weatherstripping, and cleaning the window frame, it’s time to apply caulk or silicone sealant to create a watertight and airtight seal around your basement window.
Here’s a guide on how to apply caulk or silicone sealant effectively:
- Load the Caulking Gun: Insert the tube of caulk or silicone sealant into a caulking gun. Cut the tip of the tube at a 45-degree angle, making sure to create a small opening that matches the width of the gap you need to fill.
- Start at a Corner: Begin applying the caulk or silicone sealant at one corner of the window frame. Hold the caulking gun at a 45-degree angle to the gap and apply steady pressure on the trigger to dispense the sealant. Move the gun along the length of the gap, maintaining a consistent bead of caulk or sealant.
- Smooth the Caulk: Once you have applied the caulk or silicone sealant along the entire length of the gap, use a caulk smoothing tool or your finger dipped in water to smooth the bead of caulk. This step helps to create a neat and even seal.
- Fill in Larger Gaps: If you have larger gaps or cracks in the window frame, consider using foam sealant to fill them. Follow the manufacturer’s instructions for applying the foam sealant and allowing it to expand. Trim any excess foam sealant once it has dried.
- Check for Complete Coverage: After applying the caulk or silicone sealant, inspect the window frame to ensure that all gaps and cracks are adequately filled. This step ensures a watertight and airtight seal, preventing water infiltration and reducing drafts.
It’s important to choose a high-quality caulk or silicone sealant that is specifically designed for windows, as these products are typically more durable and waterproof. Consider the specific needs of your basement window, such as its exposure to moisture or extreme temperatures, when selecting the appropriate sealant.
By applying caulk or silicone sealant to your basement window, you create a barrier against water leakage and drafts, improving both the energy efficiency and the overall comfort of your home.
Next, we will move on to step six, which involves installing weatherstripping to enhance the seal of your basement window.
Use a high-quality silicone caulk to seal around the edges of the window frame. Make sure to clean the area thoroughly before applying the caulk to ensure a proper seal.
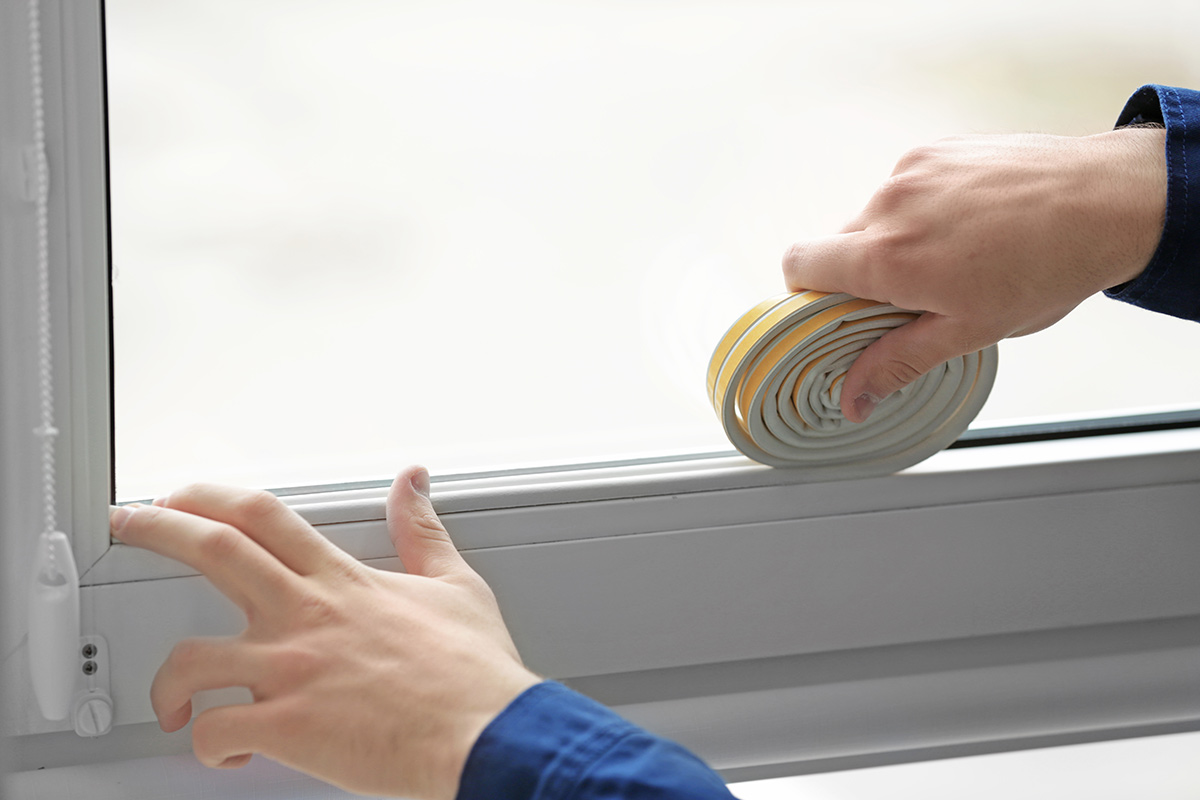
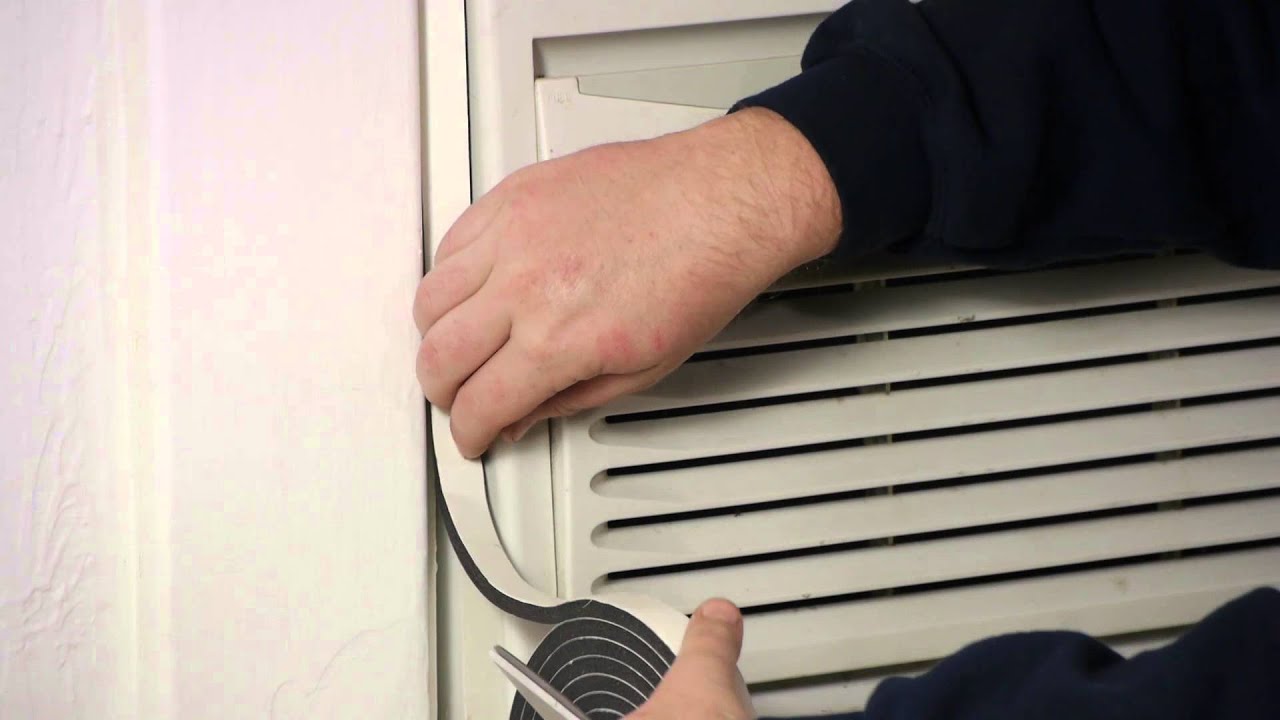
Step 6: Installing Weatherstripping
In addition to caulking or silicone sealant, installing weatherstripping is another crucial step in effectively sealing your basement window. Weatherstripping helps to create a tight seal around the window frame, preventing drafts and improving energy efficiency.
Follow these steps to install weatherstripping on your basement window:
- Select the Right Weatherstripping: There are various types of weatherstripping available, such as adhesive-backed foam tape, V-strip, or door sweeps. Choose the type that is best suited for your window and its specific needs. Consider factors such as durability, flexibility, and weather resistance.
- Measure and Cut: Using a measuring tape, determine the length of weatherstripping needed for each side of the window frame. Use scissors or a utility knife to cut the weatherstripping to the appropriate length.
- Clean and Dry: Ensure that the window frame is clean and dry before proceeding with the installation of the weatherstripping. Remove any dust, dirt, or debris to create a smooth surface for the adhesive to adhere to.
- Peel and Stick: Remove the backing from the adhesive side of the weatherstripping, and carefully press it onto the window frame along the designated areas. Start at one corner and work your way around the frame, applying consistent pressure to ensure a secure bond.
- Apply to all Sides: Install weatherstripping on all sides of the window frame, including the top, bottom, and vertical sides. Take care to align the weatherstripping properly and ensure that there are no gaps or overlaps.
- Test the Seal: Once the weatherstripping is installed, close the window and check for any gaps or areas where the seal may be compromised. Make any necessary adjustments or additions to ensure a tight seal.
Installing weatherstripping along with caulk or silicone sealant provides an extra layer of protection against drafts, improving insulation and energy efficiency in your basement. It helps to maintain a comfortable indoor environment while reducing energy costs associated with heating and cooling.
After successfully installing weatherstripping, we will move on to step seven, which involves insulating your basement window with foam sealant.
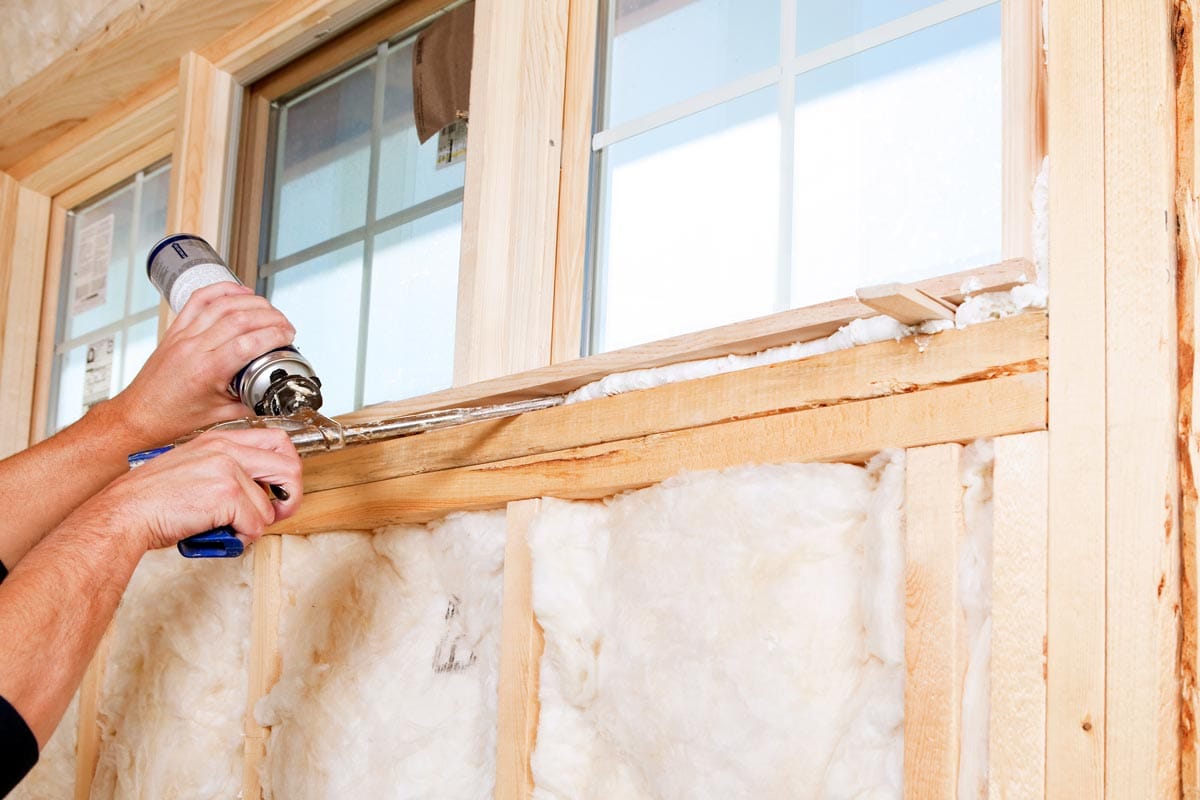
Step 7: Insulating with Foam Sealant
To further enhance the insulation and seal of your basement window, you can use foam sealant. Foam sealant is an effective way to fill in larger gaps and cracks in the window frame, ensuring a tight and energy-efficient seal.
Here’s how to insulate your basement window with foam sealant:
- Choose the Right Foam Sealant: Select a foam sealant that is suitable for window insulation and is designed to expand and fill gaps. Look for a moisture-resistant and easy-to-use foam sealant.
- Prepare the Window Frame: Ensure that the window frame is clean and dry before applying foam sealant. Remove any dust, debris, or loose particles from the gap or crack where you will be applying the foam sealant.
- Shake the Can: Shake the can of foam sealant according to the manufacturer’s instructions. This helps to activate the foam and ensure proper expansion.
- Apply the Foam Sealant: Carefully insert the nozzle of the foam sealant can into the gap or crack in the window frame. Begin applying the foam sealant slowly and evenly, allowing it to expand and fill the space. Be cautious not to overfill, as the foam will continue to expand once applied.
- Smooth and Shape the Foam: While the foam sealant is still wet, use a putty knife or a damp cloth to smooth and shape the foam. This step helps to create a neat appearance and ensures that the foam adheres securely to the window frame.
- Allow the Foam to Cure: Leave the foam sealant to cure and dry according to the manufacturer’s instructions. This usually takes a few hours. Avoid touching or disturbing the foam sealant during this time to ensure proper bonding.
- Trim Excess Foam: Once the foam sealant is fully dry, use a utility knife to trim any excess foam that protrudes from the window frame. This step helps to achieve a clean and finished look.
By insulating your basement window with foam sealant, you are enhancing its energy efficiency and preventing drafts. The foam fills in gaps and cracks, providing an airtight seal that reduces heat loss and improves insulation.
After completing the insulation with foam sealant, we will proceed to step eight, which involves adding a window film or plastic covering for additional insulation and protection.
Step 8: Adding Window Film or Plastic Covering
Adding a window film or plastic covering to your sealed basement window can provide an extra layer of insulation and protection against drafts and moisture. This step helps to further enhance energy efficiency and create a more comfortable living space.
Follow these steps to add a window film or plastic covering:
- Select the Right Window Film or Plastic: Choose a window film specifically designed for energy efficiency or opt for a heavy-duty plastic covering if you prefer. Consider factors such as transparency, UV protection, and ease of installation.
- Clean the Window Surface: Thoroughly clean the interior surface of the window using a glass cleaner or mild detergent. Remove any dirt, dust, or smudges to ensure a clear and smooth surface for the window film or plastic covering.
- Cut the Film or Plastic: Measure the dimensions of your window and cut the window film or plastic covering to match the size. Leave a slight overlap on each side to ensure full coverage.
- Apply the Film or Covering: Working from top to bottom, peel off the backing of the window film or plastic covering and carefully apply it to the inside of the window. Smooth out any bubbles or wrinkles as you go along, ensuring a tight and even application.
- Trim Excess Film or Plastic: Once the window film or plastic covering is applied, use a sharp utility knife to trim any excess material hanging over the edges of the window frame. This step helps to achieve a neat and seamless finish.
- Seal the Edges: Apply heat or use a hairdryer to gently warm and seal the edges of the window film or plastic covering. This step helps to create a secure bond and prevent peeling or lifting over time.
- Test and Adjust the Seal: Close the window and check for any gaps or air leaks around the edges of the film or covering. If necessary, apply additional tape or adhesive to ensure a tight seal.
Adding a window film or plastic covering provides an extra layer of insulation and helps to reduce heat loss, drafts, and condensation. It is an effective way to further improve the energy efficiency of your basement windows.
With the addition of the window film or plastic covering, your basement window is now well-sealed and ready to provide enhanced insulation and protection against the elements.
Next, we will move on to step nine, which involves maintaining the seal of your basement window to ensure its longevity and effectiveness.
Read more: How To Finish A Basement Window
Step 9: Maintaining the Seal
Maintaining the seal of your basement window is essential to ensure its longevity and effectiveness in keeping out drafts, water, and air leaks. With regular maintenance and inspections, you can identify and address any issues promptly, prolonging the lifespan of your seal and preserving its energy-saving benefits.
Follow these steps to maintain the seal of your basement window:
- Inspect Regularly: Periodically check the condition of the seal around your basement window. Look for any signs of wear, cracks, or gaps that may have developed over time. Regular inspections allow you to catch and address any issues early on.
- Repair Any Damage: If you notice any damage or deterioration in the seal, such as cracked caulk or damaged weatherstripping, take immediate action to repair it. Remove any old or compromised materials and replace them with fresh caulking or new weatherstripping as needed.
- Reapply Caulk or Sealant as Necessary: Over time, caulk or silicone sealant may start to degrade or become less effective. If you notice signs of wear or aging, consider reapplying caulk or sealant to ensure a strong and durable seal.
- Replace Weatherstripping: Weatherstripping may wear out over time due to exposure to the elements or repeated use. If your weatherstripping becomes cracked, compressed, or ineffective, replace it with new weatherstripping to maintain the integrity of the seal around your basement window.
- Keep the Area Clean: Regularly clean the window frame and surrounding area to prevent the accumulation of dirt, debris, or moisture that could compromise the seal. Use a brush or vacuum to remove any dust or loose particles.
- Monitor Condensation: Keep an eye on the level of condensation on your basement window. Excessive condensation may indicate a potential issue with insulation or ventilation. Address any underlying issues promptly to prevent damage to the seal and the surrounding area.
- Consider Professional Maintenance: If you are unsure about how to maintain or repair the seal of your basement window, consider consulting a professional. They can assess the condition of the seal and provide guidance or assistance in proper maintenance techniques.
By maintaining the seal of your basement window, you can ensure its effectiveness in keeping out drafts, water, and air leaks. Regular inspections and timely repairs or replacements can help prolong the life of the seal and keep your basement well-insulated.
With proper maintenance, your sealed basement window will continue to provide energy efficiency, comfort, and protection for years to come.
Congratulations! You have successfully learned how to seal a basement window. By following these steps and maintaining the seal, you have taken important measures to protect your home, improve energy efficiency, and create a more comfortable living space.
Sealing your basement window is a worthwhile investment that will pay off in the long run. Enjoy the benefits of a dry, insulated, and energy-efficient basement!
Conclusion
Sealing your basement window is a critical step in maintaining a dry, comfortable, and energy-efficient home. By following the step-by-step guide provided in this article, you have gained the knowledge and skills necessary to effectively seal your basement window and protect your living space from drafts, water damage, and energy loss.
We started by assessing the window and gathering the necessary materials. Removing old caulking or weatherstripping and cleaning the window frame ensured a clean and smooth surface for the new sealant or weatherstripping. We then proceeded to apply caulk or silicone sealant, followed by the installation of weatherstripping to create an airtight seal.
To further enhance insulation, foam sealant was used to fill larger gaps and cracks in the window frame. Adding a window film or plastic covering provided an extra layer of insulation, reducing drafts and improving energy efficiency. It’s important to maintain the seal by regularly inspecting and repairing any damage, reapplying caulk or sealant as needed, and replacing worn-out weatherstripping.
By sealing your basement window, you have created a barrier against drafts, water infiltration, and energy loss. Your efforts will result in improved comfort, reduced energy costs, and a more sustainable home overall.
Remember, proper insulation and regular maintenance are key to preserving the effectiveness of your seal. By keeping an eye on condensation, keeping the area clean, and addressing any issues promptly, you can enjoy the benefits of a well-sealed basement window for years to come.
Thank you for following this guide on how to seal a basement window. We hope that the information provided has been valuable and that you feel confident in undertaking this important home improvement project. By sealing your basement window, you are taking essential steps towards a healthier, more energy-efficient, and comfortable living environment.
Good luck with your sealing project, and enjoy the benefits of a well-sealed basement window!
Frequently Asked Questions about How To Seal A Basement Window
Was this page helpful?
At Storables.com, we guarantee accurate and reliable information. Our content, validated by Expert Board Contributors, is crafted following stringent Editorial Policies. We're committed to providing you with well-researched, expert-backed insights for all your informational needs.


0 thoughts on “How To Seal A Basement Window”