
Articles
How To Replace Basement Window
Modified: October 20, 2024
Learn the step-by-step process of replacing a basement window in this informative article. Discover expert tips and tricks for a successful window replacement project.
(Many of the links in this article redirect to a specific reviewed product. Your purchase of these products through affiliate links helps to generate commission for Storables.com, at no extra cost. Learn more)
Introduction
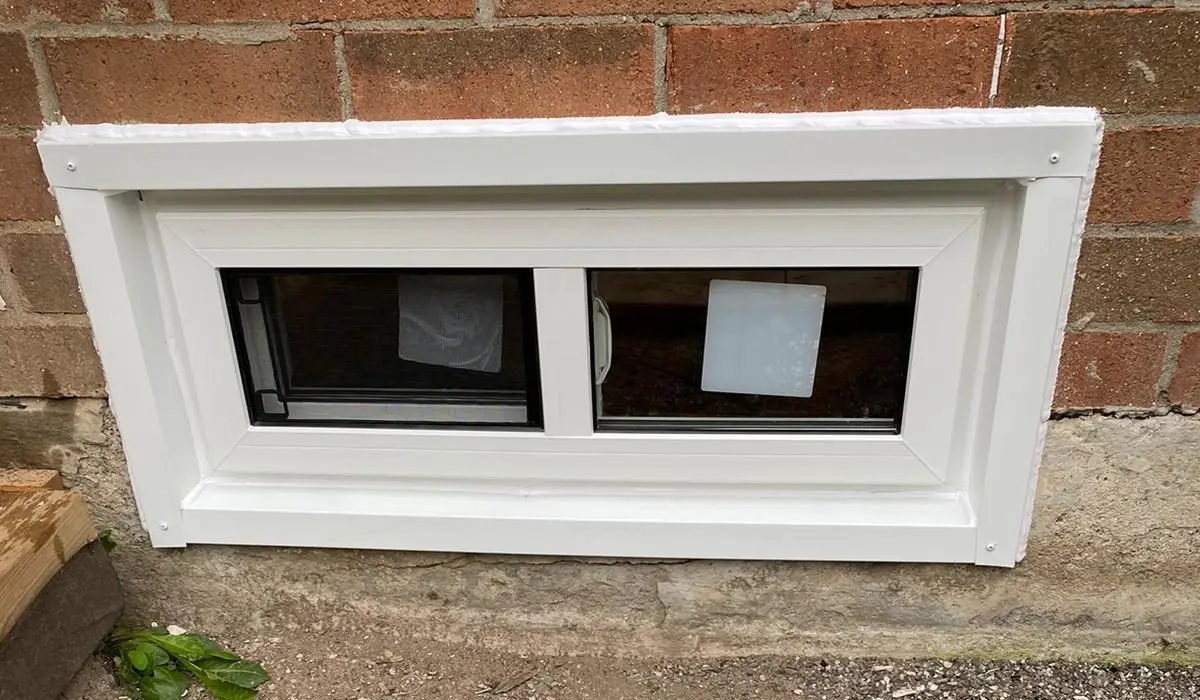
Welcome to our comprehensive guide on how to replace a basement window. Whether you’re looking to upgrade to a more energy-efficient window or your current window is damaged, replacing a basement window can improve the aesthetics and functionality of your space. In this article, we will walk you through the step-by-step process of safely replacing a basement window.
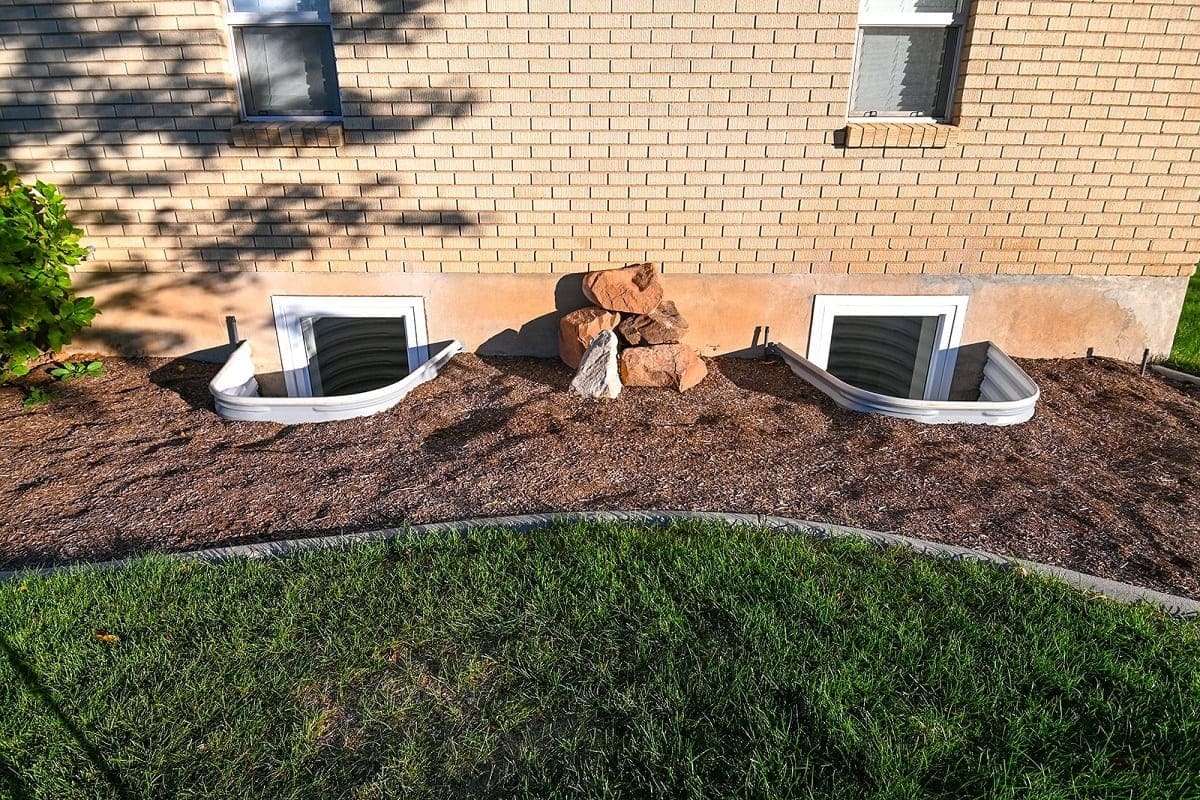
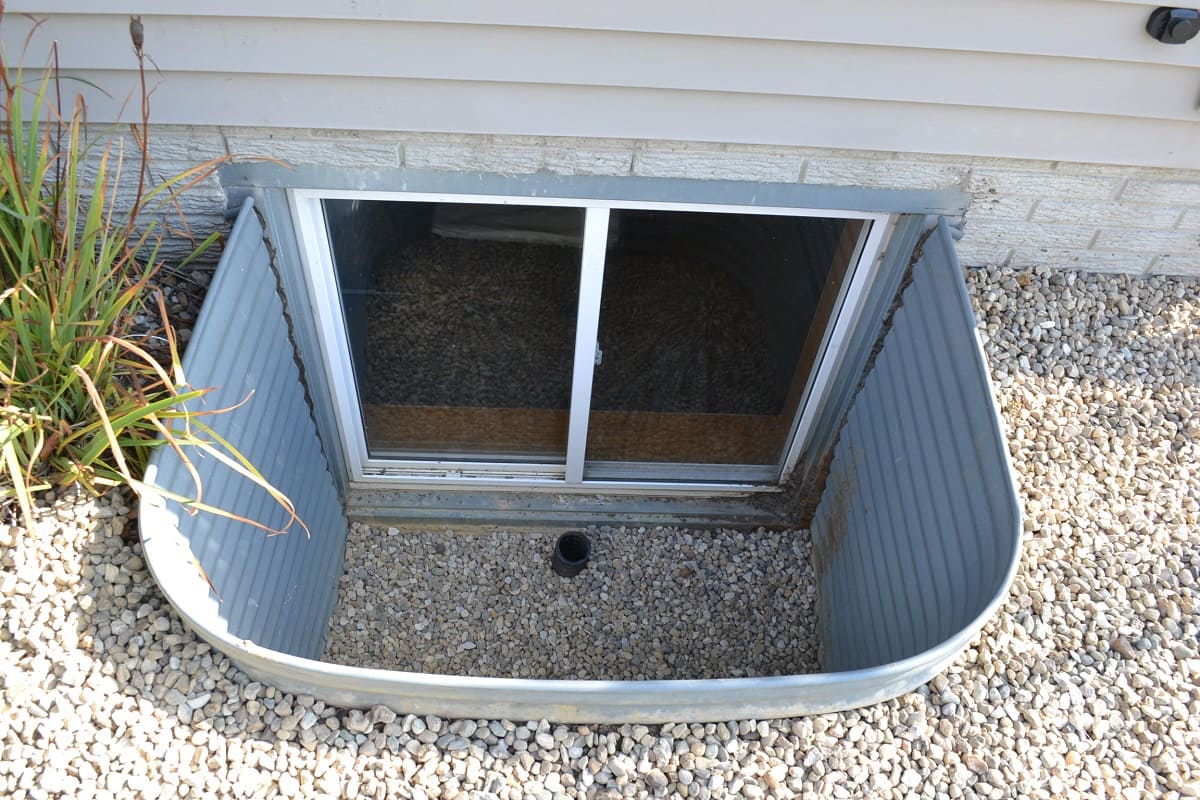
Basement windows not only allow natural light to enter the basement but also provide ventilation and act as an additional emergency exit. Over time, these windows may become outdated, damaged, or inefficient, leading to drafts and decreased energy efficiency. Replacing them can help improve energy efficiency, security, and the overall aesthetic appeal of your basement.
Before starting the replacement process, it’s important to familiarize yourself with some safety precautions. Working with tools and materials can be hazardous, so taking the necessary precautions will ensure your safety throughout the project.
Key Takeaways:
- Prioritize safety by wearing protective gear, stabilizing the work area, and checking for hazardous materials before replacing a basement window. Following safety precautions minimizes the risk of accidents and ensures a smooth installation process.
- From measuring and preparing the opening to purchasing the right window and completing the installation, each step contributes to a successful basement window replacement. Proper insulation, sealing, and finishing touches enhance energy efficiency and aesthetics.
Read more: How To Measure Basement Windows
Safety Precautions
When it comes to replacing a basement window, safety should be your top priority. Follow these precautions to ensure a safe and successful window replacement:
- Wear protective gear: Before you begin, make sure to put on safety goggles, gloves, and a dust mask to protect yourself from debris and dust.
- Ensure stability: If your basement has a wet or unstable floor, take measures to stabilize it before starting the replacement process.
- Check for hazardous materials: Older homes may have windows that contain lead-based paint or asbestos. If you suspect that your window may contain hazardous materials, consult with a professional before removing it.
- Disconnect utilities: Before removing the old window, ensure that all utilities connected to your basement, such as gas or electricity, are turned off to prevent accidents.
- Use caution with power tools: If you need to use power tools during the installation process, follow the safety guidelines provided by the manufacturer and use them carefully.
- Secure the work area: Clear the area around the window to ensure a safe working environment. Remove any furniture or objects that could be a tripping hazard.
- Work with a partner: Window replacement can be a challenging task, and having a partner to assist you can make the process easier and safer.
- Follow manufacturer instructions: Always read and follow the instructions provided by the window manufacturer to ensure proper installation and safety.
- Dispose of materials properly: Once the old window is removed, dispose of it properly. Check with your local waste management facility for guidelines on discarding construction debris.
By following these safety precautions, you can minimize the risk of accidents and injuries and ensure a smooth and safe basement window replacement.
Tools and Materials Needed
Before you start replacing your basement window, gather the necessary tools and materials to ensure a smooth installation process. Here are the tools and materials you will need:
Tools:
- Measuring tape
- Utility knife
- Screwdriver (flathead and Phillips)
- Caulking gun
- Putty knife
- Hammer
- Pry bar
- Level
- Drill
- Safety goggles
- Gloves
Materials:
- Basement window unit
- Window flashing
- Window sealant
- Window insulation foam
- Shims
- Screws
- Weatherstripping
- Extension cord (if needed)
Make sure to gather all the necessary tools and materials before starting the replacement to avoid interruptions during the installation process.
Note: The specific tools and materials required may vary depending on the type and size of the basement window you are replacing. Refer to the manufacturer’s instructions to ensure you have the appropriate tools and materials for your specific window unit.
Read more: How To Finish A Basement Window
Step 1: Removing the Old Window
The first step in replacing a basement window is to remove the old window. Follow these steps:
- Safety first: Put on your safety goggles and gloves to protect your eyes and hands from debris.
- Remove the window coverings: Take down any window coverings such as curtains or blinds.
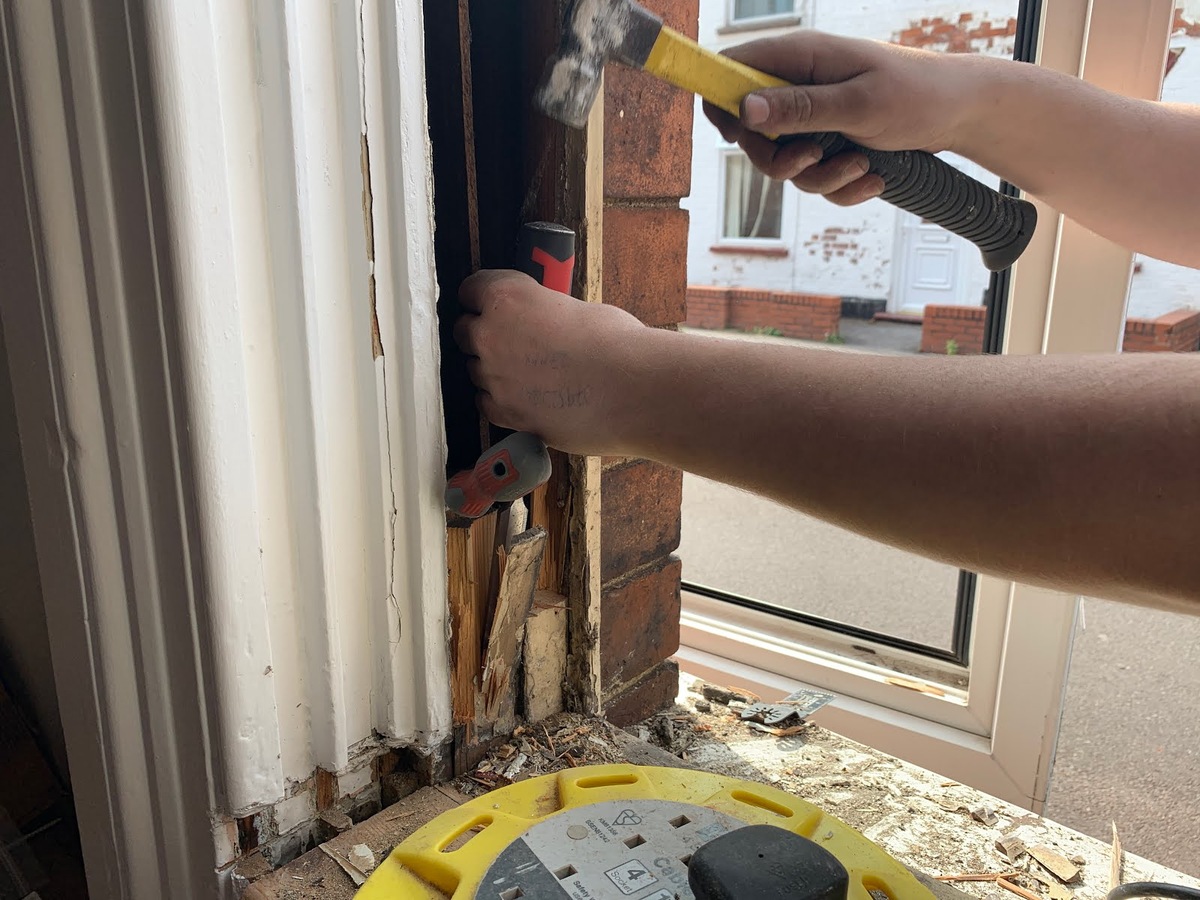
- Pry off the window trim: Use a pry bar or a flathead screwdriver to carefully remove the trim around the window. Be gentle to avoid damaging the surrounding area.
- Remove the window sash: Open the window and remove the sash by unscrewing or sliding it out of its tracks, depending on the type of window.
- Remove any remaining screws or fasteners: Check for any screws or fasteners securing the window frame to the wall. Remove them using a screwdriver or appropriate tool.
- Break the glass (if necessary): If the window is damaged and cannot be removed intact, carefully break the glass using a hammer while wearing protective gloves and goggles. Be cautious to avoid injury.
- Remove the window frame: Once the glass is removed, use a pry bar or hammer to carefully detach the window frame from the opening. Work slowly and methodically, being cautious not to damage the surrounding structure.
- Clean the opening: Remove any debris or old caulking from the opening to ensure a clean surface for the new window installation.
Ensure that the opening is cleaned and ready for the next steps before proceeding to measure and prepare for the installation of the new window.
Remember to handle broken glass with extreme caution and dispose of it properly to prevent injuries. If you are uncomfortable or unsure about handling broken glass, consider hiring a professional to assist you.
Step 2: Measuring and Preparing the Opening
Once the old window is removed, it’s time to measure and prepare the opening for the installation of the new basement window. Follow these steps:
- Measure the opening: Use a measuring tape to measure the width and height of the window opening. Take measurements at multiple points to ensure accuracy.
- Check for squareness: Use a level to check if the opening is square. If it’s not, make note of the differences in measurements between the top and bottom and adjust accordingly during the installation process.
- Clean the opening: Clear any debris or dust from the opening using a brush or vacuum. This will ensure a clean and smooth surface for the new window installation.
- Apply window flashing: Cut pieces of window flashing to fit the dimensions of the opening. Apply the flashing to the sides and top of the opening, making sure to overlap the pieces for proper water drainage.
- Apply window sealant: Run a bead of window sealant along the inner edges of the opening. This will help create a watertight seal and prevent any air or water leaks.
- Install shims (if necessary): If the opening isn’t level or plumb, use shims to adjust and align it properly. Place the shims between the window frame and the opening to ensure a secure and level installation.
- Double-check measurements: Before proceeding with the window installation, double-check the measurements of the opening to ensure a proper fit for the new window.
Take your time during this step to accurately measure and prepare the opening. It’s crucial to have a properly sized and prepared opening to ensure a seamless installation of the new basement window.
Note: The measurements and preparations may slightly vary depending on the type and design of the window you are installing. Always refer to the manufacturer’s instructions for specific guidelines regarding the measurement and preparation process.
Step 3: Purchasing a New Window
Once you have measured and prepared the opening for your basement window, it’s time to purchase a new window that fits your specific requirements. Follow these steps:
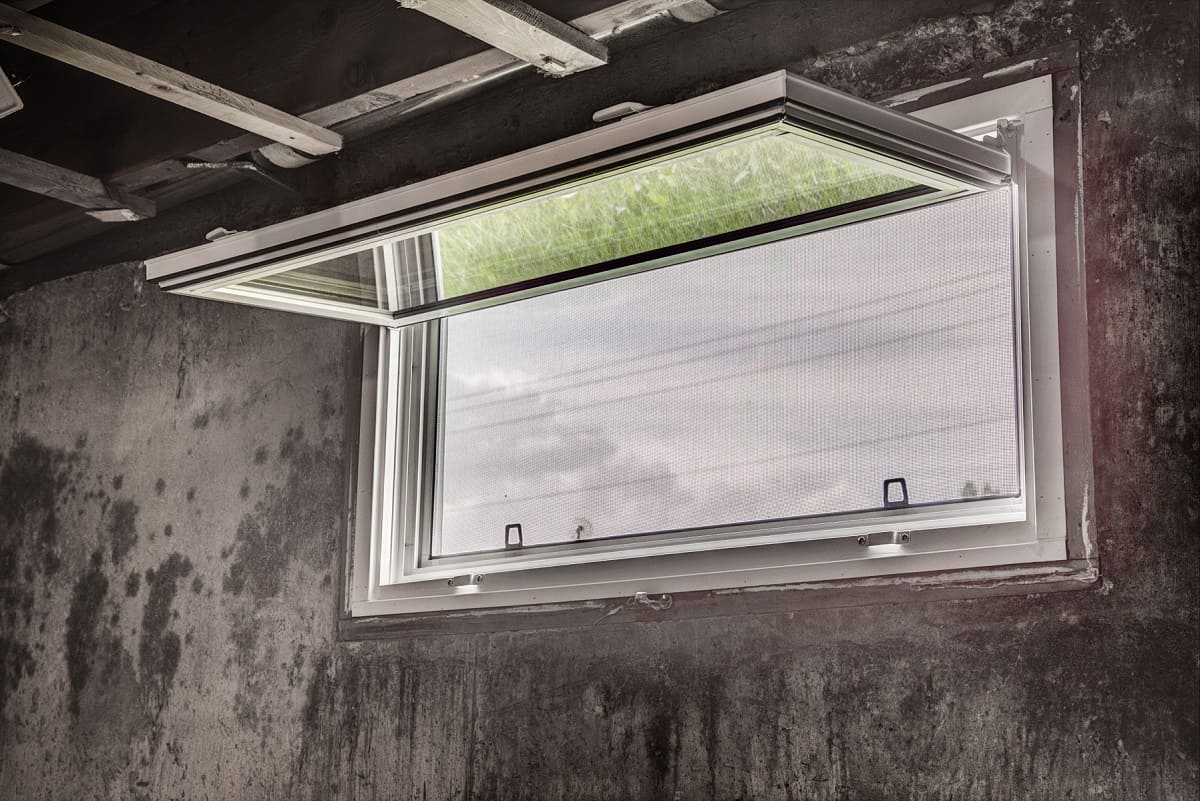
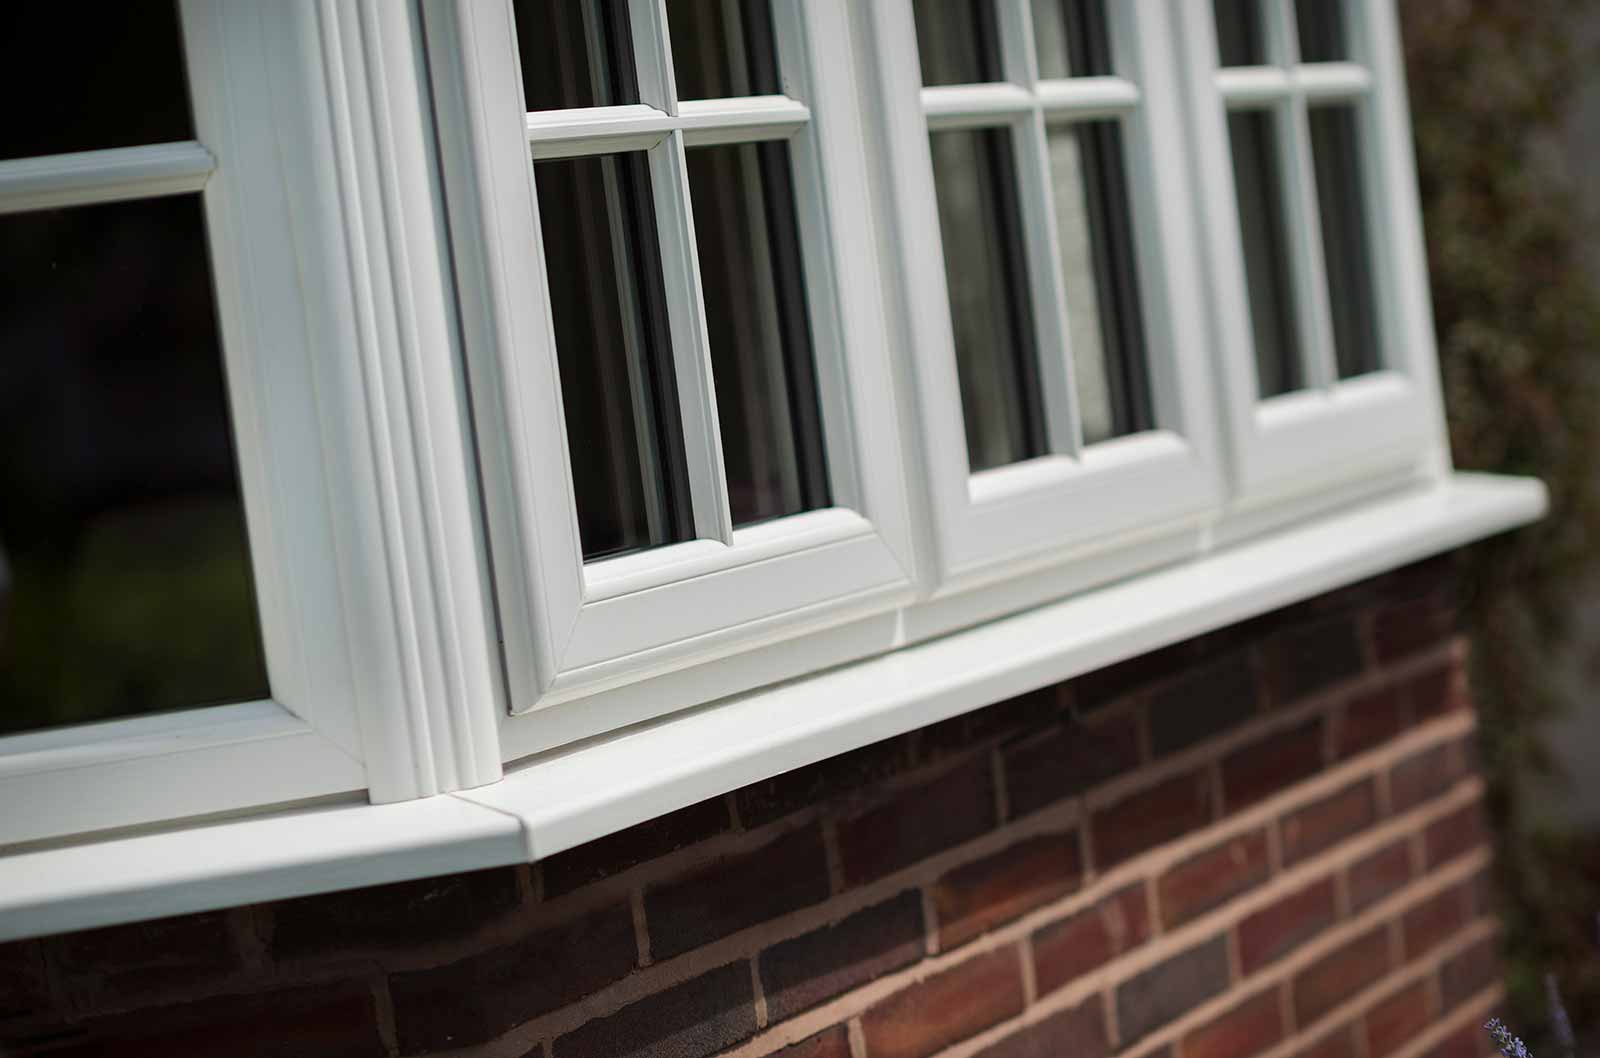
- Determine the window type: Consider the functionality and design you want for your basement window. Common types include casement windows, sliding windows, and hopper windows. Choose a style that suits your needs and complements the overall aesthetics of your basement.
- Consider energy efficiency: Look for windows with high energy efficiency ratings. Energy-efficient windows can help reduce heating and cooling costs and improve the comfort of your basement.
- Check the window size: Ensure that the window you purchase matches the measurements you took of the opening. Remember to account for any necessary adjustments during installation, such as adding shims or adjusting the frame for a snug fit.
- Research reputable brands: Look for well-known and established window manufacturers known for their quality and durability. Read reviews and check customer ratings to ensure you are purchasing a reliable product.
- Consider special features: Depending on your needs, you may want to consider additional features such as tempered glass for added security, low-E coatings for UV protection, or soundproofing capabilities.
- Compare prices: Once you have narrowed down your options, compare prices from different suppliers or retailers. Take into account the quality, features, and warranty provided with each window to make an informed decision.
- Make the purchase: After conducting thorough research and selecting the right basement window for your needs, make the purchase from a reputable supplier or retailer. Consider any additional materials you may need, such as weatherstripping or insulation foam, and purchase them concurrently.
Purchasing a new window that meets your requirements and fits the opening properly is essential for a successful basement window replacement. Take your time, do your research, and choose a high-quality window that will enhance the functionality and aesthetics of your basement.
When replacing a basement window, make sure to measure the opening accurately before purchasing a new window. It’s important to get the right size to ensure a proper fit and seal.
Step 4: Installing the New Window
Now that you have purchased the new basement window, it’s time to install it. Follow these steps for a successful installation:
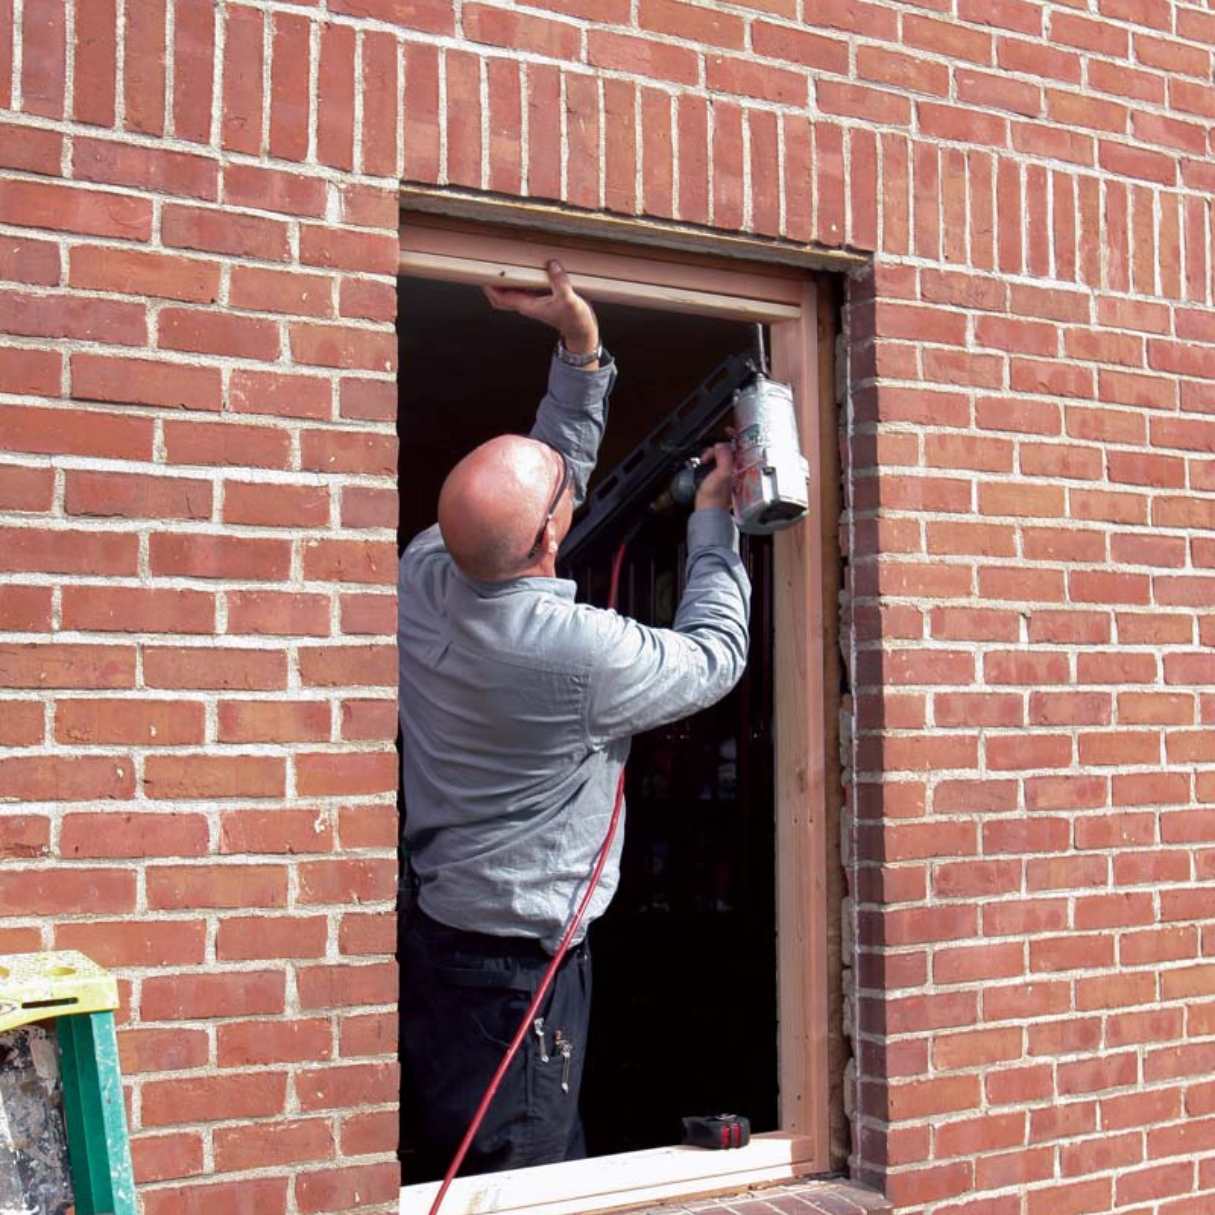
- Prep the window: Remove any packaging or protective covers from the new window. Read the manufacturer’s instructions and familiarize yourself with the specific installation requirements for your window model.
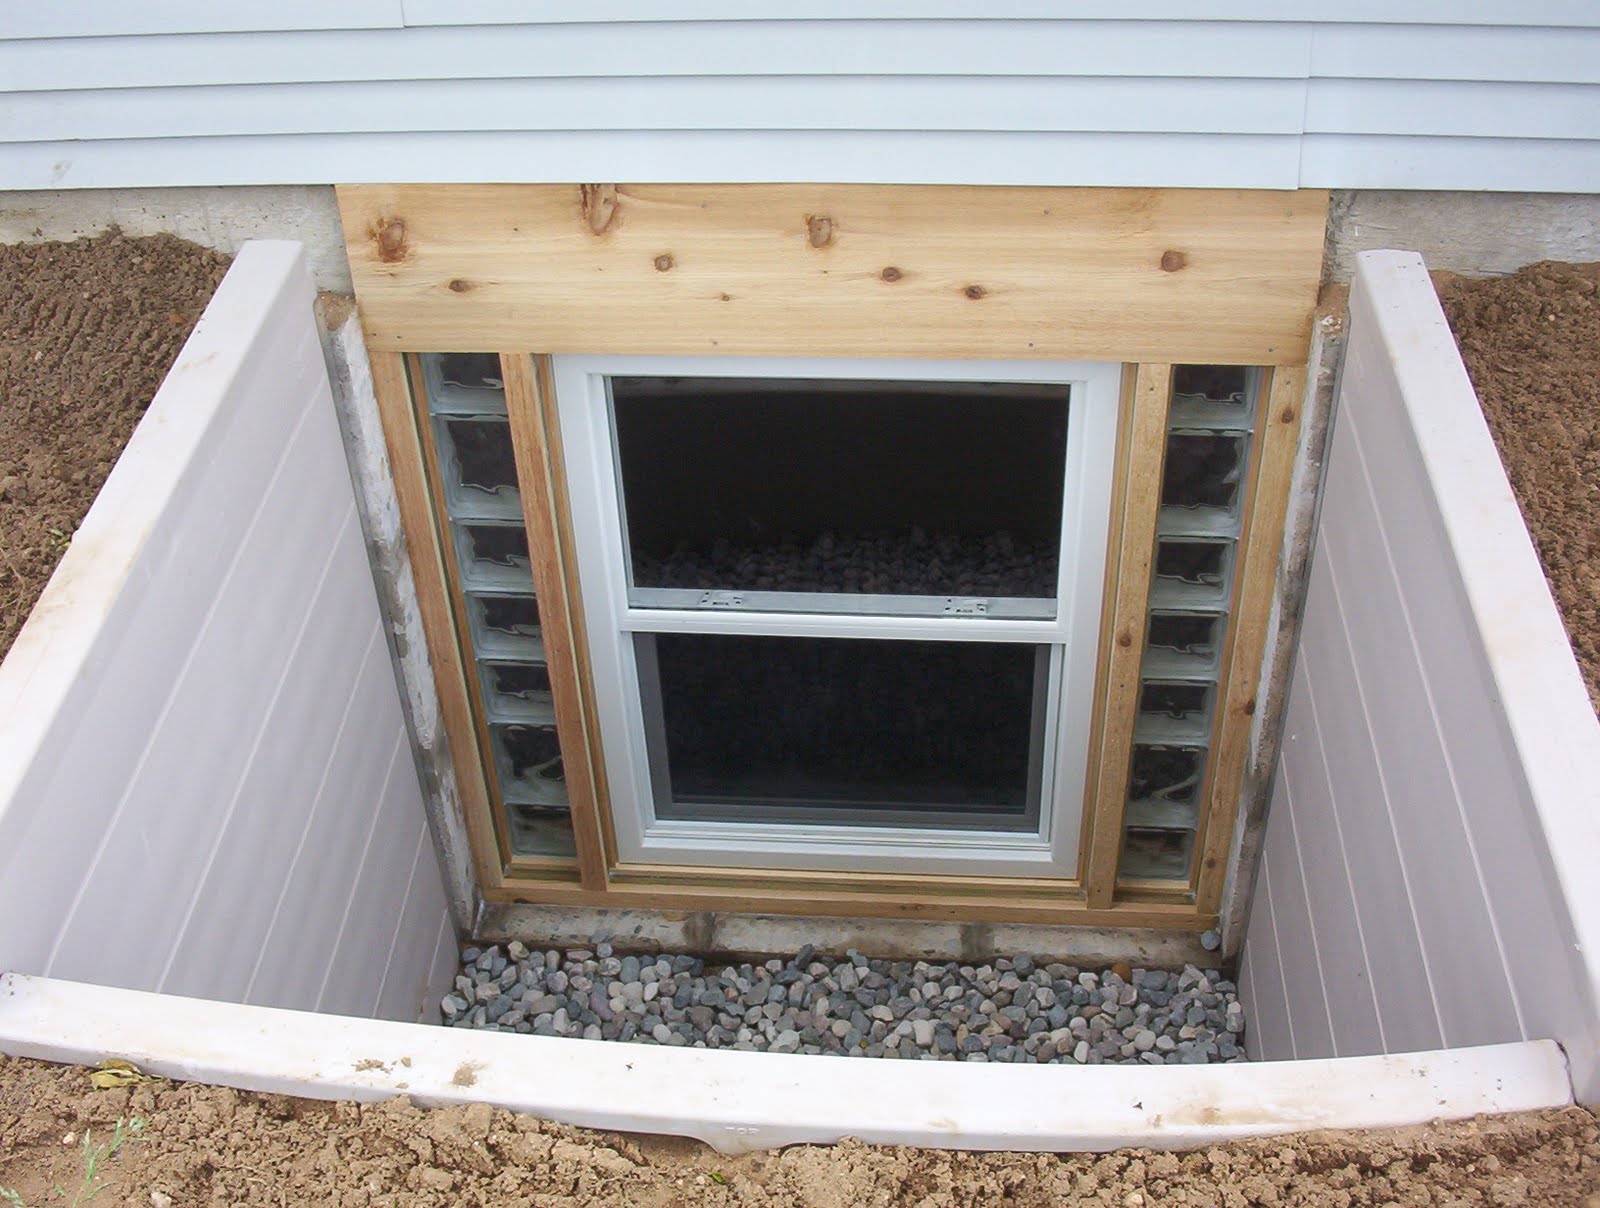
- Place the window: Carefully position the new window into the prepared opening. Make sure it is centered and level both horizontally and vertically.
- Secure the window: Use screws or fasteners provided by the manufacturer to secure the window frame to the opening. Follow the recommended spacing and fastening pattern to ensure a secure and stable installation.
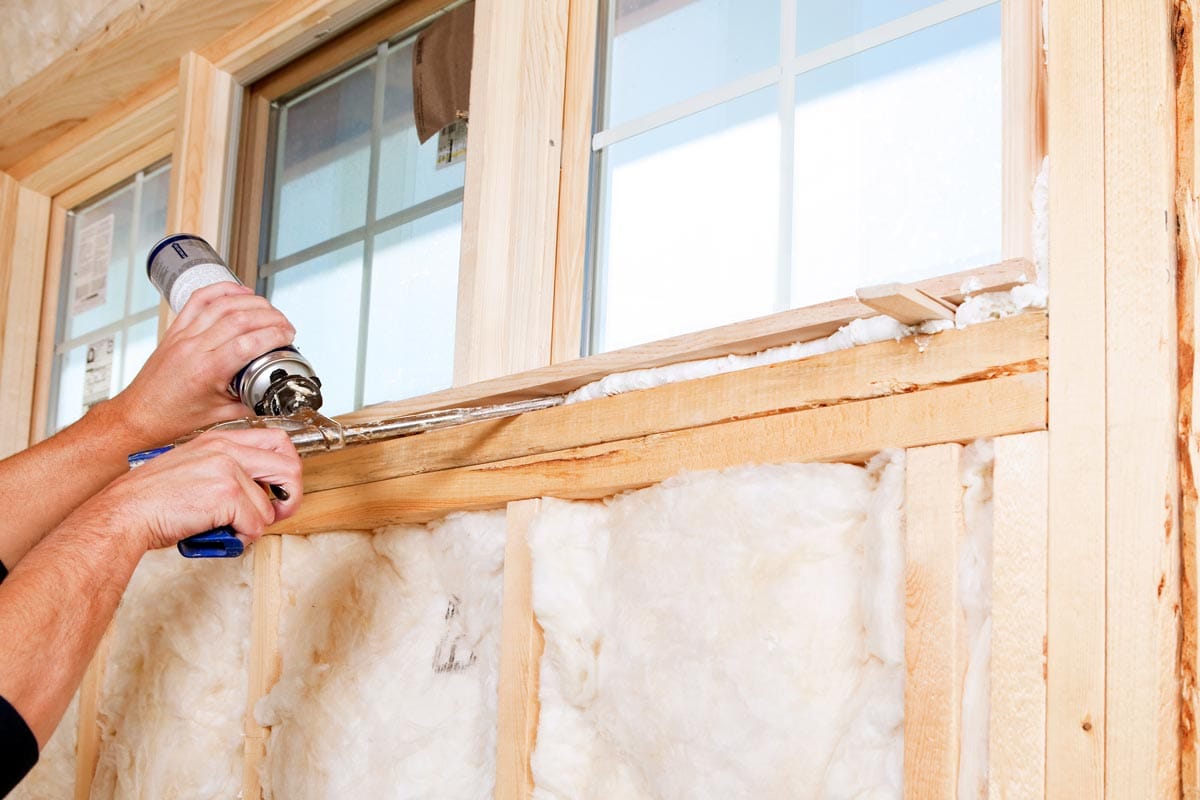
- Add insulation: Apply window insulation foam around the edges of the window frame to create an airtight seal. This will help improve energy efficiency and prevent air leakage.
- Check for proper operation: Carefully open and close the window to ensure it operates smoothly. Make any necessary adjustments or tighten screws, if needed, to ensure proper functionality.
- Install window accessories: If your window comes with accessories such as window locks or pulls, follow the manufacturer’s instructions to install them properly.
During the installation process, it’s important to work carefully and precisely to ensure a proper fit and alignment for the new window. Take your time to ensure that the window is securely fastened and operates smoothly.
Remember to consult the manufacturer’s instructions for any specific steps or considerations that may apply to your particular window model.
Once the new window is installed, proceed to the next step to properly seal and insulate it.
Read more: How To Cover Basement Windows
Step 5: Insulating and Sealing the Window
After installing the new basement window, the next crucial step is to properly insulate and seal it to ensure energy efficiency and prevent air or water leaks. Follow these steps:
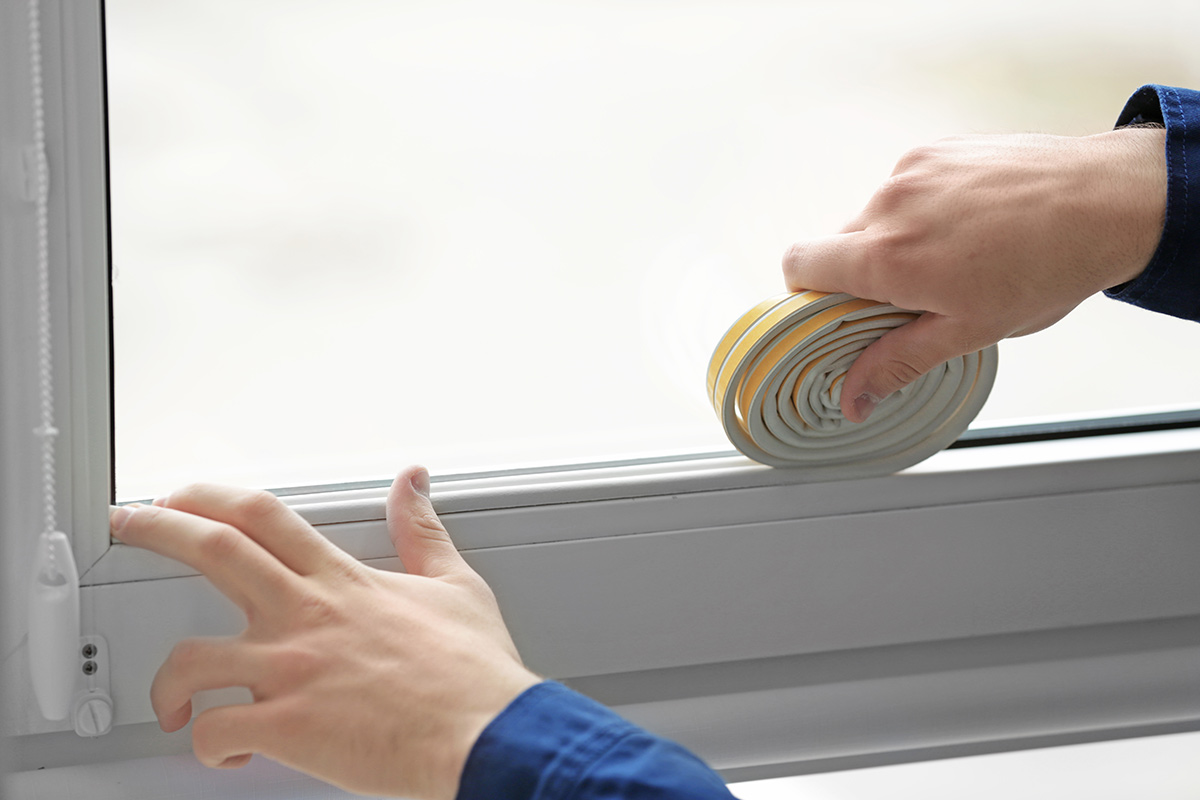
- Apply weatherstripping: Measure and cut weatherstripping to fit the edges of the window frame. Attach it to the frame to provide a tight seal when the window is closed.
- Seal gaps: Inspect the area around the window frame for any gaps or openings. Use window sealant to fill in any gaps, creating a watertight and airtight seal.
- Insulate with expandable foam: Apply window insulation foam around the edges of the window frame. The foam will expand to fill any gaps and provide additional insulation.
- Smooth and trim excess foam: Once the foam is dry, use a putty knife or utility knife to trim away any excess foam. Smooth the surface to create a clean and finished look.
- Check for drafts: After insulating and sealing, check for any drafts by running your hand along the edges of the window. If you feel any air coming through, add additional sealant or weatherstripping as needed.
Proper insulation and sealing are essential to ensure energy efficiency and a comfortable environment in your basement. It helps to prevent heat loss, reduce drafts, and keep out moisture, resulting in improved energy savings and a more comfortable living space.
Take your time during this step to ensure that all gaps and openings are sealed properly, and that the window is well-insulated. This will help maximize the benefits of your new basement window installation.
Step 6: Finishing Touches
With the installation and insulation complete, it’s time to add the finishing touches to your newly replaced basement window. Follow these steps to complete the project:
- Replace the window trim: Carefully attach the window trim around the edges of the window frame. Use a hammer and finishing nails to secure it in place, ensuring a clean and polished appearance.
- Caulk any visible gaps: Inspect the area where the trim meets the wall and the window frame. Apply a bead of paintable caulk along any visible gaps to create a seamless and finished look.
- Touch up paint: If needed, touch up any areas around the window where the paint may have been damaged during the installation process. Use matching paint to ensure a cohesive look.
- Clean the window: Wipe down the window with a glass cleaner or a mixture of vinegar and water to remove any fingerprints or smudges.
- Replace window coverings: Once the window is clean and dry, reinstall your chosen window coverings such as curtains, blinds, or shades.
- Enjoy your new window: Step back and admire your completed project. Open and close the window to ensure it operates smoothly and enjoy the improved aesthetics and functionality of your newly replaced basement window.
Completing these finishing touches will help give your new basement window a polished and professional appearance. Take your time to ensure that everything is properly aligned, clean, and secure.
Remember to follow any additional instructions provided by the manufacturer or consult with professionals if you have any concerns or questions during the finishing process.
Congratulations! You have successfully replaced your basement window and added a fresh look to your space.
Conclusion
Replacing a basement window is a rewarding home improvement project that can enhance the functionality, energy efficiency, and aesthetics of your space. By following the step-by-step guide outlined in this article, you have gained the knowledge and confidence to successfully replace your basement window.
Throughout the process, we emphasized the importance of safety precautions to protect yourself and others involved in the project. Remember to wear the appropriate protective gear, ensure stability in your work area, and take caution when handling tools and materials.
From measuring and preparing the opening to purchasing the right window and completing the installation, each step has its own significance in achieving a successful outcome. Proper insulation and sealing are essential for energy efficiency and preventing drafts, while the finishing touches, such as trim and paint, contribute to a polished and refined look.
By investing time and effort into replacing your basement window, you can enjoy the benefits of improved natural lighting, ventilation, energy efficiency, and overall comfort in your basement space. Additionally, the updated appearance adds to the visual appeal of your home.
If you encounter any challenges during the process or have specific concerns about your window installation, it is always advisable to consult professionals or seek guidance from experts in the field.
Now that you have completed the window replacement, take a step back and appreciate your hard work. Enjoy the fresh look, improved functionality, and increased energy efficiency provided by your new basement window.
Thank you for choosing our comprehensive guide as your resource throughout this project. We hope it has been informative and helpful as you successfully replaced your basement window.
Frequently Asked Questions about How To Replace Basement Window
Was this page helpful?
At Storables.com, we guarantee accurate and reliable information. Our content, validated by Expert Board Contributors, is crafted following stringent Editorial Policies. We're committed to providing you with well-researched, expert-backed insights for all your informational needs.


0 thoughts on “How To Replace Basement Window”