
Articles
How To Insulate Basement Floor
Modified: January 9, 2024
Learn how to insulate your basement floor with these helpful articles. Get step-by-step instructions and expert tips for a successful project.
(Many of the links in this article redirect to a specific reviewed product. Your purchase of these products through affiliate links helps to generate commission for Storables.com, at no extra cost. Learn more)
Introduction
Welcome to our comprehensive guide on how to insulate basement floors. Insulating your basement floor is a crucial step in creating a comfortable and energy-efficient living space. Whether you’re planning to use your basement as a living area, a home office, or a recreational space, proper insulation is essential for maintaining a consistent temperature and reducing energy costs.
Basements are notorious for being cold and damp, but with the right insulation techniques, you can transform your basement into a warm and cozy area. In this article, we will walk you through the step-by-step process of insulating your basement floor, from clearing the area to finishing touches. By following these steps, you can ensure that your basement is properly insulated and ready for all your desired activities.
Before we delve into the details, it’s important to note that insulating your basement floor can offer numerous benefits beyond just improving comfort. It can help prevent moisture buildup, reduce the risk of mold and mildew growth, and enhance overall indoor air quality. Additionally, a well-insulated basement can help to reduce energy consumption and save you money on heating and cooling costs.
Now that we understand the importance of insulating your basement floor, let’s move on to the first step: clearing the basement floor.
Key Takeaways:
- Properly insulating your basement floor can transform the space into a warm, cozy, and energy-efficient area, reducing moisture issues and enhancing indoor air quality.
- The comprehensive insulation process, from clearing the floor to adding finishing touches, ensures a well-insulated basement that adds value to your home and provides long-lasting comfort.
Read more: How To Insulate A Basement Floor
Step 1: Clearing the Basement Floor
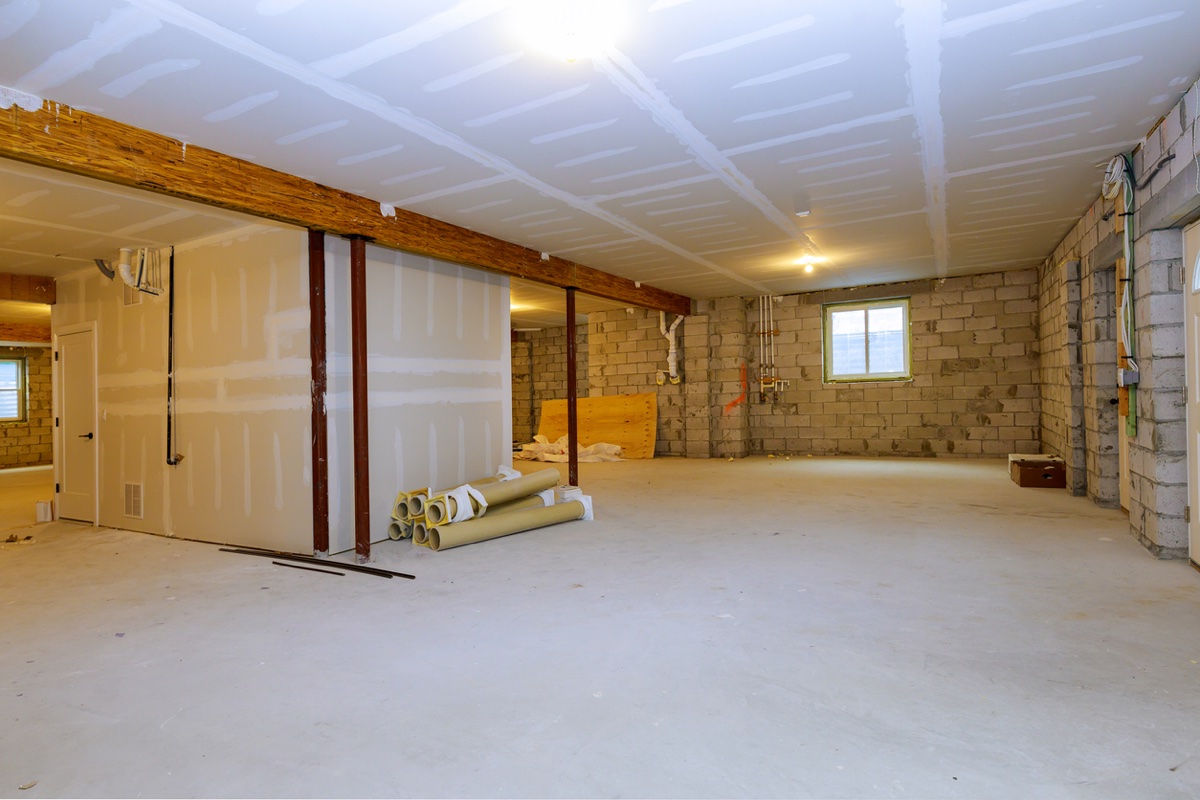
Before you begin insulating your basement floor, it’s crucial to clear out any clutter and debris from the area. Remove any furniture, storage items, or other objects that may be on the floor. This will provide you with a clean and clear space to work with during the insulation process.
Start by organizing and decluttering the basement. Sort through your belongings and decide what items you want to keep, donate, or discard. This step not only clears the floor but also helps you create a more organized and functional basement space.
Next, thoroughly clean the basement floor to remove any dirt, dust, or stains. Sweep the floor to remove loose dirt and debris, and then mop it using a mild detergent and warm water. Pay close attention to any stubborn stains and use a scrub brush to remove them. Allow the floor to dry completely before moving on to the next step.
If you notice any cracks or uneven areas on the floor, now is the time to address them. Use a concrete filler or patching compound to fill in any cracks or gaps, and smooth out any uneven sections. This will ensure a smooth and level surface for the insulation to be installed.
Once the floor is clean, clear, and in good condition, you’re ready to move on to the next step: preparing the surface.
Step 2: Preparing the Surface
After clearing the basement floor, the next step is to prepare the surface for insulation. Proper preparation is vital to ensure that the insulation materials adhere correctly and provide effective insulation.
Start by examining the floor for any moisture issues. Basements are prone to dampness, so it’s crucial to address any moisture problems before proceeding with the insulation. Look for signs of water damage, such as stains or wet spots, and address them accordingly. If you suspect a moisture issue, it’s recommended to consult with a professional to determine the source and find an appropriate solution.
Before you install any insulation materials, it’s important to install a vapor barrier. A vapor barrier helps to prevent moisture from penetrating the insulation and causing damage. It also helps to create an airtight seal, which improves the effectiveness of the insulation. Measure the dimensions of your basement floor and cut the vapor barrier to fit accordingly. Secure the vapor barrier to the floor, extending it up the walls by a few inches to ensure complete coverage.
Once the vapor barrier is in place, it’s time to install the insulation. There are various types of insulation to choose from, such as rigid foam insulation, spray foam insulation, or fiberglass batt insulation. Each type has its own advantages and considerations, so research and choose the one that best suits your needs and budget.
Measure the dimensions of the basement floor and cut the insulation panels accordingly. Lay the insulation panels on the floor, leaving a small gap around the edges to allow for expansion. If using spray foam insulation, follow the manufacturer’s instructions for application. Be sure to wear protective gear and work in a well-ventilated area when using spray foam insulation.
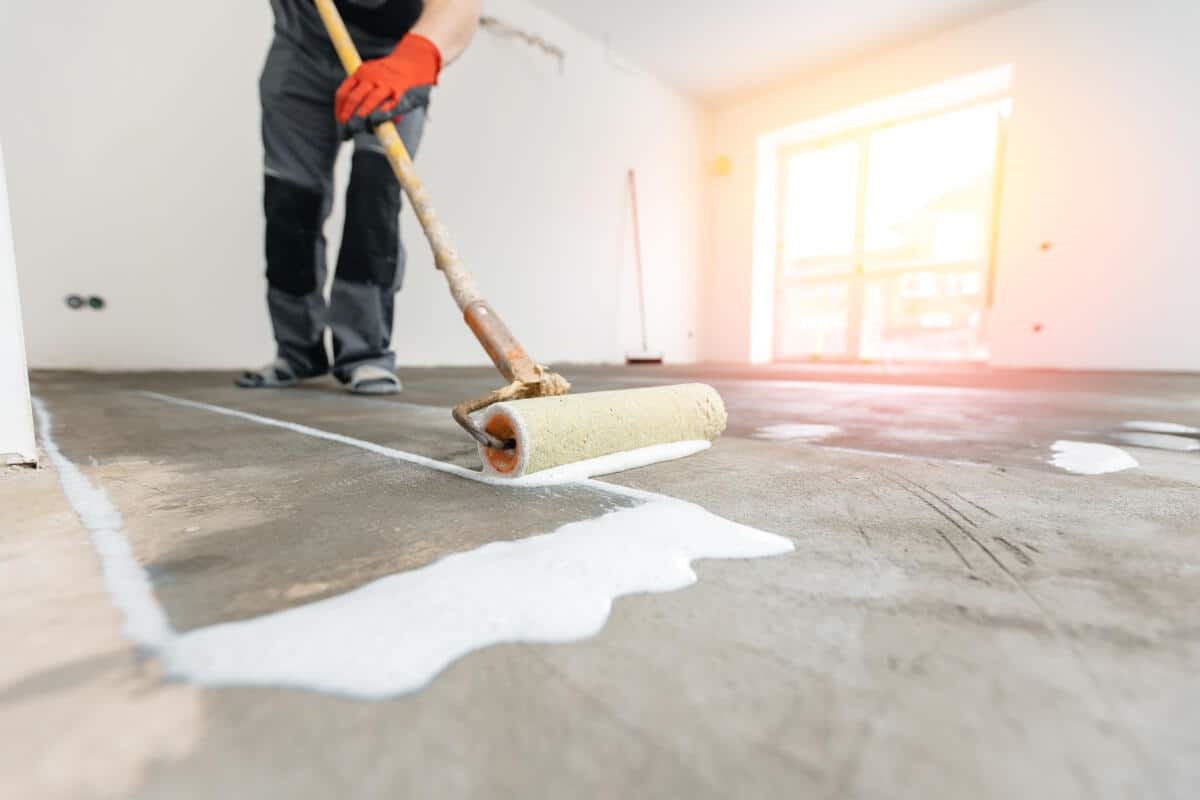
Once the insulation is installed, it’s crucial to seal any gaps or joints to prevent air leakage. Use a high-quality tape or sealant to seal the joints between insulation panels and around the edges of the vapor barrier. This will help to create an airtight seal and maximize the insulation’s effectiveness.
With the surface properly prepared and the insulation installed, you’re ready to move on to the next step: sealing the joints.
Step 3: Installing the Vapor Barrier
Installing a vapor barrier is a crucial step in insulating your basement floor. The vapor barrier helps to prevent moisture from seeping into the insulation and causing damage. It also acts as a barrier against air leakage, improving the overall insulation effectiveness.
Before starting the installation, ensure that the basement floor is clean and free from any debris. This will help the vapor barrier adhere properly and provide a secure seal. Give the floor a thorough cleaning by sweeping or vacuuming it to remove any dirt or dust.
Measure the dimensions of your basement floor and cut the vapor barrier accordingly. It’s ideal to use a 6-mil polyethylene vapor barrier, which is a common material for basement insulation. Start by placing the first sheet of vapor barrier along one edge of the floor, allowing it to extend up the walls by a few inches. If necessary, secure it in place with tape or adhesive.
Continue unrolling the vapor barrier, overlapping each sheet by a few inches to ensure a continuous barrier. Make sure to press down firmly on the barrier to remove any air pockets or wrinkles. Trim any excess material as needed to ensure a neat and proper fit.
If your basement has any pillars or support columns, make sure to wrap them with the vapor barrier as well. This will provide complete coverage and ensure that they are properly insulated. Use tape or adhesive to secure the vapor barrier around the pillars or columns.
As you install the vapor barrier, pay close attention to any penetrations or openings in the floor, such as pipes or electrical conduits. Use a utility knife to carefully cut holes in the vapor barrier to fit around these obstructions. Make sure to seal the edges of these cuts tightly to maintain the integrity of the vapor barrier.
Once the vapor barrier is installed, it’s essential to check for any gaps or areas that may need further sealing. Use a high-quality tape or sealant to seal any seams or joints between the sheets of vapor barrier. Additionally, ensure that the barrier is securely attached to the walls, creating a tight seal.
With the vapor barrier properly installed, you’ve completed an important step in insulating your basement floor. Now, it’s time to move on to the next step: installing the insulation materials.
Step 4: Installing the Insulation
Installing insulation is a crucial part of insulating your basement floor. The insulation material helps to regulate temperature, reduce heat loss, and improve energy efficiency. There are several types of insulation to choose from, including rigid foam insulation, spray foam insulation, and fiberglass batt insulation. The choice of insulation will depend on your budget, preferences, and the specific needs of your basement.
Before installing the insulation, it’s important to ensure that the basement floor is clean and prepared. Make sure the surface is free from any debris, dust, or moisture.
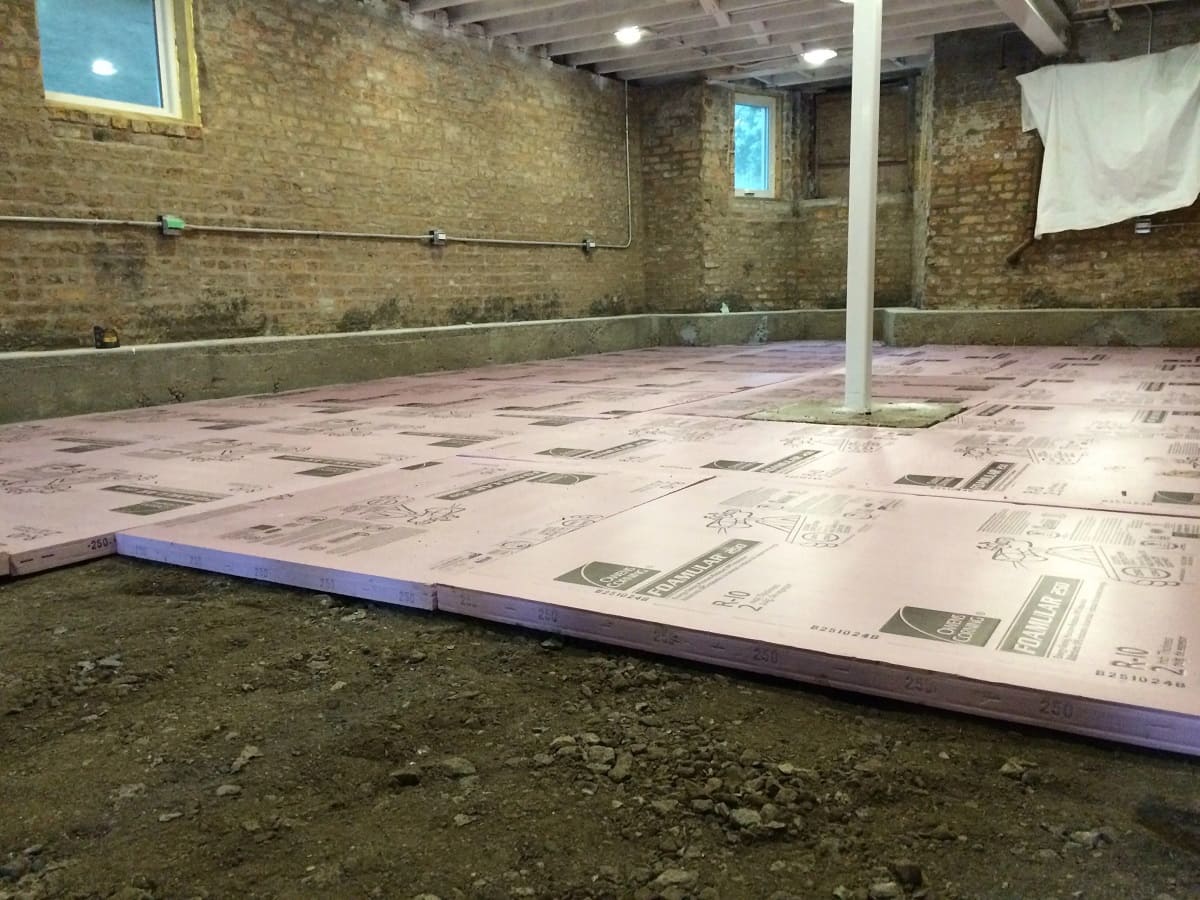
If you’re using rigid foam insulation, start by measuring the dimensions of your basement floor. Cut the insulation panels to fit the floor area, leaving a small gap around the edges to accommodate for expansion. Place the insulation panels snugly against the floor, ensuring a tight fit. Use construction adhesive or insulation fasteners to secure the panels in place.
For spray foam insulation, carefully follow the manufacturer’s instructions for application. The spray foam should be applied evenly across the floor surface, making sure to cover all areas thoroughly. Be sure to wear protective gear and work in a well-ventilated area when using spray foam insulation.
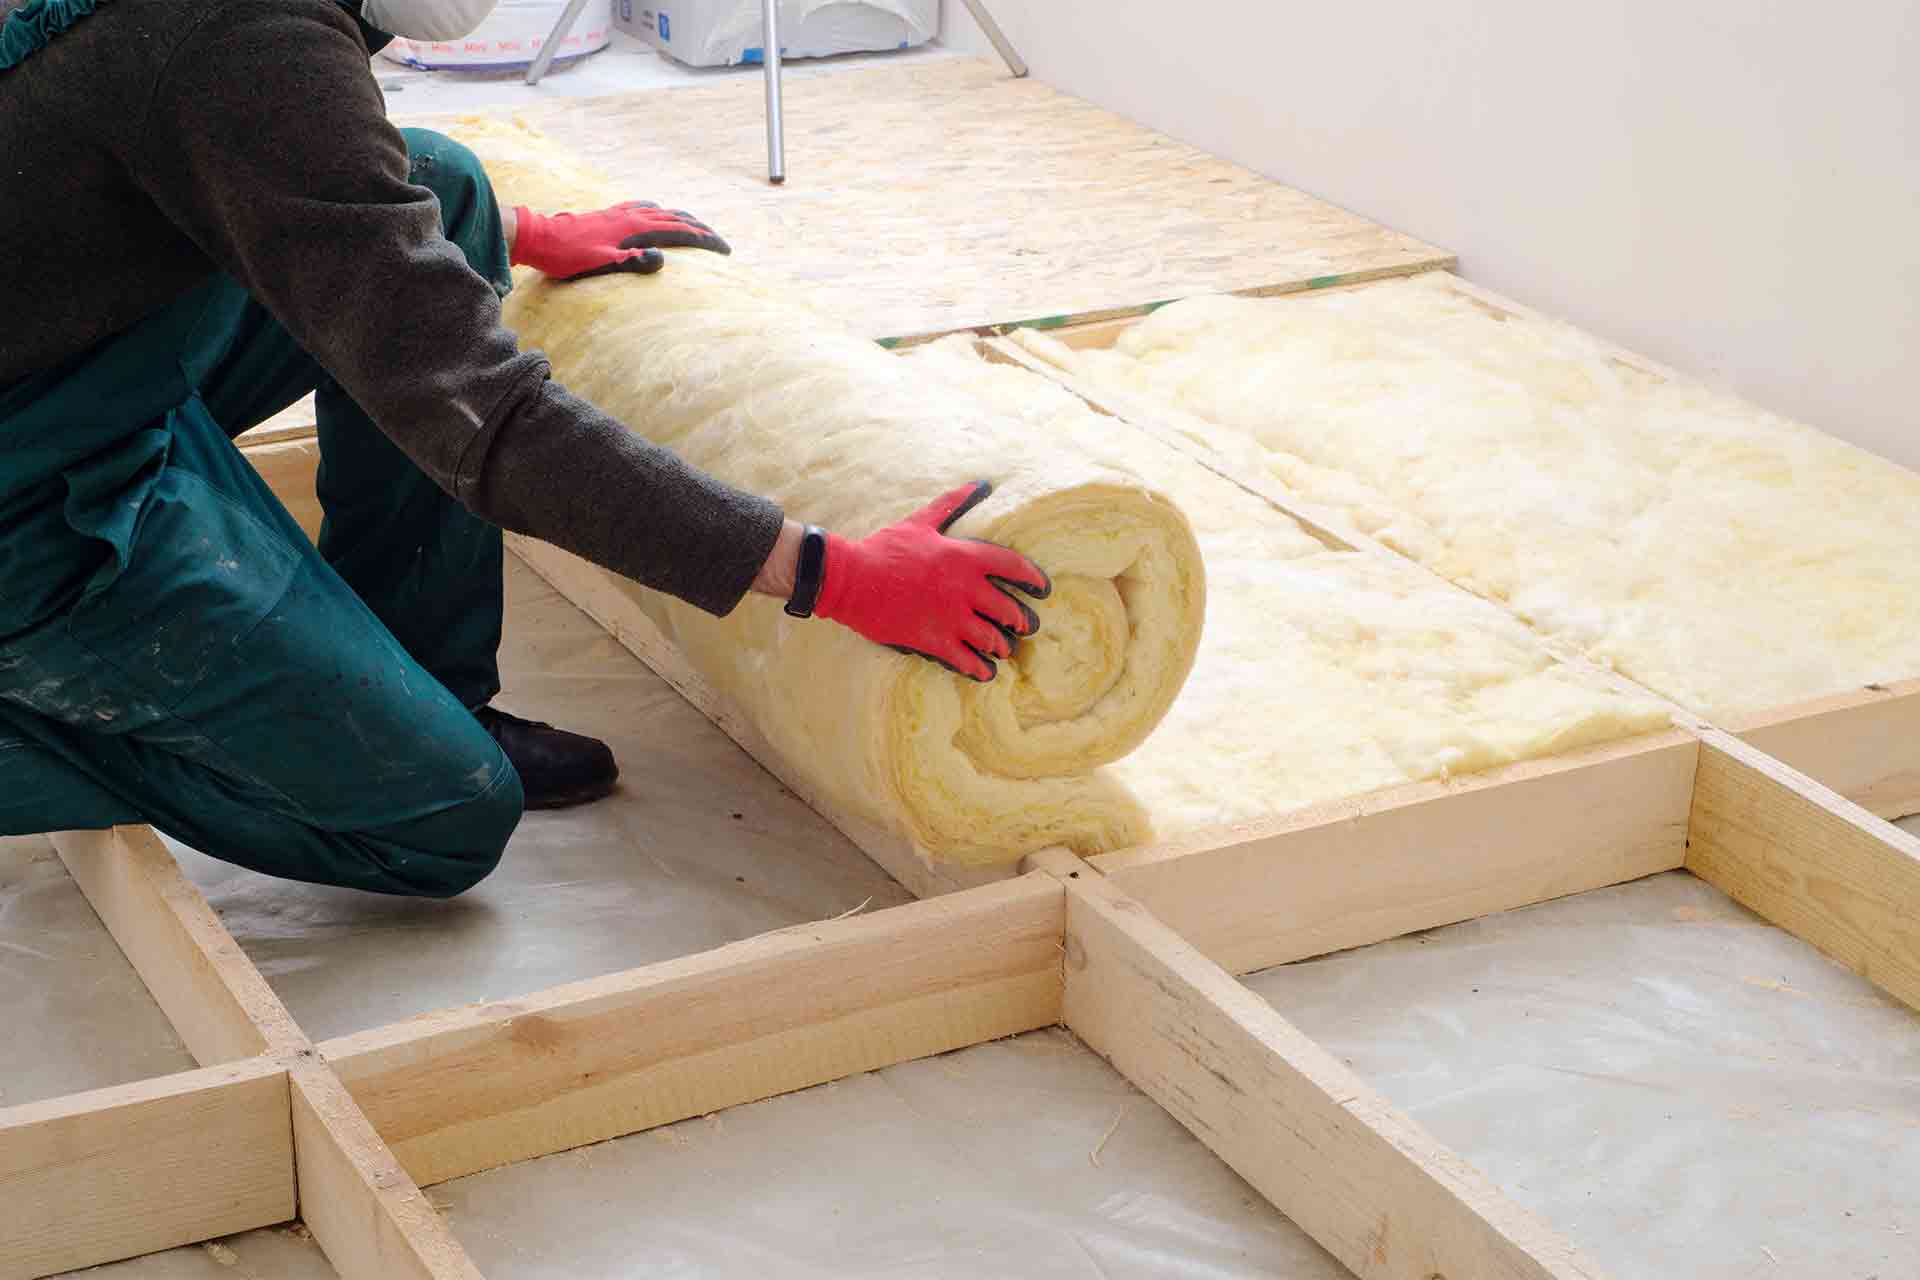
If you prefer fiberglass batt insulation, measure the dimensions of your basement floor and cut the insulation rolls to fit. Lay the insulation rolls on the floor, pressing them firmly into place. Make sure to cover the entire floor area and carefully fit the insulation around any obstacles or obstructions.
As you install the insulation, pay close attention to any gaps or seams between the insulation panels or rolls. Use a high-quality tape or sealant to seal any joints or gaps to ensure maximum insulation effectiveness.
When installing the insulation, it’s essential to consider any HVAC systems or vents in the basement. Ensure that the insulation does not cover or block any vents or air ducts, as this can hinder proper airflow and ventilation. Make necessary adjustments to the insulation placement to accommodate for these systems.
Remember, the goal is to create a continuous and well-insulated surface across the entire basement floor. Take your time to ensure that the insulation is properly installed and covers all areas effectively.
With the insulation in place, you’ve completed a significant step in insulating your basement floor. Now, it’s time to move on to the next step: sealing the joints.
When insulating a basement floor, use rigid foam insulation to create a thermal break and prevent moisture issues. Install the insulation directly onto the concrete floor before adding any finished flooring.
Read more: How To Insulate A Basement
Step 5: Sealing the Joints
Sealing the joints in your basement floor insulation is crucial to create an airtight barrier and maximize energy efficiency. Properly sealed joints prevent air leakage, moisture intrusion, and help maintain a consistent temperature in your basement.
Start by inspecting the joints between the insulation panels or rolls. Look for any gaps, cracks, or seams that may need to be sealed. Common areas to focus on include the edges of the insulation, corners, and any overlaps in the material.
Use a high-quality tape or sealant specifically designed for insulation to seal the joints. Apply the tape or sealant along the seams and press firmly to ensure a tight bond. If using tape, make sure to overlap the edges to create a continuous seal. If using sealant, follow the manufacturer’s instructions for application and curing time.
Pay extra attention to the perimeter of the basement floor, where the insulation meets the walls. Use tape or sealant to seal the gap between the insulation and the walls. This helps to create a seamless barrier and prevents air from escaping or entering through the edges.
Additionally, check for any penetrations in the insulation, such as electrical conduits or pipes. Use sealant or insulation foam to fill these gaps and ensure a complete seal. Make sure to follow the manufacturer’s recommendations for application and drying time.
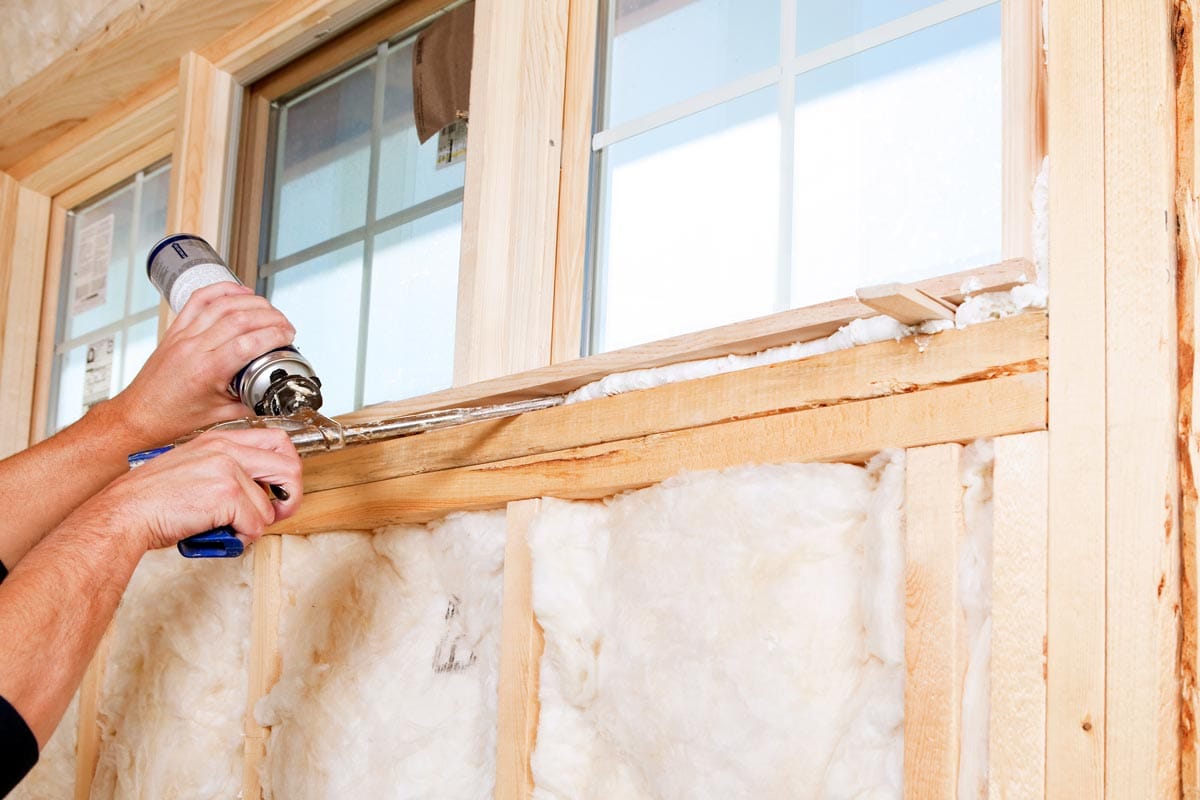
For rigid foam insulation, consider using expanding foam around the edges and joints. This will provide a durable and airtight seal. Follow the instructions on the expanding foam can and use it sparingly, as it expands significantly upon application.
Once the joints are sealed, inspect the entire insulation surface for any missed areas or gaps. Take your time to ensure that all connections are properly sealed and that there are no areas of vulnerability.
Remember, a well-sealed insulation system is crucial for preventing energy loss and maintaining a comfortable environment in your basement. Take the time to seal all joints thoroughly to maximize the insulation’s effectiveness.
With the joints sealed, you’ve completed a vital step in insulating your basement floor. Now, let’s move on to the next step: installing the subfloor.
Step 6: Installing the Subfloor
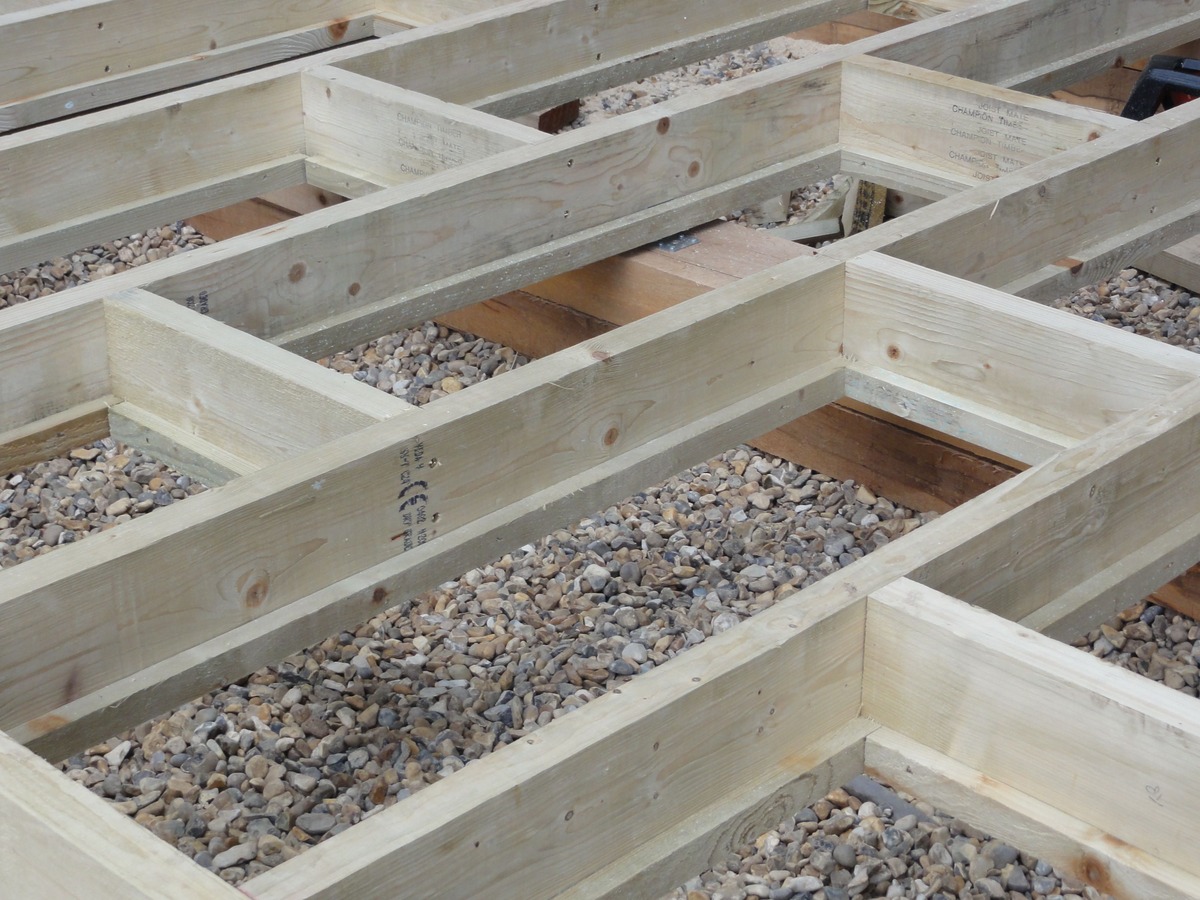
Installing a subfloor on top of your insulated basement floor provides a stable, level surface for the final flooring material. It helps to protect the insulation and adds an extra layer of insulation, soundproofing, and moisture resistance.
Before installing the subfloor, ensure that the insulation and joints are properly sealed. This will help create a solid foundation for the subfloor and maintain the integrity of the insulation.
Start by measuring the dimensions of your basement floor and cut the subfloor panels accordingly. There are different types of subfloor materials available, such as plywood or oriented strand board (OSB). Choose a subfloor material that is suitable for your flooring needs and budget.
Place the first subfloor panel against one edge of the basement floor, leaving a small gap around the perimeter for expansion. Secure the panel to the floor using screws or nails, placing them at regular intervals along the edges and through the center of the panel. Repeat this process for the remaining subfloor panels, ensuring a tight fit and leaving a small gap between each panel for expansion.
If using tongue-and-groove subfloor panels, fit the grooves of one panel into the tongues of the adjacent panel. This creates a secure and seamless connection between the subfloor panels.
Make sure to offset the joints between the subfloor panels, similar to brick-laying, to create a stronger and more stable subfloor. Staggering the joints helps to distribute weight evenly and minimize the risk of cracks or gaps.
As you install the subfloor, check for any uneven spots or areas that may require extra attention. Level out any high spots or fill in any low areas with a leveling compound or shims before securing the subfloor panels.
Once the subfloor is installed, check for any loose or squeaky panels. Secure any loose panels by adding additional screws or nails. If you come across any squeaky areas, consider using a specialized squeak-reducing screw or applying a subfloor adhesive to prevent movement and minimize noise.
With the subfloor securely installed, you’ve created a sturdy foundation for your final flooring material. Now, it’s time to move on to the final step: adding the finishing touches.
Step 7: Finishing Touches
Completing the finishing touches on your insulated basement floor will not only enhance the aesthetics but also improve the overall functionality and comfort of the space. These final steps will give your basement a polished and inviting appearance.
Start by inspecting the subfloor for any imperfections or rough areas. Sand any rough spots to create a smooth surface. This will ensure that your final flooring material lays evenly and provides a professional finish.
Now, it’s time to choose the flooring material that best suits your needs and preferences. Options for basement flooring include carpet, laminate, engineered hardwood, vinyl, or tile. Consider factors such as moisture resistance, durability, and style when making your decision.
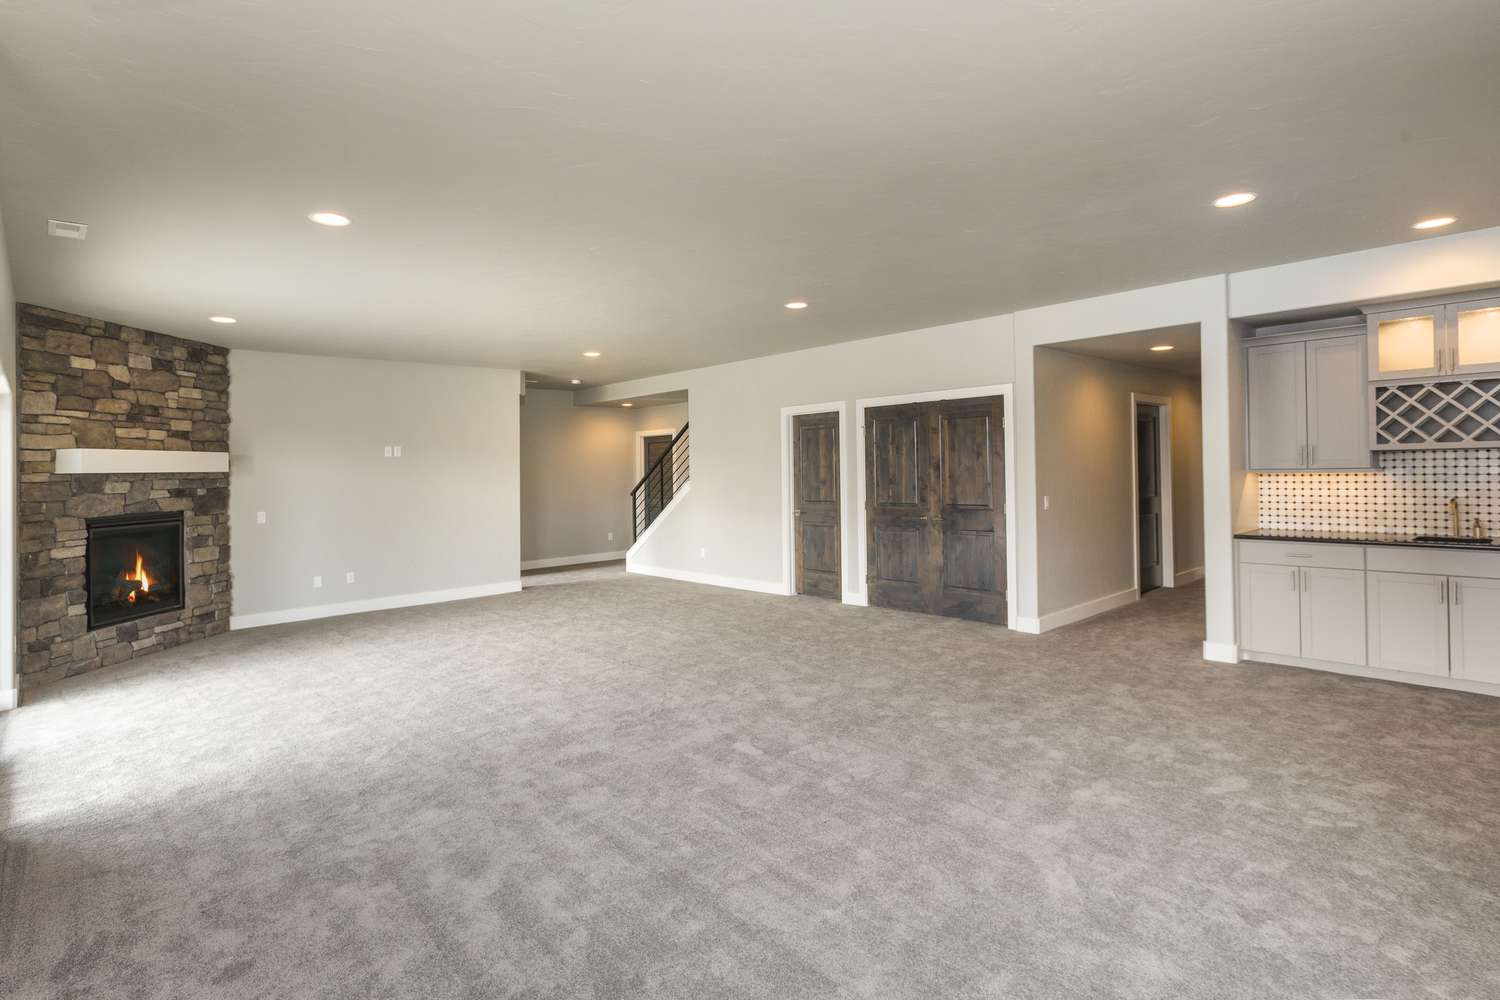
If you opt for carpet, first install a carpet pad or underlayment for added cushioning and insulation. Lay the carpet according to the manufacturer’s instructions, using tack strips and a knee-kicker to secure it in place.
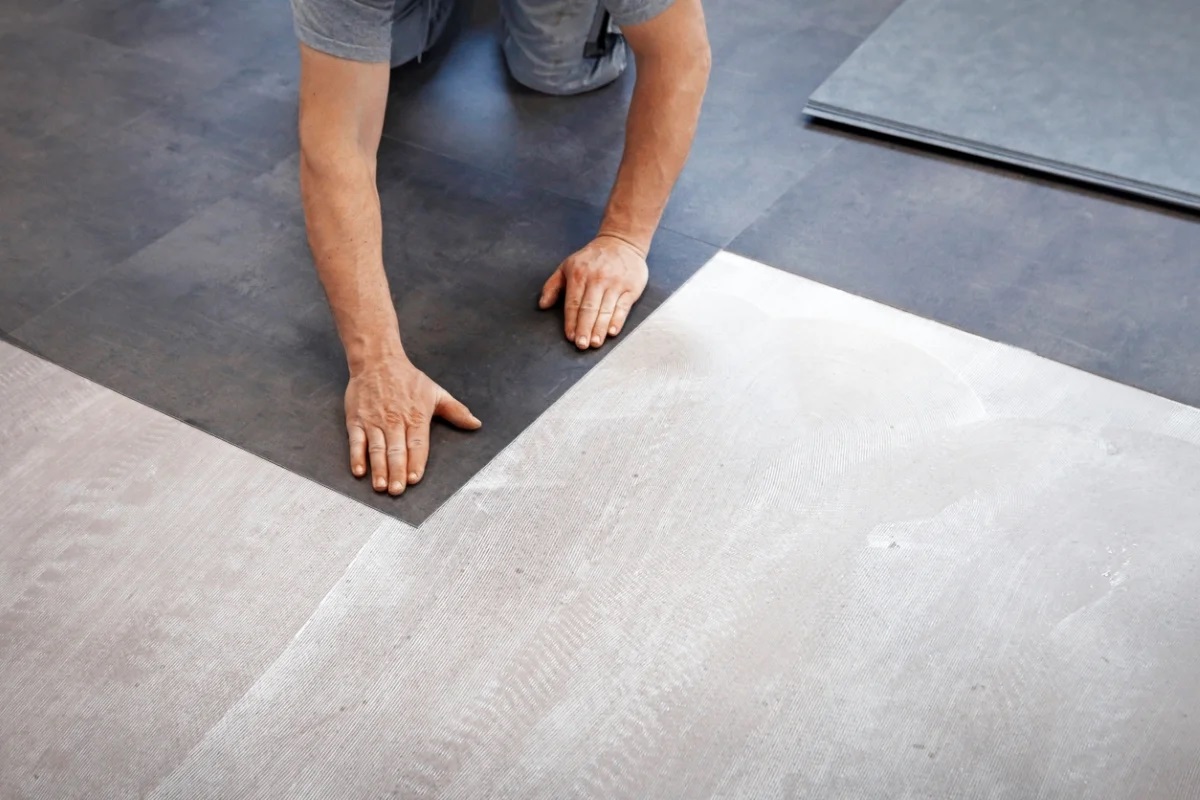
For laminate, engineered hardwood, vinyl, or tile flooring, follow the manufacturer’s instructions for installation. These flooring options often come with tongue-and-groove or click-lock systems for easy installation. Make sure to leave a small gap around the perimeter of the floor to allow for expansion.
After installing the final flooring material, consider adding baseboards or trim to the edges of the basement walls. This not only adds a finishing touch to the overall look of the space but also helps to conceal any gaps between the flooring and the walls.
Lastly, consider including area rugs or floor mats in your basement to add warmth, style, and comfort. These can provide insulation and make the space feel more inviting and cozy.
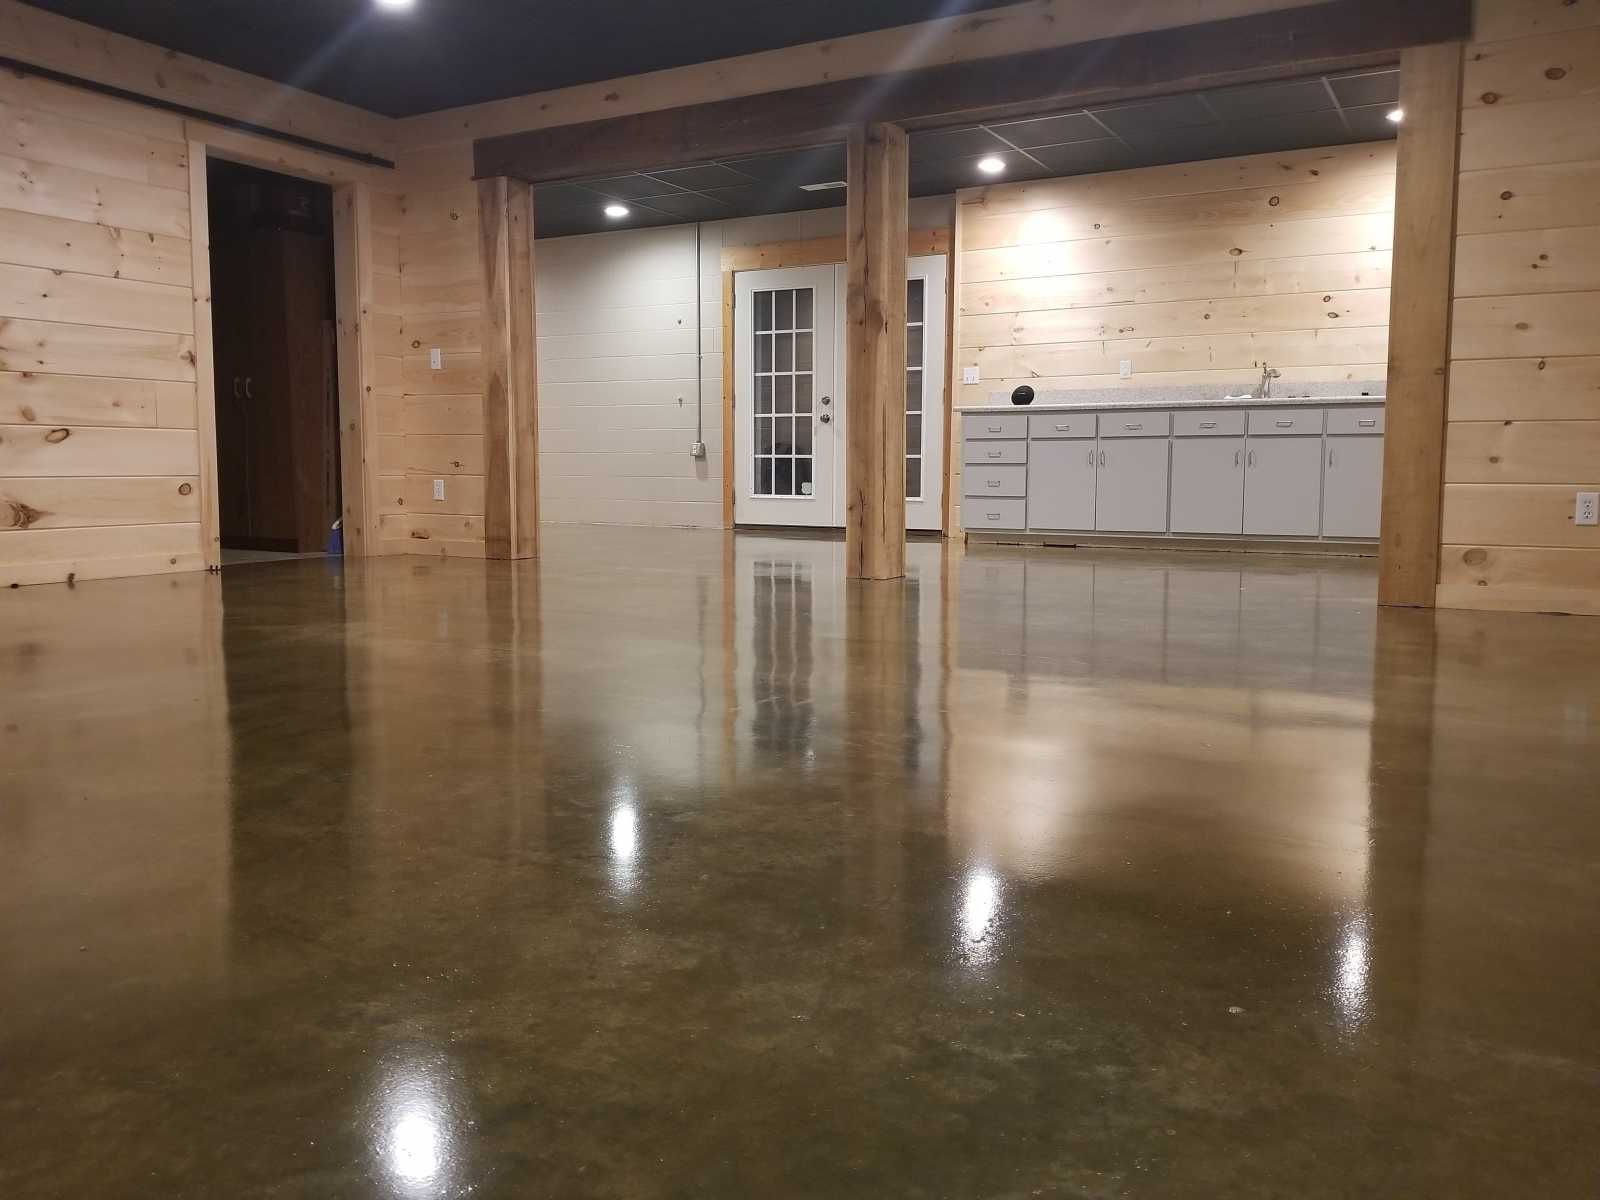
With the finishing touches complete, take a step back and admire your newly insulated basement floor. Not only have you created a comfortable and energy-efficient space, but you’ve also added value to your home.
Remember to maintain the cleanliness and integrity of your basement floor by following regular cleaning and maintenance routines. This will help prolong the lifespan of the insulation and flooring materials, ensuring long-lasting comfort and satisfaction.
Congratulations on successfully insulating your basement floor! Enjoy your newly transformed space for years to come.
Conclusion
Insulating your basement floor is a vital step in creating a comfortable, energy-efficient, and inviting space. By following the comprehensive steps outlined in this guide, you can transform your basement into a functional area that can be enjoyed for various purposes, such as a living space, home office, or recreational room.
Throughout the insulation process, we discussed the importance of clearing the basement floor, preparing the surface, installing the vapor barrier and insulation, sealing the joints, and installing the subfloor. These steps, when executed correctly, ensure a well-insulated basement floor that prevents heat loss, minimizes moisture issues, and improves energy efficiency.
Moreover, with the right finishing touches like choosing the appropriate flooring, adding baseboards, and incorporating area rugs or floor mats, you can create a polished and aesthetically pleasing space that perfectly suits your needs and style.
Remember, while insulating your basement floor, it’s essential to prioritize safety by wearing protective gear and working in a well-ventilated area. Additionally, consult with professionals if you encounter any complex issues or uncertainties during the process.
By insulating your basement floor, you not only enhance your comfort and reduce energy costs but also protect against moisture damage and improve indoor air quality. The investment of time and effort in insulating your basement floor will pay off in the long run, ensuring a more enjoyable and functional space for you and your family.
So, take the first step today, clear out your basement floor, and begin the journey to a more comfortable and energy-efficient living space. Embrace the opportunity to create a basement that is not only functional but also adds value to your home. Enjoy the benefits of a well-insulated basement floor for years to come.
Frequently Asked Questions about How To Insulate Basement Floor
Was this page helpful?
At Storables.com, we guarantee accurate and reliable information. Our content, validated by Expert Board Contributors, is crafted following stringent Editorial Policies. We're committed to providing you with well-researched, expert-backed insights for all your informational needs.




0 thoughts on “How To Insulate Basement Floor”