Articles
How To Cover Basement Pole
Modified: December 7, 2023
Learn how to cover basement poles with our informative articles. Find step-by-step guides and creative ideas to hide unsightly support structures.
(Many of the links in this article redirect to a specific reviewed product. Your purchase of these products through affiliate links helps to generate commission for Storables.com, at no extra cost. Learn more)
Introduction
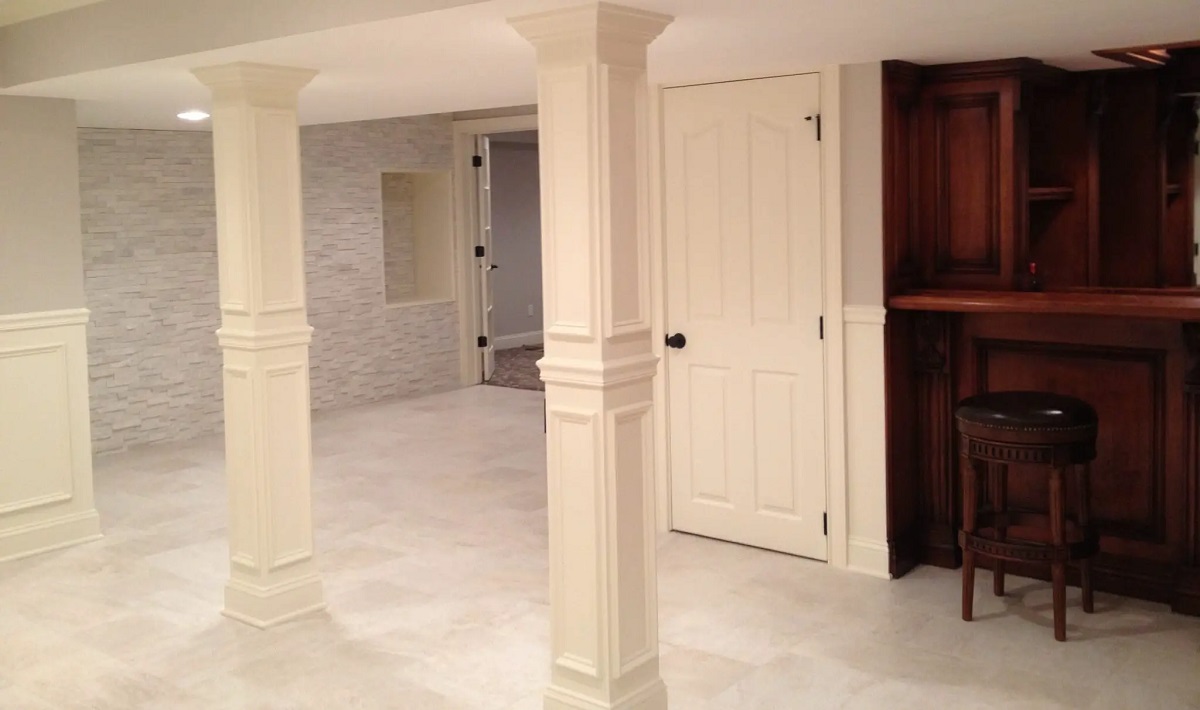
Basements are often overlooked spaces in our homes, but with the right planning and design, they can be transformed into functional and stylish areas. However, one common challenge that homeowners face when renovating their basements is dealing with unsightly basement poles or support columns. These poles are necessary for structural support but can be an eyesore in an otherwise beautifully finished space. The good news is that there are several creative solutions to cover basement poles and blend them seamlessly into the overall design scheme.
In this article, we will guide you through the process of covering basement poles to make them visually appealing. Whether you’re looking to create a sleek and modern look or want to incorporate a decorative feature, we will provide you with step-by-step instructions and practical tips to achieve the desired result.
Before you begin covering basement poles, it’s essential to assess the size and shape of the poles, as well as the overall design aesthetic you’re aiming for. This will help you determine the best approach and materials to use for the project.
Once you have assessed the poles, the next step is to choose the right covering material. There are various options available, ranging from simple and affordable solutions to more elaborate and decorative choices. Consider factors such as durability, ease of installation, and the overall style you want to achieve.
To successfully cover basement poles, you will need a few tools and materials. These may include a tape measure, insulation, adhesive, a base cover, and optional decorative wraps or panels. Having the necessary tools and materials on hand will ensure a smooth and efficient installation process.
Now let’s dive into the step-by-step guide on how to cover basement poles and transform them into stylish design elements that seamlessly blend with your basement’s overall aesthetic.
Key Takeaways:
- Transform unsightly basement poles into stylish design elements with the right covering material, tools, and techniques, enhancing the overall aesthetic of your basement space.
- Proper maintenance and care are essential to ensure the longevity and visual appeal of covered basement poles, preserving their beauty and functionality over time.
Read more: How To Cover Basement Ceiling
Assessing the Basement Pole
Before you begin covering the basement pole, it’s crucial to assess its size, shape, and any other factors that may impact the covering process. Here are some key considerations to keep in mind:
- Size and Shape: Measure the diameter and height of the pole to determine the amount of covering material you will need. Take note of any irregularities or projections on the pole that may affect the installation process.
- Location: Observe the location of the pole in the basement. Is it situated in a prominent area or tucked away in a corner? Understanding its placement will help you decide on the level of decorative covering required.
- Structural Integrity: Check for any signs of damage or wear on the pole. Ensure that it is structurally sound and doesn’t require any repairs before proceeding with the covering process.
- Design Aesthetic: Consider the overall style and theme of your basement. Whether you’re aiming for a modern, rustic, or traditional look, aligning the covering material with the existing decor will help create a cohesive and visually pleasing space.
By carefully assessing the basement pole, you’ll gain a better understanding of its characteristics and be able to make informed decisions regarding the covering materials and techniques to use.
Choosing the Right Covering Material
When it comes to covering basement poles, there is a wide range of materials available that can suit different design preferences and budgets. Here are some popular options to consider:
- Wood: Wood is a versatile and classic choice for covering basement poles. It can be stained, painted, or left natural to complement various design styles. Wood coverings can be custom-built or purchased as prefabricated wraps or enclosures.
- Faux Stone or Brick Panels: If you want to create a rustic or industrial look, faux stone or brick panels are a great option. These lightweight and easy-to-install panels mimic the appearance of real stone or brick, giving your basement a dramatic and textured feel.
- Metal: Metal coverings, such as aluminum or steel wraps, can add a sleek and modern touch to your basement. They are durable, easy to clean, and available in various finishes to complement your chosen design aesthetic.
- Decorative Fabrics: For a softer and more budget-friendly option, consider using decorative fabrics to cover basement poles. These can be wrapped around the poles and secured with adhesive or Velcro strips. Fabrics come in a wide range of patterns and textures, allowing you to customize the look to your liking.
- Mix and Match: Don’t be afraid to mix and match different materials for a unique and eclectic look. Combining wood with metal accents or using a combination of stone panels and fabric can add visual interest and create a one-of-a-kind design statement.
When choosing the right covering material, consider factors such as durability, ease of installation, and maintenance requirements. Additionally, make sure the chosen material complements the rest of your basement’s design elements, such as flooring, walls, and furniture.
By carefully selecting the covering material, you can transform the basement pole from an eyesore into a decorative feature that enhances the overall aesthetic of your space.
Tools and Materials Needed
Before you start covering the basement pole, it’s important to gather all the necessary tools and materials. Here is a list of essential items you’ll need for the project:
Tools:
- Tape measure: Used to measure the diameter and height of the basement pole.
- Utility knife: Used for cutting and trimming materials such as insulation or fabric.
- Adhesive or glue: Used to secure the covering material in place.
- Paintbrush or roller (if applicable): Used for applying paint or sealant on certain types of coverings.
Read more: How To Cover Basement Windows
Materials:
- Insulation: Provides a layer of insulation and padding between the pole and the covering material.
- Covering material: Choose the appropriate material based on your design preference, such as wood, faux stone panels, metal wraps, or decorative fabrics.
- Adhesive or Velcro strips: Used to secure the covering material to the basement pole.
- Base cover: A base cover can be used to provide a finished look and protect the bottom part of the pole.
- Optional: Decorative wraps, trims, or accessories to further enhance the appearance of the covered pole.
Having these tools and materials readily available will ensure a smooth and efficient covering process. Before starting, it’s always a good idea to double-check that you have everything you need, as it will save you time and avoid unnecessary interruptions during the project.
Step-by-Step Guide:
Now that you have assessed the basement pole and gathered all the necessary tools and materials, it’s time to cover the pole and transform it into a visually appealing element of your basement design. Here is a step-by-step guide to help you through the process:
- Measure the Pole: Use a tape measure to determine the diameter and height of the basement pole. This measurement will help you decide the appropriate size and amount of covering material needed.
- Clean the Pole: Before applying any covering, make sure the pole is clean and free from dust or debris. Wipe it down with a damp cloth to ensure a smooth installation surface.
- Wrap the Pole with Insulation: To provide a layer of insulation and padding, wrap the pole with insulation material. Cut the insulation to the appropriate size and secure it in place with adhesive or tape.
- Secure the Insulation: Use adhesive or Velcro strips to secure the insulation around the pole. Make sure it is firmly in place and does not move or slide.
- Attach the Base Cover: If desired, install a base cover at the bottom of the pole to provide a finished look and protect the pole from damage. Attach it using adhesive or screws, following the manufacturer’s instructions.
- Install a Decorative Wrap: Now, it’s time to install the chosen covering material. Whether you’re using wood, faux stone panels, metal wraps, or decorative fabrics, follow the specific instructions provided with the material. Secure the covering in place using adhesive, nails, or other recommended installation methods.
- Maintenance and Care: Once the basement pole is covered, it’s important to maintain and care for it to ensure its longevity and appearance. Regularly clean the surface of the covering material according to the manufacturer’s instructions and address any issues or damages promptly.
Following these step-by-step instructions will help you effectively cover the basement pole and create a seamless and visually appealing design element within your basement.
Measure the Pole
The first step in covering a basement pole is to accurately measure its diameter and height. This measurement is crucial in determining the amount of covering material needed and ensuring a proper fit. Follow these steps to measure the pole:
- Prepare the tape measure: Take out a tape measure that is long enough to reach the top and bottom of the basement pole. Ensure the tape measure is held securely and doesn’t have any kinks or bends that could affect the accuracy of the measurement.
- Measure the diameter: Wrap the tape measure around the widest part of the pole to determine its diameter. Take note of the measurement in inches or centimeters. If the pole is not perfectly round, measure its widest and narrowest points to get an average diameter.
- Measure the height: Extend the tape measure from the floor to the top of the basement pole, ensuring it follows the contour of the pole. Take note of the measurements in inches or centimeters. If the pole has multiple sections, measure the height of each section individually.
- Record the measurements: Write down the diameter and height measurements of the basement pole. It is important to have these measurements on hand while choosing the covering material and during the installation process.
Accurate measurements are essential for a seamless covering installation. Take your time to ensure precise measurements, as any discrepancies can lead to ill-fitting coverings or other issues down the line. It may be helpful to perform the measurements multiple times to confirm their accuracy.
By measuring your basement pole correctly, you’ll have the necessary information to choose the appropriate covering material and ensure a successful installation process.
Clean the Pole
Before applying any covering material to the basement pole, it’s important to ensure that the surface is clean and free from dust, dirt, or any other debris. Cleaning the pole properly will provide a smooth and even surface for the covering material to adhere to. Follow these steps to clean the pole:
- Gather cleaning supplies: Prepare a damp cloth or sponge and a mild cleaning solution. Avoid using abrasive cleaners or harsh chemicals that may damage the pole’s surface.
- Dampen the cloth or sponge: Moisten the cloth or sponge with water. Ensure that it is not dripping wet, as excess moisture can affect the adherence of the covering material.
- Wipe down the pole: Starting from the top and working your way down, gently wipe the entire surface of the basement pole. Use smooth, even strokes to remove any dirt, dust, or grime. Pay particular attention to any areas that may have accumulated more residue, such as lower sections or corners.
- Remove stubborn stains or marks: If there are any stubborn stains or marks on the pole, you may need to use a mild cleaning solution. Apply a small amount of the solution to a clean area of the cloth or sponge and gently scrub the stained area. Be cautious not to scrub too aggressively, as this may damage the surface of the pole.
- Dry the pole: After cleaning, use a dry cloth or towel to wipe away any excess moisture from the pole. Ensure that the surface is completely dry before proceeding with the covering installation.
By cleaning the pole thoroughly, you’ll create an optimal surface for the covering material to adhere to. This will enhance the durability and appearance of the covered basement pole, ensuring a seamless integration into your basement’s overall design.
Read more: How To Cover Cement Walls In Basement
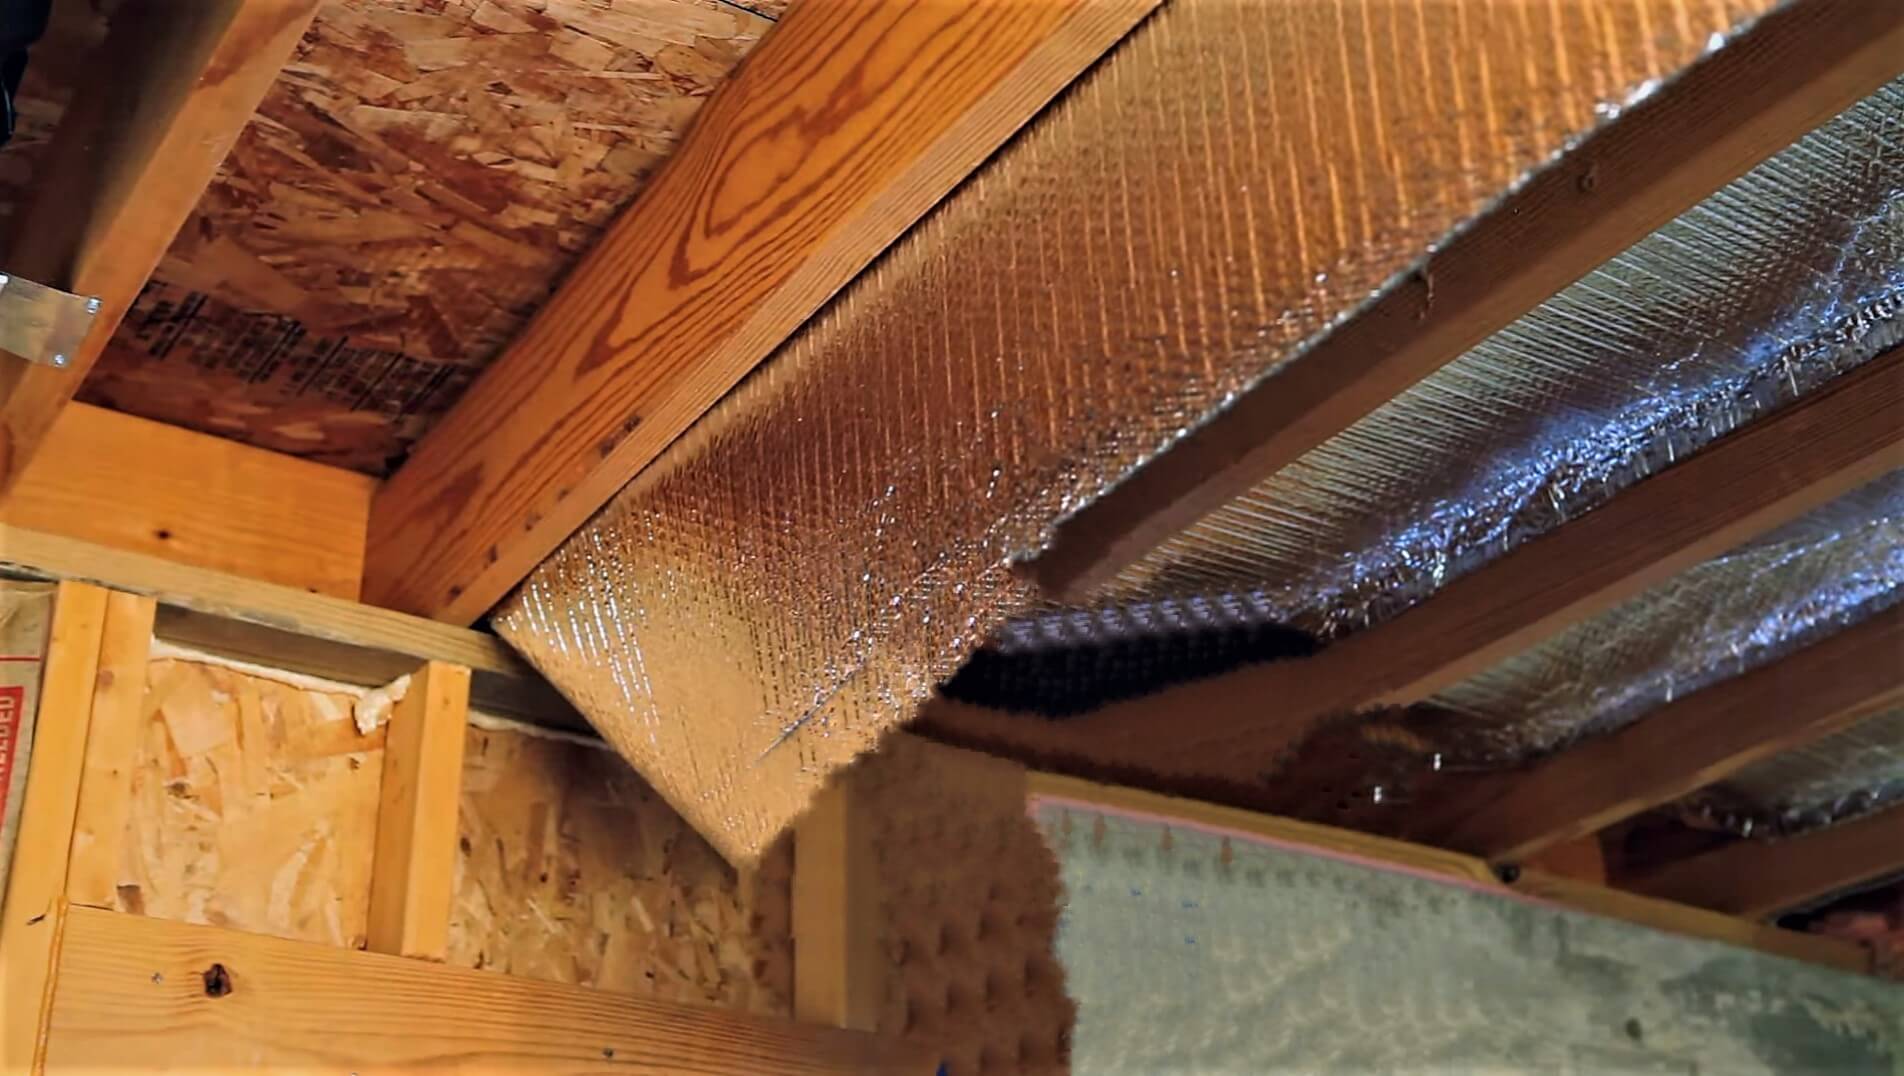
Wrap the Pole with Insulation
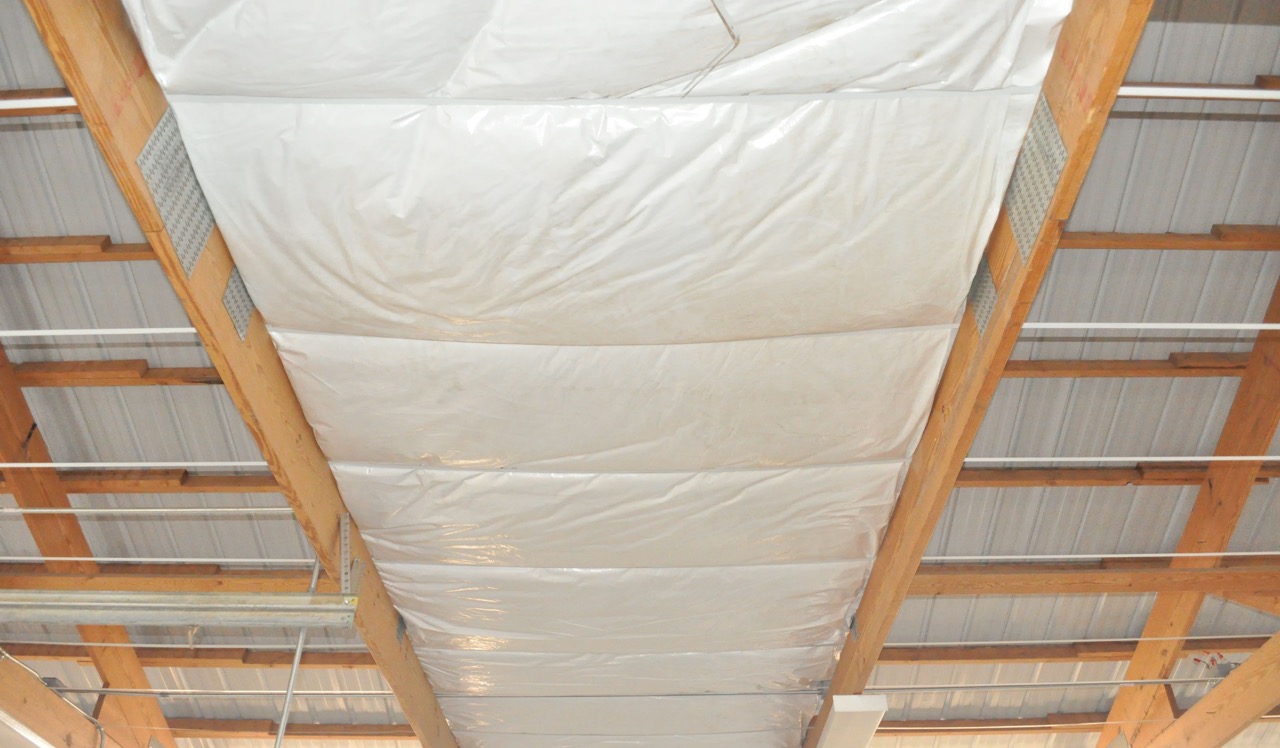
Before applying the covering material, it’s important to wrap the basement pole with insulation. Insulation serves multiple purposes, including providing a layer of padding, improving energy efficiency, and reducing potential condensation. Here is a step-by-step guide on how to wrap the pole with insulation:
- Gather the necessary insulation materials: Depending on your preference and budget, you can choose from various types of insulation, such as foam or fiberglass. Ensure that the insulation material is the appropriate size and length to cover the entire height and circumference of the basement pole.
- Prepare the insulation: Measure and cut the insulation to the appropriate length. If needed, use a utility knife or scissors to trim the insulation and ensure a precise fit.
- Wrap the insulation around the pole: Starting at the base of the pole, carefully wrap the insulation around its circumference. Ensure that the insulation overlaps slightly to provide full coverage. Hold the insulation in place as you move upward, ensuring a tight and secure fit.
- Secure the insulation: Use adhesive or tape to secure the insulation in place. Avoid using materials that can damage the basement pole, such as strong adhesives that may leave residue or mark the surface.
- Smooth out any wrinkles or bulges: Once the insulation is attached, smooth out any wrinkles or bulges in the material. This will ensure a neat and clean appearance once the covering material is installed.
Wrapping the pole with insulation is an essential step to provide a layer of protection and enhance the overall functionality of the covered basement pole. It provides insulation properties and helps create a smoother surface for the covering material to adhere to.
After wrapping the pole with insulation, you’re ready to proceed with the next steps of covering the basement pole and transforming it into a visually appealing element of your basement’s design.
Consider using decorative column wraps or boxing in the pole with drywall for a seamless look. Be sure to consult a professional if the pole is load-bearing.
Secure the Insulation
Once you have wrapped the basement pole with insulation, it’s crucial to secure it properly to ensure that it stays in place and provides the desired level of padding. This step will prevent the insulation from shifting or loosening over time. Here are the steps to secure the insulation:
- Inspect the wrapped insulation: After wrapping the insulation around the basement pole, carefully inspect it to ensure that it is secure and properly aligned. Check for any areas where the insulation may be loose or not fully covering the pole’s surface.
- Apply adhesive or adhesive-backed tape: Using a suitable adhesive or adhesive-backed tape, apply it to the edges or seams of the insulation where it overlaps. This will prevent the insulation from unraveling or shifting. Avoid using excessive amounts of adhesive, as it may interfere with the subsequent steps of the covering process.
- Consider alternative securing methods: If you don’t want to use adhesive or adhesive-backed tape, alternative options include using zip ties or Velcro straps to secure the insulation in place. Ensure that the chosen securing method is compatible with both the insulation material and the covering material you plan to use.
- Smooth out any wrinkles or bulges: Once the insulation is secured, take some time to smooth out any wrinkles, bulges, or irregularities in the material. This will create a smooth and even surface for the covering material to be applied later on.
Properly securing the insulation is crucial for maintaining its integrity and effectiveness. By taking the time to secure the insulation securely, you’ll ensure that it remains in place and provides the desired level of padding and insulation for the covered basement pole.
With the insulation secured, you’re now ready to move on to the next steps of covering the basement pole and creating a visually appealing feature in your basement design.
Attach the Base Cover
Attaching a base cover to the bottom of the basement pole provides a finished and polished look to the overall covering. It also helps protect the bottom part of the pole from potential damage. Follow these steps to attach the base cover:
- Select a suitable base cover: Choose a base cover that matches your desired design aesthetic and complements the covering material used for the rest of the pole. Base covers are typically available in various materials, such as wood, metal, or plastic.
- Measure and cut the base cover: Measure the circumference of the basement pole at the bottom, and select a base cover that matches or slightly exceeds this measurement. If necessary, use a saw, utility knife, or other appropriate tools to cut the base cover to the correct size and shape.
- Prepare the basement pole: Ensure that the bottom part of the basement pole is clean and free from any debris or protrusions. Wipe it down with a damp cloth if needed to remove any dust or dirt.
- Apply adhesive: Apply a suitable adhesive or adhesive-backed tape to the back of the base cover. Ensure that the adhesive used is appropriate for the materials involved and will securely hold the base cover in place.
- Attach the base cover: Carefully align the base cover with the bottom of the basement pole and press it firmly against the surface. Apply even pressure to ensure a secure bond between the base cover and the pole. Hold it in place for a few moments to allow the adhesive to set.
- Check for proper alignment: After attaching the base cover, double-check that it is aligned correctly and sits flush against the bottom of the pole. Make any necessary adjustments to ensure a seamless and finished appearance.
Attaching a base cover adds a final touch to the basement pole covering, giving it a polished and cohesive look. It also protects the bottom of the pole from any potential damage that may occur during everyday use.
With the base cover securely attached, you can move on to the next step of installing the covering material, bringing your basement pole closer to its transformed and visually appealing state.
Install a Decorative Wrap
Installing a decorative wrap is the final step in covering the basement pole, adding a stylish and visually appealing element to your basement design. Whether you’re aiming for a rustic, modern, or traditional look, a decorative wrap can help elevate the overall aesthetic. Follow these steps to install a decorative wrap:
- Select the appropriate decorative wrap: Choose a decorative wrap that matches your desired design style and complements the overall theme of your basement. Options include wooden wraps, faux stone or brick panels, metal wraps, or even decorative fabric.
- Prepare the decorative wrap: Measure and cut the decorative wrap to the appropriate size, ensuring that it will fully cover the height and circumference of the basement pole. If necessary, use a saw, utility knife, or appropriate tools to trim it to the correct dimensions.
- Apply adhesive: Depending on the type of decorative wrap and the manufacturer’s instructions, apply an appropriate adhesive or adhesive-backed tape to the back of the wrap. Make sure the adhesive is evenly distributed to ensure a secure bond with the basement pole.
- Attach the decorative wrap: Carefully align the decorative wrap with the basement pole, starting from the bottom or a chosen reference point. Press it firmly against the pole, smoothing out any wrinkles or bubbles as you go. Apply even pressure to ensure the wrap adheres well to the surface.
- Secure the decorative wrap: If needed, use additional adhesive or adhesive-backed tape to secure any loose edges or seams of the decorative wrap. Make sure it is securely bonded to the basement pole, providing a seamless and polished appearance.
- Inspect and make adjustments: After installing the decorative wrap, step back and inspect the overall appearance. Check for any areas that may need adjustment or smoothing. Make any necessary modifications to ensure a visually pleasing and well-finished result.
Installing a decorative wrap transforms the basement pole from a utilitarian necessity to a design feature that enhances the overall aesthetic of your basement. Choose a wrap that suits your personal style and complements the existing elements in the space.
With the decorative wrap securely in place, you have successfully covered the basement pole, creating a focal point or blending it seamlessly into the surrounding design of your basement.
Read more: How To Cover Insulation In Basement Ceiling
Maintenance and Care
Once you have covered the basement pole, it’s important to maintain and care for it to ensure its longevity and appearance. Proper maintenance will help preserve the integrity of the covering material and keep it looking its best. Here are some maintenance tips:
- Clean regularly: Regularly clean the covered basement pole to remove any dust, dirt, or stains. Use a soft cloth or sponge and a mild cleaning solution appropriate for the specific covering material. Avoid abrasive cleaners that may damage or scratch the surface.
- Inspect for damage: Periodically inspect the covered pole for any signs of damage, such as cracks, chipping, or peeling. Address any issues promptly to prevent further damage and maintain the integrity of the covering material.
- Avoid excessive force or impact: Be careful to avoid bumping or hitting the covered basement pole with heavy objects or furniture. Excessive force or impact can cause dents, scratches, or other damage to the covering material.
- Monitor for moisture or humidity: Keep an eye on the surrounding moisture levels and humidity in your basement. Excessive moisture or high humidity levels can affect the covering material. Use dehumidifiers or improve ventilation if necessary.
- Address wear and tear: Over time, normal wear and tear may occur on the covered basement pole. If you notice any areas that have become worn or damaged, consider applying touch-up paint or replacing the covering material as needed.
- Regularly evaluate the covering: Periodically assess the overall condition and appearance of the covered basement pole. Determine if any adjustments or improvements are needed to maintain its visual appeal and functionality.
By implementing these maintenance practices, you can ensure that your covered basement pole remains in good condition and adds to the overall beauty of your basement. Regular care and attention will help extend the lifespan of the covering and keep your basement looking its best.
Remember to refer to the specific care instructions provided by the manufacturer of the covering material for any additional maintenance requirements or recommendations.
Conclusion
Covering a basement pole can transform it from an eyesore to a visually appealing element that seamlessly integrates into your basement’s design. With the right materials, tools, and techniques, you can create a polished and finished look that enhances the overall aesthetic of your basement space.
Throughout this article, we have provided a comprehensive guide on how to cover a basement pole, including steps such as assessing the pole, choosing the right covering material, and the step-by-step installation process. We have also highlighted the importance of proper maintenance to ensure the longevity and appearance of the covered pole.
Remember to take accurate measurements of the basement pole and assess its characteristics before choosing the covering material. Consider the design aesthetic you want to achieve and select a material that complements the style of your basement.
Following each step carefully, ensure proper cleaning, secure the insulation, attach the base cover, and install the decorative wrap. Regularly maintain and care for the covered basement pole to keep it looking its best over time.
By covering the basement pole, you not only improve the overall visual appeal of your basement but also create a cohesive and harmonious space that reflects your personal style and design preferences.
So go ahead, tackle that basement pole, and unleash your creativity to turn it into a stunning design feature that will be the envy of all who see it. Enjoy the process of transforming your basement and creating a space that you can truly be proud of.
Frequently Asked Questions about How To Cover Basement Pole
Was this page helpful?
At Storables.com, we guarantee accurate and reliable information. Our content, validated by Expert Board Contributors, is crafted following stringent Editorial Policies. We're committed to providing you with well-researched, expert-backed insights for all your informational needs.


0 thoughts on “How To Cover Basement Pole”