
Articles
How To Install Pex Pipe To Bathroom Sink
Modified: May 6, 2024
Learn how to install Pex pipe to your bathroom sink with our informative articles. Improve your plumbing skills and save on costly repairs.
(Many of the links in this article redirect to a specific reviewed product. Your purchase of these products through affiliate links helps to generate commission for Storables.com, at no extra cost. Learn more)
Introduction
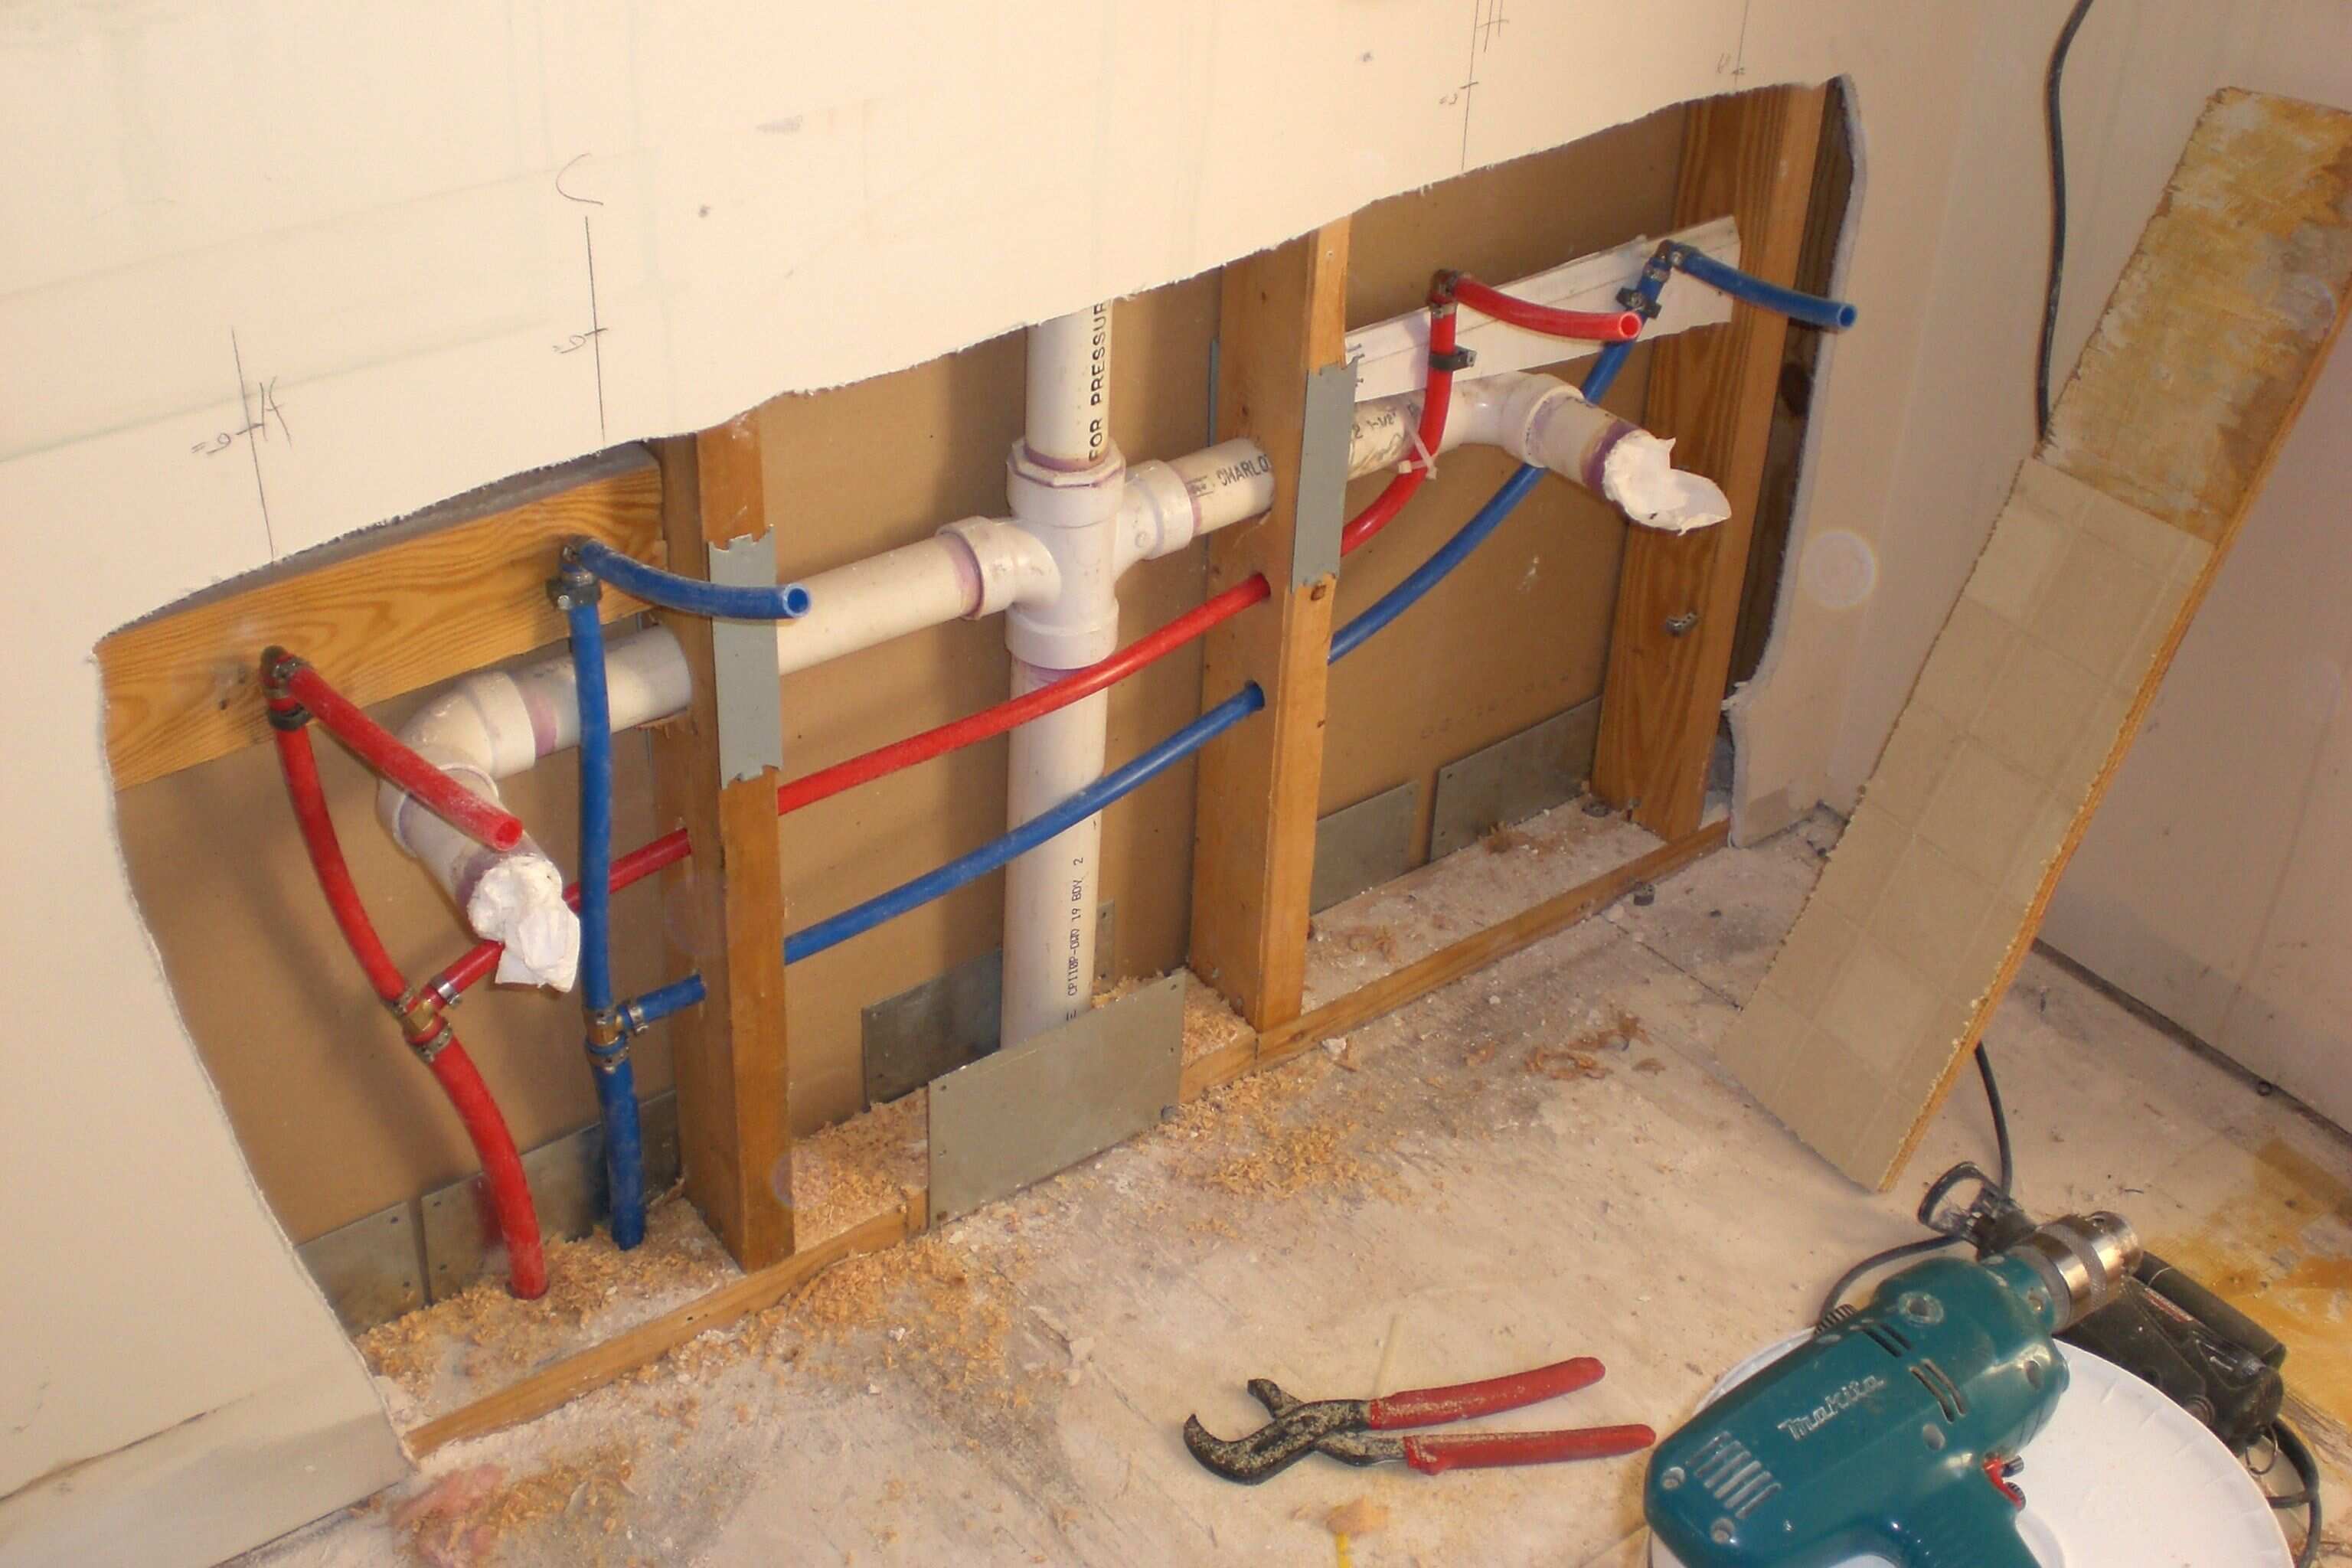
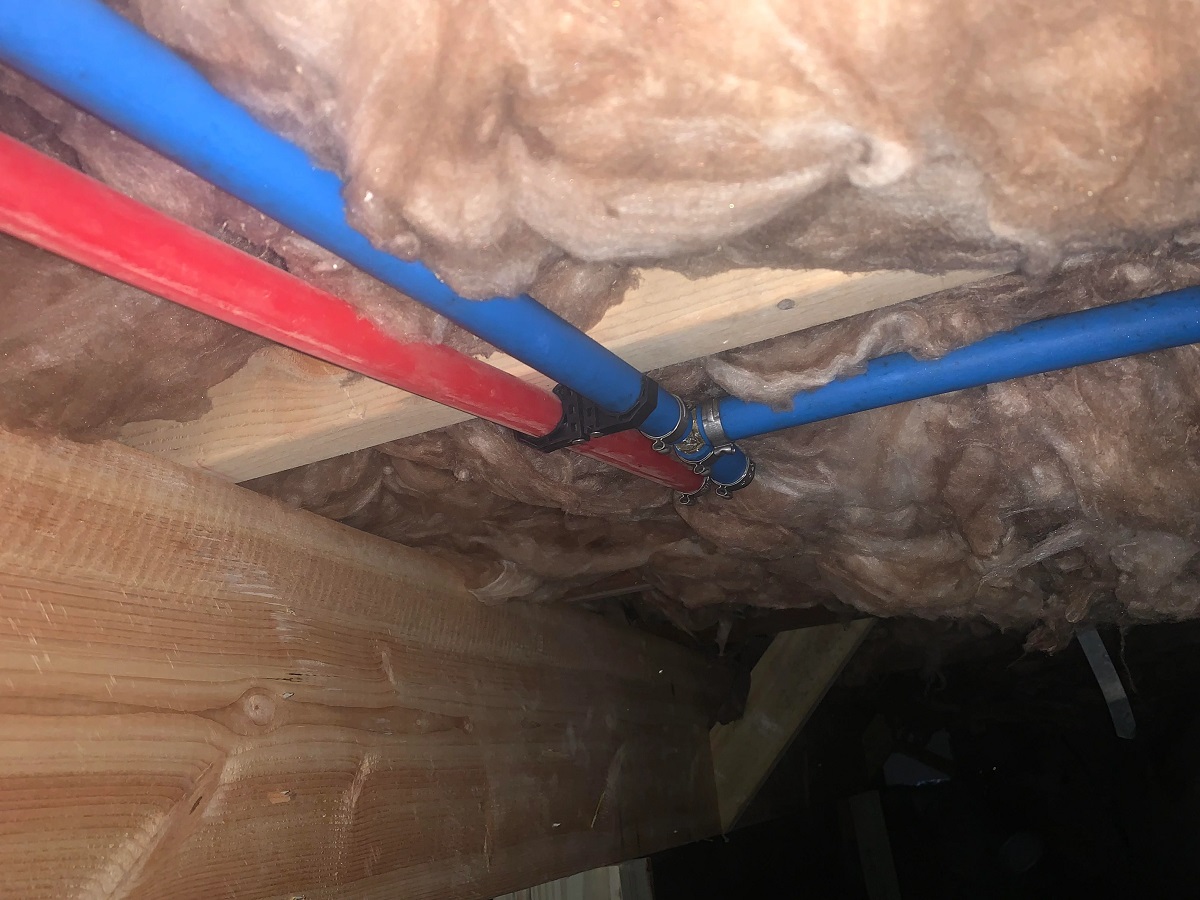
Installing a Pex pipe to a bathroom sink is a great DIY project that can save you both time and money. Pex pipe, short for cross-linked polyethylene, is a flexible and durable plumbing material that is becoming increasingly popular in residential plumbing systems. Whether you are replacing old and corroded pipes or installing new plumbing for a bathroom renovation, Pex pipe offers many advantages over traditional copper or PVC pipes.
In this article, we will guide you through the process of installing a Pex pipe to your bathroom sink step by step. We will cover everything from gathering the necessary materials to testing for leaks, ensuring that you have all the information you need to successfully complete this project.
Before we begin, it is important to note that while installing a Pex pipe can be done by a confident DIYer, it may require some basic plumbing knowledge and skills. If you are unsure about any step or encounter any difficulties, it is always recommended to consult a professional plumber.
Now, let’s dive into the exciting world of Pex pipe installation and get your bathroom sink up and running smoothly!
Key Takeaways:
- DIY Pex pipe installation for bathroom sinks saves time and money. Prioritize safety, gather materials, shut off water supply, remove old plumbing, measure and cut pipe, install fittings, connect to sink, test for leaks, and turn on water supply.
- Pex pipe installation requires basic plumbing knowledge. Follow step-by-step guide, prioritize safety, gather materials, shut off water supply, remove old plumbing, measure and cut pipe, install fittings, connect to sink, test for leaks, and turn on water supply.
Read more: How To Insulate PEX Pipe In An Attic
Step 1: Gather the necessary materials
Before you begin the installation process, it is essential to gather all the necessary materials and tools. Having everything readily available will save you time and ensure a smooth installation. Here is a list of the materials you will need:
- Pex pipe: Measure the length needed from the water supply to the bathroom sink and purchase the appropriate length of Pex pipe. It is always a good idea to get a few extra feet in case of any errors or adjustments.
- Pex fittings: These fittings are used to connect the Pex pipe to the water supply and the bathroom sink. Make sure to get the correct type and size of fittings for your specific installation.
- Pex crimping tool: This tool is necessary for securely crimping the Pex fittings onto the Pex pipe. Make sure to get a tool that is compatible with the size of fittings you are using.
- Pipe cutter: A pipe cutter will be needed to accurately cut the Pex pipe to the desired length. Look for a cutter designed specifically for Pex pipe.
- Adjustable wrench: This tool is useful for tightening and loosening nuts and bolts during the installation process.
- Teflon tape: This tape will be used to create a watertight seal on threaded connections. Make sure to have this on hand for any threaded fittings.
- Marker: A marker will be useful for marking the cutting points on the Pex pipe and for labeling the fittings.
- Goggles and gloves: Safety should always be a priority. Protect your eyes with goggles and wear gloves to prevent any injuries during the installation process.
Once you have gathered all the necessary materials and tools, you are ready to move on to the next step: shutting off the water supply.
Step 2: Shut off the water supply
Before you begin any plumbing project, it is crucial to shut off the water supply to avoid any potential leaks or accidents. Here’s how you can safely shut off the water supply to your bathroom sink:
- Locate the main water shut-off valve: The main shut-off valve is typically located near the water meter, often found in the basement or outside the house. It is usually a round or lever-type valve.
- Turn off the main water supply: Rotate the valve clockwise or switch the lever to the off position to shut off the water supply to your entire house. This will ensure that no water flows through the plumbing while you work on the bathroom sink.
- Open the faucet to relieve pressure: Turn on the faucet of the bathroom sink to allow any remaining water in the lines to drain out. This will help relieve pressure and prevent any potential leaks during the installation.
Once you have successfully shut off the water supply and released any remaining water from the lines, you can proceed to the next step: removing the old plumbing.
Step 3: Remove the old plumbing
Now that you have shut off the water supply, it’s time to remove the old plumbing from your bathroom sink. This step is necessary if you are replacing existing pipes or fixtures. Here’s how you can remove the old plumbing:
- Clear the area: Before you start working, make sure the area around the bathroom sink is clear and free from any obstructions. This will provide you with ample space to work comfortably.
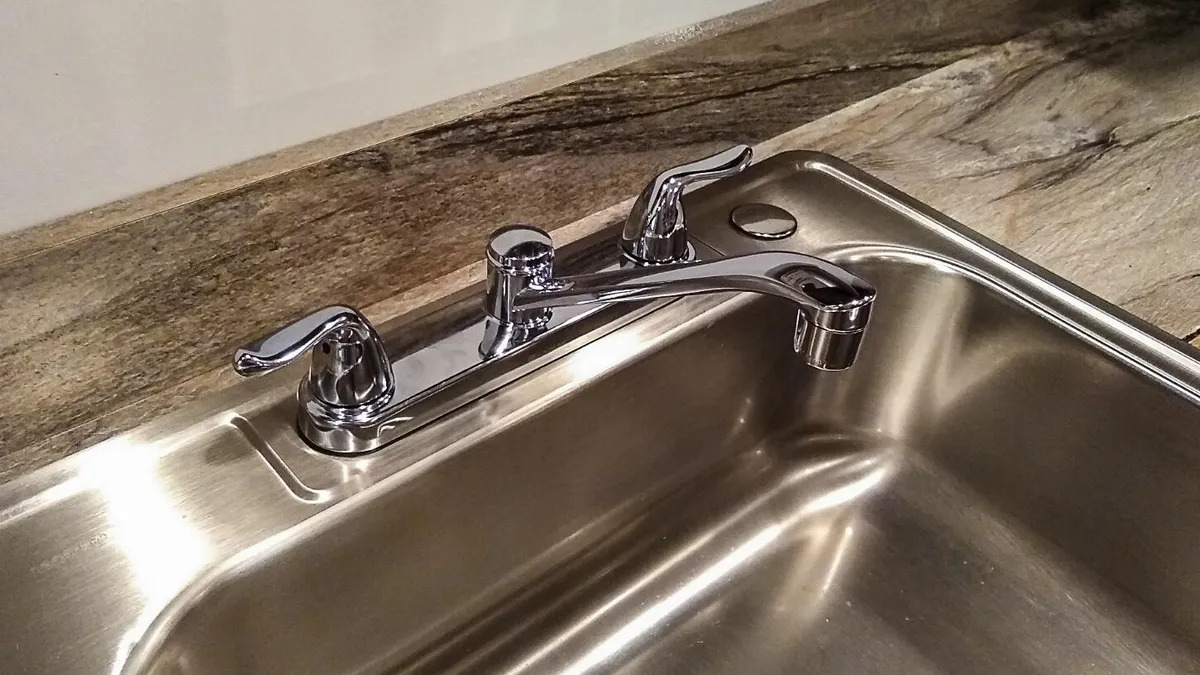
- Disconnect the supply lines: Use an adjustable wrench to loosen and disconnect the supply lines from the existing faucet. These lines are usually connected to the hot and cold water knobs.
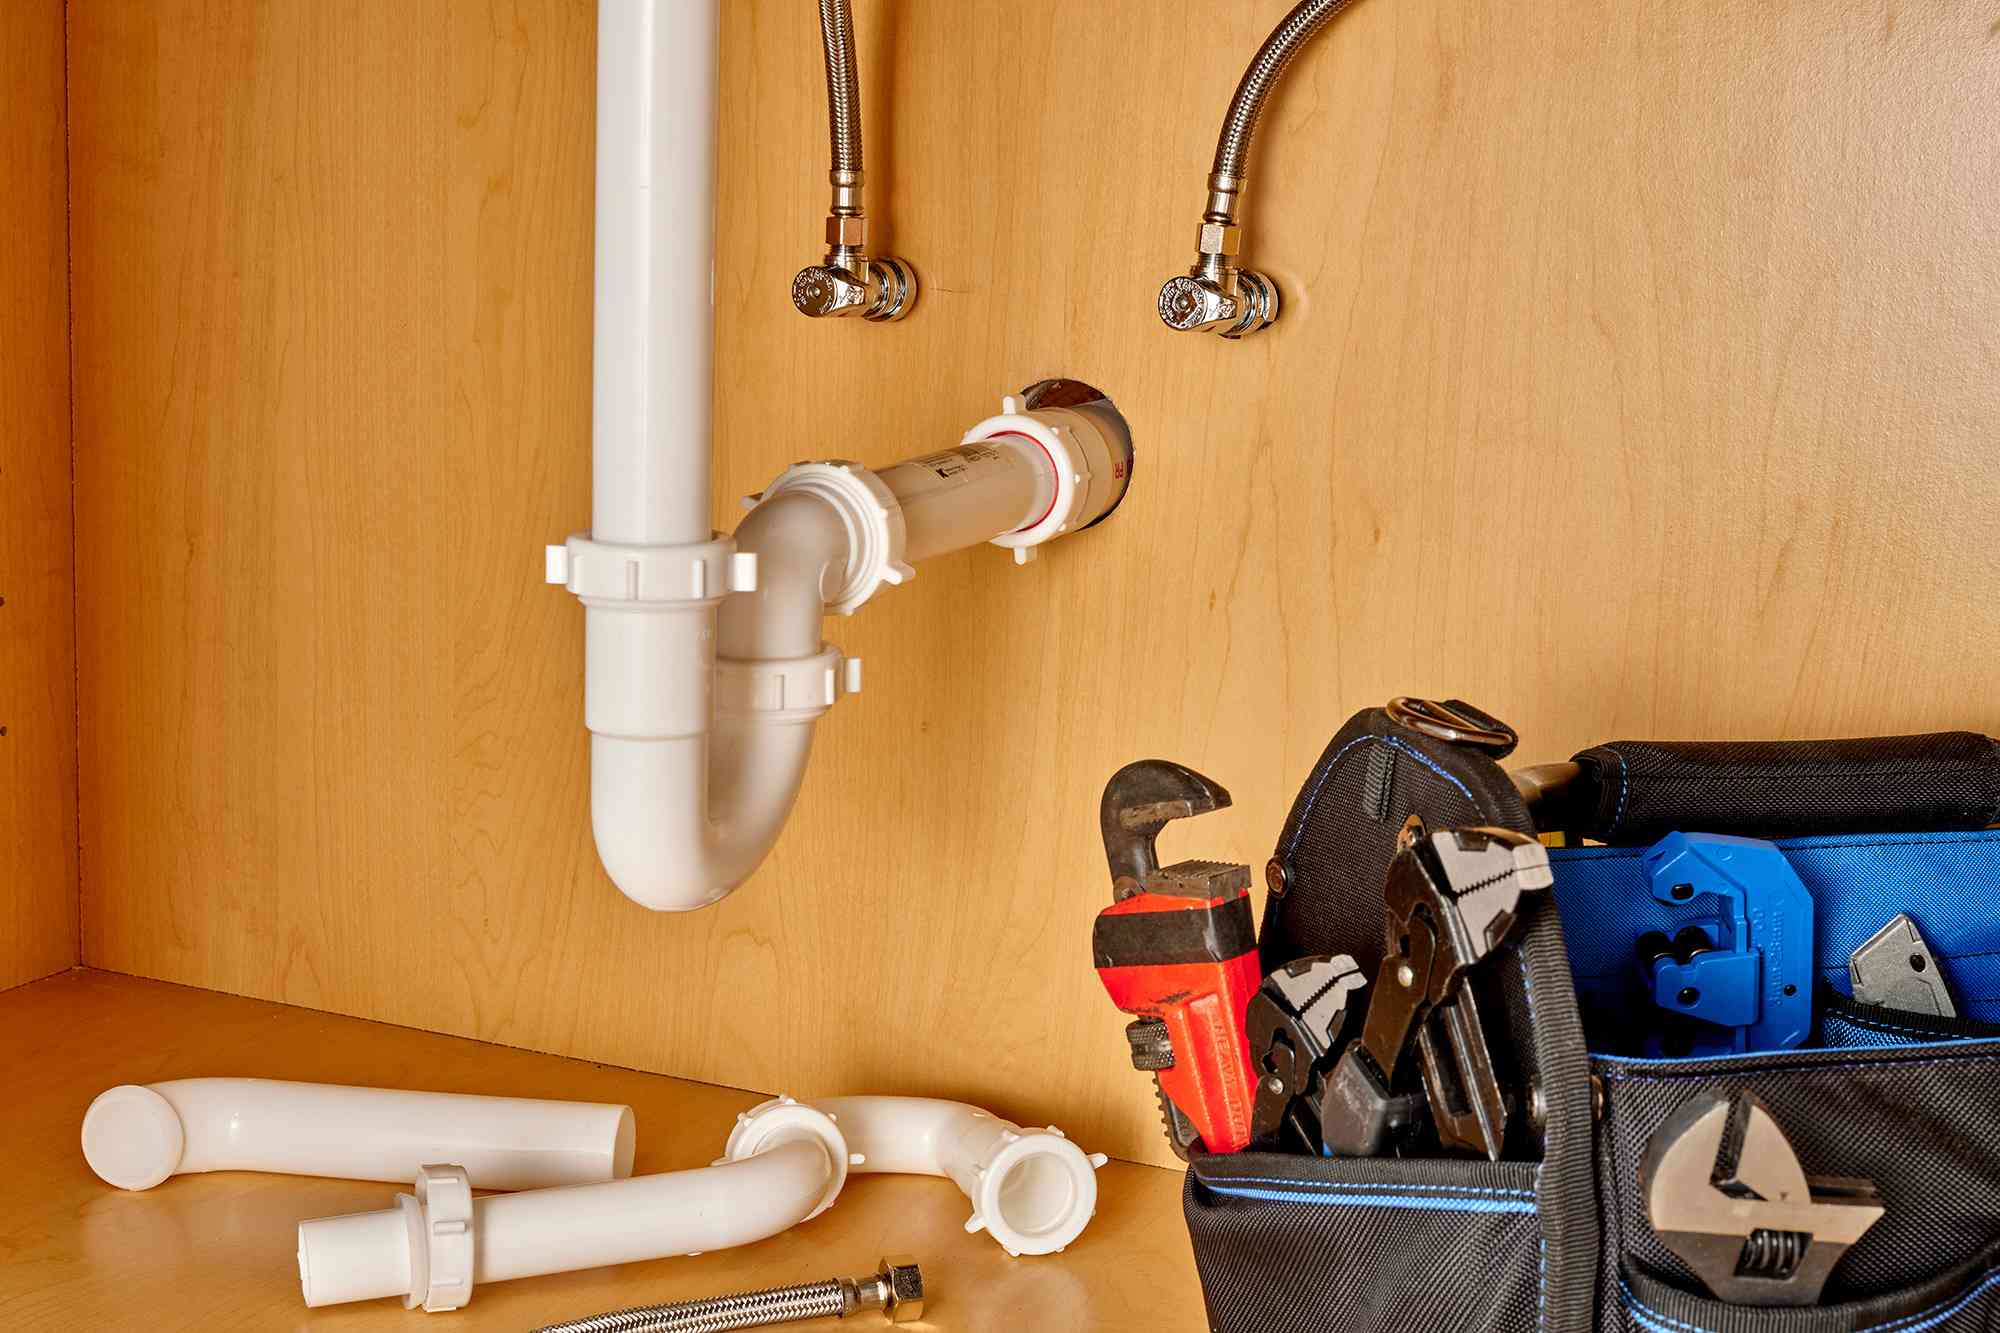
- Remove the drain pipe: Locate the drain pipe under the sink and use a wrench or pliers to loosen and disconnect it from the sink drain. Be prepared for a small amount of water or debris to come out.
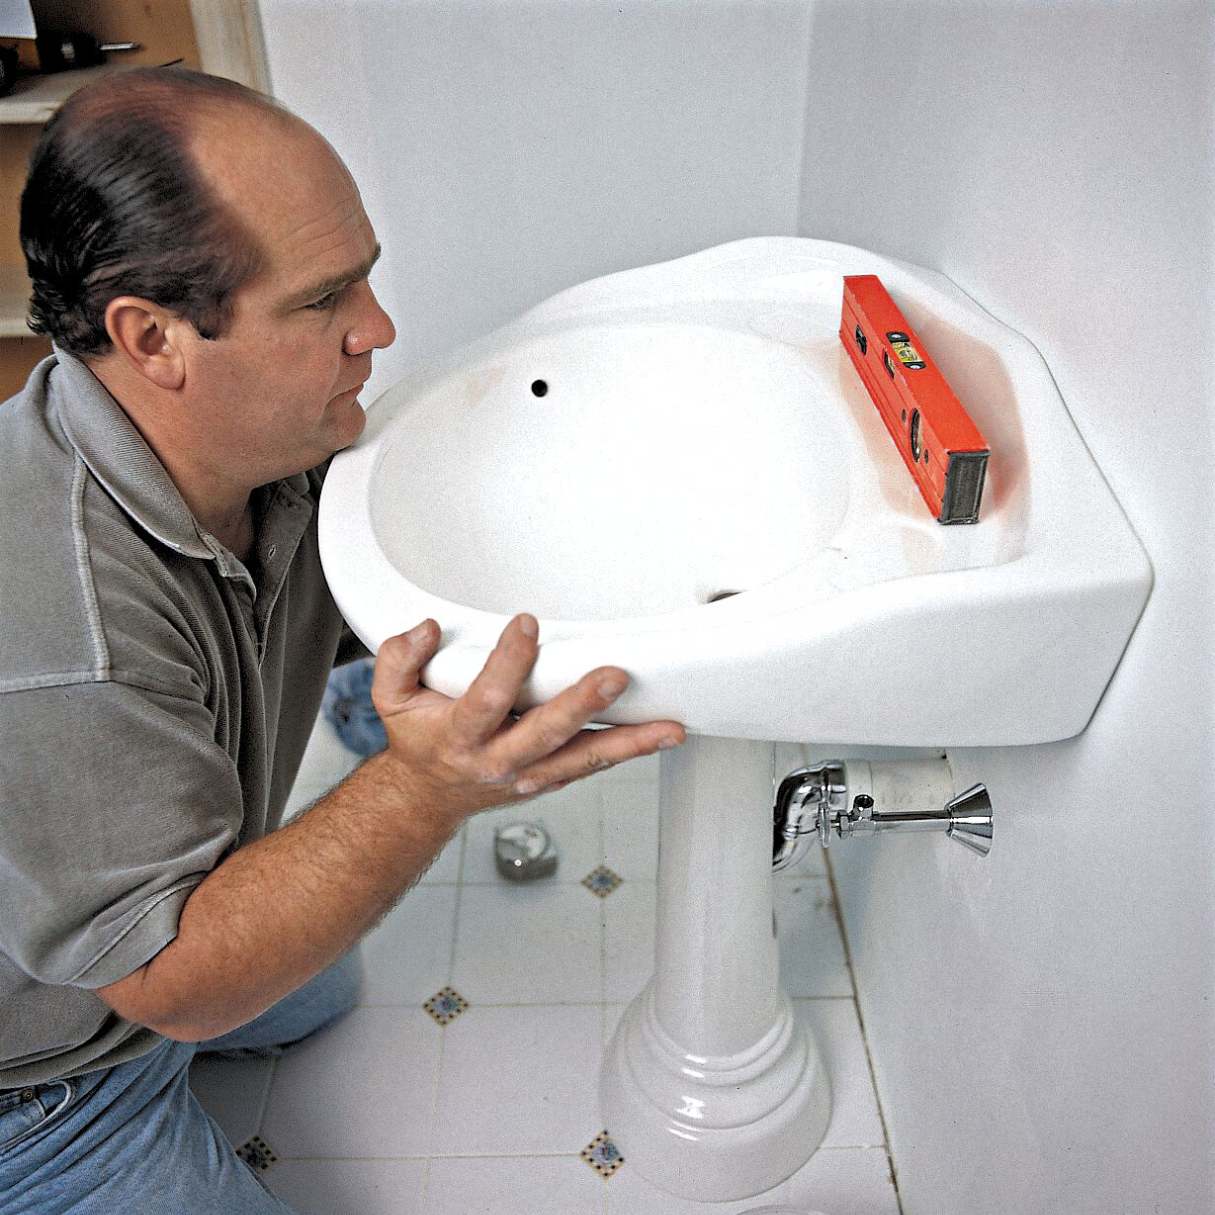
- Remove any additional fixtures: If you are replacing the entire bathroom sink, you may need to remove the sink itself. Follow the manufacturer’s instructions or consult a professional if necessary.
- Inspect for any damage or corrosion: While removing the old plumbing, take the opportunity to carefully inspect the pipes and fittings for any signs of damage or corrosion. If you notice any issues, it is best to address them before proceeding with the installation.
Once you have successfully removed the old plumbing, you are one step closer to installing the Pex pipe to your bathroom sink. The next step is to measure and cut the Pex pipe to the desired length.
Step 4: Measure and cut the Pex pipe
With the old plumbing removed, it’s time to measure and cut the Pex pipe to the appropriate length for your bathroom sink installation. Here’s how you can get the right measurements and cut the Pex pipe:
- Measure the distance: Using a measuring tape, measure the distance from the water supply to the bathroom sink. Add a few inches to account for any bends or adjustments that may be necessary.
- Mark the Pex pipe: Using a marker, make a mark on the Pex pipe where you need to make the cut. Double-check your measurements and ensure that they are accurate.
- Cut the Pex pipe: Use a Pex pipe cutter to cut the pipe at the marked location. Place the pipe cutter around the Pex pipe, tighten the blade, and rotate the cutter around the pipe until it cuts through smoothly. Avoid applying too much pressure to prevent crushing the pipe.
- Deburr the edges: After cutting the Pex pipe, use a deburring tool or a utility knife to remove any burrs or rough edges from the cut end. Smooth out the edges to ensure a clean and secure connection.
It is essential to measure and cut the Pex pipe accurately to ensure a proper fit and a leak-free installation. Take your time and double-check your measurements before making any cuts. Once you have the Pex pipe cut to size, you are ready to move on to the next step: installing the fittings.
When installing Pex pipe to a bathroom sink, make sure to use the appropriate Pex fittings and a Pex crimping tool to securely connect the pipe to the sink’s water supply lines. Always follow manufacturer’s guidelines for proper installation.
Read more: How To Install A Bathroom Sink
Step 5: Install the fittings
Now that you have the Pex pipe cut to the appropriate length, it’s time to install the fittings. These fittings will allow you to connect the Pex pipe to the water supply and the bathroom sink. Here’s how you can install the fittings:
- Choose the appropriate fittings: Depending on your specific installation needs, select the correct type and size of Pex fittings. Ensure that the fittings are compatible with the Pex pipe you are using.
- Slide the crimp ring onto the Pex pipe: Take a crimp ring and slide it onto the end of the Pex pipe. Make sure the ring is positioned a short distance from the end, leaving enough space for the fitting to be inserted.
- Insert the fitting into the Pex pipe: Push the fitting into the end of the Pex pipe until it reaches the crimp ring. Make sure the fitting is fully inserted and seated securely against the crimp ring.
- Position the crimp ring: Slide the crimp ring into position over the fitting until it sits approximately 1/8 to 1/4 inch from the end of the Pex pipe. Ensure that the crimp ring covers the barbs of the fitting.
- Use a Pex crimping tool: Place the jaws of the Pex crimping tool over the crimp ring and squeeze the handles firmly. The tool will compress the crimp ring, creating a secure and watertight connection between the Pex pipe and the fitting.
- Repeat the process for other fittings: If you are installing multiple fittings, repeat the above steps for each fitting. Make sure to position the crimp rings correctly and use the Pex crimping tool to secure the connections.
Properly installed fittings are essential for a leak-free plumbing system. Take your time to ensure that the fittings are inserted correctly and the crimp rings are securely in place. Once you have installed the fittings, you are ready to move on to the next step: connecting the Pex pipe to the sink.
Step 6: Connect the Pex pipe to the sink
With the fittings securely installed, it’s time to connect the Pex pipe to the sink. This step will allow you to complete the plumbing connection and get your bathroom sink up and running. Here’s how you can connect the Pex pipe to the sink:
- Position the Pex pipe: Position the Pex pipe in the desired location under the sink, ensuring that it is properly aligned with the opening for the water supply.
- Connect the supply lines: Take the supply lines and connect them to the fittings on the Pex pipe. Use an adjustable wrench to tighten the connections, ensuring they are secure but not overly tightened to avoid damaging the fittings.
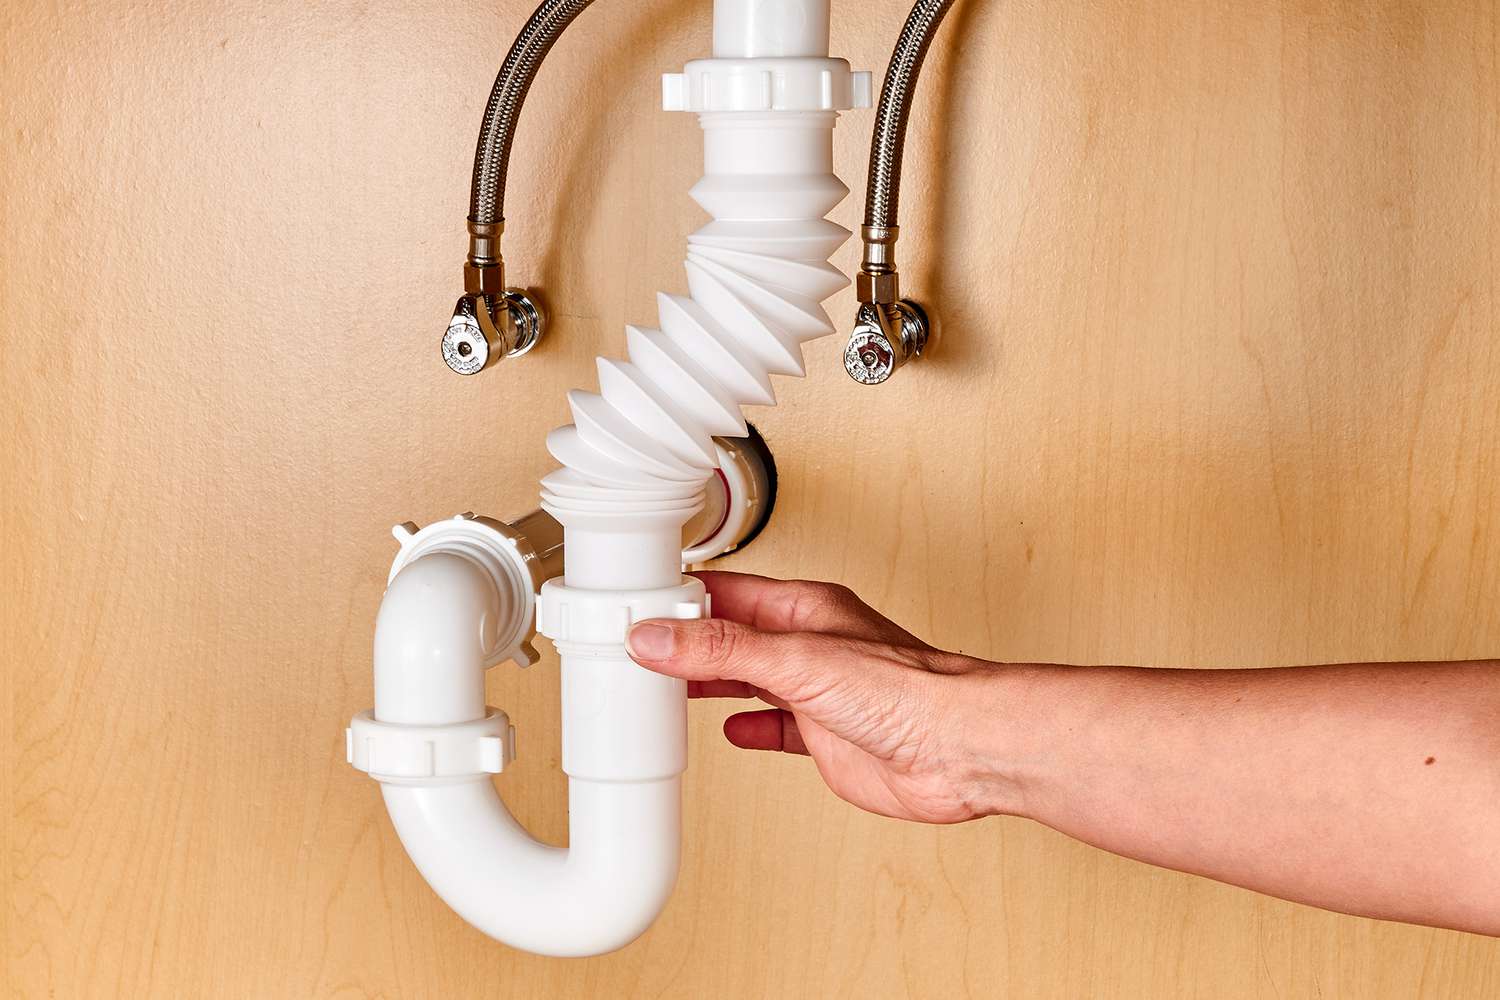
- Connect the drain pipe: If you are replacing the drain pipe, connect it to the sink drain using the appropriate fittings. Ensure that the connections are tight and securely fitted.
- Check for proper alignment: Check that all connections are properly aligned and in the correct position. Make any necessary adjustments to ensure a proper fit.
- Double-check connections: Once all the connections are made, double-check and ensure that all fittings and connections are tight and secure. This will help prevent any leaks in the plumbing system.
Connecting the Pex pipe to the sink is a critical step in your bathroom sink installation. Take your time to align the pipe correctly and ensure that all connections are properly secured. Once you have connected the Pex pipe to the sink, you are ready to move on to the next step: testing for leaks.
Step 7: Test for leaks
After completing the installation of the Pex pipe and connecting it to the sink, it’s crucial to test for leaks. Testing for leaks will ensure that your plumbing system is working properly and prevent any potential water damage. Here’s how you can test for leaks:
- Turn on the water supply: Slowly turn on the main water supply valve to allow water to flow through the plumbing system.
- Check for visible leaks: Inspect all the connections, fittings, and joints for any signs of water leakage. Look for dripping water, wet spots, or puddles around the Pex pipe and the sink connections. If you notice any leaks, turn off the water supply immediately and make the necessary adjustments.
- Listen for hissing or running water: Listen closely for any hissing sounds or running water noises, which may indicate a hidden leak within the plumbing system. If you detect any unusual sounds, it is best to investigate and address the issue.
- Monitor for a period of time: Leave the water running for a few minutes and monitor the plumbing connections for any possible leaks. It is important to check both static and dynamic pressure situations to ensure the integrity of the installation.
If you do encounter any leaks during the testing process, it is crucial to address them promptly. Turn off the water supply, double-check the connections, and make any necessary adjustments or repairs to eliminate the leak. Once you have successfully tested for leaks and made any necessary repairs, you are ready to move on to the final step: turning on the water supply.
Step 8: Turn on the water supply
Once you have completed the installation, connected the Pex pipe to the sink, and tested for leaks, it’s time to turn on the water supply. This final step will allow you to fully enjoy the benefits of your new plumbing system. Here’s how you can safely turn on the water supply:
- Close all faucets: Before turning on the water supply, ensure that all faucets in the bathroom are closed. This will prevent any airlocks or sudden bursts of water pressure.
- Slowly turn on the main water supply: Slowly open the main water supply valve in a clockwise direction. This will allow water to flow gradually into the plumbing system.
- Check for leaks: As the water begins to flow, carefully inspect all connections, fittings, and joints for any signs of leakage. Look for any dripping water or wet spots around the Pex pipe and sink connections. If you notice any leaks, immediately turn off the water supply and address the issue.
- Ensure proper water flow: Check that the water flows smoothly and consistently from the faucets. If you notice any irregularities, such as weak water pressure or inconsistent flow, further investigate and make any necessary adjustments.
- Run water from the sink: Turn on the faucet of the bathroom sink and let the water run for a few minutes. This will help flush out any debris or air pockets from the plumbing system.
Congratulations! You have successfully installed the Pex pipe to your bathroom sink and turned on the water supply. Take a moment to ensure that everything is functioning correctly, and enjoy the benefits of your newly installed plumbing system.
If you encounter any issues during this process or are unsure about any step, it is always advisable to consult a professional plumber for assistance.
Read more: How To Install Sink Vanity
Conclusion
Installing a Pex pipe to your bathroom sink is a rewarding DIY project that can save you time and money. By following the step-by-step guide outlined in this article, you can confidently complete the installation and enjoy the benefits of a modern and durable plumbing system.
Throughout the installation process, we covered the essential steps, including gathering the necessary materials, shutting off the water supply, removing the old plumbing, measuring and cutting the Pex pipe, installing fittings, connecting the Pex pipe to the sink, testing for leaks, and finally, turning on the water supply.
It is important to note that while the installation of a Pex pipe can be done by a confident DIYer, it may require some basic plumbing knowledge and skills. If you encounter any difficulties or are unsure about any step, it is always recommended to consult a professional plumber.
When working with Pex pipe, it’s crucial to prioritize safety and accuracy. Use the appropriate tools and equipment, check for leaks at each stage, and take the time to ensure that fittings and connections are securely in place. Testing the system for leaks and checking the water flow are also vital steps to ensure the integrity of your installation.
By following these guidelines, you can successfully install a Pex pipe to your bathroom sink, benefitting from its flexibility, durability, and resistance to corrosion. Be proud of your DIY accomplishment and enjoy the improved functionality and reliability of your newly installed plumbing system.
Remember, if you have any doubts or concerns, always consult a professional for assistance. Happy plumbing!
Curious about taking your home improvement skills further? If you've mastered installing Pex pipe, why not tackle a bigger project? Find out how long remodeling your washroom might take and get a jump on planning your next upgrade. Or perhaps you're ready to refine your fixture fitting prowess with a guide on setting up a new sink faucet. Both guides offer practical advice and step-by-step instructions to boost your DIY confidence and ensure success in your home projects.
Frequently Asked Questions about How To Install Pex Pipe To Bathroom Sink
Was this page helpful?
At Storables.com, we guarantee accurate and reliable information. Our content, validated by Expert Board Contributors, is crafted following stringent Editorial Policies. We're committed to providing you with well-researched, expert-backed insights for all your informational needs.




0 thoughts on “How To Install Pex Pipe To Bathroom Sink”