Articles
How To Lighten Wood Furniture
Modified: October 20, 2024
Learn how to lighten your wood furniture with these easy-to-follow tips and tricks. Transform your furniture and give it a fresh and stylish look.
(Many of the links in this article redirect to a specific reviewed product. Your purchase of these products through affiliate links helps to generate commission for Storables.com, at no extra cost. Learn more)
Introduction
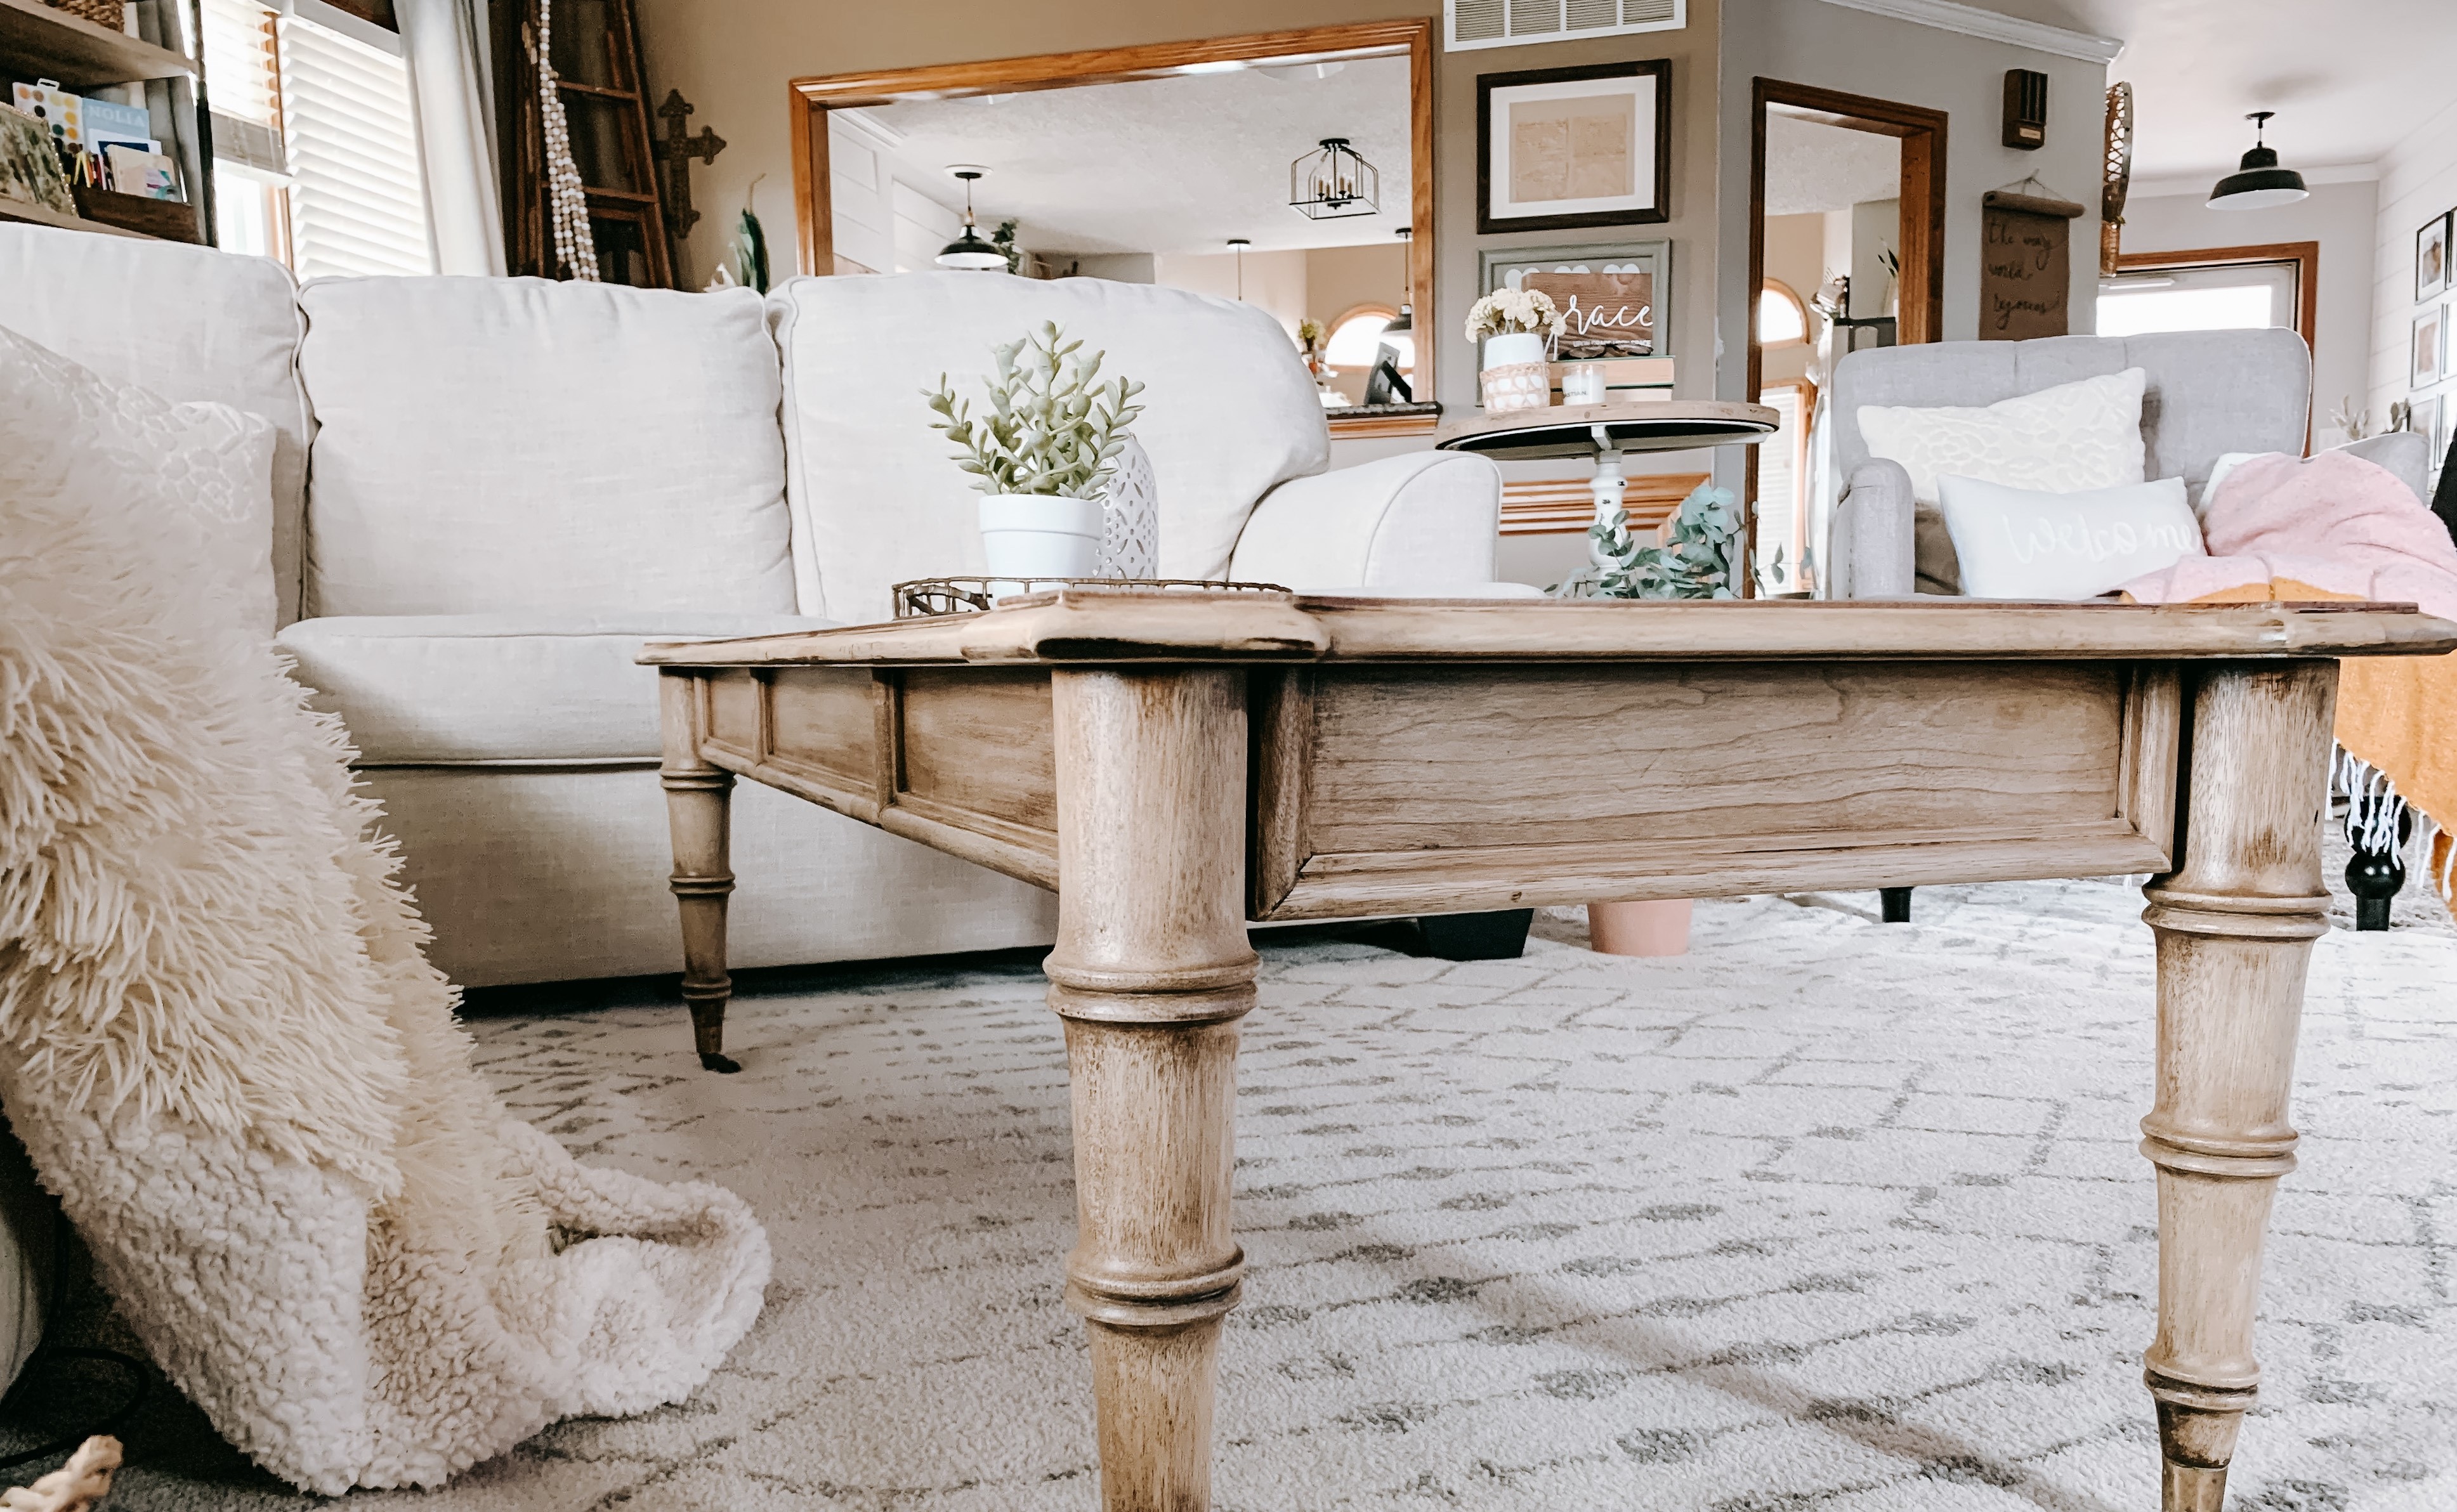
Welcome to the world of wood furniture! Wood is a versatile and timeless material that adds warmth and elegance to any space. However, over time, your beloved wood furniture may start to look a bit worn out or have a darker tone than you desire. If you’re seeking a way to revive your wood furniture and bring back its natural beauty, lightening the wood can be a great solution.
Lightening wood furniture involves a series of steps that can help you achieve a lighter shade while still maintaining the integrity and quality of the wood. This process can be particularly useful if you have older furniture or if you want to create a fresher, more modern look in your living space.
In this article, we will guide you through the process of lightening wood furniture, step by step. We’ll cover everything from assessing the condition of the wood to applying the appropriate products to achieve the desired result. So, let’s dive right in and discover how to bring new life to your wood furniture!
Key Takeaways:
- Revive the natural beauty of your wood furniture by following a step-by-step process to lighten and transform your beloved pieces, creating a fresh, modern, and inviting look for your living space.
- Personalize and enhance the appeal of your wood furniture through lightening, staining, and applying a clear finish, unlocking the hidden potential of your cherished pieces and ensuring their longevity with proper maintenance.
Read more: How To Disinfect Wood Furniture
Importance of Lightening Wood Furniture
Lightening wood furniture is an excellent way to transform the appearance of your space and breathe new life into your tired furnishings. Whether you have inherited an antique piece with a dark, outdated stain or simply want to update the look of your favorite wood furniture, lightening the wood can make a world of difference. Here are a few reasons why lightening wood furniture is important:
- Enhanced Aesthetics: Lightening the wood can instantly make a room feel brighter, more spacious, and refreshed. It opens up the space and allows other elements in the room to stand out. Lighter wood furniture also tends to have a more modern and contemporary feel, perfect for those seeking a fresh and updated look.
- Revived Charm: Over time, wood furniture can become dull, faded, or discolored, losing its original charm. Lightening the wood can revive its natural beauty, revealing the intricate grain patterns and highlighting its unique features. It’s a great way to restore the original character of vintage or antique pieces.
- Personalization: Lightening wood furniture gives you the opportunity to customize and personalize your pieces. By choosing a lighter shade or removing an old stain, you can create a look that aligns with your personal style. It allows you to breathe new life into old furniture and make it feel like a brand-new piece that truly reflects your taste and preferences.
- Increased Versatility: Lighter wood furniture has a versatile quality that allows it to complement a wide range of interior design styles. It can seamlessly blend with modern, minimalist, Scandinavian, or even rustic decor, giving you more flexibility in your design choices. By lightening your wood furniture, you can make it adaptable to different design themes and update your space accordingly.
Remember, lightening wood furniture is not just about changing its appearance; it’s about enhancing its overall appeal and creating a more inviting and harmonious living environment. So, if you’re ready to embark on a journey of transformation, let’s move on to the next steps and learn how to assess your wood furniture.
Assessing the Wood Furniture
Before diving into the process of lightening your wood furniture, it’s important to assess its condition and determine if it is suitable for the treatment. Here are some key factors to consider during the assessment:
- Type of Wood: The type of wood used in your furniture will influence the lightening process. Some woods, such as pine, oak, or maple, are known for their ability to take stains and bleaching agents more evenly. Others, like cherry or mahogany, may require extra care and caution during the lightening process. Research the specific type of wood to better understand its characteristics and how it may respond to lightening treatments.
- Finish and Coating: Determine if your wood furniture has any existing finish or coating. If there is a strong finish, such as polyurethane or varnish, you may need to strip it before proceeding with the lightening process. This will ensure that the bleach or stain remover can penetrate the wood effectively. If the piece is unfinished or doesn’t have a heavy coating, the lightening process can be relatively easier and quicker.
- Overall Condition: Assess the overall condition of your furniture, including any visible signs of damage, such as cracks, splits, or deep scratches. It’s important to address these issues before proceeding with the lightening process. Repair any damages and ensure the wood is stable and sturdy enough to undergo the treatment.
- Desired Outcome: Consider the desired outcome for your furniture. Do you want a lighter shade overall, or do you prefer a more natural, lighter color? Understanding your end goal will guide you in selecting the appropriate lightening methods and products.
- Test Patch: It’s always advisable to conduct a test patch on an inconspicuous area of the furniture before applying any bleaching or lightening products to the entire piece. This will help you ensure that the wood reacts well to the treatment and that you achieve the desired results.
By thoroughly assessing your wood furniture, you can make informed decisions about the lightening process, ensuring the best possible outcome. Once you understand the condition of your furniture, you can move on to the next step: preparing the workspace.
Preparing the Workspace
Before you begin the lightening process for your wood furniture, it’s essential to prepare your workspace to ensure a smooth and efficient experience. Here are some steps to follow when setting up your workspace:
- Cover and Protect: Start by covering the floor or working surface with a drop cloth or plastic sheeting to protect it from any spills or drips. Wood bleaching and staining products can be messy, so it’s important to create a barrier to prevent damage to your surroundings.
- Ventilation: Ensure that your workspace is well-ventilated. Open windows or use fans to circulate fresh air, as some wood bleaching products can emit strong fumes. If working in an enclosed area, consider using a respirator or mask to protect yourself from any potentially harmful vapors.
- Wear Protective Gear: It’s important to protect your hands and skin from the chemicals used during the lightening process. Wear gloves, safety goggles, and long sleeves to minimize the risk of skin irritation or accidental contact with the products.
- Gather Tools and Supplies: Make sure you have all the necessary tools and supplies readily available. This may include sandpaper or a sanding block, brushes for applying bleach or stain remover, clean rags or paper towels, and a bucket for mixing solutions. Having everything organized and within reach will help streamline the process.
- Arrange Proper Lighting: Adequate lighting is crucial when working on wood furniture. Set up additional lighting sources if needed to ensure you have good visibility and can properly assess your progress as you lighten the wood.
By taking the time to prepare your workspace, you create a safe and organized environment for the lightening process. This will not only make the task more manageable but also enhance the overall results. Once your workspace is ready, you can move on to the next step: cleaning the wood furniture.
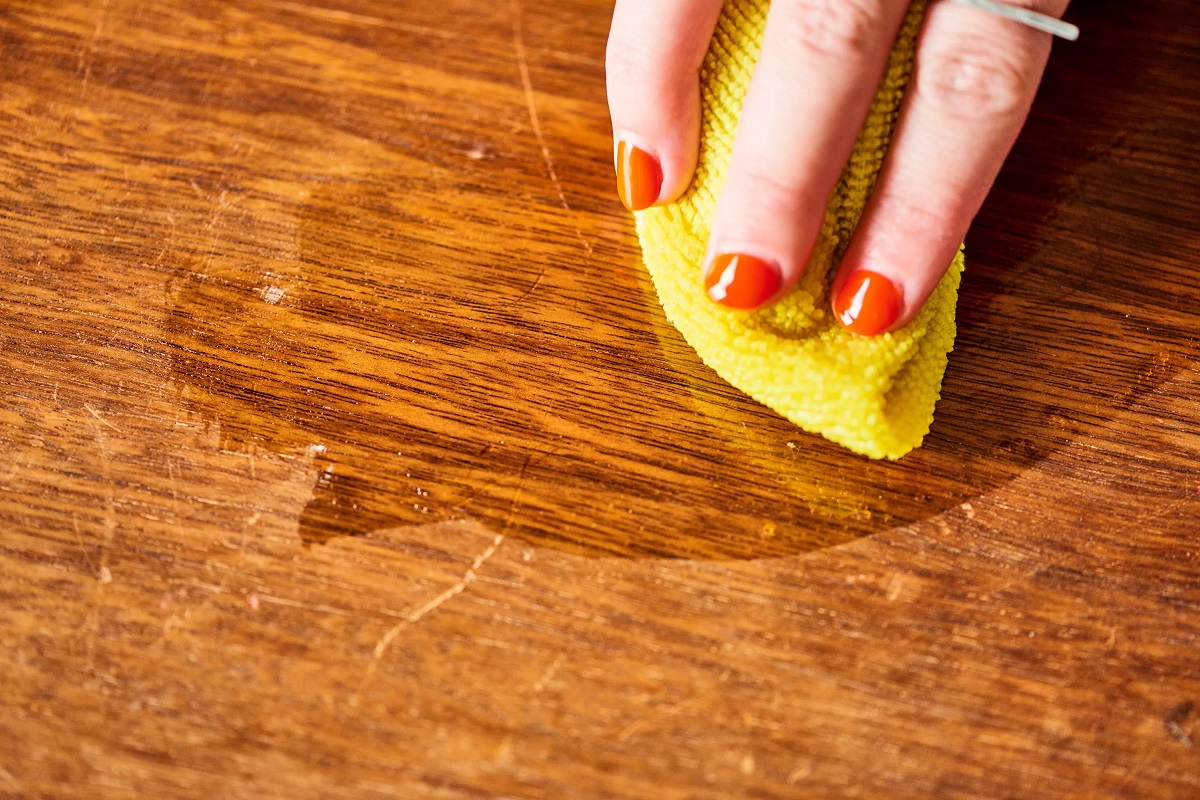
Cleaning the Wood
Before you begin the lightening process for your wood furniture, it’s crucial to ensure that the surface is clean and free of dust, dirt, and any other residues. Cleaning the wood removes any existing grime, oils, or contaminants, allowing the lightening products to penetrate the wood effectively. Here’s how you can clean your wood furniture:
- Dust Removal: Start by removing loose dust and debris from the surface of the wood. Use a soft brush, microfiber cloth, or a vacuum cleaner with a brush attachment. Pay close attention to crevices, corners, and intricate details to ensure a thorough cleaning.
- Mild Soap Solution: Prepare a gentle cleaning solution by mixing a small amount of mild soap or dishwashing liquid with warm water. Dip a clean cloth or sponge into the solution and gently wipe the surface of the wood. Avoid using excessive water that may cause the wood to swell or warp.
- Stain Removal: If you notice any stains on the wood surface, you can use a specialized wood cleaner or a mixture of equal parts vinegar and water to remove them. Apply the cleaner to a clean cloth and gently rub the affected area in a circular motion. Rinse with a damp cloth and dry thoroughly.
- Stubborn Grime: For stubborn grime or sticky residue, you can use a solution of equal parts water and rubbing alcohol. Dampen a cloth with the solution and gently rub the affected area. Always test the solution on a small, inconspicuous area of the furniture first to ensure it doesn’t damage the wood finish.
- Drying Time: After cleaning, allow the wood furniture to air dry completely. Ensure that there is no excess moisture left on the surface, as it can interfere with the lightening process.
By thoroughly cleaning the wood furniture, you create a clean and receptive surface that will allow the lightening products to work effectively. This step also helps in removing any superficial imperfections or discolorations, making the subsequent lightening process more successful. With the wood furniture cleaned and dry, you’re now ready to move on to the next step: sanding the wood.
Read more: How To Identify Wood Furniture
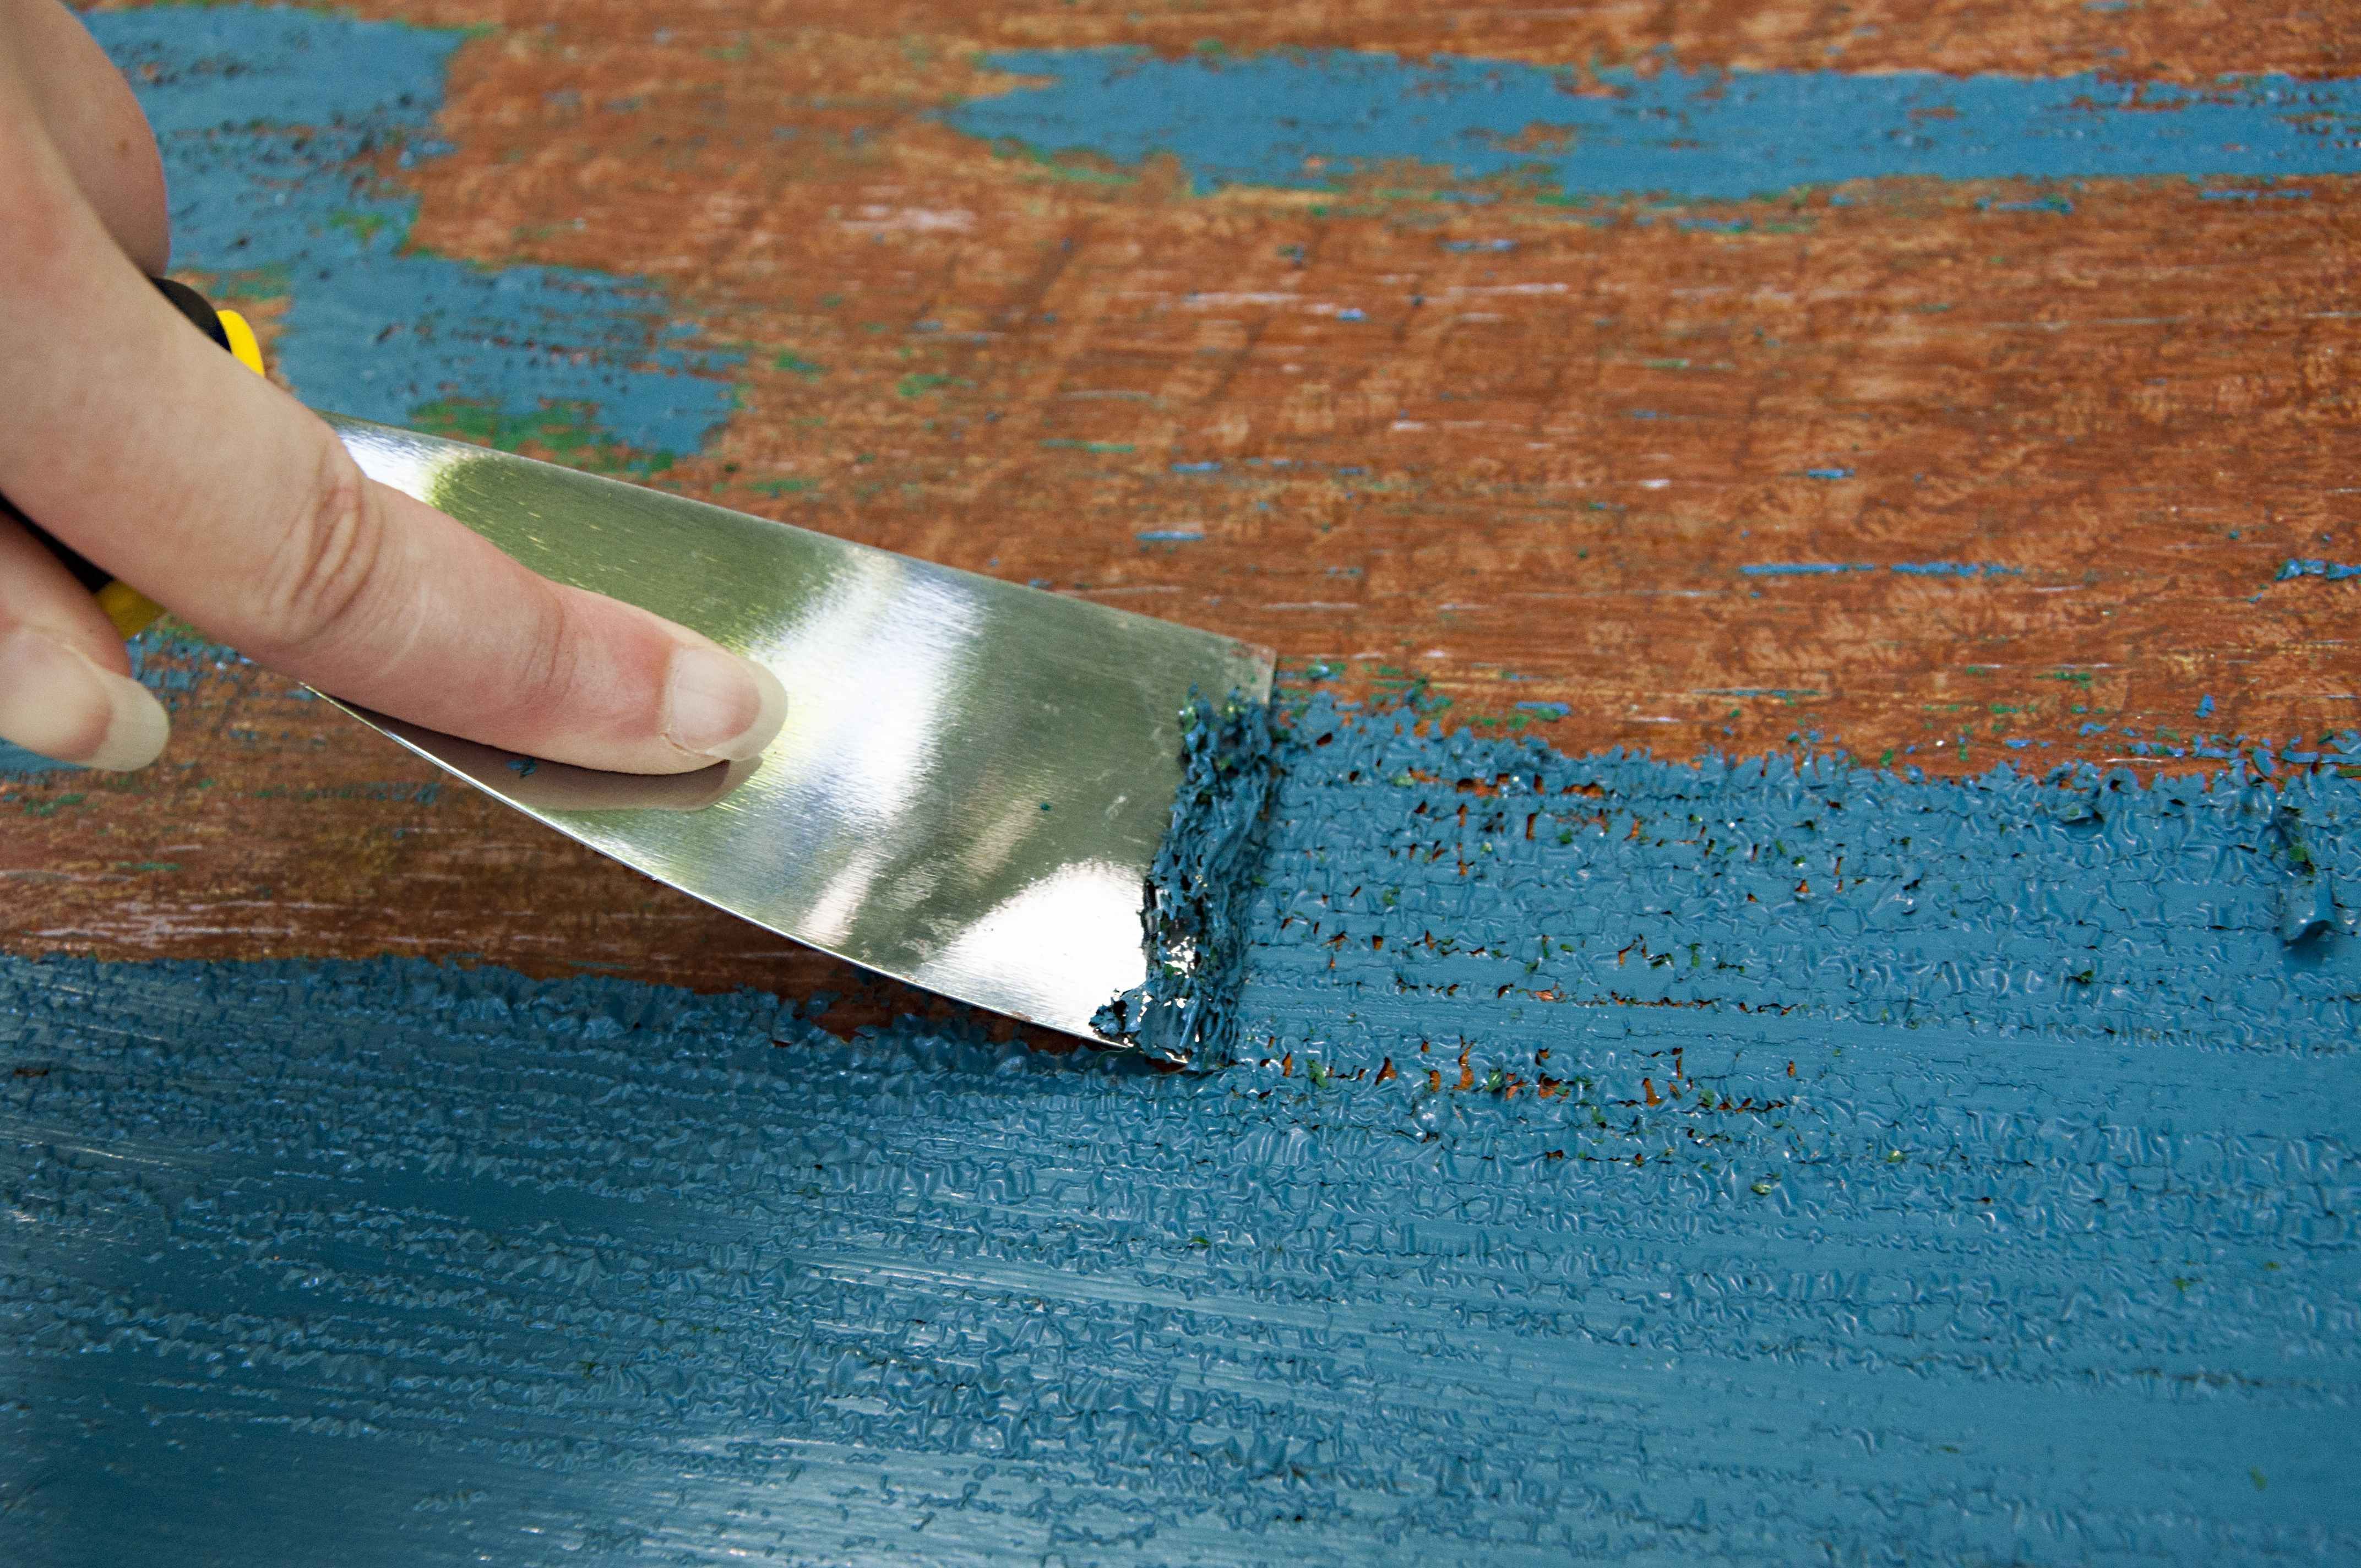
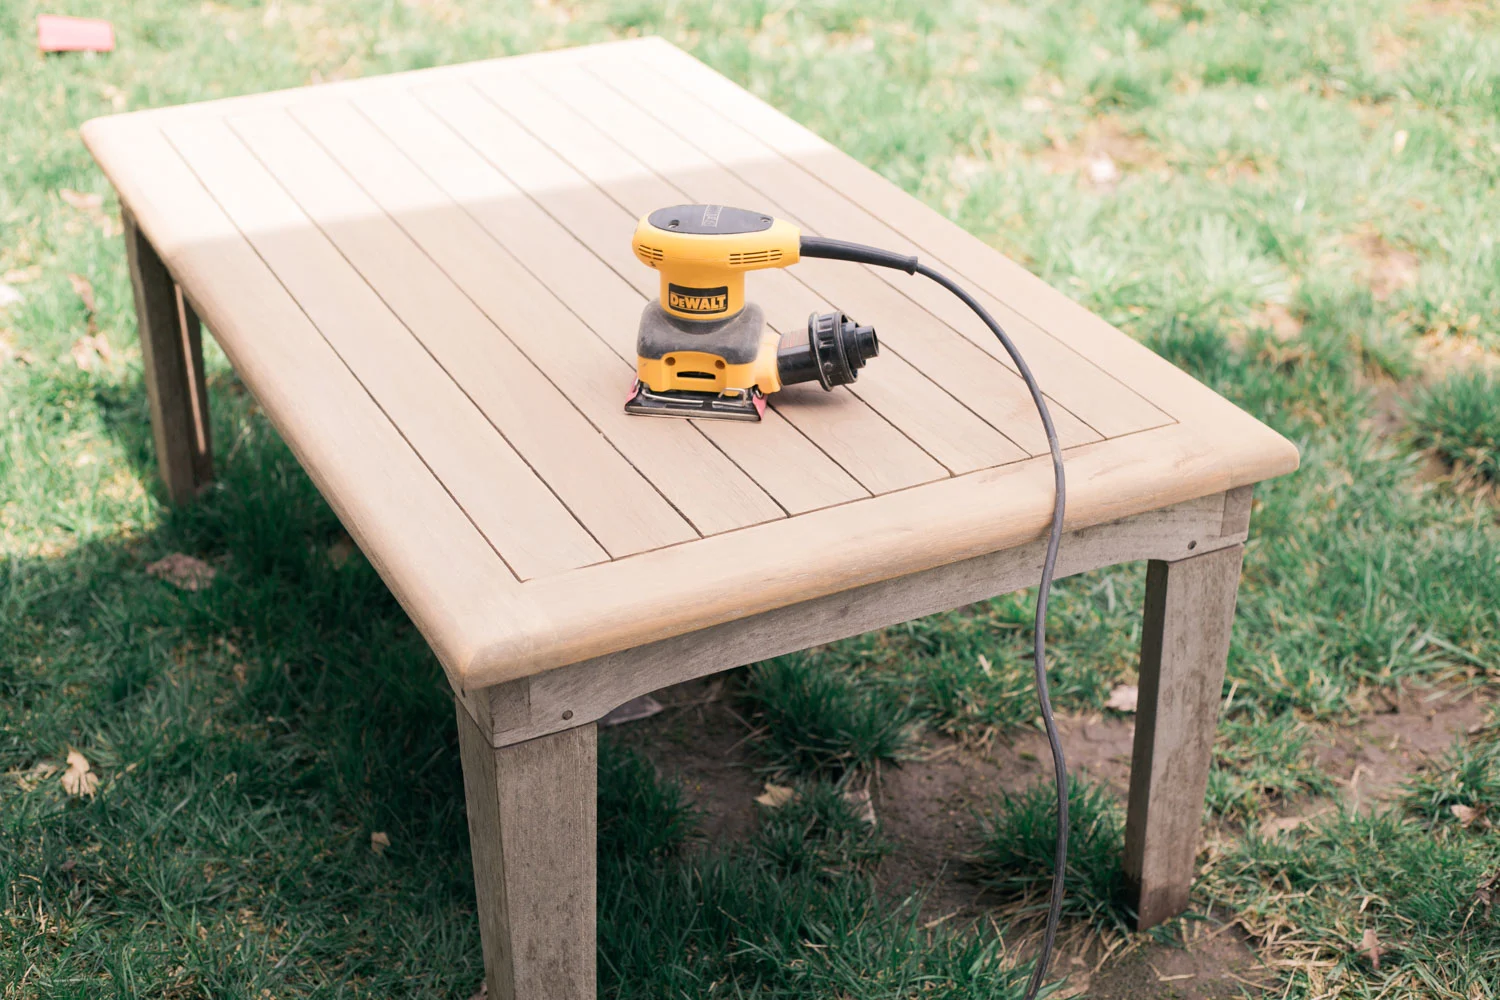
Sanding the Wood
Sanding the wood is an essential step in the process of lightening wood furniture. Sanding helps to remove the existing finish or coating, smoothes out imperfections, and prepares the surface for the lightening treatment. Here’s a step-by-step guide on how to sand your wood furniture:
- Choose the Right Sandpaper: Select the appropriate sandpaper grit for your project. Start with a medium-grit sandpaper, such as 120 or 150, to remove the existing finish and smooth out any rough areas. Then, progress to a finer grit, like 220 or 320, to achieve a smoother surface for the lightening process.
- Protective Gear: Put on your safety goggles, gloves, and a dust mask to protect yourself from the dust generated during sanding. It’s also a good idea to work in a well-ventilated area or wear a respirator to avoid inhaling fine particles.
- Sanding Technique: Take the sandpaper and start sanding the wood in the direction of the grain. Apply even pressure and use long, smooth strokes. Avoid pressing too hard, as it can damage the wood. Keep sanding until the surface feels smooth and all traces of the existing finish or coating are removed.
- Detail Sanding: For intricate or hard-to-reach areas, you may need to use sandpaper wrapped around a small sanding block or fold it into a narrow strip to access tight corners. Ensure that you are sanding evenly and consistently throughout the entire piece.
- Remove Dust: Once you have finished sanding, use a clean cloth or a vacuum with a brush attachment to remove all the sanding dust from the wood. Ensure that the surface is completely clean before proceeding to the next step.
- Smooth Edges: If there are any rough or sharp edges on the furniture, use sandpaper or a sanding block to smooth them down. This will create a more polished and professional look.
Sanding the wood not only removes the existing finish but also helps the lightening products to penetrate the wood more effectively, resulting in a more even and desirable outcome. Remember to take your time and be patient, as proper sanding is crucial for achieving a smooth and flawless surface. With the wood properly sanded, you’re now ready to move on to the next step: applying wood bleach.
To lighten wood furniture, use a wood bleach or a mixture of equal parts vinegar and water. Apply the solution with a cloth, let it sit, then wipe it off and allow the wood to dry completely. Sanding the surface lightly can also help to lighten the wood.
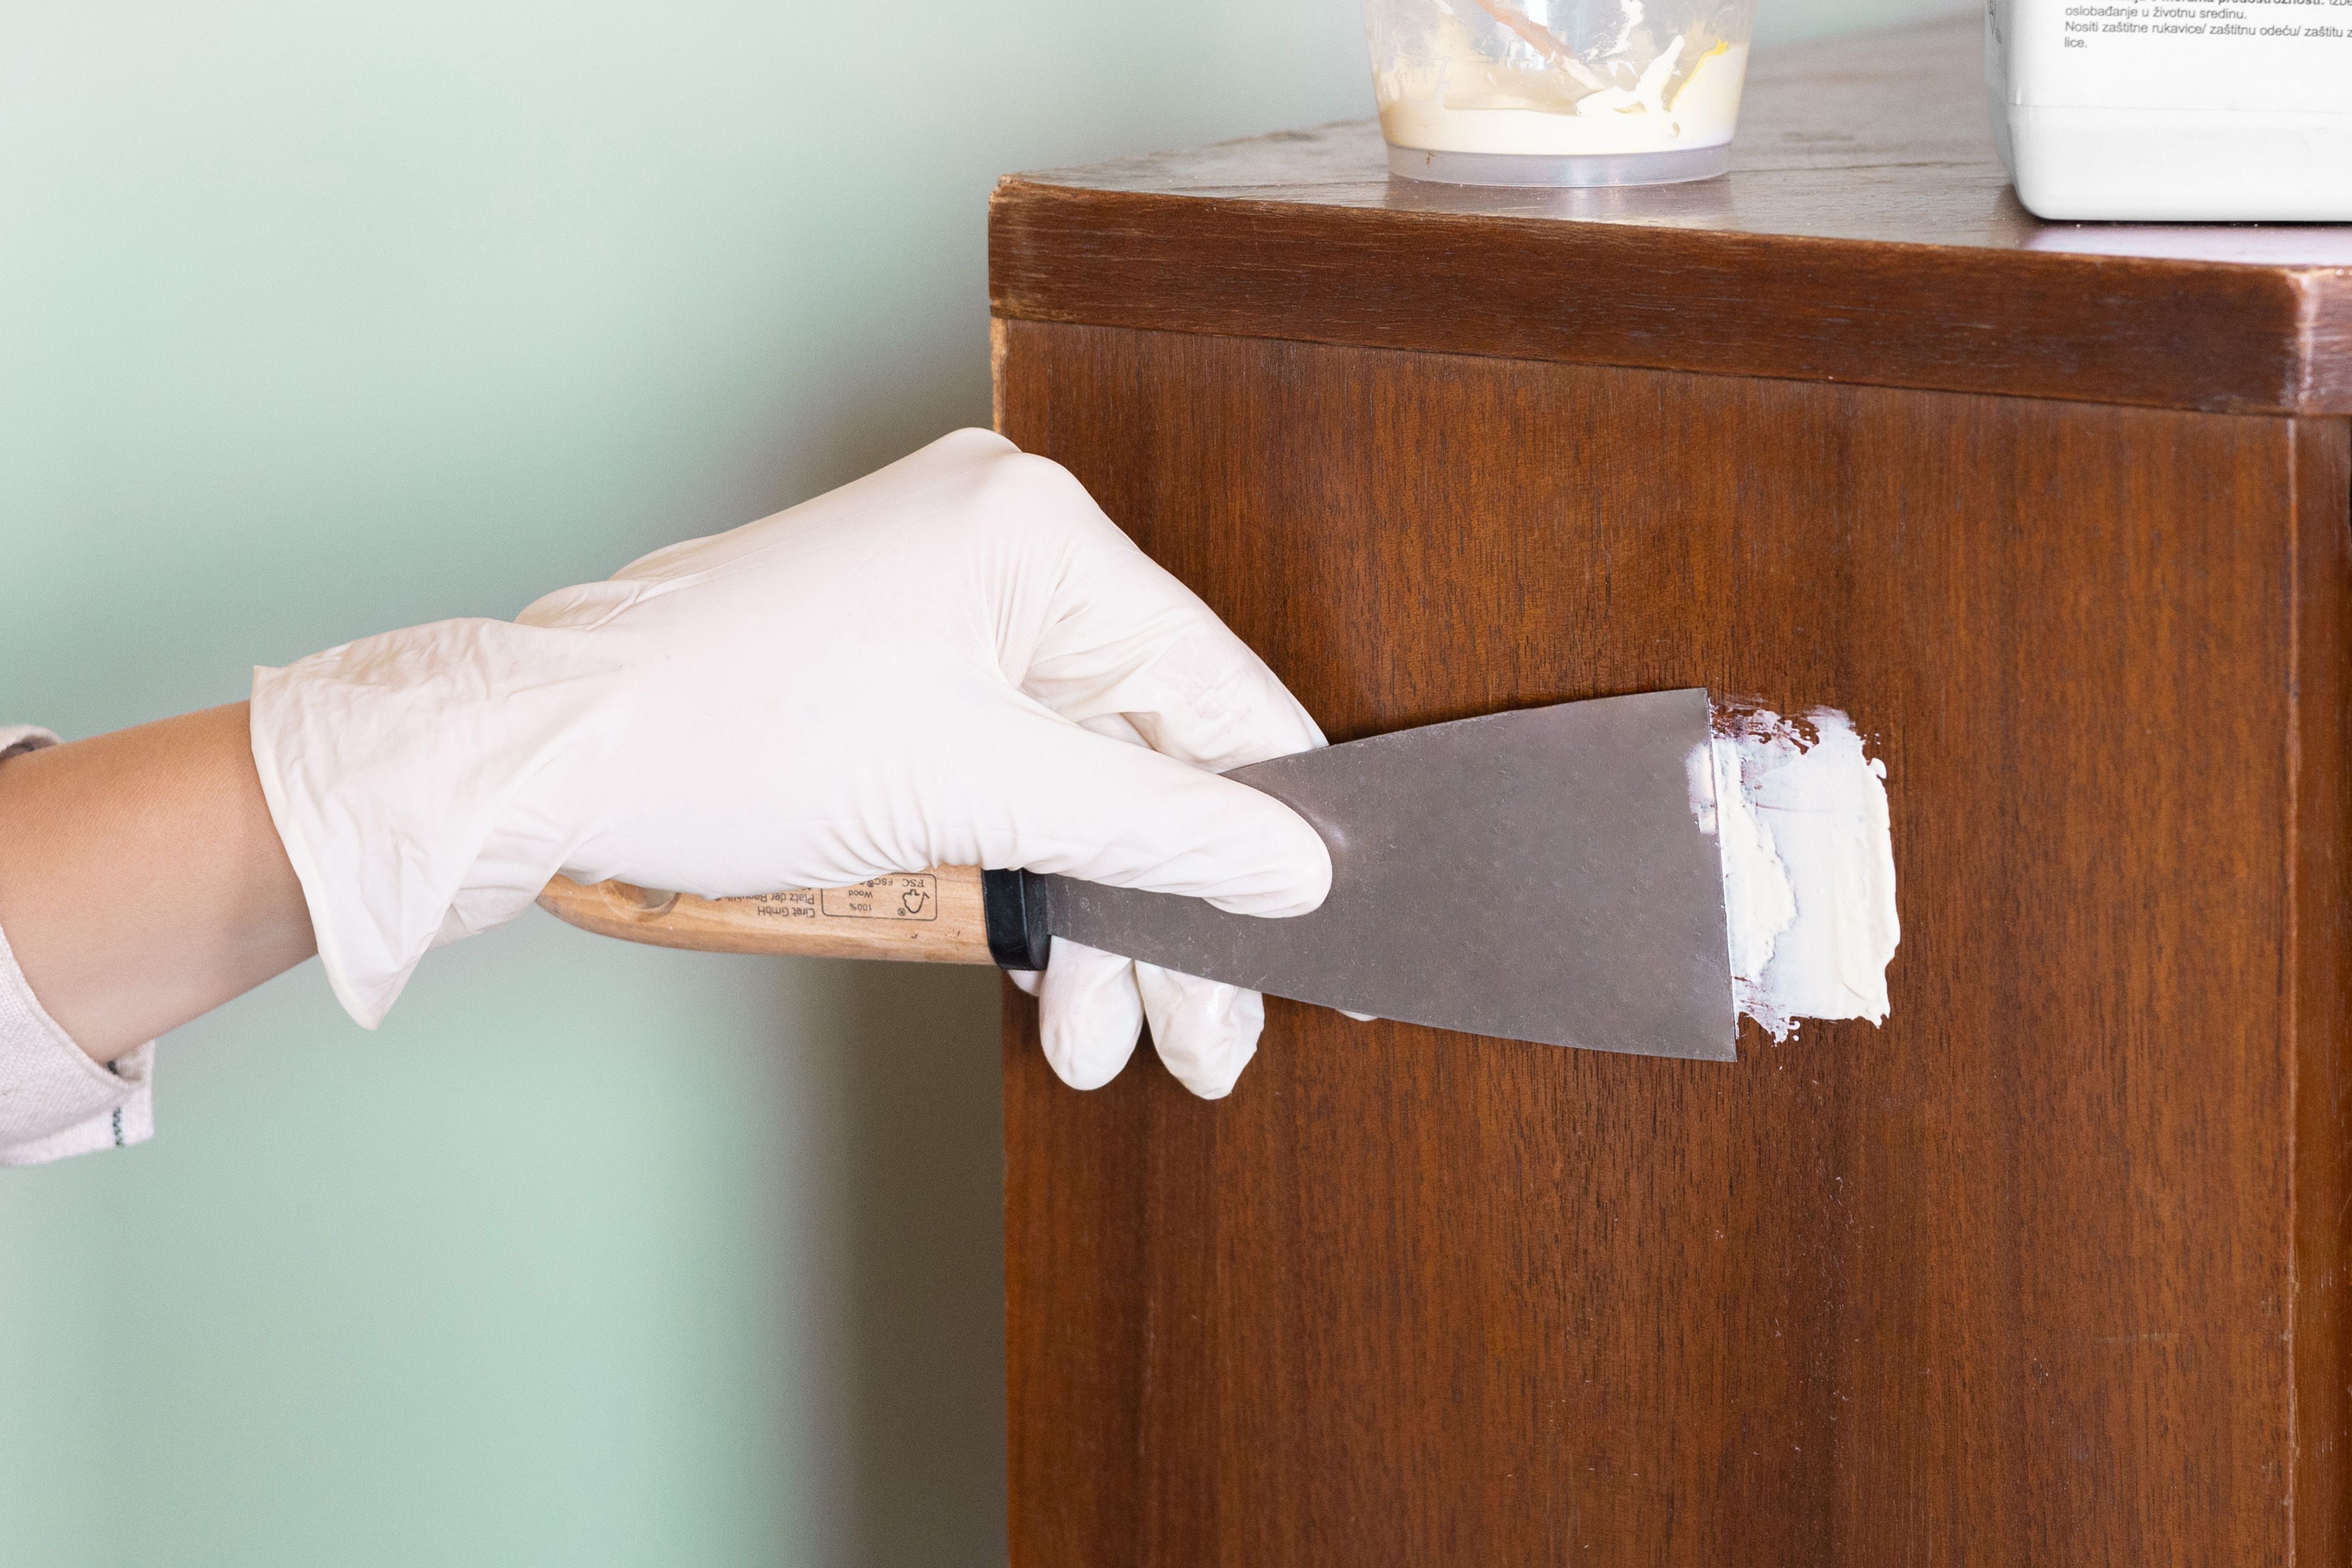
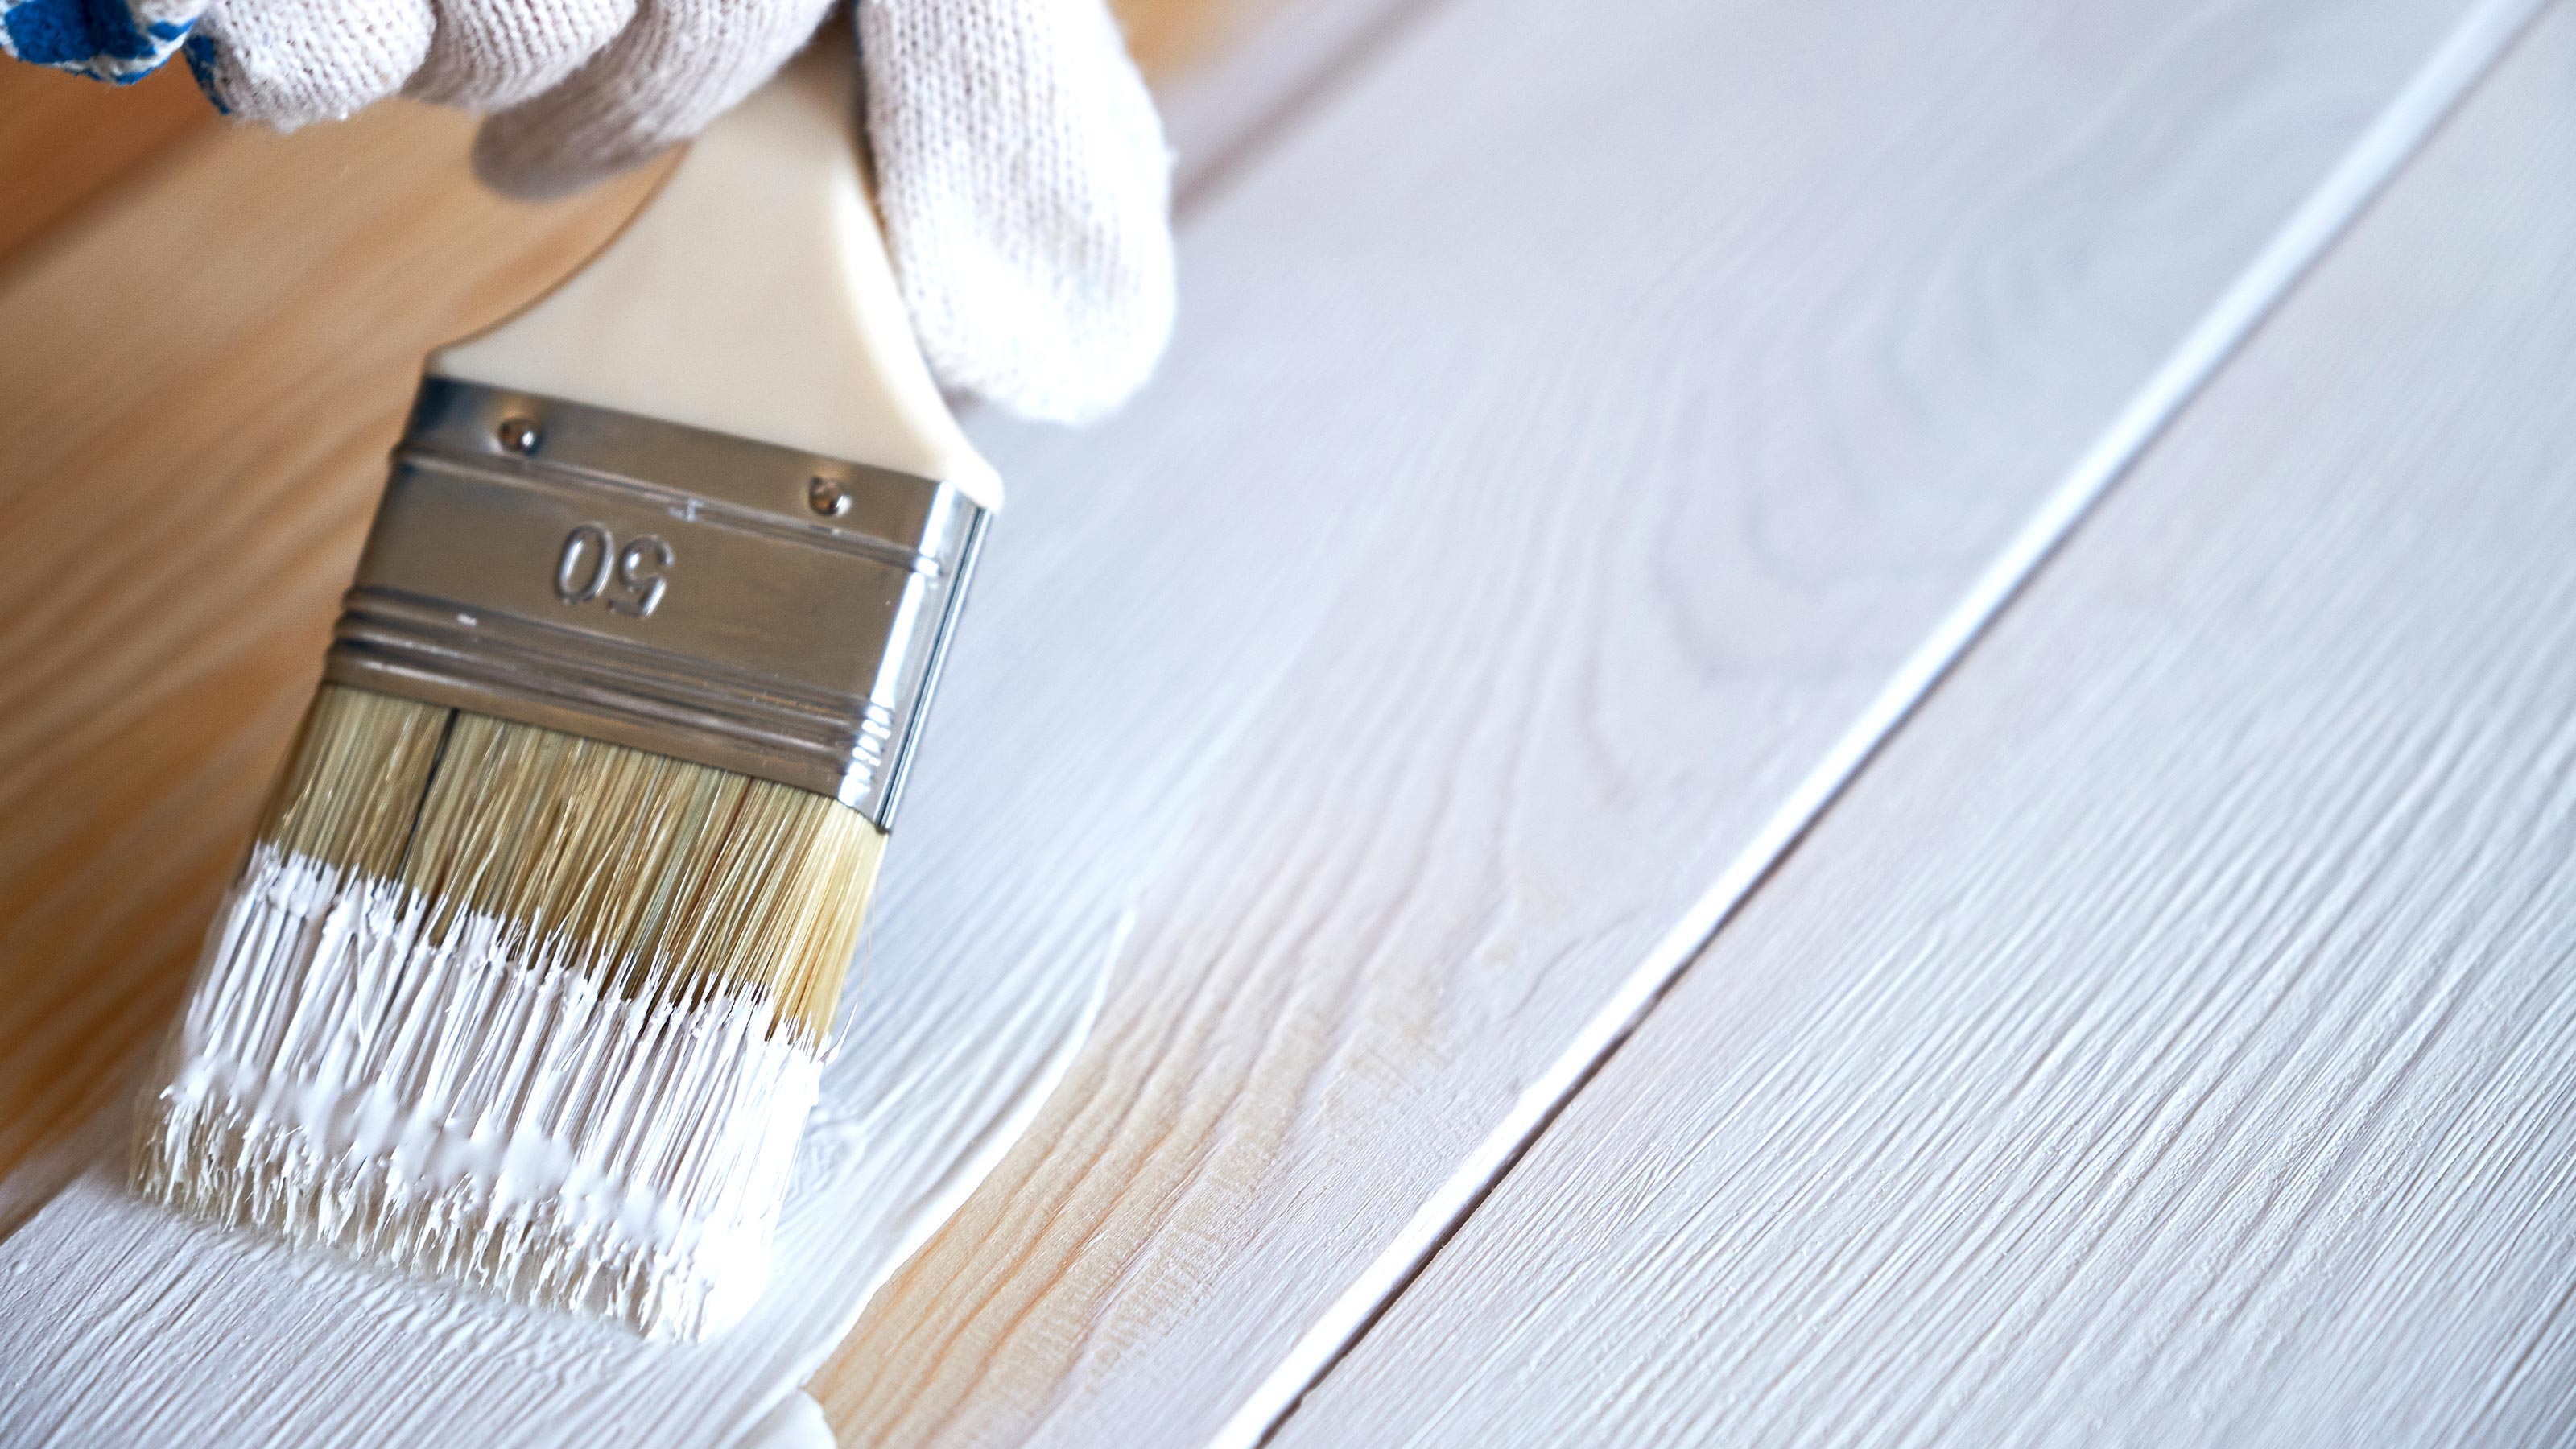
Applying Wood Bleach
Wood bleach is a powerful product that can lighten the color of wood and remove stubborn stains or discolorations. Before using wood bleach, it’s important to note that each brand and type of wood bleach may have specific instructions, so be sure to read and follow the manufacturer’s guidelines. Here’s a general guide on how to apply wood bleach:
- Choose the Right Type of Wood Bleach: There are two common types of wood bleach: chlorine bleach and oxalic acid bleach. Chlorine bleach is effective for removing stains caused by water damage or mildew, while oxalic acid bleach is ideal for removing dark or stubborn stains, such as those caused by tannins or iron.
- Prepare the Bleach Solution: Depending on the instructions provided, dilute the wood bleach with water to the appropriate ratio. It’s essential to mix the bleach in a well-ventilated area and wear gloves, eye protection, and a respirator if required by the product.
- Apply the Bleach: Use a brush or sponge to apply the bleach solution evenly onto the wood surface. Ensure that the entire area is covered and saturated with the bleach. Pay extra attention to any visible stains or dark spots, as these may require additional treatment.
- Allow the Bleach to Penetrate: Follow the recommended wait time provided by the manufacturer to allow the bleach to penetrate the wood and lighten the color. This may vary depending on the type and severity of the stains. Keep in mind that the bleach will continue to lighten the wood as it reacts, so monitor the progress closely.
- Rinse and Neutralize: After the desired lightening effect is achieved, thoroughly rinse the wood with clean water to remove any remaining bleach and neutralize the chemical reaction. Use a sponge or clean cloth to wipe down the wood and ensure that no bleach residue is left behind.
- Drying Time: Allow the wood to dry completely before proceeding with the next steps. This may take several hours or even overnight, depending on the wood and environmental conditions.
Remember to always follow safety precautions and use wood bleach in a well-ventilated area to avoid inhaling fumes or causing damage to the surrounding environment. Wood bleach can be a powerful tool in lightening wood furniture, but it should be used with caution and in accordance with the manufacturer’s instructions. With the wood properly bleached and rinsed, you can move on to the next step: neutralizing the bleach to stabilize the wood surface.
Neutralizing the Bleach
After applying wood bleach to lighten the color of your wood furniture, it’s crucial to neutralize the bleach to stabilize the wood and prevent any further chemical reactions. Neutralizing the bleach will ensure that the wood is ready for the next steps in the lightening process. Here’s how to effectively neutralize the bleach:
- Prepare a Vinegar Solution: Mix a solution of equal parts water and white vinegar. This mild acid will help neutralize the alkaline properties of the bleach and restore the natural pH of the wood. Make enough solution to thoroughly cover the wood surface.
- Apply the Vinegar Solution: Dip a clean cloth or sponge into the vinegar solution and gently wipe the entire surface of the wood furniture. Ensure that the vinegar solution comes into contact with any areas that were treated with the bleach. The vinegar will counteract the bleach’s effects and stabilize the wood.
- Rinse with Clean Water: After applying the vinegar solution, rinse the wood furniture thoroughly with clean water to remove any remaining vinegar or bleach residue. This step is essential to prevent any potential damage to the wood or any lingering smell of the vinegar.
- Drying Time: Allow the wood to dry completely after rinsing. This may require a few hours or overnight. Ensure that the wood is completely dry before proceeding with the next steps in the lightening process.
Neutralizing the bleach is a crucial step to stabilize the wood and ensure that it is ready for further treatment. Failure to neutralize the bleach can result in potential damage to the wood or interfere with the subsequent steps, such as staining or applying a clear finish. With the bleach effectively neutralized and the wood dry, you can now move on to optional steps such as staining, or proceed with the application of a clear finish to protect and enhance the wood’s appearance.
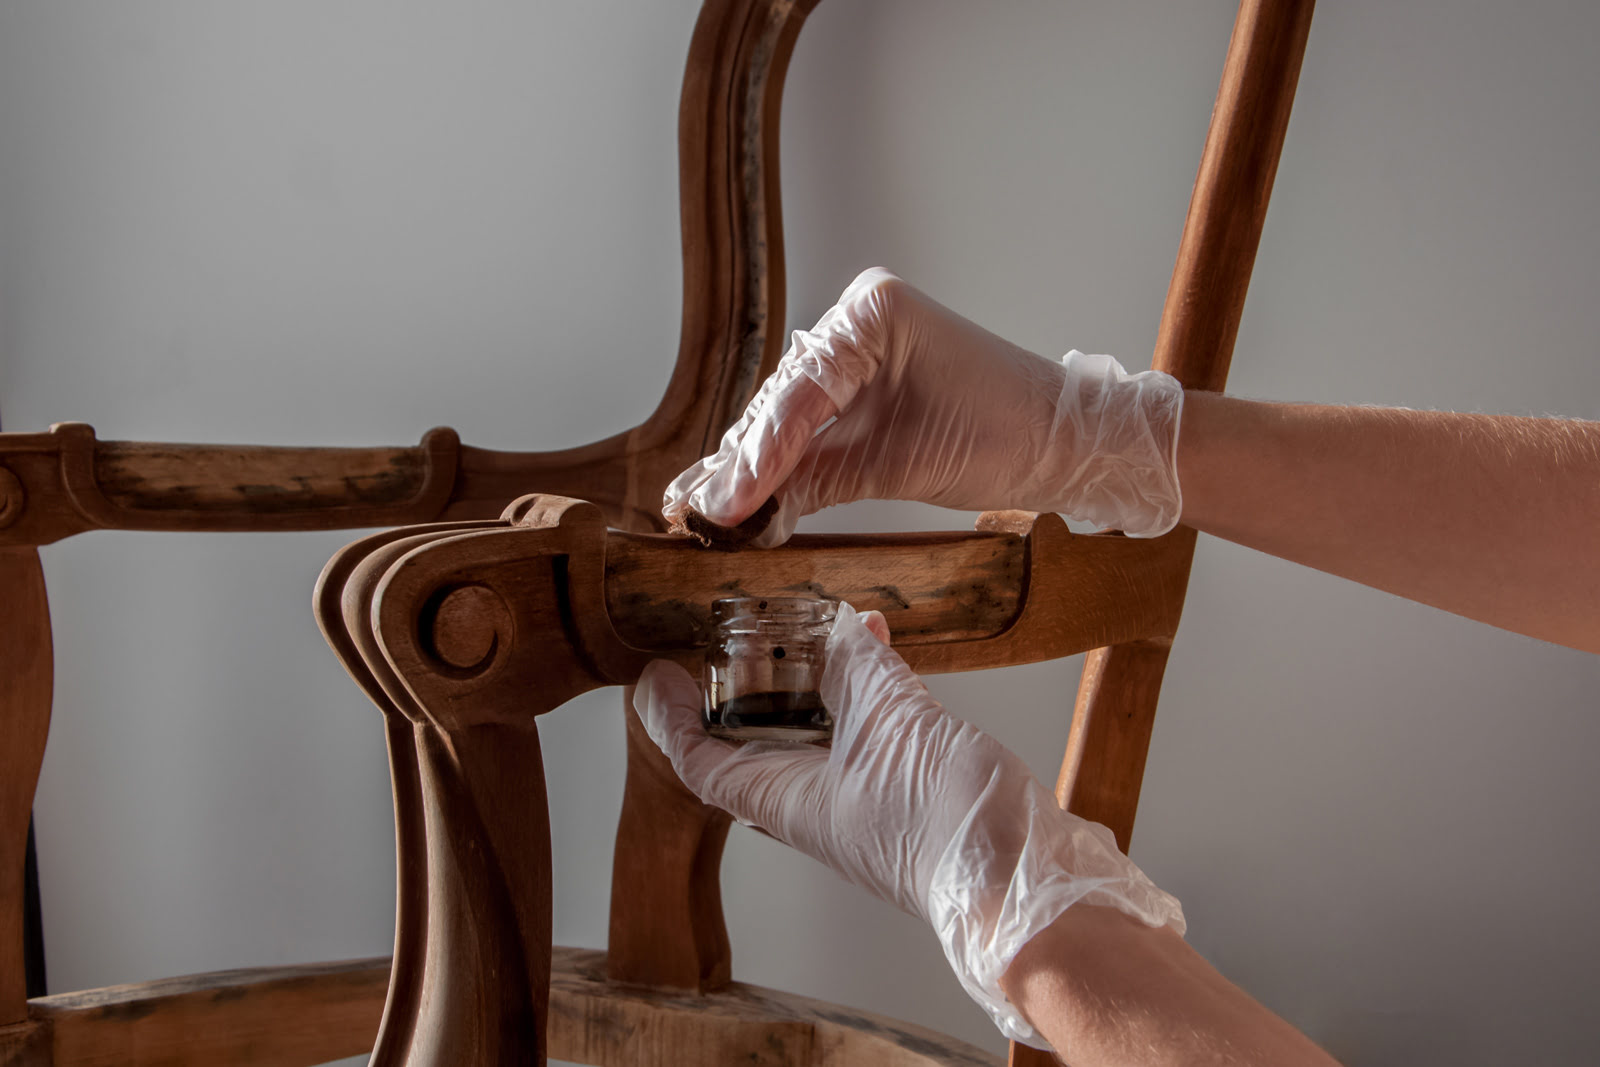
Staining (Optional)
While lightening wood furniture can provide a beautiful and natural look, you may also consider staining the wood to achieve a different aesthetic or to match the furniture with the existing decor. Staining the wood adds color and depth, enhancing the natural beauty of the grain. Here’s a step-by-step guide on how to stain your wood furniture:
- Choose the Right Stain: There are various types of wood stains available, including oil-based, water-based, and gel stains. Consider the desired color, transparency, and durability when selecting the stain. Test the stain on a small, inconspicuous area or a sample piece of wood to ensure it achieves the desired look.
- Prepare the Wood: Ensure that the wood surface is clean, dry, and free from any dust or debris. If necessary, sand the wood lightly with fine-grit sandpaper to create a smooth and even surface. Wrap the text with <p>
- Apply the Stain: Use a clean brush, rag, or sponge to apply the stain evenly onto the wood surface. Work in the direction of the grain and apply the stain in thin, even coats. Allow each coat to penetrate the wood for the recommended time specified by the stain manufacturer. Always follow the instructions and guidelines provided with the specific stain you are using.
- Remove Excess Stain: After applying the stain, use a clean cloth to wipe away any excess stain that has not been absorbed by the wood. This step helps to even out the color and prevent blotches or unevenness.
- Drying Time: Allow the stain to dry completely according to the manufacturer’s instructions. This can take several hours or even overnight. Ensure that the wood is completely dry before proceeding with the next steps.
- Optional Additional Coats: Depending on the desired depth of color, you may choose to apply additional coats of stain. Allow each coat to dry fully before applying the next. Remember to remove any excess stain between coats.
Staining your wood furniture gives you the opportunity to customize the color and achieve a desired look that complements your style and decor. It’s important to choose the right stain and follow the instructions properly to achieve the desired results. After the staining process is complete and the stain has dried, you can move on to the final step: applying a clear finish to protect and seal the wood.
Read more: How To Stain Wood Furniture
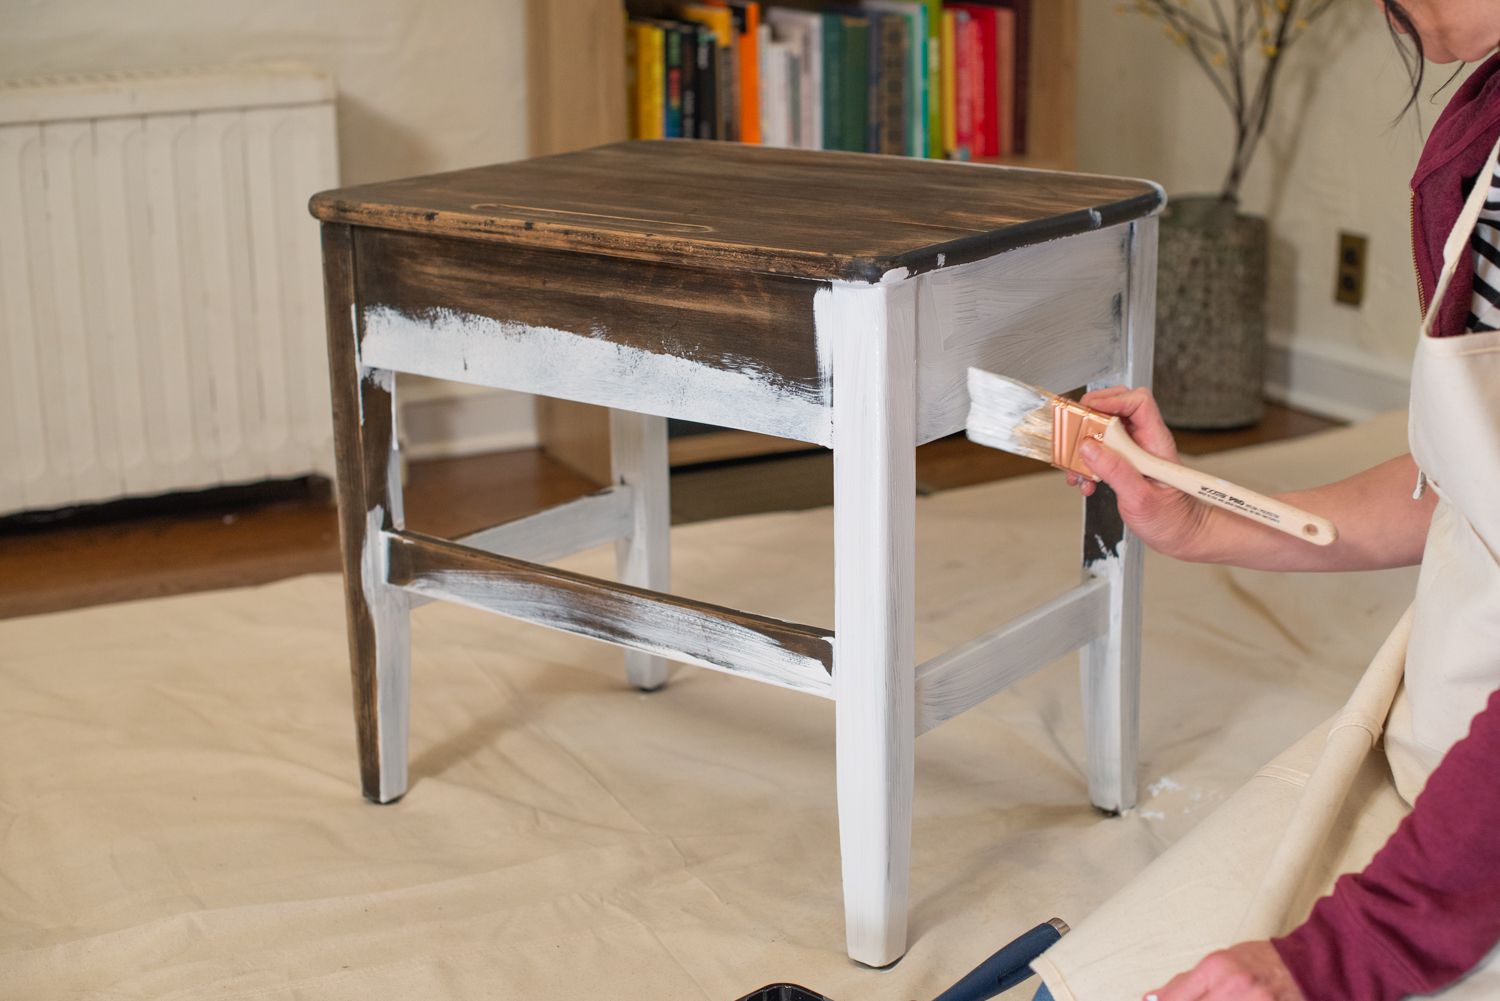
Applying Clear Finish
Applying a clear finish to your wood furniture is an important final step in the lightening process. A clear finish not only enhances the natural beauty of the wood but also provides protection against wear, moisture, and other potential damage. Here’s a step-by-step guide on how to apply a clear finish:
- Choose the Right Clear Finish: There are various types of clear finishes available, such as polyurethane, varnish, lacquer, or shellac. Consider factors such as the desired level of durability, sheen, and application method when selecting the clear finish. Test the finish on a small, inconspicuous area or a sample piece of wood to ensure it achieves the desired look.
- Prepare the Wood: Ensure that the wood surface is clean, dry, and free from any dust or debris. If necessary, lightly sand the wood with fine-grit sandpaper to create a smooth surface for the clear finish to adhere to.
- Apply the Clear Finish: Using a clean brush, foam applicator, or cloth, apply the clear finish evenly onto the wood surface. Work in the direction of the wood grain and apply thin, even coats. Avoid over-applying or creating thick layers of finish, as this can result in uneven drying and an unnatural appearance.
- Allow Drying Time: Follow the manufacturer’s instructions regarding drying time between coats. Typically, clear finishes require several hours to dry. It’s essential to allow each coat to dry fully before applying the next one. Ensure good ventilation during the drying process to help the finish cure properly.
- Sand between Coats (Optional): If desired, you can lightly sand the surface between coats of clear finish using fine-grit sandpaper. This step helps to create a smooth finish and remove any imperfections or brushstrokes. Dust off any sanding residue before applying the next coat.
- Apply Multiple Coats: Depending on the level of protection and sheen you desire, apply multiple coats of the clear finish. Each additional coat adds depth and strength to the protective layer. Be sure to follow the manufacturer’s recommendations for the optimal number of coats.
- Final Drying Time: After applying the final coat of clear finish, allow ample drying time for the finish to cure completely. This can vary depending on the type of finish and environmental conditions. Avoid using or placing objects on the furniture until the finish is fully cured.
Applying a clear finish not only protects and seals the wood but also adds a beautiful, lustrous sheen to the surface. It’s important to choose the right clear finish for your specific needs and follow the instructions diligently for the best results. With the clear finish applied and dried, your wood furniture is now ready to be enjoyed and admired for years to come.
Final Steps and Maintenance
Congratulations! You’ve successfully lightened your wood furniture and achieved the desired look. However, the journey doesn’t end here. To ensure that your newly transformed furniture continues to look its best, there are a few final steps and maintenance practices to keep in mind:
- Inspect and Touch Up: After the lightening process and the application of a clear finish, carefully inspect your furniture to ensure that the color is consistent and the finish is smooth. If you notice any areas that require touch-ups, such as uneven color or minor imperfections, you can address them accordingly. Lightly sand and reapply stain or clear finish as needed.
- Protect from Sunlight: Wood furniture, even lightened, can still be vulnerable to sun damage. Direct and prolonged exposure to sunlight can cause the wood to fade or discolor over time. To prevent this, position your furniture away from direct sunlight or use window coverings, such as curtains or blinds, to protect it.
- Regular Cleaning: Dust your wood furniture regularly with a soft, lint-free cloth to remove any surface dust or debris. Avoid using harsh chemicals or abrasive cleaners that can damage the finish. For routine cleaning, simply wipe the surface with a damp cloth and dry it immediately to prevent water damage.
- Maintain Ideal Humidity: Wood is sensitive to changes in humidity, which can cause it to expand or contract. To prevent warping or cracking, maintain a moderate humidity level in your living space, ideally between 40-55%. Use a humidifier or dehumidifier to achieve the desired humidity level, especially during dry or humid seasons.
- Avoid Harsh Conditions: Protect your wood furniture from extreme temperatures, excessive humidity, and harsh chemicals. Avoid placing hot or wet items directly on the surface, as they can leave marks or cause discoloration. Use coasters, placemats, and felt pads under items to prevent scratches and damage.
- Periodic Maintenance: Over time, the finish on your wood furniture may begin to show signs of wear. To maintain its beauty, periodically clean and condition the wood with a specialized wood cleaner or polish. Follow the product instructions and avoid using products with silicone or wax, as they can build up and create a sticky residue.
By following these final steps and practicing regular maintenance, you can ensure that your lightened wood furniture stays beautiful and in great condition for years to come. Remember, each piece of wood furniture is unique, so understanding its specific needs and treating it with care will help preserve its natural beauty and longevity. Enjoy your newly transformed wood furniture!
Conclusion
Congratulations on successfully lightening and transforming your wood furniture! By following the step-by-step process outlined in this article, you have revived the natural beauty of your pieces, brought new life to your living space, and personalized the furniture to suit your style. Lightening wood furniture is a rewarding endeavor that allows you to unleash the hidden potential of your beloved pieces.
From assessing the condition of the wood to preparing the workspace, cleaning the wood, sanding, applying wood bleach, neutralizing the bleach, and optionally staining and applying a clear finish, each step plays a crucial role in achieving the desired lightened look. Your efforts, attention to detail, and patience have paid off, resulting in furniture that looks fresh, modern, and inviting.
Remember to perform regular maintenance, protect your furniture from harsh conditions, and maintain a moderate humidity level to ensure the longevity and durability of your lightened wood furniture. By implementing these practices, you can enjoy your revitalized pieces for many years to come.
We hope this comprehensive guide has provided you with the knowledge and confidence to embark on your wood lightening journey. Whether you’re working on antique heirlooms or modern pieces, the process of lightening wood furniture allows you to unlock the full beauty and potential of your cherished items.
So, embrace your newfound skills, embrace creativity, and bring out the best in your wood furniture. Enjoy the beauty, warmth, and elegance that lightened wood brings to your living space!
Frequently Asked Questions about How To Lighten Wood Furniture
Was this page helpful?
At Storables.com, we guarantee accurate and reliable information. Our content, validated by Expert Board Contributors, is crafted following stringent Editorial Policies. We're committed to providing you with well-researched, expert-backed insights for all your informational needs.


0 thoughts on “How To Lighten Wood Furniture”