Articles
How To Replace Slats On Blinds
Modified: January 9, 2024
Learn how to replace slats on blinds with our informative articles. Find step-by-step guides and expert tips to easily fix your blinds.
(Many of the links in this article redirect to a specific reviewed product. Your purchase of these products through affiliate links helps to generate commission for Storables.com, at no extra cost. Learn more)
Introduction
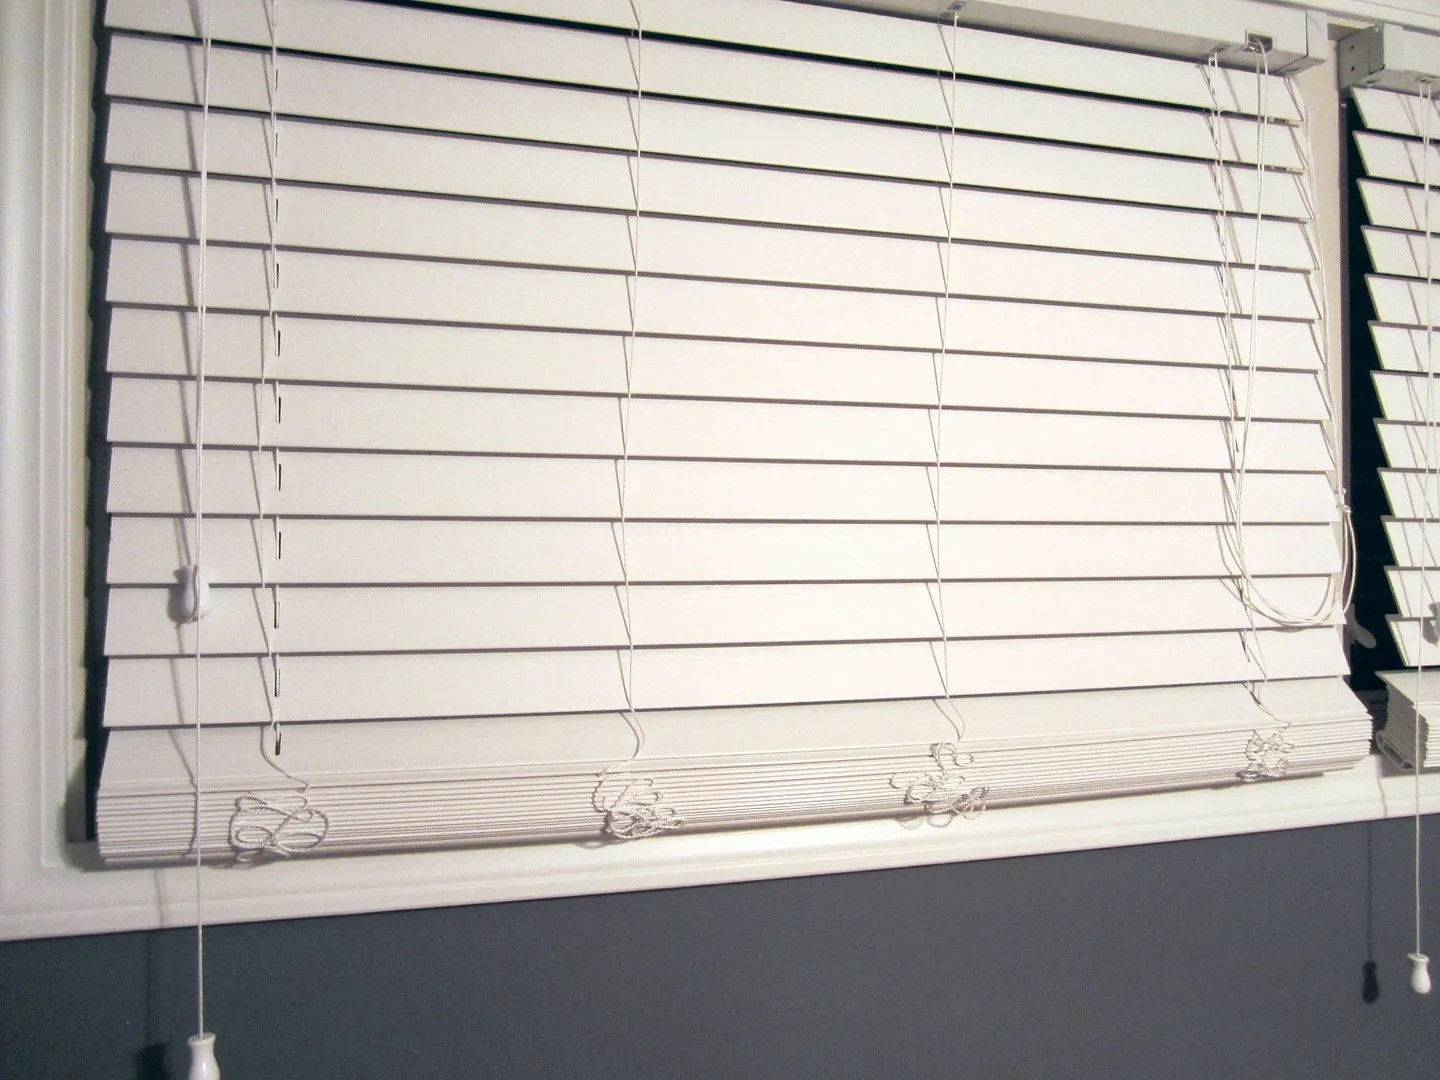
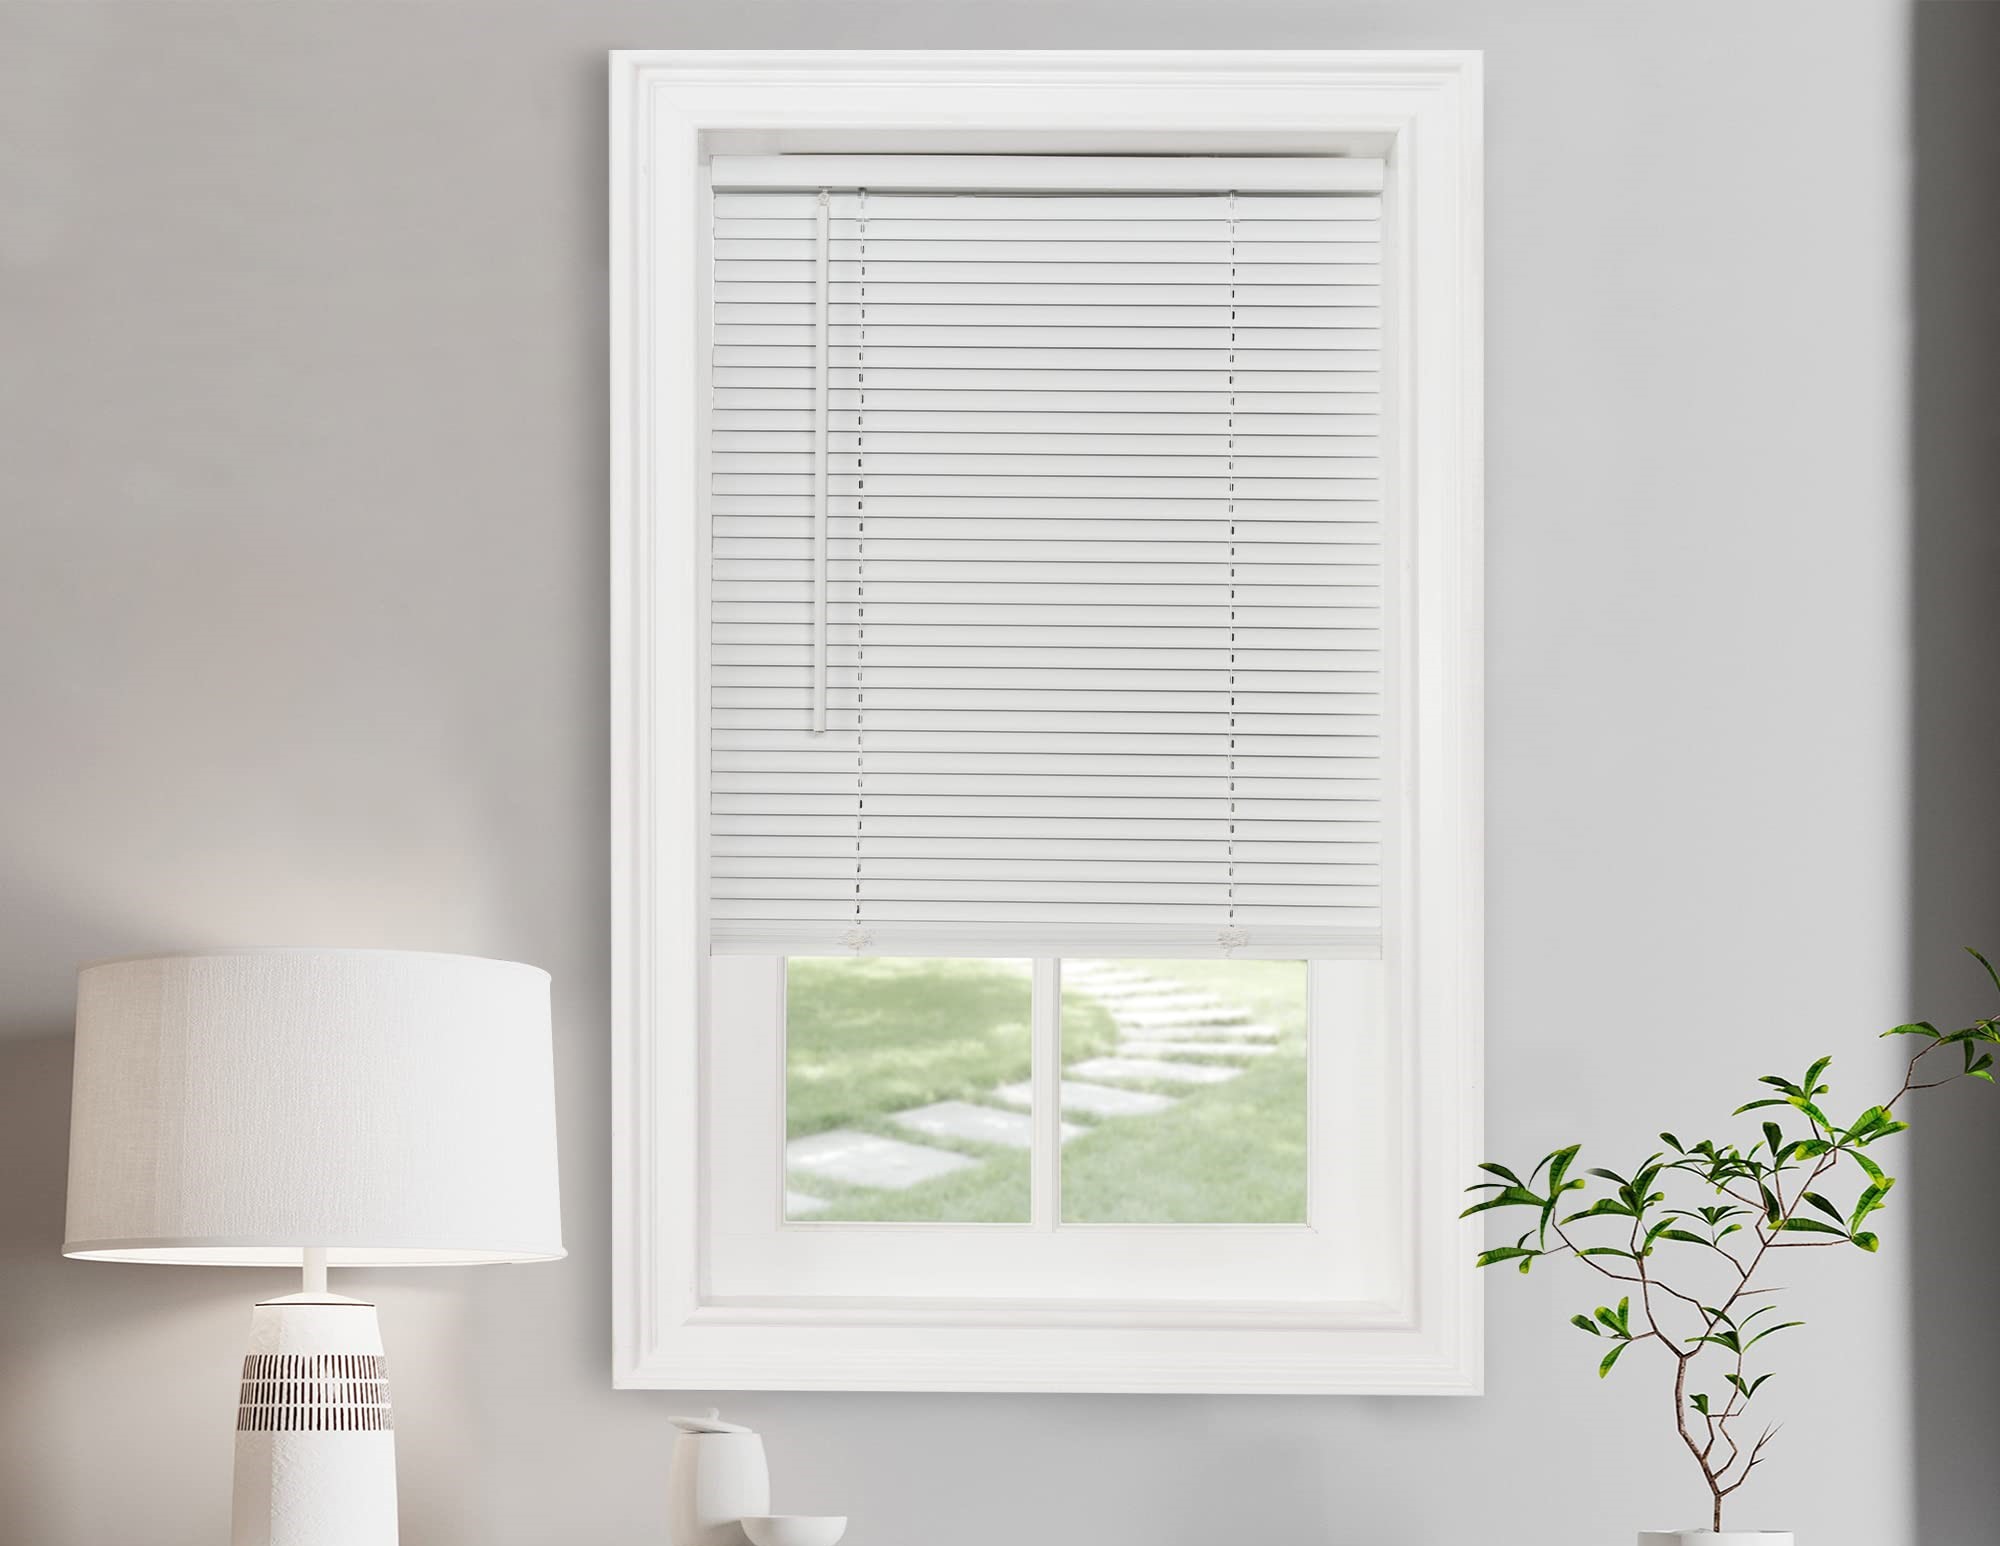
Blinds are a popular window covering option that offers privacy, light control, and aesthetic appeal. However, over time, the slats on blinds can become worn or damaged, diminishing their functionality and appearance. Fortunately, replacing the slats on blinds is a relatively simple process that can save you the expense of purchasing new blinds.
In this article, we will walk you through the step-by-step process of replacing slats on blinds. We will cover everything from gathering the necessary tools and materials to adjusting the slat tension for smooth operation. So, let’s dive in and rejuvenate your blinds!
Key Takeaways:
- Replacing slats on blinds is a DIY-friendly process that can save money and breathe new life into window coverings, enhancing both functionality and aesthetics.
- Attention to detail is key when measuring, cutting, and attaching replacement slats, ensuring smooth operation and a refreshed look for your blinds.
Read more: How To Remove Slats From Blinds
Step 1: Gather necessary tools and materials
Before you begin replacing the slats on your blinds, it’s important to gather all the necessary tools and materials. This will ensure that you have everything you need at hand and can complete the task efficiently.
Here’s a list of the tools and materials you’ll need:
- Replacement slats: Measure your existing slats to determine the size and number of replacements you’ll need. You can find replacement slats at home improvement stores or online.
- Tape measure: Use a tape measure to accurately measure the dimensions of your old slats and ensure the replacement slats are a suitable size.
- Scissors or a utility knife: You’ll need scissors or a utility knife to cut the replacement slats to the appropriate length.
- Pliers: Pliers will come in handy for removing any clips or pins that secure the old slats.
- Flathead screwdriver: A flathead screwdriver can be used to remove any brackets or mounting hardware that hold the blinds in place.
- Cord or string: If your blinds have lift cords or strings, consider replacing them if they are worn or frayed.
- Cord tassel: A cord tassel is a decorative element that covers the knot at the end of the lift cord.
It’s important to ensure that you have the correct size and type of replacement slats for your blinds. Measure the width and length of the old slats and purchase replacements that match these dimensions. Alternatively, you may choose to replace all the slats for a fresh, uniform look.
Once you have gathered all the necessary tools and materials, you can move on to the next step: removing the old slats.
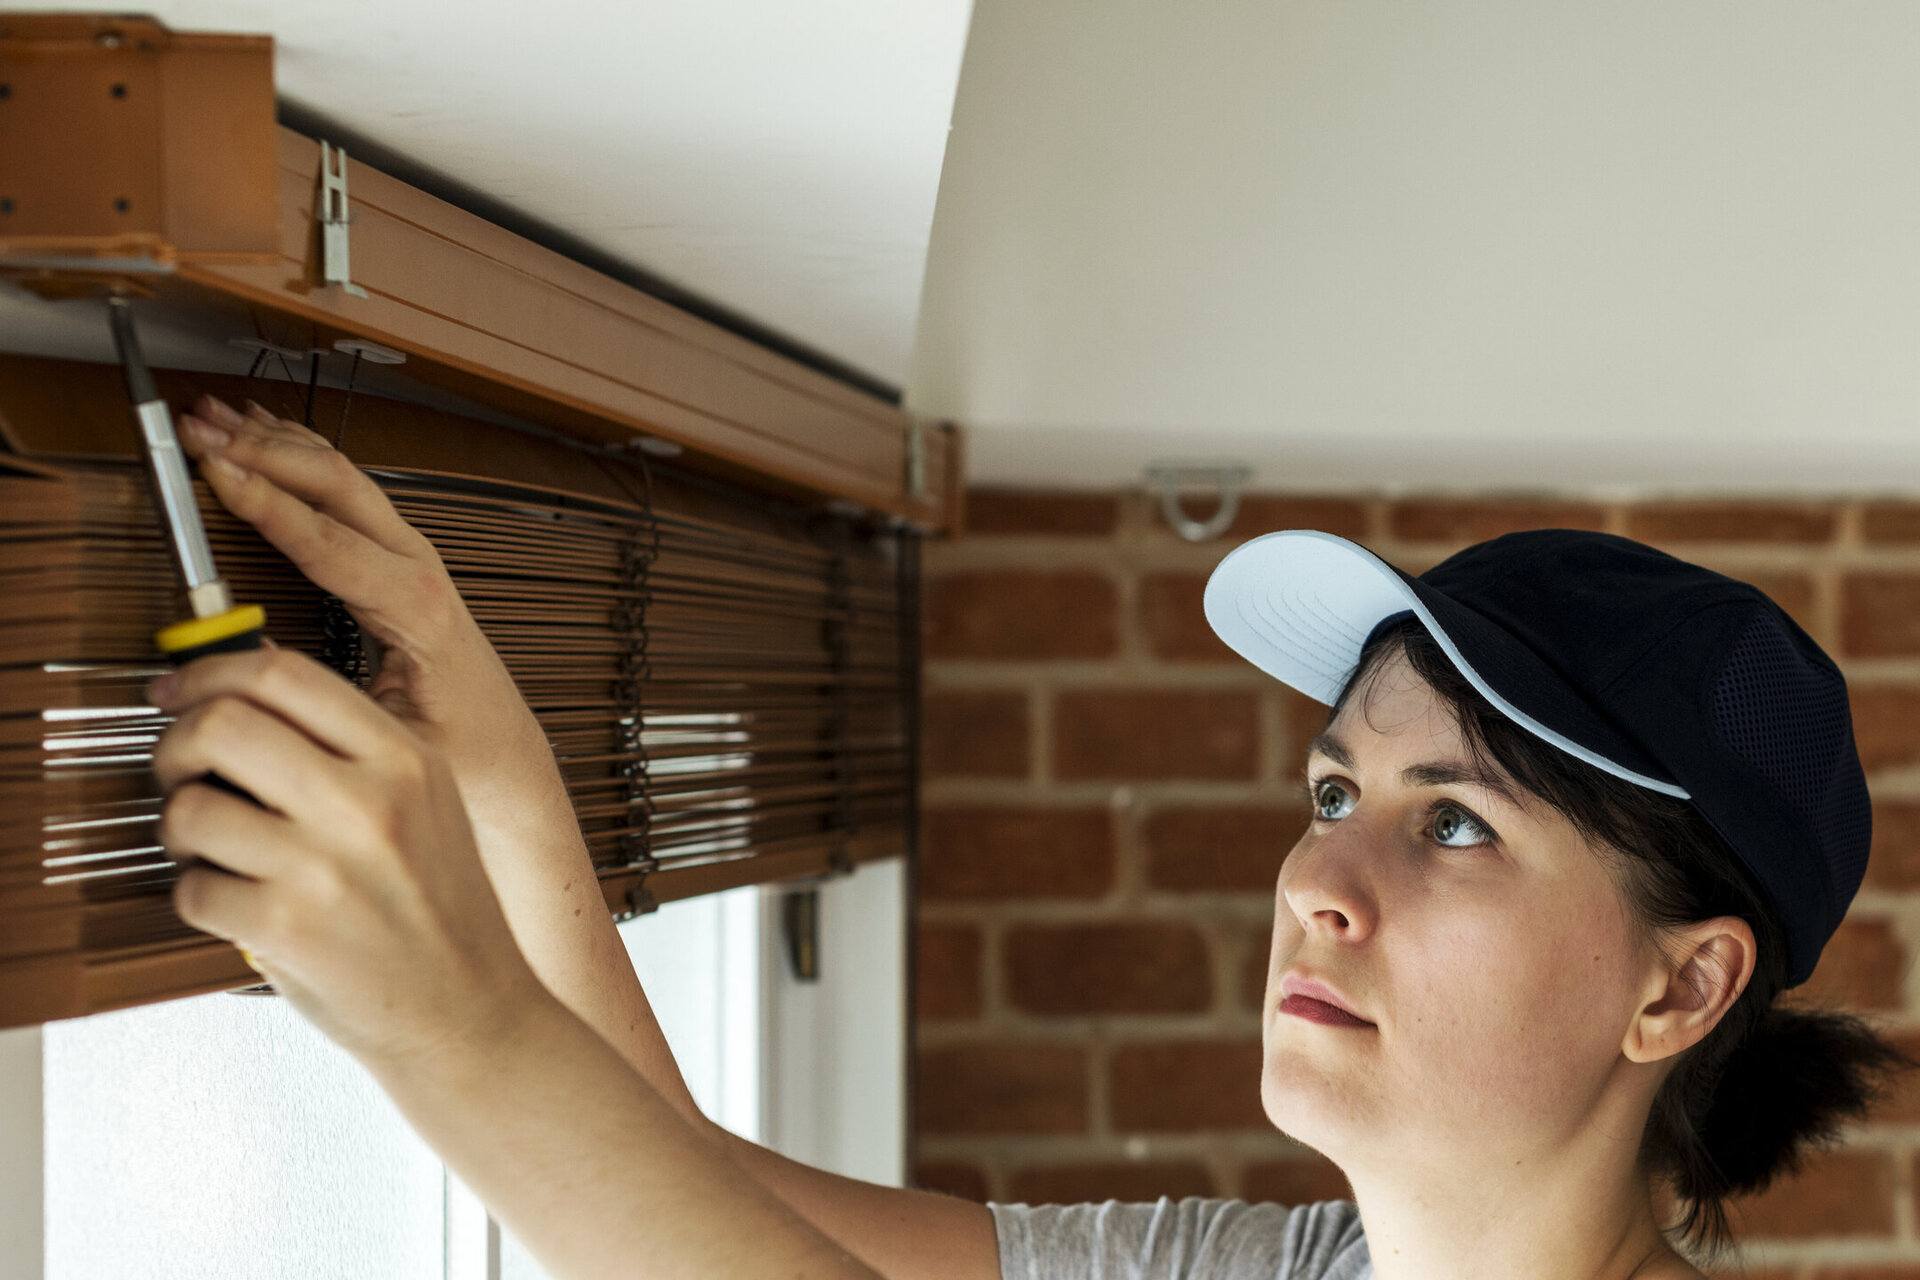
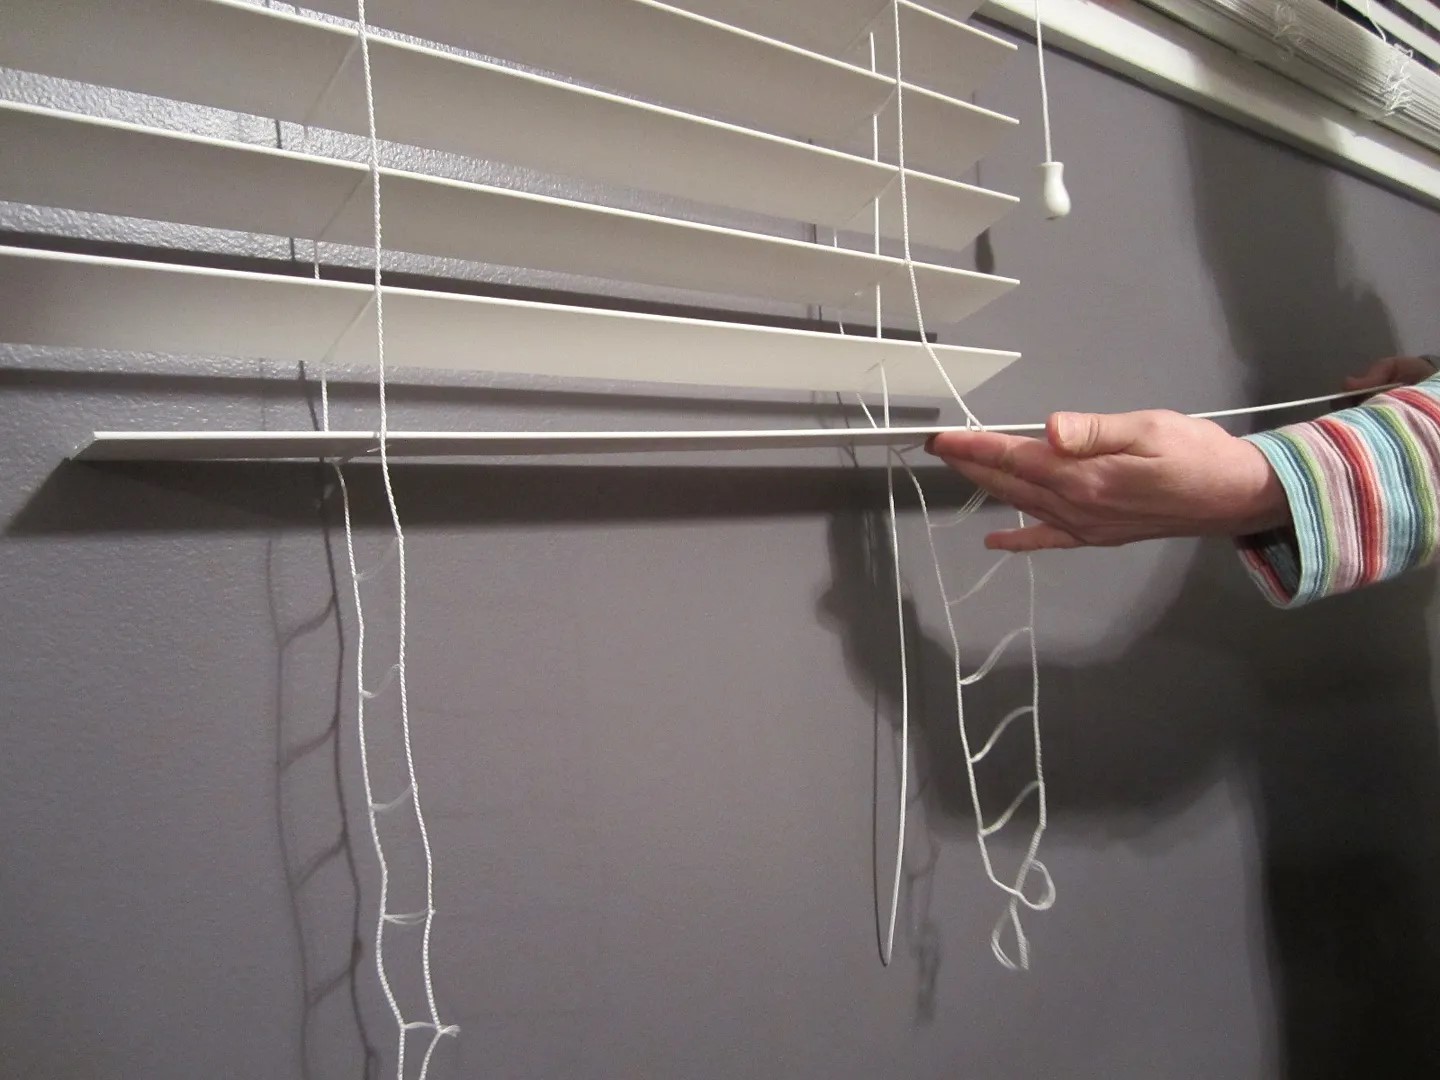
Step 2: Remove old slats
To replace the slats on your blinds, you’ll first need to remove the old slats. This step can vary depending on the type of blinds you have, such as horizontal blinds or vertical blinds. Here’s a general guide on how to remove the old slats:
- Start by fully extending the blinds so that all the slats are visible and accessible.
- Locate the cord or wand that controls the tilting mechanism of the blinds. This is usually located on the side of the blinds.
- Rotate the cord or wand to the open position, which will tilt the slats upward, giving you better access to them.
- Inspect the bottom rail of the blinds and look for any clips or pins that secure the slats in place. These clips or pins may be plastic or metal.
- Using a pair of pliers, gently squeeze the clip or pin and slide it out of the bottom rail, releasing the slats.
- Continue removing the clips or pins along the bottom rail until all the slats are free.
- Once all the slats are released, carefully remove them from the blinds, making sure not to damage the surrounding components.
If your blinds have lift cords or strings, you may need to remove them as well. Look for any knots or fasteners that secure the cords to the bottom rail, and untie or unfasten them.
Take your time when removing the old slats to avoid any unnecessary damage. If you encounter any difficulties, refer to the manufacturer’s instructions or consult a professional for assistance.
With the old slats successfully removed, you’re ready to move on to the next step: measuring and cutting the new slats.
Step 3: Measure and cut new slats
With the old slats removed, it’s time to measure and cut the new slats for your blinds. This step is crucial to ensure that the replacement slats fit properly and align seamlessly with the existing blinds. Here’s how to measure and cut the new slats:
- Start by measuring the width and length of the existing slats. Use a tape measure to get accurate measurements.
- If you’re replacing all the slats in your blinds, simply use the measurements from the old slats to determine the size of the replacement slats. If you’re replacing only a few slats, measure the width and length of each individual slat.
- Transfer the measurements onto the replacement slats. Mark the desired width and length on the slats using a pencil or marker.
- Make sure to leave a small gap at each end of the slats to allow for proper movement and alignment within the blinds.
- Using a pair of scissors or a utility knife, carefully cut along the marked lines to trim the slats to the correct size.
- Double-check the measurements and compare the cut slats to the old slats to ensure they are the same size.
It’s important to exercise caution and precision when cutting the new slats to avoid any mistakes or inaccuracies. Take your time and follow the marked lines closely.
If you’re not confident in your cutting abilities, consider using a utility knife or a sharp pair of scissors for more precise cuts. You can also seek assistance from a professional if needed.
Once you have successfully measured and cut the new slats, you’re ready to move on to the next step: attaching the new slats to the blinds.
When replacing slats on blinds, make sure to measure the width and length of the existing slats before purchasing new ones. This will ensure a proper fit and smooth operation of the blinds.
Step 4: Attach new slats to blinds
After measuring and cutting the new slats, it’s time to attach them to your blinds. This step involves securing the replacement slats onto the existing blinds, ensuring they are aligned and properly installed. Follow these steps to attach the new slats:
- Start by positioning the first replacement slat at the bottom of the blinds.
- If your blinds have clips or pins that secure the slats, insert the slat into the bottom rail and align it with the existing clips or pins.
- If your blinds do not have clips or pins, you can simply slide the slat into the bottom rail until it is flush with the surrounding slats.
- Continue adding the remaining replacement slats, making sure they are evenly spaced and aligned with the existing slats.
- If necessary, push the slats up or down to ensure they are level with each other.
- Once all the replacement slats are in place, inspect the blinds to ensure they are securely attached and aligned.
- If you encounter any difficulty or if the replacement slats do not fit properly, consider adjusting the clips or pins on the bottom rail to accommodate the new slats.
- Double-check the functionality of the blinds by tilting the slats open and closed. Make sure they move smoothly and there are no obstructions.
It’s important to take your time when attaching the new slats to ensure they are properly aligned and secure. If any slats are loose or don’t fit correctly, adjust them as needed to maintain consistency.
Once you have successfully attached the new slats, you’re almost done! The next step involves adjusting the slat tension for smooth operation.
Read more: What Are Privacy Slats On Blinds
Step 5: Adjust slat tension
Once you have attached the new slats to your blinds, it’s important to adjust the slat tension to ensure smooth operation. Slat tension refers to the level of resistance or ease with which the slats open and close. Here’s how you can adjust the slat tension:
- Start by fully closing the blinds so that the slats are in the downward position.
- Locate the control wand or cord that adjusts the slat tilt.
- Rotate the wand or pull the cord slightly to tilt the slats in the desired direction.
- If the slat tension is too loose, meaning the slats are drooping or not holding their position, you’ll need to increase the tension.
- Look for a tilt mechanism or adjusting rod located on the headrail of the blinds.
- Using a flathead screwdriver, turn the adjusting rod clockwise to increase the tension of the slats.
- If the slat tension is too tight, making it hard to open or close the slats, you’ll need to decrease the tension.
- Again, locate the tilt mechanism or adjusting rod and turn it counterclockwise to reduce the tension.
- Make gradual adjustments and test the slat tension after each adjustment to achieve the desired level of resistance.
Remember to make small, incremental adjustments when fine-tuning the slat tension. This will allow you to find the optimal balance between smooth operation and secure slat positioning.
Once you have adjusted the slat tension to your satisfaction, you’re almost done! The final step involves testing the blinds for smooth operation.
Step 6: Test blinds for smooth operation
After replacing the slats and adjusting the tension, it’s important to test your blinds for smooth operation. Testing the blinds will ensure that they open, close, and tilt properly, allowing for easy light control and privacy. Follow these steps to test your blinds:
- Start by fully closing the blinds to ensure that all slats are in the downward position.
- Use the control wand or cord to slowly open the blinds, allowing the slats to tilt upwards.
- Observe the slats as they open and ensure that they move uniformly and smoothly.
- If you notice any slats that are misaligned or do not move freely, adjust the tension or position of those slats as necessary.
- Continue opening the blinds fully to verify that the slats are evenly spaced and aligned.
- Next, close the blinds completely to ensure that all slats are in the downward position.
- Test the slats’ ability to open and close smoothly by gently manipulating the control wand or cord.
- If you encounter any resistance or difficulty in opening or closing the slats, make further adjustments to the tension or slat positioning.
- Repeat this process a few times to ensure consistent and smooth operation of the blinds.
By testing the blinds for smooth operation, you can identify any potential issues and address them before using the blinds regularly. This step is crucial to ensuring that your blinds function properly and provide the desired light control and privacy.
If you encounter persistent issues or difficulties with your blinds, it may be necessary to seek professional assistance for further troubleshooting or maintenance.
Congratulations! You have now successfully replaced the slats on your blinds and tested them for smooth operation. Your blinds should now look refreshed and function like new, enhancing both the aesthetics and functionality of your windows.
Conclusion
Replacing slats on blinds is a straightforward process that can greatly improve the functionality and appearance of your window coverings. By following the step-by-step guide outlined in this article, you can easily replace old or damaged slats and breathe new life into your blinds.
Remember to start by gathering all the necessary tools and materials, ensuring you have the correct size replacement slats. Take your time when removing the old slats, being mindful of any clips or pins that secure them. When measuring and cutting the new slats, accuracy is key to ensure a proper fit.
Attaching the new slats to the blinds requires attention to detail, making sure they are evenly spaced and aligned with the existing slats. Adjusting the slat tension will optimize the blinds’ functionality, allowing for smooth opening, closing, and tilting.
Finally, thorough testing of the blinds is essential to ensure their smooth operation. By carefully observing the movement of the slats and making any necessary adjustments, you can guarantee that the blinds will provide effective light control and privacy.
With the completion of these steps, you can enjoy the satisfaction of rejuvenated blinds that enhance the ambiance of your space. Whether you want to update the look of your blinds or address functionality issues, replacing slats is a cost-effective solution that allows you to save money and prolong the lifespan of your window coverings.
So gather your tools, measure and cut those slats, and confidently replace them on your blinds. You’ll be amazed at the transformation and the renewed charm they bring to your windows!
Frequently Asked Questions about How To Replace Slats On Blinds
Was this page helpful?
At Storables.com, we guarantee accurate and reliable information. Our content, validated by Expert Board Contributors, is crafted following stringent Editorial Policies. We're committed to providing you with well-researched, expert-backed insights for all your informational needs.