Articles
How To Lift Ge Gas Stove Top
Modified: February 23, 2024
Learn how to lift a GE gas stove top with our helpful articles. Discover step-by-step instructions and expert tips to easily lift your stove top for maintenance or cleaning.
(Many of the links in this article redirect to a specific reviewed product. Your purchase of these products through affiliate links helps to generate commission for Storables.com, at no extra cost. Learn more)
Introduction
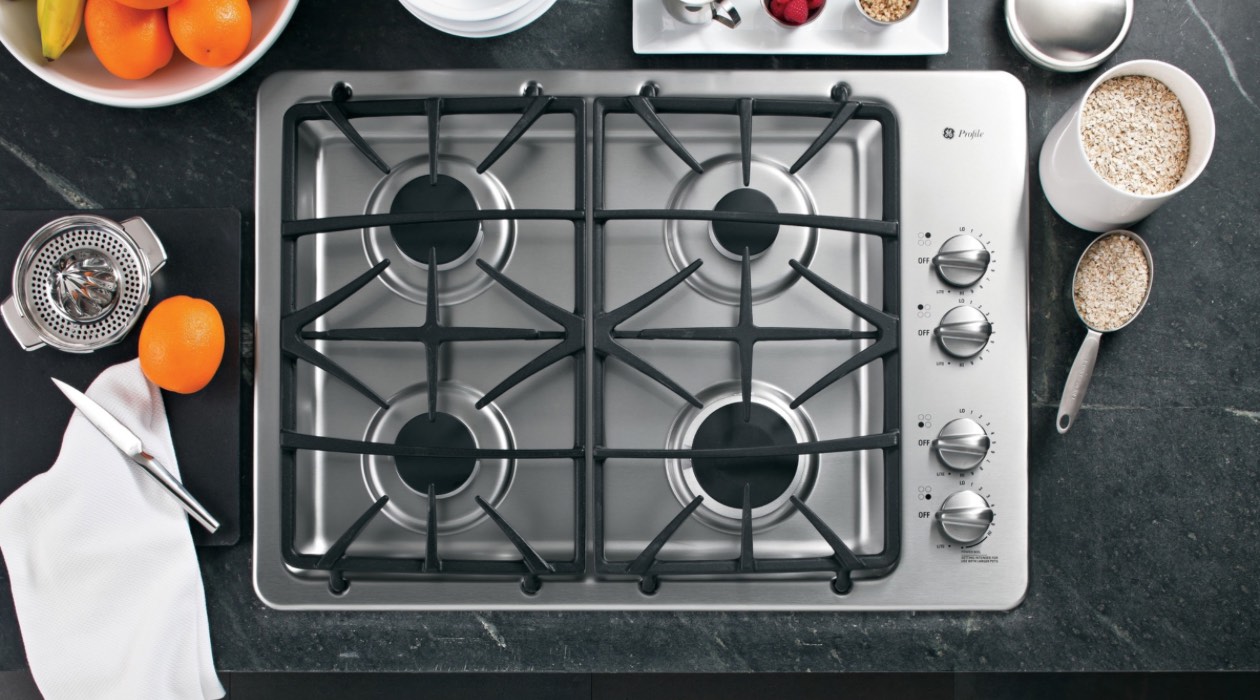
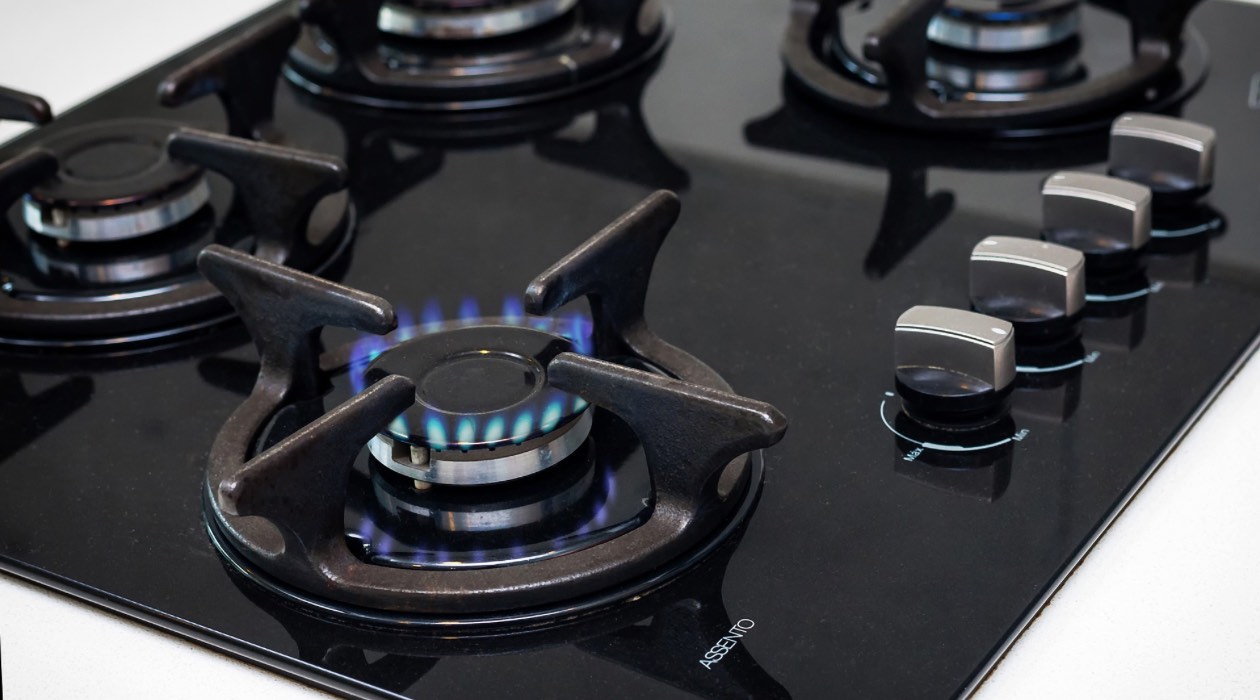
Welcome to our comprehensive guide on how to lift a GE gas stove top. Whether you need to clean the burners or replace a faulty part, being able to lift the stove top is a necessary skill for any GE gas stove owner. While it may seem like a daunting task, with the right tools and instructions, you can safely and successfully lift the stove top without damaging your appliance.
In this article, we will provide you with a step-by-step tutorial on how to lift the stove top of your GE gas stove. We will guide you through the process and provide helpful tips along the way. So, let’s get started on mastering the art of lifting a GE gas stove top!
Key Takeaways:
- Master the art of lifting your GE gas stove top with safety and confidence using our step-by-step guide and essential tips for cleaning, inspecting, and reassembling the stove top components.
- Prioritize safety, gather the necessary tools, and follow our detailed instructions to safely disconnect gas lines, lift the stove top, and perform maintenance for optimal GE gas stove performance.
Read more: How To Lift The Top Of A Gas Stove
Required Tools and Materials
Before you begin the process of lifting the GE gas stove top, it’s important to gather all the necessary tools and materials. Here is a list of items you’ll need:
- Flathead screwdriver
- Needle-nose pliers
- Gas shut-off valve key
- Clean cloth or sponge
- Mild soap or cleaning solution
- Replacement parts (if needed)
The flathead screwdriver and needle-nose pliers will be used to disconnect any gas lines or electrical connections. The gas shut-off valve key is essential for turning off the gas supply to the stove. The clean cloth or sponge, along with a mild soap or cleaning solution, is needed to clean the stove top and components. Additionally, if you discover any damaged parts during the process, you may need replacement parts.
It’s important to have all the necessary tools and materials on hand before you begin. This will ensure a smooth and efficient process, saving you time and frustration in the long run. Now that you have everything you need, let’s move on to the step-by-step instructions on lifting the GE gas stove top.
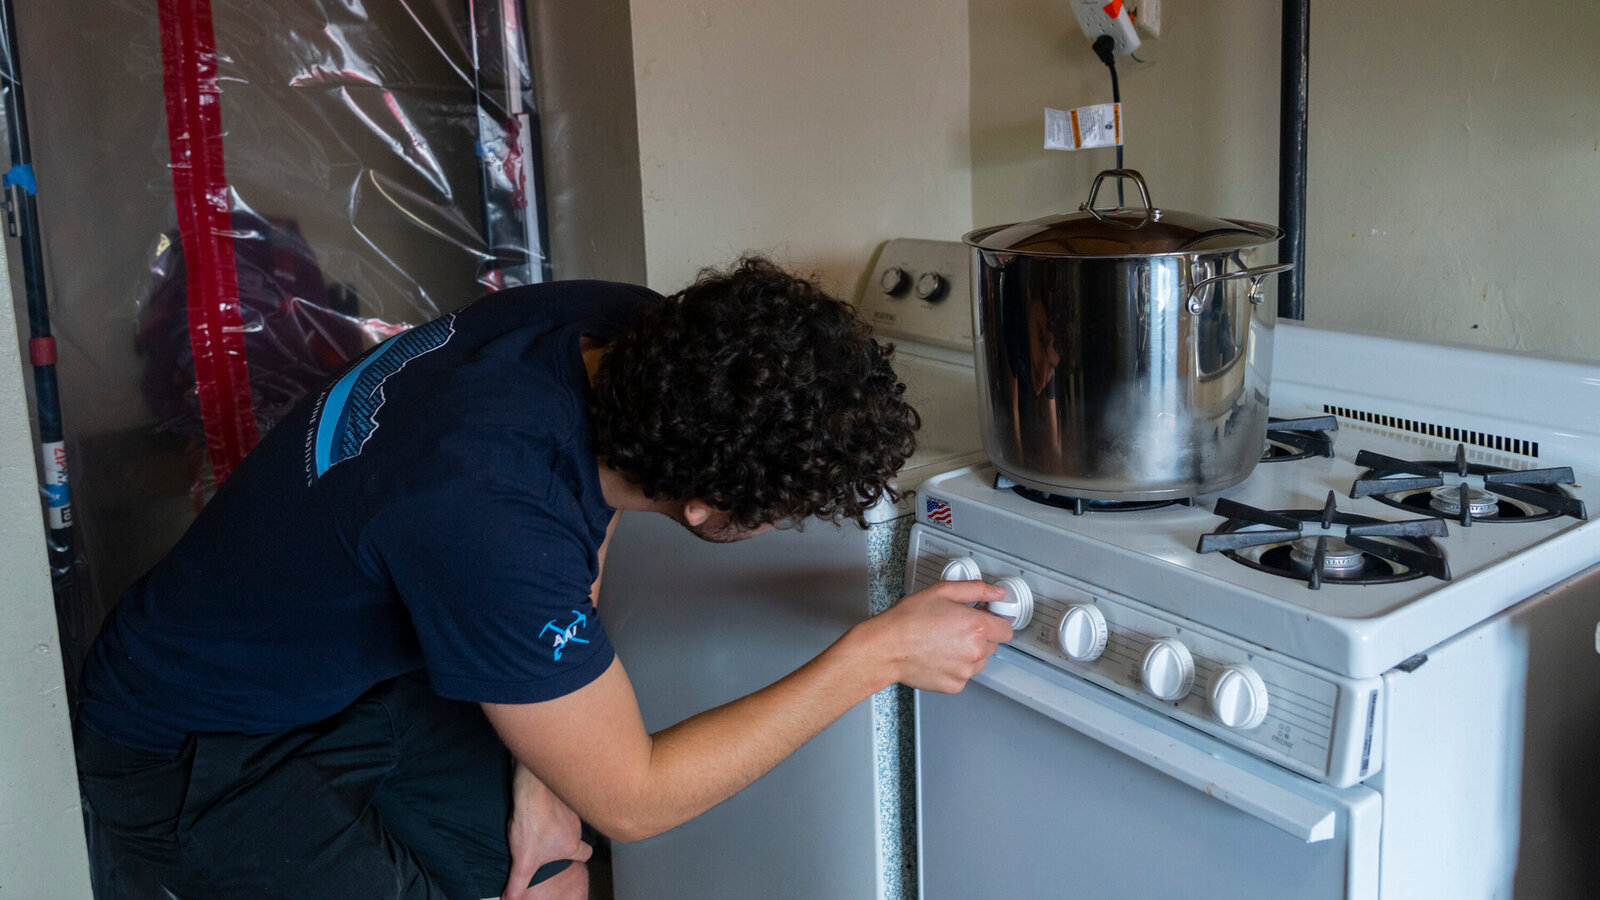
Step 1: Turn Off the Gas Supply
The first step in lifting the GE gas stove top is to turn off the gas supply. This is crucial to prevent any gas leaks or accidents during the process. Follow these steps:
- Locate the gas shut-off valve. It is usually located behind or underneath the stove.
- Using the gas shut-off valve key, turn the valve clockwise to shut off the gas supply. Ensure that the valve is fully closed.
- Wait for a few minutes to allow any remaining gas in the line to dissipate.
Double-check that the gas shut-off valve is completely closed and that there is no lingering gas smell in the vicinity. Safety is paramount, so make sure to take all necessary precautions before moving on to the next step.
By turning off the gas supply, you minimize the risk of accidents and ensure that the process of lifting the stove top is done safely. Now that the gas supply is turned off, we can proceed to the next step: removing the grates and burner caps.
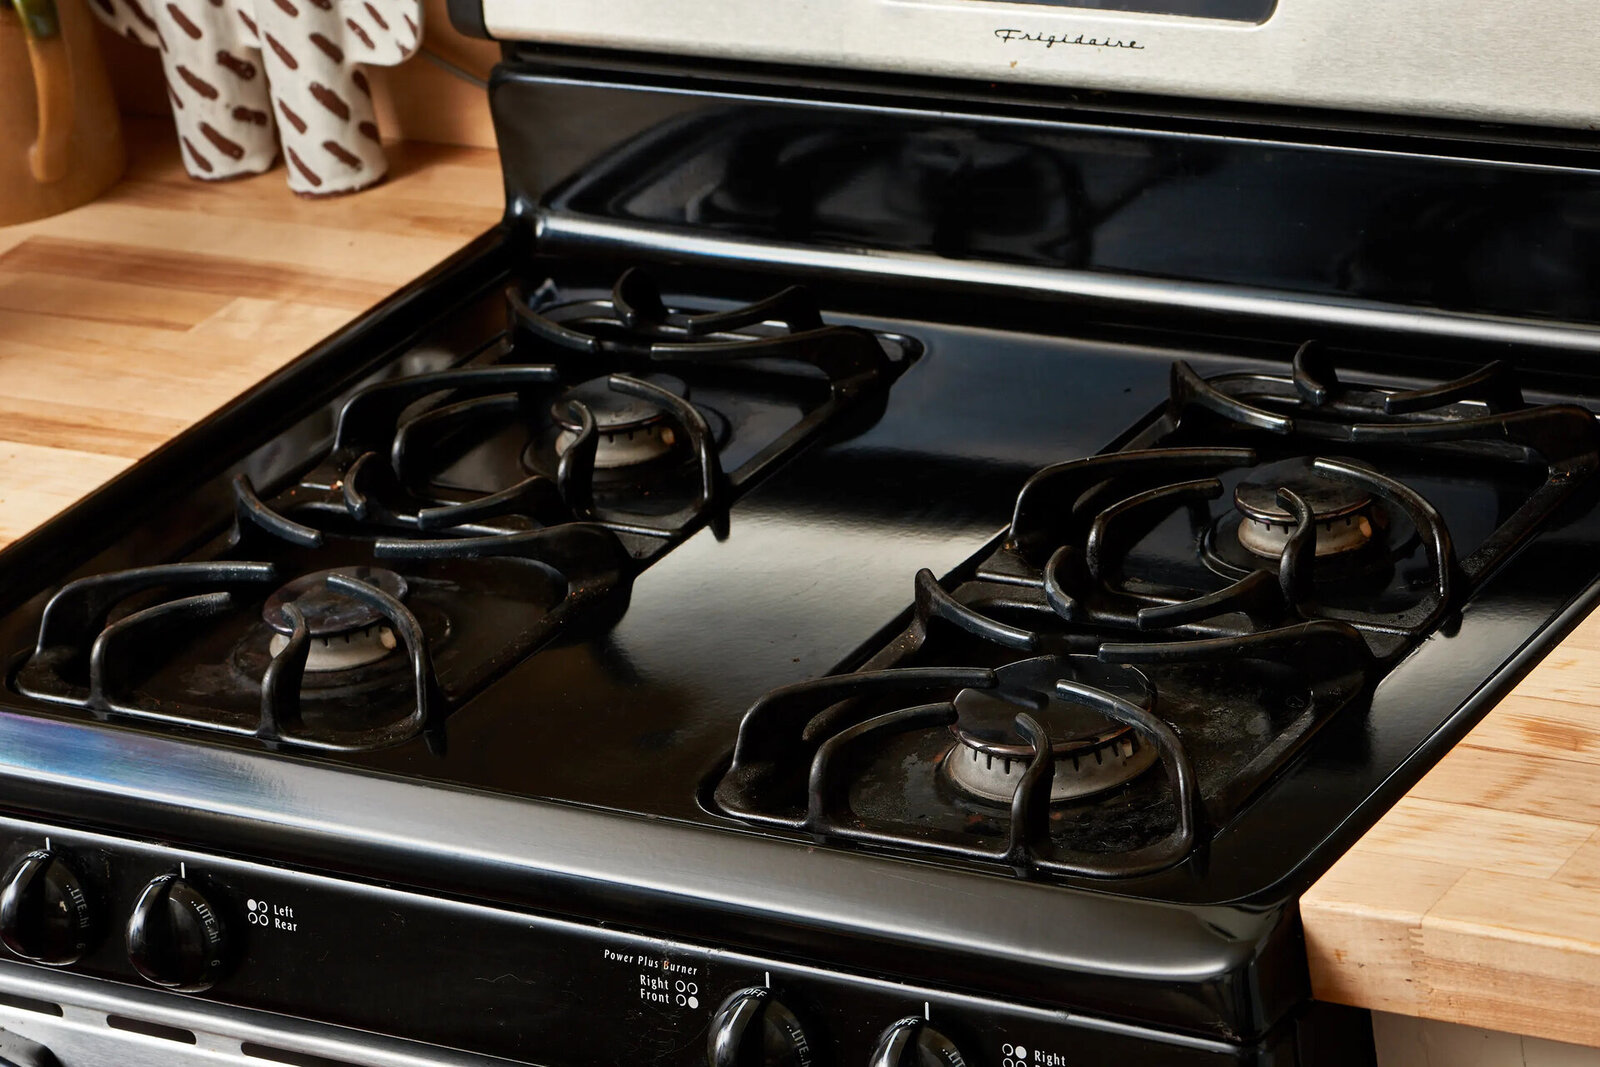
Step 2: Remove the Grates and Burner Caps
Once the gas supply is turned off, you can now proceed to remove the grates and burner caps from your GE gas stove. Follow these steps:
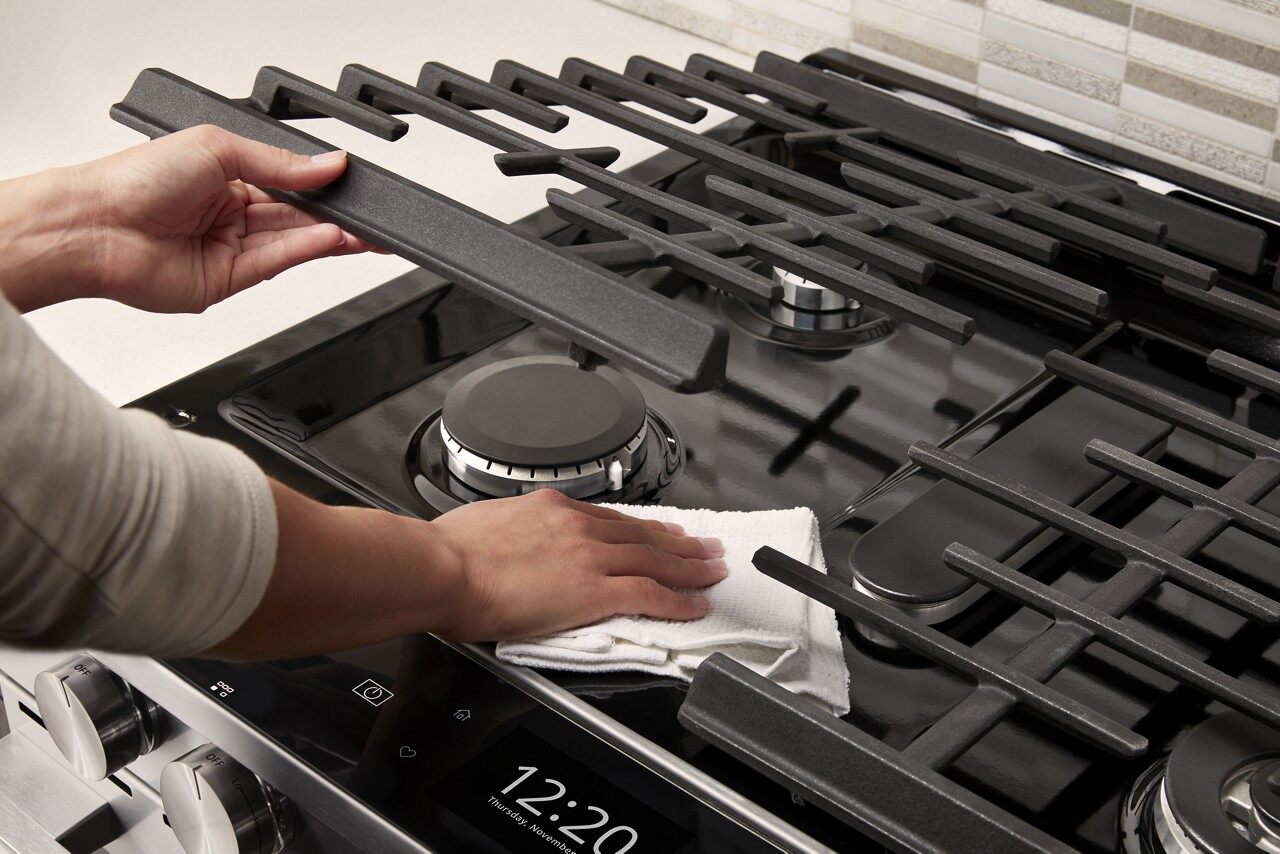
- Allow the stove top to cool down completely before starting the removal process.
- Gently lift and remove the grates from the stove top. Set them aside in a safe place.
- Next, locate the burner caps. Depending on your model, you may have individual burner caps or a single large burner cap that covers all burners.
- Using your hands or a flathead screwdriver, carefully lift and remove the burner caps.
Make sure to handle the grates and burner caps with care to avoid any damage. If your grates and burner caps are not detachable, you can skip this step and move on to the next one.
By removing the grates and burner caps, you have better access to the stove top and can proceed with the disconnection of gas lines in the next step. Keep the grates and burner caps in a safe place to avoid misplacing them and to ensure easy reassembly later on.
Step 3: Disconnect the Gas Lines
With the grates and burner caps removed, the next step is to disconnect the gas lines from the GE gas stove. Follow these steps:
- Locate the gas supply line connection at the back of the stove. It is typically a flexible metal hose or a rigid pipe.
- Using a pair of needle-nose pliers, gently squeeze and disconnect the gas supply line from the stove.
- Once the gas supply line is disconnected, check for any remaining gas pressure by listening for a hissing sound or smelling gas. If you detect any gas, stop immediately and contact a professional technician to address the issue.
- If your stove has multiple burners, repeat the process to disconnect the gas lines of each burner.
- In addition to the gas lines, you may also need to disconnect any electrical connections. Carefully unplug any electrical wires or connectors attached to the stove top.
When disconnecting the gas lines and electrical connections, it is important to handle them with care and caution. Avoid using excessive force or causing any damage to the lines or the stove top. Take your time and ensure that all connections are properly disconnected before proceeding to the next step.
Now that the gas lines and electrical connections are disconnected, we can move on to the main step of lifting the GE gas stove top.
Before attempting to lift the GE gas stove top, make sure to turn off the gas supply and disconnect the power source. Use caution and have a second person to assist with lifting to avoid injury.
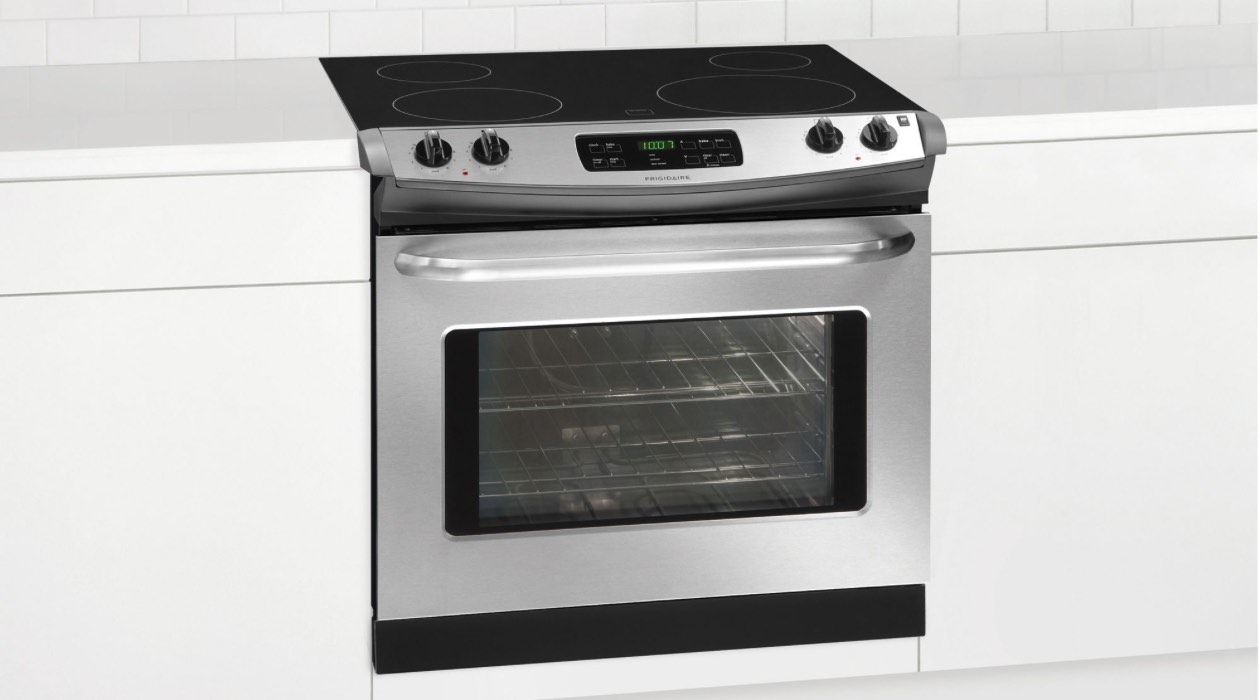
Read more: How To Open Frigidaire Gas Stove Top
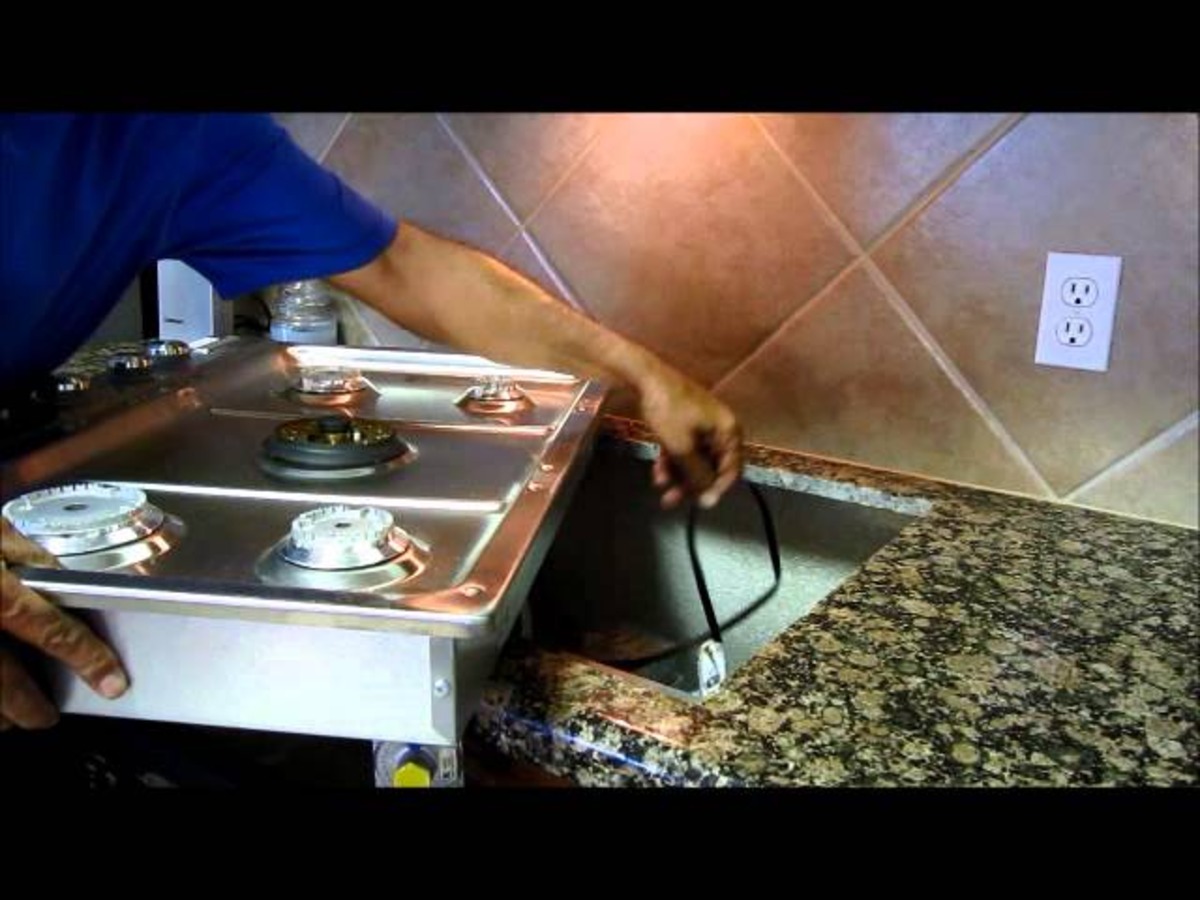
Step 4: Lift the Stove Top
Now that you have successfully disconnected the gas lines and electrical connections, it’s time to lift the GE gas stove top. Follow these steps:
- Position yourself at the front of the stove and firmly grip the front edge of the stove top.
- Gently lift the front edge of the stove top while keeping a firm hold on it.
- Elevate the stove top until it is in an upright position, supported by the hinge or support mechanism at the back.
- Pause for a moment and ensure that the stove top is securely lifted and held in place.
It’s important to be cautious while lifting the stove top to avoid any damage or injuries. Take your time and ensure that the stove top is being lifted evenly. If you encounter any resistance or difficulty, double-check that all gas lines and electrical connections have been properly disconnected.
Once the stove top is lifted, you will have access to the internal components and can proceed with cleaning or inspecting them. Remember to always exercise caution and prioritize your safety during this process.
Now that the stove top is lifted, let’s move on to the next step: cleaning or replacing any damaged parts.
Step 5: Clean or Replace Any Damaged Parts
With the GE gas stove top lifted, you now have the opportunity to clean or inspect the internal components, as well as identify and address any damaged parts. Follow these steps:
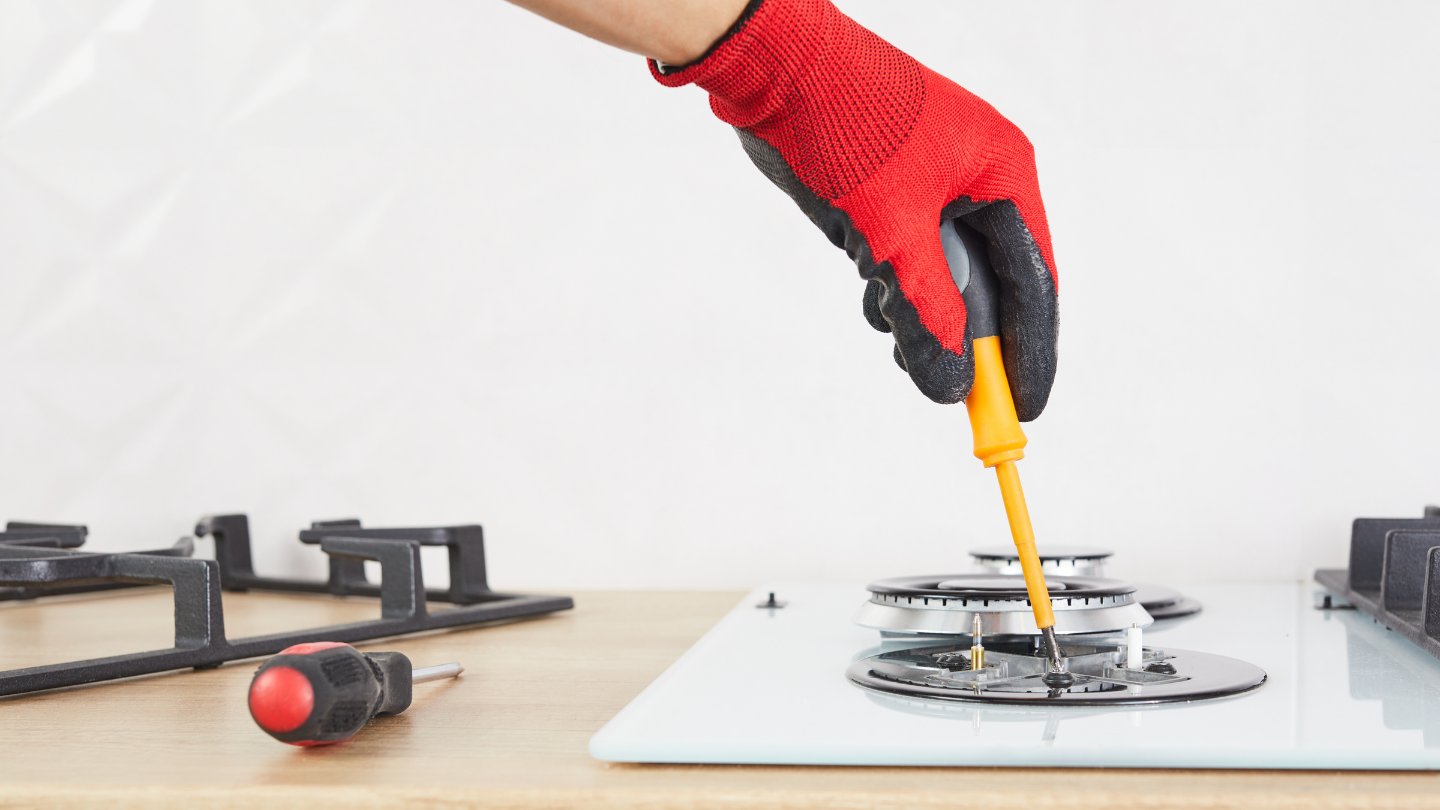
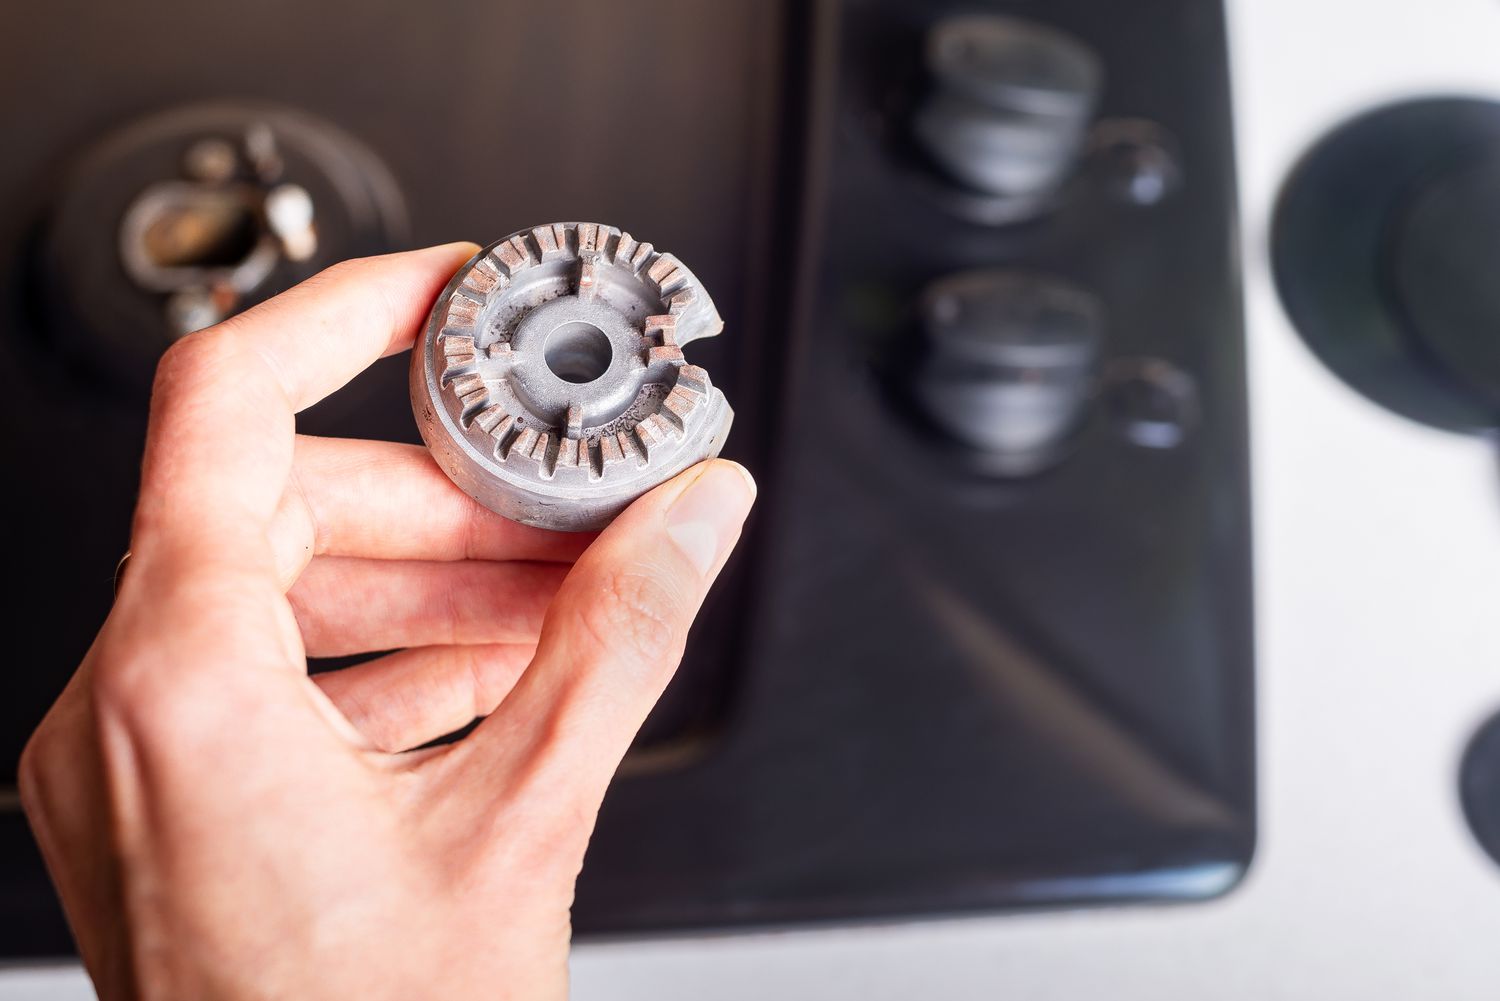
- Inspect the burners, igniters, and other components for any visible signs of damage, such as cracks, rust, or debris.
- If you notice any damaged parts, carefully remove and replace them with new ones. It is important to use genuine GE replacement parts to ensure compatibility and optimal performance.
- If the components are in good condition, proceed with cleaning them. Use a clean cloth or sponge and a mild soap or cleaning solution to wipe away any grease, spills, or residue. Be gentle to avoid damaging the components.
- Pay special attention to the burner ports and igniter electrodes. Use a soft brush or toothbrush to gently scrub away any debris or buildup.
- Allow the components to dry thoroughly before reassembling the stove top.
Cleaning and inspecting the internal components of your GE gas stove is essential for maintaining its efficiency and prolonging its lifespan. Regular maintenance and care can help prevent potential issues and ensure optimal performance.
Once you have cleaned or replaced any damaged parts, you can proceed to the final step of reassembling the stove top.
Step 6: Reassemble the Stove Top
Now that you have cleaned or replaced any damaged parts and ensured that the components are dry, it’s time to reassemble the GE gas stove top. Follow these steps:
- Gently lower the stove top back into its original position, aligning it with the hinge or support mechanism at the back.
- Ensure that the stove top is securely seated and that all edges are properly aligned.
- Reconnect the gas lines by firmly attaching them to the gas supply line connection.
- If you had disconnected any electrical connections, carefully plug them back in.
- Place the burner caps back onto their respective burners, ensuring they are correctly positioned.
- Finally, place the grates back onto the stove top, making sure they fit securely and evenly.
Double-check that all connections are properly reattached and that the stove top is in its original position. This will ensure that the gas flow and electrical connections are restored, allowing your GE gas stove to function properly.
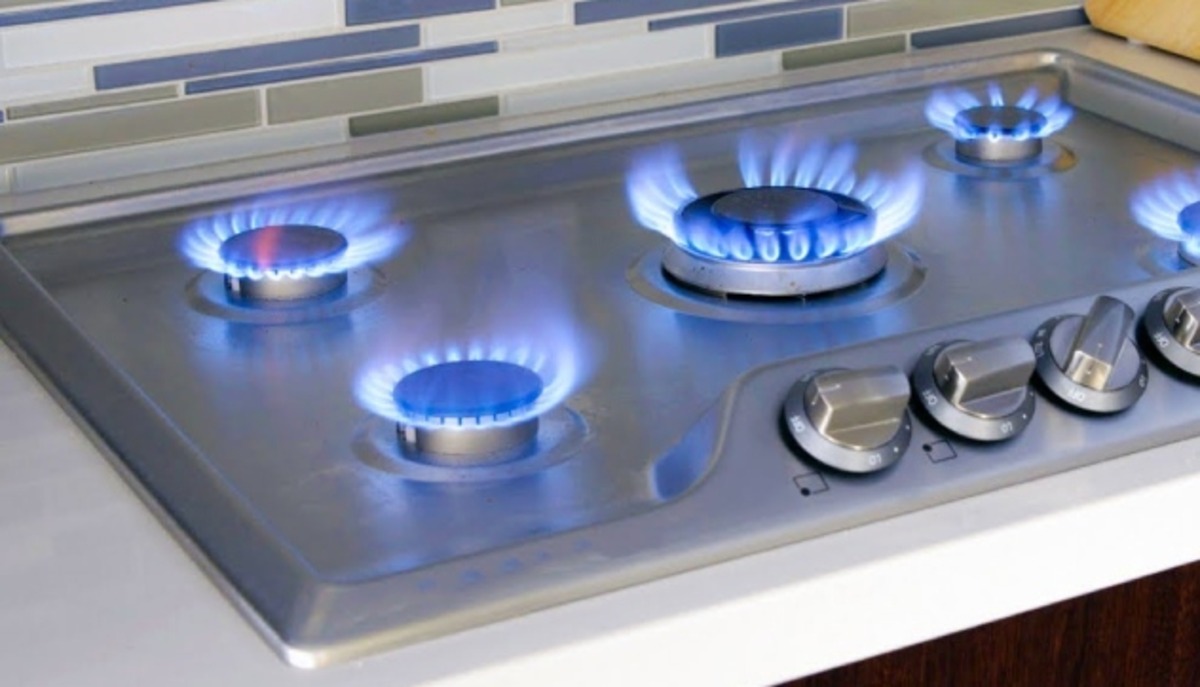
With the stove top reassembled, you can now turn on the gas supply and test the burners to ensure they ignite and function correctly. If everything is working as expected, congratulations! You have successfully lifted and reassembled the GE gas stove top.
Remember to perform regular cleaning and maintenance to keep your GE gas stove in optimal condition and address any issues promptly to prevent further damage.
Conclusion
Mastering the art of lifting a GE gas stove top is a valuable skill for any GE gas stove owner. By following the step-by-step instructions provided in this guide, you can safely and successfully lift the stove top to clean or replace components as needed.
Throughout this process, it’s important to prioritize safety and take precautionary measures. Always turn off the gas supply and ensure that the stove has cooled down before starting. Use the required tools and materials, and handle all connections and components with care.
By following the steps outlined in this guide, you can confidently lift the GE gas stove top, clean or replace any damaged parts, and reassemble the stove top with ease. Regular maintenance and care will help prolong the lifespan of your appliance and ensure optimal performance.
Remember to consult your GE gas stove’s user manual for specific instructions and precautions relevant to your model. If you are unsure or uncomfortable with any part of the process, it is always best to seek the assistance of a professional technician or contact GE customer support for guidance.
We hope this guide has provided you with the knowledge and confidence to safely lift your GE gas stove top. Enjoy a clean and efficiently functioning stove for all your cooking needs!
Frequently Asked Questions about How To Lift Ge Gas Stove Top
Was this page helpful?
At Storables.com, we guarantee accurate and reliable information. Our content, validated by Expert Board Contributors, is crafted following stringent Editorial Policies. We're committed to providing you with well-researched, expert-backed insights for all your informational needs.


0 thoughts on “How To Lift Ge Gas Stove Top”