Articles
How To Install A Gas Stove Top
Modified: January 8, 2024
Learn the step-by-step process of installing a gas stove top with this comprehensive article. From preparing the area to connecting the gas line, get all the information you need here.
(Many of the links in this article redirect to a specific reviewed product. Your purchase of these products through affiliate links helps to generate commission for Storables.com, at no extra cost. Learn more)
Introduction
Installing a gas stove top in your kitchen can be a great way to upgrade your cooking experience. Not only does it provide precise temperature control, but it also adds a sleek and modern look to your kitchen. If you are considering installing a gas stove top yourself, this step-by-step guide will walk you through the process.
Before you begin, it’s important to note that installing a gas appliance requires knowledge of gas, plumbing, and electrical systems. If you’re not comfortable working with these systems, it’s best to hire a professional to ensure a safe and proper installation.
In this guide, we will cover everything you need to know to successfully install your gas stove top. We’ll start by gathering the required tools and safety equipment. Next, we’ll guide you through shutting off the gas supply and disconnecting the old stove top. Then, we’ll discuss the necessary preparations for the installation process.
Once the area is prepared, we’ll move on to the actual installation of the gas stove top. We’ll provide you with detailed instructions on connecting the gas supply and testing for gas leaks. After confirming that there are no leaks, we’ll show you how to secure the stove top in place.
Finally, we’ll discuss restoring the gas supply and testing the operation of your newly installed gas stove top. With each step, we’ll provide essential tips and precautions to ensure a successful and safe installation.
It’s important to note that every gas stove top model may have specific installation instructions. Always refer to the manufacturer’s manual for detailed guidance specific to your appliance. Additionally, make sure to follow any local codes and regulations regarding gas appliance installations.
Now that you have a general overview of the installation process, let’s dive into the first step: gathering the required tools and safety equipment.
Key Takeaways:
- Prioritize safety and preparation when installing a gas stove top. Gather the necessary tools, shut off the gas supply, and carefully disconnect the old stove top to ensure a smooth and secure installation process.
- Thoroughly test for gas leaks and ensure proper alignment and stability when installing the new gas stove top. Follow manufacturer’s instructions and seek professional help if needed to guarantee a safe and functional cooking space.
Read more: How To Open Frigidaire Gas Stove Top
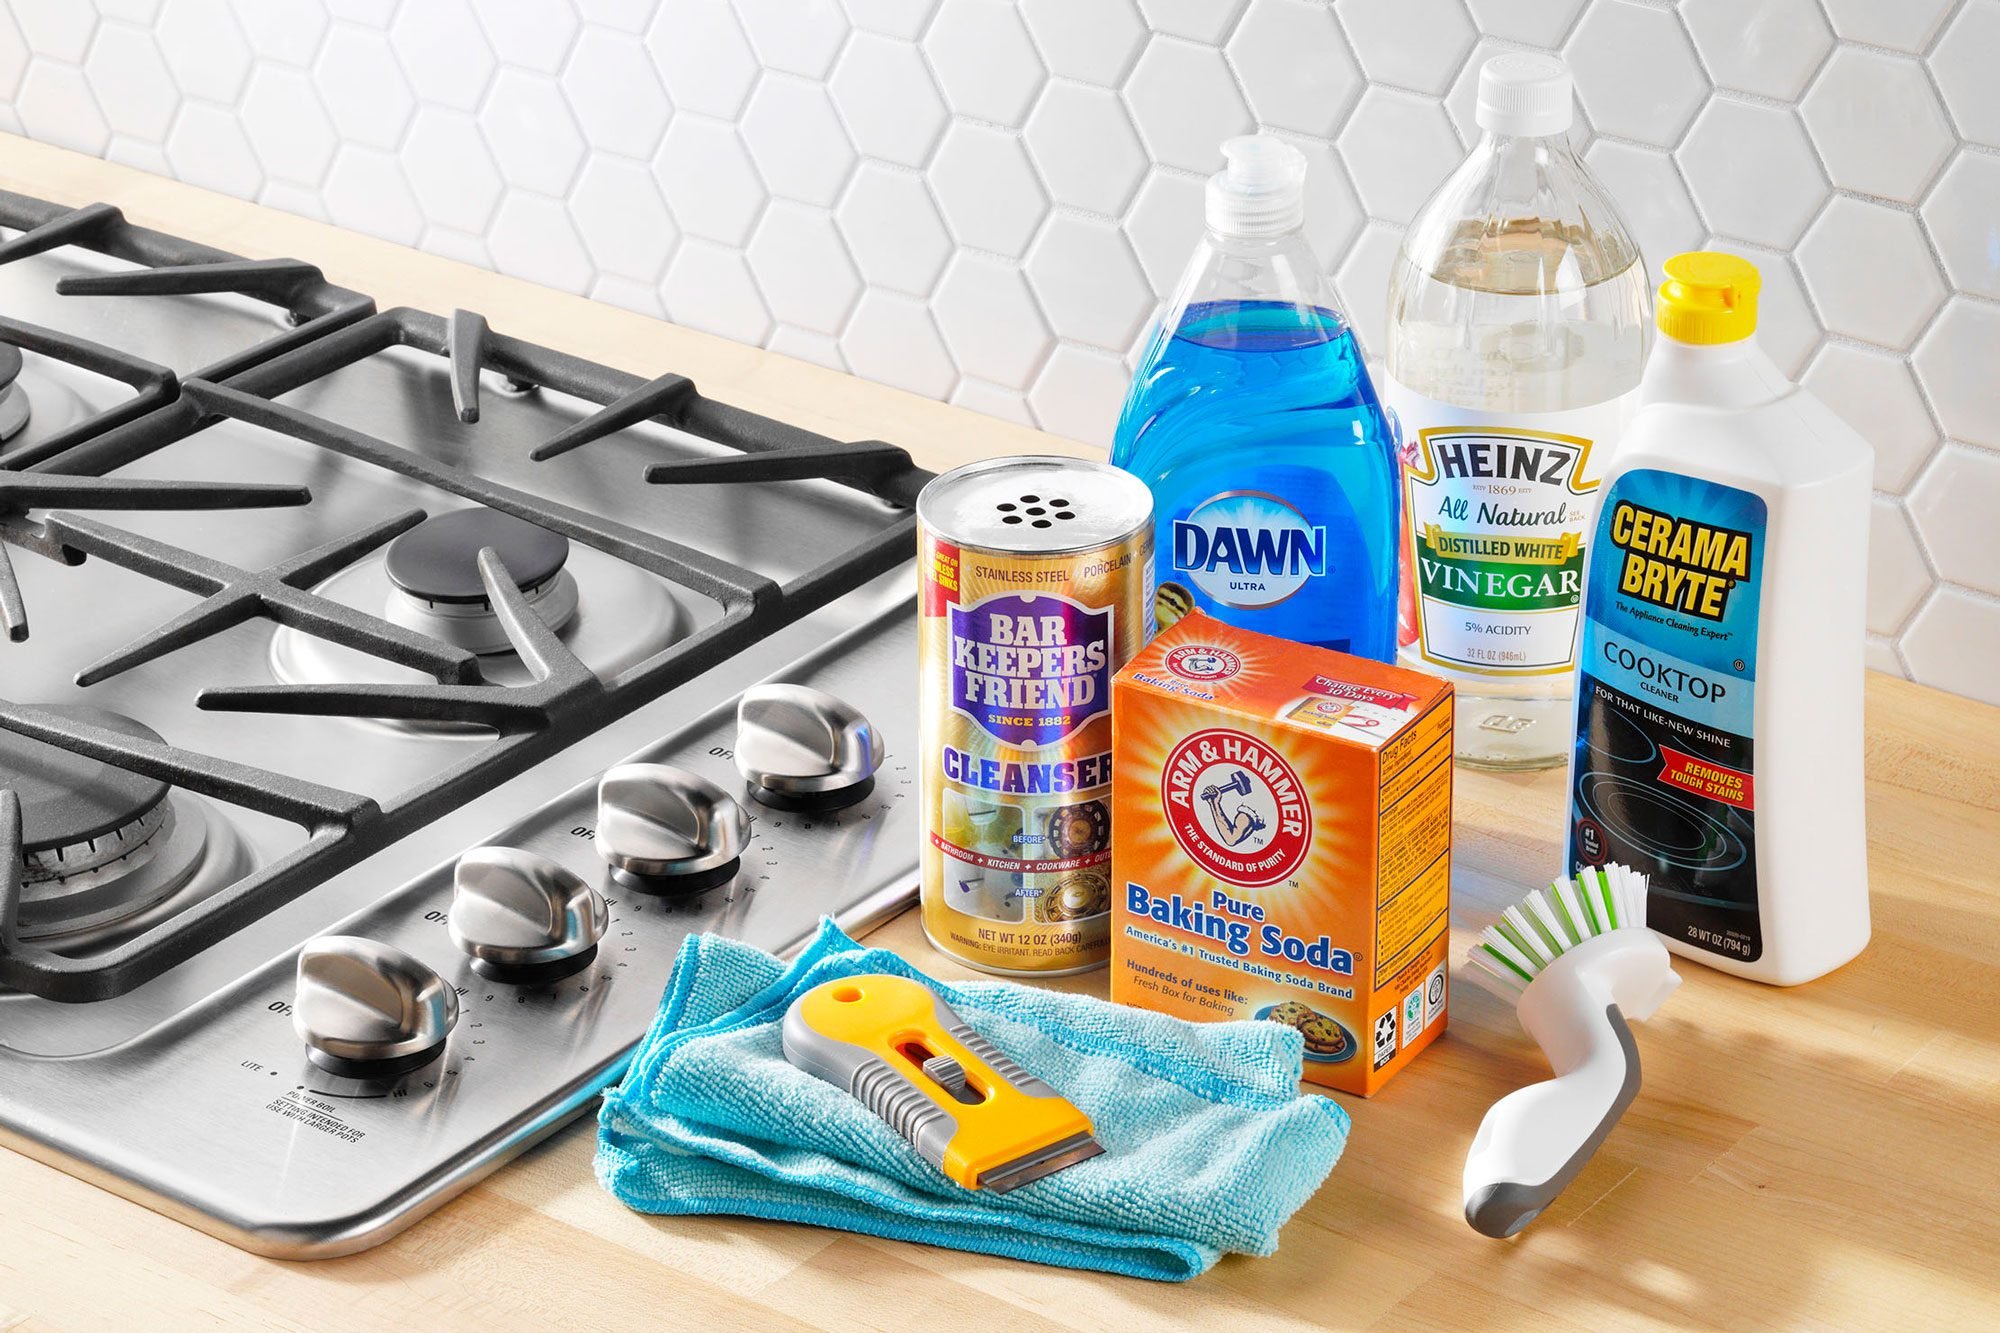
Step 1: Gather the Required Tools and Safety Equipment
Before you begin installing your gas stove top, it’s essential to gather all the necessary tools and safety equipment. Having the right tools at hand will make the installation process smoother and more efficient. Here’s a list of items you’ll need:
1. Adjustable wrench: This will be used to tighten or loosen nuts and fittings during the installation process.
2. Pipe wrench: You’ll need a pipe wrench to grip and turn pipes securely.
3. Screwdriver: A screwdriver will be needed for removing screws or fasteners.
4. Pipe thread compound: This compound is used to create a tight seal between threaded connections, preventing leaks.
5. Gas line: Ensure you have the appropriate length and size of gas line for your stove top installation. Consult the manufacturer’s recommendations for the specific requirements.
6. Teflon tape: This tape is used to create a secure seal on threaded connections.
7. Gas leak detector solution: This solution will help you identify any gas leaks during the testing phase.
8. Safety goggles: It’s crucial to protect your eyes from debris or splashing chemicals.
9. Gloves: Wear gloves to protect your hands while working with tools and potentially sharp edges.
10. Fire extinguisher: Keep a fire extinguisher nearby in case of emergencies.
Once you’ve gathered all the necessary tools and safety equipment, double-check that everything is in good condition and readily accessible. It’s important to prioritize safety throughout the installation process. Practicing caution and having the right tools will minimize risks and ensure a smooth installation.
In addition to the tools mentioned, it’s also crucial to familiarize yourself with any specific safety guidelines provided by the manufacturer. This information can usually be found in the appliance’s manual. Adhering to these guidelines will help prevent accidents and maintain the integrity of your gas stove top.
Now that you have the required tools and safety equipment, you’re ready to move on to the next step: shutting off the gas supply.
Step 2: Shut Off the Gas Supply
Before you begin any work on your gas stove top installation, it’s crucial to shut off the gas supply to ensure your safety. By turning off the gas supply, you prevent any accidental gas leaks or potential hazards. Follow these steps to properly shut off the gas supply:
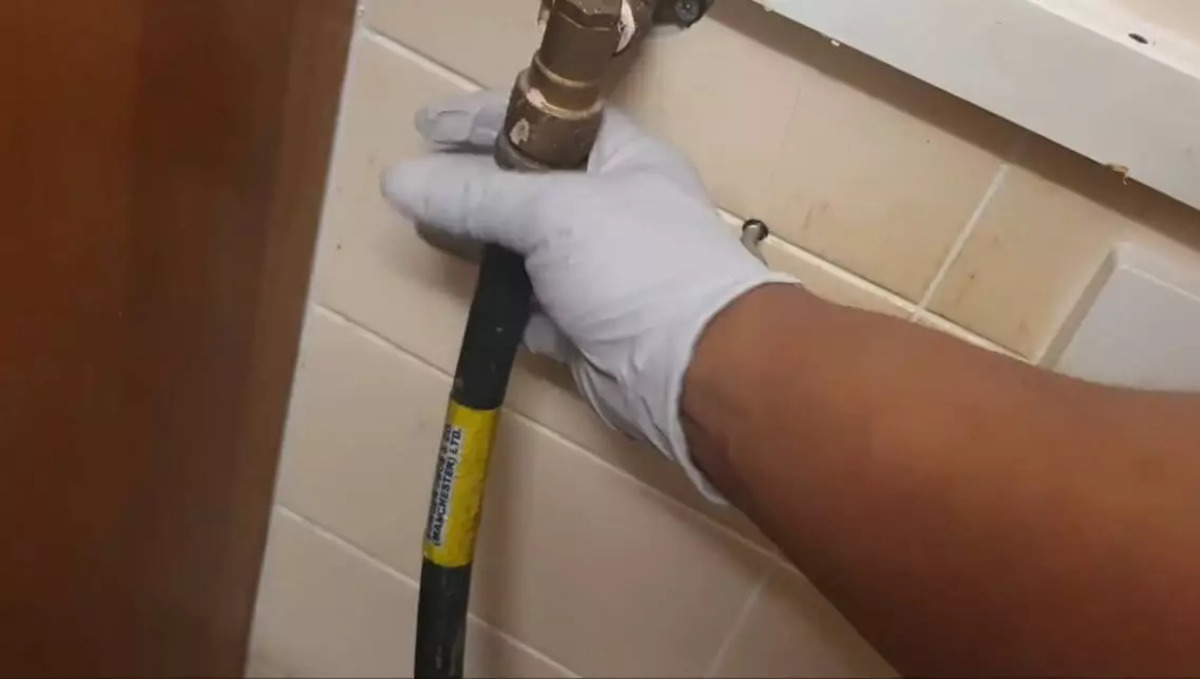
1. Locate the gas shut-off valve: The gas shut-off valve is typically located near the gas meter or outside the house. It may be a lever or a round handle that you can turn to shut off the gas flow. If you’re unsure about the location of the shut-off valve, consult your gas provider or a professional plumber.
2. Turn off the gas supply: Using an adjustable wrench or the appropriate tool, turn the gas shut-off valve clockwise until it is completely closed. This stops the flow of gas from the main line to your home.
3. Test for gas leakage: After shutting off the gas supply, it’s important to check for any gas leakage. You can do this by using a gas leak detection solution. Apply the solution to all the gas connections, including the shut-off valve and the gas line leading to the stove top. If you notice any bubbles forming, it indicates a gas leak. In this case, do not proceed with the installation and contact a professional to fix the issue.
4. Ventilate the area: Open windows and doors to provide sufficient ventilation. This will help dissipate any residual gas that might still be present in the air.
5. Keep the gas supply turned off: It is crucial to keep the gas supply turned off until the installation is complete. Only turn it back on once the stove top is securely connected and tested for any gas leaks.
By following these steps, you ensure the safety of yourself and others while working on the gas stove top installation. Remember, if you’re uncomfortable or unsure about shutting off the gas supply, it’s always best to seek assistance from a professional. With the gas supply turned off, you can now move on to the next step: disconnecting the old stove top.
Step 3: Disconnect the Old Stove Top
Before installing your new gas stove top, you’ll need to disconnect the old stove top. This involves disconnecting the gas line and removing any electrical connections. Follow these steps to safely disconnect the old stove top:
1. Ensure the gas supply is turned off: Double-check that the gas supply is shut off at the main shut-off valve, as discussed in the previous step.
2. Remove the grates and burner caps: Lift off the grates and remove the burner caps from the old stove top. Set them aside in a safe place.
3. Disconnect the gas line: Locate the gas line connection at the back of the stove top. Using an adjustable wrench, slowly loosen the gas line connection by turning it counterclockwise. Be cautious as some gas may still be present in the line, so a small amount of gas may release. Once the gas line connection is loose, gently pull it away from the stove top. If necessary, use a pipe wrench to help loosen stubborn connections.
4. Disconnect the electrical connections: If your old stove top is electric, you’ll need to disconnect the electrical connections. Start by turning off the power supply at the circuit breaker or fuse box. Then, carefully disconnect the electrical wires connecting the stove top to the power source. Use a screwdriver to loosen the terminal screws, and separate the wires from the stove top.
5. Remove the old stove top: Once all connections are disconnected, lift the old stove top off the countertop. Have a friend or family member assist you, as stove tops can be heavy and awkward to handle. Set the old stove top aside or dispose of it according to local regulations.
6. Inspect the area: With the old stove top removed, inspect the area for any debris or old gas connections. Clean the countertop thoroughly and ensure there are no loose wires or gas lines present.
By following these steps, you can safely disconnect the old stove top in preparation for the installation of your new gas stove top. Remember to exercise caution, especially when working with gas lines, and if you encounter any difficulties or uncertainties, consult a professional. Now that the old stove top is disconnected, you’re ready to move on to the next step: preparing the area for installation.
Step 4: Prepare the Area for Installation
Before installing your new gas stove top, it’s important to properly prepare the area to ensure a safe and seamless installation process. Taking the time to prepare the area will help prevent any potential issues and ensure a smooth transition. Follow these steps to prepare the area for installation:
1. Measure the countertop: Start by measuring the dimensions of the countertop, ensuring it is suitable for accommodating the new gas stove top. Check the manufacturer’s specifications for any specific requirements regarding the size and clearance needed for your particular model.
2. Clean the countertop: Thoroughly clean the countertop surface to remove any dirt, grease, or debris. A clean surface provides a solid base for the installation and ensures a better bond between the stove top and the countertop.
3. Check for any obstructions: Inspect the area around the installation site for any obstructions, such as cabinets, drawers, or appliances. Make sure there is sufficient space for the new gas stove top and that it won’t interfere with any surrounding components. If necessary, temporarily remove or relocate any obstacles to facilitate the installation process.
4. Install a protective cover or heat barrier: Consider installing a protective cover or heat barrier underneath the gas stove top to prevent any damage to the countertop. This could be in the form of a heat-resistant material or sheet. Ensure it is properly sized and positioned to provide adequate protection.
5. Install a gas shut-off valve: If a dedicated gas shut-off valve is not already installed near the installation area, it may be a good idea to have one installed for easier access and added safety. Consult a professional plumber to ensure the valve is installed correctly and meets local code requirements.
6. Review the manufacturer’s instructions: Take the time to carefully review the manufacturer’s instructions for your specific gas stove top model. Familiarize yourself with any additional preparation steps or requirements stated in the manual to ensure you are fully prepared for the installation process.
By following these steps and properly preparing the area, you can ensure a smooth and successful installation of your new gas stove top. Taking these precautions will help prevent any issues and create a safe and functional cooking space. With the area prepared, you’re now ready to move on to the next step: installing the gas stove top.
Read more: How To Install Gas Cooktop On Granite
Step 5: Install the Gas Stove Top
Now that you have prepared the area, it’s time to install your new gas stove top. Follow these steps to ensure a successful installation:
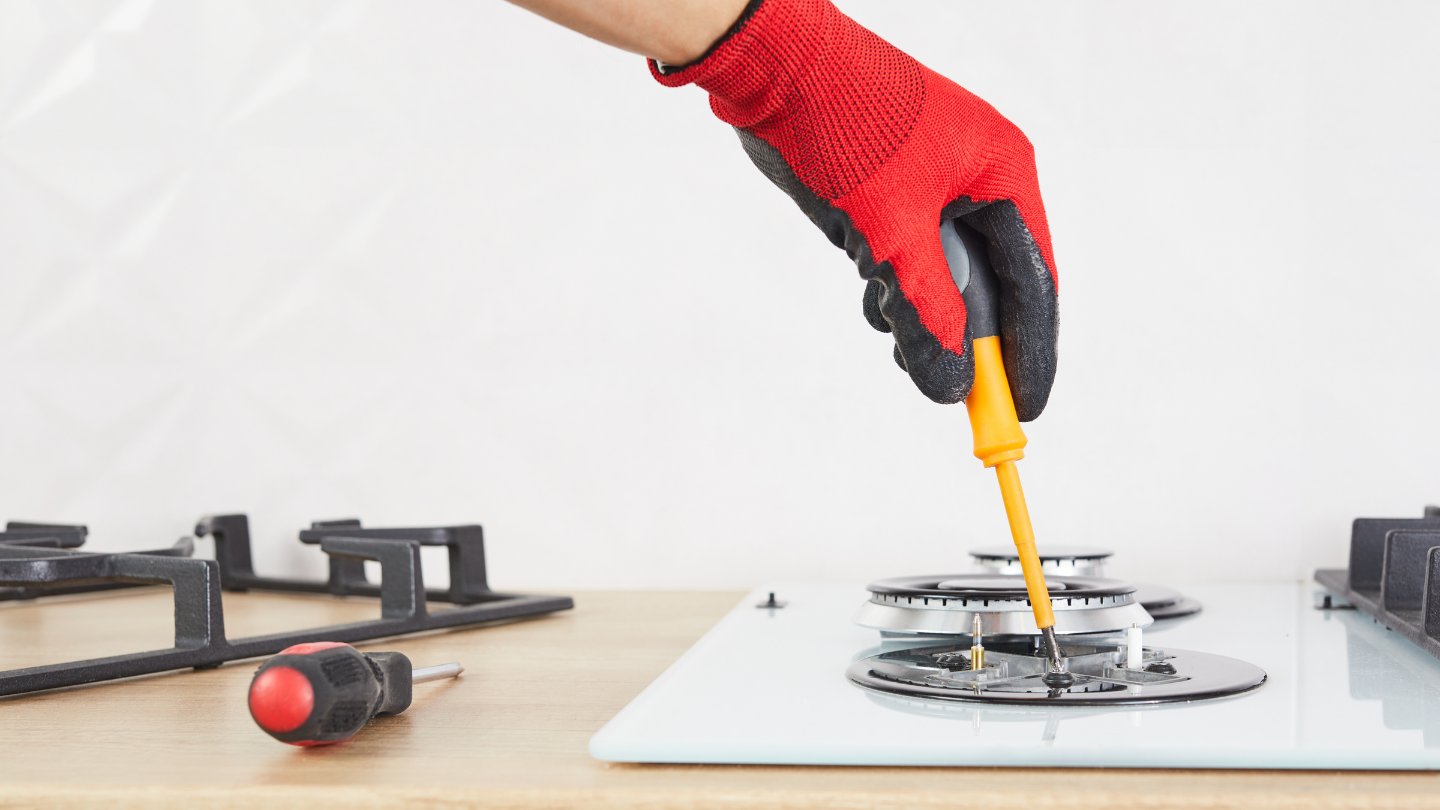
1. Position the stove top: Carefully place the gas stove top onto the prepared countertop. Align it properly, ensuring that it fits securely and level with the surrounding surface.
2. Connect the gas line: Locate the gas line connection at the back of the stove top. Take the appropriate gas line and insert it into the gas line connection. Use an adjustable wrench to tighten the connection by turning it clockwise. Make sure the connection is secure, but be careful not to overtighten, which can cause damage.
3. Apply pipe thread compound: Before connecting the gas line, apply a small amount of pipe thread compound to the threads of the gas line connection. This compound helps create a tight seal and prevents leaks. Ensure you follow the manufacturer’s instructions for the proper application of the pipe thread compound.
4. Verify proper alignment: Double-check that the stove top is aligned properly and centered on the countertop. Adjust if necessary before proceeding to the next steps.
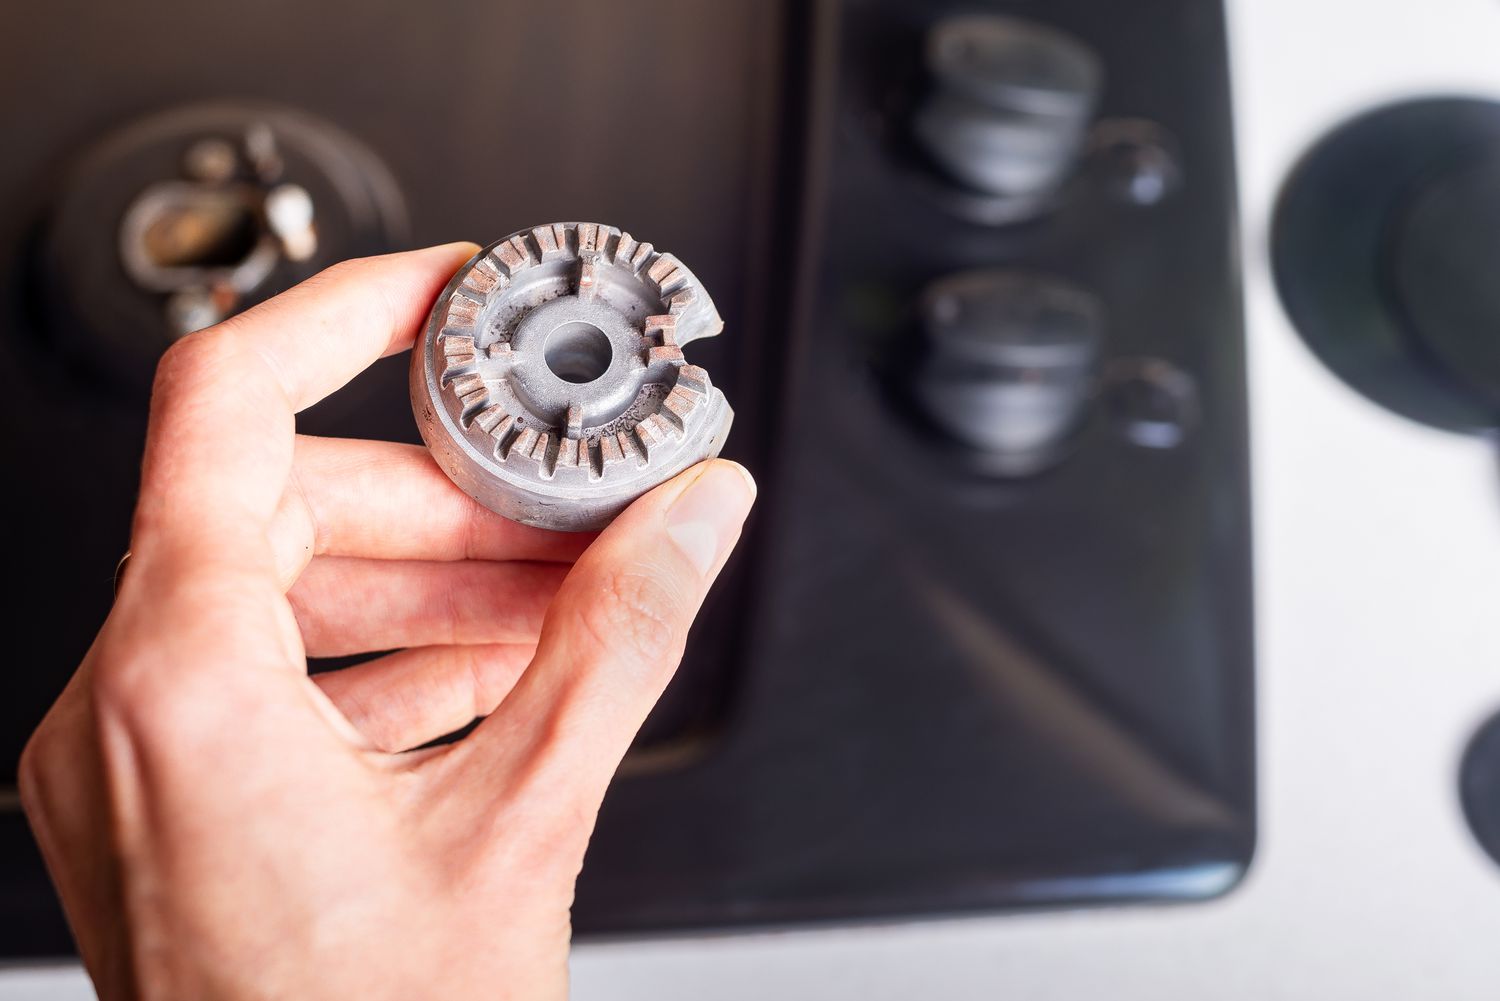
5. Install burner caps and grates: Place the burner caps onto the corresponding burner heads on the stove top. Ensure they fit securely. Then, position the grates over the burners, making sure they are aligned and rest evenly.
6. Check for clearance: Verify that there is adequate clearance between the stove top and any surrounding cabinets or walls. This is crucial to prevent heat buildup and potential damage. Consult the manufacturer’s guidelines for the recommended clearance specifications.
7. Double-check gas line connection: Once the stove top is in place, double-check the gas line connection for any potential leaks. Apply a gas leak detection solution to the connection and observe for any bubbles. If you notice bubbles forming, there may be a gas leak. In such cases, immediately shut off the gas supply, disconnect the gas line, and contact a professional plumber to rectify the issue.
8. Ensure proper ventilation: Adequate ventilation is essential when operating a gas stove top. Make sure there is a ventilation system in place, such as an exhaust hood, to efficiently remove any cooking fumes and gases. This helps maintain air quality in your kitchen.
By following these steps, you can successfully install your gas stove top. However, it’s important to remember that these are general guidelines, and your specific appliance may have unique installation requirements. Always refer to the manufacturer’s instructions for detailed information and any additional steps specific to your model.
Now that the gas stove top is installed, let’s move on to the next step: connecting the gas supply.
Before installing a gas stove top, make sure to shut off the gas supply and carefully follow the manufacturer’s instructions for proper installation. It’s also important to check for any gas leaks after installation.
Step 6: Connect the Gas Supply
With the gas stove top in place, the next step is to connect the gas supply. Follow these steps to ensure a safe and proper connection:
1. Double-check the gas shut-off valve: Before connecting the gas supply, ensure the gas shut-off valve is in the closed position. This valve should have been turned off during the earlier steps of the installation process.
2. Prepare the gas line connection: Examine the gas line connection on the stove top. It should have a fitting or nipple where the gas line will be connected. If necessary, clean the connection to remove any debris or dirt that could hinder a proper seal.
3. Apply Teflon tape: Take a small length of Teflon tape and wrap it clockwise around the threads of the gas line fitting. This tape provides an additional seal and helps prevent any gas leaks. Make sure to wrap the tape tightly and evenly around the threads without overlapping the end.
4. Connect the gas line: Gently thread the gas line onto the fitting on the stove top. Use an adjustable wrench to tighten the connection, turning it clockwise. Be cautious not to overtighten, as it can damage the fittings.
5. Verify gas line connection: Once the gas line is connected, inspect the connection for any signs of leaks. Apply a gas leak detection solution to the connection and observe for any bubbles. If bubbles form, there may be a gas leak. In such cases, turn off the gas supply, disconnect the gas line, and consult a professional for assistance.
6. Secure the gas line: Ensure that the gas line is positioned neatly and securely, avoiding any kinks or sharp bends. Use pipe clamps or straps to secure the gas line in place, preventing it from moving or being accidentally pulled.
7. Test the gas connection: With the gas line connected, turn on the gas shut-off valve gradually. Take note of any unusual smells or sounds. If you detect a strong odor of gas or hear a hissing noise, immediately turn off the gas supply and seek professional help.
8. Conduct a final leak test: Apply a gas leak detection solution to all connections, including the shut-off valve, gas line, and stove top fitting. Check for any bubbles or signs of gas leakage. If there are no leaks, move on to the next step. If leaks are detected, turn off the gas supply and consult a professional to rectify the issue.
By following these steps, you can safely connect the gas supply to your newly installed stove top. It’s important to handle gas connections with care and to perform thorough leak tests to ensure a safe operating environment. Now that the gas supply is connected, let’s move on to the next step: testing for gas leaks.
Step 7: Test for Gas Leaks
Once the gas supply is connected, it’s crucial to test for any gas leaks to ensure the safety of your installation. Here’s how to perform a gas leak test:
1. Ensure proper ventilation: Before conducting the gas leak test, make sure your kitchen is well-ventilated. Open windows and doors to allow fresh air to circulate and any gas fumes to dissipate.
2. Prepare a gas leak detection solution: In a small bowl, mix a solution of soap and water. Alternatively, you can use a commercially available gas leak detection spray. Make sure the solution covers the gas connection points, including the shut-off valve, gas line, and stove top fittings.
3. Apply the gas leak detection solution: Using a brush or sponge, apply the gas leak detection solution to all the connections. Ensure the solution fully covers each connection point.
4. Observe for bubbles: Carefully inspect each connection point for any visible bubbles. If you see bubbles forming, it indicates a gas leak. In such cases, shut off the gas supply immediately, disconnect the gas line, and contact a professional for assistance. A gas leak can be hazardous and must be addressed promptly by a qualified technician.
5. Perform a thorough inspection: While focusing on the gas connections, also check the surrounding areas for any signs of gas leakage, such as a faint smell of gas or hissing sounds. If you notice anything unusual, take immediate action to address the issue.
6. Repeat the process if necessary: If you do not detect any gas leaks during the initial test, but still have concerns, it is advisable to perform a secondary test. Repeat the process of applying the gas leak detection solution and inspecting for any bubbles.
Remember, it’s crucial to be attentive and cautious during the gas leak test. If you have any uncertainties or are unsure about performing the test, it’s best to seek the assistance of a professional plumber or gas technician.
By performing a thorough gas leak test, you can ensure that your gas stove top installation is safe and free from any potential leaks. Once you have confirmed that there are no gas leaks, you can proceed to the next step: securing the stove top in place.
Step 8: Secure the Stove Top in Place
After verifying that there are no gas leaks, the next step is to secure the gas stove top in place. Properly securing the stove top ensures stability and prevents any accidental movement during use. Follow these steps to secure the stove top:
1. Check for securing brackets: Some gas stove tops may come with securing brackets that help hold the appliance in place. Check the manufacturer’s instructions to see if your model requires these brackets.
2. Position the securing brackets: If your stove top requires securing brackets, position them according to the manufacturer’s instructions. The brackets may need to be attached to the underside of the countertop or to the sides of the appliance.
3. Attach the securing brackets: Once in position, use the appropriate screws or fasteners to attach the securing brackets firmly to the countertop or the stove top. Ensure that they are securely tightened, but avoid over-tightening, as it can damage the brackets or the stove top.
4. Test the stability: Once the securing brackets are attached, gently test the stability of the stove top by applying light pressure from different directions. Ensure that there is minimal or no movement. If you notice any wobbling or instability, recheck the attachment of the securing brackets to ensure they are properly installed.
5. Make necessary adjustments: If you find that the stove top is not level or aligned properly, make the necessary adjustments by loosening the securing brackets and repositioning the stove top. Once you have made the adjustments, reattach and secure the brackets, and test the stability again.
6. Verify clearance with surrounding surfaces: Double-check that there is sufficient clearance between the stove top and any surrounding surfaces, such as cabinets or walls. This is important to prevent any heat build-up or potential damage.
7. Reinstall burner caps and grates: After securing the stove top, reinstall the burner caps and grates onto their respective positions. Ensure they fit snugly and are properly aligned.
By properly securing the stove top in place, you ensure stability and minimize any potential hazards or accidents. Always follow the manufacturer’s instructions and guidelines for securing and attaching the stove top, as each model might have specific requirements.
Now that the stove top is securely in place, you’re ready to move on to the next step: restoring the gas supply and testing the operation of your newly installed gas stove top.
Read more: How To Replace A Gas Cooktop
Step 9: Restore Gas Supply and Test Operation
With the gas stove top securely installed and properly secured, it’s time to restore the gas supply and test the operation of your newly installed appliance. Follow these steps to complete the installation process:
1. Turn on the gas supply: Open the gas shut-off valve fully, turning it counterclockwise. This allows the flow of gas to the stove top. Give it a moment to allow the gas to flow through the line.
2. Check for gas odors: As the gas supply is restored, carefully sniff around the stove top and the area. If you detect a strong smell of gas or a persistent odor, immediately turn off the gas supply, ventilate the area, and seek professional assistance. A strong gas odor could indicate a leak, which must be addressed promptly.
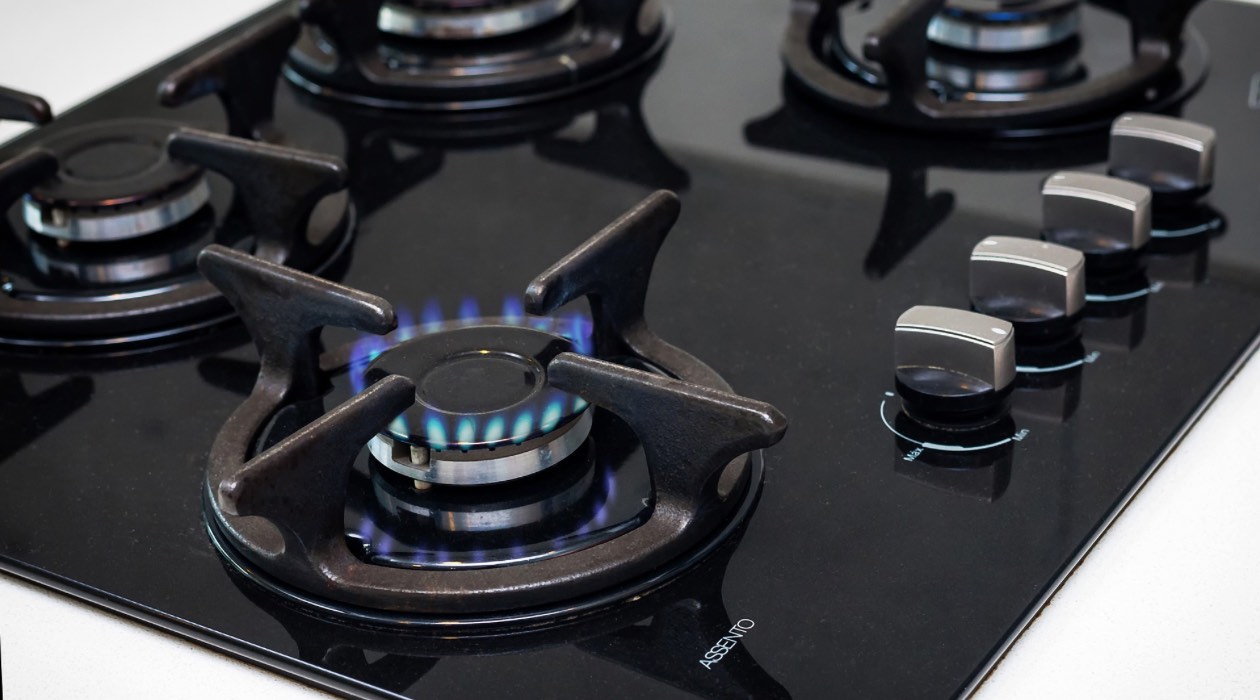
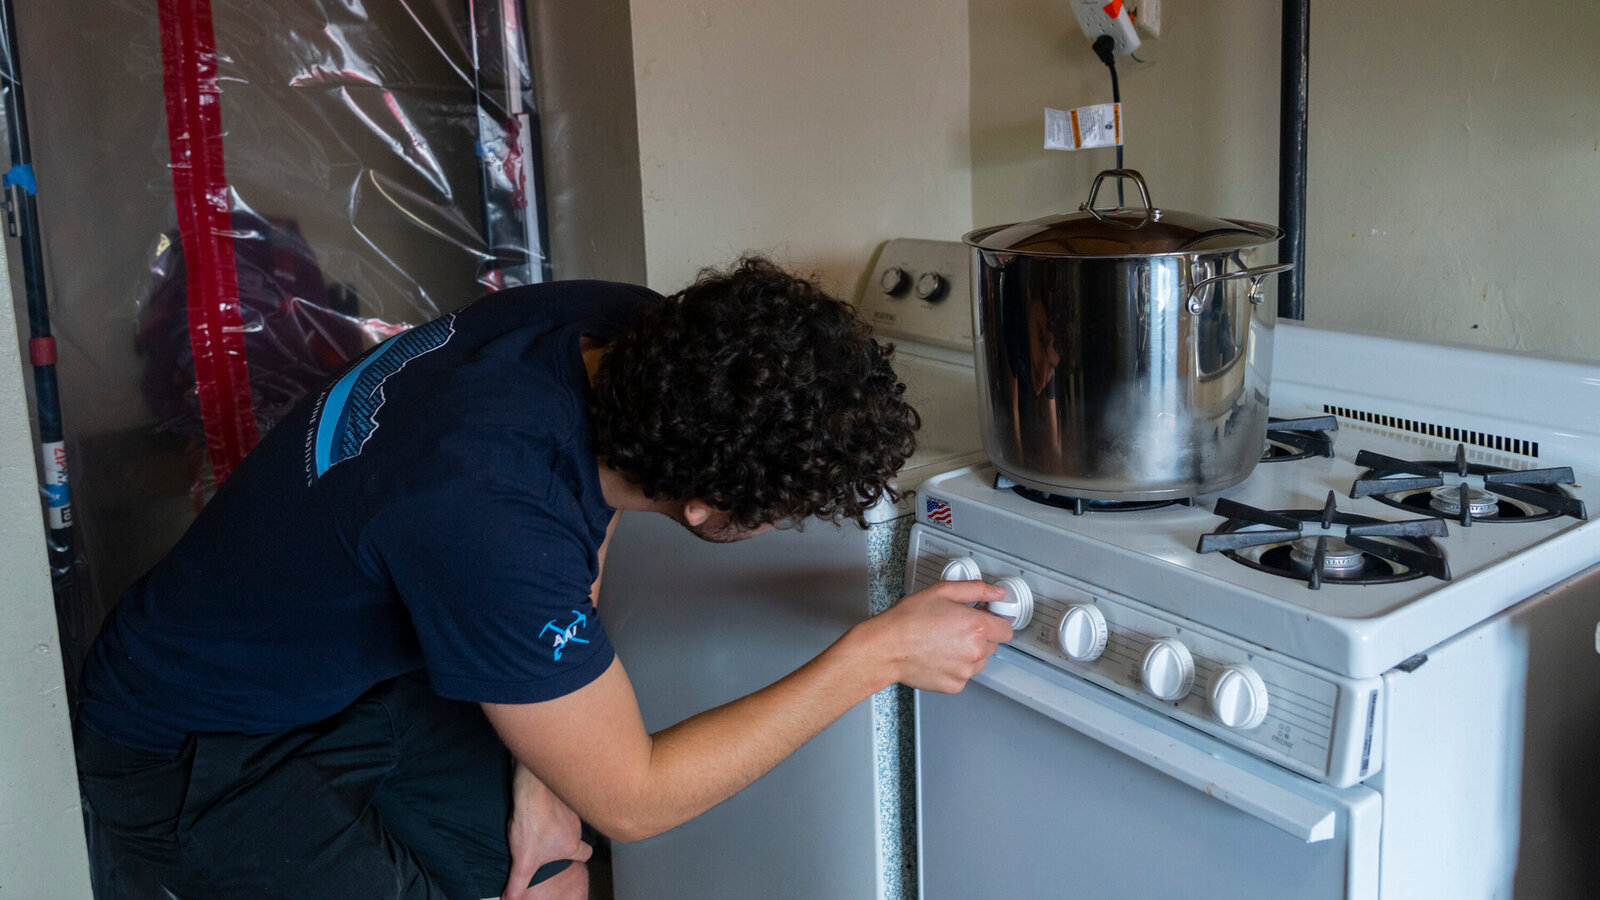
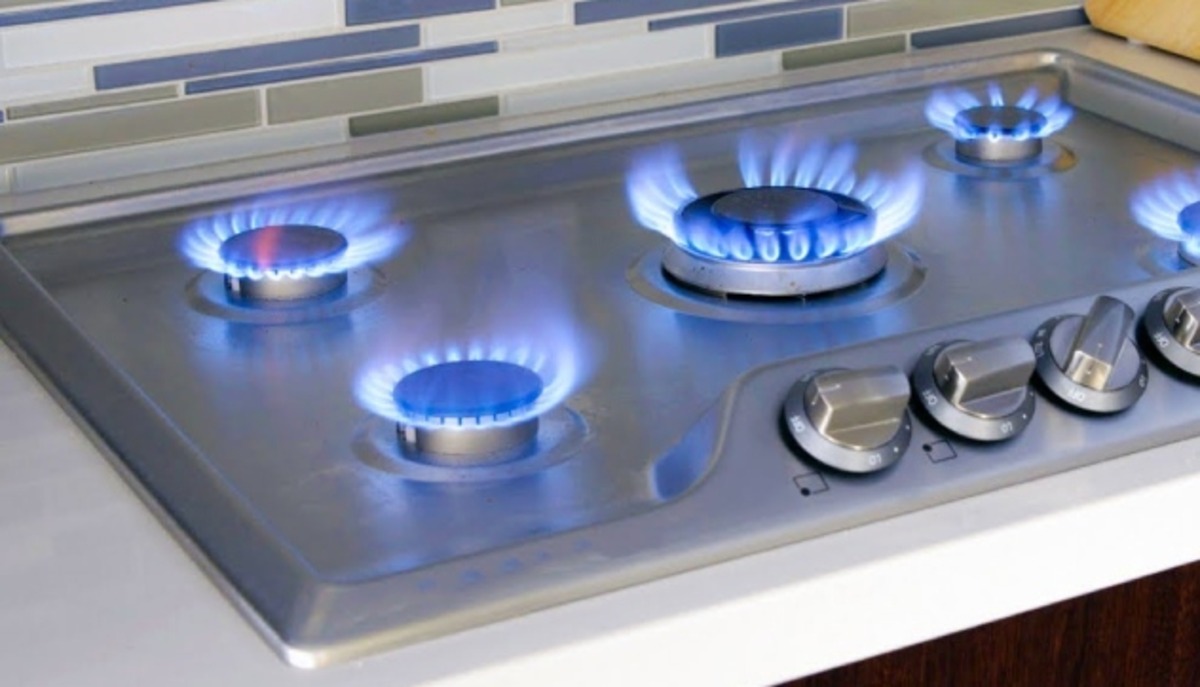
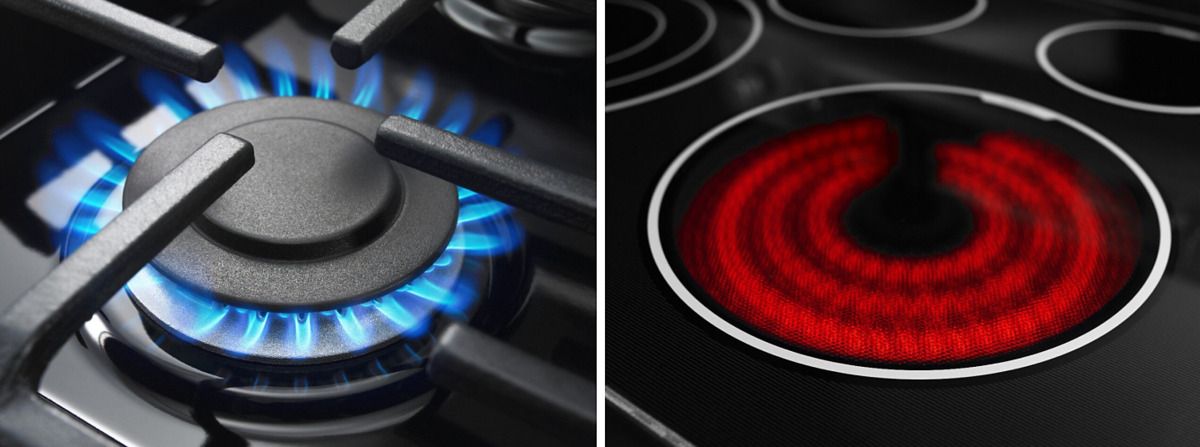
3. Ignite the burners: Select one of the burners on the stove top and turn the corresponding control knob to the “Ignite” position. Listen and watch for the igniter to create a spark, and the burner to light up. Repeat this step for each burner to ensure they are all functioning correctly.
4. Adjust flame intensity: Once the burners are ignited, adjust the flame intensity using the control knobs. Observe that the flame adjusts according to the control settings, and there are no irregularities or fluctuations.
5. Test other functions: If your gas stove top has additional features, such as a griddle or a simmer burner, test those functions to ensure they are operating as intended. Follow the manufacturer’s instructions on how to use and control these features.
6. Check for any issues: While the burners are operating, monitor the stove top for any unusual sounds, excessive heat, or malfunctioning components. If you notice any issues, immediately turn off the burners and disconnect the gas supply. Contact the manufacturer or a professional technician for further assistance.
By restoring the gas supply and testing the operation of your gas stove top, you ensure that it is functioning properly and ready for use. If at any point during the testing process you encounter any issues or concerns, do not hesitate to seek professional help.
Remember, it’s important to regularly maintain and clean your gas stove top to ensure proper functioning and longevity. Refer to the manufacturer’s instructions for recommended cleaning and maintenance procedures.
Congratulations on successfully installing your gas stove top! Enjoy your new appliance and happy cooking!
Conclusion
Installing a gas stove top can be a rewarding project that enhances your cooking experience and adds a modern touch to your kitchen. By following the step-by-step guide outlined in this article, you can confidently install your gas stove top while prioritizing safety and efficiency.
Throughout the installation process, it’s crucial to gather the necessary tools and safety equipment, and shut off the gas supply before disconnecting the old stove top. Preparing the installation area and securing the stove top are vital steps to ensure stability and prevent any potential hazards.
Connecting the gas supply requires care and attention to detail, including the use of Teflon tape and conducting a thorough gas leak test. Take the time to ensure there are no gas leaks, as safety should always remain a top priority.
Securing the stove top in place provides stability and peace of mind while cooking. Double-check the alignment and clearance, and make any necessary adjustments to ensure a proper fit.
Finally, after restoring the gas supply and testing the operation of your newly installed gas stove top, you can confidently enjoy the benefits of your upgraded cooking appliance.
Remember, if you ever encounter any issues, uncertainties, or concerns during the installation process, it’s always best to seek professional assistance. Gas appliances require specific knowledge and expertise to ensure a safe and reliable installation.
By following the instructions provided in this article and referring to the manufacturer’s guidelines, you can successfully install your gas stove top and embark on a new culinary journey in your kitchen. Enjoy the precise control and efficient cooking that a gas stove top offers, and savor the delicious meals you’ll create with ease. Happy cooking!
Frequently Asked Questions about How To Install A Gas Stove Top
Was this page helpful?
At Storables.com, we guarantee accurate and reliable information. Our content, validated by Expert Board Contributors, is crafted following stringent Editorial Policies. We're committed to providing you with well-researched, expert-backed insights for all your informational needs.


0 thoughts on “How To Install A Gas Stove Top”