Articles
How To Hook Up A Ceiling Light
Modified: October 20, 2024
Learn how to hook up a ceiling light with our informative articles. Get step-by-step instructions and expert tips for a successful installation.
(Many of the links in this article redirect to a specific reviewed product. Your purchase of these products through affiliate links helps to generate commission for Storables.com, at no extra cost. Learn more)
Introduction
Welcome to our guide on how to hook up a ceiling light! Whether you’re replacing an old fixture or installing a brand new one, this step-by-step tutorial will walk you through the process. Installing a ceiling light may seem intimidating, but with the right tools and instructions, it can be a straightforward task.
A ceiling light not only provides illumination but also adds a stylish touch to any room. Whether you’re updating the lighting in your living room, kitchen, or bedroom, the process of hooking up a ceiling light remains relatively similar across different fixtures. So, let’s get started!
Before we begin, it’s important to note that electrical work should only be undertaken by individuals who are knowledgeable and confident in their abilities. If you’re unsure or uncomfortable working with electricity, it’s best to hire a licensed electrician.
In this guide, we’ll go through all the necessary steps, from turning off the power to testing the connection and securing the new fixture. We’ll also provide a list of tools and materials you’ll need for the job. By following this guide, you’ll be able to safely and successfully hook up your ceiling light.
Before we dive into the details, make sure you have all the necessary tools and materials handy. This will save you time and frustration during the installation process. Let’s take a look at what you’ll need:
Key Takeaways:
- Safety first! Always turn off the power before working on a ceiling light. Follow the step-by-step process to ensure a secure and successful installation, or consult a licensed electrician if unsure.
- Proper preparation and attention to detail are crucial for connecting and securing the new fixture. Test the connection and enjoy your newly illuminated space with confidence!
Read more: How To Hook Up A Ceiling Fan
Tools and Materials Needed
Before you begin hooking up your ceiling light, gather the following tools and materials:
- Step ladder or sturdy platform
- Screwdriver (both slotted and Phillips-head)
- Wire stripper
- Needle-nose pliers
- Voltage tester
- Wire connectors (also known as wire nuts)
- Electrical tape
- Ceiling light fixture
- Replacement mounting hardware (if applicable)
- Assistant (optional, but helpful for holding the fixture)
Make sure you have all these tools and materials before you start the installation to ensure a smooth and efficient process.
In addition to these basic tools, it’s important to prioritize safety. Always wear protective eyewear and gloves when working with electrical components. Before starting any electrical work, turn off the power to the circuit you’ll be working on. You can do this by flipping the corresponding circuit breaker in your electrical panel.
Now that you have all the necessary tools and materials ready, let’s walk through the step-by-step process of hooking up a ceiling light!
Step 1: Turn Off the Power
Before you begin any electrical work, it is crucial to ensure your safety by turning off the power to the circuit. This will prevent any accidents or electrocution while you work on hooking up the ceiling light.
Follow these steps to turn off the power:
- Locate your electrical panel, which is usually found in the basement, garage, or utility room.
- Open the panel door and find the circuit breaker that controls the area where you’ll be working.
- Identify the breaker that is labeled for the specific room or area where the ceiling light is located. If it’s not labeled, turn on the light switch in that area and have someone assist you in identifying the corresponding breaker.
- Once you’ve identified the correct breaker, switch it to the “off” position. You can typically do this by flipping the switch to the opposite side or pushing it firmly to the “off” position.
- Double-check that the power is off by testing the light switch and other electrical outlets in the area. If they don’t work, you’ve successfully turned off the power.
Remember, safety should always come first when working with electrical components. It’s crucial to double-check that the power is indeed off before proceeding to the next steps. This will help prevent any accidental shocks or injuries.
Now that you’ve turned off the power, you can move on to the next step: removing the existing light fixture.
Step 2: Remove the Existing Light Fixture
With the power turned off, it’s time to remove the existing light fixture. Follow these steps to safely remove the old fixture:
- Grab your step ladder or sturdy platform and position it beneath the light fixture. This will provide you with a stable platform while you work.
- Inspect the fixture and locate any screws or mounting brackets that are securing it to the ceiling.
- Using a screwdriver, carefully remove the screws or loosen the mounting brackets to release the fixture from the ceiling.
- Gently lower the fixture down, taking care not to damage any wires or components.
- Once the fixture is detached, set it aside in a safe location.
- If the fixture is connected to electrical wiring, you’ll need to disconnect it. Locate the wire nuts or connectors where the wires connect to the fixture.
- Use your screwdriver or pliers to unscrew and remove the wire nuts, separating the wires from the fixture.
- With the wires disconnected, the old fixture can be fully removed and set aside.
It’s important to note that some fixtures may have additional components, such as a canopy or mounting plate. If present, follow the manufacturer’s instructions to remove them properly.
Once you’ve successfully removed the existing light fixture, inspect the wiring box and ensure that it is in good condition. Check for any signs of damage, loose wires, or corrosion. If any issues are discovered, it’s best to consult a licensed electrician for further guidance.
With the old fixture removed and the wiring box inspected, you’re now ready to move on to the next step: locating the wiring box.
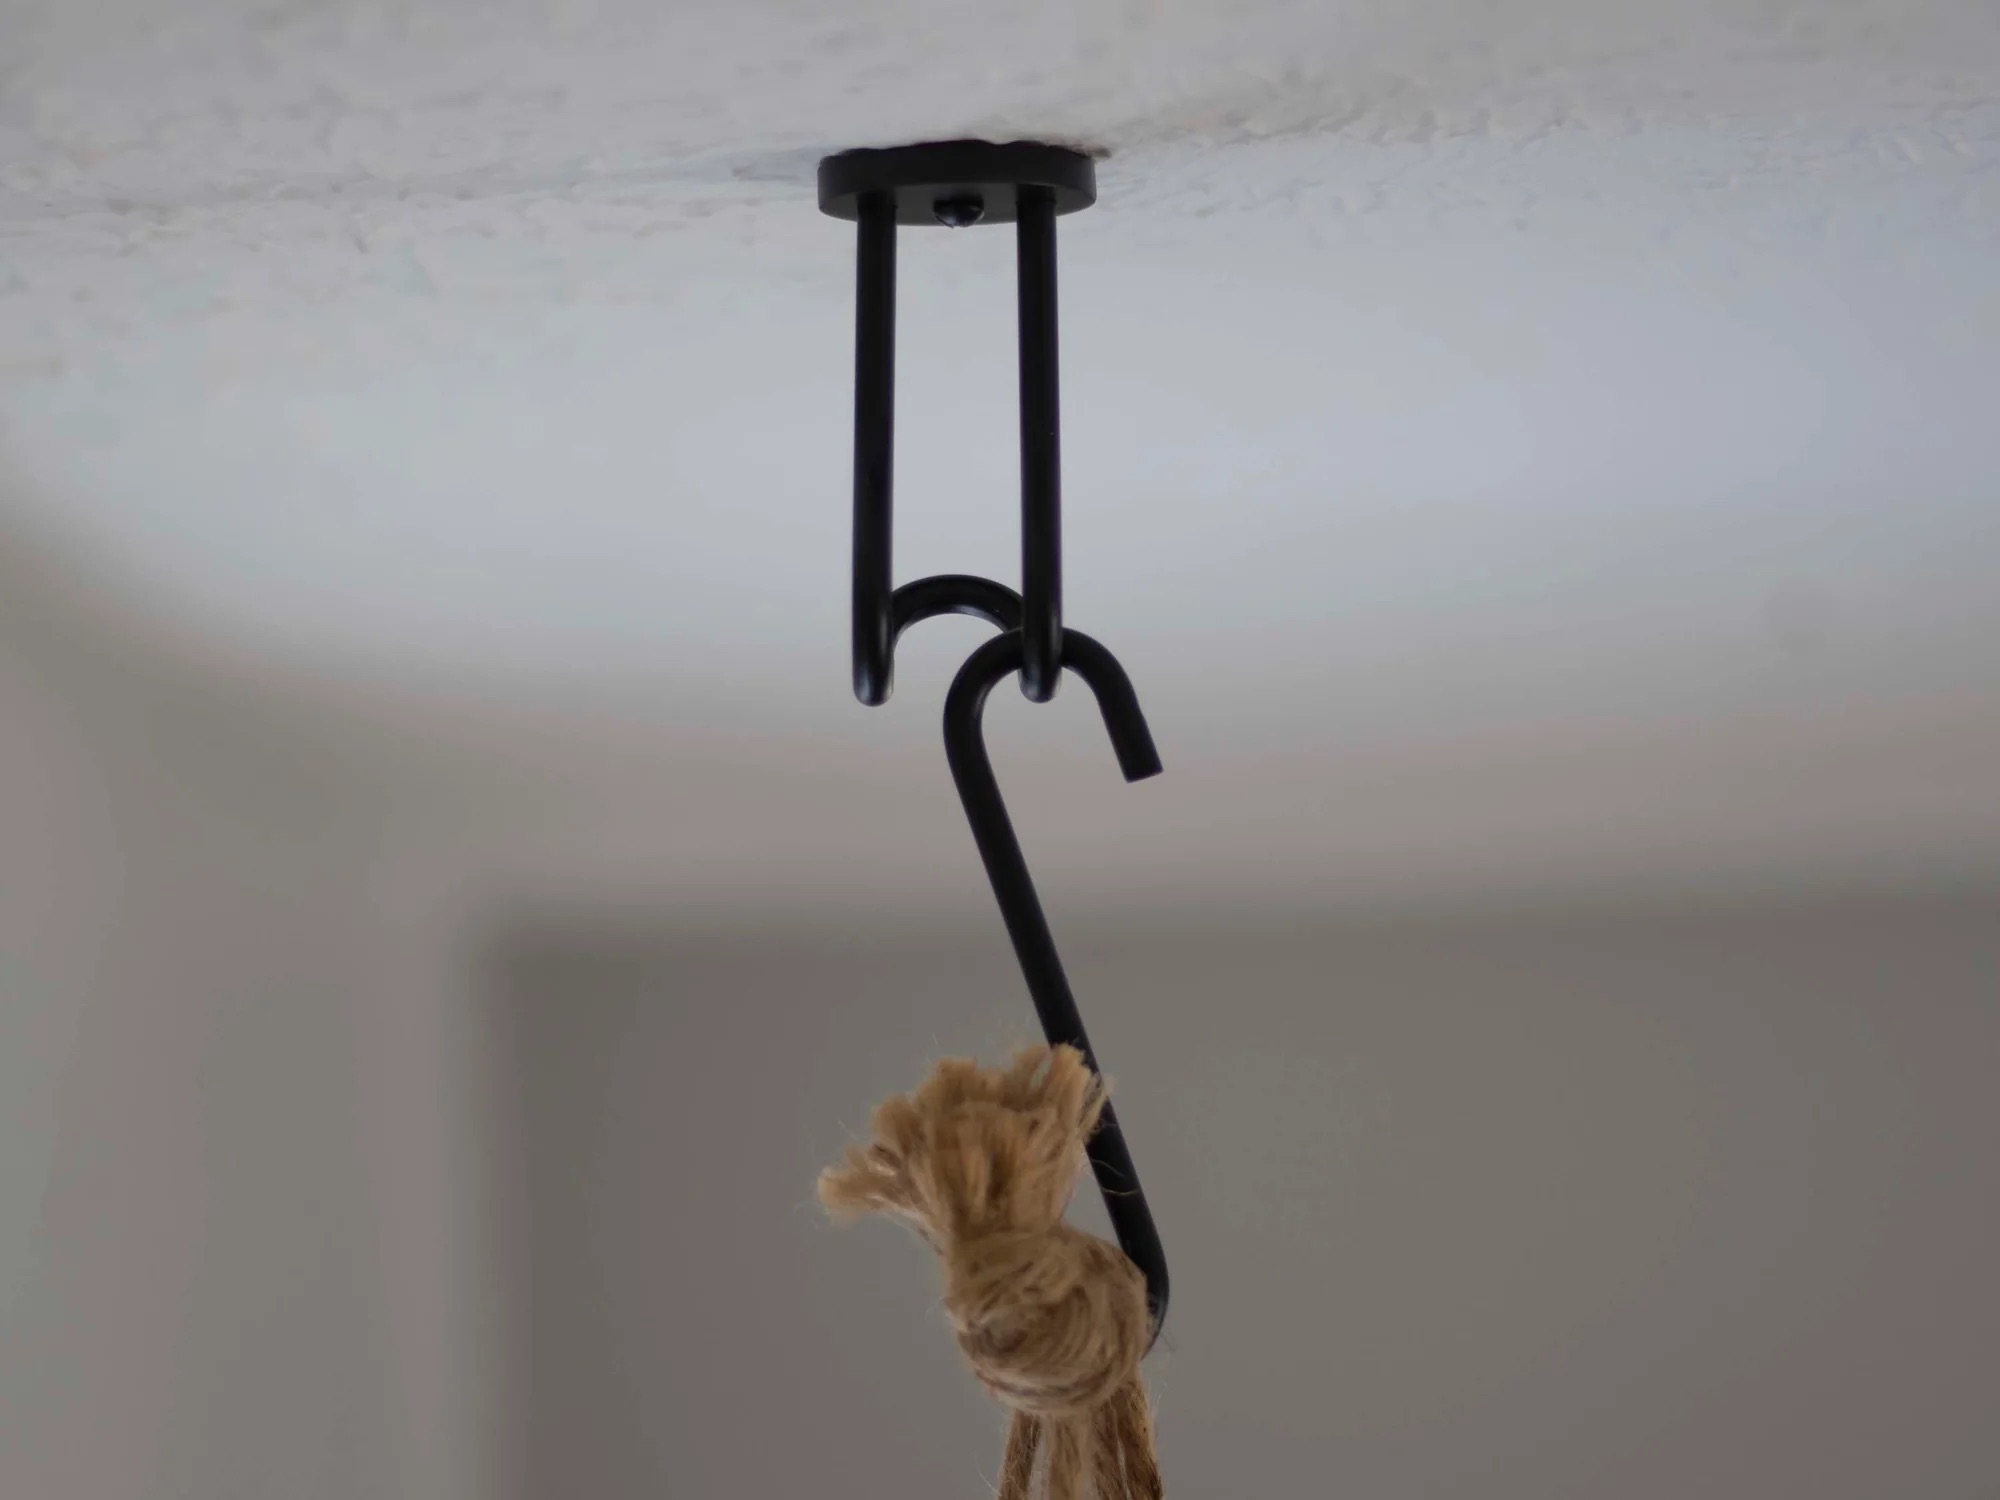
Step 3: Locate the Wiring Box
After removing the old light fixture, the next step is to locate the wiring box where the electrical connections are housed. The wiring box is typically recessed into the ceiling and can be found near the location of the old fixture.
Follow these steps to locate the wiring box:
- Inspect the area where the old fixture was mounted. Look for a round or rectangular-shaped cover plate that is flush with the ceiling.
- If you’re unable to locate the wiring box by visual inspection, you can use a stud finder with an electrical scanning feature to pinpoint its exact location. This tool can detect the presence of electrical wiring behind the ceiling surface.
- Once you’ve located the wiring box, use a screwdriver to remove the cover plate.
- Set aside the cover plate in a safe place, as you’ll need it later for the installation of the new fixture.
With the wiring box exposed, take a moment to inspect the wires inside. Ensure that they are in good condition, with no frayed ends or loose connections. If any issues are found, it’s important to address them before proceeding further.
It’s worth noting that some older homes may have knob and tube wiring, which requires special considerations and expertise. If you encounter this type of wiring, it’s best to consult a licensed electrician for guidance and assistance.
Now that you’ve successfully located the wiring box, you’re ready to move on to the next step: disconnecting the wires.
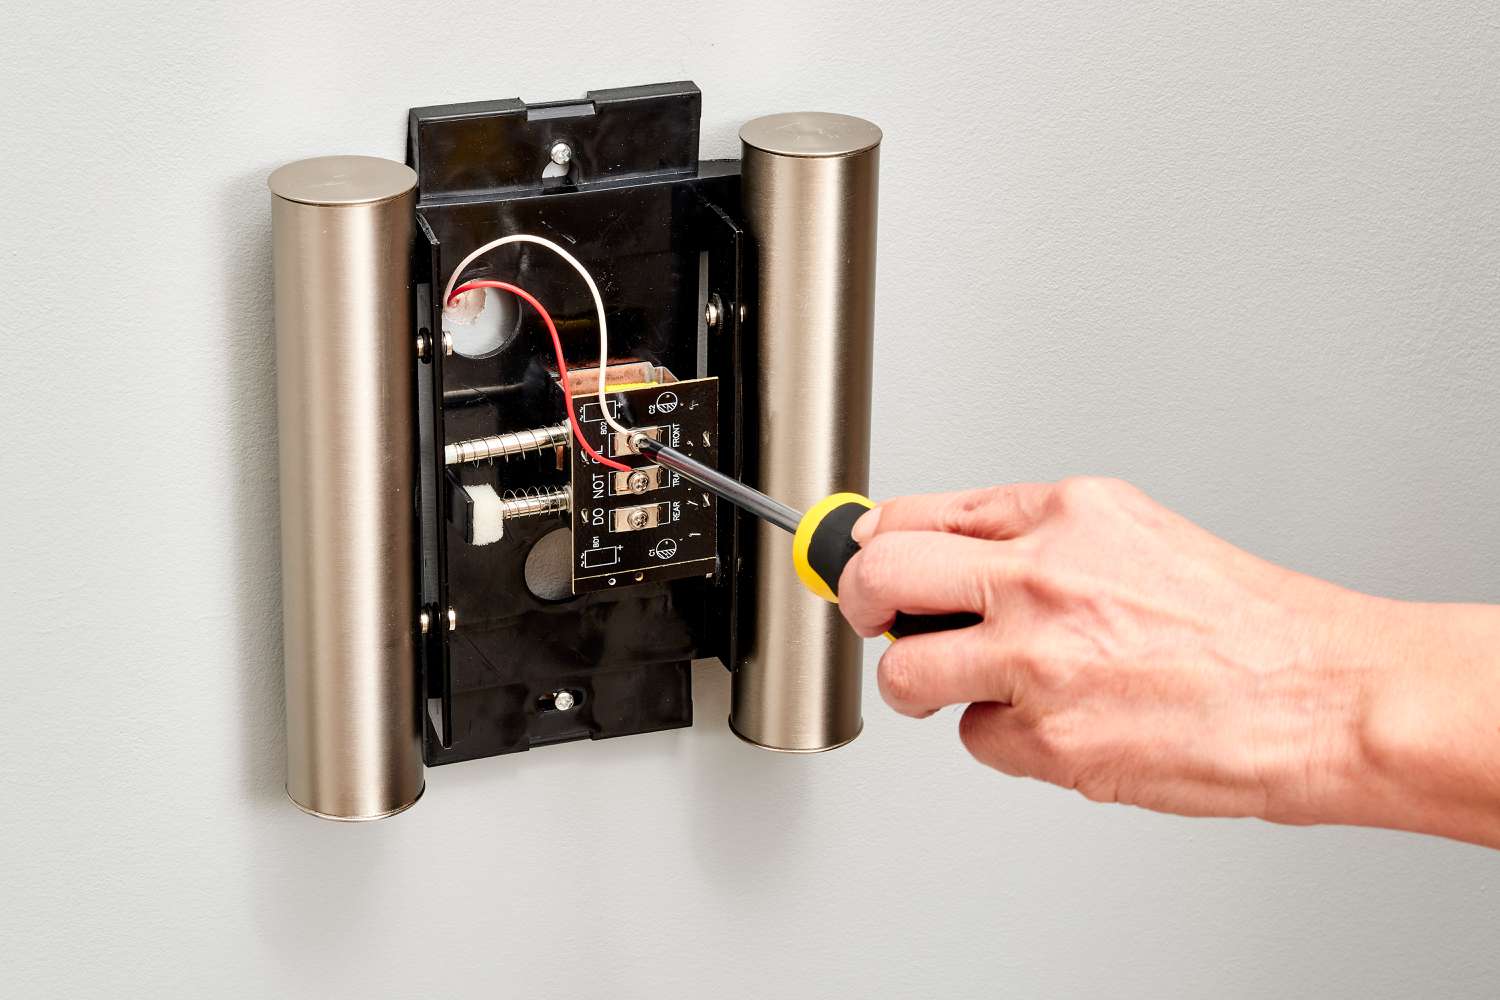
Step 4: Disconnect the Wires
With the wiring box exposed, it’s time to disconnect the wires from the old fixture. Follow these steps to safely disconnect the wires:
- Identify the wires coming out of the wiring box. You’ll typically have a black (hot) wire, a white (neutral) wire, and a green or copper (ground) wire.
- If there is a ceiling fan present, you may also have an additional blue wire for the fan’s light kit. This wire should be connected separately from the other wires and labeled accordingly.
- Using wire strippers, carefully strip about 1/2 inch of insulation from the ends of each wire. This will expose the bare copper conductors.
- Once the wires are stripped, use your fingers or a pair of needle-nose pliers to twist off the wire nuts or connectors securing the wires to the old fixture.
- Separate the wires, making sure they do not touch each other or any other metal components.
- If there is a ground wire present, detach it from the grounding screw or green grounding wire in the wiring box.
- Gently tuck the disconnected wires back into the wiring box, ensuring they are out of the way for the next steps.
It’s important to note that the specific wire configurations may vary depending on your electrical setup and the type of fixture you’re installing. Always refer to the manufacturer’s instructions and follow proper wiring practices to ensure a safe and secure connection.
Now that the wires have been disconnected, you’re ready to prepare the new fixture for installation in the next step.
Step 5: Prepare the New Fixture
With the old fixture wires safely disconnected, it’s time to prepare the new fixture for installation. Follow these steps to properly prepare the new fixture:
- Take a close look at your new ceiling light fixture and familiarize yourself with its components. Read the manufacturer’s instructions to understand any specific requirements or recommendations.
- Ensure that all necessary mounting hardware is included with the fixture. This may include screws, brackets, and mounting plates.
- If the fixture has a glass or decorative cover, carefully remove it to make it easier to handle and install.
- Inspect the wires on the new fixture. They should be in good condition, with no frayed ends or damage. If you notice any issues, it’s best to contact the manufacturer for guidance or consider replacing the fixture.
- Check the wire length on the new fixture. If the wires are too long, use wire cutters or scissors to trim them to an appropriate length, leaving some excess for easy wiring connection.
- If your fixture requires additional assembly or attachment of components, follow the manufacturer’s instructions to complete these steps before proceeding.
- If necessary, install any included mounting brackets or plates onto the fixture. These components will assist in securely attaching the fixture to the ceiling.
It’s essential to carefully handle the new fixture and avoid putting excessive pressure on any delicate or fragile components. Take your time to ensure that everything is prepared properly before moving on to the next step.
Now that the new fixture is properly prepared, you’re ready to move on to the next step: connecting the wires.
When hooking up a ceiling light, always turn off the power at the circuit breaker before starting. Use a voltage tester to ensure the power is off before touching any wires.
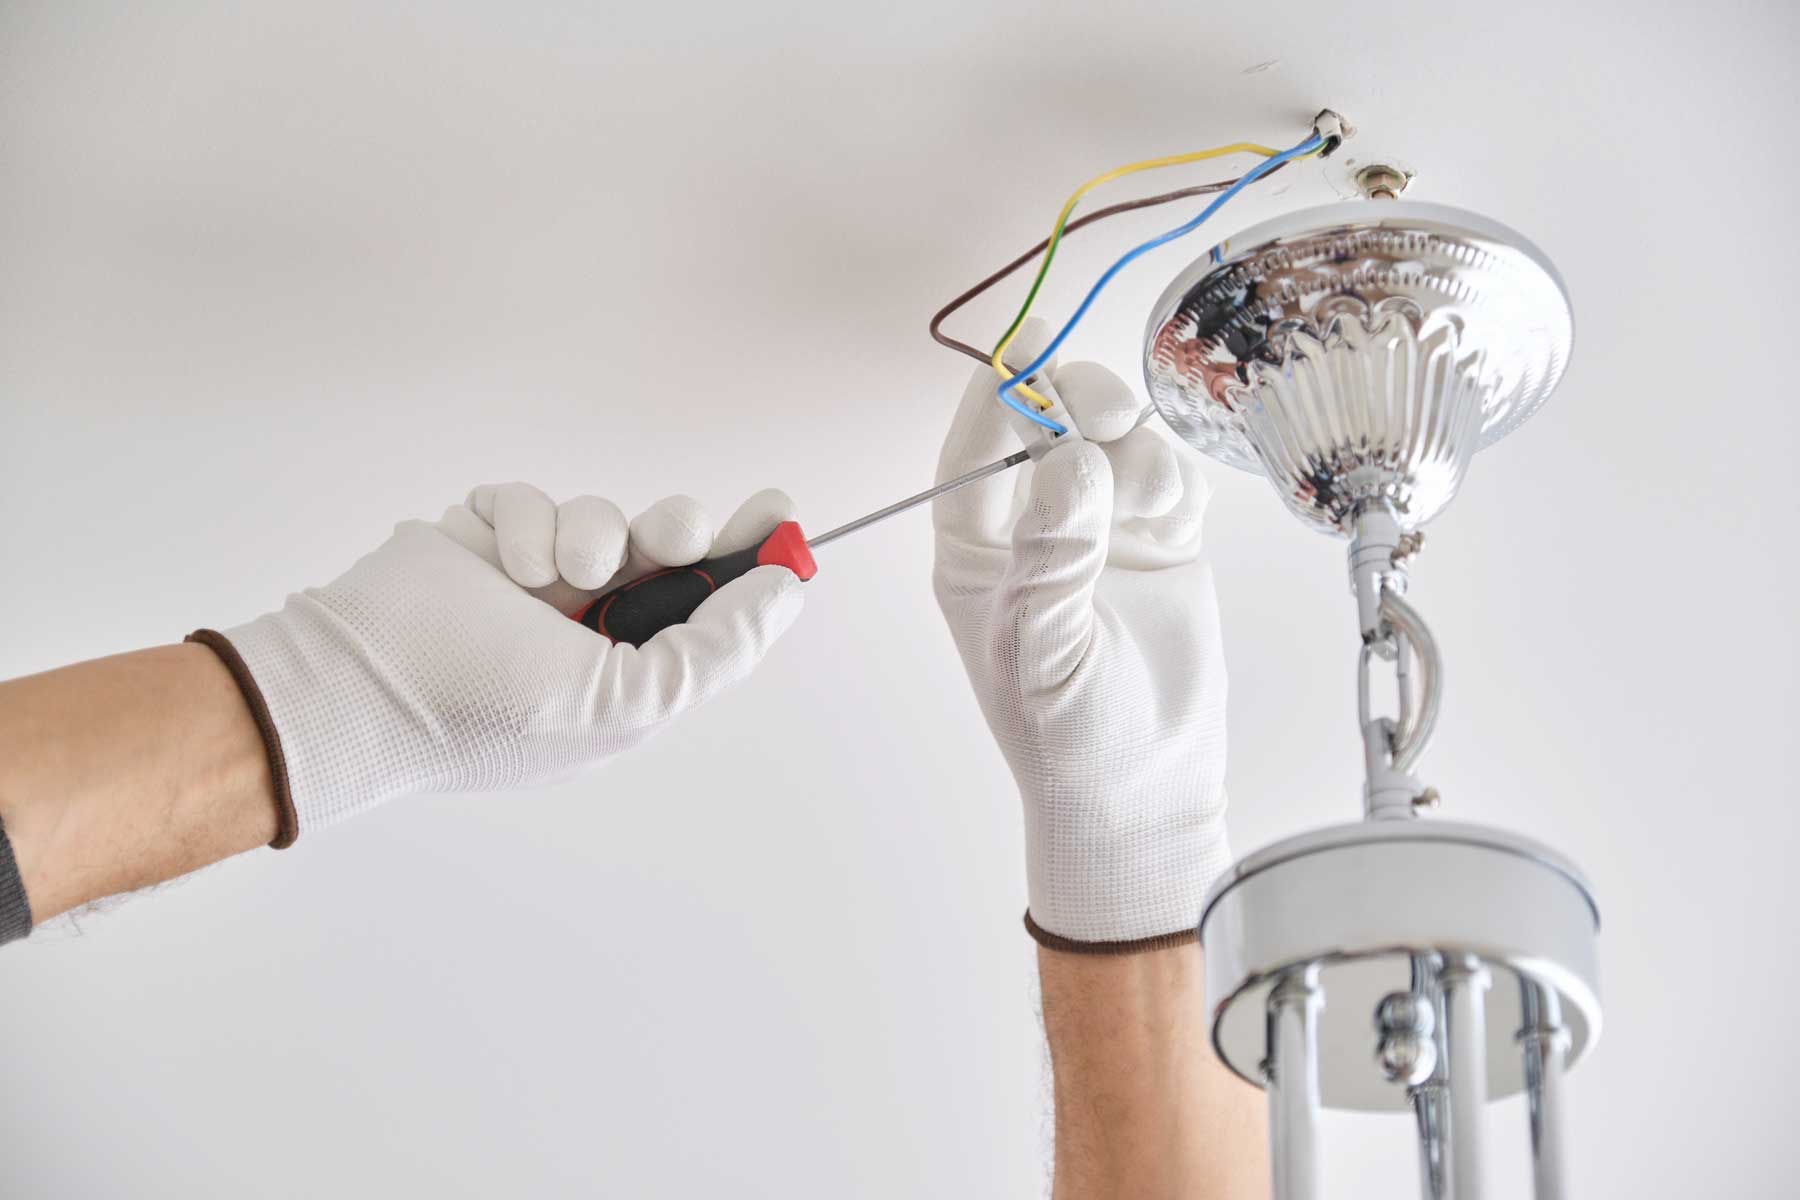
Step 6: Connect the Wires
Now that the new fixture is ready, it’s time to connect the wires. Follow these steps to ensure a secure and proper connection:
- Hold the new fixture near the wiring box, aligning the mounting holes or brackets with the holes or screws on the wiring box.
- With the assistance of an assistant or by using a support bracket, carefully hold the fixture in place while you work on the wiring.
- Take the black (hot) wire from the wiring box and the black wire from the new fixture. Twist the ends of the wires together in a clockwise direction.
- Slide a wire connector or wire nut over the twisted ends of the wires and twist it clockwise until it is secure. Give it a gentle tug to ensure a tight connection.
- Repeat the same process for the white (neutral) wires, connecting the wire from the wiring box with the white wire from the new fixture.
- If your fixture has a green or copper ground wire, attach it to the grounding screw or green grounding wire in the wiring box. If there is no ground wire present, follow the manufacturer’s instructions for grounding the fixture.
- If your fixture has a separate blue wire for a fan’s light kit, connect it to the corresponding wire in the wiring box if applicable. This wire is often labeled and color-coded for easy identification.
It’s important to ensure that the wire connections are tight and secure. Give each wire a gentle tug to confirm that they are stable and won’t come loose.
Double-check your connections to ensure that the black wire is connected to the black wire, the white wire is connected to the white wire, and the ground wire is connected correctly. Incorrect wiring could result in a malfunctioning or unsafe fixture.
With the wires properly connected, you’re ready to move on to the next step: attaching the new fixture to the ceiling.
Step 7: Attach the New Fixture
With the wires securely connected, it’s time to attach the new fixture to the ceiling. Follow these steps to properly install and secure the fixture:
- Align the mounting holes or brackets on the new fixture with the corresponding holes or screws on the wiring box. Ensure that the fixture is aligned level and centered in the desired location.
- With the fixture in position, insert the screws or attach the mounting brackets through the holes on the fixture and into the wiring box.
- Using a screwdriver, tighten the screws or secure the mounting brackets to firmly hold the fixture in place. Be careful not to over-tighten, as it may damage the fixture or strip the threads.
- If your fixture has a decorative cover or glass shade, reattach it carefully following the manufacturer’s instructions. Make sure it is securely in place.
As you attach the fixture, ensure that it is stable and flush against the ceiling. Any gaps or unevenness may indicate that the fixture is not properly installed.
Once the fixture is securely attached, give it a gentle tug to test its stability. It should remain firmly in place without any wobbling or movement.
Now that the new fixture is properly attached, you’re ready to move on to the next step: testing the connection.
Step 8: Test the Connection
After installing the new fixture, it’s important to test the connection to ensure everything is functioning properly. Follow these steps to test the connection:
- Turn on the power to the circuit by flipping the corresponding breaker in your electrical panel.
- Return to the room and flip the light switch on. The new ceiling light should illuminate if the connection is successful.
- If the light does not turn on, turn off the power and double-check the wiring connections. Ensure that the black wire is properly connected to the black wire, the white wire to the white wire, and the ground wire to the grounding screw or green grounding wire.
- If all connections are correct, turn the power back on and test the light again. If it still doesn’t work, there may be an issue with the fixture itself or the electrical wiring. In this case, it’s best to consult a licensed electrician for further assistance.
While testing the connection, pay attention to any flickering, dimming, or irregular behavior of the light. These can be signs of an underlying issue that needs to be addressed.
Additionally, check the functionality of any additional features of the fixture, such as dimmable lights or fan controls. Ensure that they operate as intended and adjust any settings as necessary.
By testing the connection, you can verify that the installation was successful and that your new ceiling light is working correctly.
Now that you have tested the connection, you’re ready to move on to the next step: securing the new fixture.
Step 9: Secure the New Fixture
With the new fixture successfully tested and functioning, it’s time to secure it in its final position. Follow these steps to properly secure the new fixture:
- Ensure that all the wiring is tucked into the wiring box neatly and out of the way.
- Inspect the fixture to ensure that it is level and centered in the desired location. Make any necessary adjustments before proceeding.
- Tighten any remaining screws or mounting brackets to securely fasten the fixture to the ceiling. Check for any gaps or unevenness and adjust as needed.
- If your fixture has additional decorative elements or trim, make sure they are securely attached and aligned properly.
- Gently give the fixture a final tug to confirm its stability. It should be secure and not move or wobble.
Securing the fixture properly is important for both aesthetics and safety. A securely mounted fixture will remain in place and minimize the risk of accidents or damage.
Take a step back and visually inspect the new fixture to ensure that it is positioned correctly and aligned with the room’s decor. Make any adjustments as necessary before proceeding.
Once the new fixture is securely fastened and in its final position, you’re ready to move on to the final step: turning on the power.
Step 10: Turn On the Power
After securing the new fixture and ensuring all connections are in place, it’s time to turn on the power and bring your newly installed ceiling light to life. Follow these steps to safely turn on the power:
- Double-check that all screws, mounting brackets, and decorative elements on the fixture are properly attached and tightened.
- Return to your electrical panel and locate the circuit breaker for the area where you’re working.
- Flip the circuit breaker back to the “on” position to restore power to the circuit.
- Wait a few moments to allow the electrical system to stabilize.
- Return to the room and test the ceiling light by flipping the light switch on.
- If all goes well, the light should turn on and illuminate the space.
- Take a moment to observe the light and ensure it is functioning as expected. Check for any flickering, dimming, or irregular behavior.
If the light doesn’t turn on or if there are any issues with the connection, turn off the power again and review your wiring connections. Ensure that all the wires are properly connected, securely fastened, and insulated with wire nuts.
If you encounter any problems or are unsure about the functionality of your new fixture, it’s always best to consult a licensed electrician for assistance and guidance.
With the power successfully turned on and the new ceiling light shining brightly, you’ve completed the installation process!
Congratulations on successfully hooking up your ceiling light. Enjoy your newly illuminated space and the enhanced ambiance it provides.
Remember to exercise caution when working with electricity and always prioritize your safety. If at any point you feel uncomfortable or unsure about any aspect of the installation process, it’s best to seek professional help.
Thank you for following this step-by-step guide on how to hook up a ceiling light. We hope it was helpful and that your new fixture brings joy and brightness to your home.
Conclusion
Congratulations! You’ve reached the end of our comprehensive guide on how to hook up a ceiling light. By following the step-by-step instructions outlined in this article, you have successfully installed your new ceiling light fixture. Now, you can enjoy the enhanced lighting and improved aesthetic appeal it brings to your space.
Throughout the process, we provided you with detailed instructions on turning off the power, removing the old fixture, locating the wiring box, disconnecting the wires, preparing the new fixture, connecting the wires, attaching the new fixture, testing the connection, securing the fixture, and finally, turning on the power. Following these steps, coupled with safety precautions, ensures that your ceiling light installation is accomplished safely and effectively.
Remember, it’s essential to prioritize safety when working with electricity. If you feel uncertain or uncomfortable at any point during the installation process, it is always best to consult a licensed electrician.
We hope that this guide has been informative and helpful in your ceiling light installation journey. However, it’s important to note that specific fixtures may have variations in their installation procedures. Always refer to the manufacturer’s instructions for your specific model and consult professional assistance if necessary.
Enjoy the newfound illumination and ambiance that your new ceiling light provides. Whether you’re lighting up your living room, kitchen, or bedroom, a well-installed and properly functioning fixture can enhance the overall aesthetic and functionality of your space.
Thank you for taking the time to follow along with our guide. We wish you success and satisfaction with your newly installed ceiling light!
Frequently Asked Questions about How To Hook Up A Ceiling Light
Was this page helpful?
At Storables.com, we guarantee accurate and reliable information. Our content, validated by Expert Board Contributors, is crafted following stringent Editorial Policies. We're committed to providing you with well-researched, expert-backed insights for all your informational needs.


0 thoughts on “How To Hook Up A Ceiling Light”