
Articles
How To Install Driveway Lights
Modified: October 19, 2024
Learn how to easily install driveway lights with our informative articles. Enhance the curb appeal and safety of your property with our step-by-step guides and expert tips.
(Many of the links in this article redirect to a specific reviewed product. Your purchase of these products through affiliate links helps to generate commission for Storables.com, at no extra cost. Learn more)
Introduction
Driveway lights not only provide aesthetic appeal to your home but also improve the safety and visibility of your driveway at night. Installing driveway lights may seem like a daunting task, but with the right materials and proper planning, it can be a straightforward and rewarding project.
In this guide, we will walk you through the step-by-step process of installing driveway lights. From gathering the necessary materials to testing and securing the fixtures, we’ll cover everything you need to know to successfully complete this project.
Before we dive into the installation process, it’s important to note that electrical work should only be done by qualified individuals. If you are not experienced with electrical work, it is highly recommended to hire a licensed electrician to ensure the safety and proper installation of your driveway lights.
Now, let’s get started on transforming your driveway into a well-lit and welcoming space with driveway lights!
Key Takeaways:
- Transform your driveway into a safe and welcoming space by installing driveway lights. Prioritize safety, plan the layout, and secure the fixtures for a successful and visually appealing installation.
- Properly prepare the ground, connect the wiring, and test the lights to ensure optimal functionality. With careful planning and attention to detail, you can enjoy a well-lit and visually appealing driveway for years to come.
Read more: How To Install A Driveway Gate
Step 1: Gather Materials
To begin the installation process, it’s important to gather all the necessary materials. Here’s a list of items you’ll need:
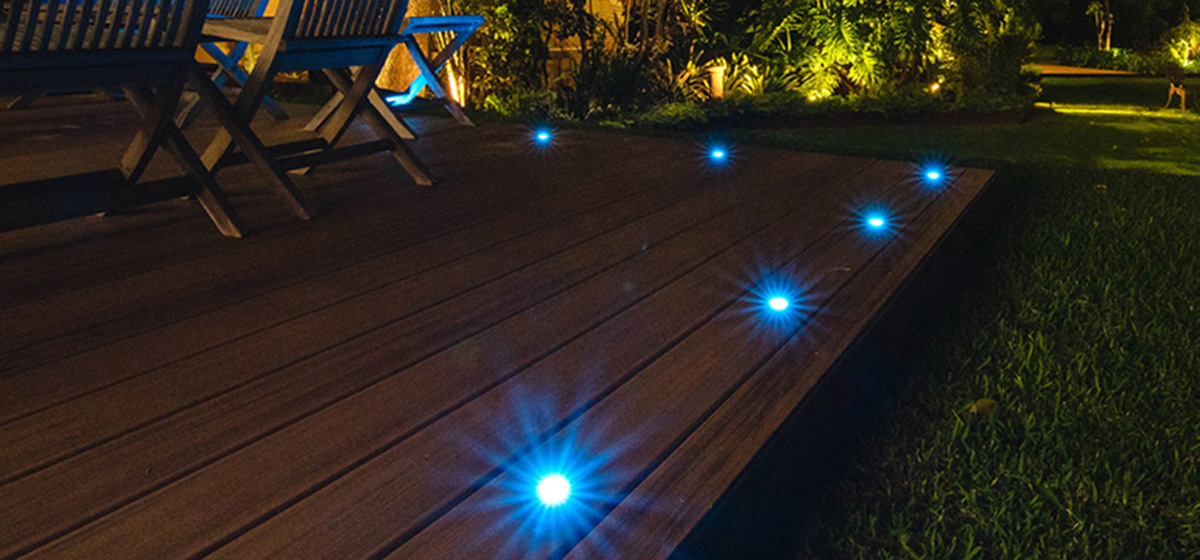
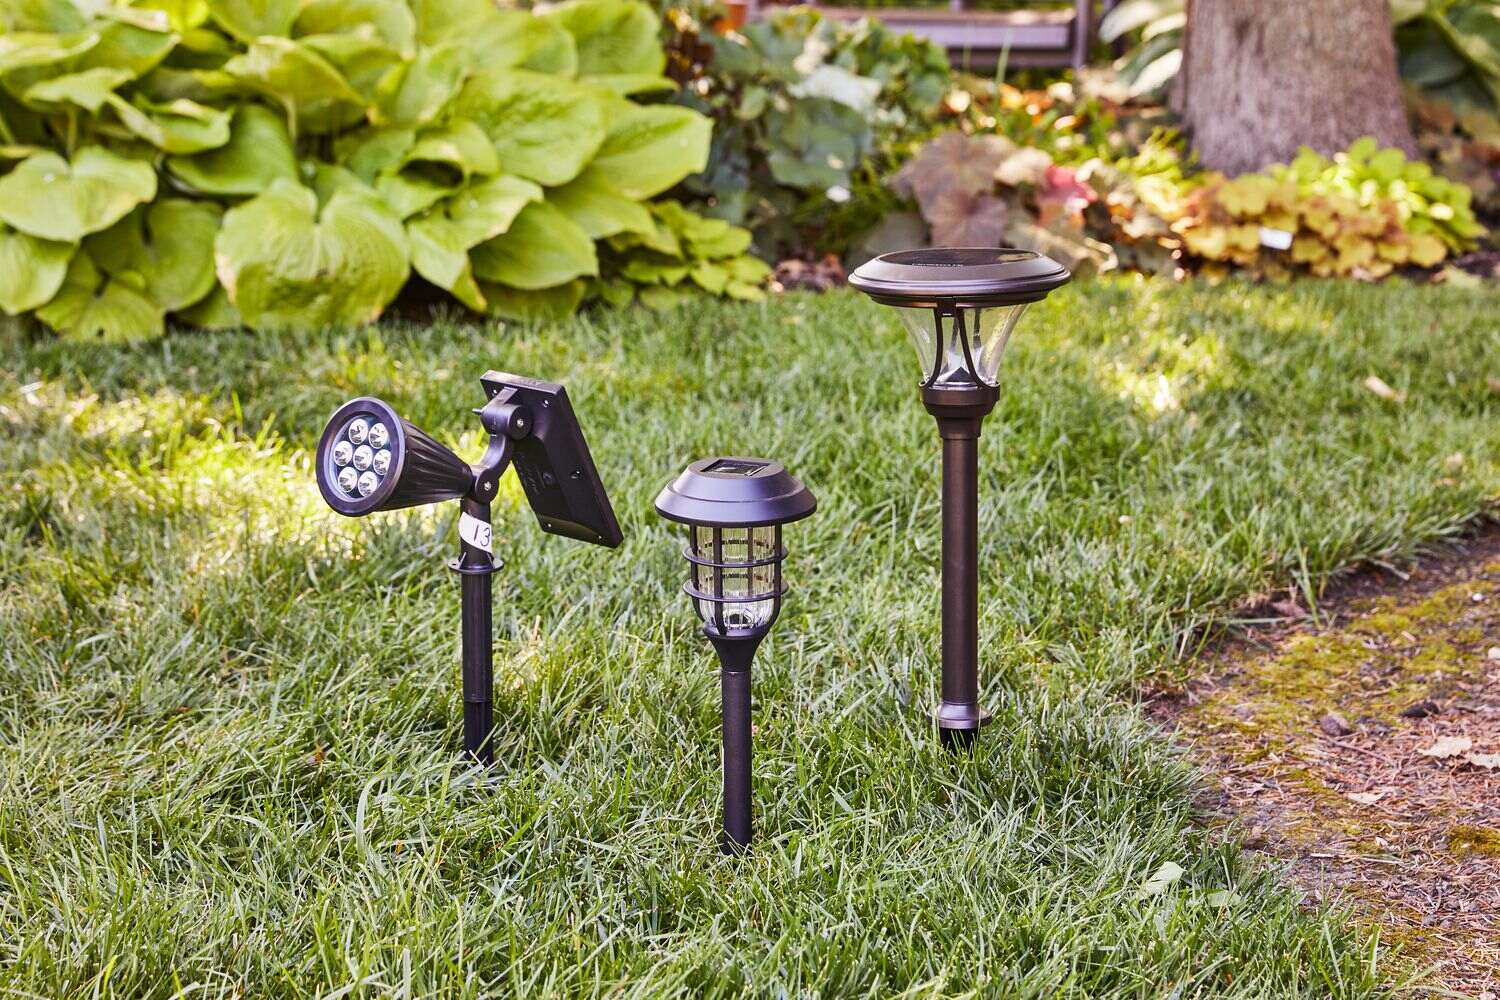
- Driveway lights: Choose lights that are suitable for outdoor use and can withstand different weather conditions. LED lights are energy-efficient and long-lasting.
- Transformer: A transformer is required to convert the electrical voltage from your home to low-voltage for the driveway lights. Make sure to choose a transformer that matches the total wattage of your lights.
- Burial cable: This cable will be used to connect the lights to the transformer. Opt for a heavy-duty and weather-resistant cable that is rated for direct burial.
- Wire connectors: These connectors will be used to secure the connections between the wires and the lights. Choose connectors that are suitable for outdoor use and compatible with the gauge of your wire.
- Wire strippers: These tools are essential for removing the insulation from the wires, allowing for proper connections.
- Tape measure: Use a tape measure to measure the distance between the lights and plan the layout accordingly.
- Shovel: A shovel will be needed to dig trenches for burying the cable and preparing the ground for installation.
- Safety equipment: It’s crucial to prioritize safety during the installation process. Be sure to wear gloves, safety glasses, and sturdy footwear.
- Optional: Additional tools such as a drill, screws, and a level may be required depending on the type of fixtures you choose.
Before purchasing the materials, it’s recommended to create a detailed plan and layout of your driveway, including the desired placement of the lights and the length of cable required. This will help you determine the quantity of materials you’ll need and ensure a smooth installation process.
With all the necessary materials in hand, you’re now ready to move on to the next step: planning the layout of your driveway lights.
Step 2: Plan the Layout
Before installing your driveway lights, it’s important to carefully plan the layout to ensure optimal lighting and aesthetic appeal. Here’s how to plan the layout:
- Measure your driveway: Use a tape measure to determine the length and width of your driveway. This will help you determine the number of lights needed and the spacing between them.
- Light placement: Consider where you want to place the lights along your driveway. Common options include placing lights along the edges or at regular intervals. Take into account any existing landscaping features or obstacles that may affect the placement of your lights.
- Spacing: Determine the spacing between each light. This will depend on the brightness of your lights and the overall desired level of illumination. As a general guideline, spacing them 8 to 10 feet apart typically provides adequate lighting.
- Mark the locations: Once you have decided on the placement and spacing, use stakes or spray paint to mark the locations where the lights will be installed. This will serve as a visual guide during the installation process.
It’s important to consider both functionality and aesthetics when planning the layout. The placement of your lights should not only illuminate your driveway but also enhance the overall look and feel of your outdoor space.
Take some time to visualize the end result and make any adjustments to your layout as needed. This planning stage will save you time and effort during the installation process and ensure that you achieve the desired outcome.
With your layout planned and marked, you’re ready to move on to the next step: preparing the ground for installation.
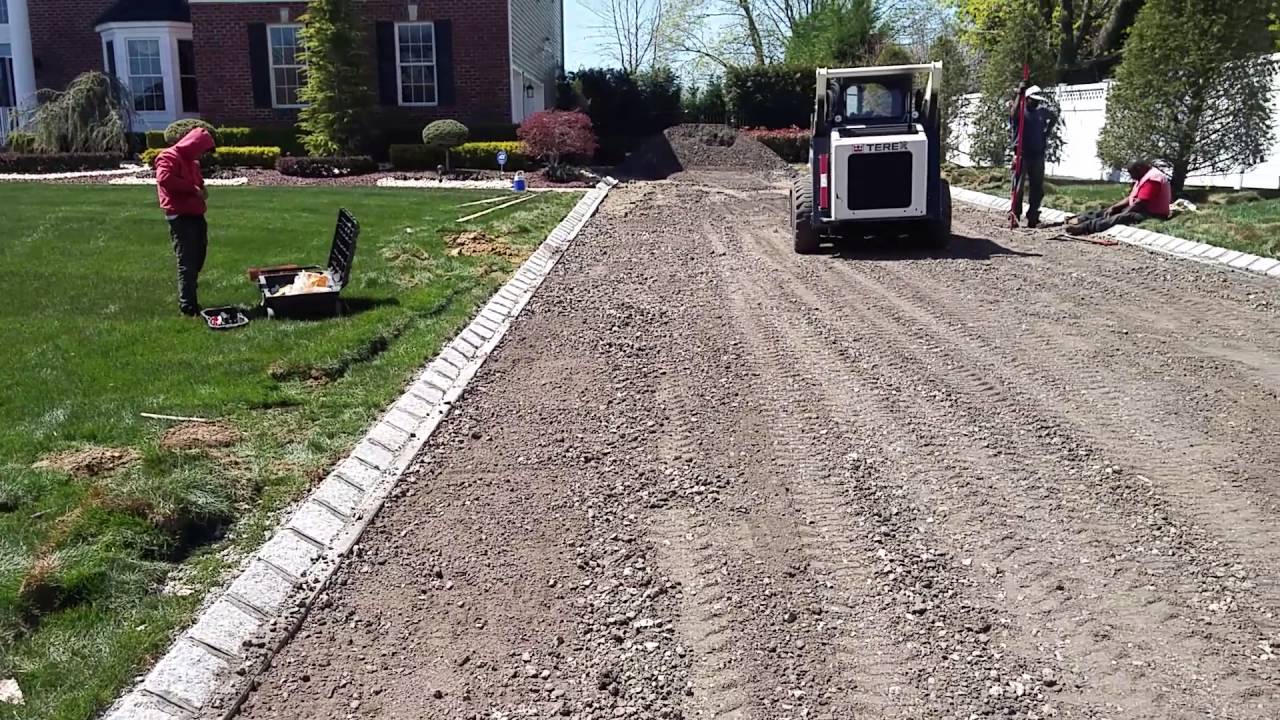
Step 3: Prepare the Ground
Preparing the ground is a crucial step in ensuring a stable and durable installation of your driveway lights. Follow these steps to properly prepare the ground:
- Clear the area: Start by clearing the area where the lights will be installed. Remove any debris, rocks, or vegetation that may obstruct the installation process.
- Dig trenches: Use a shovel to dig trenches along the marked locations where the lights will be placed. The depth of the trenches should be sufficient to bury the cable and provide a stable foundation for the lights.
- Level the ground: Use a level or wooden plank to ensure that the bottom of the trenches is level. This will help ensure that the lights sit evenly and securely once installed.
- Install conduit (optional): If desired, you can install conduit in the trenches to provide additional protection for the cable. This is especially useful in areas with heavy foot traffic or where the ground is prone to shifting or erosion.
- Backfill the trenches: Once the ground is level and the conduit is in place (if applicable), carefully backfill the trenches with soil, ensuring that the cable is properly positioned in the center.
- Tamp the soil: Use a tamper or the back of a shovel to compact the soil in the trenches. This will help provide stability and prevent the cable from shifting over time.
It’s important to note that when burying the cable, you should adhere to local building codes and regulations. Consult with a licensed electrician or your local authorities to ensure compliance and safety.
By properly preparing the ground, you’re setting the foundation for a secure and long-lasting installation. With the ground prepared, it’s time to move on to the next step: installing the wiring for your driveway lights.
Step 4: Install Wiring
Installing the wiring is a crucial step in connecting your driveway lights to the transformer. Follow these steps to properly install the wiring:
- Measure and cut the cable: Measure the distance from the first light fixture to the transformer location and add some extra length for flexibility. Cut the cable to the appropriate length using wire cutters or a utility knife.
- Bury the cable: Place the cable inside the previously dug trenches, ensuring that it is adequately positioned in the center. If you’re using conduit, thread the cable through the conduit before burying it.
- Maintain proper spacing: As you bury the cable, ensure that the spacing between each light fixture is consistent with your planned layout. This will help maintain a uniform and visually appealing result.
- Connect the cable to the transformer: Once the cable is in place, connect one end of the cable to the transformer. Strip the outer insulation of the cable using wire strippers, exposing the individual wires. Connect the corresponding wires (usually black to black and white to white) and securely fasten them with wire connectors.
- Secure the cable: Use cable clips or stakes to secure the cable along the trenches and prevent it from shifting or becoming exposed over time. Ensure that the cable is not stretched too tightly and has some flexibility to accommodate any movement or changes in the ground.
It is essential to ensure that all electrical connections are properly insulated and secured to prevent any potential hazards. If you’re unfamiliar with electrical work, it’s highly recommended to consult a licensed electrician to assist with the wiring installation. They can ensure the proper connection and comply with local electrical codes and regulations.
With the wiring installed, you’re now ready to move on to the next step: installing the fixture mounts for your driveway lights.
Read more: How To Install Driveway Pavers
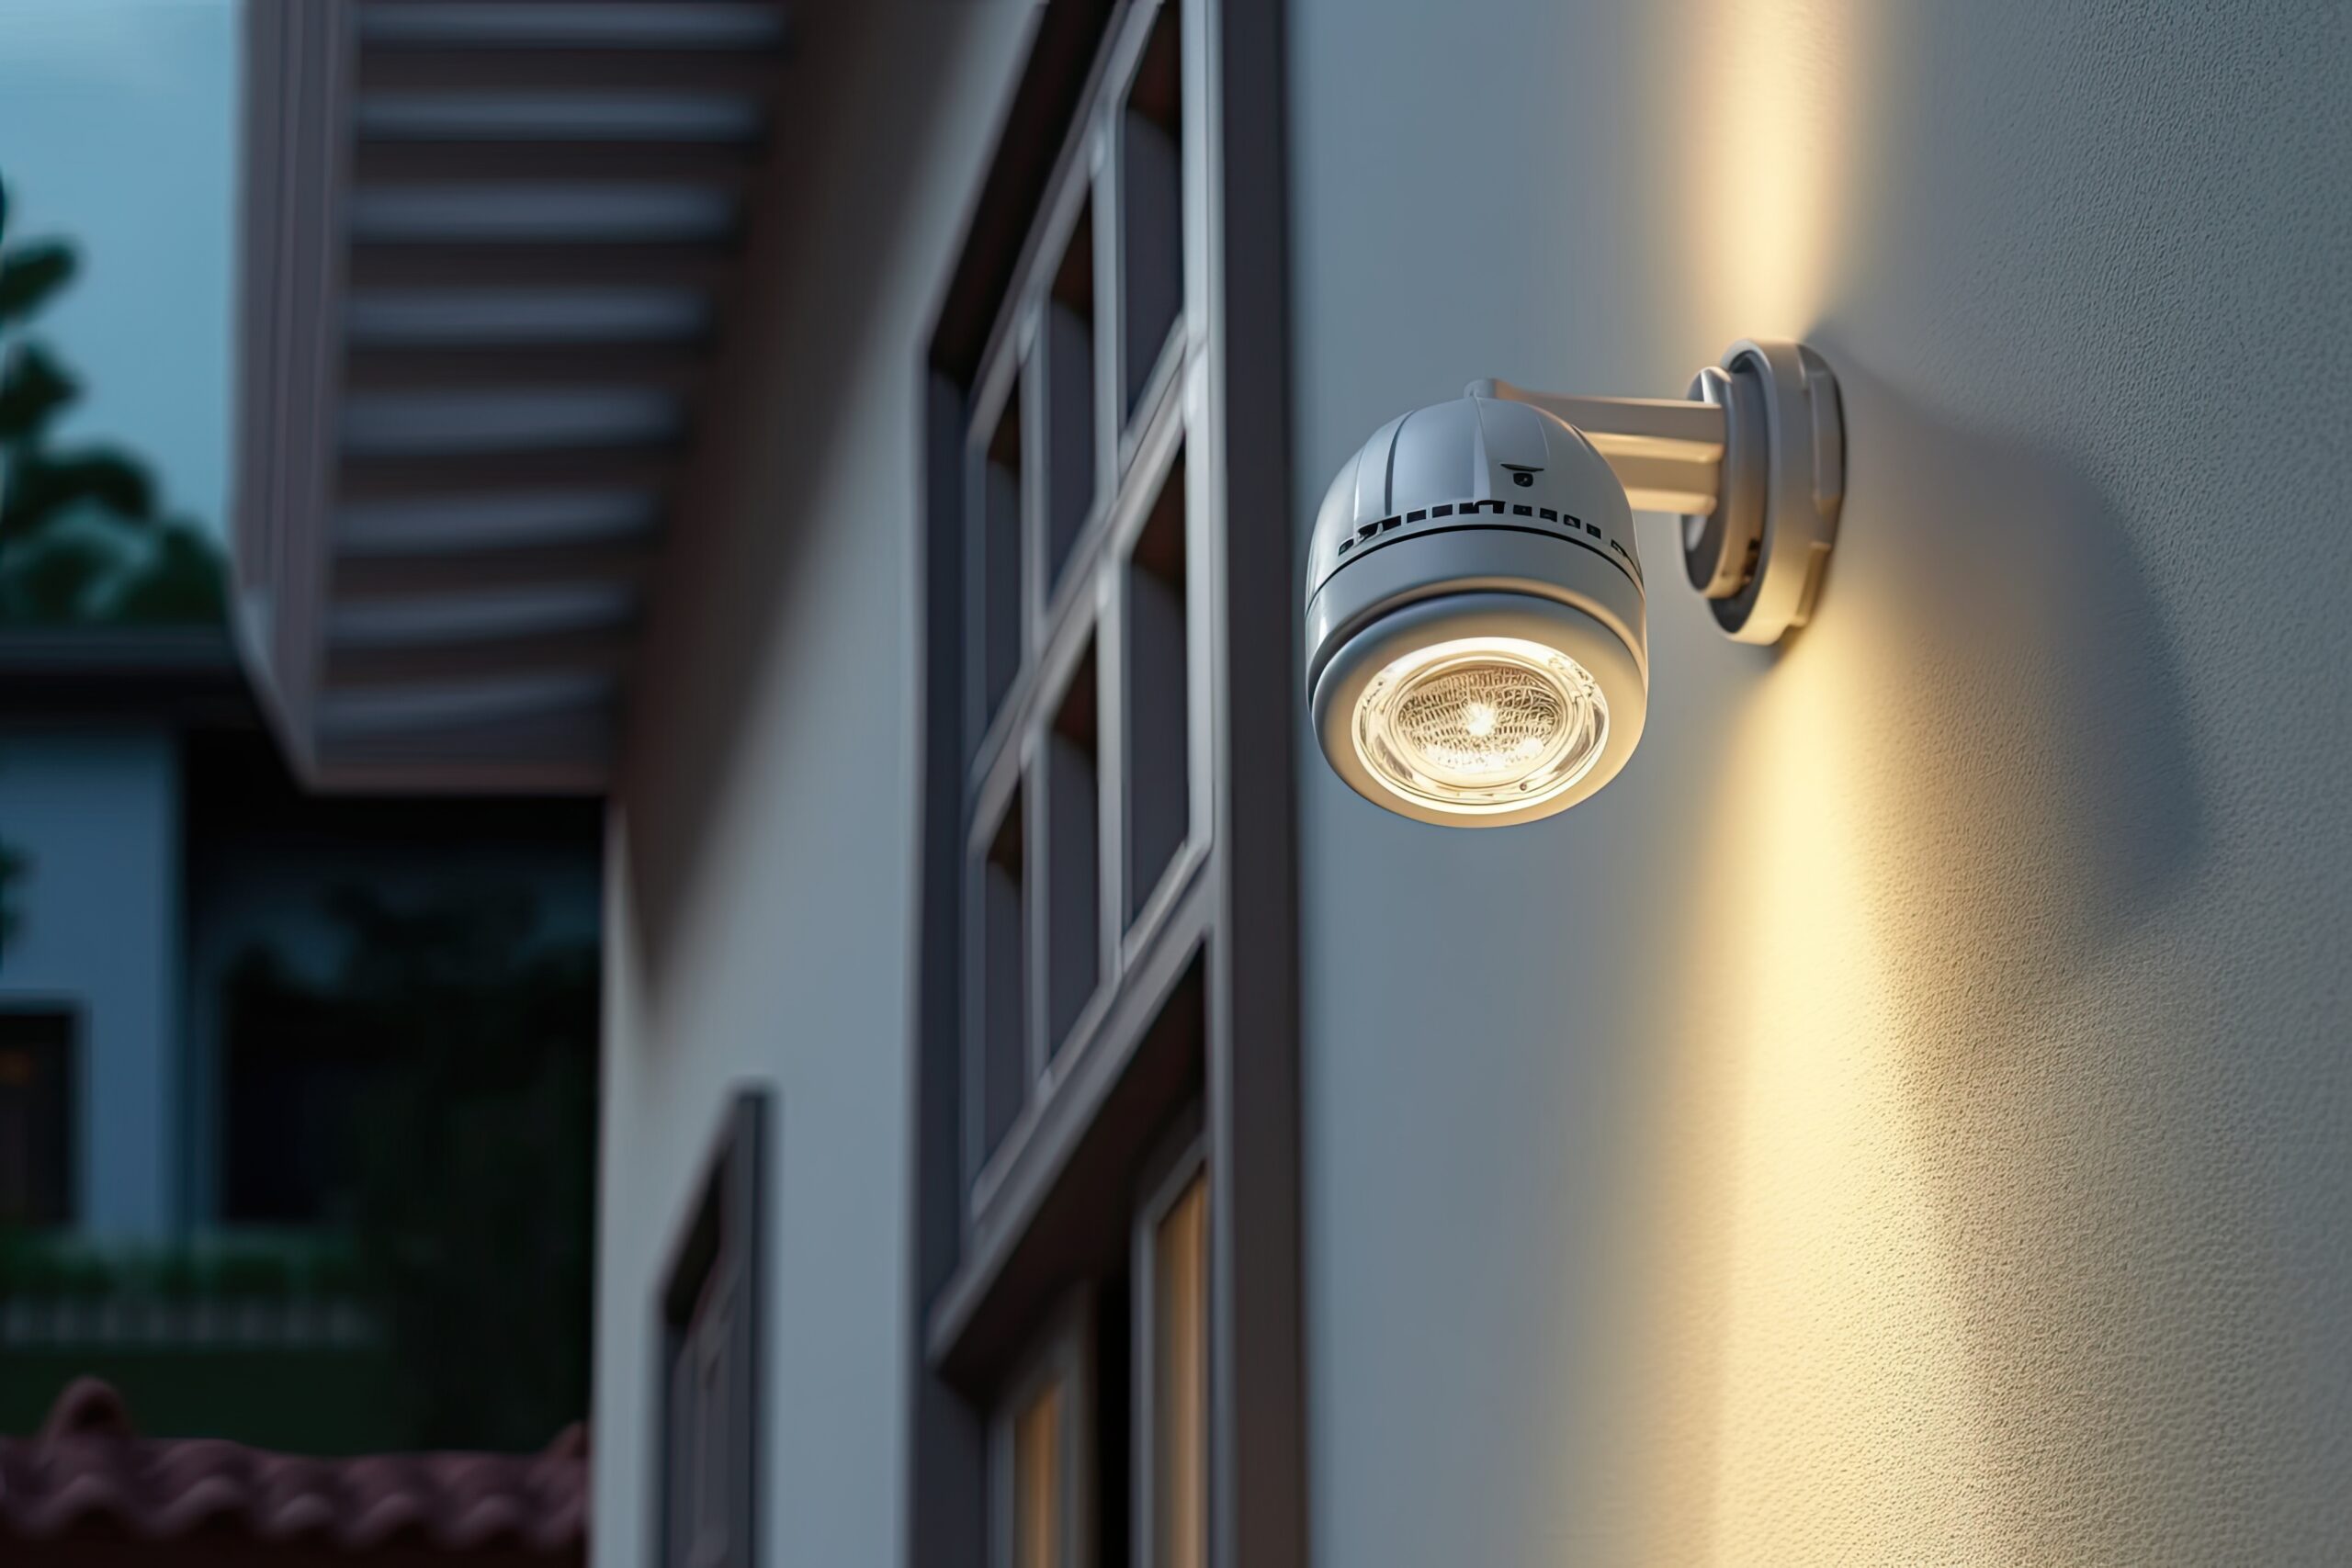
Step 5: Install the Fixture Mounts
Installing the fixture mounts is the next step in the process of installing your driveway lights. Follow these steps to properly install the mounts:
- Choose the mounting method: Depending on the type of driveway lights you have, you may have various options for mounting them. Common methods include stake mounts, surface mounts, and flush mounts. Choose the mounting method that is appropriate for your lights and aligns with your desired aesthetic.
- Position the mounts: Place the fixture mounts at the marked locations along your driveway. Ensure that the mounts are aligned properly and positioned securely in the ground.
- Secure the mounts: Use a hammer or mallet to drive the mounts into the ground. Make sure they are inserted to the desired depth, offering stability and support for the light fixtures.
- Check alignment: Use a level to ensure that the mounts are level both horizontally and vertically. Proper alignment is essential for a polished and professional-looking installation.
It’s important to consider the spacing and positioning of the fixture mounts to accurately achieve your desired lighting effect. Take into account the beam angle and spread of the lights to ensure adequate coverage and illumination along your driveway.
If your lights have adjustable heads or swivel mounts, take the time to adjust them accordingly for the best lighting angle and coverage.
By properly installing the fixture mounts, you are setting the stage for installing the lights themselves. With the mounts secured and aligned, you’re ready to move on to the next step: connecting the wiring to the fixtures.
Before installing driveway lights, make sure to carefully plan the layout and placement to ensure even lighting and maximum visibility. Consider using solar-powered lights for easy installation and energy efficiency.
Step 6: Connect the Wiring to the Fixtures
Now that the fixture mounts are in place, it’s time to connect the wiring to the light fixtures. Follow these steps to ensure a proper connection:
- Prepare the wiring: Strip the insulation from the ends of the wiring using wire strippers, exposing the individual wires.
- Connect the wires: Match the corresponding wires from the fixture to the wiring. Typically, black wires are connected to black wires, and white wires are connected to white wires. Use wire connectors to secure the connections, ensuring they are tight and well-insulated.
- Additional connections: Some light fixtures may require additional connections, such as grounding wires or color-coded wires for specific functions. Refer to the manufacturer’s instructions for any specific guidelines on additional connections.
- Secure the connections: Once the wiring is properly connected, use electrical tape or wire connectors to secure and insulate the connections. This helps prevent any loose or exposed wiring that could pose a safety hazard.
Before proceeding with the installation, it’s essential to test the connections and ensure that the light fixtures are functioning correctly. Turn on the transformer and verify that each light fixture is receiving power and illuminating as expected.
If any issues or malfunctions are detected, double-check the wiring connections and troubleshoot any potential problems. Seek assistance from a licensed electrician if needed.
With the wiring successfully connected to the light fixtures, you’re ready to move on to the next step: testing the lights.
Step 7: Test the Lights
Once the wiring is connected, it’s important to test the lights before finalizing the installation. Follow these steps to properly test the lights:
- Turn on the transformer: Switch on the transformer to provide power to the lights.
- Check for illumination: Walk along your driveway and verify that each light fixture is illuminating as intended. Ensure that the brightness and beam angle are satisfactory for your lighting needs.
- Adjust as needed: If necessary, adjust the positioning or angle of the light fixtures to achieve the desired lighting effect. This may involve swiveling the fixtures or tightening any adjustable components.
- Inspect for any issues: While checking the lights, inspect for any wiring issues, loose connections, or abnormal behavior. Ensure that all connections are secure and that there are no exposed wires or potential safety hazards.
If you encounter any issues or discrepancies during the testing phase, it’s important to address them before proceeding. Double-check the wiring connections, troubleshoot any potential problems, and seek professional assistance if needed.
Once you have confirmed that the lights are functioning properly and providing the desired illumination, you can proceed to the next step: securing the fixtures in place.
Remember to exercise caution and prioritize safety when testing the lights. If you have any doubts or concerns, consult a licensed electrician or professional for guidance.
Step 8: Secure the Fixtures
With the lights tested and functioning properly, the next step is to secure the fixtures in place. Follow these steps to ensure that the lights are securely installed:
- Tighten the mounts: Check that the fixture mounts are still secure in the ground. If necessary, use a mallet or hammer to ensure they are firmly in place.
- Position the fixtures: Adjust the position of each light fixture within the mounts to ensure proper alignment and coverage along your driveway. Make sure the light is directed in the desired direction and angle.
- Secure the fixtures: Once the fixtures are in the desired position, use the provided screws or fasteners to secure them to the mounts. Ensure that the fixtures are tightly attached and stable.
- Inspect the installation: Take a moment to inspect the overall installation and ensure that all wires, connections, and components are properly secured and not exposed. Verify that there are no tripping hazards or loose parts.
It’s crucial to review the manufacturer’s instructions for specific guidelines on securing the fixtures and any additional precautions to be taken. This will help ensure the longevity and stability of your lighting installation.
Properly securing the fixtures will minimize the risk of damage from wind, rain, or accidental contact. It will also maintain the desired positioning and ensure that your driveway lights function optimally.
With the fixtures securely in place, you’re one step closer to enjoying your well-lit and visually appealing driveway. The final step is to perform some clean-up and conduct the necessary final checks.
Read more: How To Light Up A Driveway
Step 9: Clean-up and Final Checks
The last step in the installation process of driveway lights is to perform some clean-up and conduct final checks. Follow these steps to ensure a polished and successful installation:
- Remove any debris: Clean up any leftover debris, soil, or materials from the installation process. This includes removing excess soil, packaging, and any tools or equipment used during the installation.
- Inspect the wiring: Conduct a final inspection of the wiring to ensure that it is properly secured, free from damage, and not exposed. Verify that all wire connectors are tightly fastened and insulated.
- Check the functionality: Test the lights once again to confirm that they are still functioning properly following the complete installation process. Walk along your driveway and observe each light to ensure it is providing the intended illumination.
- Adjust as needed: If any lights are not performing as desired or require further adjustments, make the necessary adjustments to their position, angle, or connections.
- Ensure safety measures: Double-check that all safety measures are in place, such as proper grounding, weatherproof connections, and adherence to local electrical codes and regulations.
- Verify transformer settings: If your transformer allows for adjustable settings, ensure that it is configured according to your preferences for brightness and timing, if applicable.
By performing the final clean-up and checks, you are ensuring that your driveway lights are not only aesthetically pleasing but also safe and reliable for long-term use.
Remember to periodically inspect and maintain your driveway lights to keep them in optimal condition. This includes cleaning the fixtures, checking for any loose or damaged components, and replacing any burnt-out bulbs promptly.
Congratulations! You have successfully installed your driveway lights, and now you can enjoy their benefits for added safety, security, and visual appeal.
If you have any concerns or are unsure about any aspect of the installation, it is always advisable to consult a licensed electrician for assistance. They can provide professional guidance and ensure compliance with electrical standards.
With the final checks complete, you can step back and admire your beautifully illuminated driveway!
Conclusion
Installing driveway lights is a rewarding and effective way to enhance the appearance and safety of your home. By following the step-by-step process outlined in this guide, you can successfully install driveway lights and transform your driveway into a well-lit and welcoming space.
From gathering the necessary materials to testing and securing the fixtures, each step is crucial in ensuring a successful installation. It is important to prioritize safety and consult with a licensed electrician if you are not experienced with electrical work.
Proper planning and layout will help you achieve the desired lighting effect and optimize the functionality of your driveway lights. By spacing the lights appropriately and positioning them strategically, you can create a visually appealing and well-illuminated driveway.
Remember to carefully prepare the ground and bury the wiring for a stable and long-lasting installation. Securely mounting the fixtures and conducting thorough testing will ensure that your lights function as intended and provide the desired illumination.
After completing the installation, it is important to perform a final clean-up and conduct checks to ensure that everything is in order. Regular maintenance and inspections will help keep your driveway lights in optimal condition and ensure their longevity.
By taking the time to install driveway lights properly, you not only add curb appeal to your home but also increase safety and visibility, particularly during the dark hours. Enjoy the benefits of a well-lit and welcoming driveway for years to come.
Remember, if you have any doubts or concerns throughout the installation process, it is always best to seek professional assistance. A licensed electrician can provide guidance and ensure that the installation meets safety standards.
Now that you’re equipped with the knowledge and steps necessary to install driveway lights, it’s time to get started and illuminate your driveway!
Frequently Asked Questions about How To Install Driveway Lights
Was this page helpful?
At Storables.com, we guarantee accurate and reliable information. Our content, validated by Expert Board Contributors, is crafted following stringent Editorial Policies. We're committed to providing you with well-researched, expert-backed insights for all your informational needs.


0 thoughts on “How To Install Driveway Lights”