
Articles
How To Limewash A Brick Fireplace
Modified: August 28, 2024
Learn how to limewash your brick fireplace with this detailed step-by-step guide. Transform your space with this classic and timeless technique. #articles
(Many of the links in this article redirect to a specific reviewed product. Your purchase of these products through affiliate links helps to generate commission for Storables.com, at no extra cost. Learn more)
Introduction
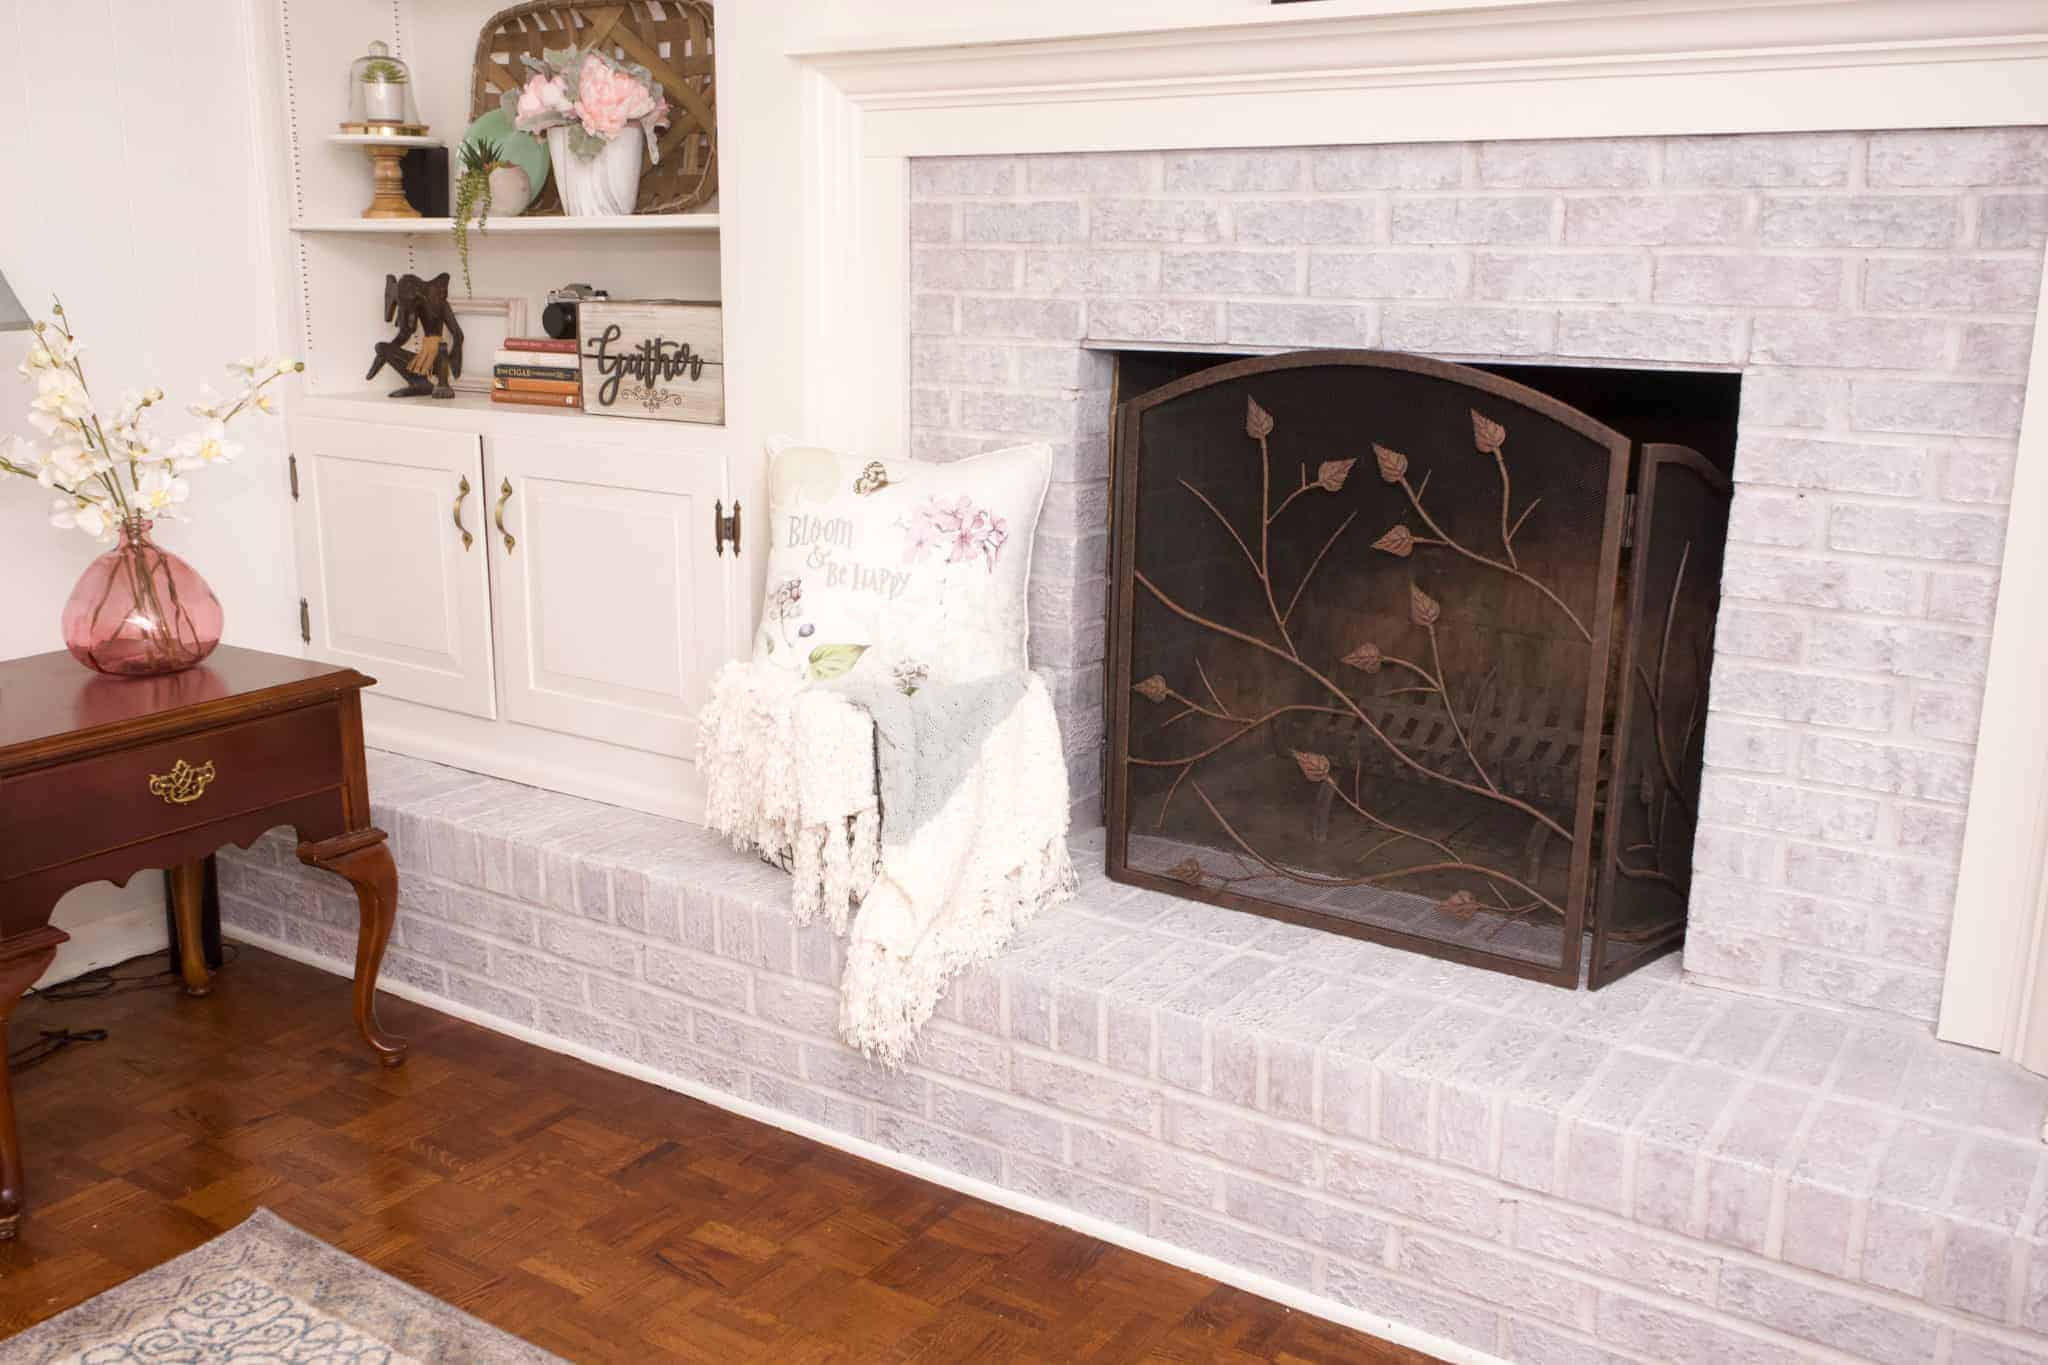
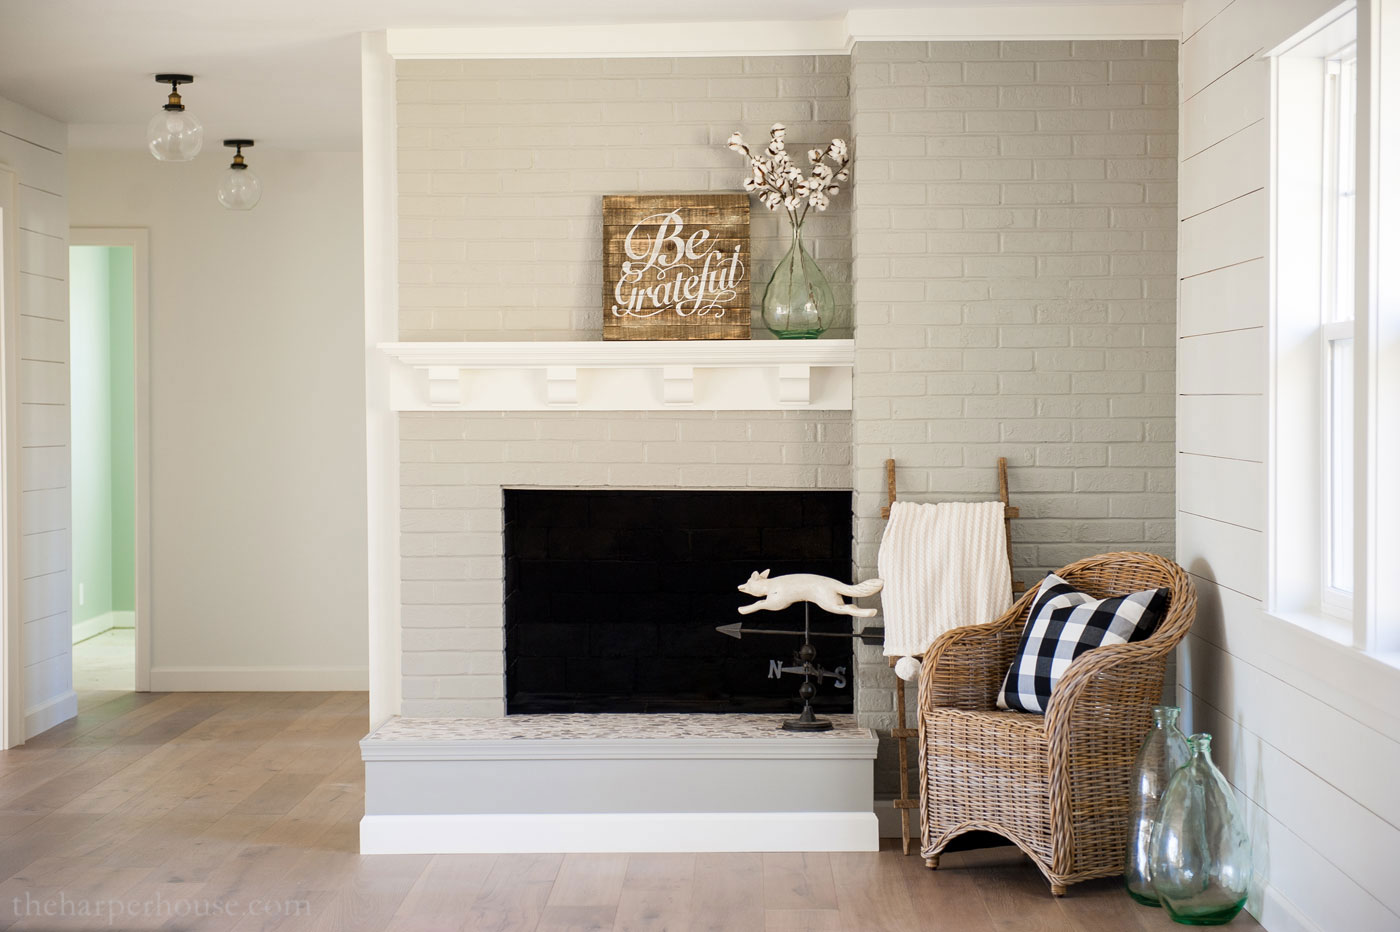
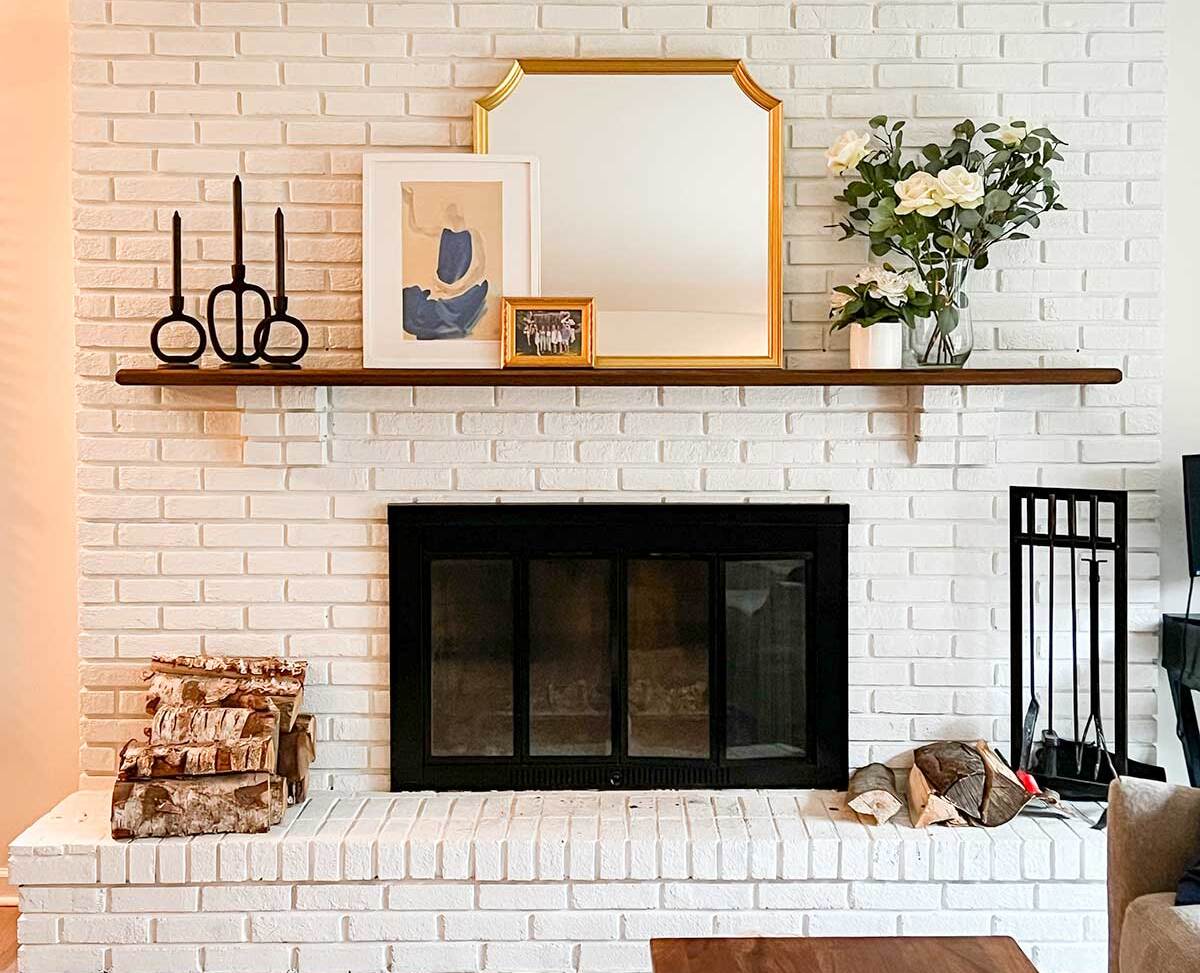
Welcome to our guide on how to limewash a brick fireplace. If you’re looking to give your fireplace a fresh new look, limewashing is a fantastic option that can transform the entire aesthetic of your space. Limewashing involves applying a mixture of lime, water, and pigment to the surface of the bricks, creating a beautiful, natural, and weathered effect.
Limewashing is not only a visually appealing choice but also a practical one. Unlike paint, which can create a plastic-like coating on the surface, limewash allows the brick to breathe and retains its natural texture and appearance. Additionally, limewashing is a relatively simple process and can be done as a DIY project with a few essential materials and some basic steps.
In this article, we will guide you through every step of the limewashing process, from preparing your workspace to applying the limewash and finishing touches. By the end, you’ll have all the knowledge you need to give your brick fireplace a stunning makeover.
Let’s begin by gathering the materials you’ll need for this project.
Key Takeaways:
- Limewashing your brick fireplace not only enhances its visual appeal but also allows the bricks to breathe, maintaining their natural texture and appearance. Follow the steps to achieve a beautiful, weathered finish.
- Whether you prefer a translucent look with a single coat of limewash or a more solid finish with multiple coats, the end result will transform the aesthetic of your space. Enjoy the timeless and elegant beauty of the limewash finish.
Read more: How To Limewash Brick
Materials Needed
Before you begin limewashing your brick fireplace, it’s important to gather all the necessary materials. Here’s a list of what you’ll need:
- Limewash: Purchase a high-quality limewash product that is specifically designed for masonry surfaces. You can find limewash in various shades and finishes, so choose the one that best suits your desired look.
- Brick cleaner: Use a brick cleaner or a mild detergent to clean the surface of the bricks before applying the limewash. This step is crucial for removing any dirt, grime, or loose debris that may hinder the adhesion of the limewash.
- Protective gear: It’s essential to protect yourself during the limewashing process. Wear gloves, safety goggles, and a face mask to prevent any contact with the limewash or cleaning solution.
- Drop cloths or plastic sheeting: To protect the surrounding area from drips and spills, lay down drop cloths or plastic sheeting to create a barrier.
- Paintbrushes or sprayer: Depending on your preference, choose either a paintbrush or a sprayer to apply the limewash. Paintbrushes work well for smaller areas and allow for more control, while sprayers are ideal for larger surfaces and can provide a more even application.
- Mixing container and stirring stick: Use a mixing container, such as a bucket or a paint tray, to prepare the limewash. A stirring stick or a paint mixer attachment for a power drill will help you thoroughly mix the limewash solution.
- Tape and plastic wrap: If you want to protect the surrounding walls or other areas adjacent to the fireplace, use tape and plastic wrap to cover them.
- Ladder or step stool: Depending on the height of your fireplace, you may need a ladder or a step stool to reach the upper areas when applying the limewash.
Once you have gathered all these materials, you’re ready to begin the limewashing process. In the next step, we will guide you on preparing your workspace for the project.
Step 1: Prepare the Workspace
Before you start applying the limewash to your brick fireplace, it’s crucial to prepare the workspace to ensure a smooth and efficient process. Here are the steps to follow:
- Cover the surrounding area: Place drop cloths or plastic sheeting over the floor and nearby furniture to protect them from any splatters or drips.
- Protect adjacent surfaces: If there are walls or other surfaces adjacent to the fireplace that you want to protect from the limewash, use tape and plastic wrap to cover them. This will ensure that only the brick fireplace receives the limewash treatment.
- Open windows or use fans: Since limewash has a strong odor, it’s a good idea to open windows or use fans to ventilate the area. This will help dissipate the smell and provide better air circulation during the application process.
- Remove any obstacles: Clear the area around the fireplace of any objects or decorations that may obstruct your access to the bricks. This will make it easier to apply the limewash evenly and thoroughly.
- Prepare your tools and materials: Gather all the materials needed for the project, including the limewash, brushes or sprayers, mixing container, and stirring stick. Ensure that everything is within reach and easily accessible.
By taking the time to prepare your workspace, you’ll create a clean and organized environment that will make the limewashing process much more manageable. Once you’ve completed these steps, you’re ready to move on to the next step – cleaning the brick surface.
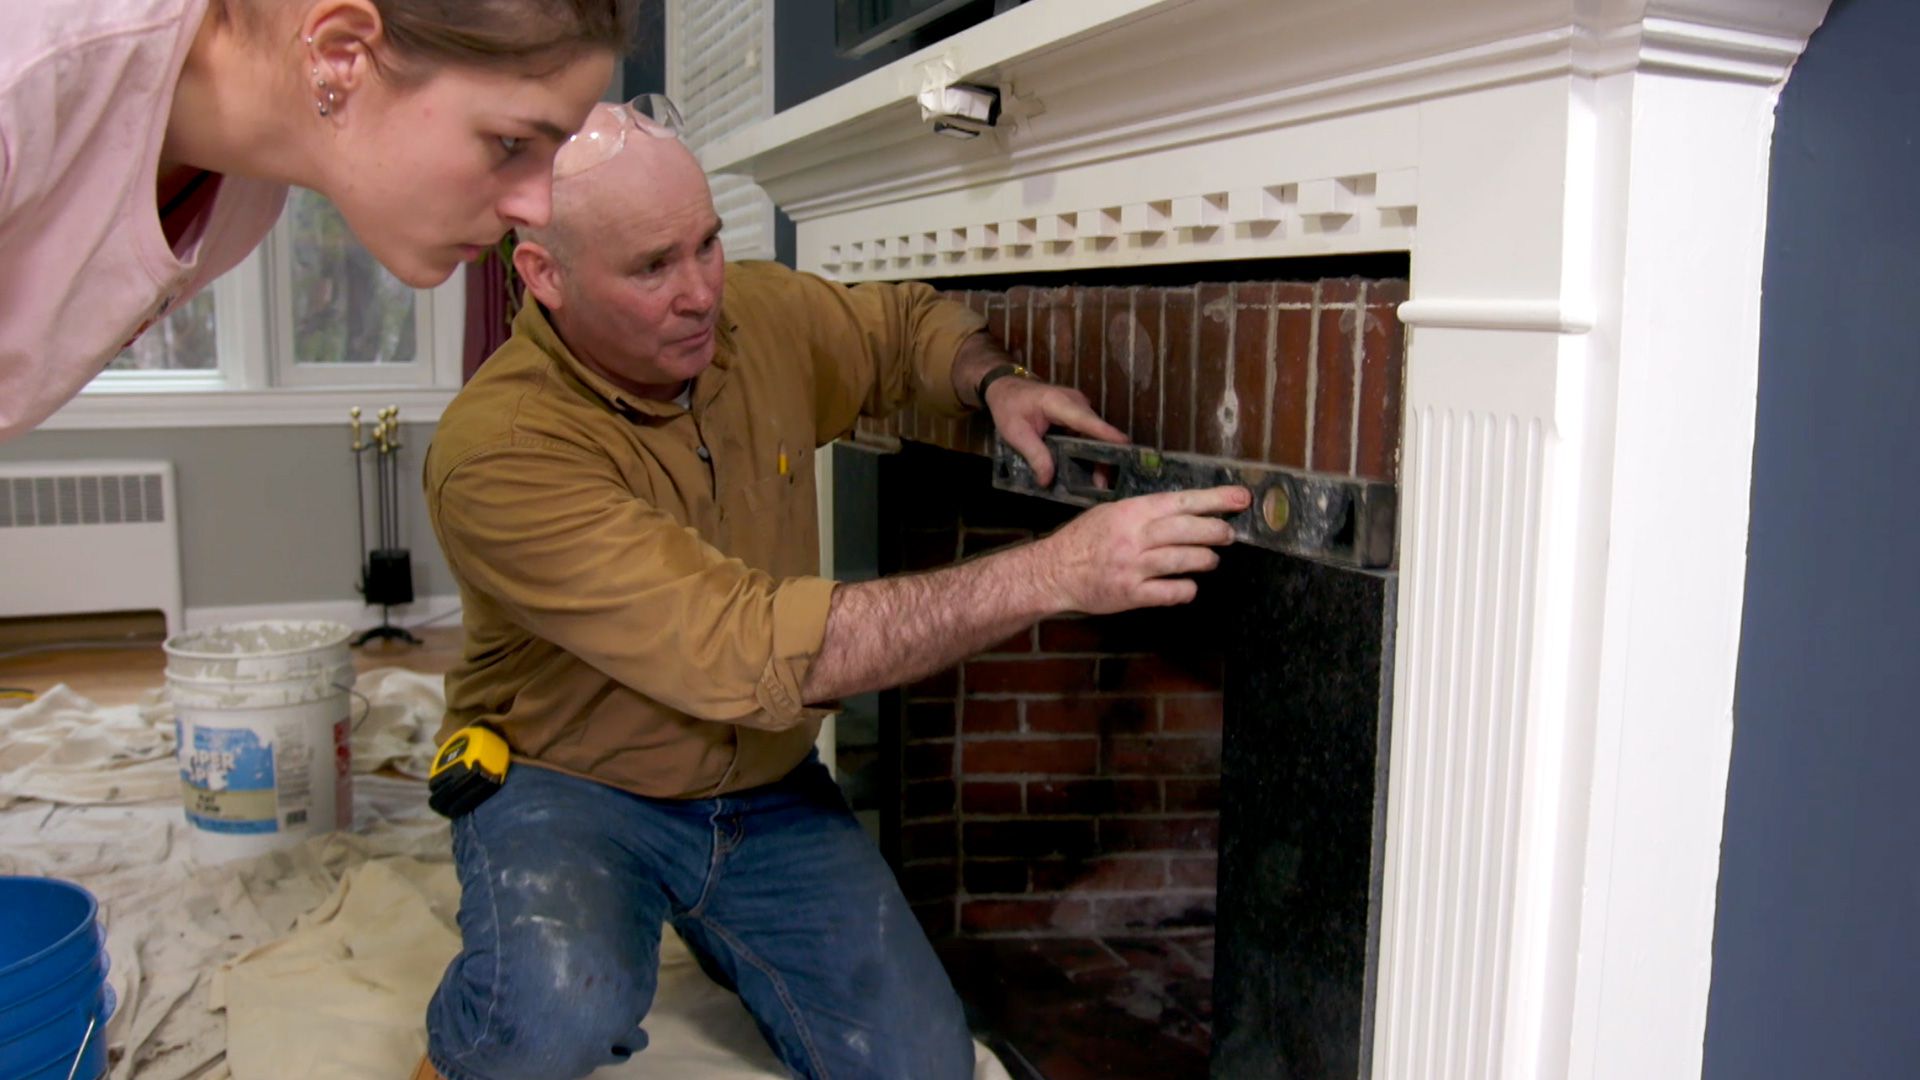
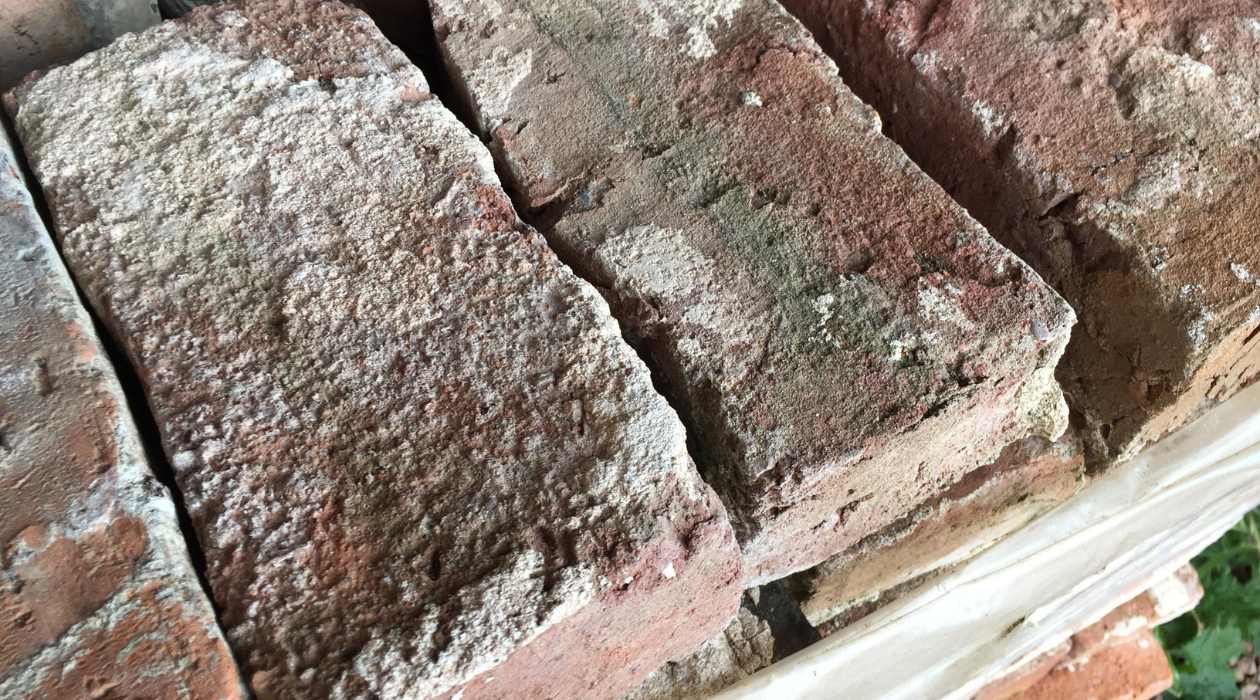
Step 2: Clean the Brick Surface
Before you can start applying the limewash, it’s essential to clean the brick surface thoroughly. This step ensures that the limewash adheres properly and results in a smooth and even finish. Follow these steps to clean the brick surface:
- Prepare the cleaning solution: Mix a brick cleaner or a mild detergent with water according to the manufacturer’s instructions. Avoid using harsh chemicals or abrasive cleaners, as they can damage the bricks.
- Dampen the bricks: Use a spray bottle or a sponge to dampen the bricks with clean water. This will help prevent the cleaning solution from drying too quickly and allow for better penetration.
- Apply the cleaning solution: Using a scrub brush or a sponge, apply the cleaning solution to the brick surface. Work in small sections, applying the solution evenly and scrubbing gently to remove any dirt, grime, or stains. Pay extra attention to areas that are heavily soiled.
- Rinse off the cleaning solution: Once you have scrubbed the entire brick surface, rinse off the cleaning solution with clean water. Use a hose or a bucket of water and a sponge to remove any residue. Ensure that all the cleaning solution is thoroughly rinsed off.
- Allow the bricks to dry: Give the bricks sufficient time to dry completely. This usually takes around 24 to 48 hours, depending on the humidity levels in your area. It’s crucial that the bricks are completely dry before applying the limewash.
By cleaning the brick surface before applying the limewash, you create a clean and smooth canvas for the limewash to adhere to. This step ensures better durability and longevity of the limewash finish. Once the bricks are completely dry, you’re ready to mix the limewash solution in the next step.
Step 3: Mix the Limewash Solution
Now that you have a clean and dry brick surface, it’s time to mix the limewash solution. Limewash is a combination of hydrated lime, water, and pigment (if desired) that creates a beautiful, washed-out effect on the bricks. Follow these steps to mix the limewash solution:
- Read the instructions: Before mixing the limewash, carefully read the instructions provided by the manufacturer. Different limewash products may have specific mixing ratios, so it’s important to follow their guidelines.
- Prepare the mixing container: Use a clean bucket or a paint tray as your mixing container. Ensure that it’s large enough to hold the desired amount of limewash solution.
- Add the hydrated lime: Measure out the appropriate amount of hydrated lime according to the manufacturer’s instructions. Gradually add it to the mixing container while stirring continuously to prevent clumps from forming.
- Add water: Slowly pour water into the mixing container while stirring the lime. Add it gradually until you reach the desired consistency. For a thicker limewash, use less water, and for a more diluted one, use more water. The consistency should be similar to that of a milkshake.
- Add pigment (optional): If you want to add color to your limewash, now is the time to do it. Choose a pigment that is specifically formulated for limewash and follows the manufacturer’s instructions for the mixing ratio. Gradually add the pigment to the mixing container and stir until it’s well incorporated.
- Thoroughly mix the solution: Use a stirring stick or a paint mixer attachment for a power drill to mix the limewash solution thoroughly. Ensure that there are no lumps or clumps and that the mixture is smooth and well blended.
After you have mixed the limewash solution, it’s ready to be applied to the brick fireplace. In the next step, we will guide you through the process of applying the first coat of limewash.
Before applying limewash to a brick fireplace, make sure to clean the surface thoroughly to remove any dirt, dust, or soot. This will ensure better adhesion and a more even finish.
Read more: What Is Limewash Brick
Step 4: Apply the First Coat of Limewash
With your limewash solution mixed and ready to go, it’s time to start applying the first coat of limewash to your brick fireplace. Follow these steps to achieve a smooth and even application:
- Prepare your tools: If you’re using a paintbrush, ensure that it’s clean and in good condition. If using a sprayer, make sure it’s properly loaded with the limewash solution.
- Start from the top: Begin applying the limewash at the top of the fireplace and work your way down. This helps to catch any drips or runs as you progress.
- Apply the limewash in small sections: Work in small sections, applying the limewash with steady, even strokes. Ensure that the limewash is evenly distributed and covers the entire surface of the bricks.
- Work into the mortar joints: Use a brush or a sprayer to work the limewash into the mortar joints between the bricks. This helps to create a cohesive and unified look.
- Allow for variation: To achieve a natural and weathered appearance, embrace subtle variations in color and texture. This will add depth and character to the finished look.
- Clean up any drips or mistakes: As you go, make sure to clean up any drips or mistakes immediately. Use a damp cloth or sponge to remove any excess limewash that may have strayed onto unwanted areas.
Once you have completed applying the first coat of limewash, step back and assess the coverage. If desired, you can apply a second coat for a more opaque look, or leave it as is for a more translucent effect. Allow the first coat to dry before deciding whether or not to proceed with additional coats.
In the next step, we will discuss applying additional coats of limewash, if desired.
Step 5: Apply Additional Coats (if desired)
After applying the first coat of limewash and allowing it to dry, you can choose to apply additional coats for a more opaque and solid look. This step is optional and depends on the desired outcome and personal preference. Follow these steps to apply additional coats of limewash:
- Assess the coverage: Take a step back and assess the coverage of the first coat of limewash. If you’re satisfied with the result and the desired look has been achieved, you may choose to skip this step.
- If you decide to proceed with additional coats, ensure that the first coat is completely dry before applying the next one. The drying time may vary depending on the ambient temperature and humidity levels.
- Repeat the application process: Follow the same steps as you did for applying the first coat of limewash. Start from the top and work your way down, applying the limewash in small sections. Ensure to achieve even coverage and work the limewash into the mortar joints as well.
- Allow for drying time: Once you’ve completed applying the additional coats, allow the limewash to dry completely before assessing the final result. Depending on the number of coats applied, this may take another 24 to 48 hours.
- Assess and make adjustments: Once the limewash has dried, step back and assess the final result. If you’re happy with the coverage and the desired effect has been achieved, you can proceed to the next step. However, if there are any areas that require touch-ups or adjustments, take the time to address them before moving forward.
Remember, the number of coats you apply depends on the level of opacity and coverage you desire. Some prefer a more translucent and natural look with just one coat, while others may opt for a more solid and opaque finish with multiple coats. It’s ultimately up to you and the aesthetic you’re aiming for.
In the next step, we will discuss the drying process and how to ensure the limewash sets properly.
Step 6: Allow the Limewash to Dry
Once you have applied the desired number of coats of limewash, it’s crucial to allow ample time for the limewash to dry and cure properly. Proper drying ensures that the limewash sets and adheres to the bricks, providing a durable and long-lasting finish. Follow these steps to allow the limewash to dry effectively:
- Avoid touching or disturbing the limewashed surface: During the drying process, it’s essential to minimize any contact or disturbance to the limewashed surface. Touching or brushing against the limewash can cause smudging or uneven drying.
- Allow for sufficient drying time: The drying time for limewash can vary depending on various factors such as ambient temperature, humidity levels, and the number of coats applied. In general, it’s recommended to allow the limewash to dry for at least 24 to 48 hours.
- Ensure proper ventilation: To aid in the drying process, ensure that the area is well-ventilated. Open windows, use fans, or dehumidifiers to improve air circulation and reduce drying time.
- Observe the color change: As the limewash dries, you may notice a slight color change. Initially, the limewash may appear lighter, but it will darken as it dries and cures. This is a natural part of the process.
- Avoid water exposure: During the drying period, it’s crucial to keep the limewashed surface free from water exposure. Avoid any water splashes or heavy moisture that could disrupt the drying process and affect the final result.
- Patience is key: Allow yourself to be patient during the drying process. Rushing or prematurely tending to the limewashed surface can negatively impact the overall finish and durability.
By allowing the limewash to dry thoroughly, you ensure that it sets properly and achieves the desired appearance. Once the limewash is completely dry, you can consider taking the optional step of sealing the limewashed brick, which we will discuss in the next step.
Step 7: Seal the Limewashed Brick (optional)
While it is not mandatory to seal limewashed brick, applying a protective sealer can offer added durability and longevity to the finish. Sealing the limewashed brick helps to protect it from stains, moisture, and general wear and tear. Follow these steps if you choose to seal your limewashed brick:
- Choose the appropriate sealer: Select a sealer specifically designed for masonry and compatible with limewash. There are various sealers available, such as penetrating sealers or surface sealers, depending on your preference and the level of sheen you desire.
- Read the instructions: Carefully read and follow the instructions provided by the sealer manufacturer. Different sealers may have specific application methods or drying times, so it’s crucial to follow their guidelines.
- Prepare the brick surface: Ensure that the limewashed brick surface is clean and completely dry before applying the sealer. Remove any dust, debris, or loose particles using a soft brush or a vacuum cleaner.
- Apply the sealer: Use a brush or a sprayer to apply the sealer evenly onto the limewashed brick surface. Work in small sections, ensuring complete coverage. Avoid overapplying the sealer, as it may result in a glossy or unnatural appearance.
- Allow for drying and curing: Follow the drying and curing time mentioned in the sealer instructions. It’s crucial to let the sealer dry and cure completely before subjecting the surface to any moisture or heavy contact.
- Consider additional coats: Depending on the sealer you choose, you may need to apply multiple coats for optimal protection. Follow the manufacturer’s instructions carefully regarding the number of coats and the drying time between each application.
- Maintain the sealed surface: Once the sealer has dried and cured, follow any maintenance recommendations provided by the manufacturer. This may include periodic reapplication of the sealer or regular cleaning to keep the sealed surface in optimal condition.
Sealing the limewashed brick is an optional step, but it can provide an extra layer of protection and help prolong the beauty and durability of the limewash finish. Assess your specific needs and preferences before deciding whether or not to apply a sealer.
Congratulations! You have completed the process of limewashing and, if desired, sealing your brick fireplace. Stand back and admire the beautiful transformation you’ve achieved, and enjoy the refreshed and timeless look it brings to your living space.
We hope this guide has been helpful in your journey of limewashing a brick fireplace. Happy renovating!
Read more: How To Stain A Brick Fireplace
Conclusion
Congratulations on successfully limewashing your brick fireplace! By following the steps outlined in this guide, you have learned how to transform the appearance of your fireplace and create a beautiful, natural, and weathered finish. Limewashing is not only a visually appealing choice, but it also allows the bricks to breathe and maintains their natural texture and appearance. Whether you prefer a more translucent look with a single coat of limewash or a more solid finish with multiple coats, the end result is sure to enhance the aesthetic of your space.
Remember to take the time to properly prepare your workspace, clean the brick surface, and mix the limewash solution. Applying the limewash in even strokes and working it into the mortar joints helps achieve a cohesive and unified look. If desired, additional coats can be applied for added opacity. Allow the limewash to dry completely and consider sealing the surface for additional protection and longevity.
As you gaze upon your newly limewashed brick fireplace, take pride in the work you have accomplished. The timeless and elegant beauty of the limewash finish will not only enhance the visual appeal of your space but also create a lasting impression on anyone who enters.
We hope this guide has been informative and valuable in your journey to limewash your brick fireplace. Remember to enjoy the process and embrace the natural variations and character that limewashing brings. Sit back, relax, and bask in the warmth and charm of your newly transformed brick fireplace.
Happy limewashing!
Frequently Asked Questions about How To Limewash A Brick Fireplace
Was this page helpful?
At Storables.com, we guarantee accurate and reliable information. Our content, validated by Expert Board Contributors, is crafted following stringent Editorial Policies. We're committed to providing you with well-researched, expert-backed insights for all your informational needs.


0 thoughts on “How To Limewash A Brick Fireplace”