
Articles
How To Seal A Brick Fireplace
Modified: October 20, 2024
Learn how to properly seal your brick fireplace with our informative articles. Enhance the durability and appearance of your fireplace with these expert tips and techniques.
(Many of the links in this article redirect to a specific reviewed product. Your purchase of these products through affiliate links helps to generate commission for Storables.com, at no extra cost. Learn more)
Introduction
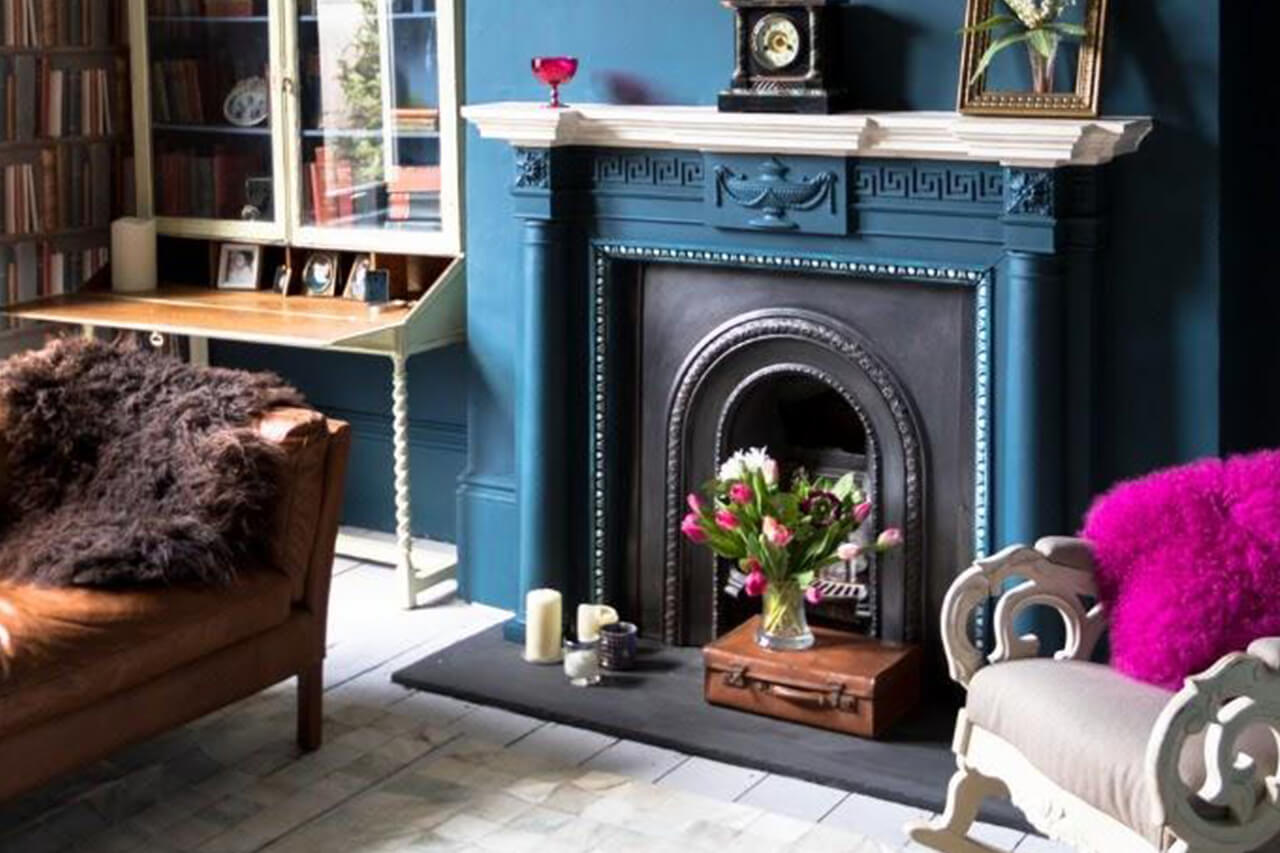
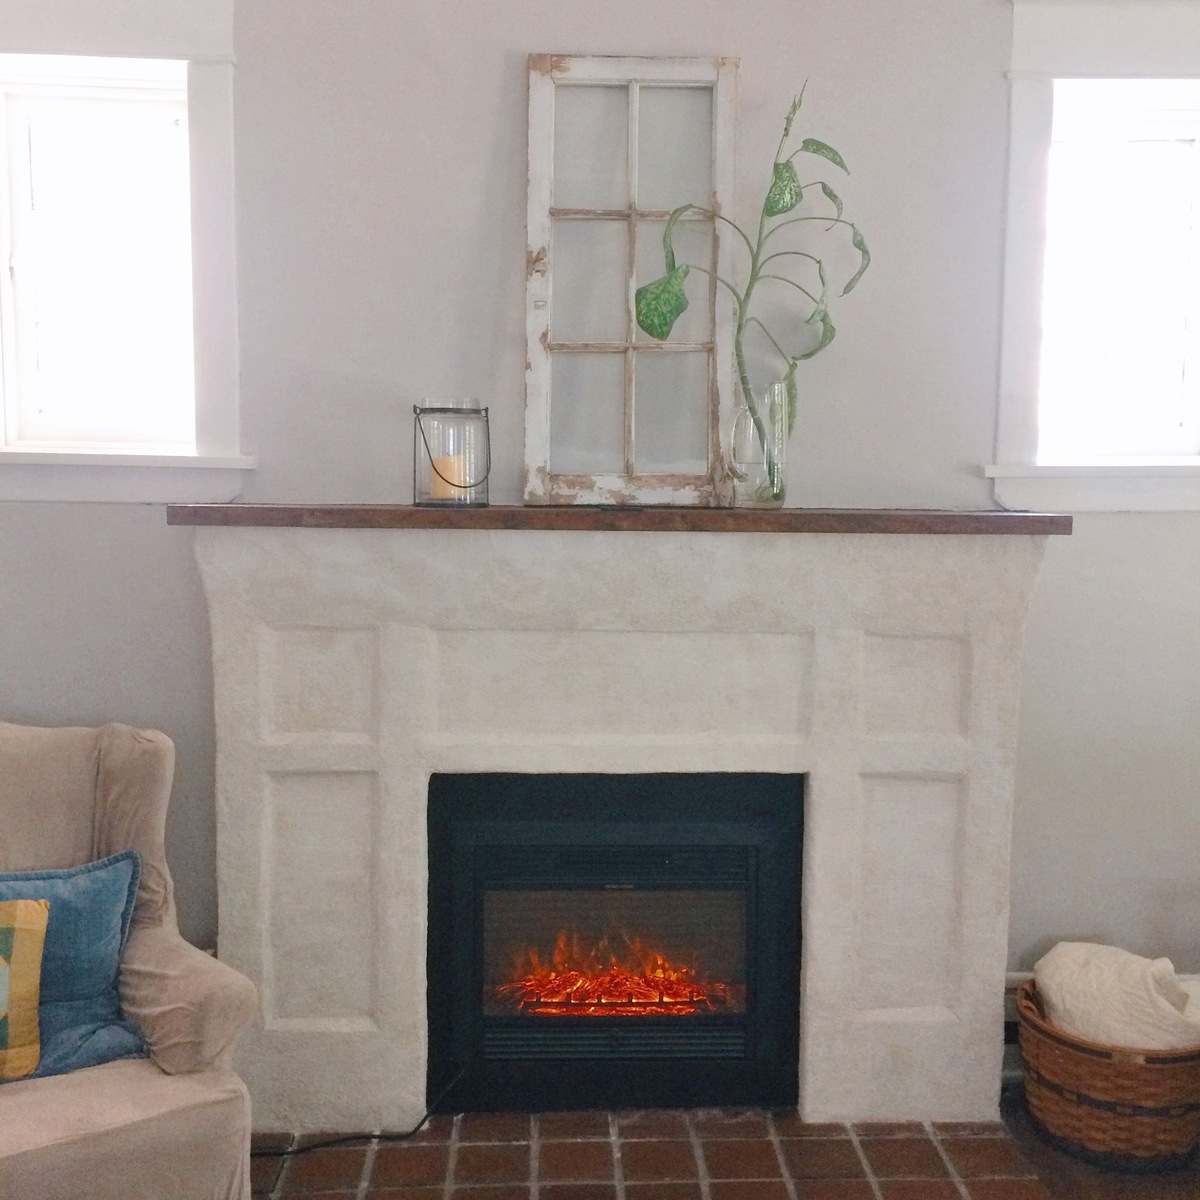
Welcome to our comprehensive guide on how to seal a brick fireplace! If you have a brick fireplace in your home, you know how it can be a stunning focal point and add character to any room. However, over time, the bricks can become worn, cracked, or stained, affecting both the appearance and functionality of your fireplace.
Sealing the brick is a crucial step in maintaining the longevity and beauty of your fireplace. A brick sealer acts as a protective barrier, preventing moisture, dirt, and stains from penetrating the porous surface of the bricks. Additionally, it can enhance the color of the bricks and provide a glossy or matte finish, depending on your preference.
In this article, we will walk you through the step-by-step process of sealing your brick fireplace. From gathering the necessary tools and materials to applying the sealer and completing the final touches, we’ve got you covered. Let’s get started!
Key Takeaways:
- Sealing your brick fireplace not only enhances its appearance but also protects it from damage. Follow the step-by-step process to ensure a long-lasting and visually appealing seal.
- Choosing a high-quality brick sealer and following proper preparation and application techniques are essential for achieving the best results. Enjoy the cozy ambiance of your freshly sealed fireplace!
Read more: How To Seal A Brick Chimney
Step 1: Gather the necessary tools and materials
Before you begin the sealing process, it’s essential to gather all the tools and materials you’ll need. Here’s a checklist to ensure you have everything:
- Brick sealer: Choose a high-quality brick sealer suitable for indoor use. You can find them at your local hardware store or online.
- Cleaner: Select a brick cleaner specifically designed to remove dirt, grime, and stains from bricks.
- Bristle brush: Use a stiff-bristle brush to scrub the bricks and remove any loose debris or dirt.
- Protective gear: Wear gloves, safety goggles, and a face mask to protect yourself from chemicals and dust.
- Drop cloths or plastic sheets: Cover the surrounding area and floor to prevent accidental spills and stains.
- Painter’s tape: Use painter’s tape to mask off any areas you don’t want to be sealed, such as the fireplace mantel or surrounding walls.
- Lint-free cloths: Have several lint-free cloths on hand for wiping away excess sealer and cleaning.
- Paintbrush or roller: Depending on the size of your fireplace and personal preference, choose either a paintbrush or a roller to apply the sealer.
Make sure you have all these tools and materials ready before you start the process. Having everything on hand will make the sealing process more efficient and ensure a smooth workflow.
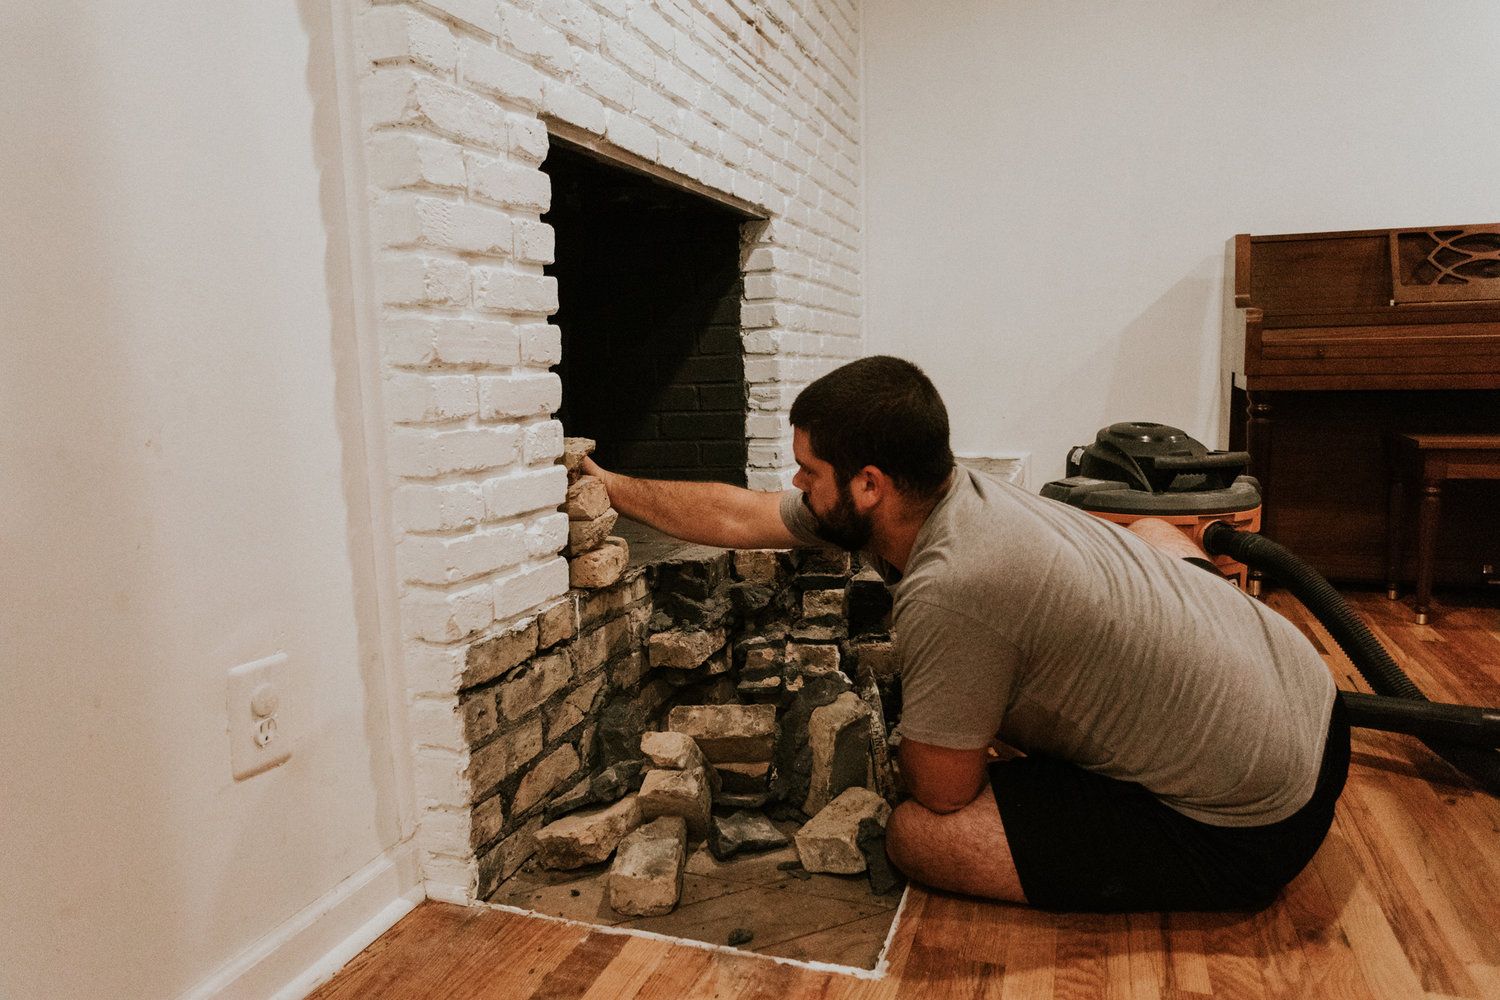
Step 2: Prepare the fireplace
Before you begin applying the sealer, it’s crucial to properly prepare the fireplace to ensure the best results. Follow these steps to prepare the fireplace:
- Remove any objects: Clear the area around the fireplace and remove any objects, such as furniture, decor, or accessories.
- Protect the surrounding surfaces: Use drop cloths or plastic sheets to cover the floor and any nearby furniture or surfaces. This will prevent any accidental spills or drips from staining or damaging these areas.
- Mask off adjacent areas: Use painter’s tape to mask off any areas adjacent to the fireplace that you don’t want to be sealed. This could include the walls, mantel, or any surrounding trim.
- Open windows or ensure proper ventilation: Sealing brick can emit strong odors, so it’s essential to have proper ventilation. Open windows or use fans to ensure fresh air circulation.
By taking the time to prepare the fireplace properly, you’ll protect the surrounding areas and ensure a clean and efficient sealing process. Now that everything is set up, you’re ready to move on to the next step: cleaning the bricks.
Step 3: Clean the bricks
Before applying the sealer, it’s crucial to thoroughly clean the bricks to remove any dirt, grime, or stains. Follow these steps to clean the bricks:
- Mix the cleaner: Follow the instructions on the brick cleaner to prepare the cleaning solution. Typically, you’ll dilute the cleaner with water in the recommended ratio.
- Apply the cleaner: Using a bristle brush, apply the cleaning solution to the bricks. Work in small sections, starting from the top and moving downwards.
- Scrub the bricks: Scrub the bricks gently but firmly with the bristle brush to remove any dirt or stains. Pay extra attention to any heavily soiled areas.
- Rinse the bricks: Once you’ve scrubbed the bricks, rinse them thoroughly with clean water. A hose or a bucket of water can be used for this purpose.
- Dry the bricks: Allow the bricks to dry completely before proceeding to the next step. This may take a few hours to overnight.
Make sure you follow the instructions provided by the brick cleaner manufacturer for the best cleaning results. Cleaning the bricks ensures that the sealer can adhere properly and provides a clean surface for the sealing process.
Once the bricks are dry, you’re ready to move on to the next step: applying the sealer.
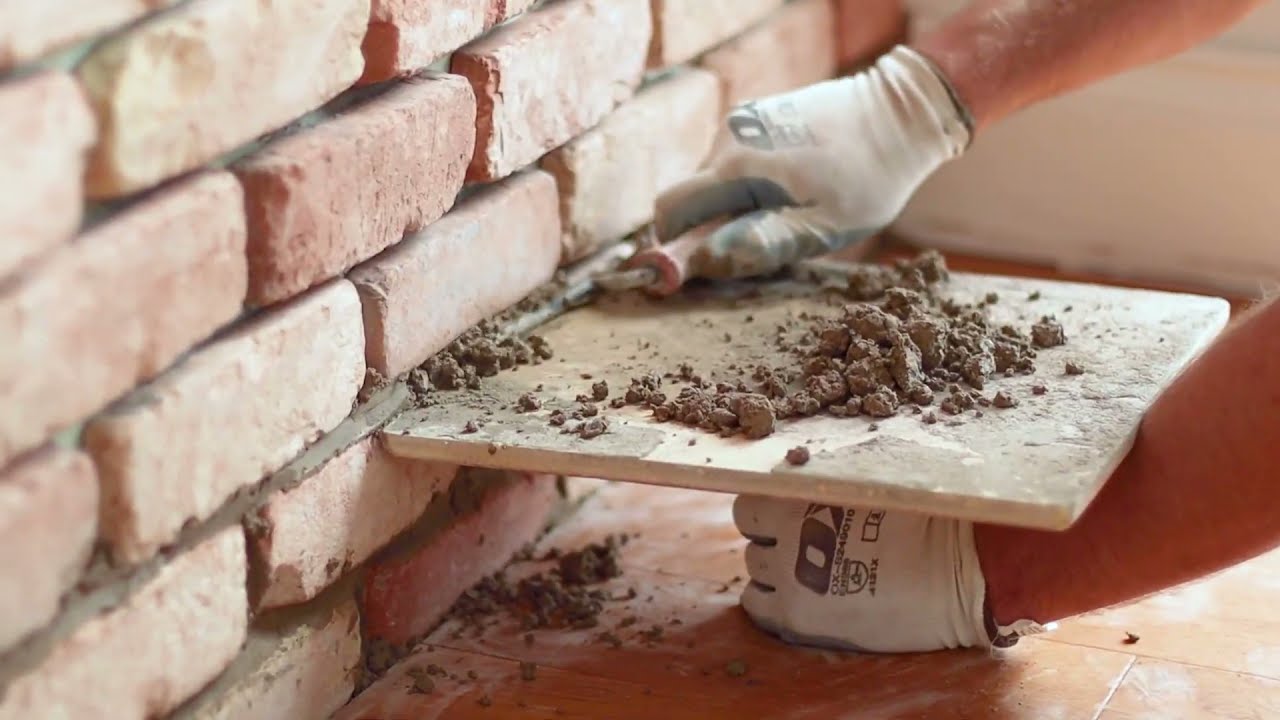
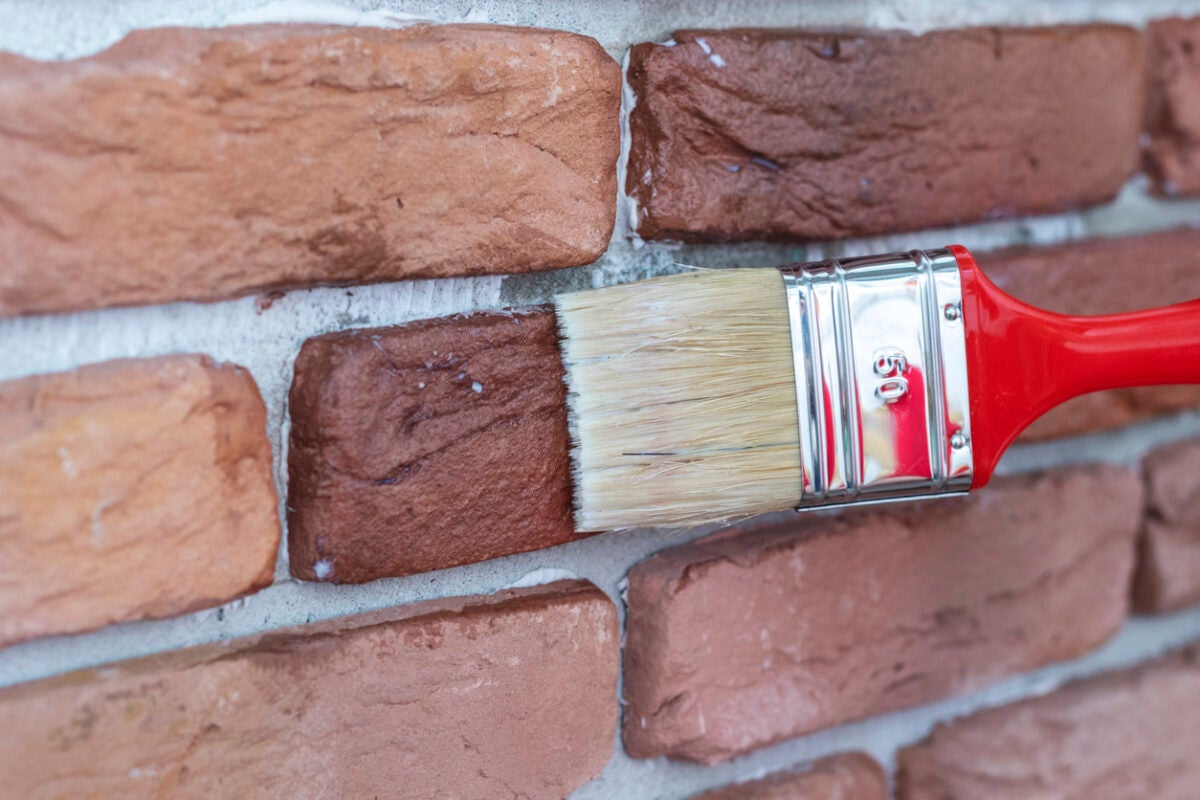
Step 4: Apply the sealer
Now that you have gathered the necessary tools, prepared the fireplace, and cleaned the bricks, it’s time to apply the sealer. Follow these steps to ensure a successful application:
- Read the sealer instructions: Before applying the sealer, carefully read the instructions provided by the manufacturer. Different sealers may have specific application guidelines.
- Test a small area: It’s always a good idea to test the sealer on a small, inconspicuous area of the fireplace first. This will allow you to assess the desired finish and ensure compatibility with the bricks.
- Apply the sealer: Using a paintbrush or roller, apply the sealer to the bricks. Work in small sections, starting from the top and moving downwards. Make sure to evenly coat the bricks with the sealer, ensuring no missed spots.
- Apply multiple coats (if needed): Depending on the instructions provided by the sealer manufacturer, you may need to apply multiple coats. Allow each coat to dry before applying the next one. This will help achieve a more robust and long-lasting seal.
- Work in manageable sections: It’s essential to work in manageable sections to prevent the sealer from drying out before you have a chance to spread it evenly. This is especially crucial if you’re working with a fast-drying sealer.
Take your time and ensure that the sealer is applied evenly and smoothly across the bricks. Avoid over-applying the sealer, as it can lead to a tacky or sticky surface. Once the sealer is applied, allow it to dry completely before proceeding to the next step.
Now that you have successfully applied the sealer, it’s time to move on to the next step: allowing the sealer to dry.
When sealing a brick fireplace, use a high-quality brick sealer to protect the surface from moisture and stains. Apply the sealer evenly with a brush or roller, and allow it to dry completely before using the fireplace.
Read more: How To Seal A Brick Patio
Step 5: Allow the sealer to dry
After applying the sealer to the bricks, it’s vital to allow it sufficient time to dry and cure properly. This step ensures that the sealer forms a strong and protective barrier on the surface of the bricks. Follow these guidelines for drying the sealer:
- Refer to the sealer instructions: Different sealers may have varying drying times. Refer to the instructions provided by the manufacturer for the recommended drying duration.
- Avoid touching or disturbing the sealer: During the drying process, it’s essential to avoid any contact or disturbance with the sealed surface. Touching or moving objects against the bricks can lead to smudging or uneven results.
- Consider environmental factors: Environmental conditions, such as temperature and humidity, can affect the drying time. It is recommended to allow ample time for the sealer to dry in a well-ventilated area.
- Observe the appearance: As the sealer dries, observe the color and texture of the bricks. The sealer may initially appear milky or wet but will gradually become clear or develop the desired finish.
- Perform a touch test: To ensure that the sealer is fully dry, perform a touch test in a discreet area. Gently press your finger against the sealed surface and check for any signs of stickiness or transfer. If it feels dry and there are no marks left behind, the sealer is likely fully cured.
Depending on the sealer type and environmental conditions, the drying process may take several hours to a couple of days. It is crucial to exercise patience and allow ample time for the sealer to dry thoroughly before proceeding to the next step.
Once the sealer is completely dry, you can consider applying a second coat for added protection (optional). Let’s move on to the next step to discover more.
Step 6: Apply a second coat (optional)
Applying a second coat of sealer to your brick fireplace is optional, but it can provide additional protection and enhance the overall appearance. If you choose to apply a second coat, follow these steps:
- Assess the first coat: Before applying a second coat, evaluate the appearance and condition of the first coat. Ensure that it has dried completely and is even and smooth. If there are any rough or uneven areas, you may need to lightly sand them before proceeding.
- Clean the bricks (if necessary): If there are any dust or debris particles on the first coat, use a soft cloth or brush to gently remove them. This will ensure that the surface is clean and ready for the second coat.
- Apply the second coat: Using the same technique as the first coat, apply the sealer evenly to the bricks. Ensure that you cover any missed spots or areas that may require additional protection.
- Allow the sealer to dry: Once the second coat is applied, allow it to dry and cure according to the manufacturer’s instructions. This may take the same amount of time as the first coat or as specified on the sealer packaging.
Applying a second coat can provide an extra layer of protection and enhance the longevity of your brick fireplace. It can also deepen the color and improve the overall appearance of the bricks. However, keep in mind that a second coat is optional, and you can choose to skip this step if you’re satisfied with the results after the first coat.
Once the second coat has dried, it’s time to move on to the final step: adding the finishing touches and cleanup.
Step 7: Final touches and cleanup
As you near the completion of sealing your brick fireplace, it’s important to focus on the final touches and cleanup. These steps will ensure that your fireplace looks its best and that you leave the surrounding area tidy. Follow these guidelines:
- Inspect the sealed surface: Take a close look at the sealed surface of your brick fireplace. Check for any missed spots, drips, or areas that require touch-ups. If necessary, use a small paintbrush to carefully fix any imperfections.
- Remove masking tape and protective coverings: Once the sealer is completely dry, gently remove any painter’s tape and plastic coverings that were used to protect adjacent surfaces. Take your time to avoid damaging the freshly sealed bricks.
- Clean up the workspace: Dispose of any used cloths, brushes, or other tools properly. Clean up the surrounding area by removing drop cloths or plastic sheets and vacuuming or sweeping away any debris or dust.
- Touch up surrounding areas: Inspect the walls, mantel, or other adjacent surfaces. If there are any accidental sealer marks or spills, use appropriate cleaning agents or methods to remove them and restore the original appearance.
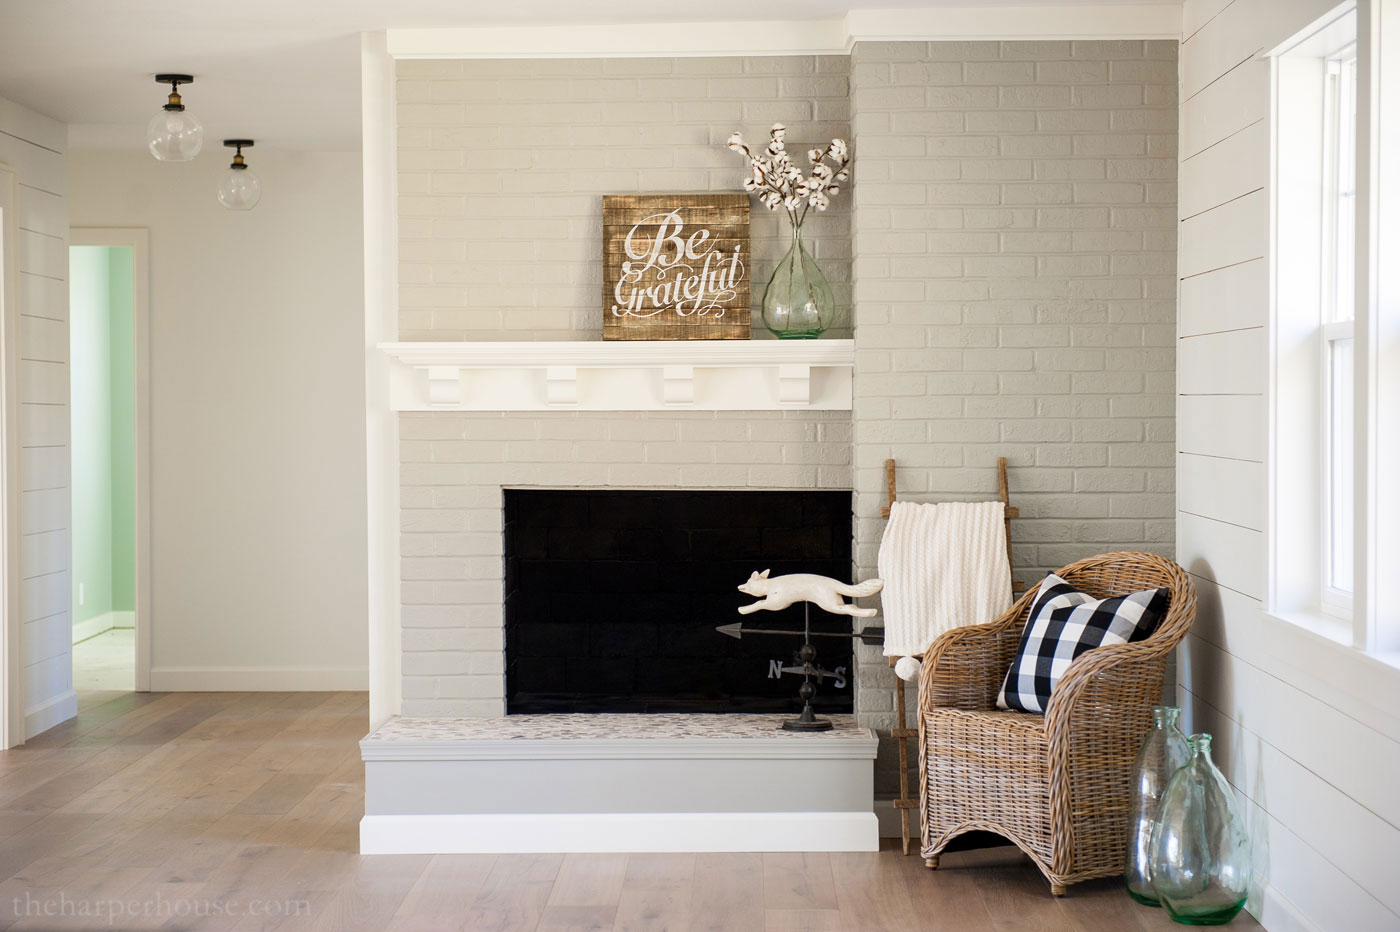
- Enjoy your newly sealed brick fireplace: Take a step back and admire the beauty and fresh look of your sealed brick fireplace. Light it up, sit back, and soak in the cozy ambiance that it brings to your living space.
Congratulations! You have successfully sealed your brick fireplace and completed the final touches. By following these steps and being diligent in the process, you will enjoy a well-protected and visually appealing brick fireplace for years to come.
Remember that maintaining your freshly sealed fireplace is important. Regular cleaning and minimal upkeep will help preserve the beauty and effectiveness of the sealer over time.
Thank you for using our comprehensive guide. We hope you found it helpful and informative. Happy sealing!
Conclusion
Sealing a brick fireplace is a rewarding task that not only enhances the appearance of your fireplace but also protects it from damage and prolongs its lifespan. By following the step-by-step process outlined in this guide, you can successfully seal your brick fireplace and enjoy its beauty and functionality for years to come.
From gathering the necessary tools and materials to preparing the fireplace, cleaning the bricks, and applying the sealer, each step plays a crucial role in the overall sealing process. Taking the time to properly clean and prepare the surface ensures the best results and a long-lasting seal.
Remember, the choice of sealer is important, and using a high-quality, indoor-approved brick sealer can make a significant difference in the effectiveness and appearance of the sealed surface. Follow the manufacturer’s instructions for application and drying times to achieve the best results.
Once the sealer has dried, consider applying a second coat for added protection and visual enhancement. However, this step is optional and can be skipped if you are satisfied with the results after the first coat.
Finally, paying attention to the final touches and cleanup, such as removing protective coverings and ensuring a clean workspace, adds the finishing touches to your sealed brick fireplace.
We hope this comprehensive guide has provided you with valuable insights and guidance on how to seal your brick fireplace. Enjoy the warmth and beauty it brings to your home, knowing that you have taken the necessary steps to protect and maintain its charm.
Thank you for using our guide, and happy sealing!
Frequently Asked Questions about How To Seal A Brick Fireplace
Was this page helpful?
At Storables.com, we guarantee accurate and reliable information. Our content, validated by Expert Board Contributors, is crafted following stringent Editorial Policies. We're committed to providing you with well-researched, expert-backed insights for all your informational needs.

0 thoughts on “How To Seal A Brick Fireplace”